
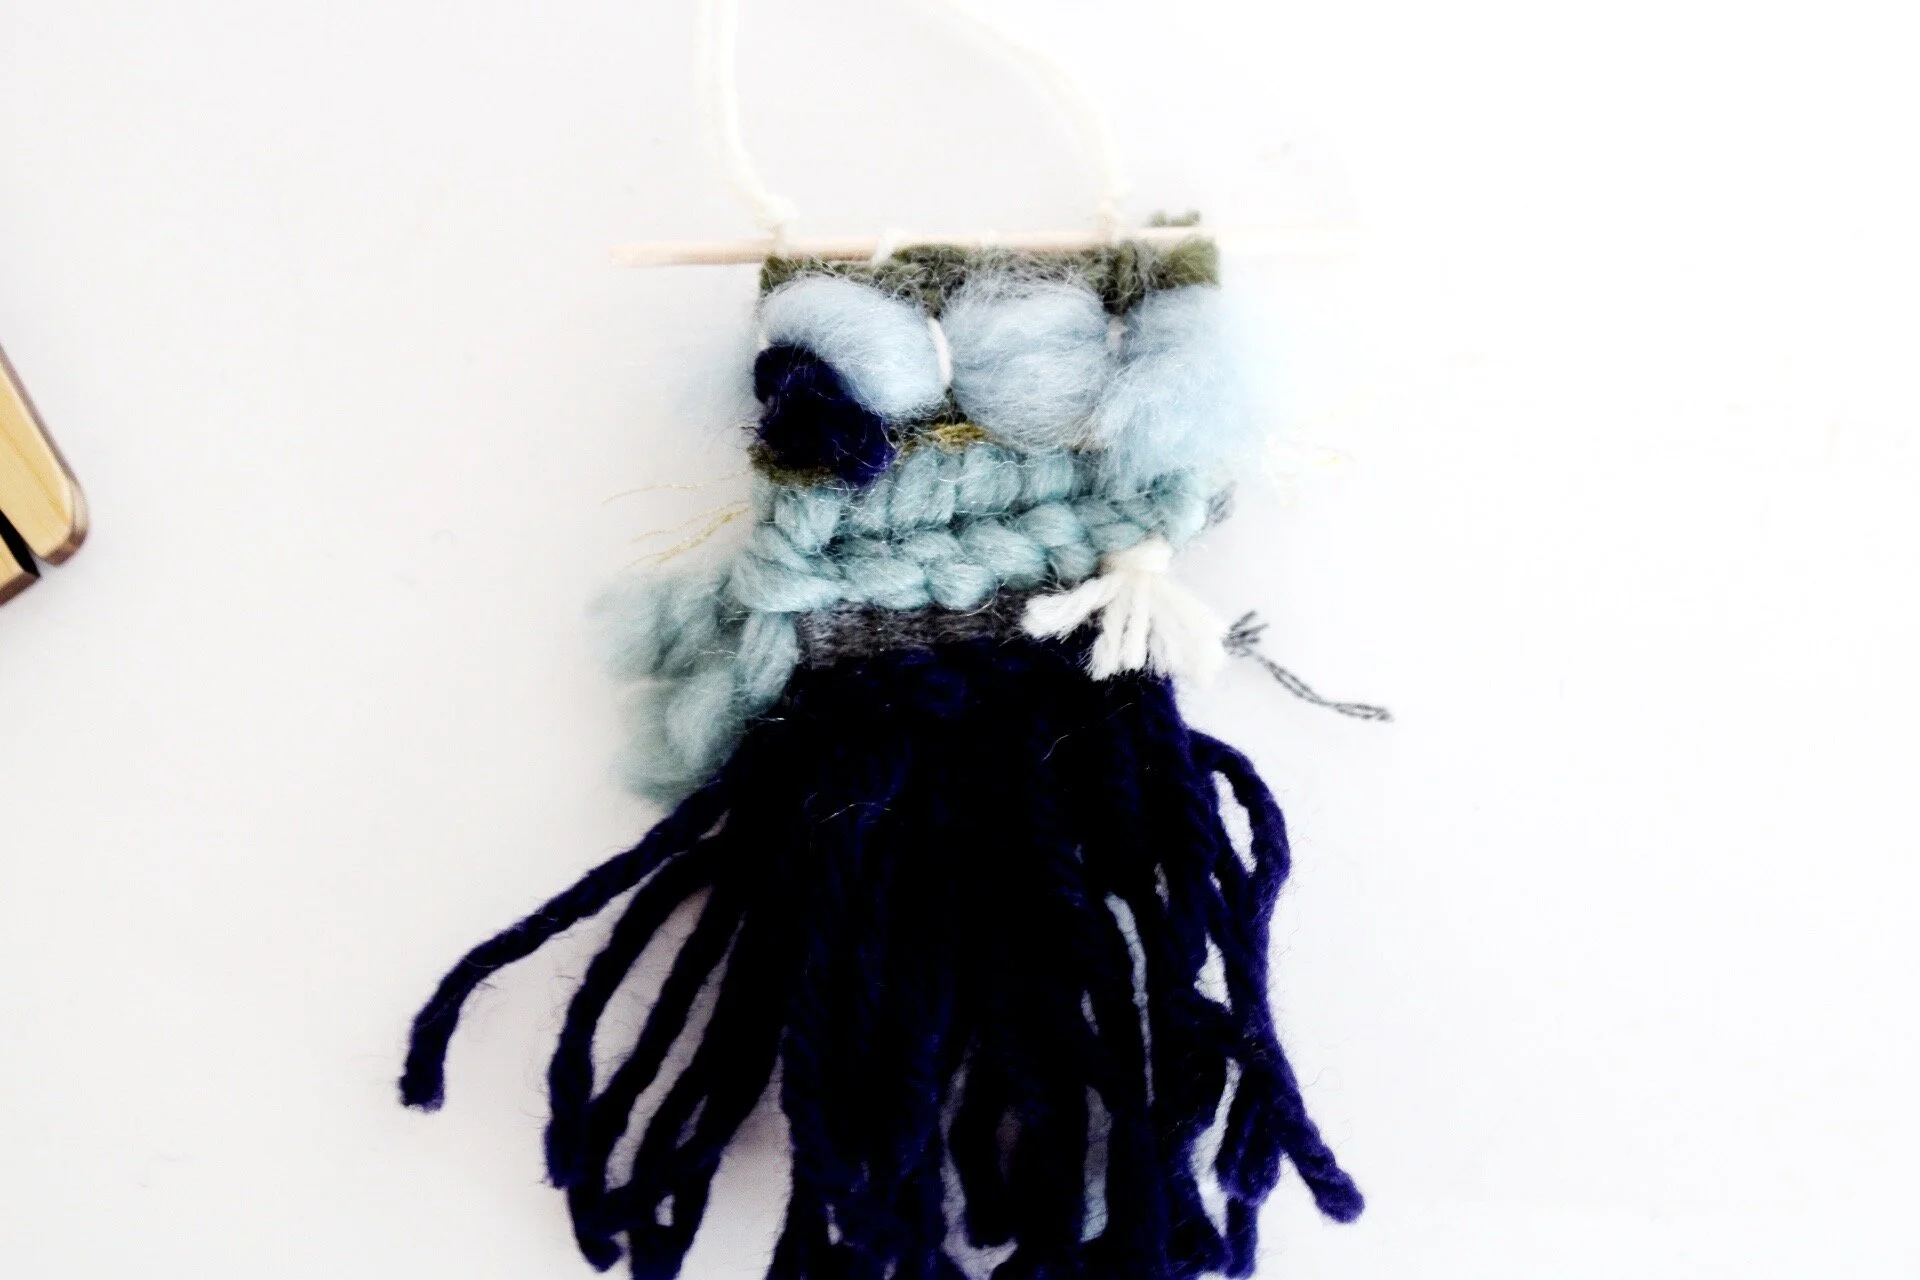
mini weavings
I decided that it would be the most fun and exciting to do a DIY where I weave with one of my favorite tools ever, the LOOME tool! I found them on Instagram a few years back around the holidays and immediately asked someone to buy me one for Christmas. This tool is multi- functional, but what I was most excited for, was the fact that it was small and compact and I could weave and pom pom on the go! Most mini weaving tools out there the weaving has to stay on the loom, but not with LOOME. It is just as easy to take off as it is to warp.

I really love working small. It truly excites me, because I can finish a project in about 30 minutes and it makes me feel on top of the world! The interesting part about this DIY, is that I have made a DIY for the basics of weaving which you can find here. I follow mainly all the same stitches; tabby and rya just on a smaller scale. So I will be moving quickly through those and focusing on how you can add fun texture to these little babes!

SUPPLIES
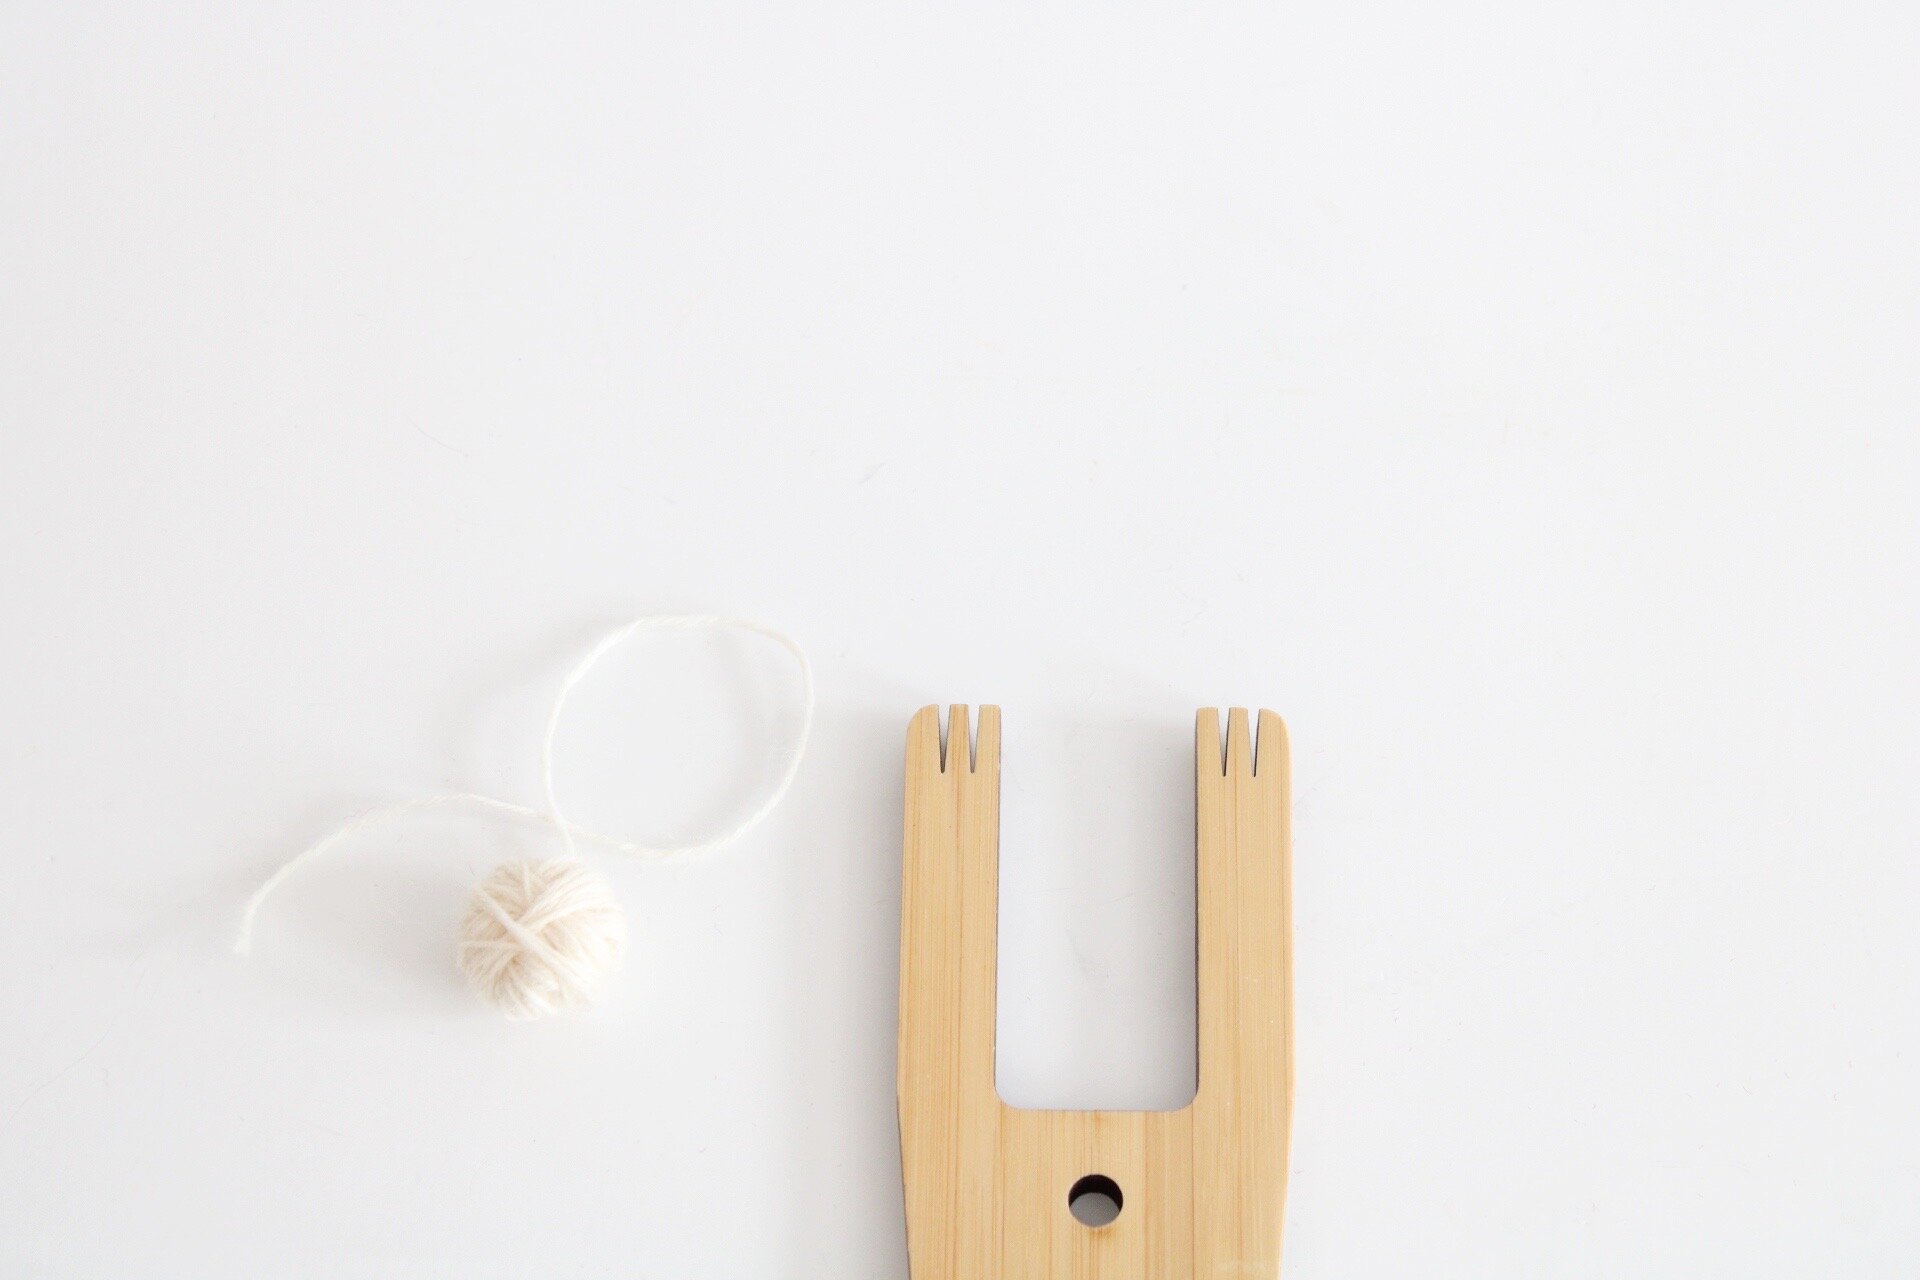
-Loome Tool
-Yarn
-Tapestry Needle
-Wooden Skewer
-Scissors
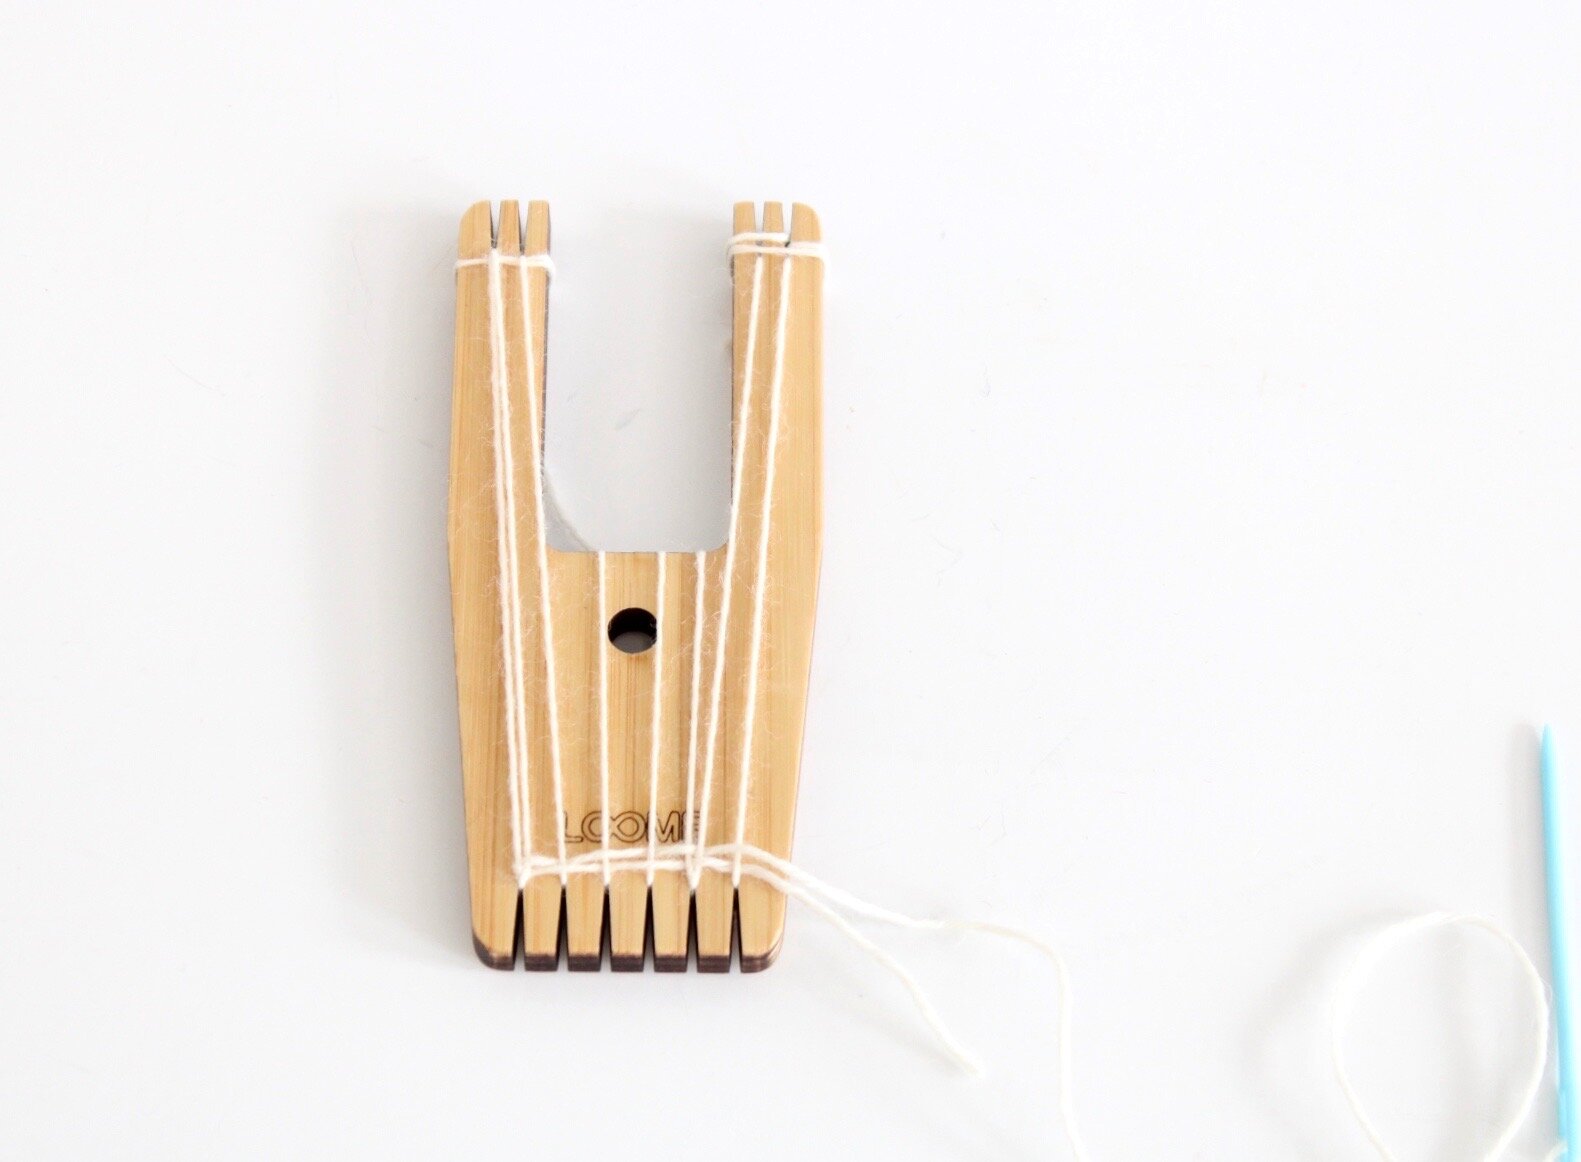
WARPING THE LOOME
Warping one of these is a little different than most. I have the Big A model , which is the best for weaving in my opinion, though you can weave on all their shapes.
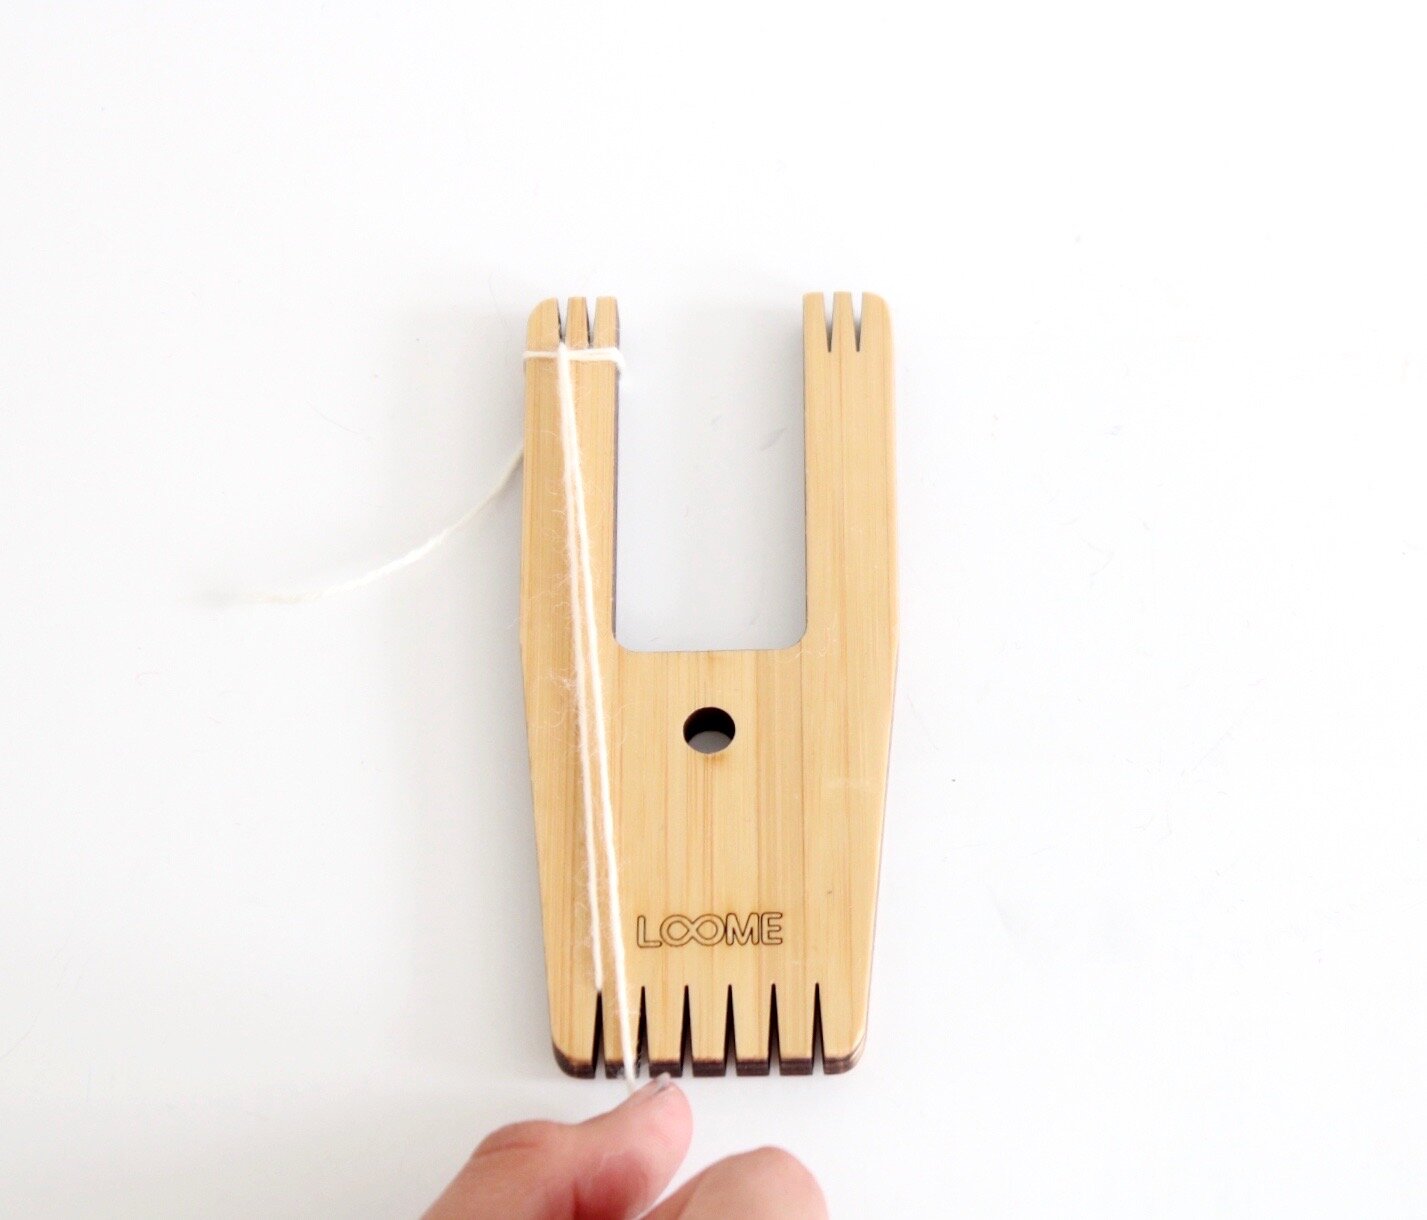
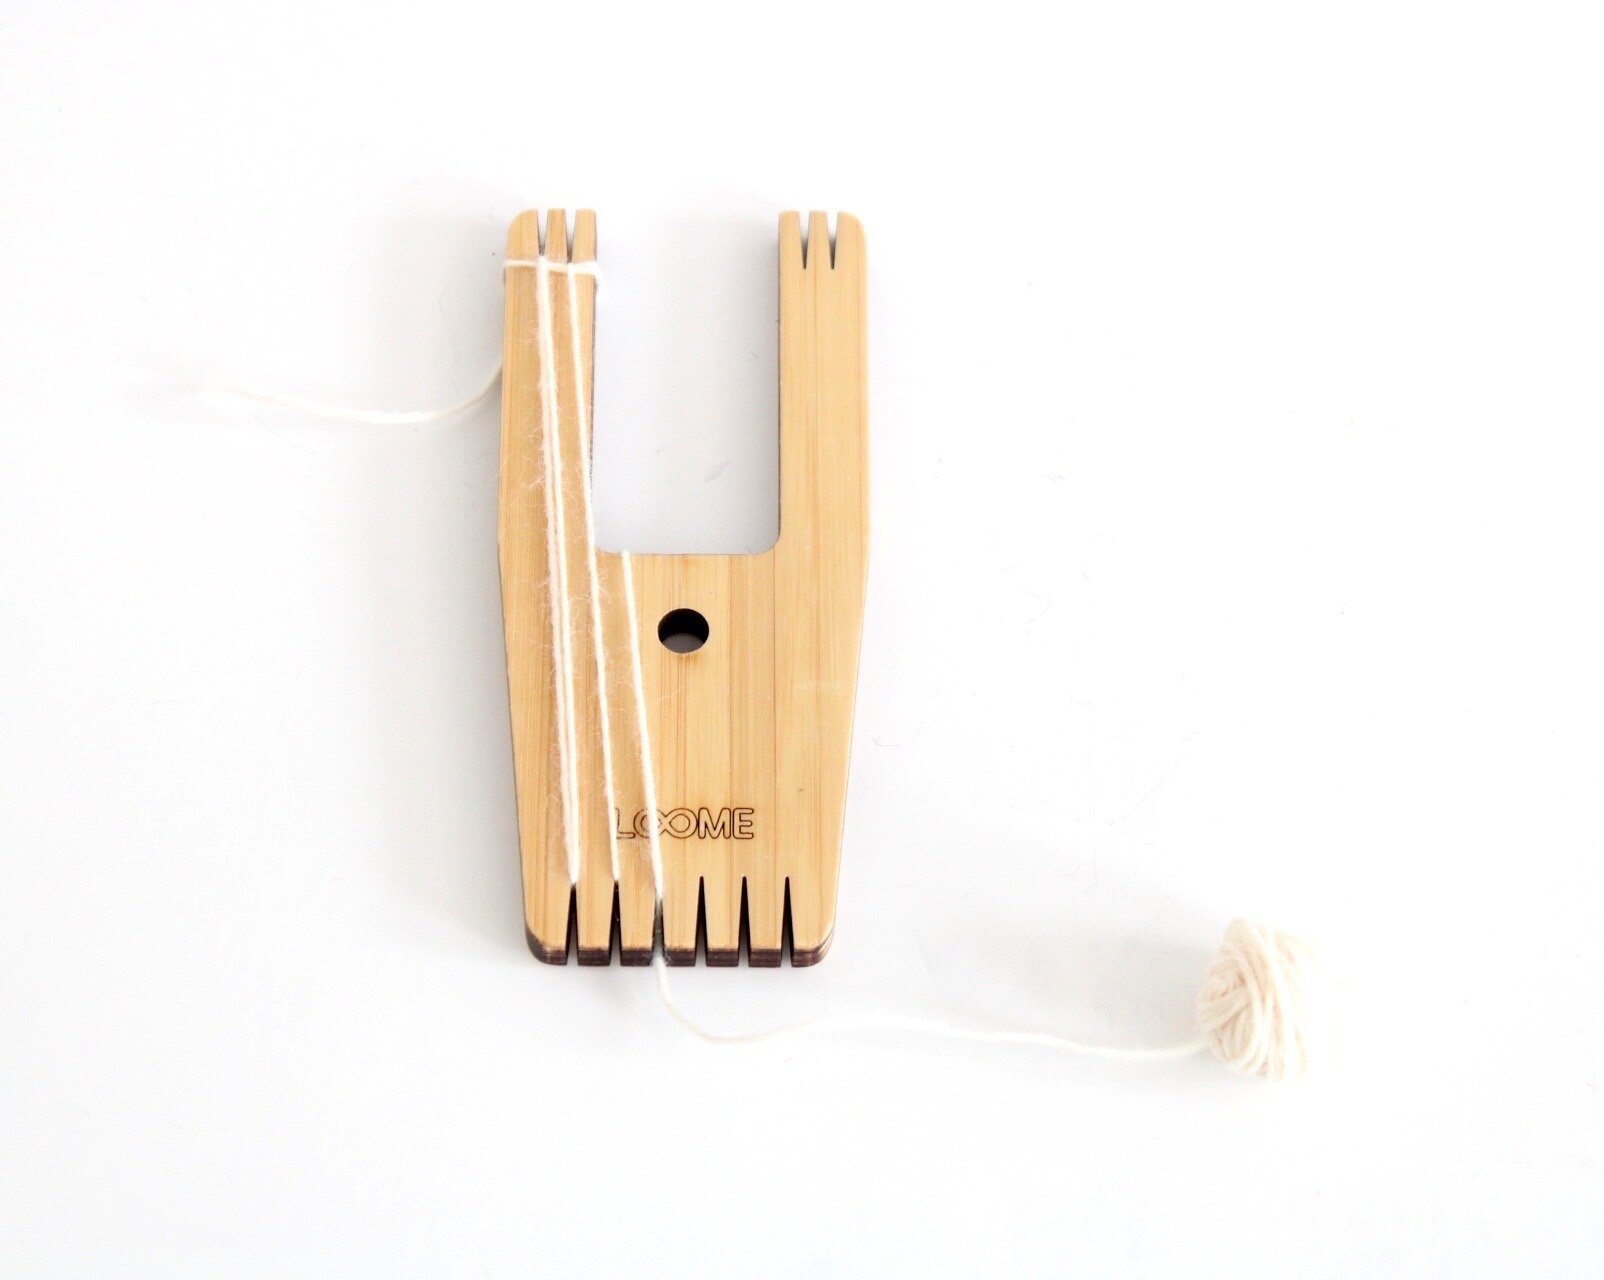
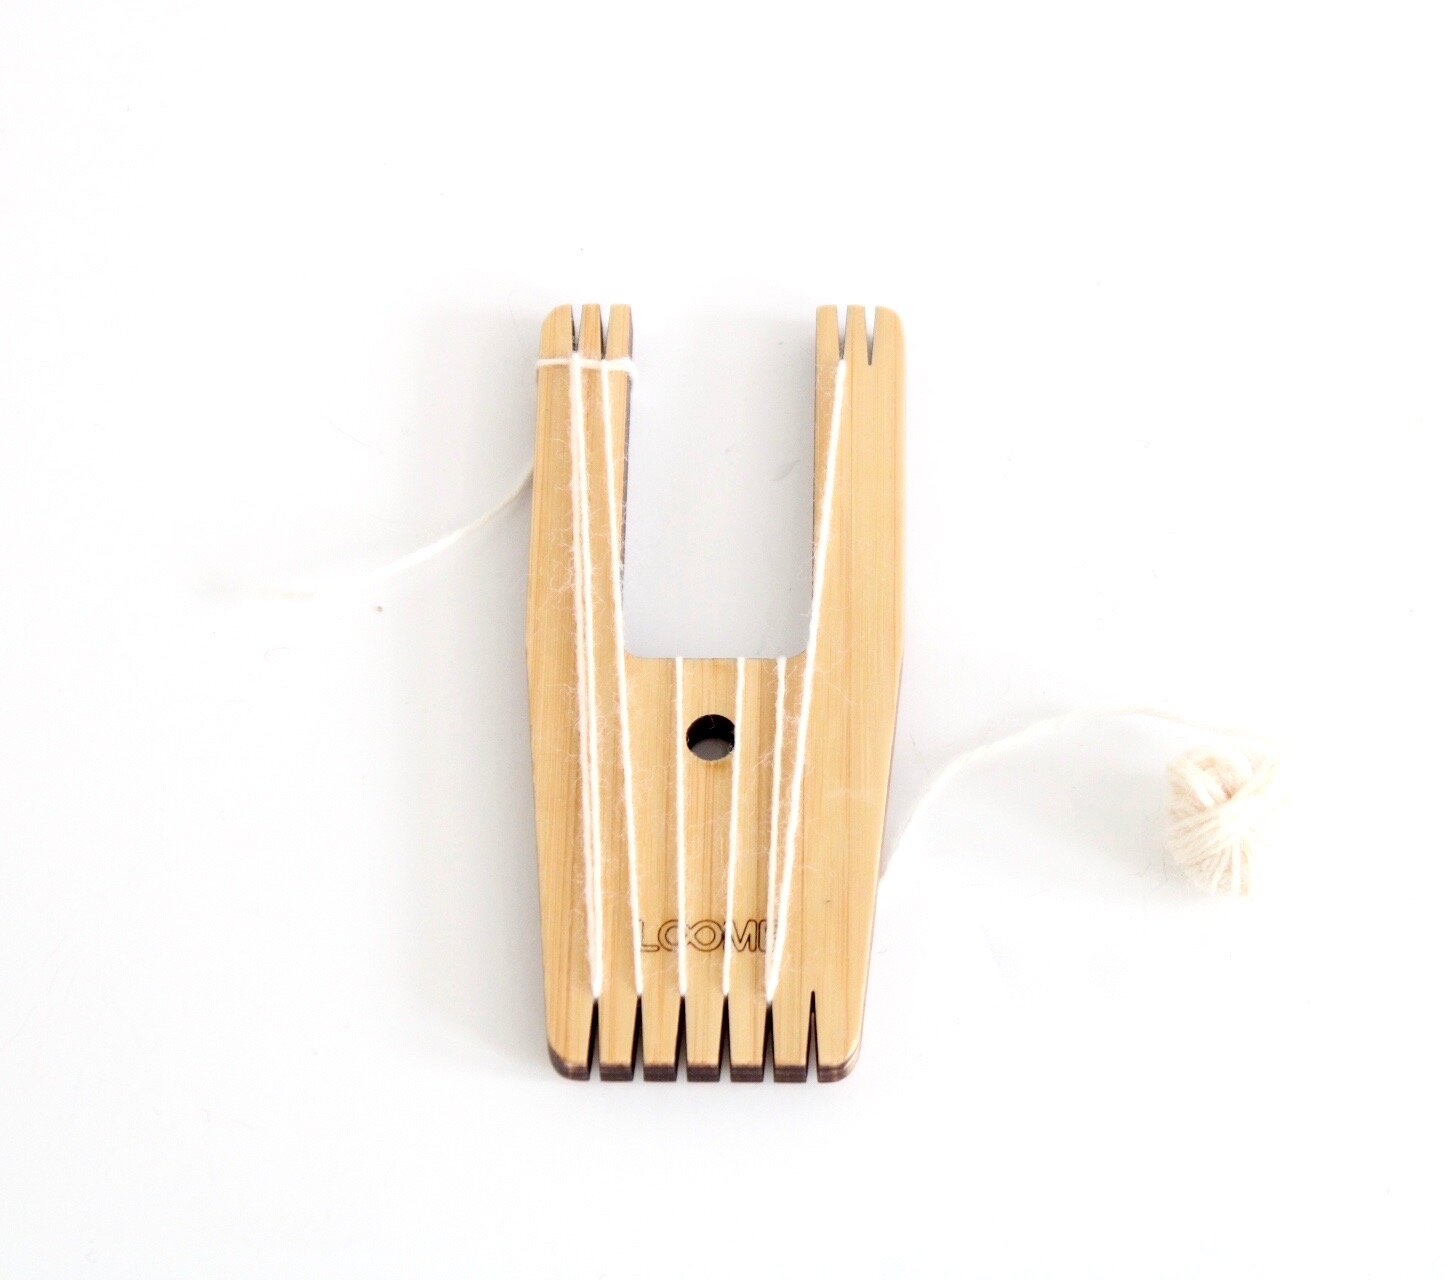
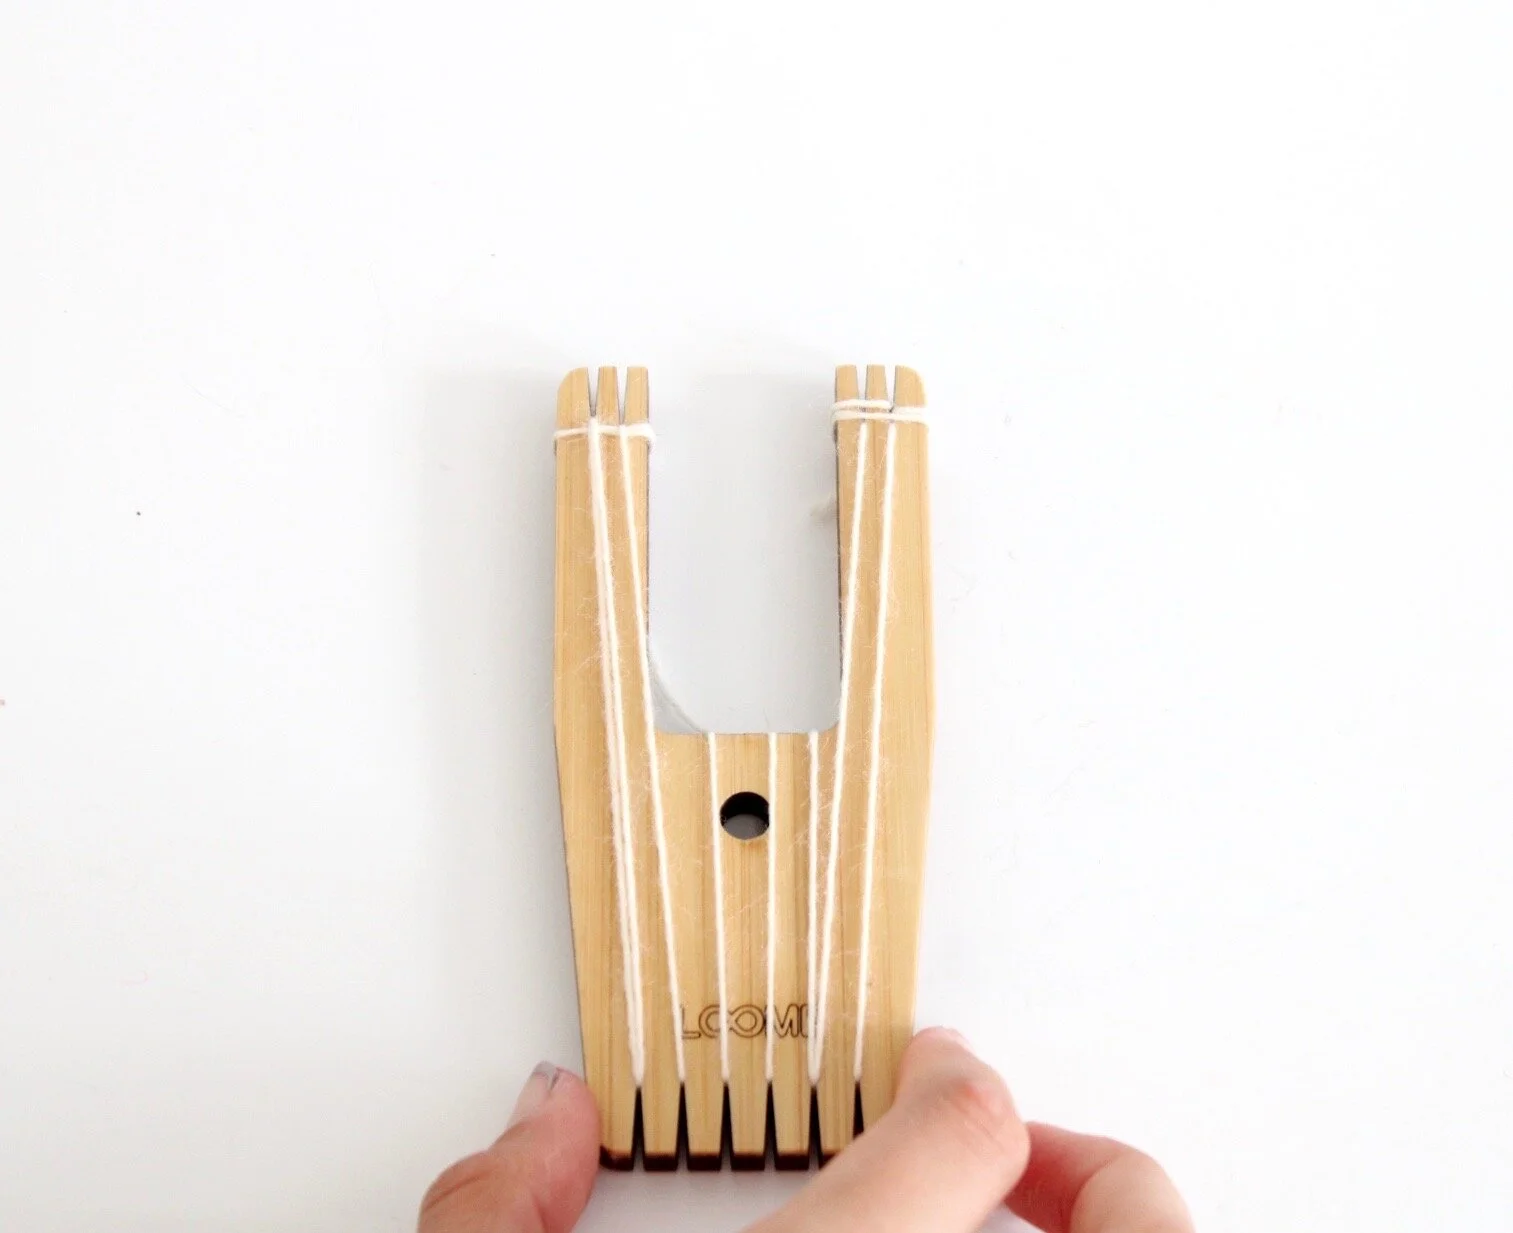
01. Begin by securing the warp yarn to the outermost notch. Leave about a 3” tail on the back side of the tool. Before you begin to warp, you need to know a bit about tension. Because there is a back of the Loome tool you want your tension to be not too snug but not super loose. You want to be able to move the tapestry needle under the warp easily. You should be using about 70% effort when pulling the warp string.
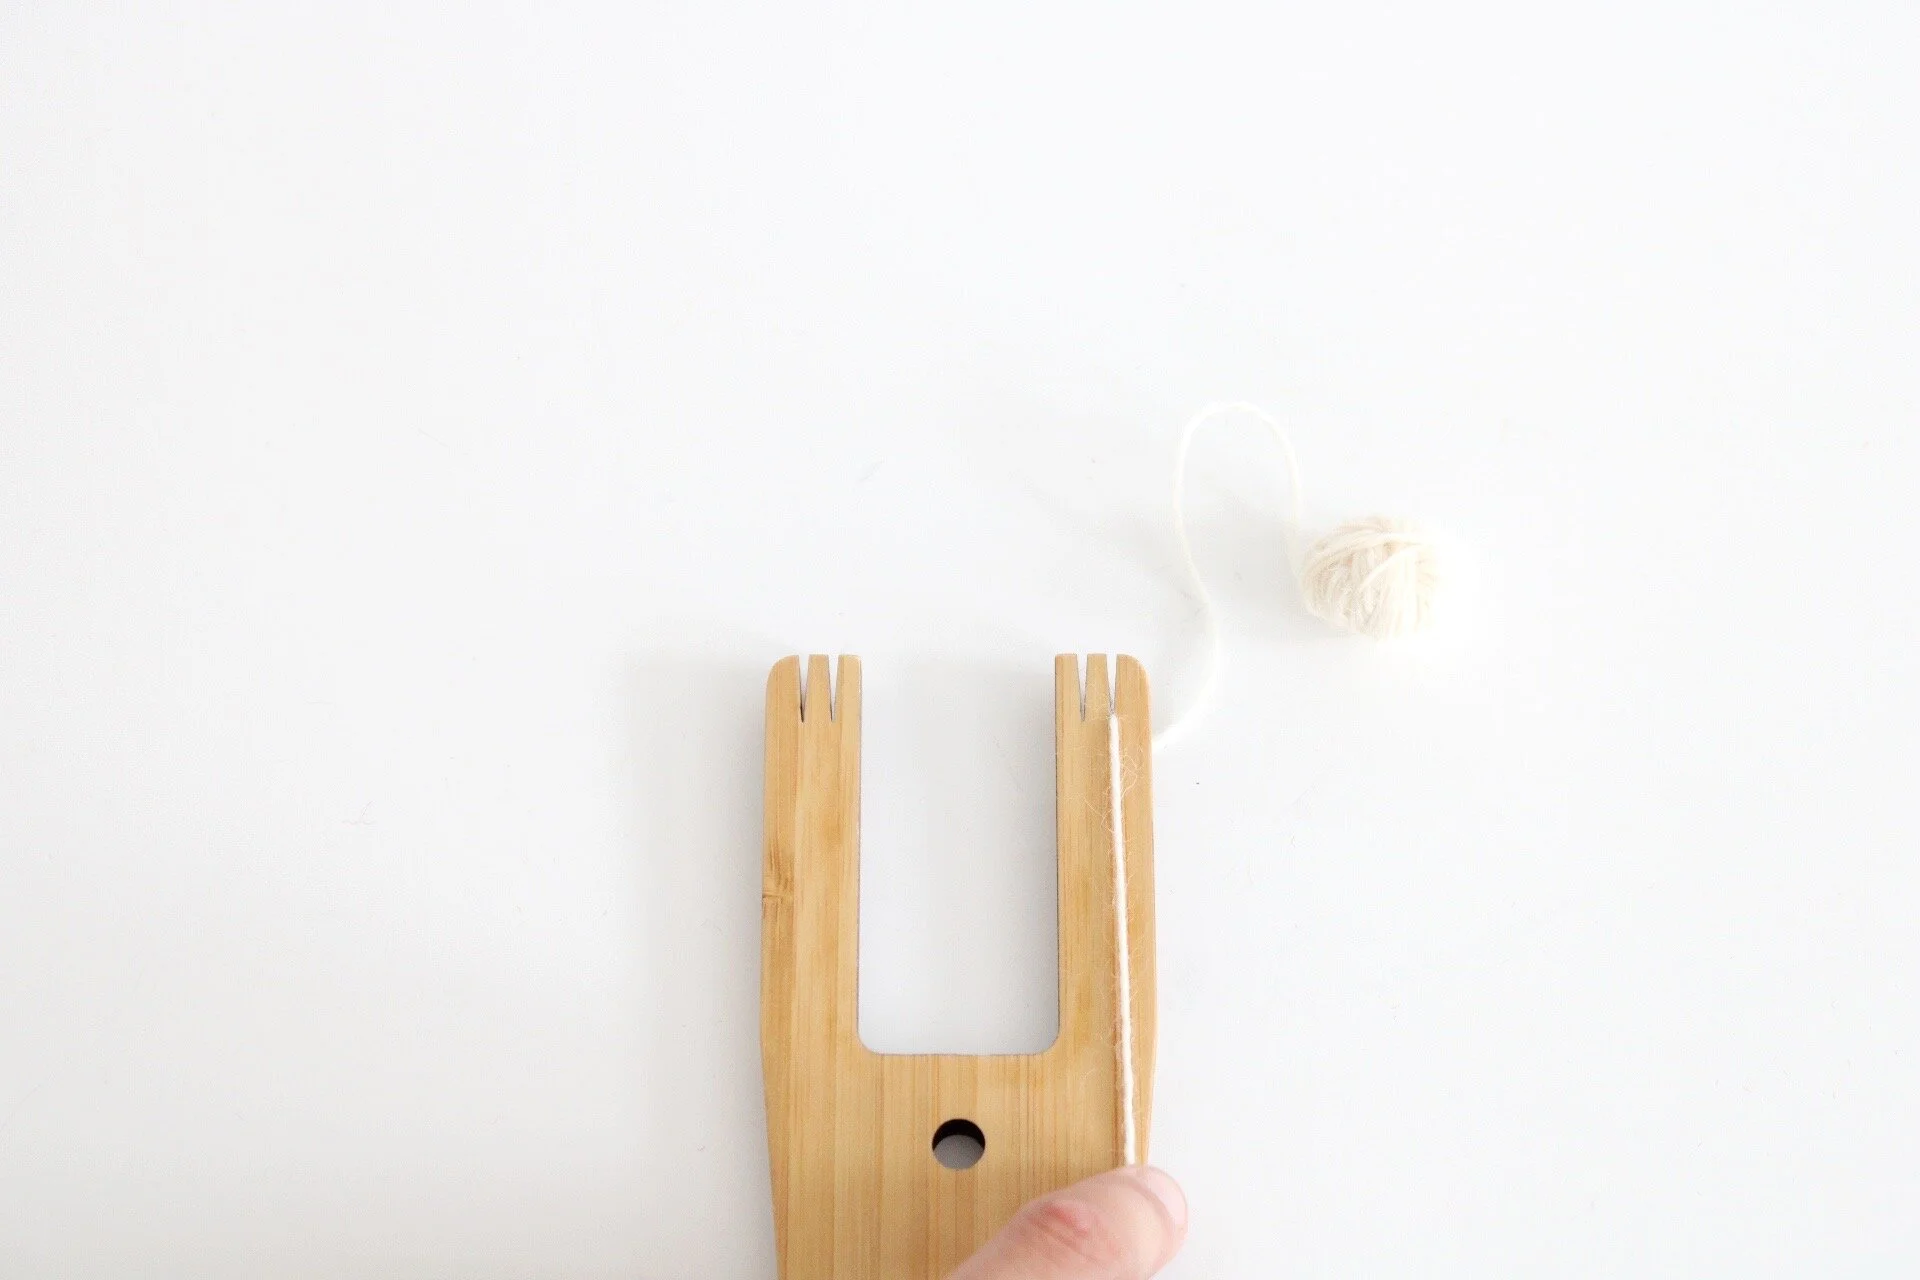
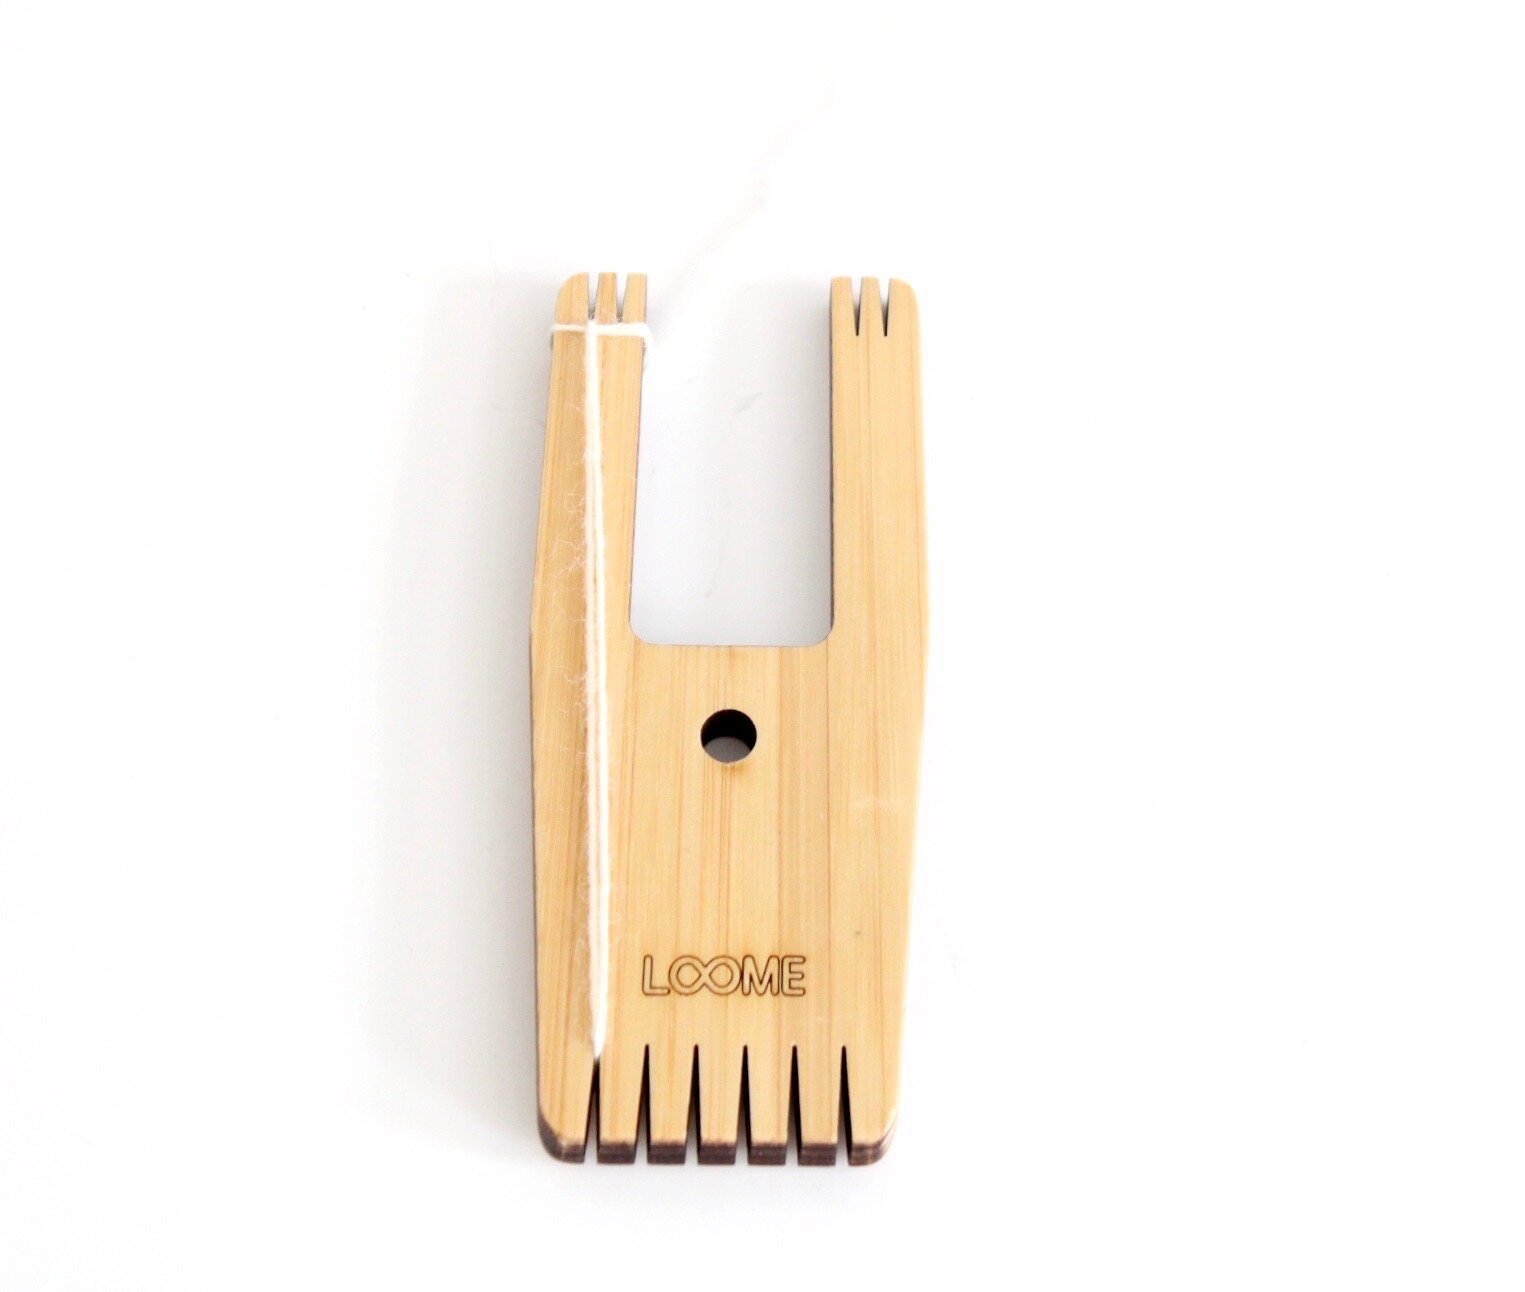
02. Wrap your warp around the top left arm one time and then bring it through the outermost notch flipping the tool over to the front. Then bring it down through the outermost left notch on the bottom.
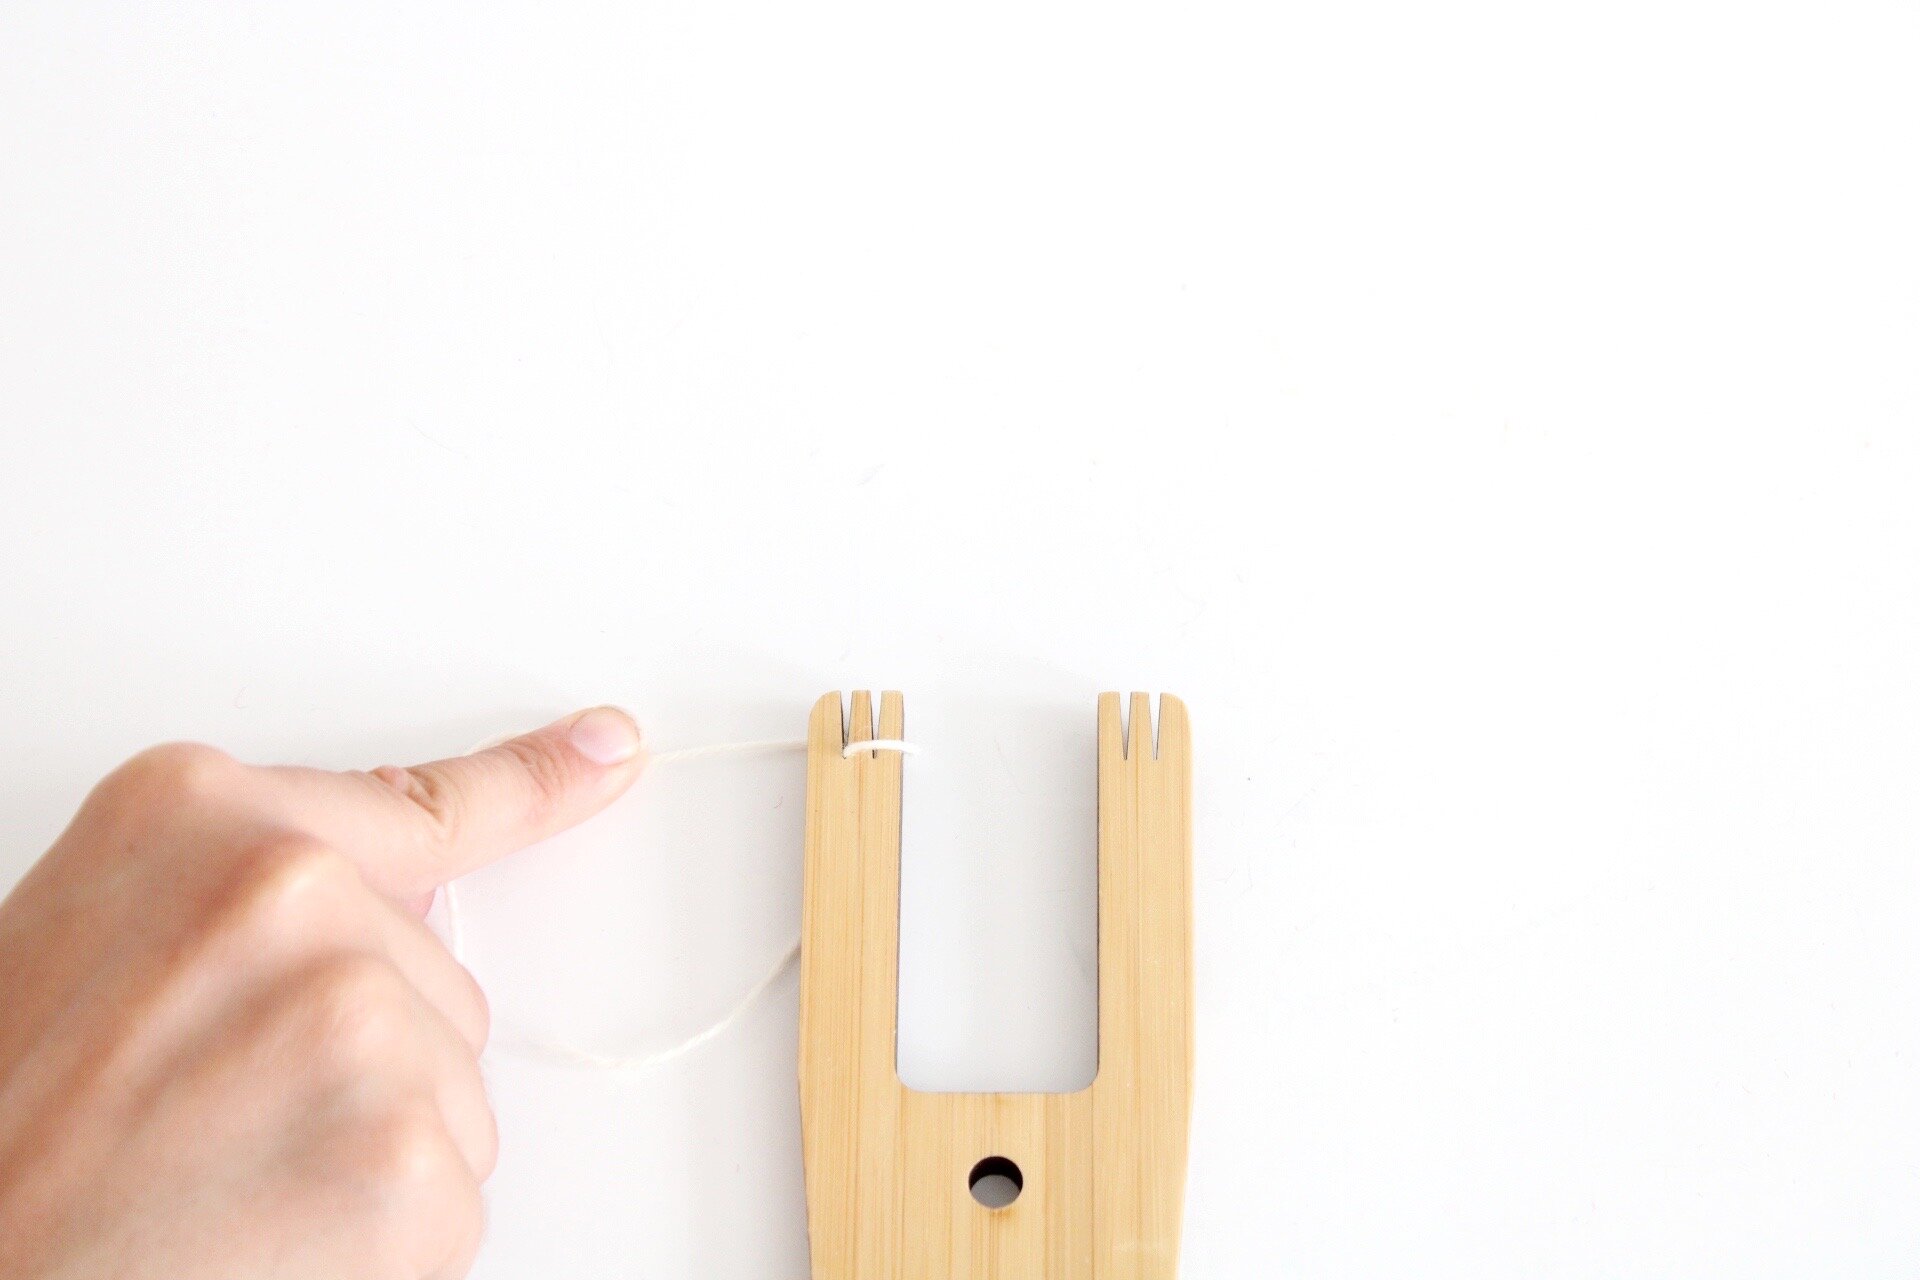

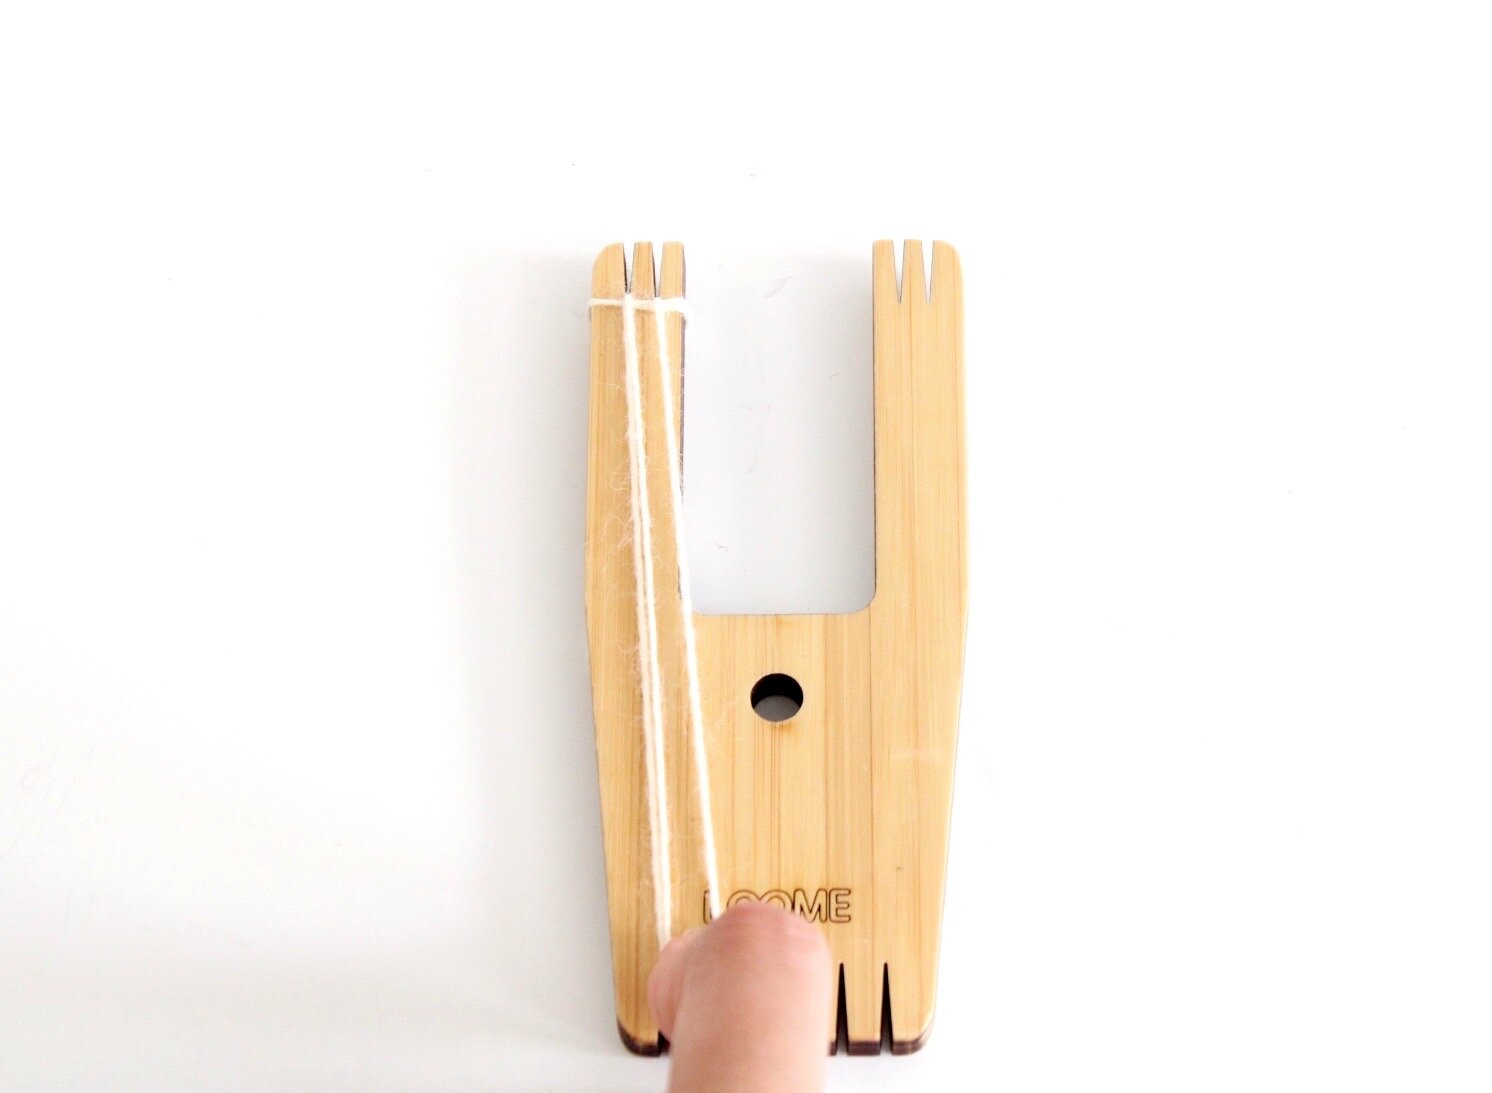
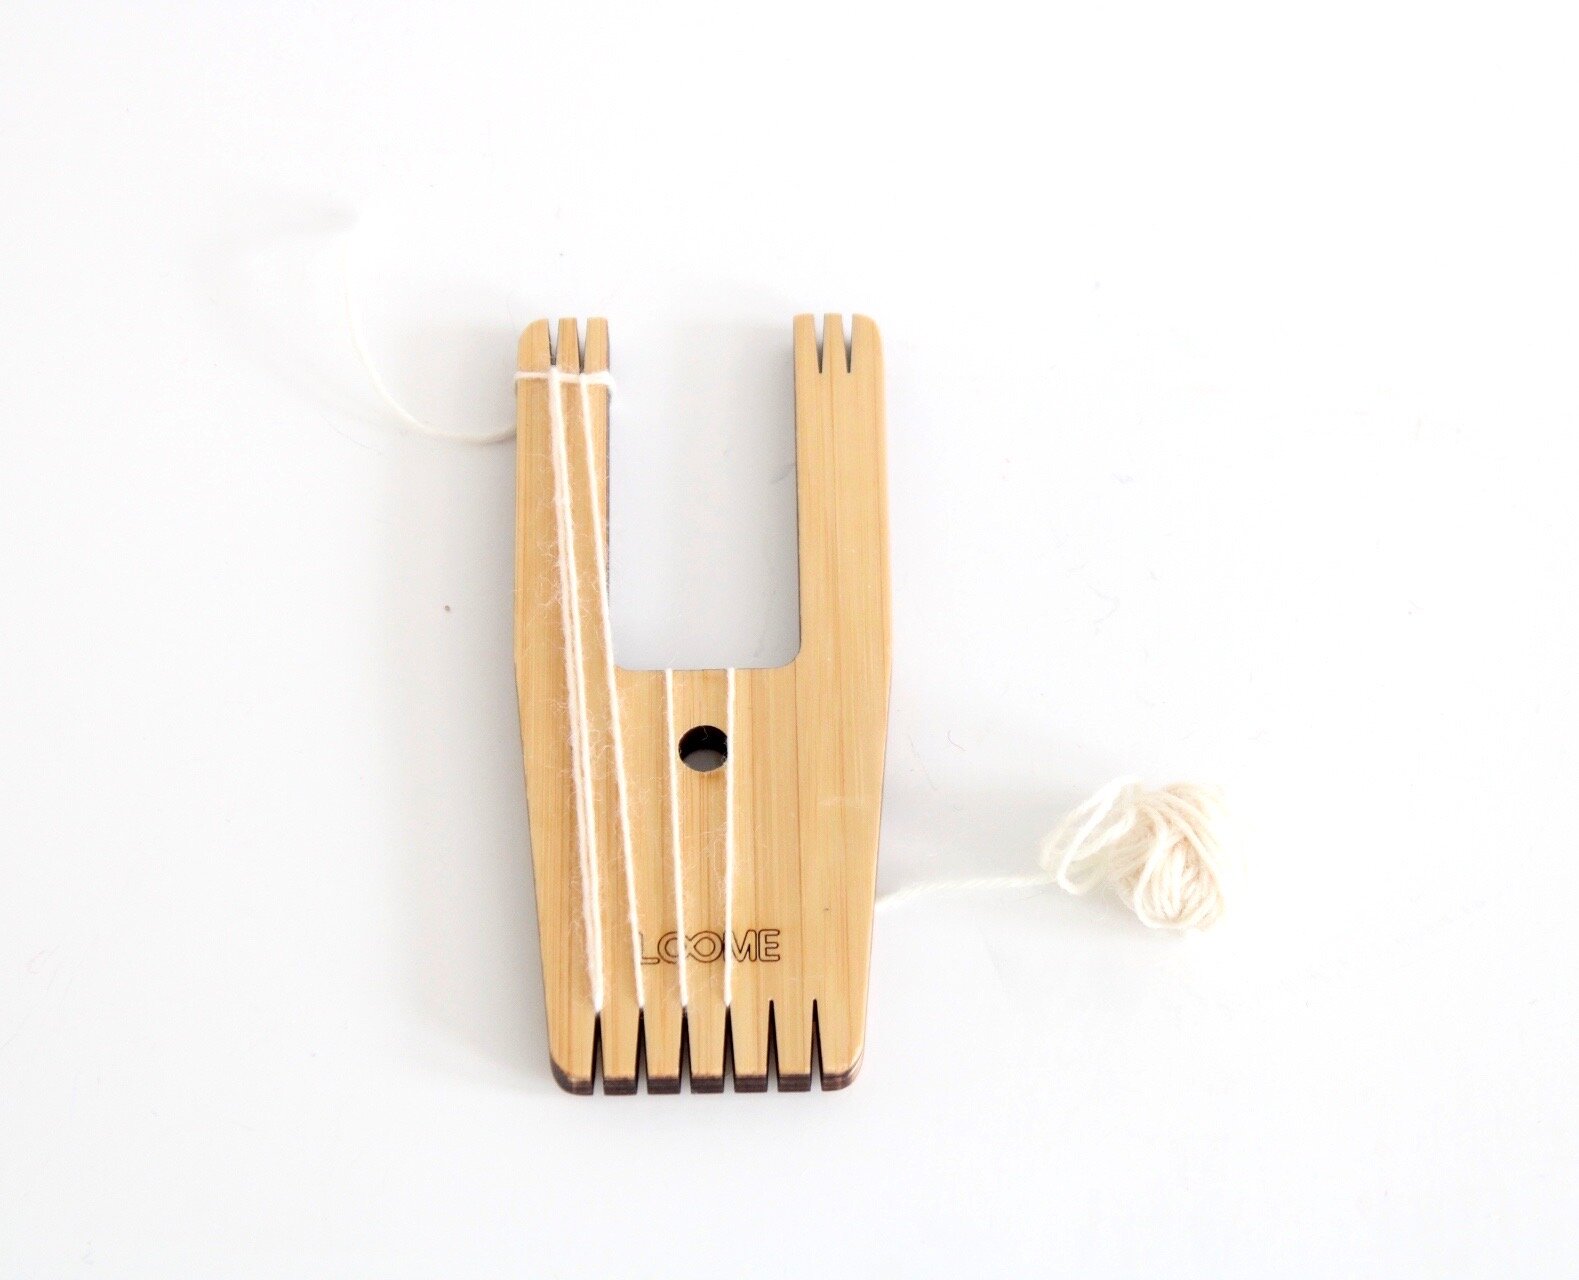
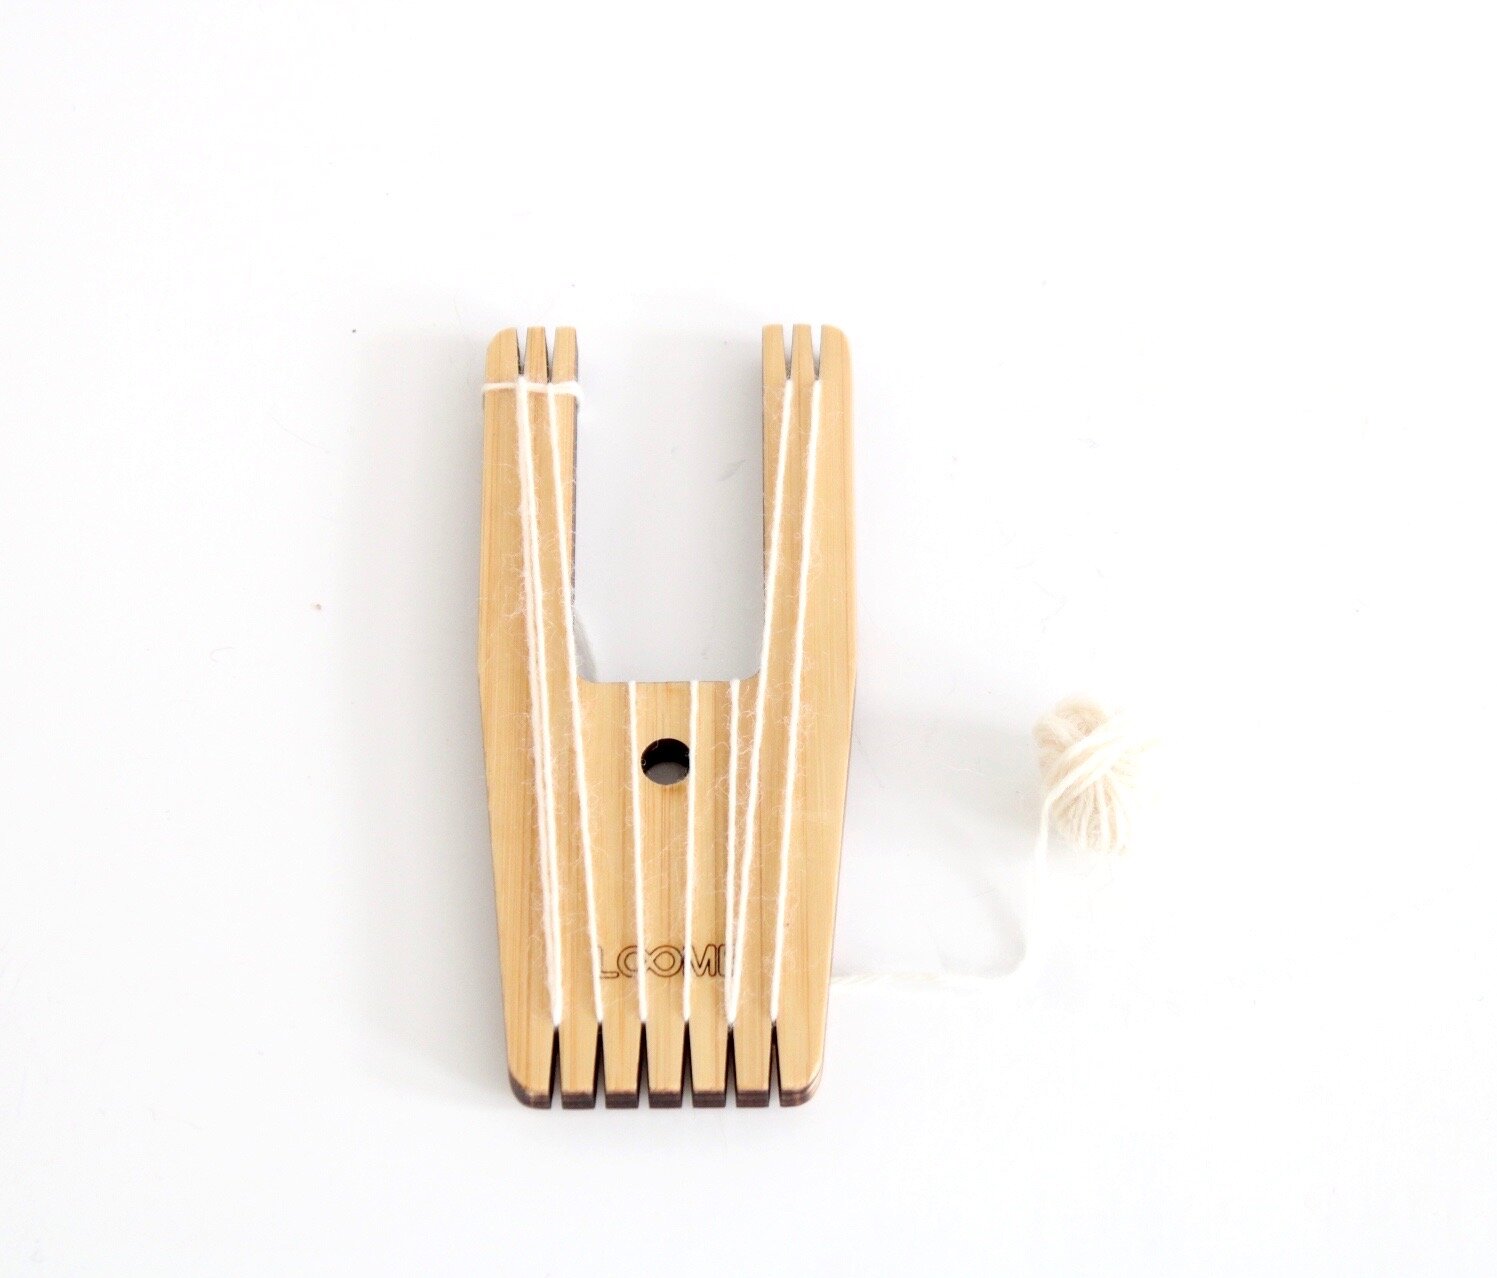
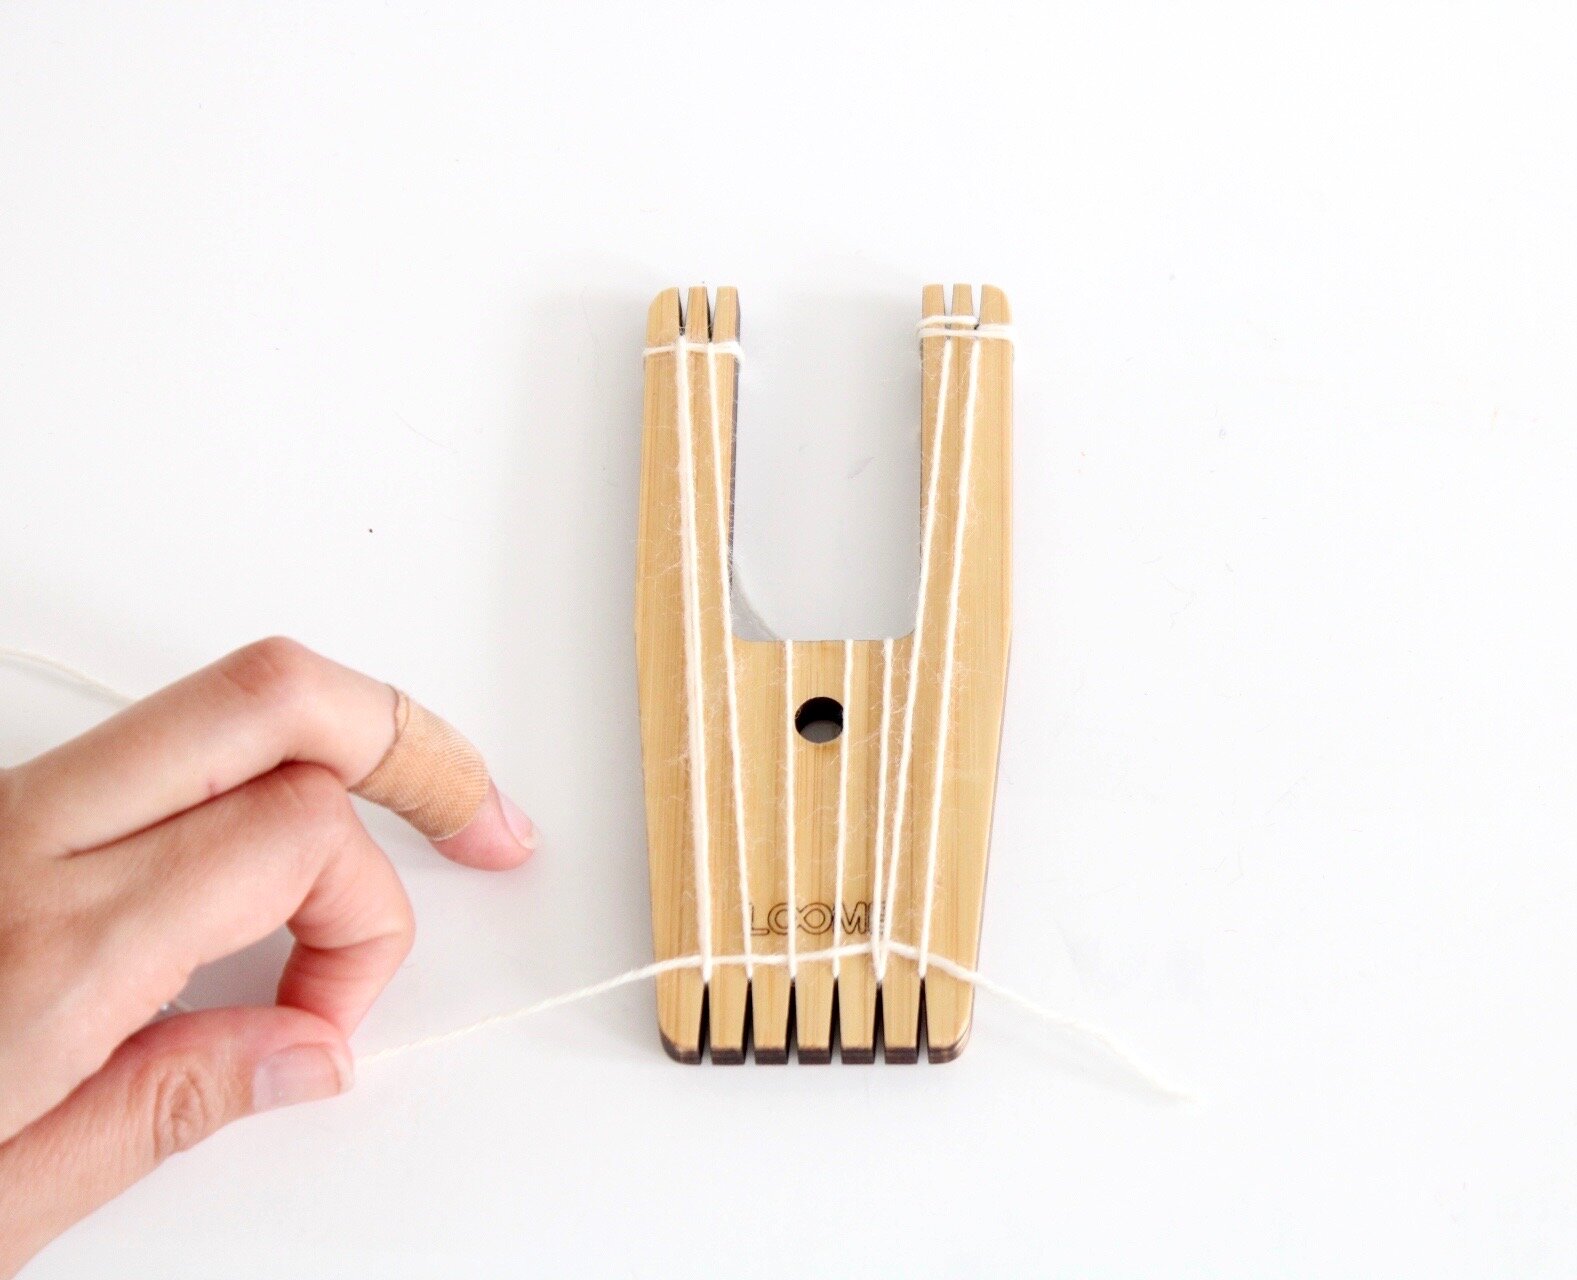
03. Bring the warp from the back up into the first notch and then down through the first notch on the bottom. There will be two warp strings in the first notch.
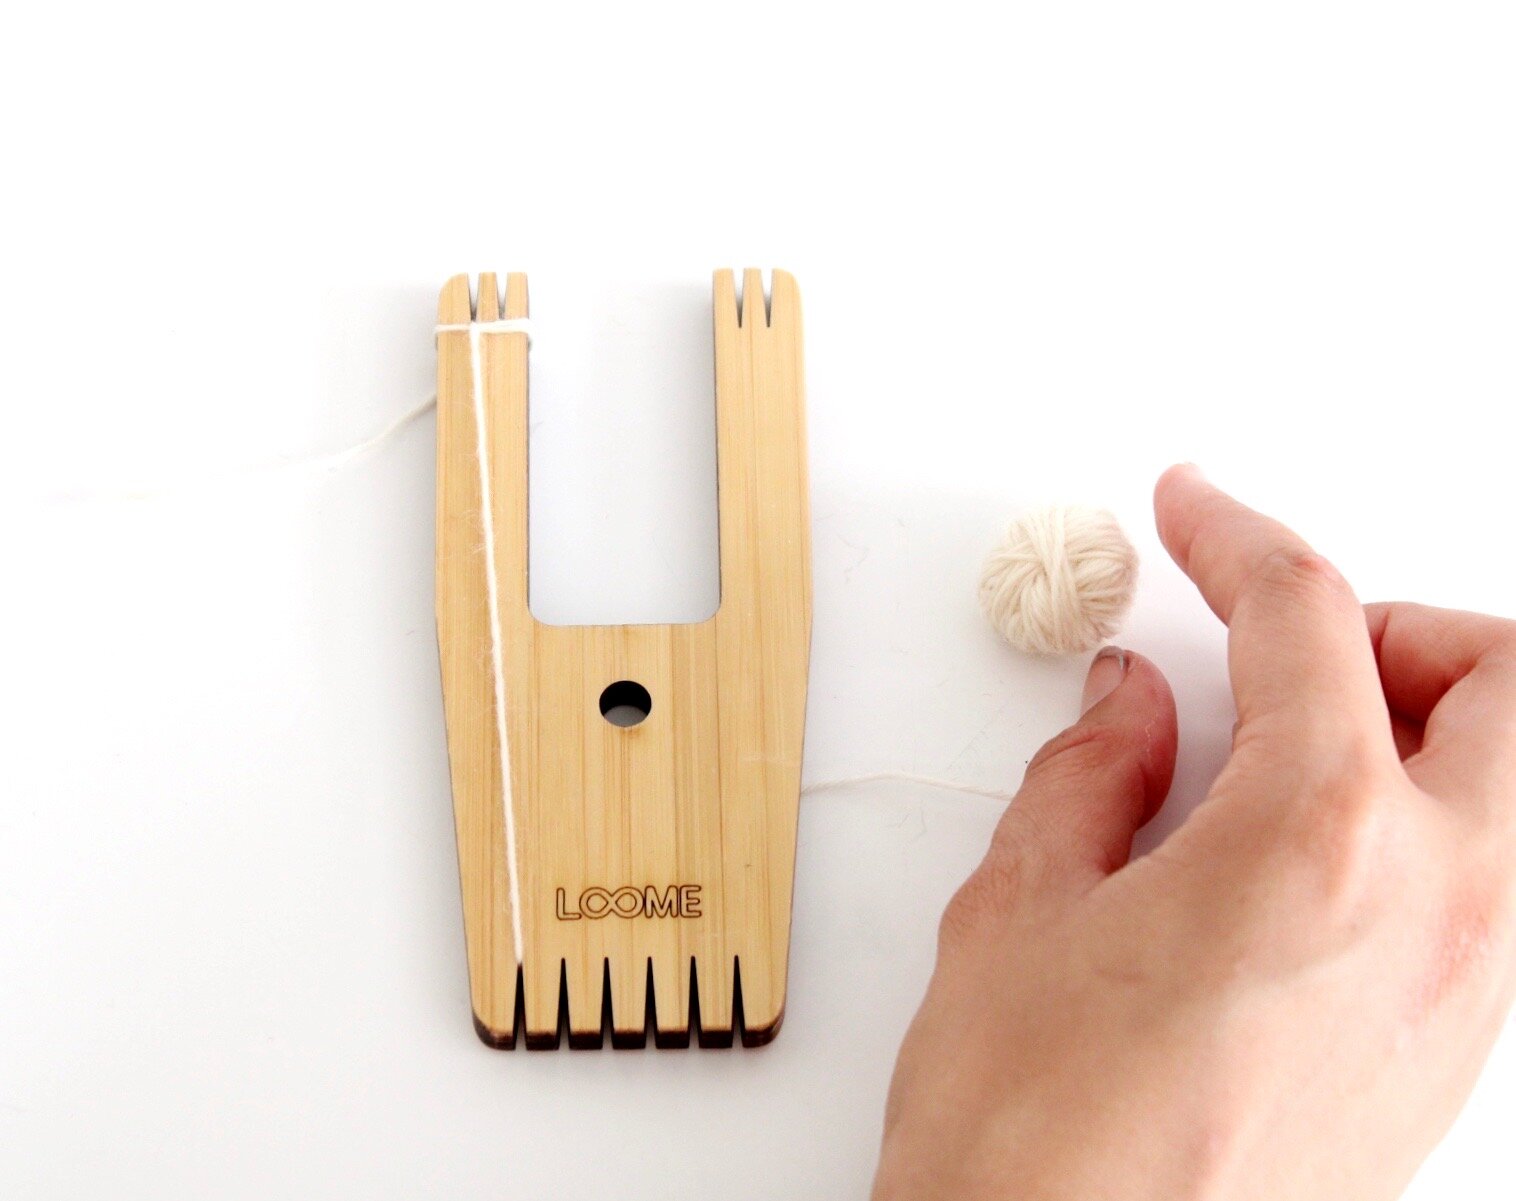
04. Bring the warp from the back up into the second notch on top and then down through the second notch on the bottom.
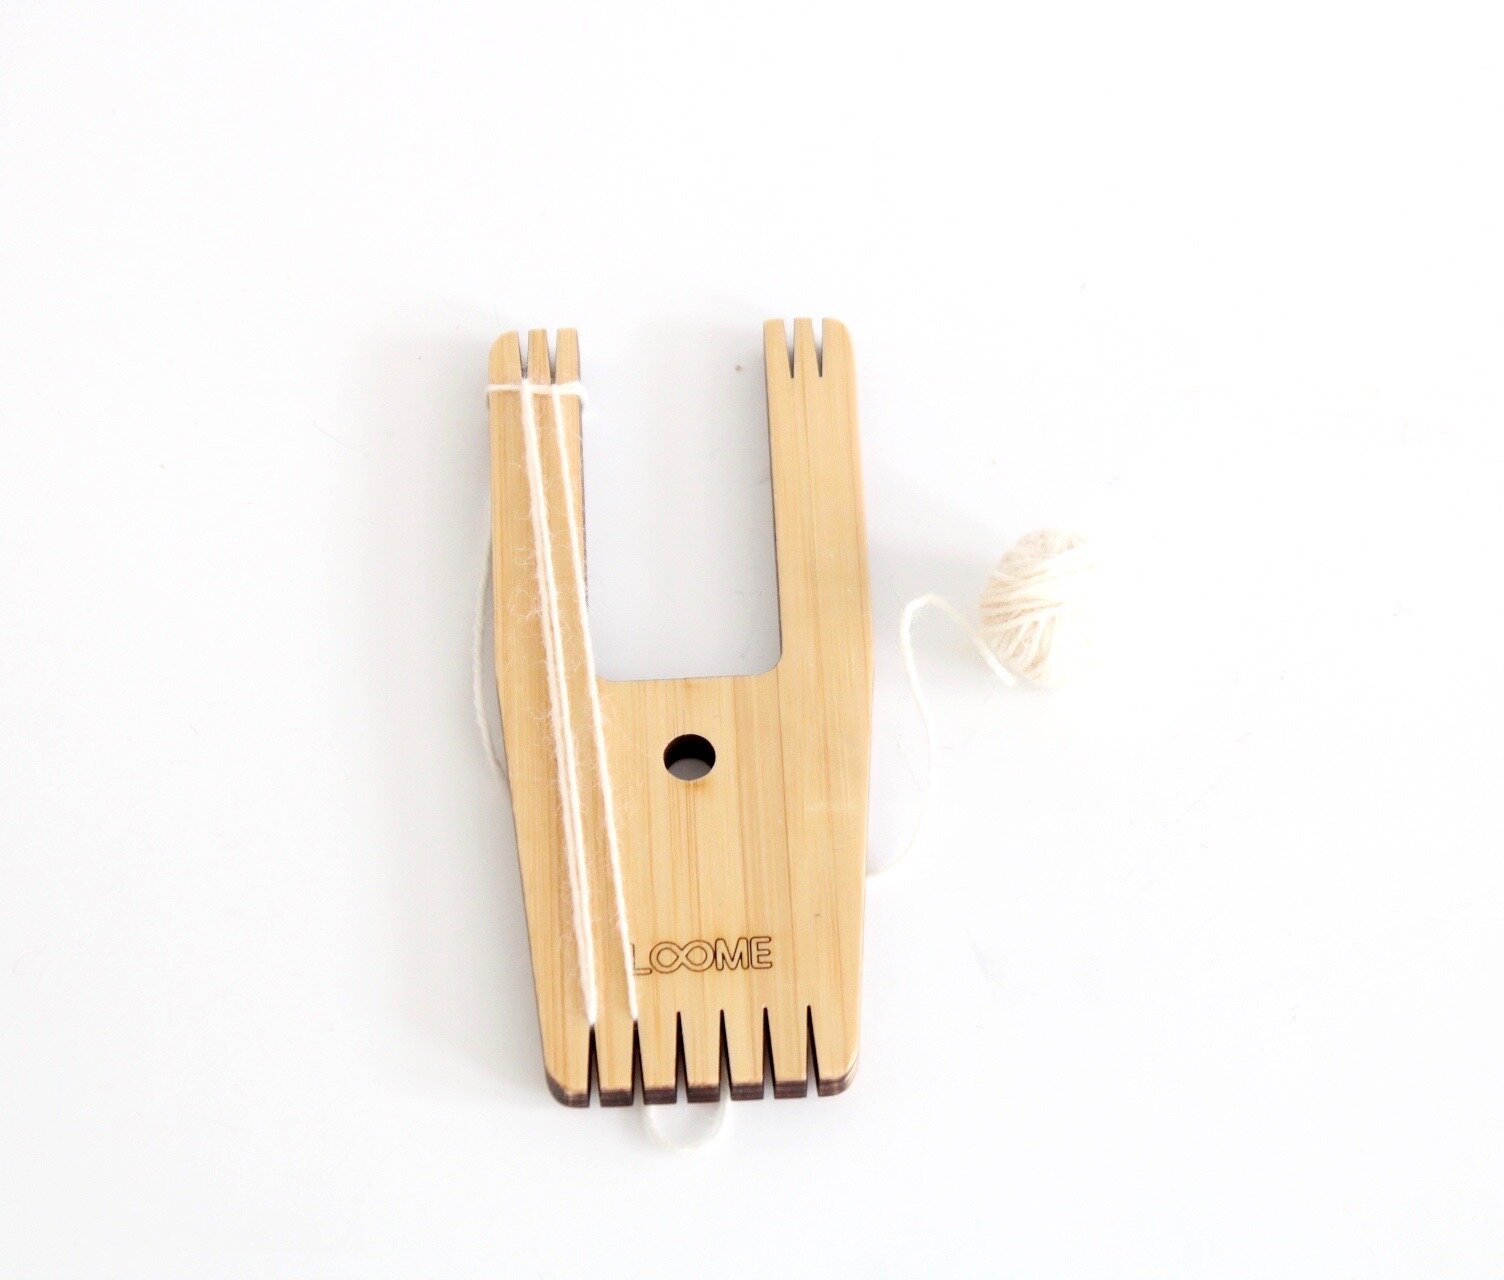
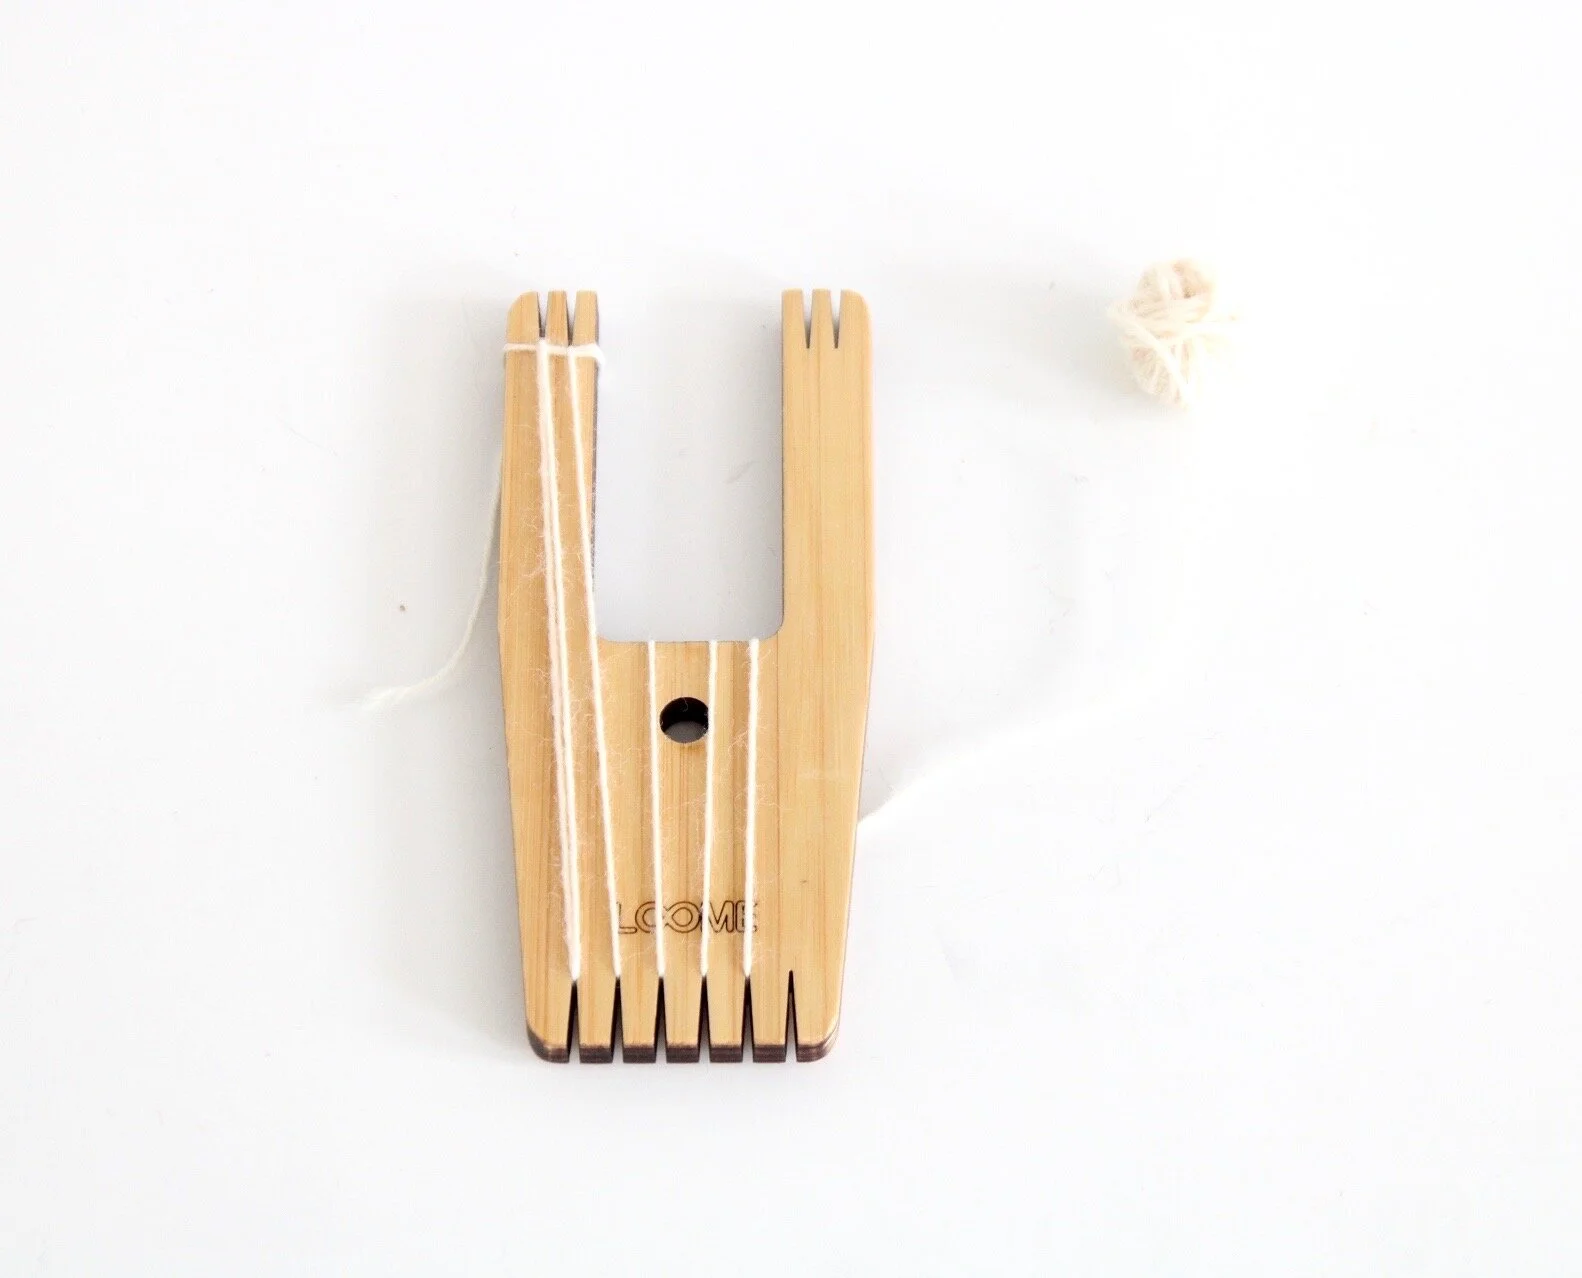
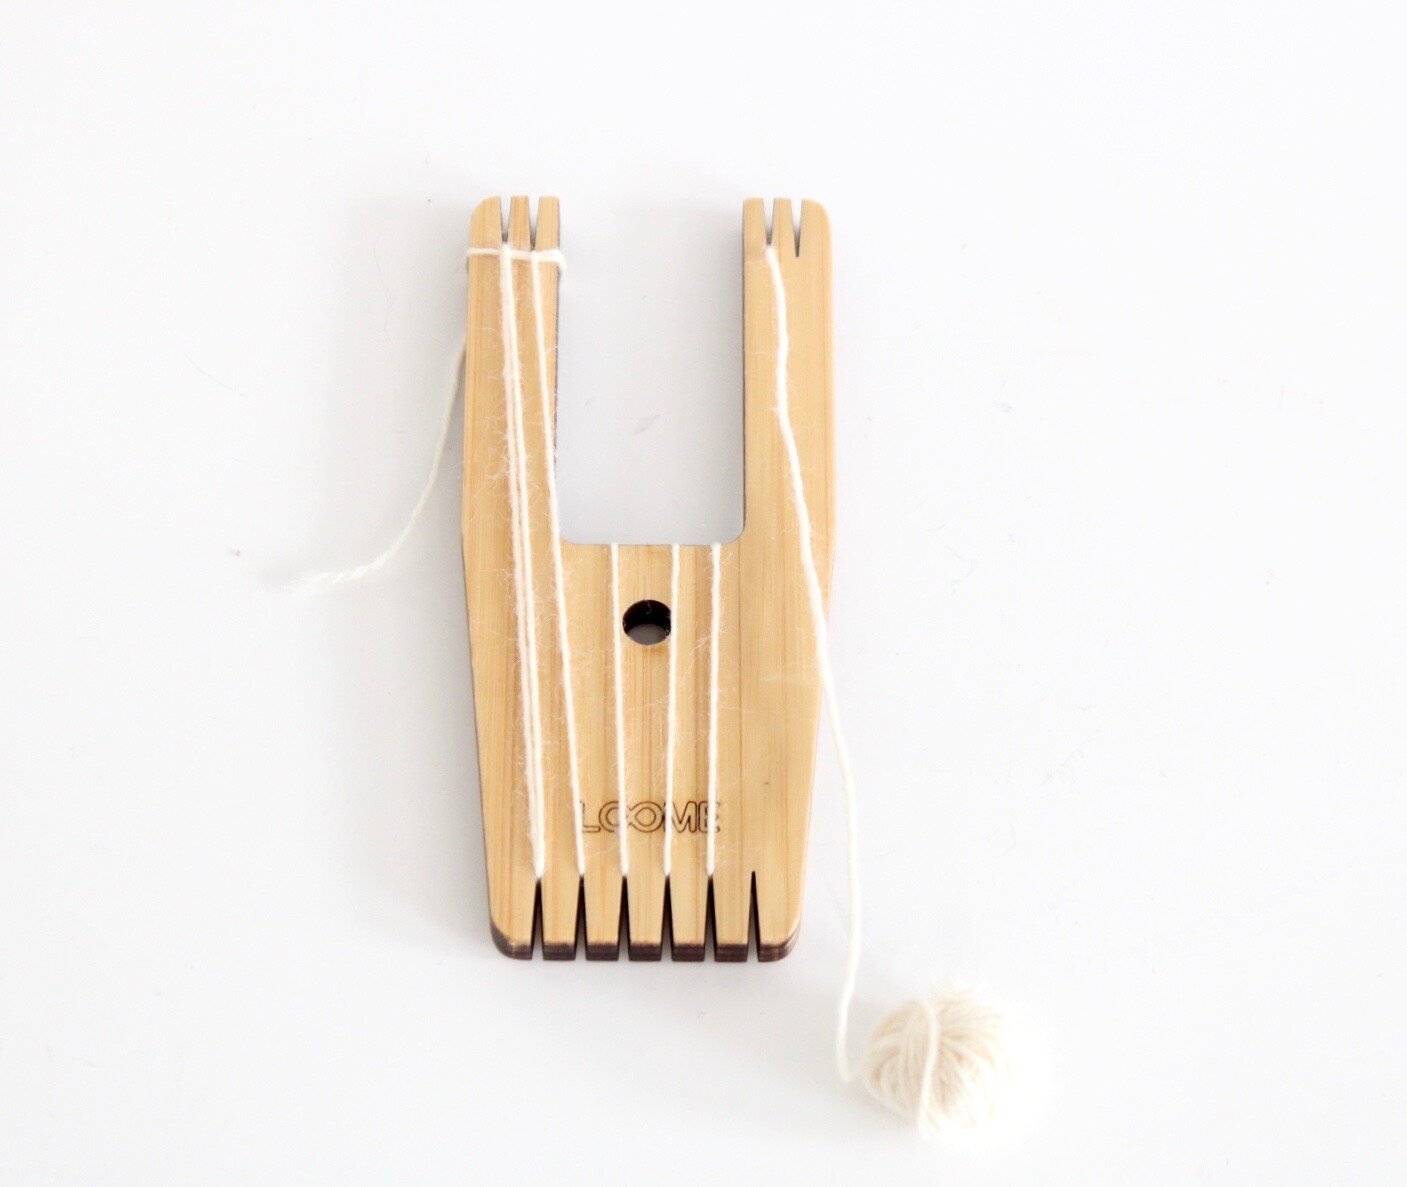
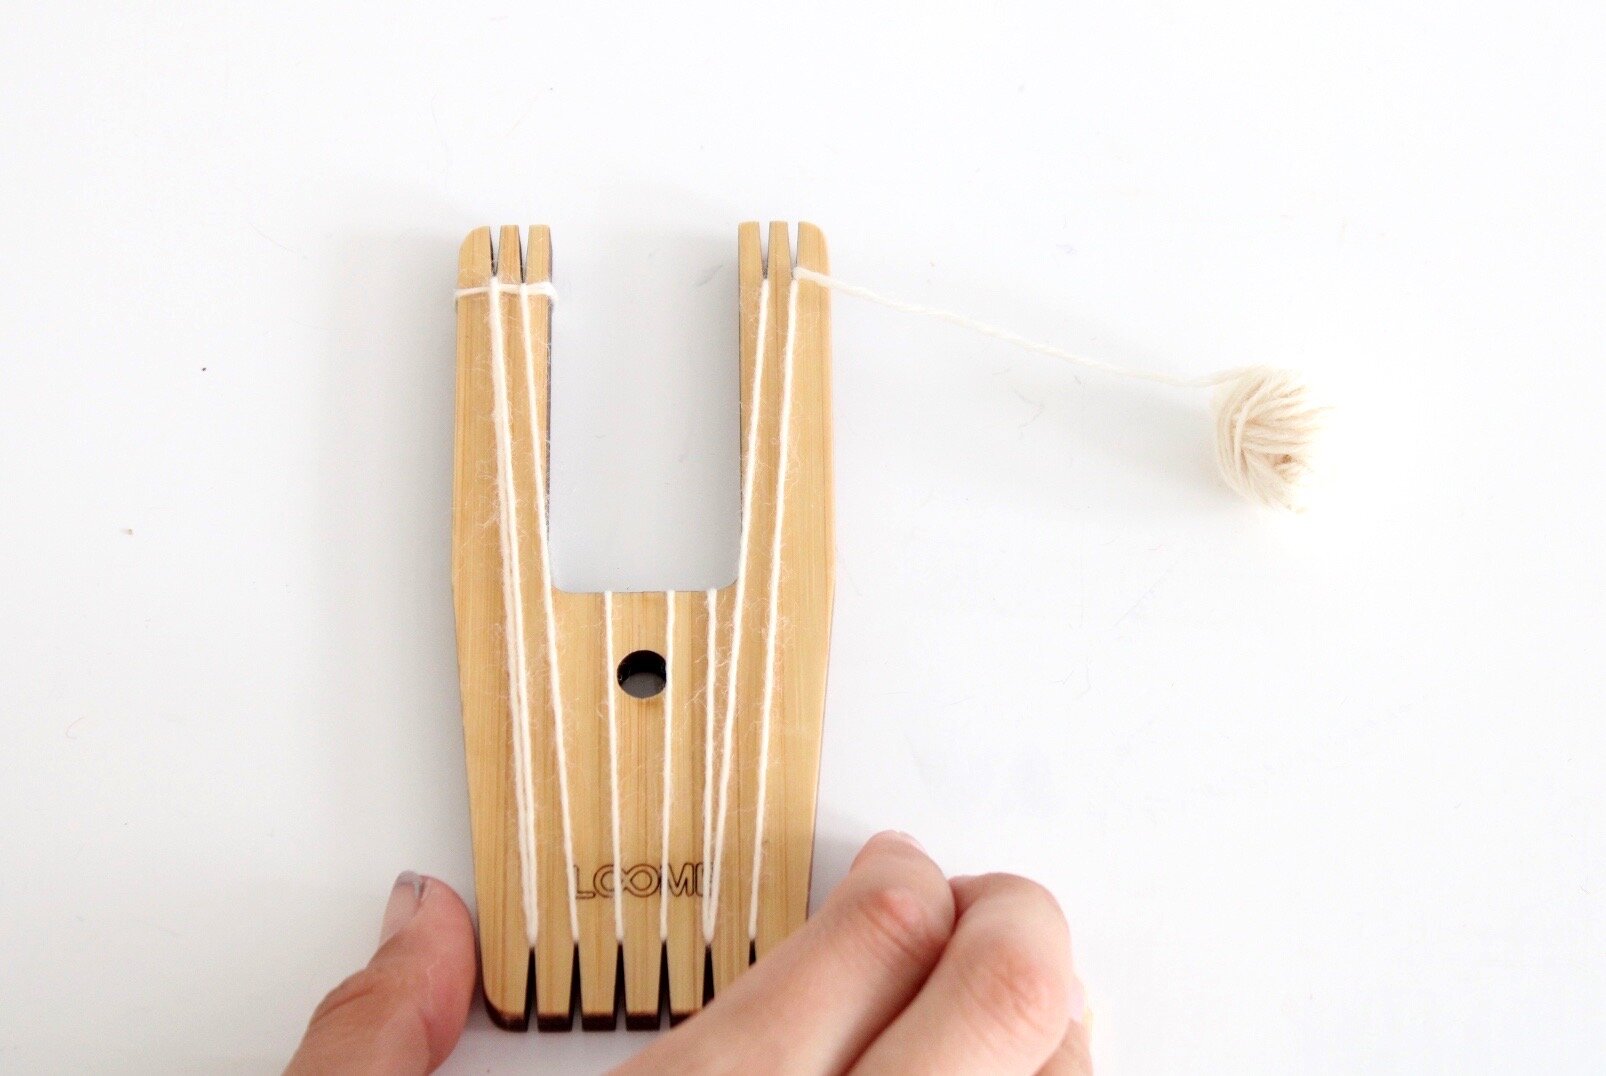
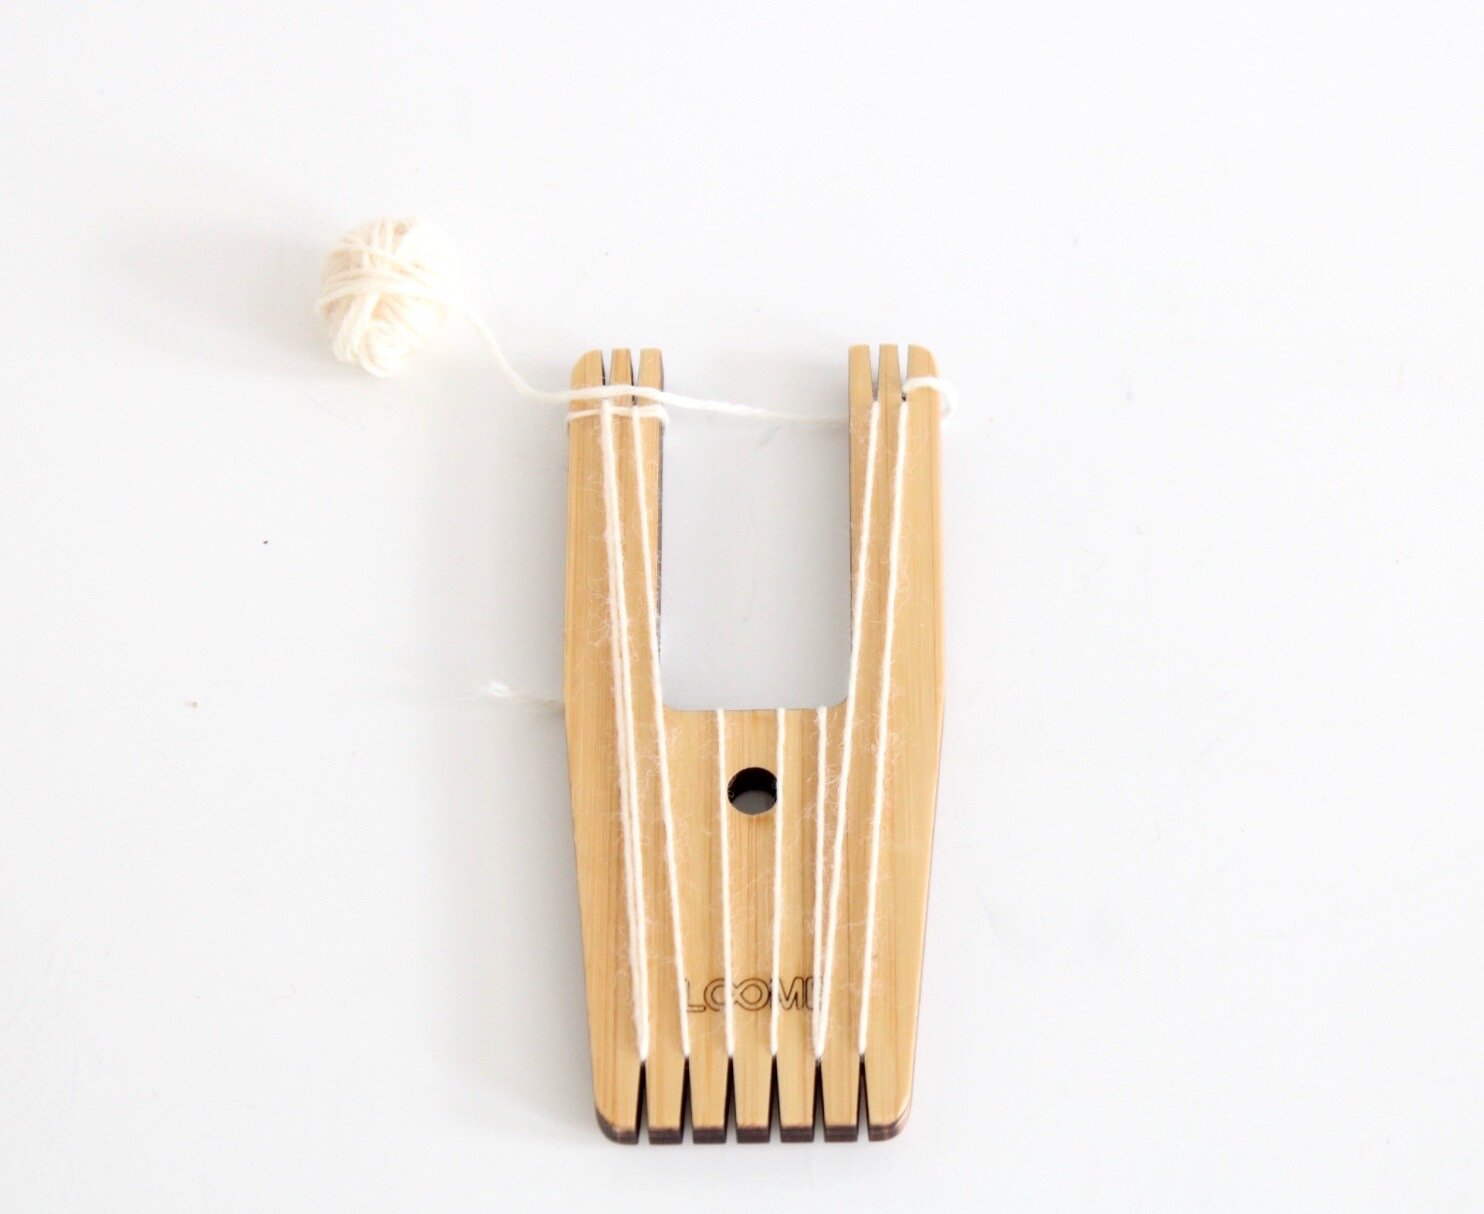
05. The pattern basically repeats itself here and you go up and down, but for the next 3 notches on the bottom you will wrap around the center of the Big A tool. You will finish by wrapping the last two notches on the bottom right side into the corresponding notches on the top right side. Secure by wrapping the yarn around the top right arm twice and then securing it through a notch.
TABBY STITCH
This is the primary stitch for all weavings. The best way to remember it is by singing to yourself, “under, over, under over”.
01. Thread your needle with the yarn and begin to weave by going under and over each vertical warp string.
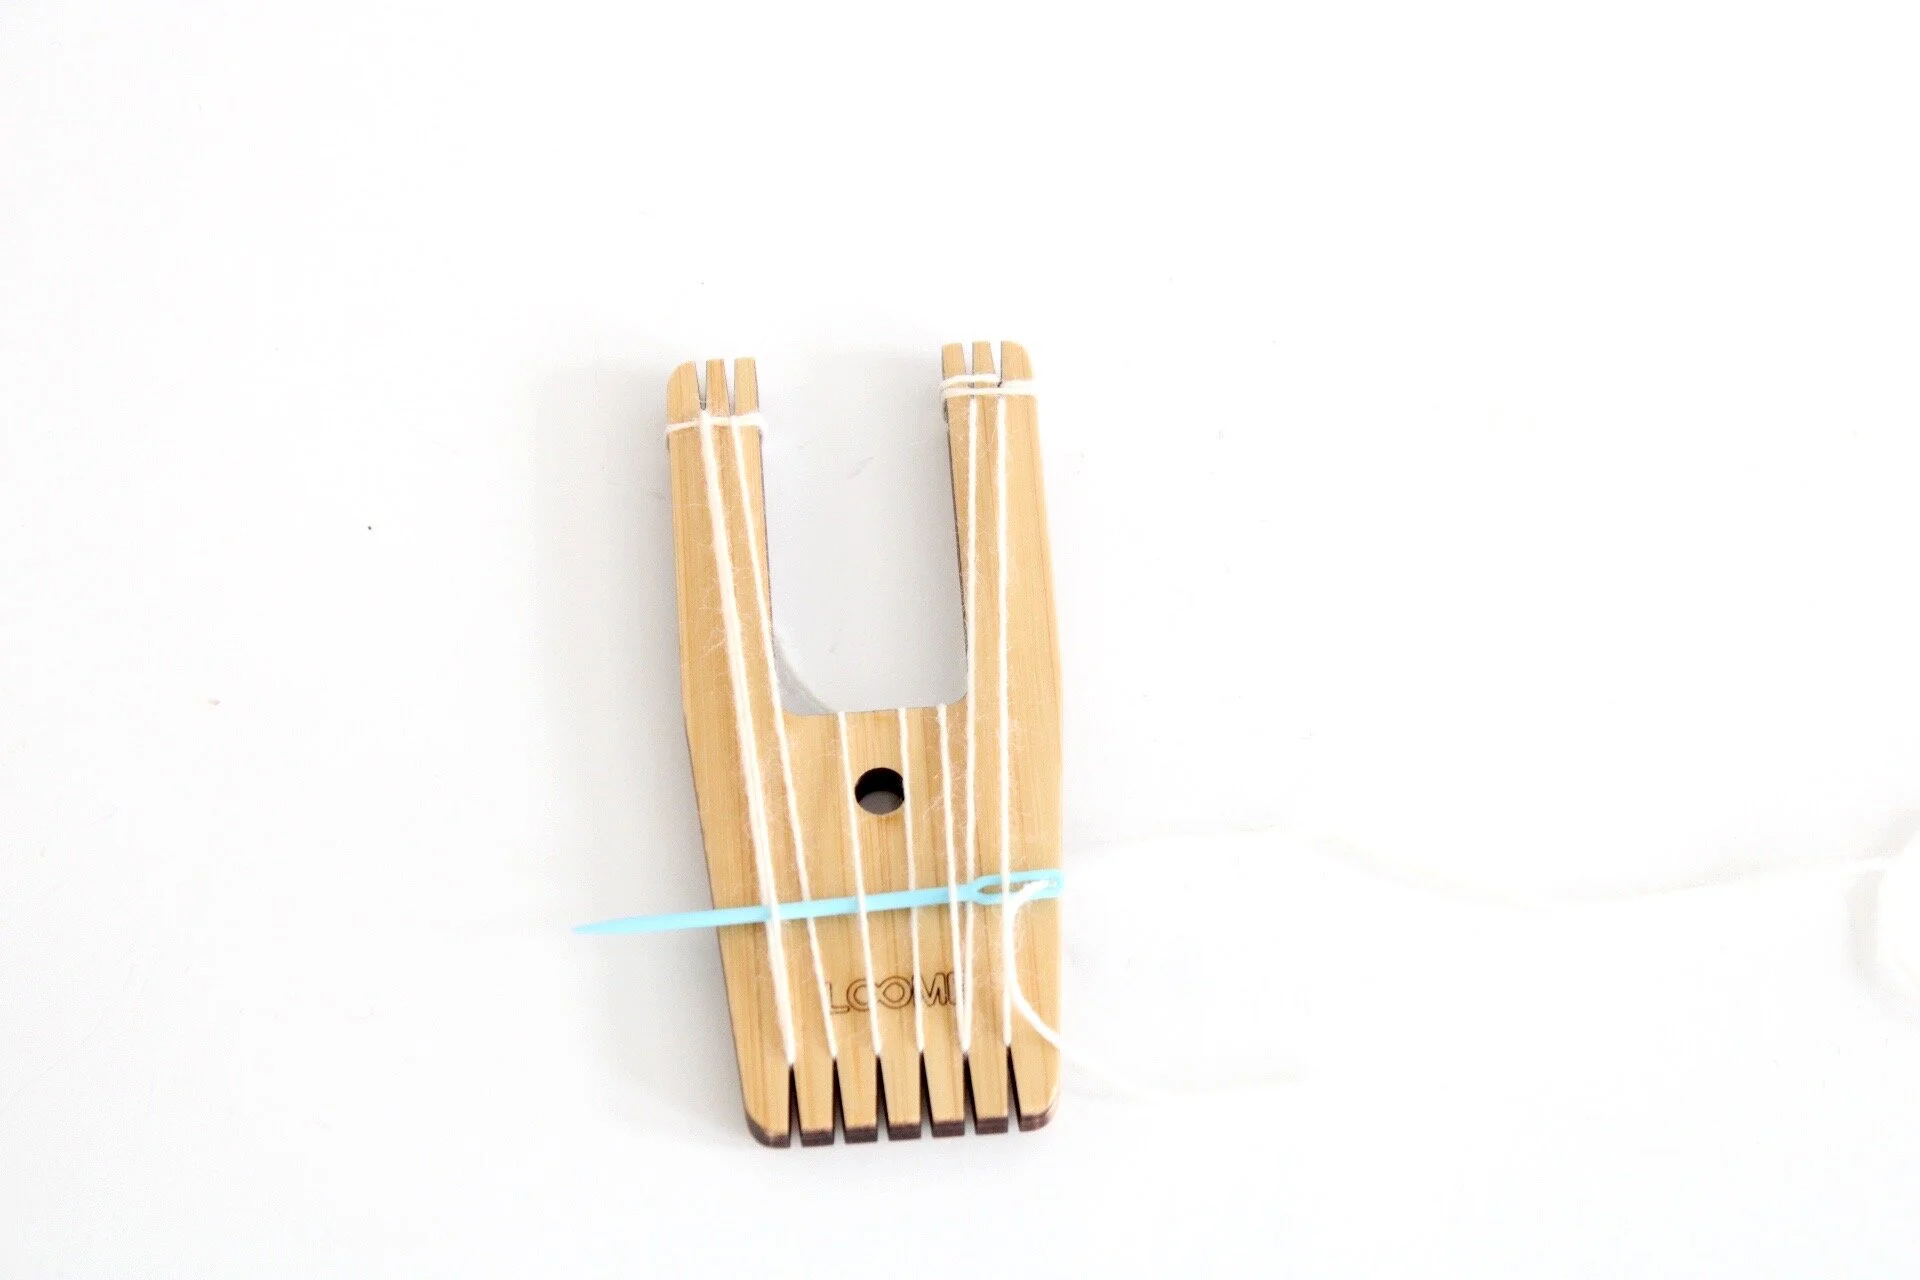
02. When you reach the opposite side, begin weaving back towards the end you started from. When you begin a new row, always go in the opposite way that you ended on. So if you started by going under and then over, when you are turning around you will need to go over and then under. If you go in the same way you will unravel the weave, which is frustrating but happens to everyone!
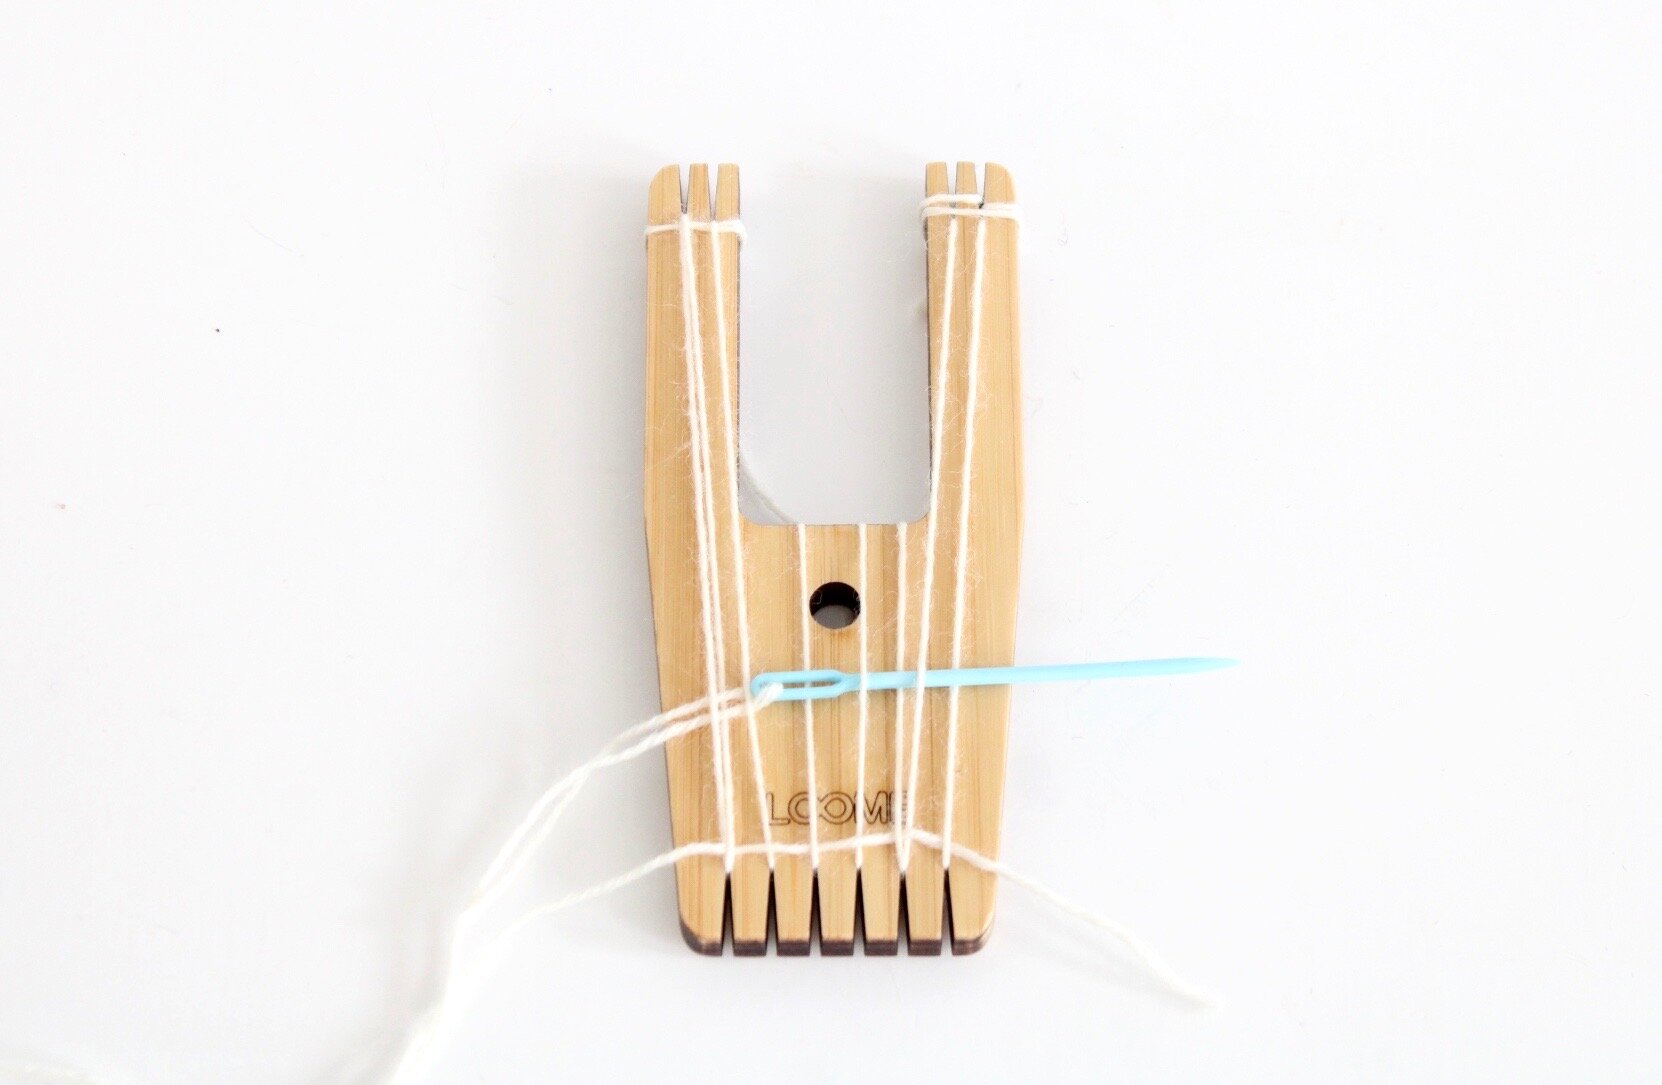
03. Continue to weave this way until you have about 3-4 rows of tabby weave. I like to finish in the middle of a row and weave it behind, leaving the tail for later.

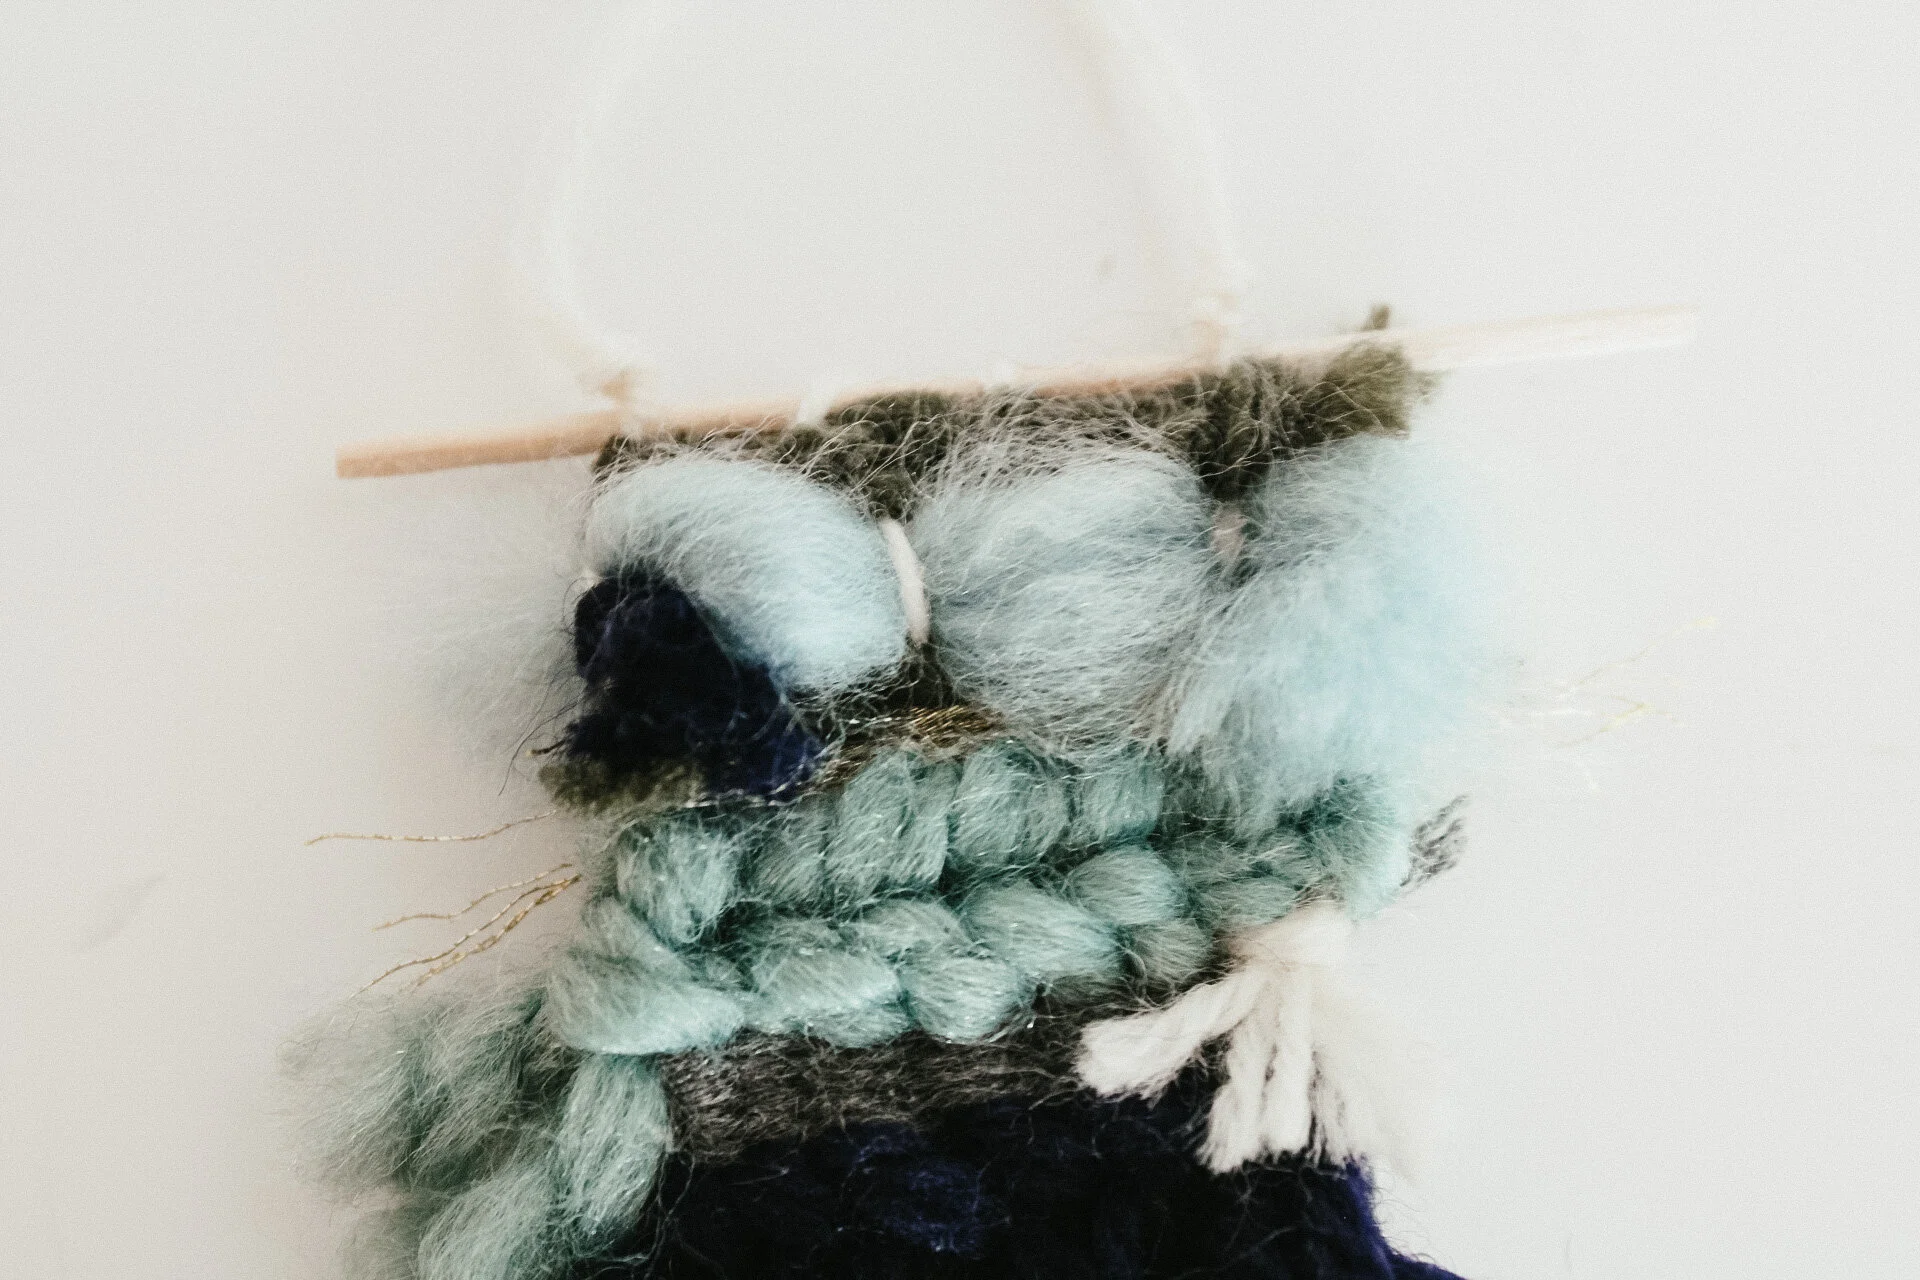
ADDING TEXTURE
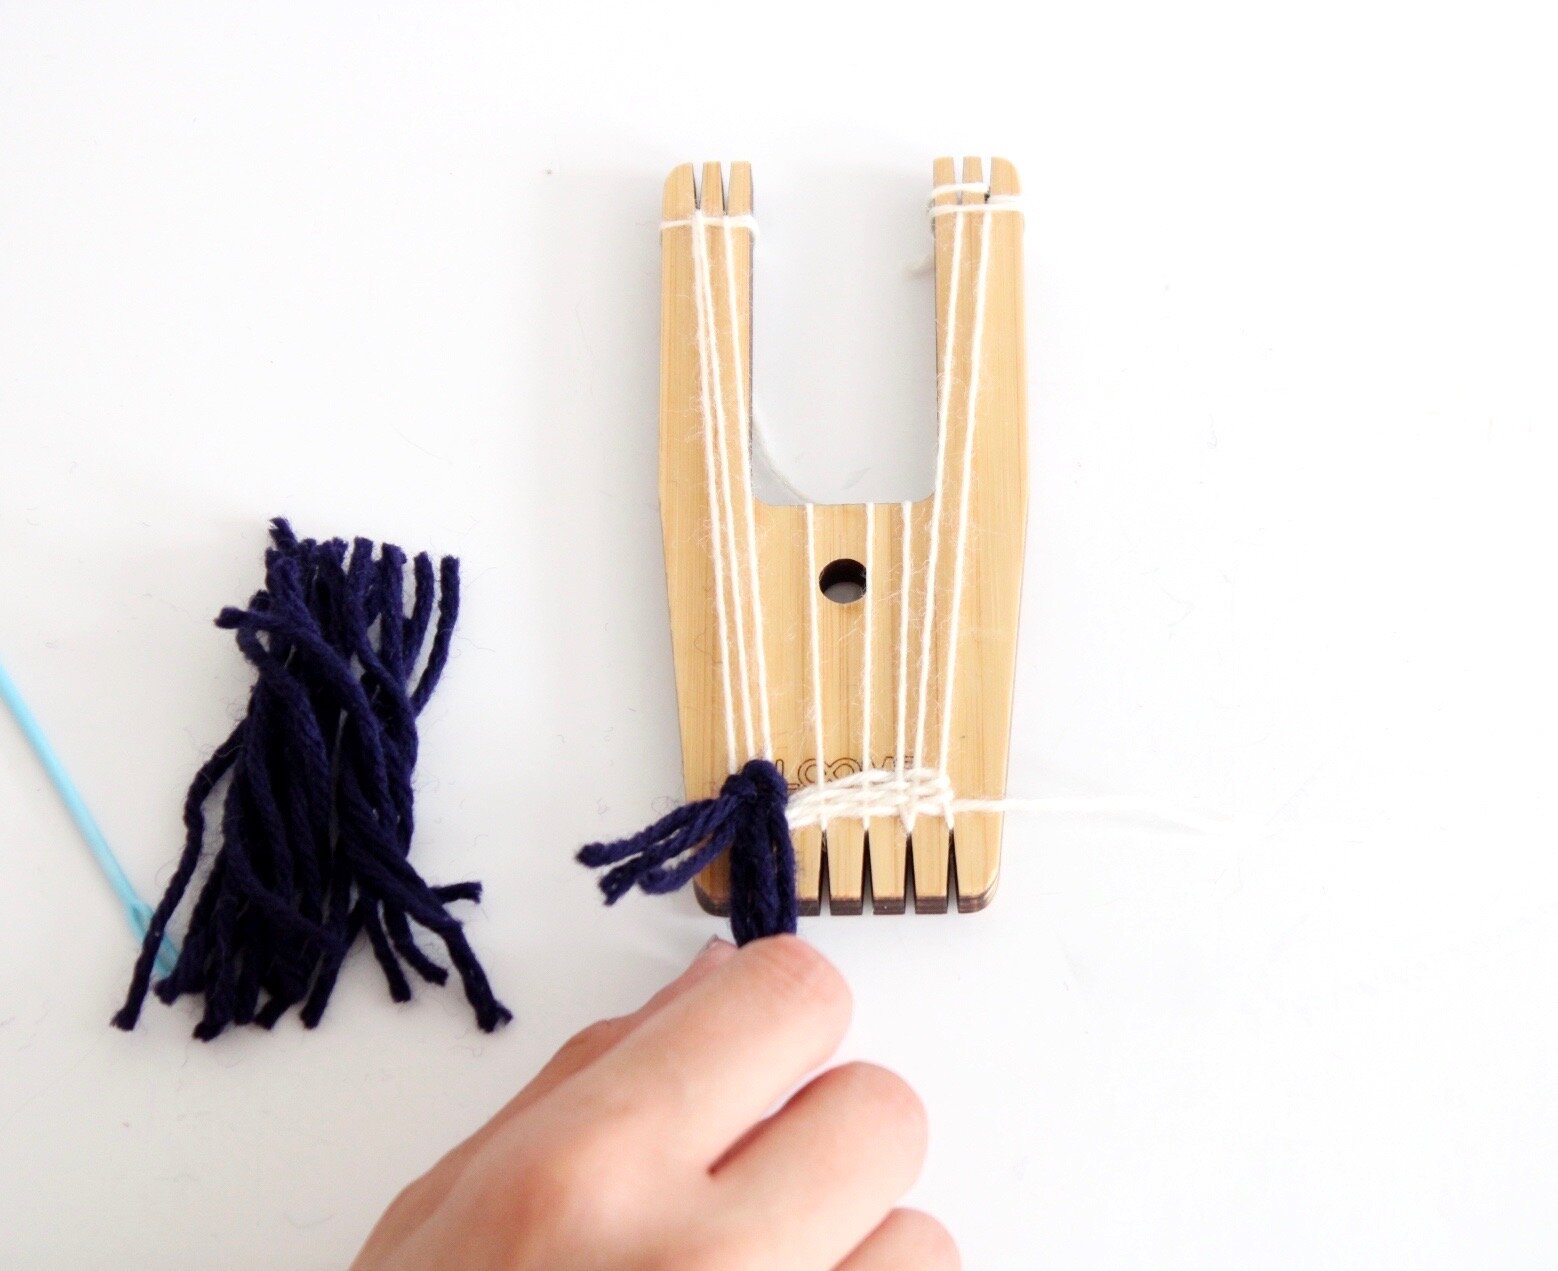
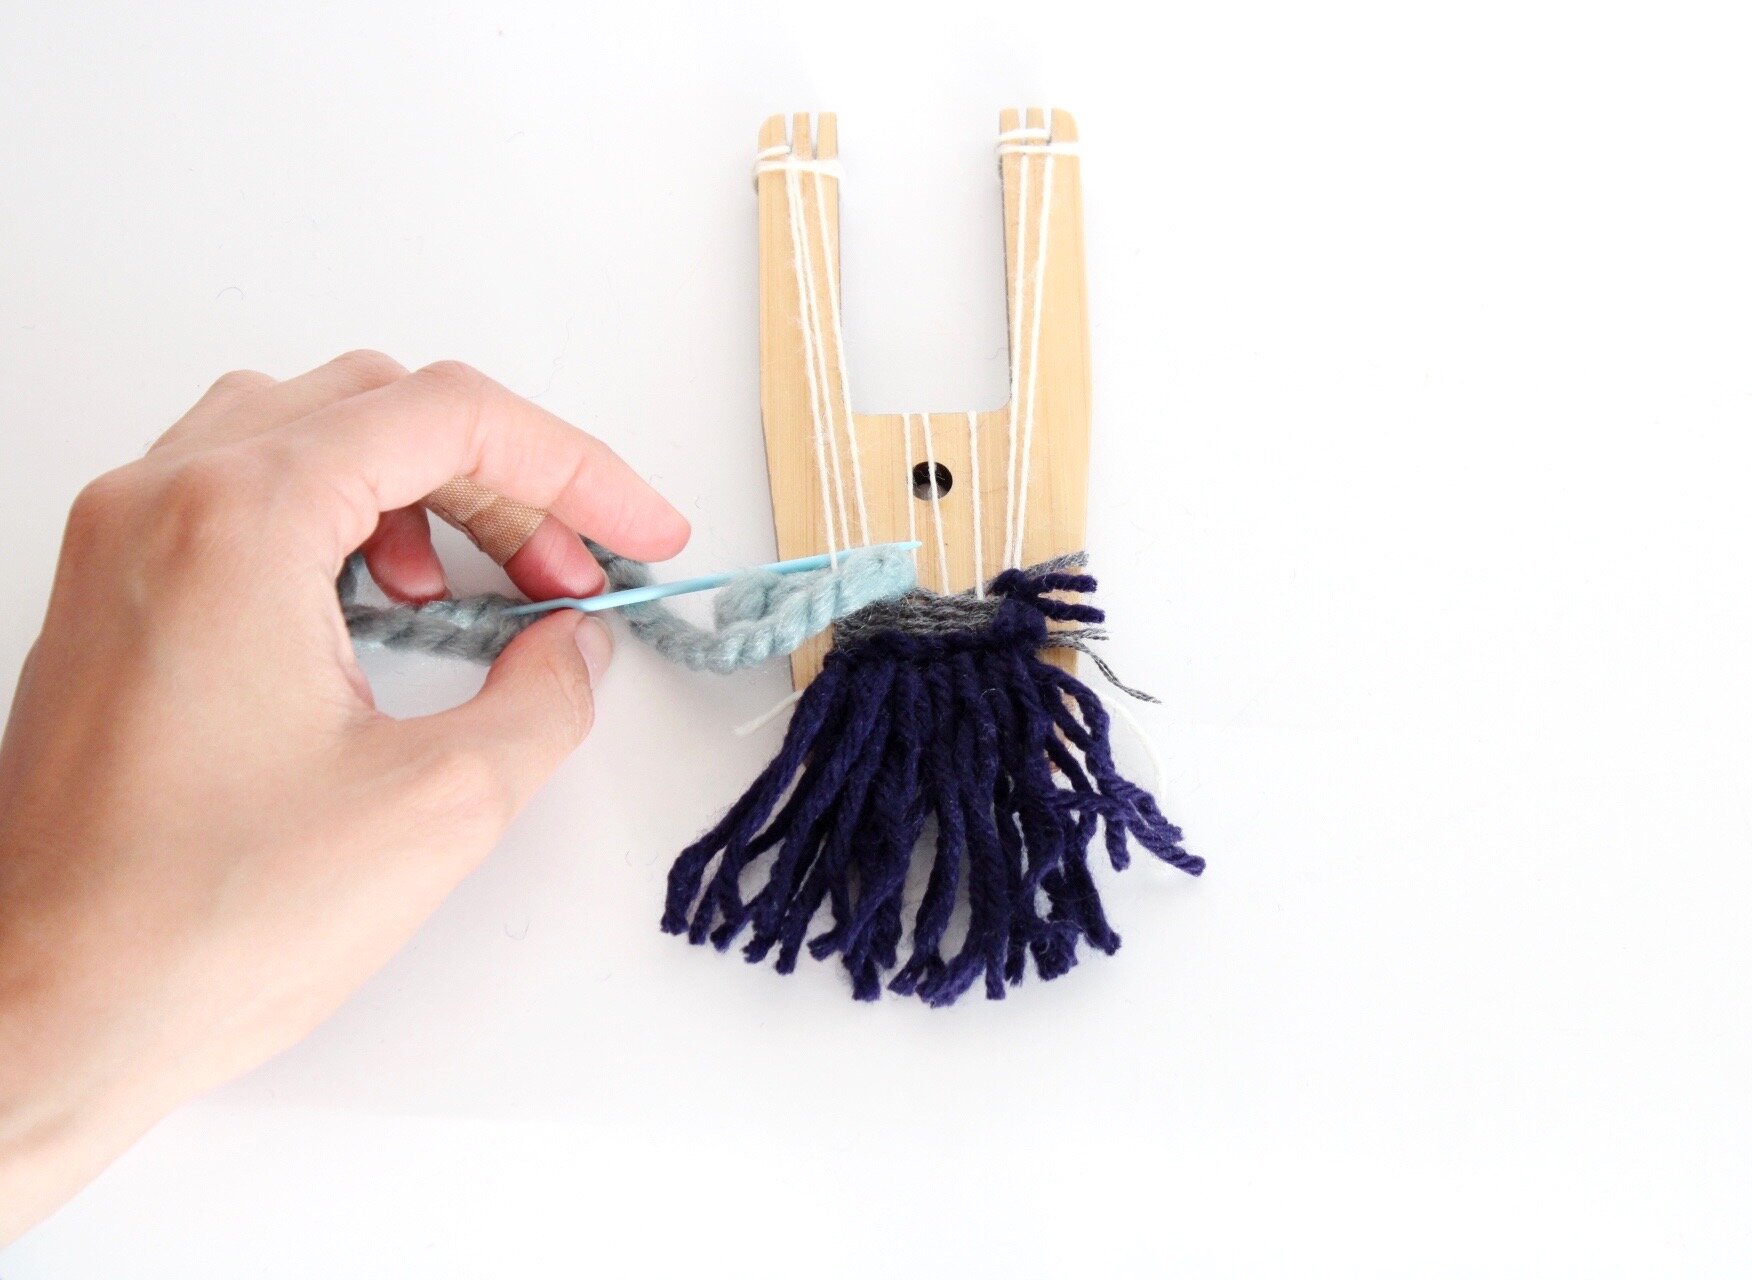
RYA KNOT
Rya Knots are made using two warp strands at a time and leave you with a bold statement
01. Weave about 3-4 rows of tabby stitch using thin yarn as a base layer.

02. Lay the middle of your yarn over the first two warp strings
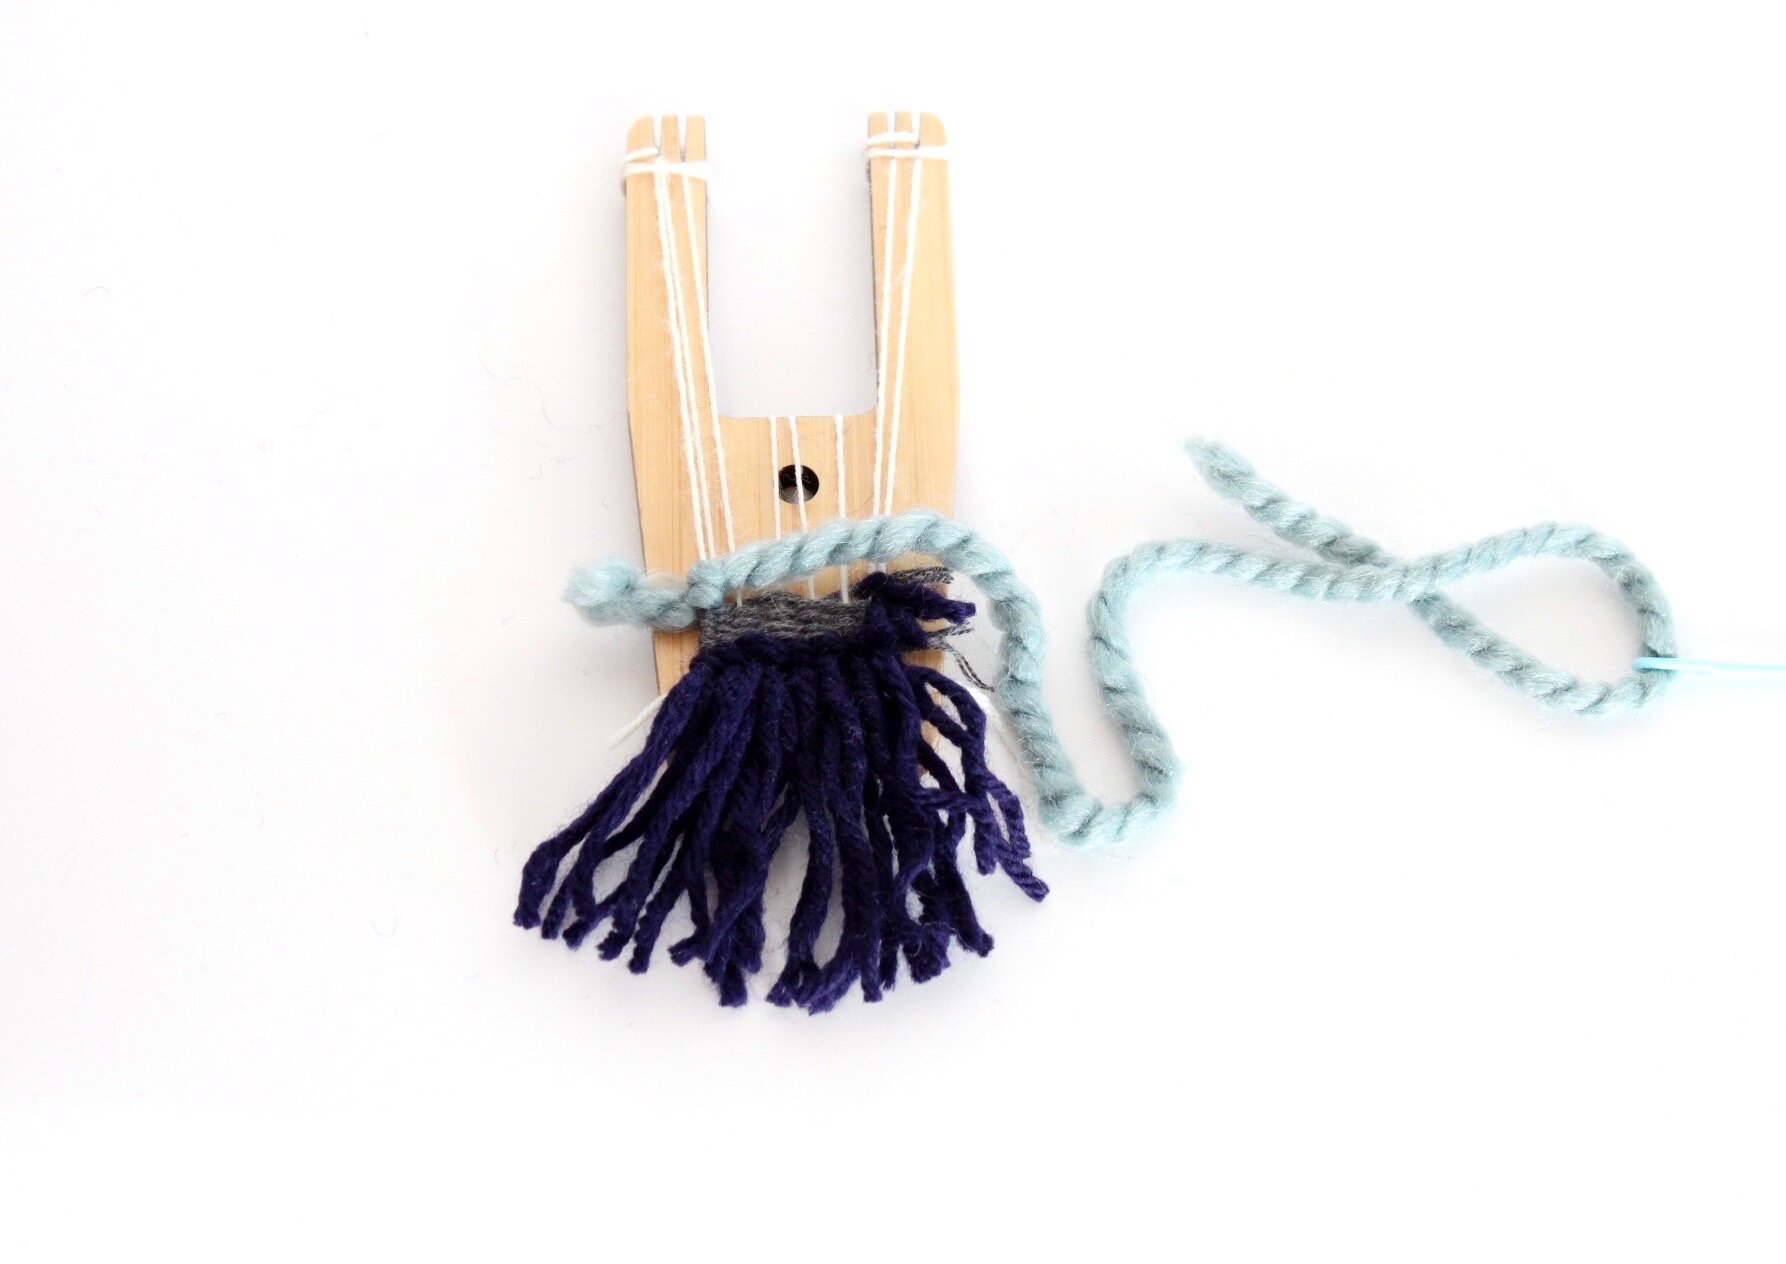
03. Push the right side of your yarn down and through the middle creating like a little bulb. Repeat that on the left side.

04. Pull the bulbs all the way through the middle, leaving the tails out and pull down to rest above the anchor rows.
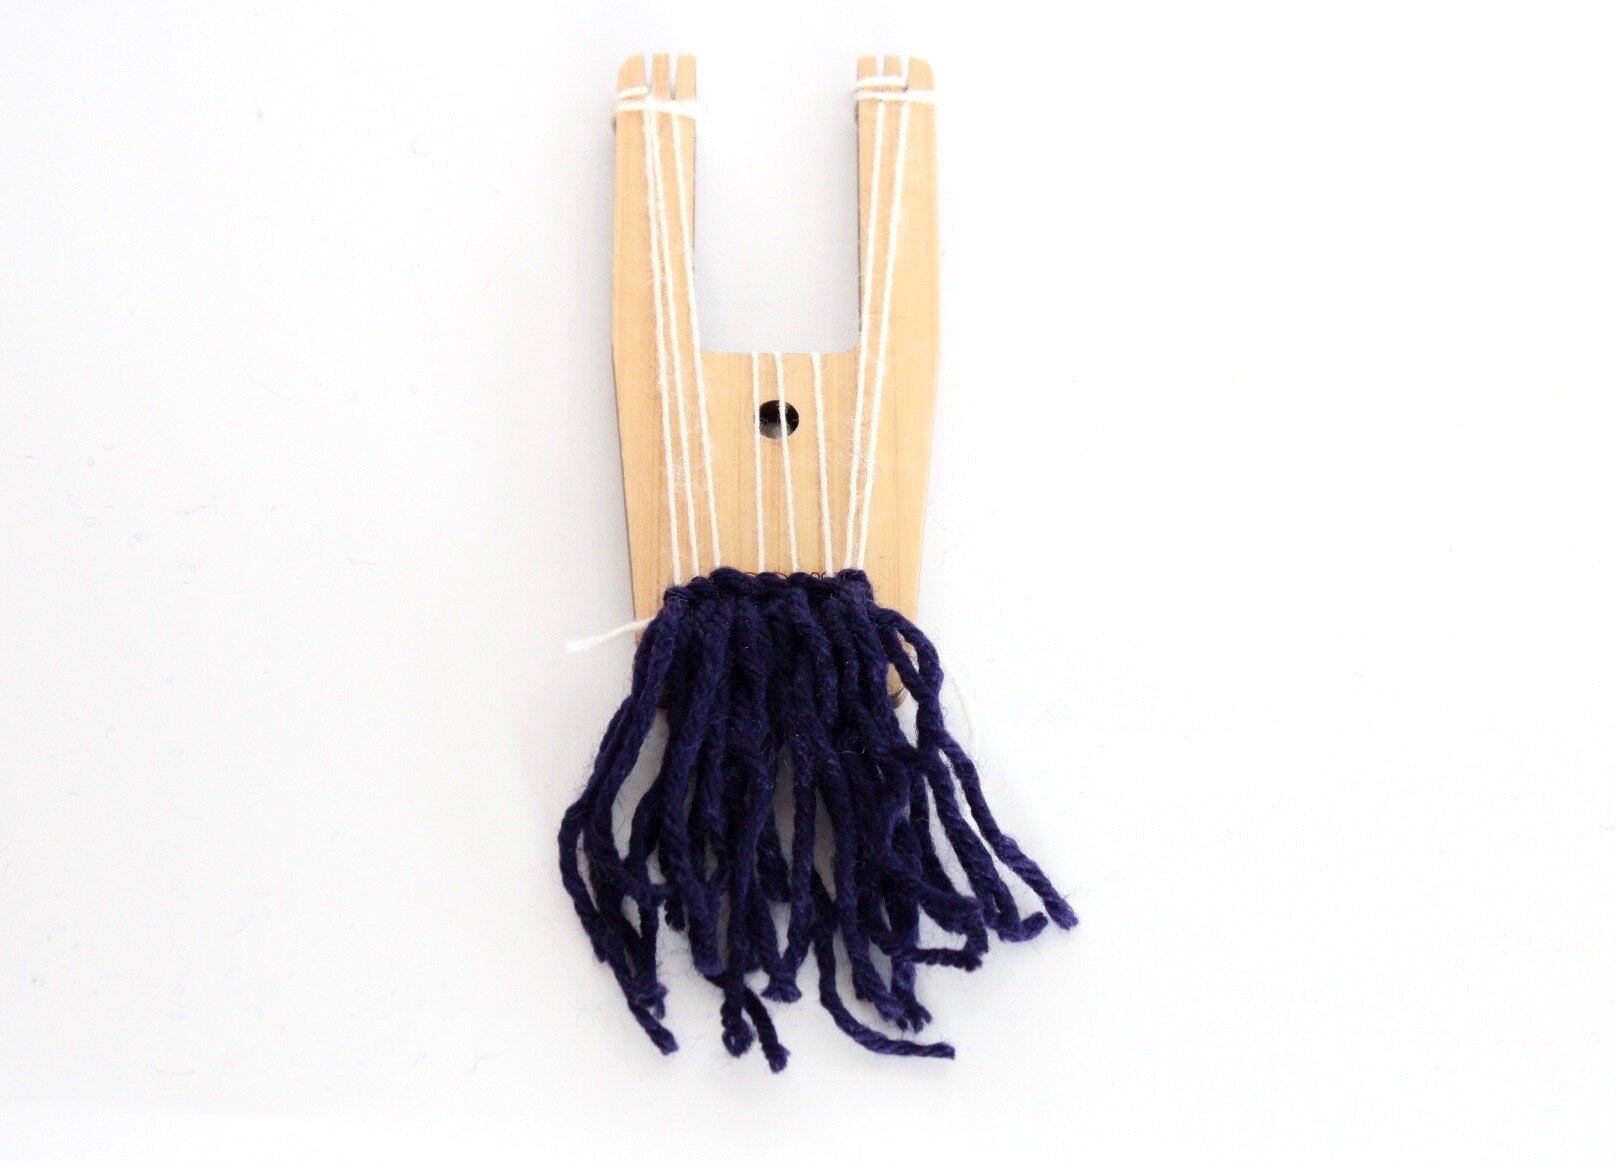
05. Lock in these rows of knots by making 3-4 more rows of tabby stitch above them.
You can make these randomly throughout the weaving as well as on the bottom to create some more fun texture throughout.
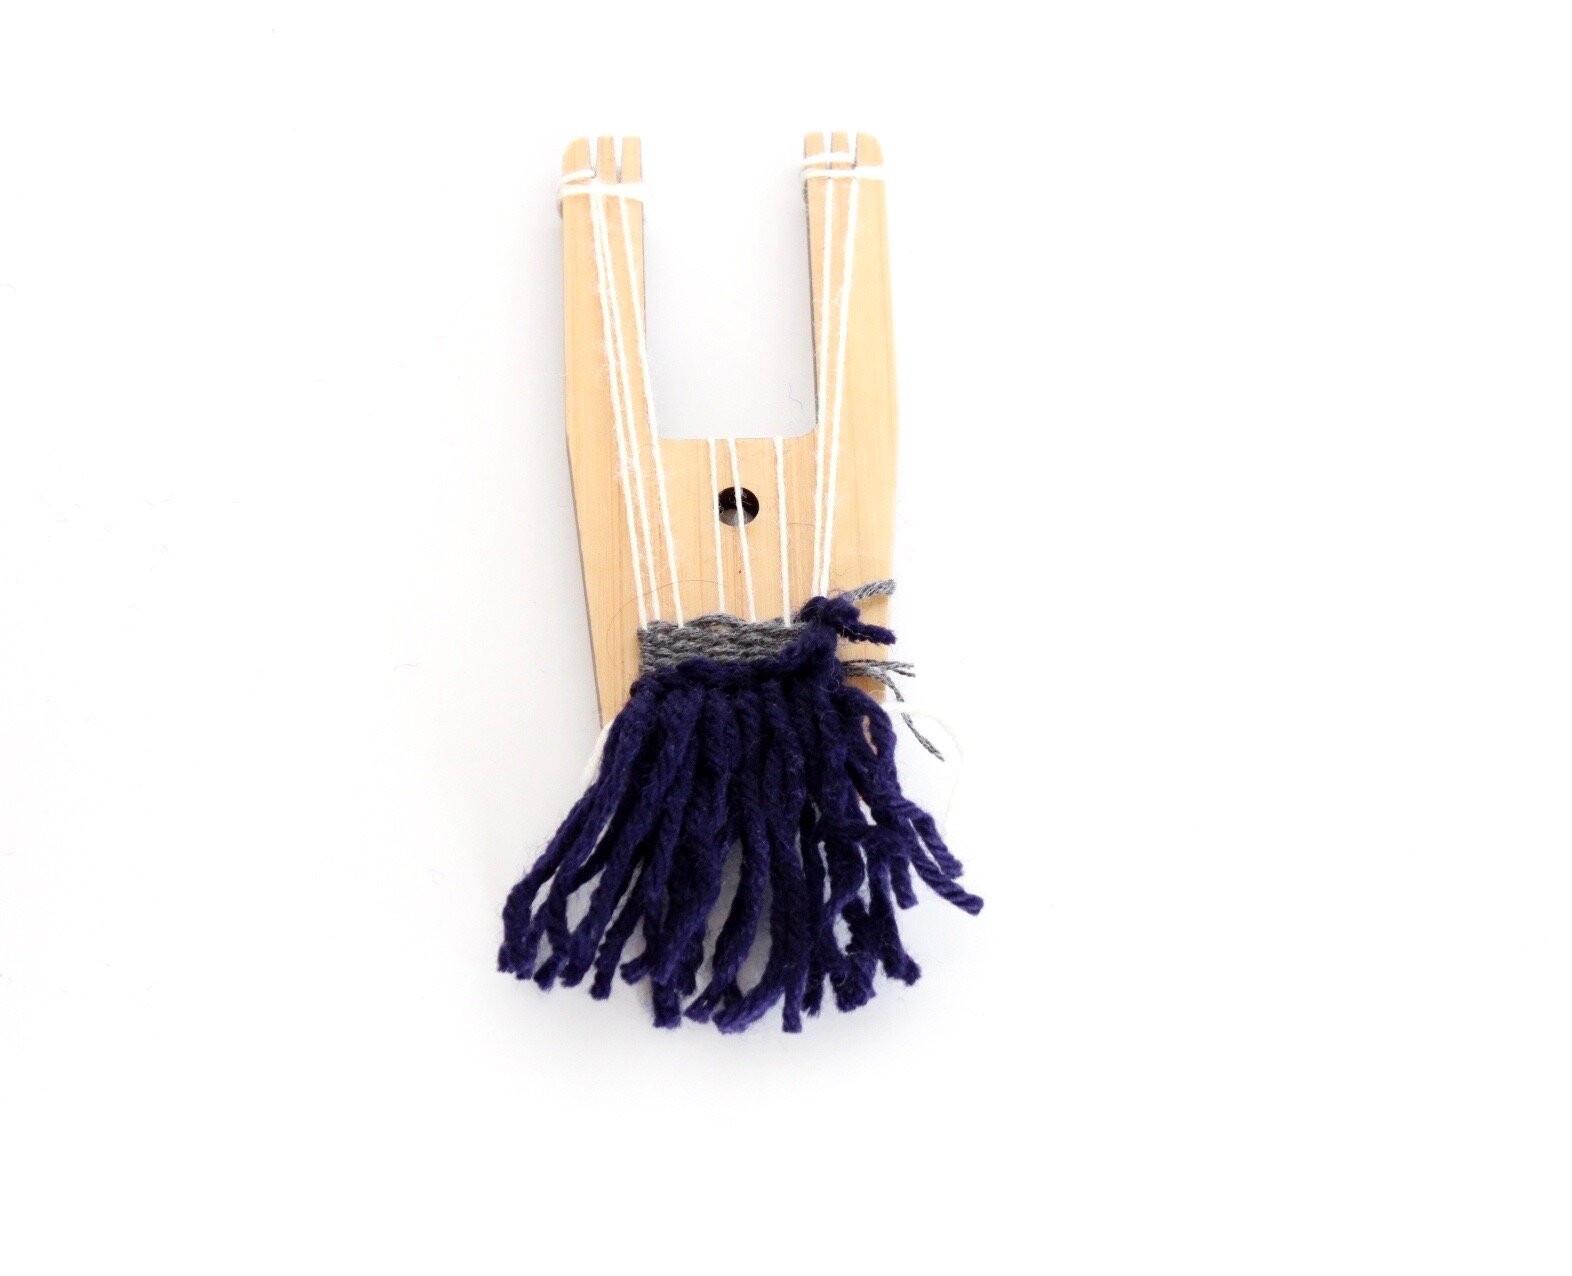
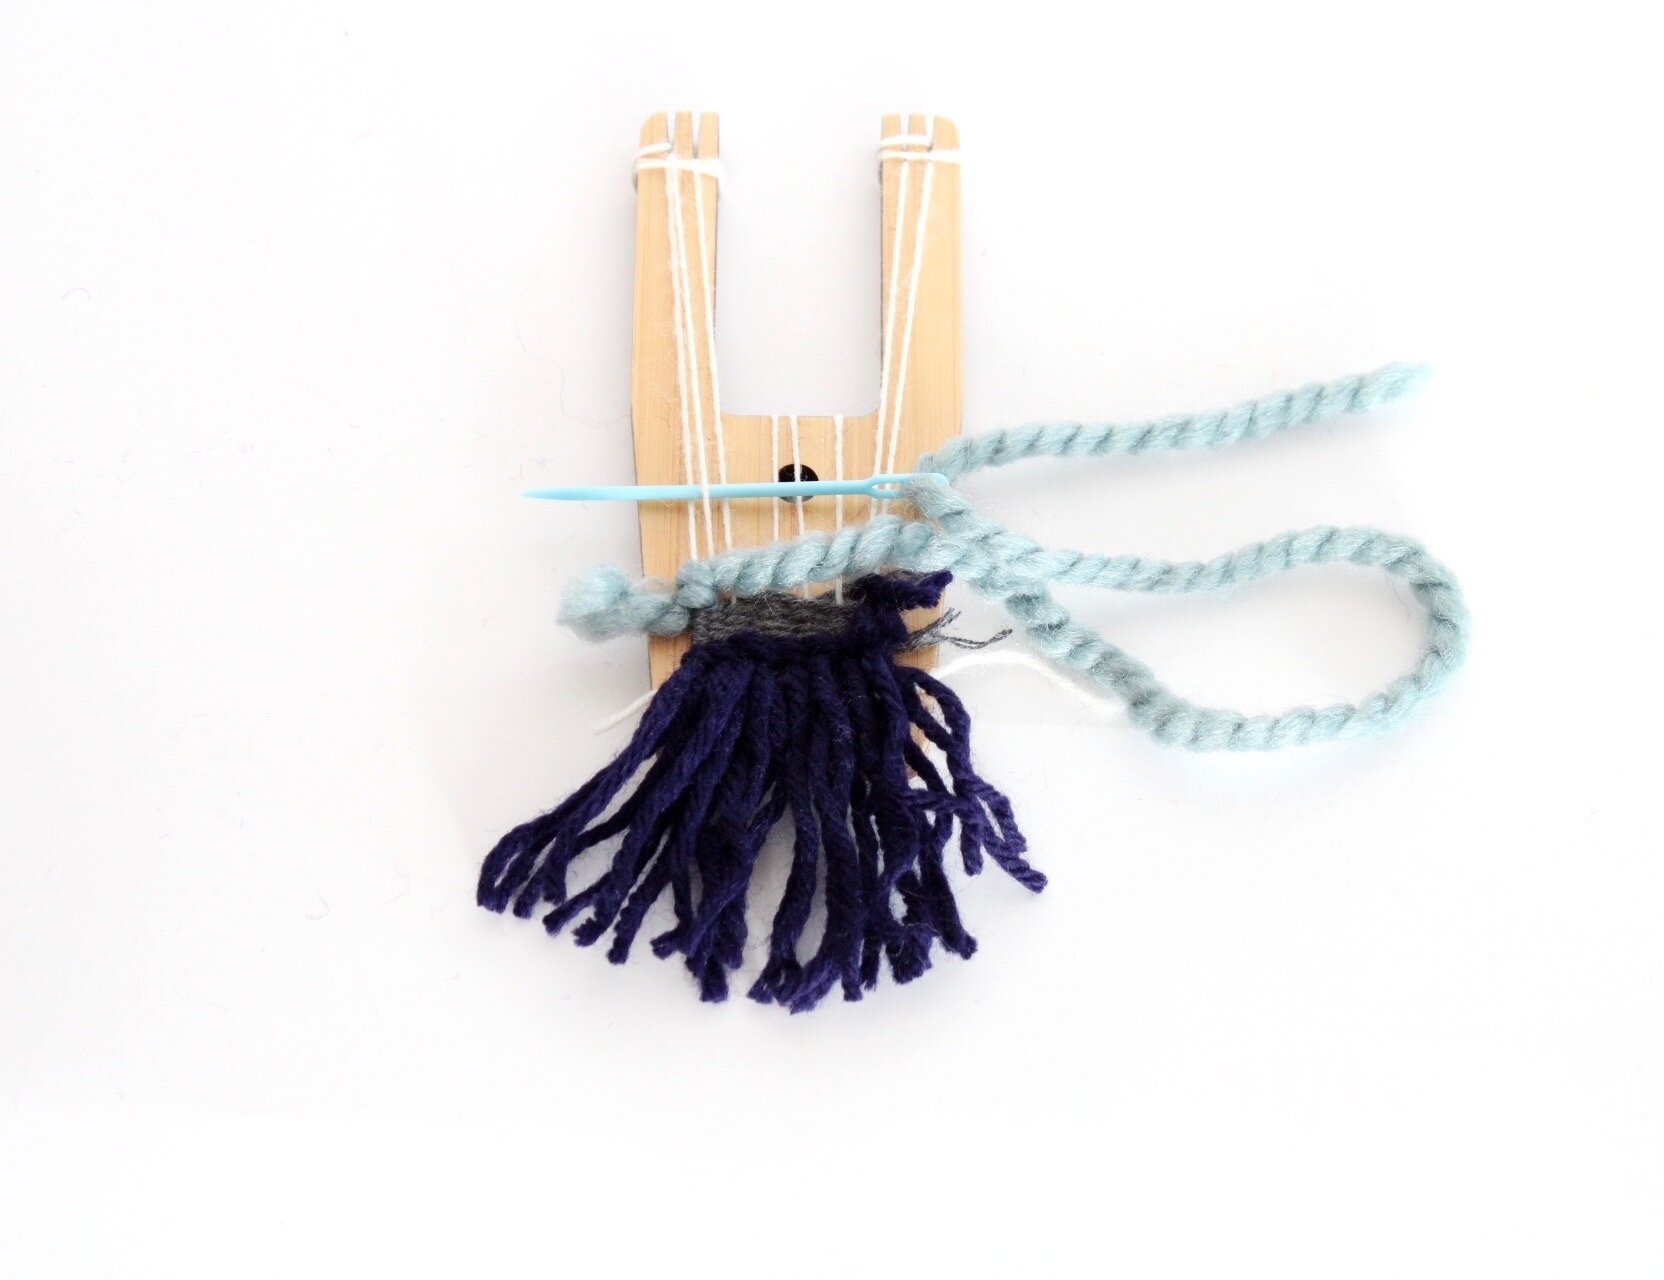
SOUMAK STITCH
This stitch is very much like a fun braid. They are perfect for adding texture and make your weaving look super cool. I also like to use thick yarn for this stitch.
01. Start my weaving under your first warp thread to secure into place, leaving about a 2 inch tail.

02. Loop your yarn back to the left and around the first warp thread to create a knot.
03. Moving forward, loop your yarn around the next warp thread with your yarn facing to the left, it’ll feel like you are moving backwards.

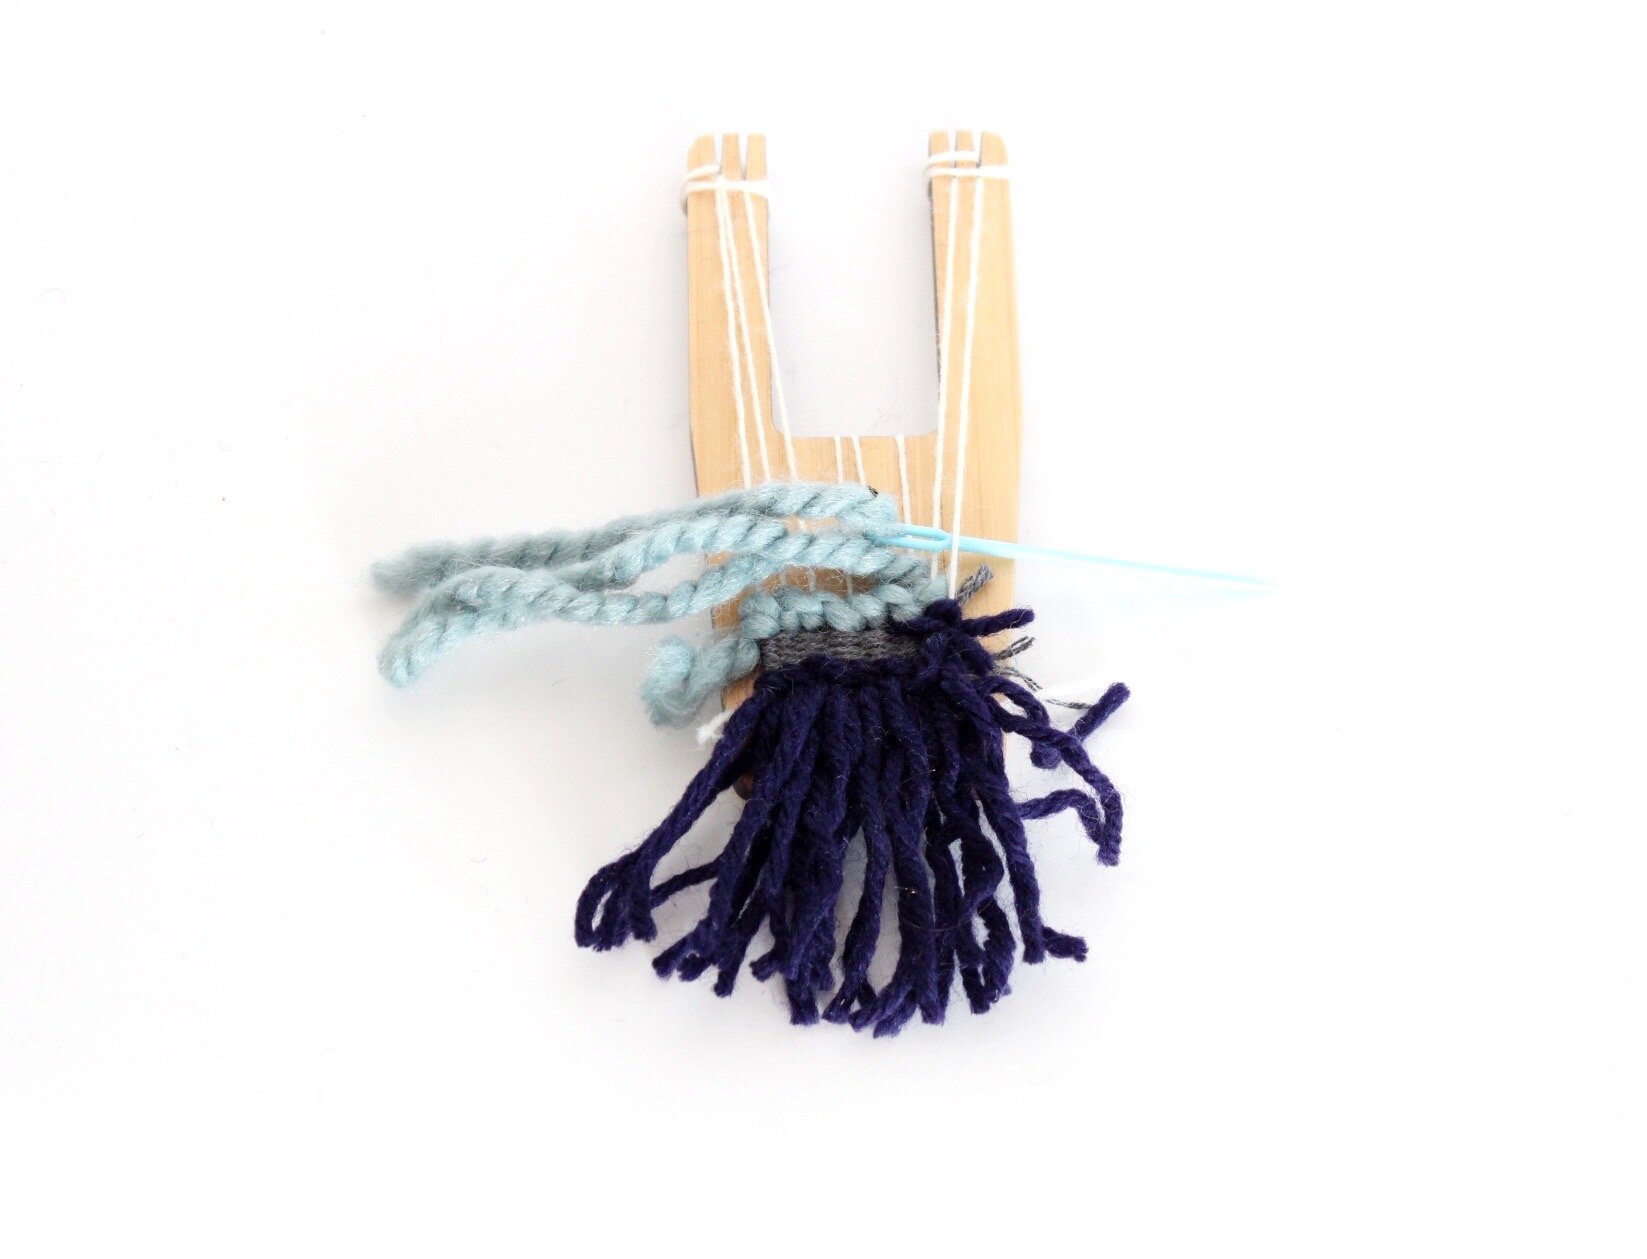
04. Continue that, going one warp thread at a time until you get to the end. You will then create your bottom row.

05. Now you have to move in the other direction. The first loop you do will go backwards and you will go back over the last warp thread with a loop facing the right.

06. Moving forward, loop your yarn around the next warp thread with your yarn moving to the right. This will also feel backwards.

07. Continue that until you get to the end/ back to the beginning, creating the top row.
08. I like to secure the stitch by weaving the end of the top row into the first knot of the bottom row.
This can be a bit confusing, but basically it is just knots wrapped completely around each warp thread, don’t overthink it!
UNDER ONE STITCH
This is not the real name for this stitch, this is just what I call it. It is my absolute favorite way to add texture!
01. Start with a very thick piece of yarn, something super fluffy and bulky. I use Roving most of the time.

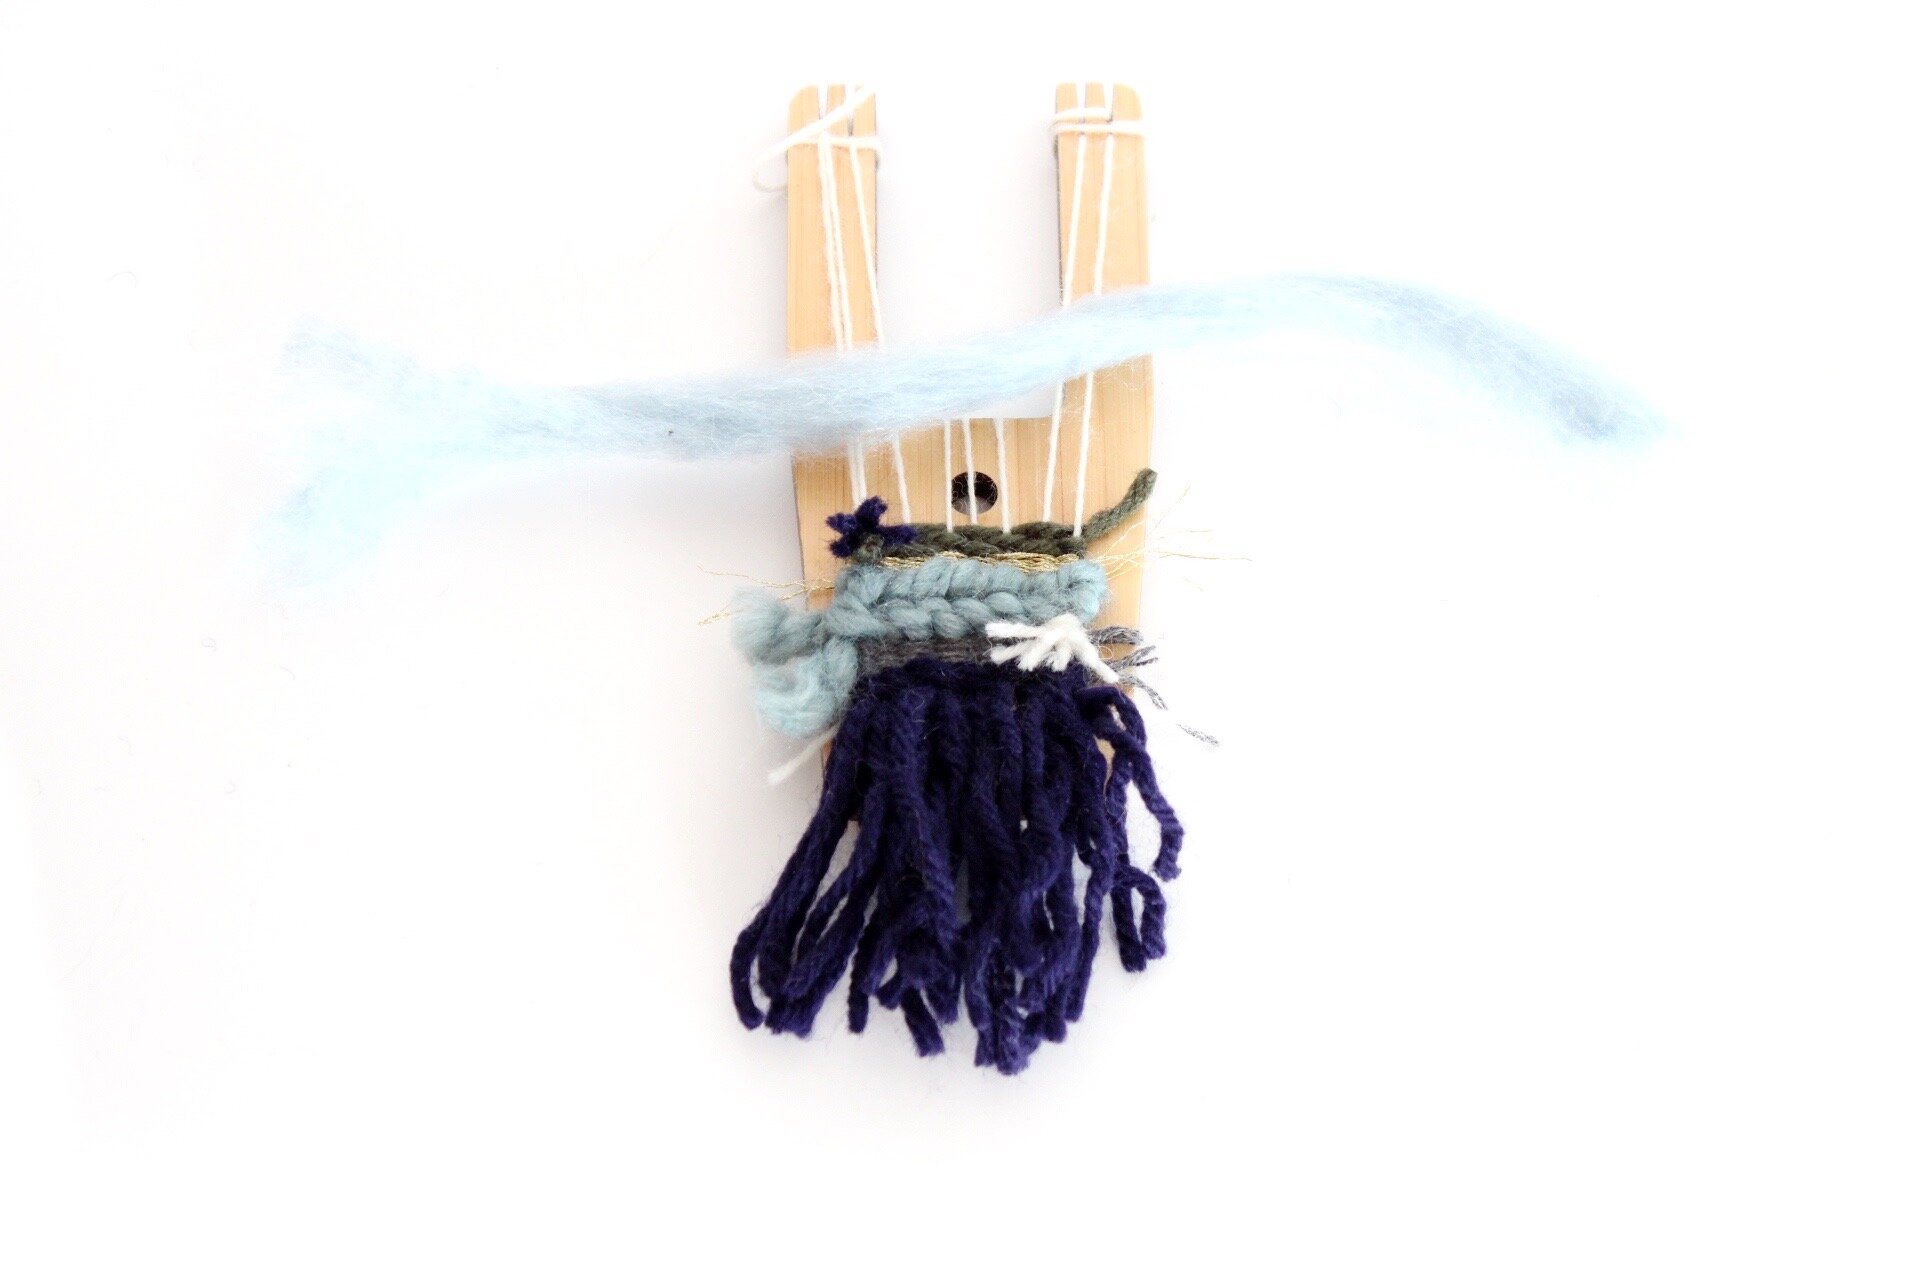
02. Go under your first warp thread to secure in place, leaving about a 2 in tail.

04. Go over the next two warp threads and then under the third. When you pull it through it will be a big and bulky yarn bubble I like to call it.
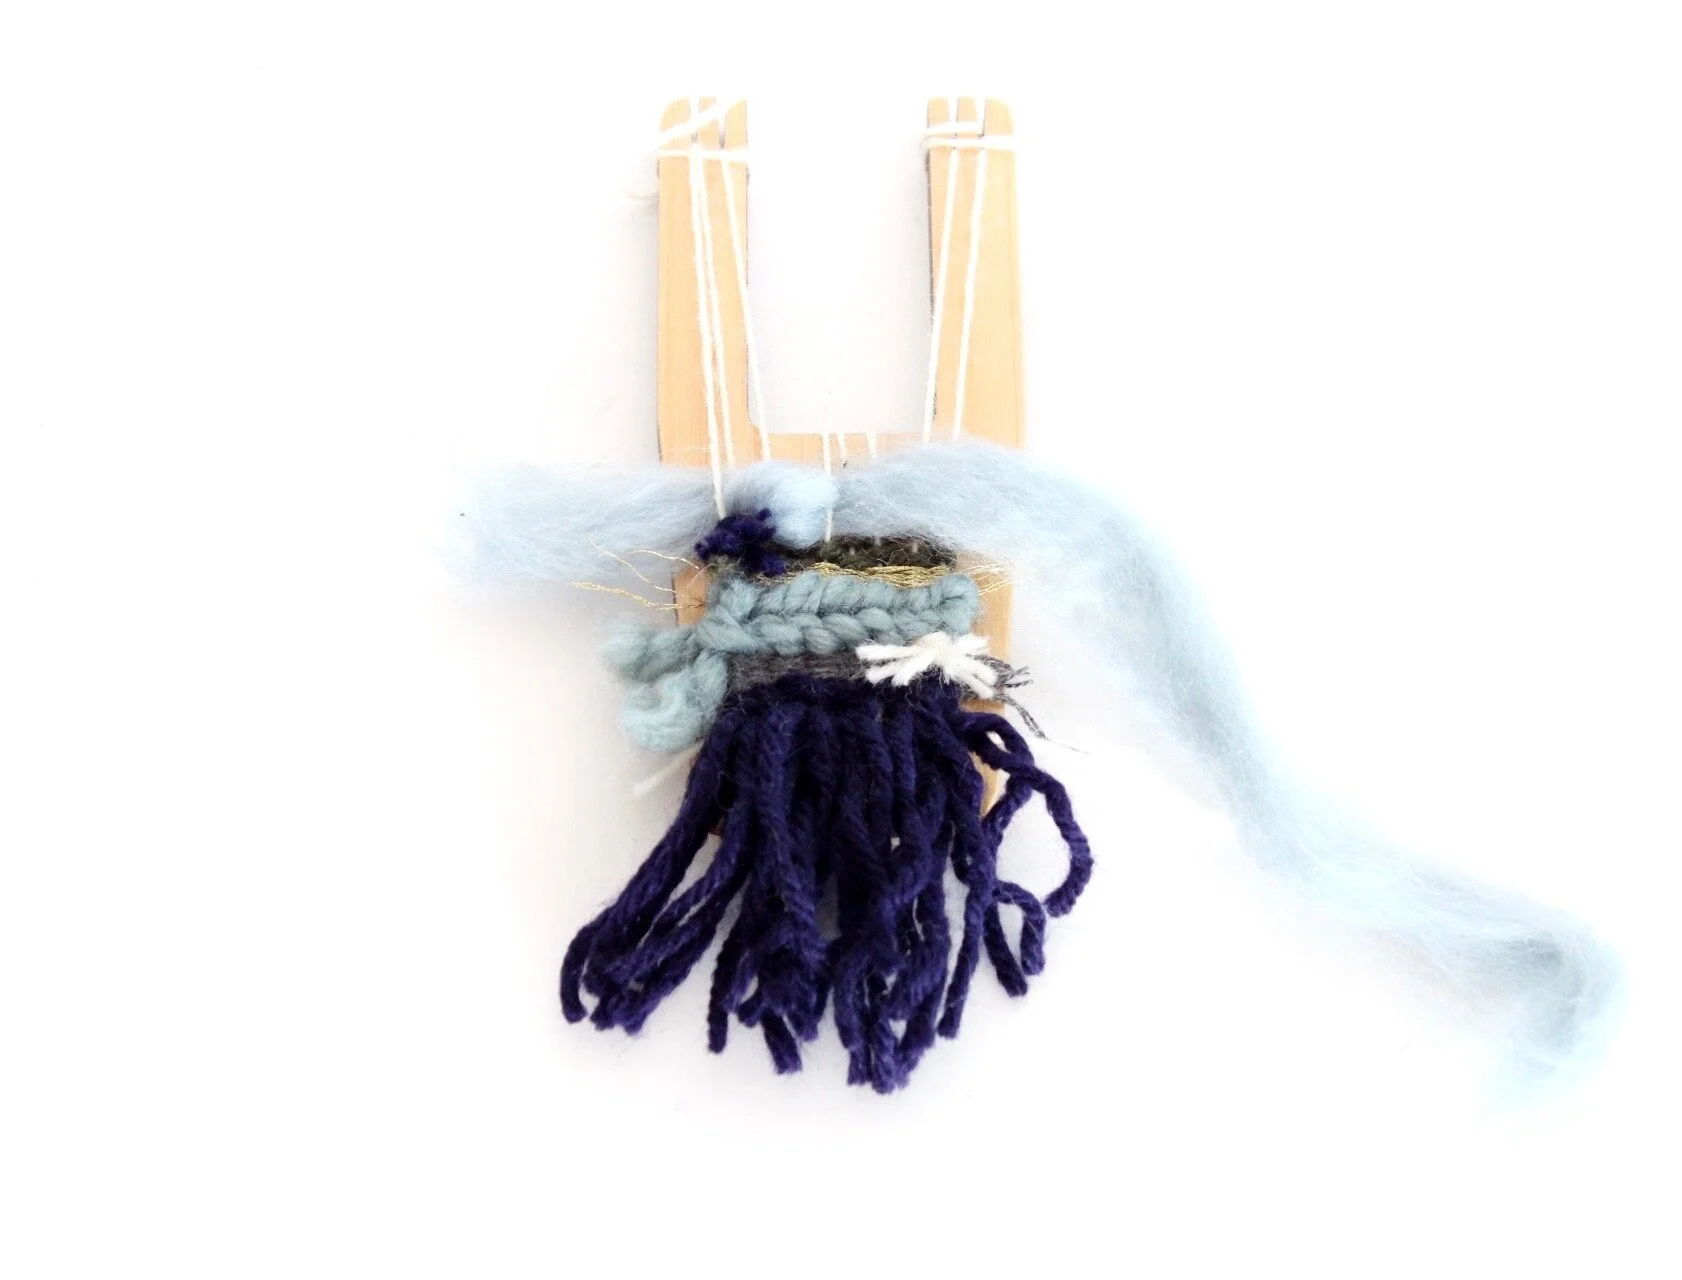
05. Repeat that until you run out of warp threads. Make sure to finish going under to secure it in place. If you have to wrap the yarn around the warp thread, creating a knot to make it secure.
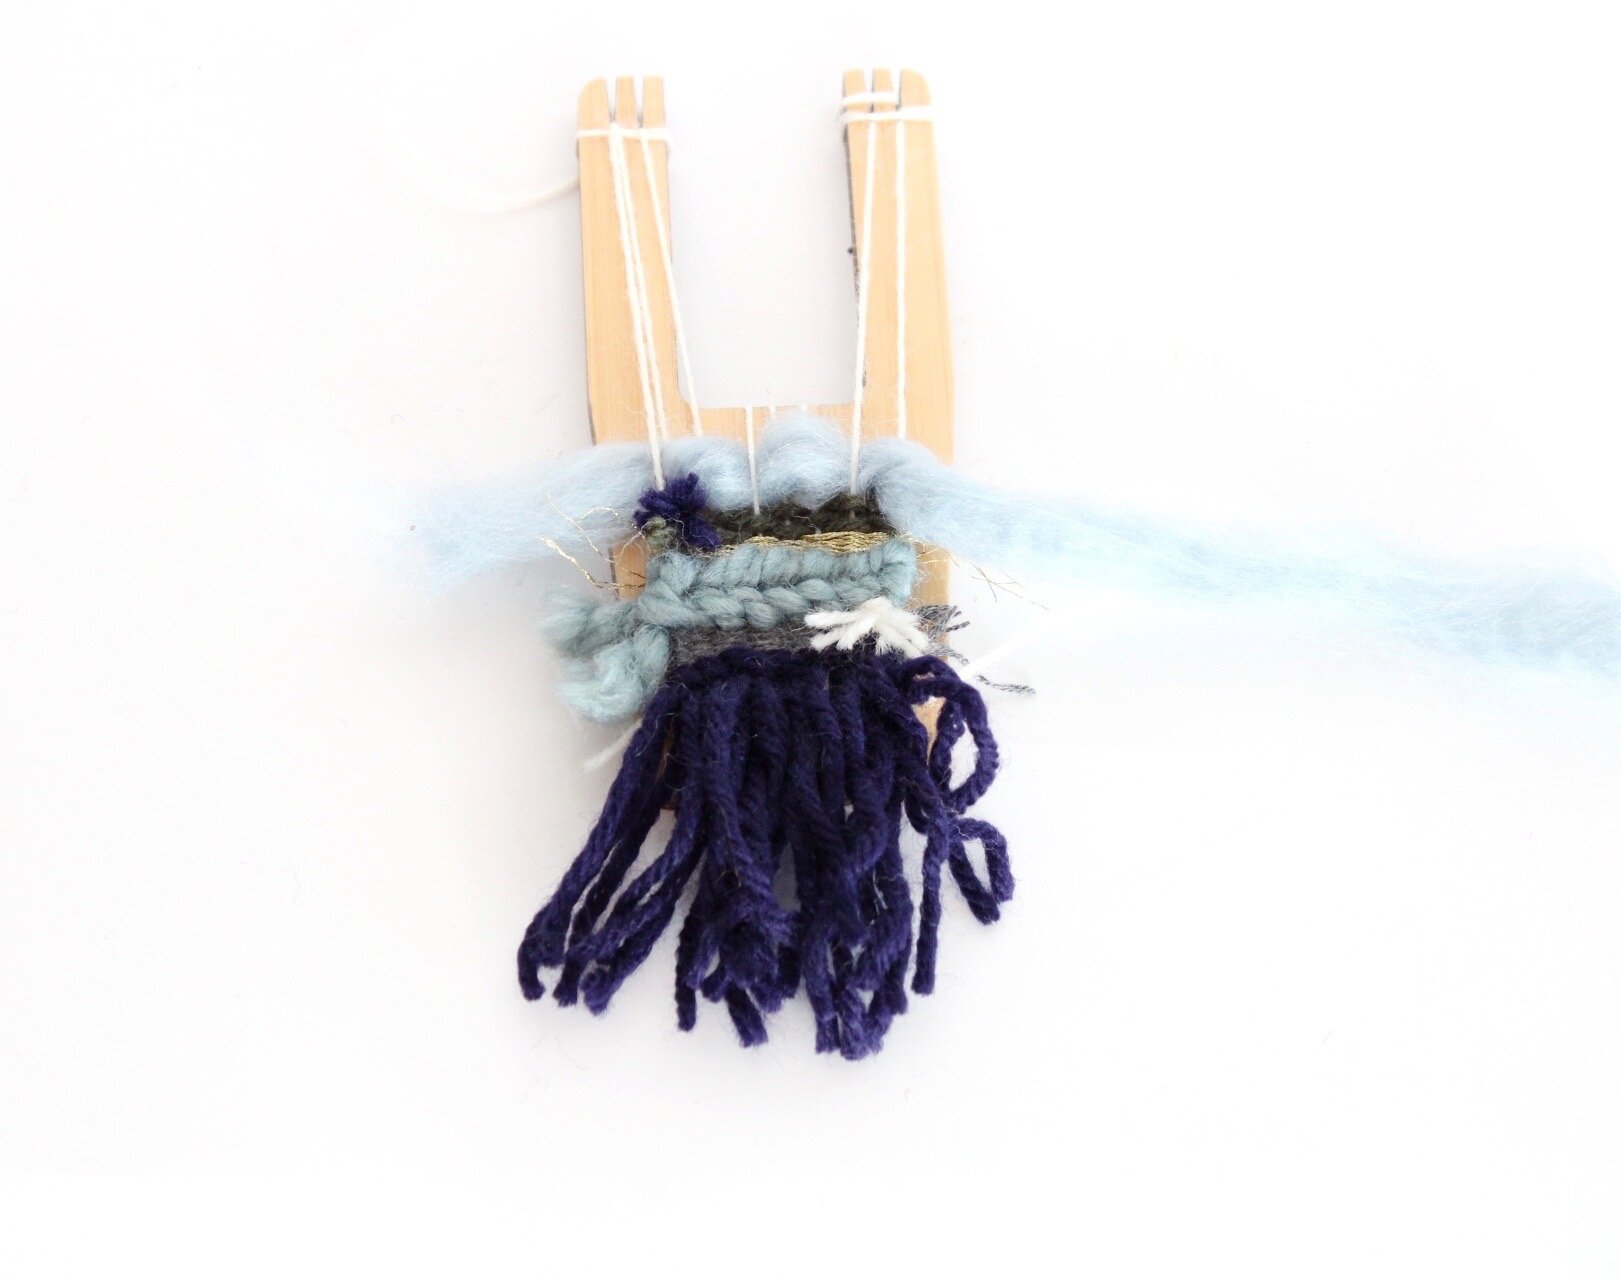
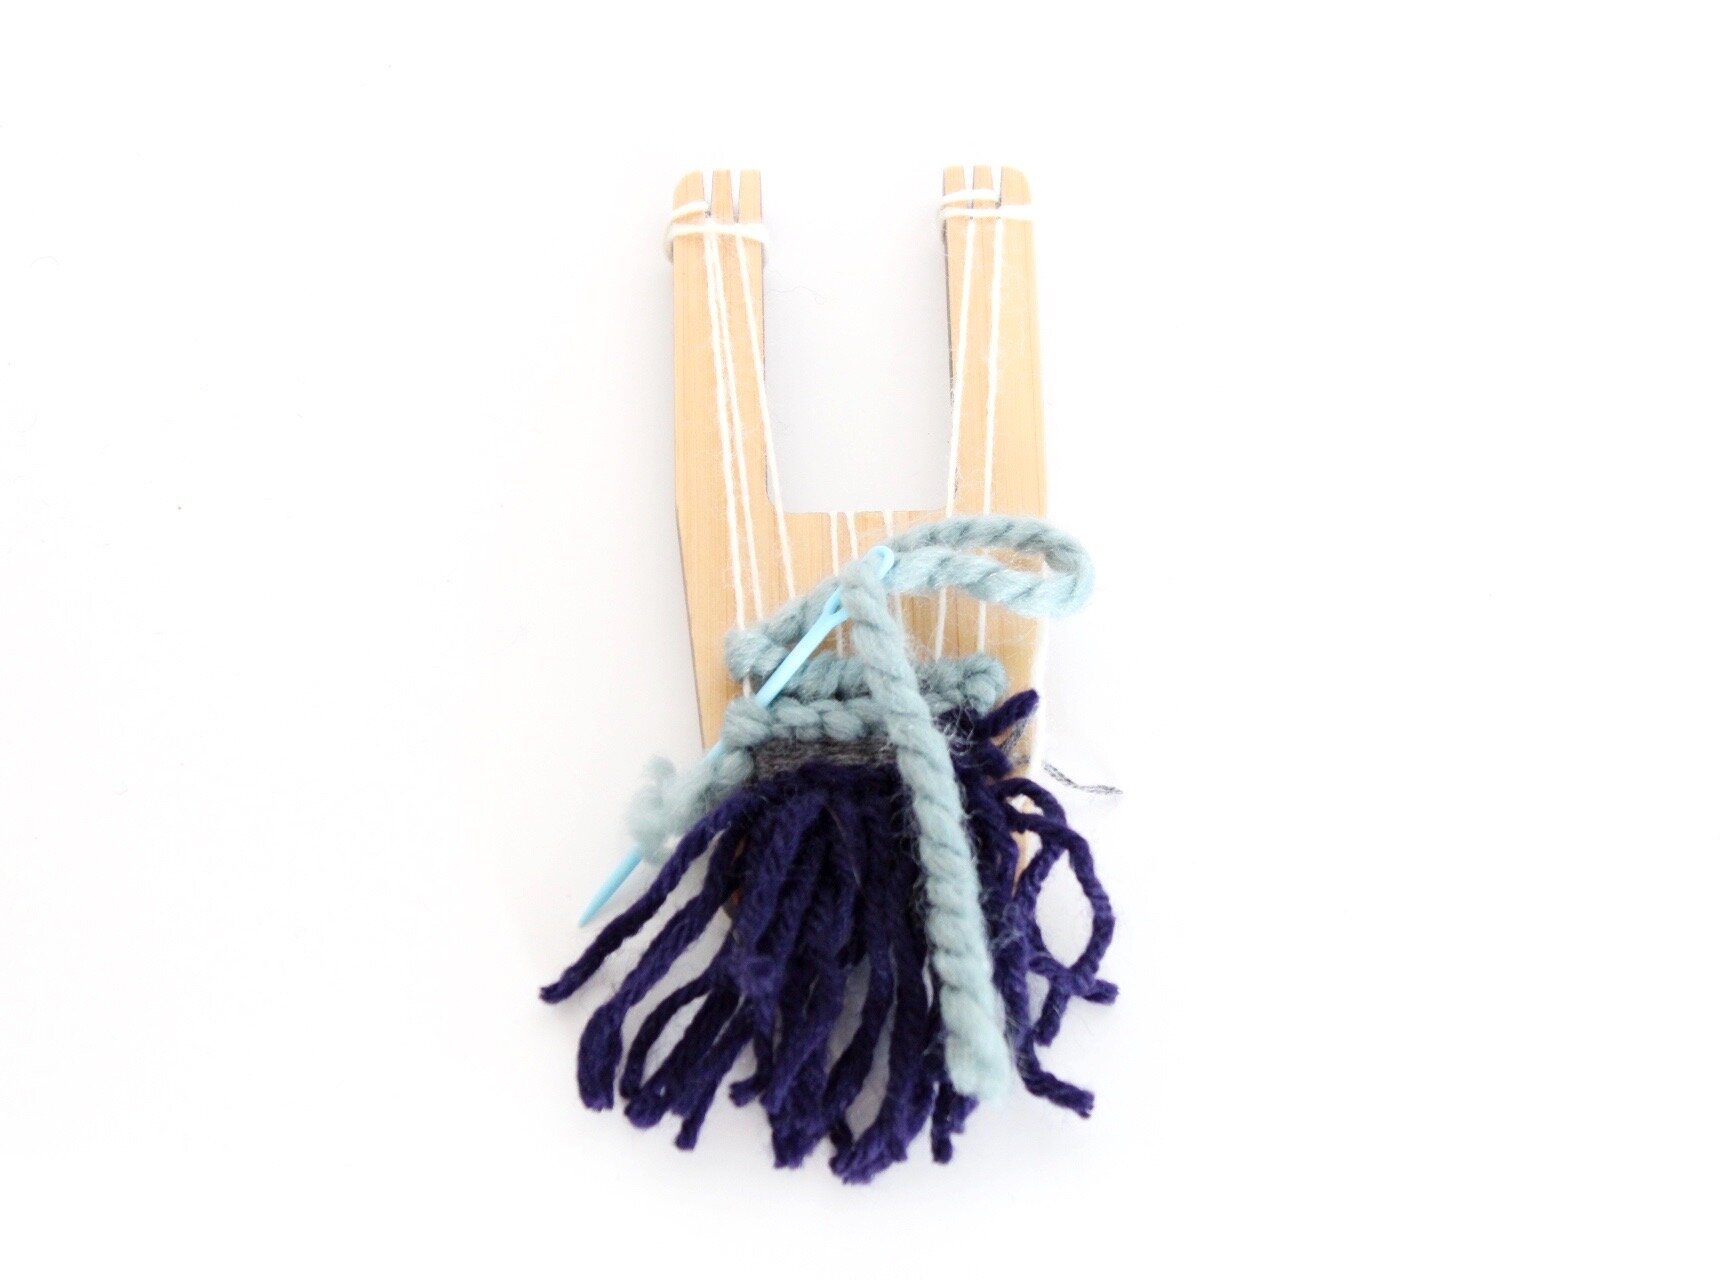
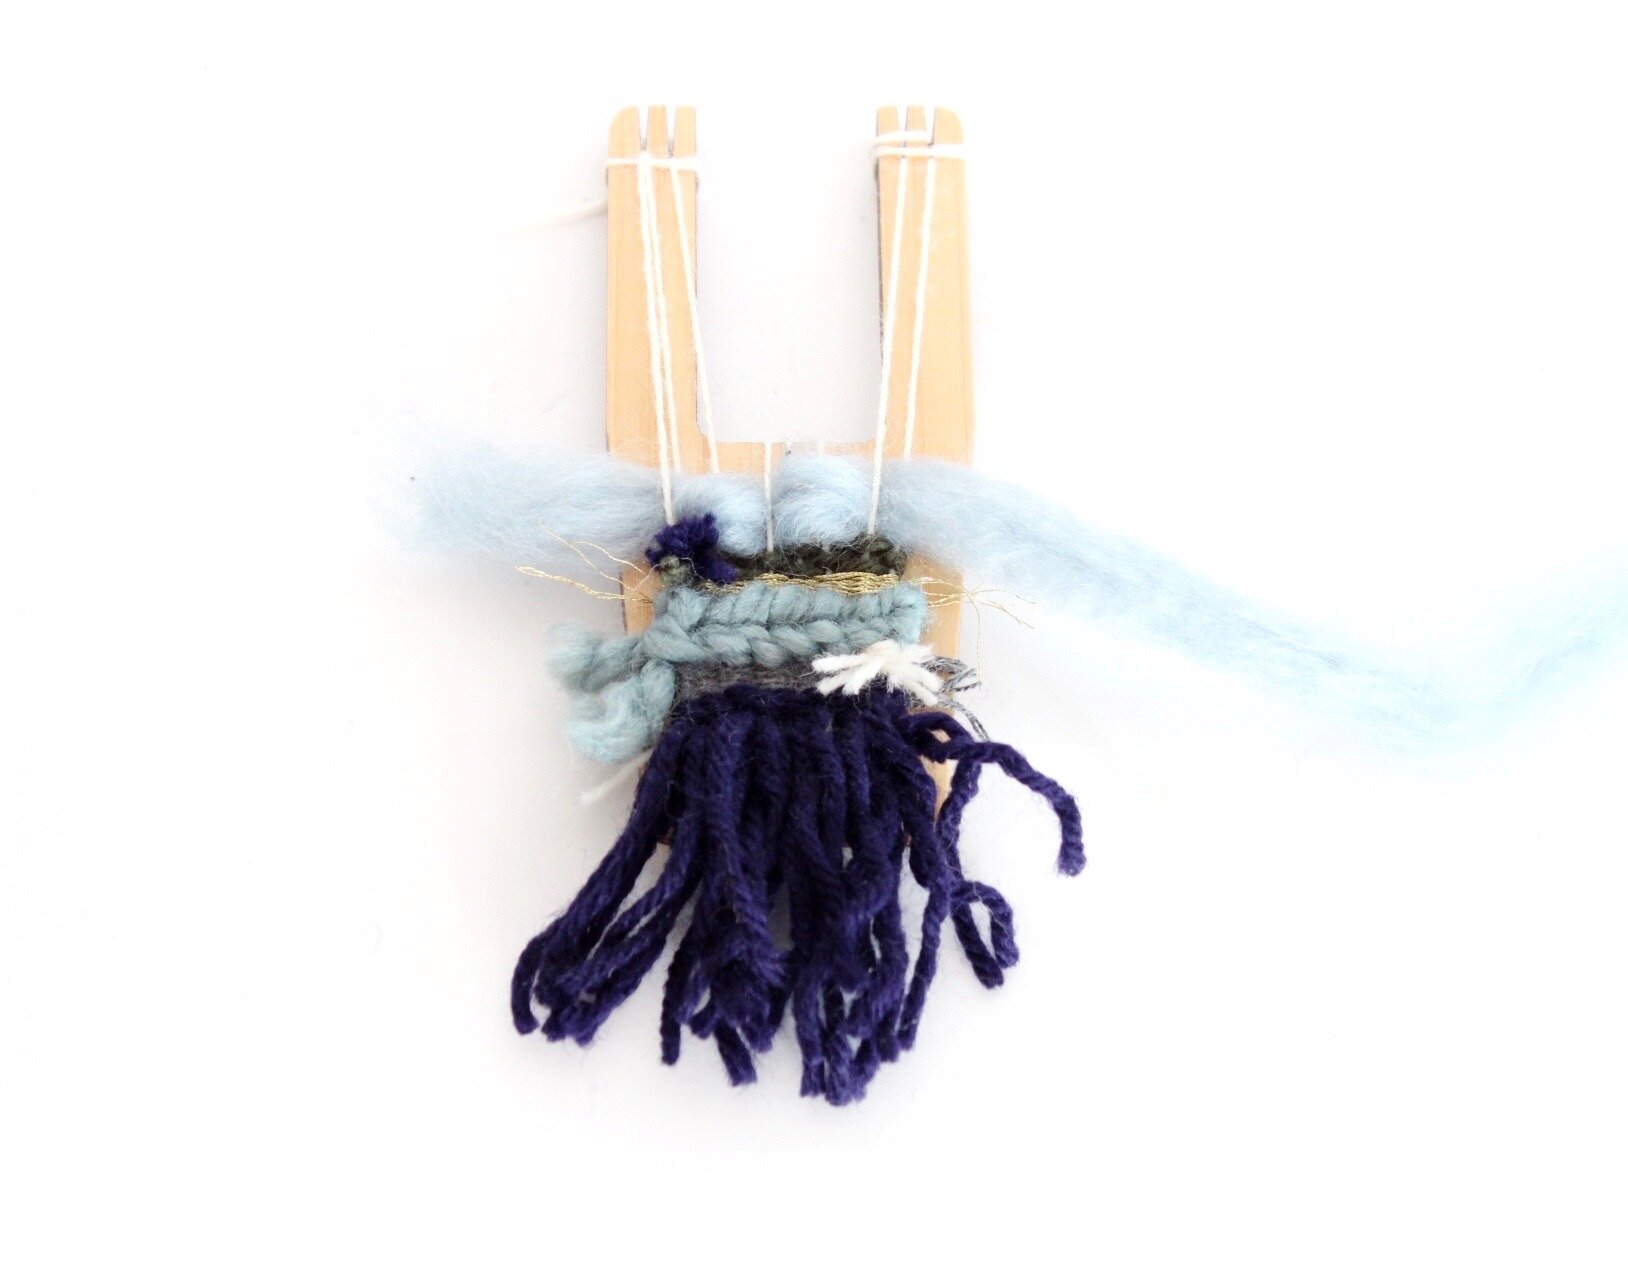
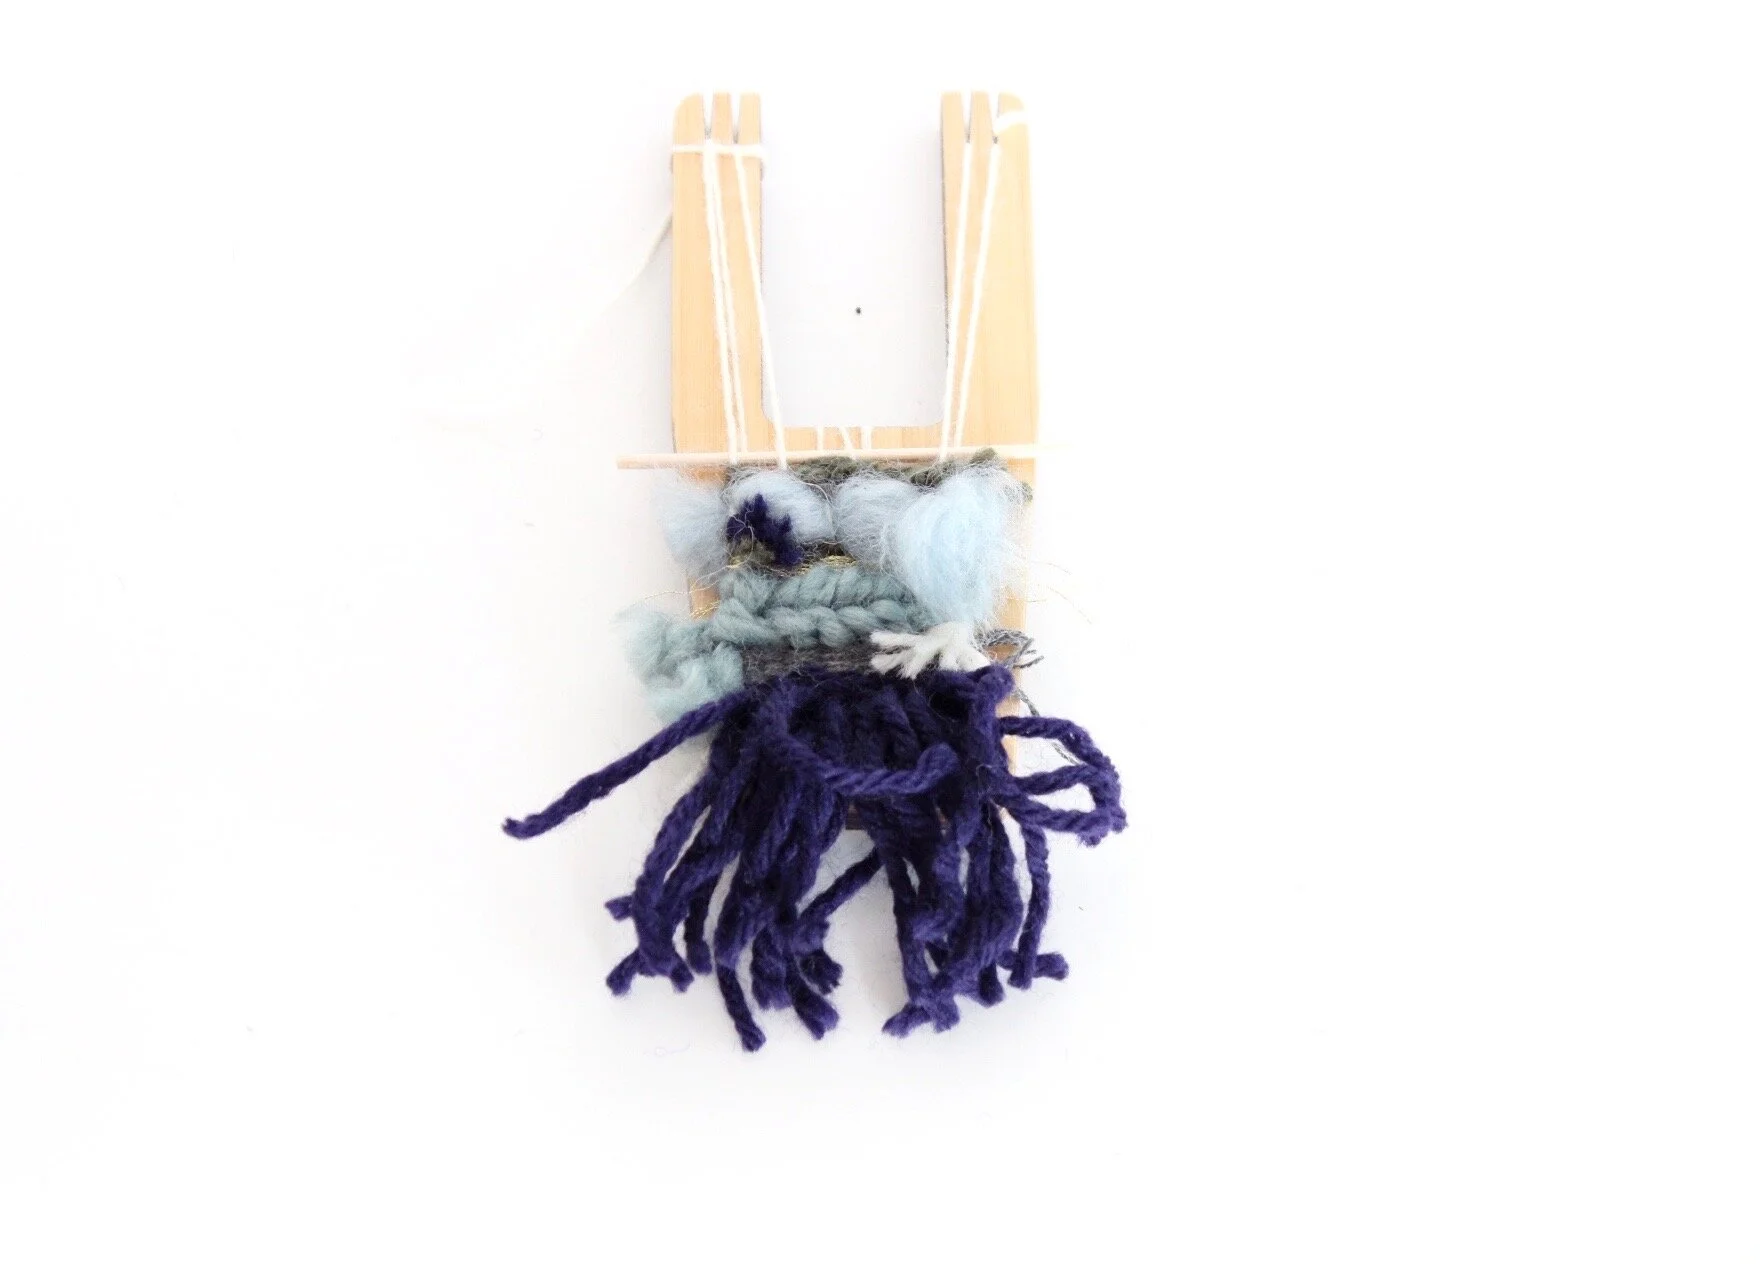
FINISHING YOUR WEAVING
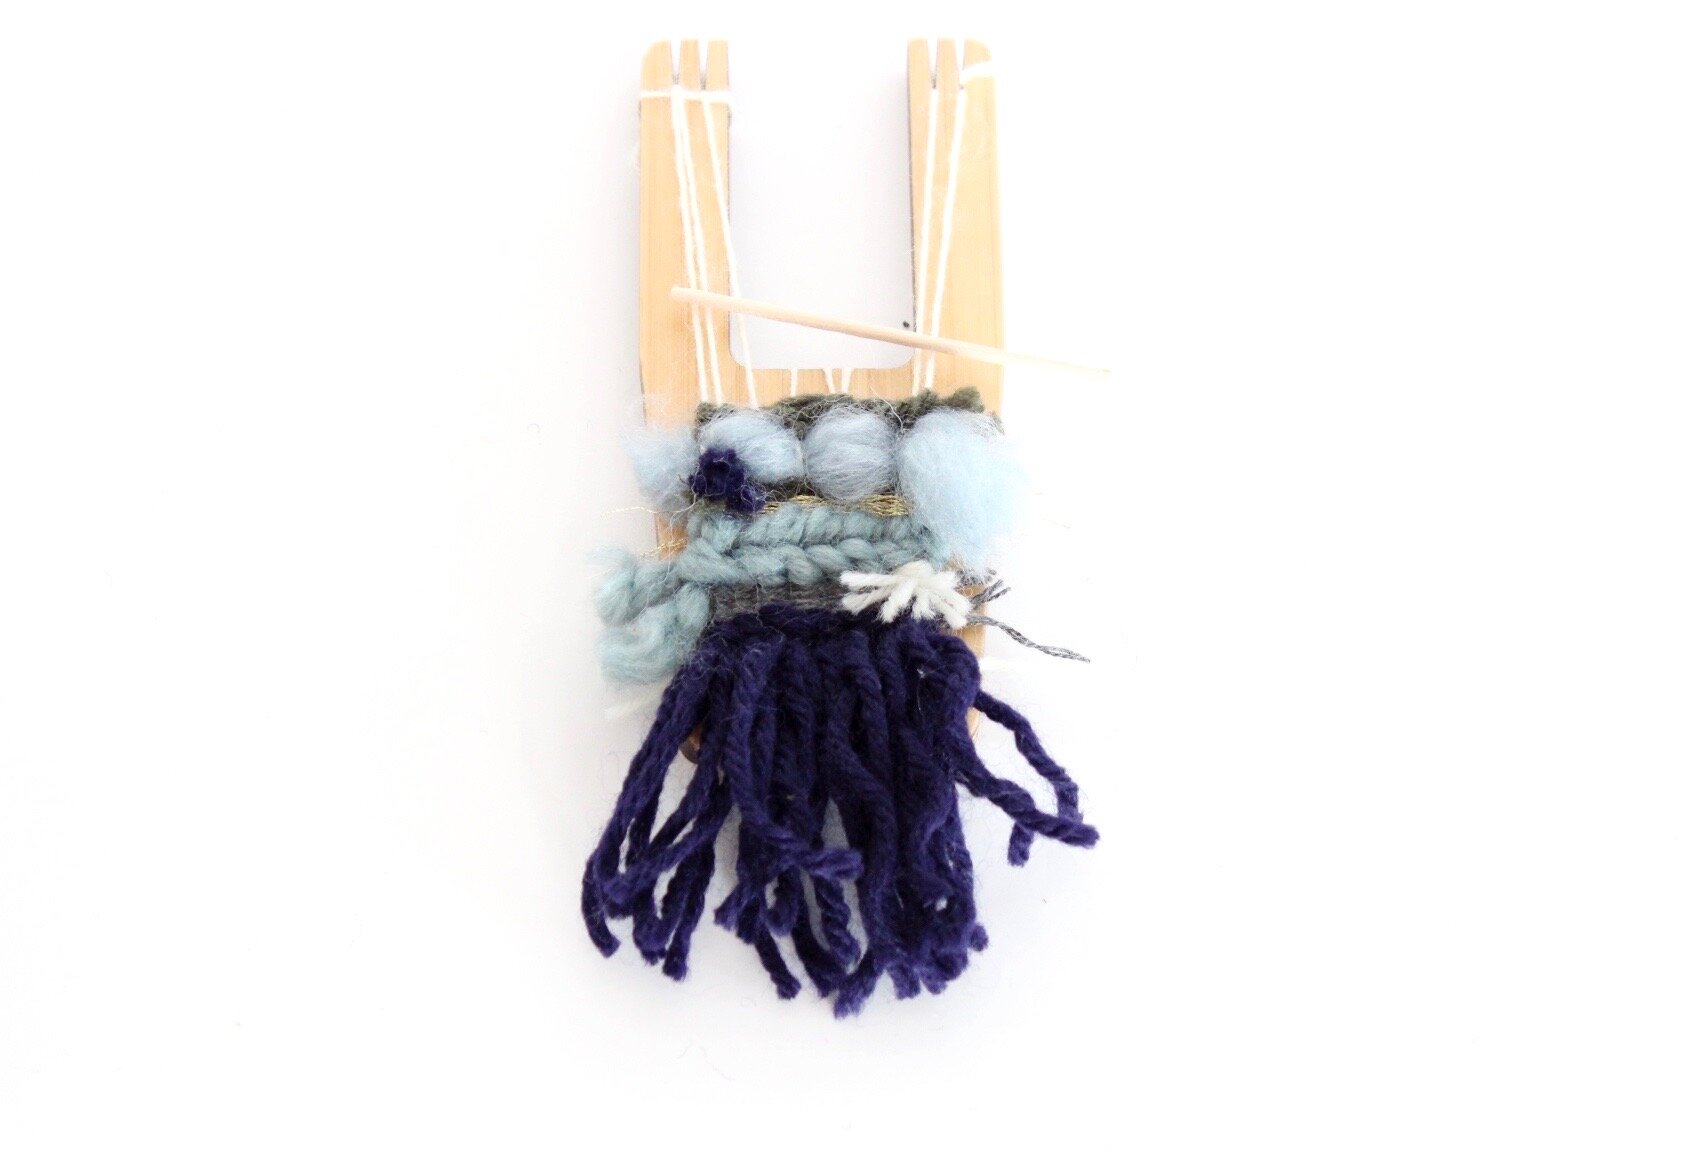
01. Take your skewer and weave it through the top layer. Turn your LOOME tool over so the back is facing you and cut through the center of the warp threads releasing the weaving from the tool.
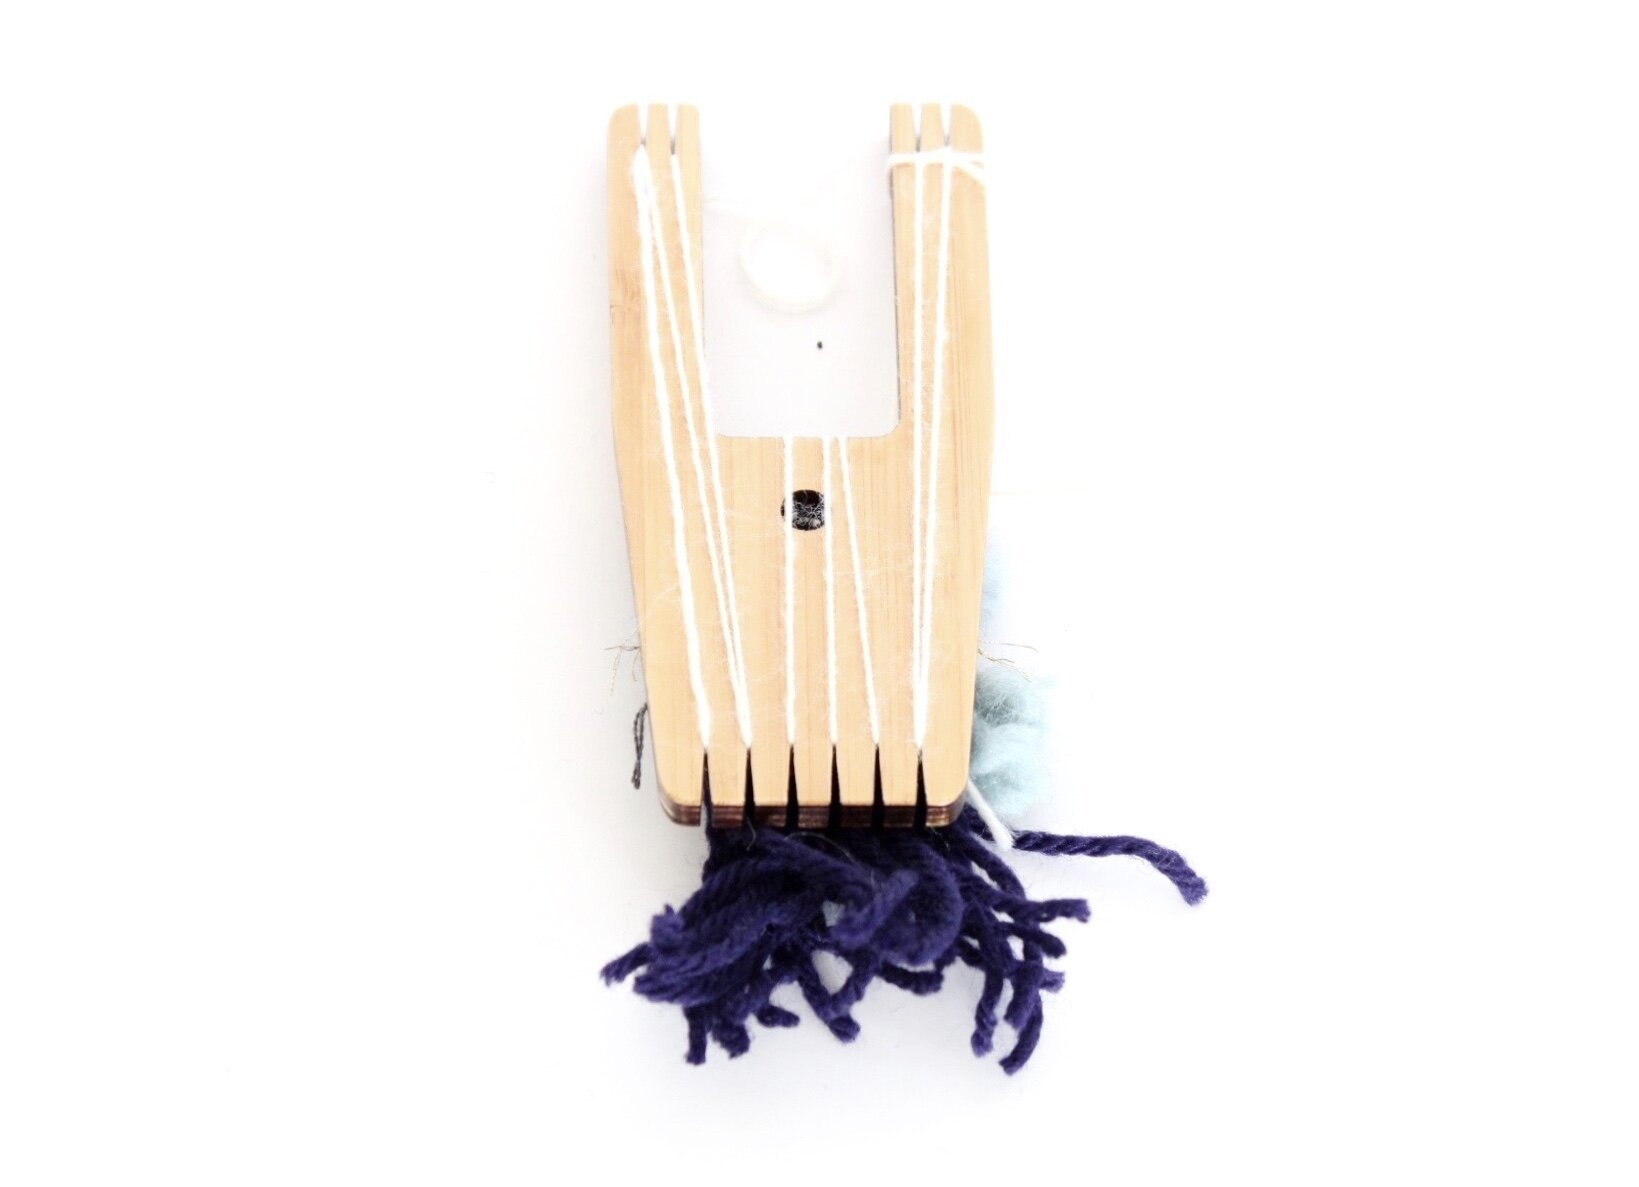

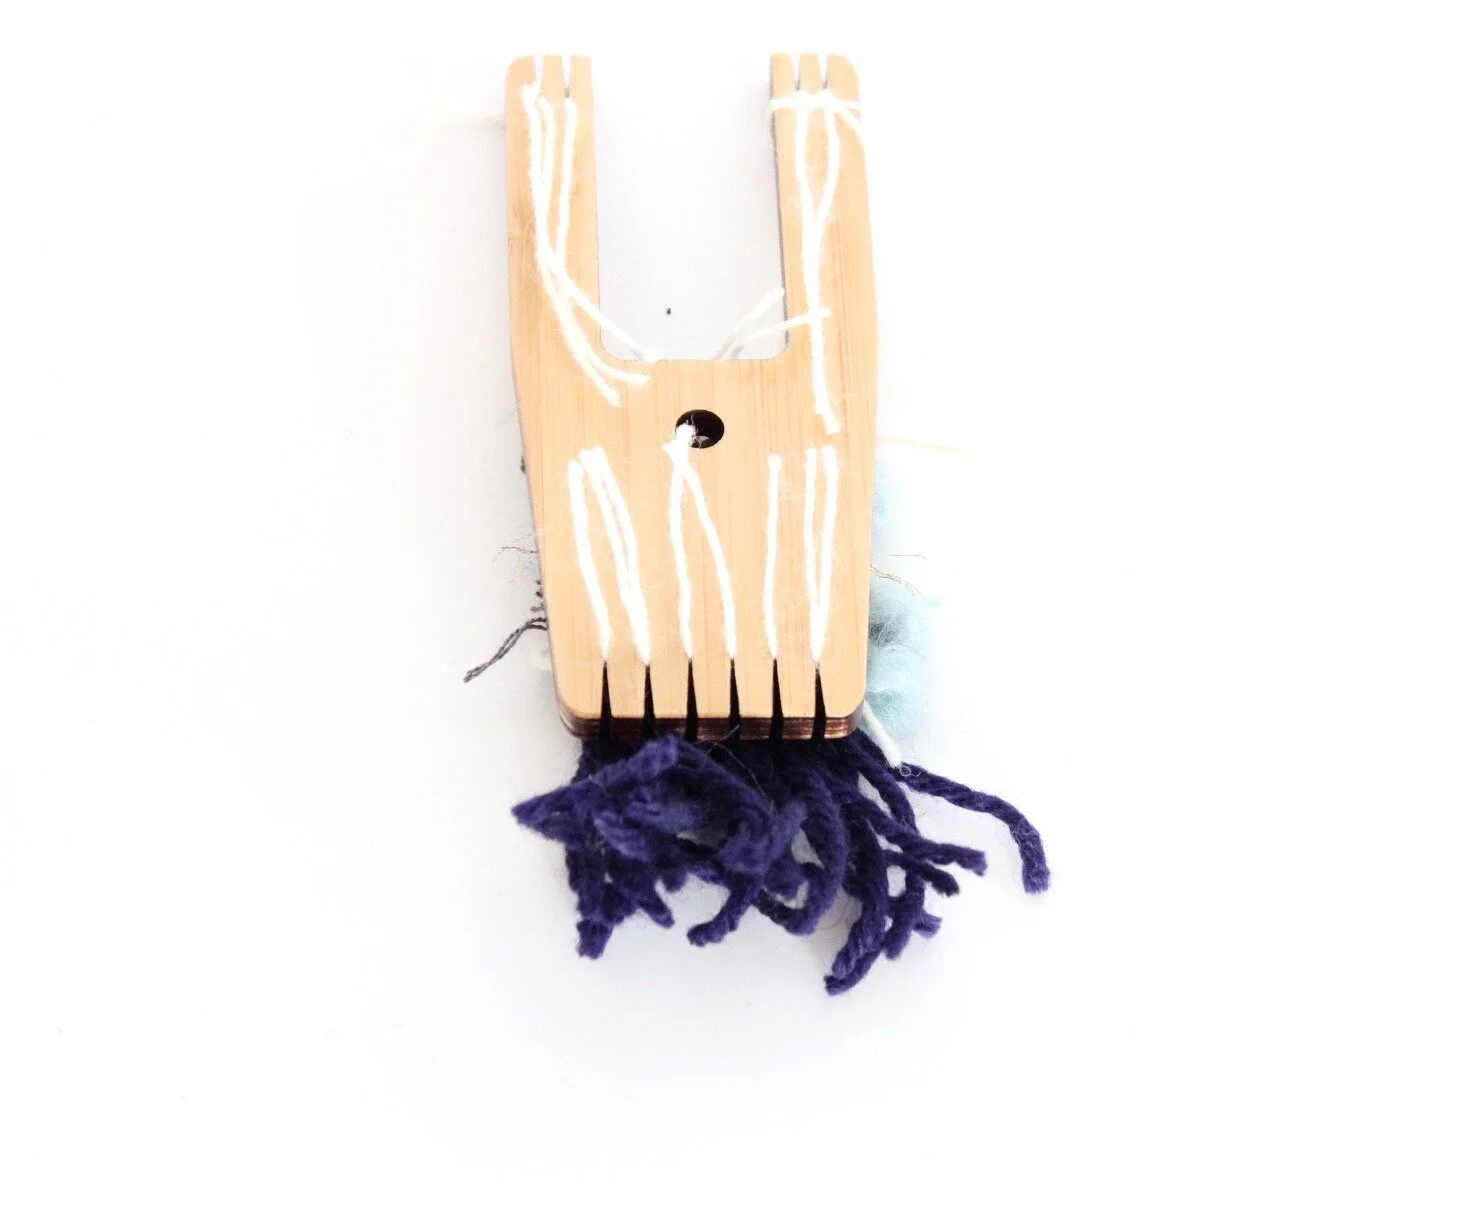
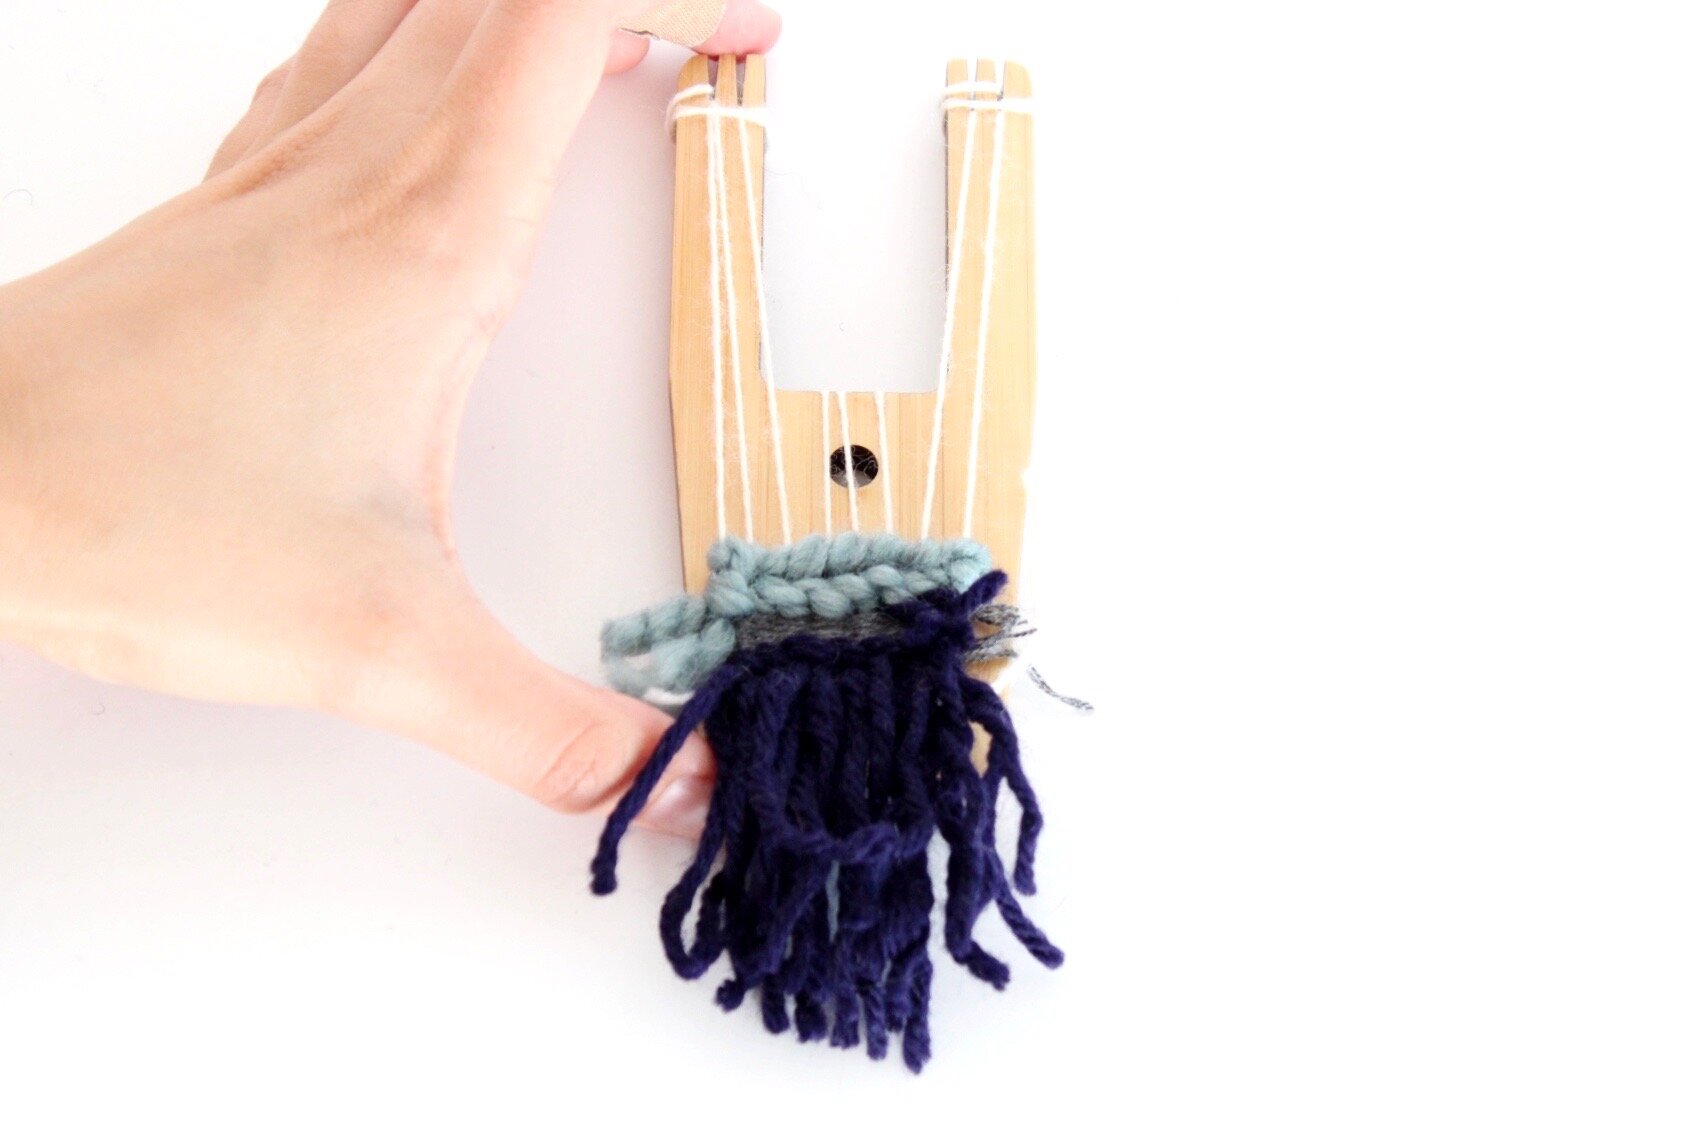
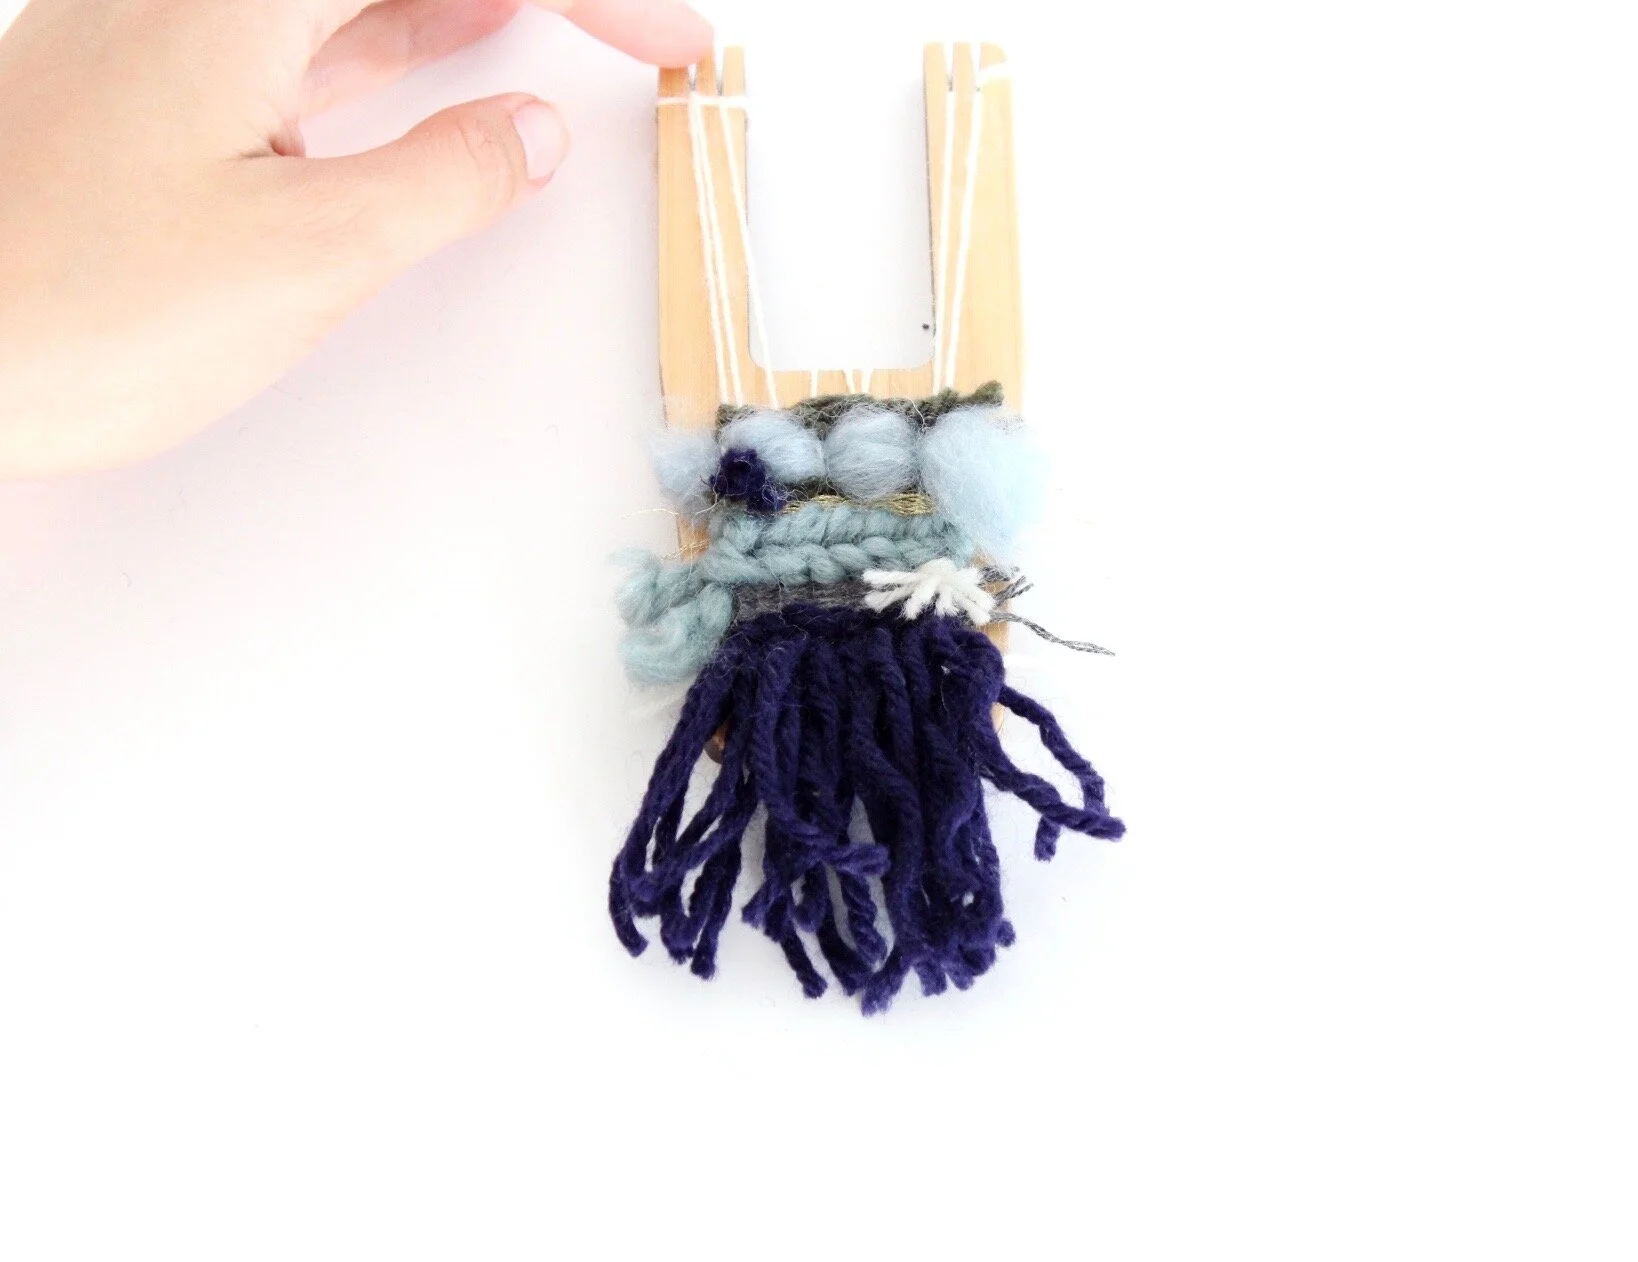
02. Pop the warp threads out of the notches carefully as not to pull them. I like to start with the bottom and then work the top.
03. Flip your tool back over with the weaving facing you. Starting with the top, take two warp threads at a time and tie them together using a square knot, keeping the skewer in place. Repeat this with the following pieces of yarn until it is knotted across. Repeat the same on the bottom.
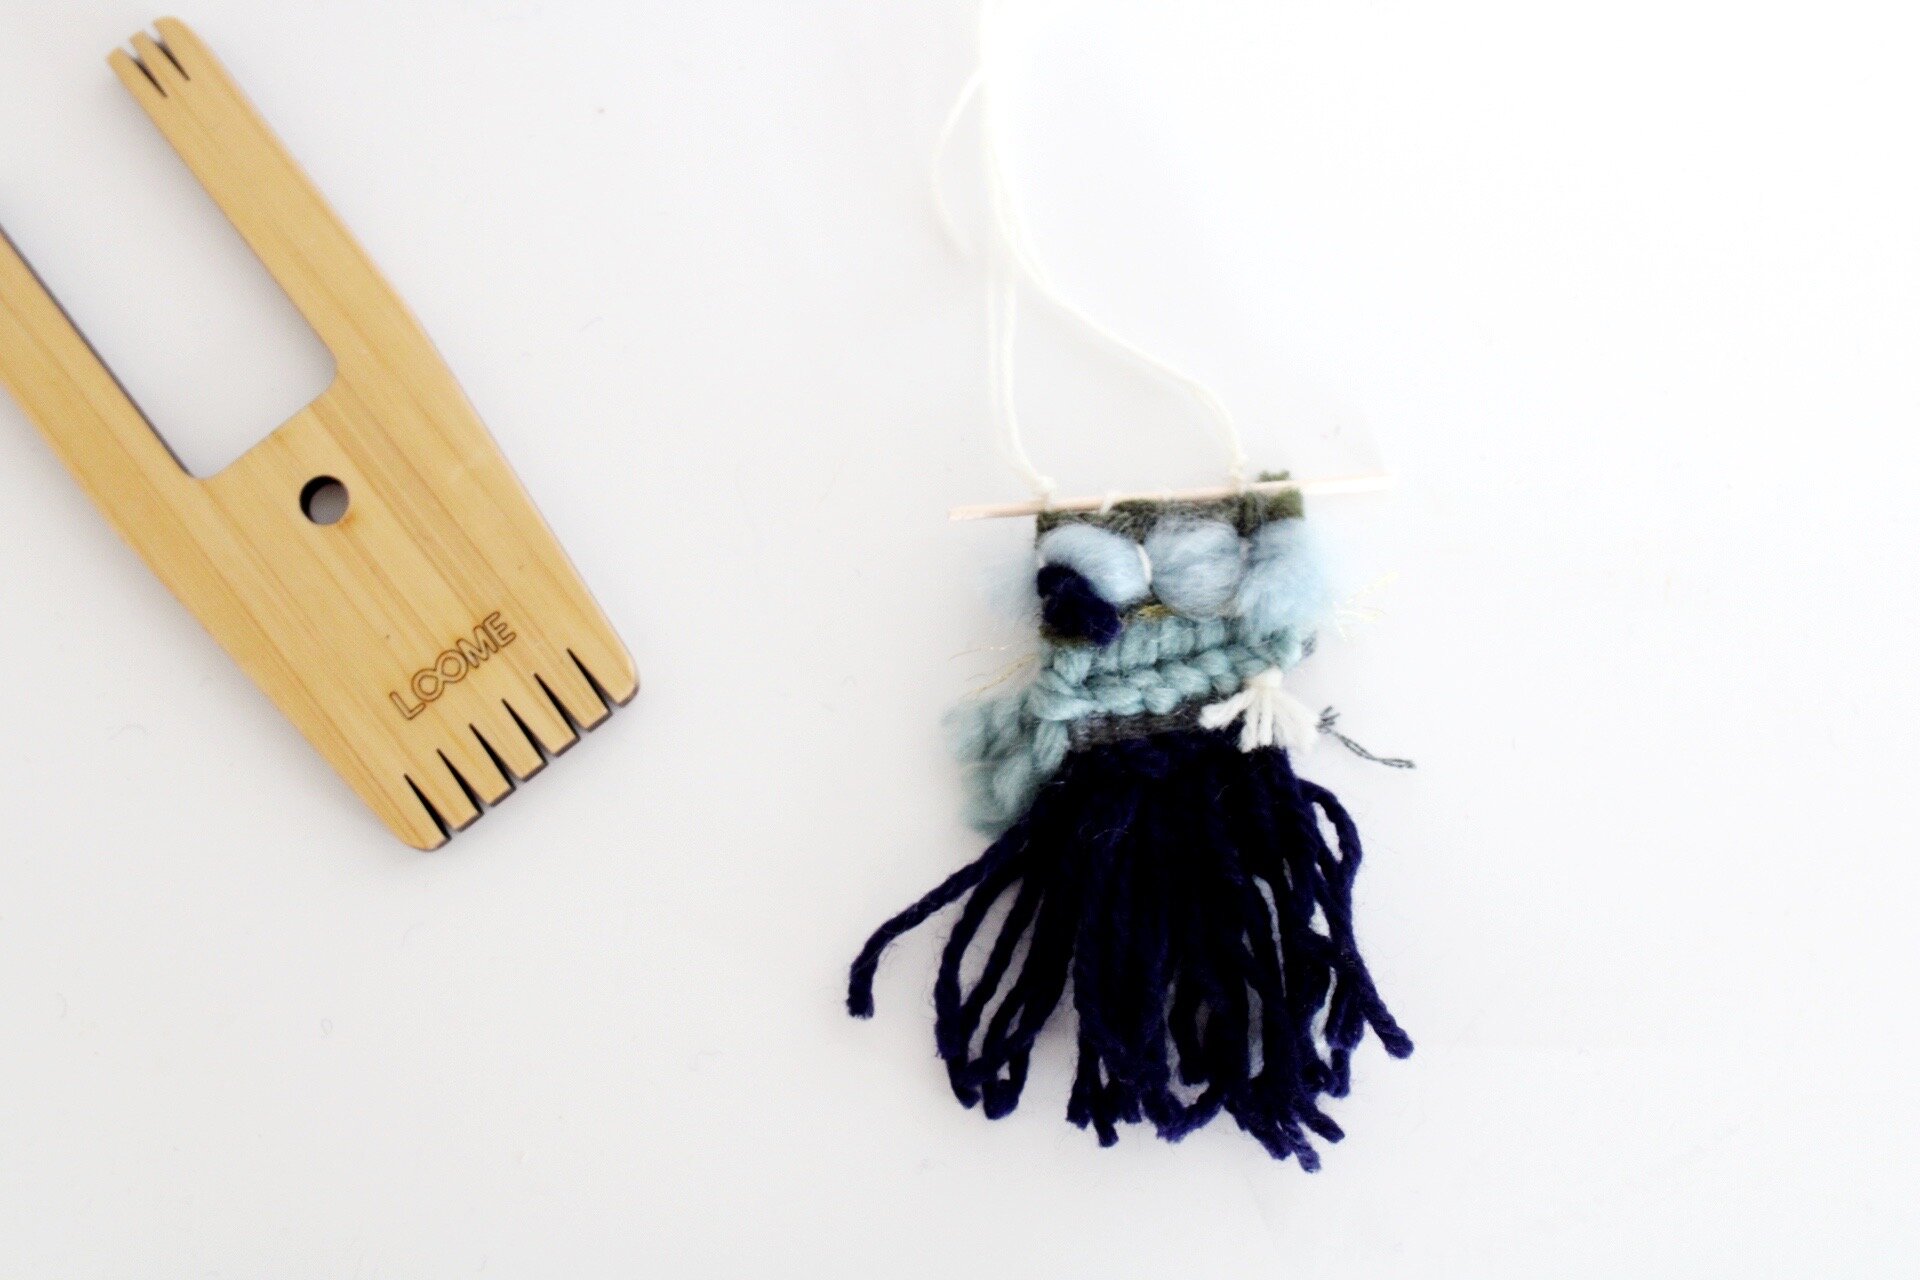
04. When you are done, flip the weaving back over and take the tails of your knots through your tapestry needle and vertically weave them into the back of the weaving.
05. You can choose to tie a small piece of string to each side of your skewer, just as you would a regular sized weaving. Creating a way to hang this small weaving on a wall or in your car. You can also add a longer string to create a necklace or add a pin to the back, by gluing a piece of felt and a pin to create a woven statement broach!


I love making these mini weavings and having this LOOME tool. To be completely honest, I have a whole kit for my bag for when I am leaving the house. Inside this kit is; a LOOME tool, scrap yarn, scissors, weaving needle. I literally always have the ability to weave with me. I normally pull it out during a meeting, when I am waiting for an appointment, when I am on the train. Everywhere is the perfect place to weave and I take that very seriously. Weaving is a HUGE coping skill for me and these little weavings that I make are exactly like if I was to carry around a sketch book and make a drawing. They are super mindless, but also mindful for me. The smaller the weaving, the less of a plan that I have which also makes it totally more spontaneous and improvisational. What is fun is sometimes I get to make the weaving into jewelry, or I give the weaving to the person I am on my way to see!
Also my love for my LOOME tool is not an ad, it is purely just love.