punch needle kit
hello and welcome to your punch needle kit! i am so happy you are here! get excited to learn how to use all the materials in the box and make your one creation. you will learn how to thread your needle, how to stretch the fabric into your hoop and how to start punching.
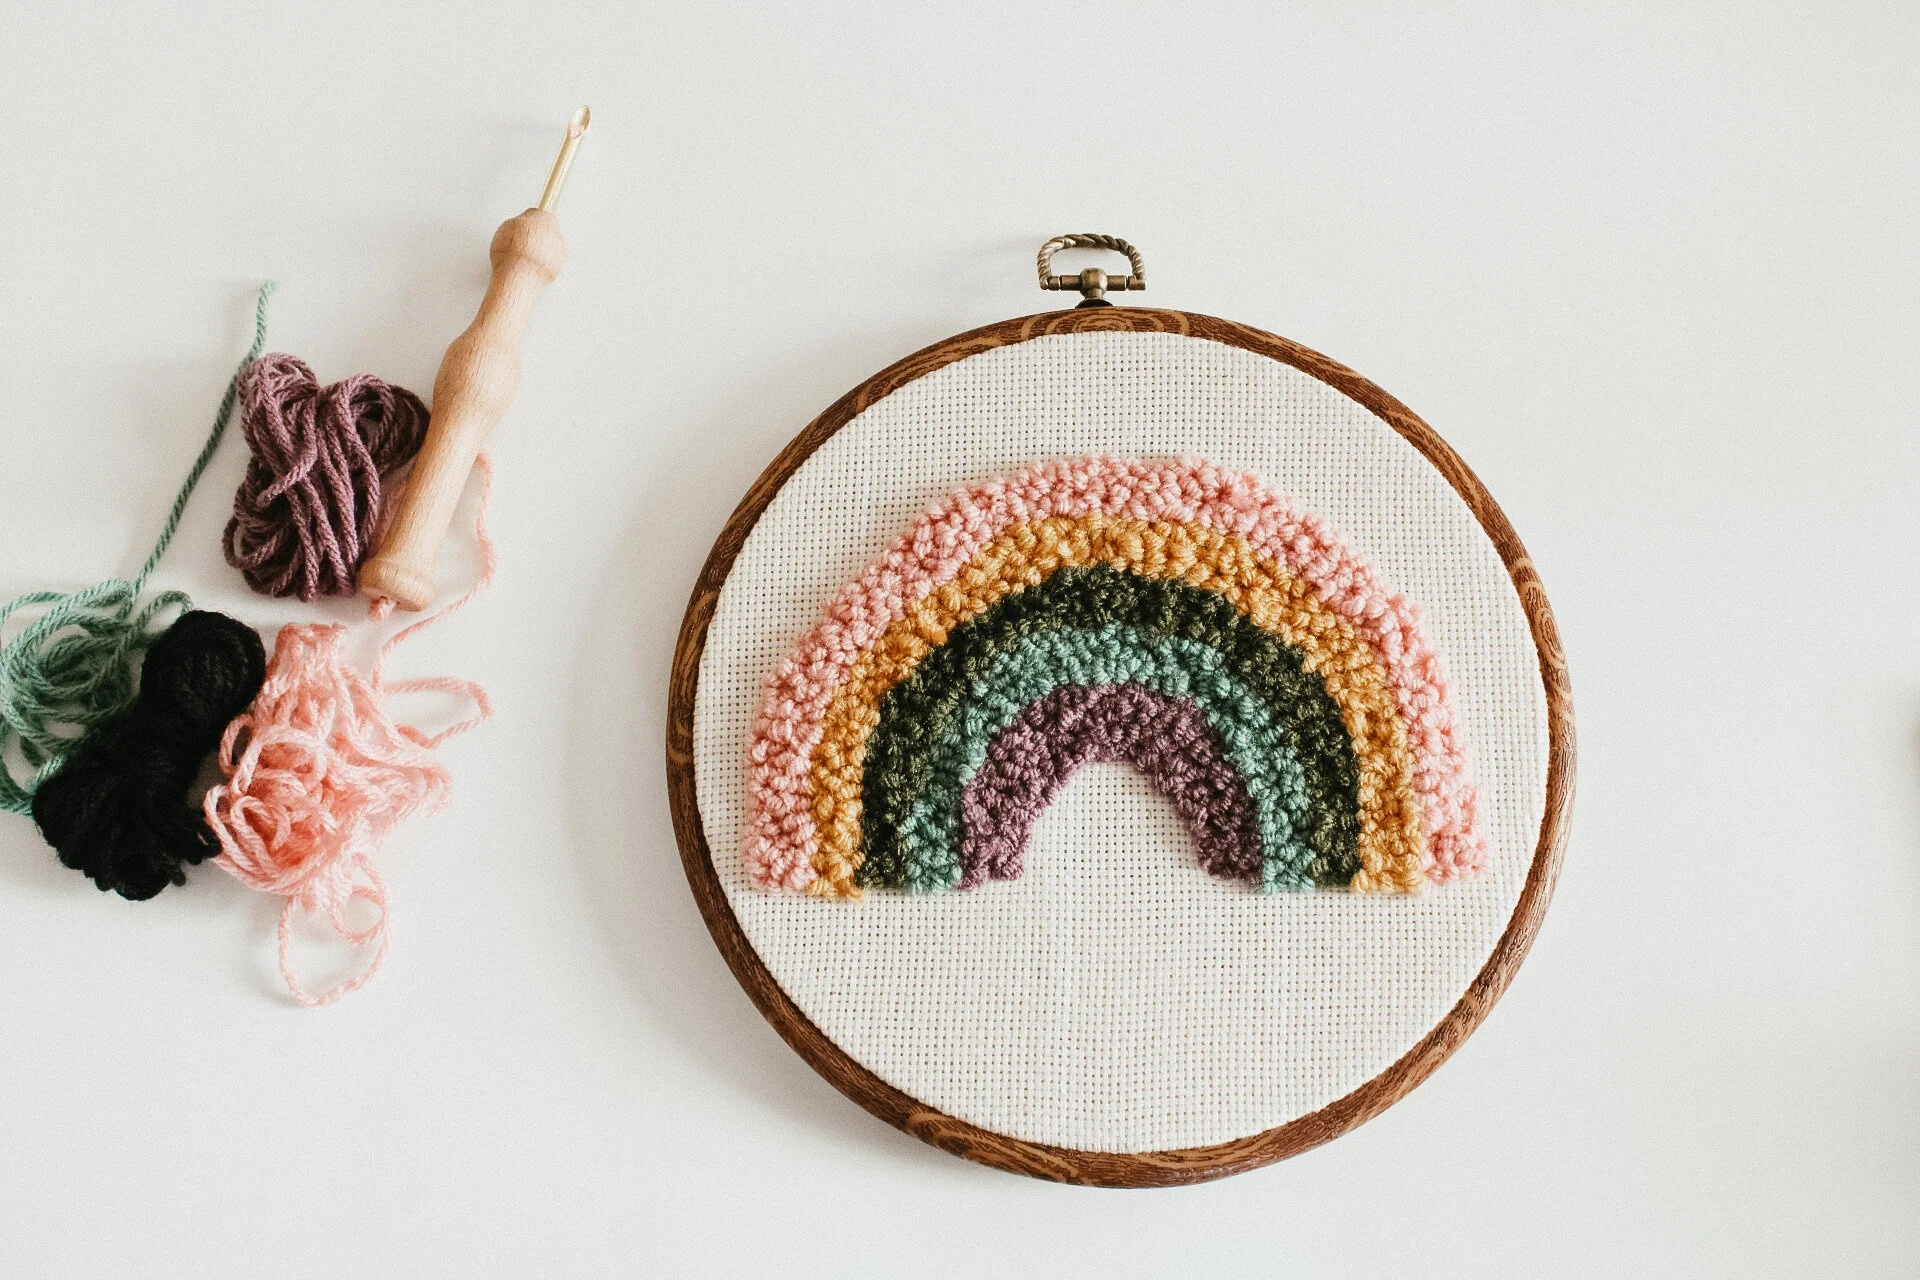
IMPORTANT: these instructions show the rainbow kit, but all the instructions are the same for each punch needle kit. punch needle instructions are universal!
+kit includes
*scissors are not included in the kit

+stretching the fabric

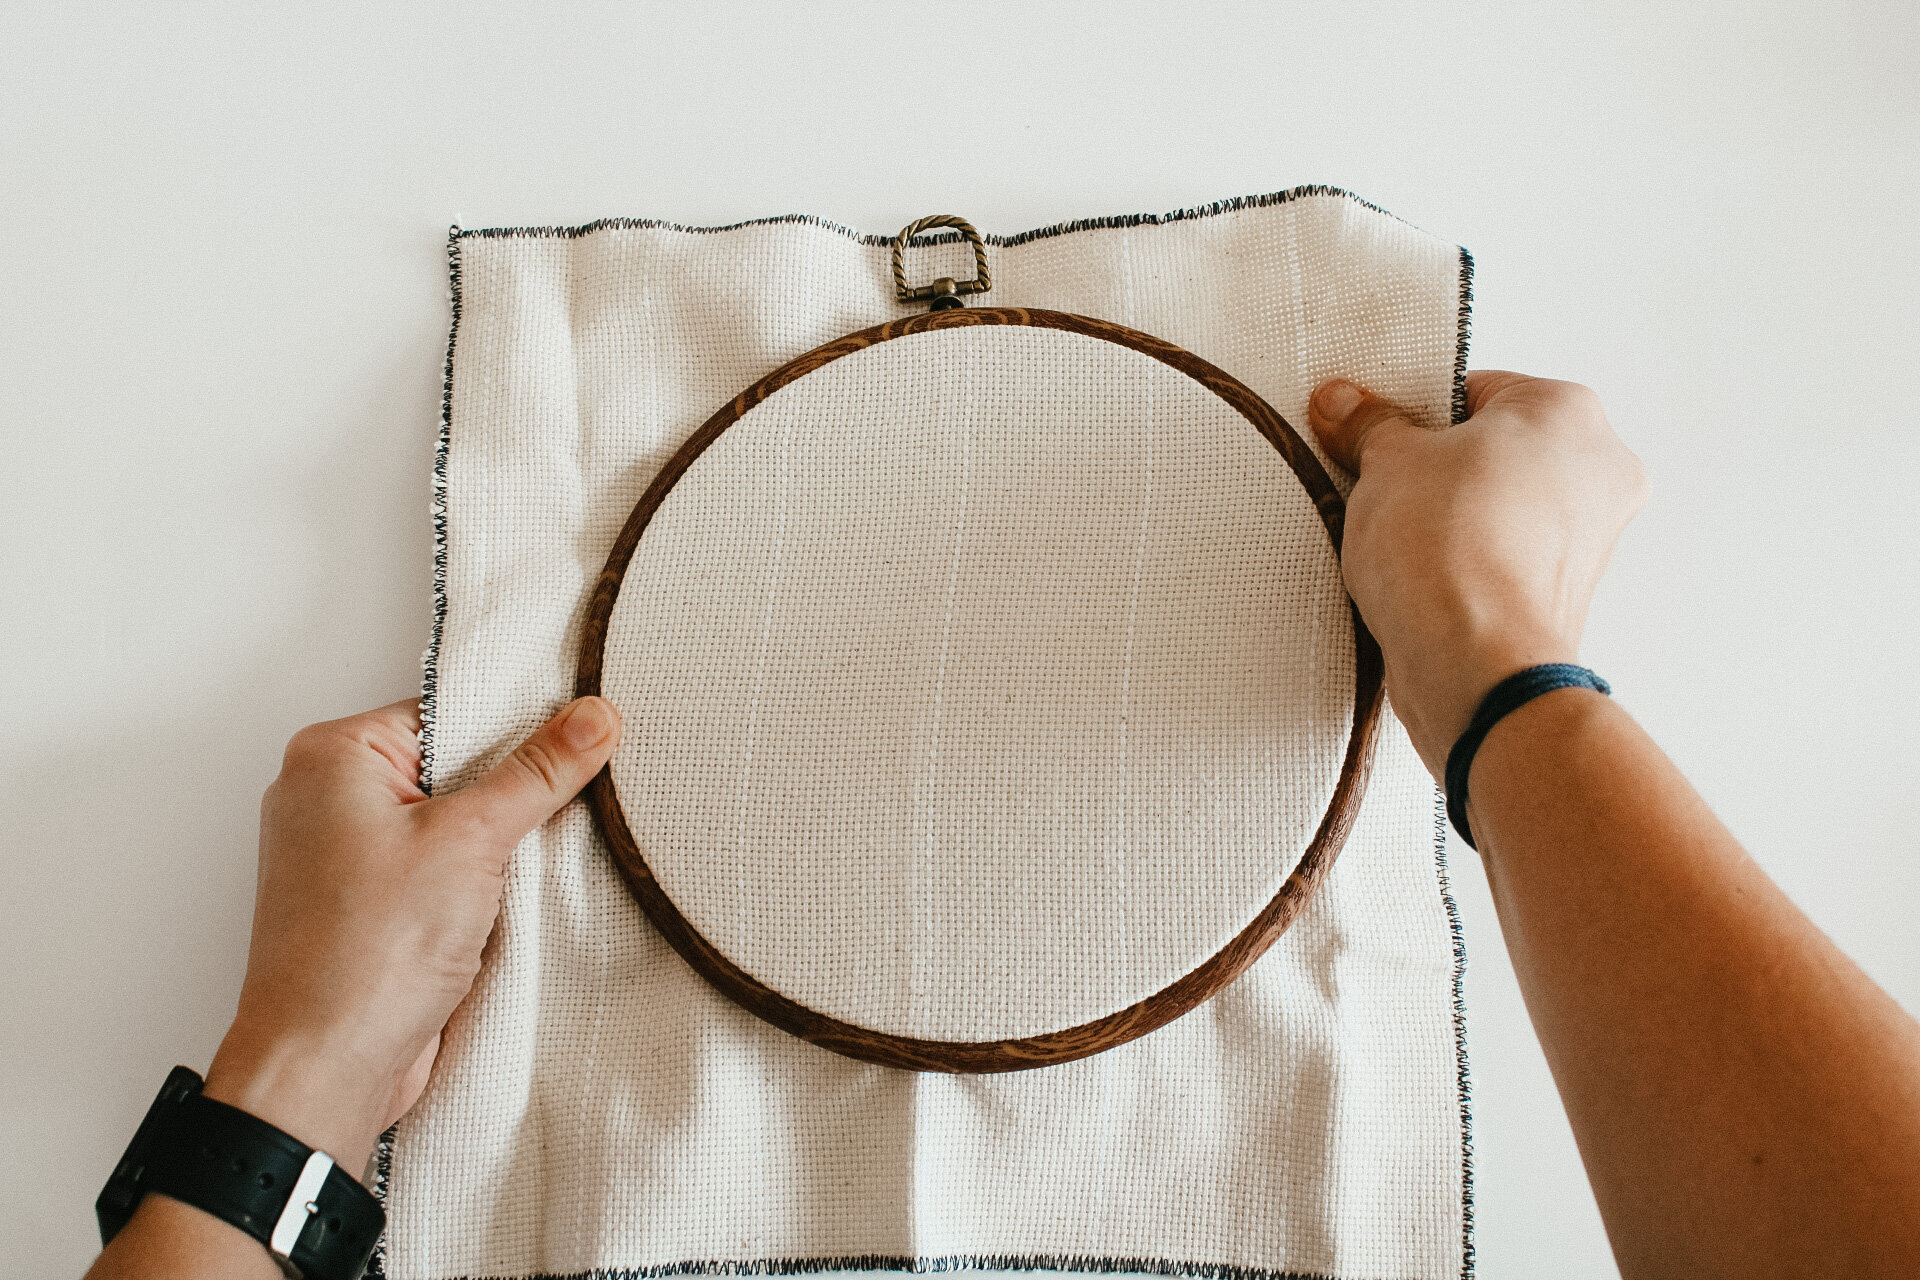
01.take apart your embroidery hoop. if you have never seen these type of hoops before, they are no slip. take the part that looks like wood off the piece of white plastic. use some force and ROLL it off the plastic.

02. center your monks cloth fabric and lay it over the white plastic hoop.

03. with the wooden top, ROLL it back into place over the fabric. it make take some maneuvering, but it does not matter if your fabric gets a little shifted in the process. you will pull it tight in the next step.
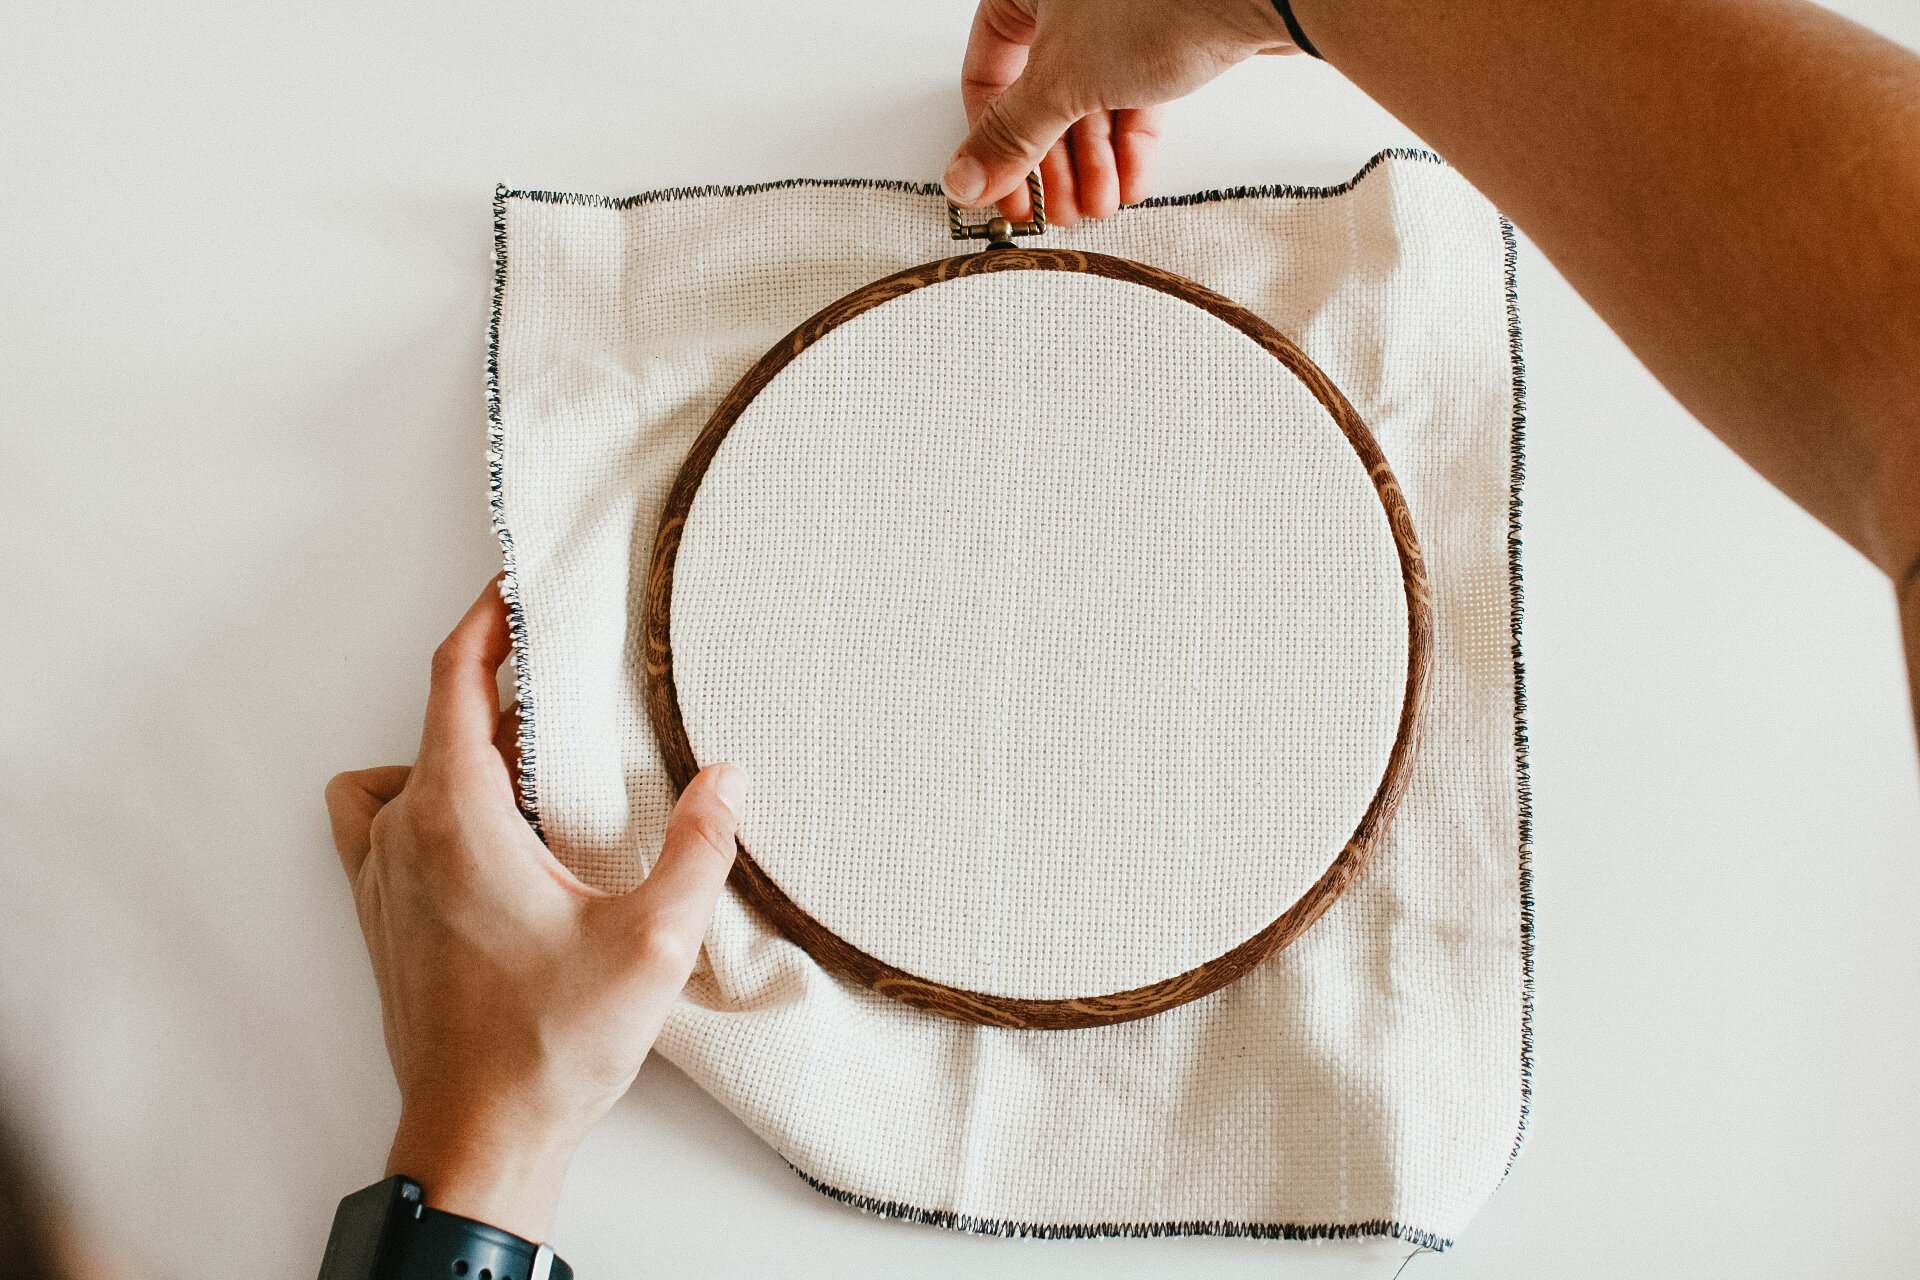
04. once the fabric is in place, pull the fabric tight while holding the hoop. you will be able to see the fabric starting to move. continue pulling until your monks cloth is as tight as a drum.
+tracing your design
01. find a window in your home that has good light coming through. tape your design to the window. you can also use the computer screen in a dark room as a light source.

02. place your hoop up to the window and trace your design with a sharpie or felt marker. front of the hoop should touch the window, so that the image will be on the back/ inside of the hoop. make sure you are tracing in the middle of the hoop.

+threading the needle
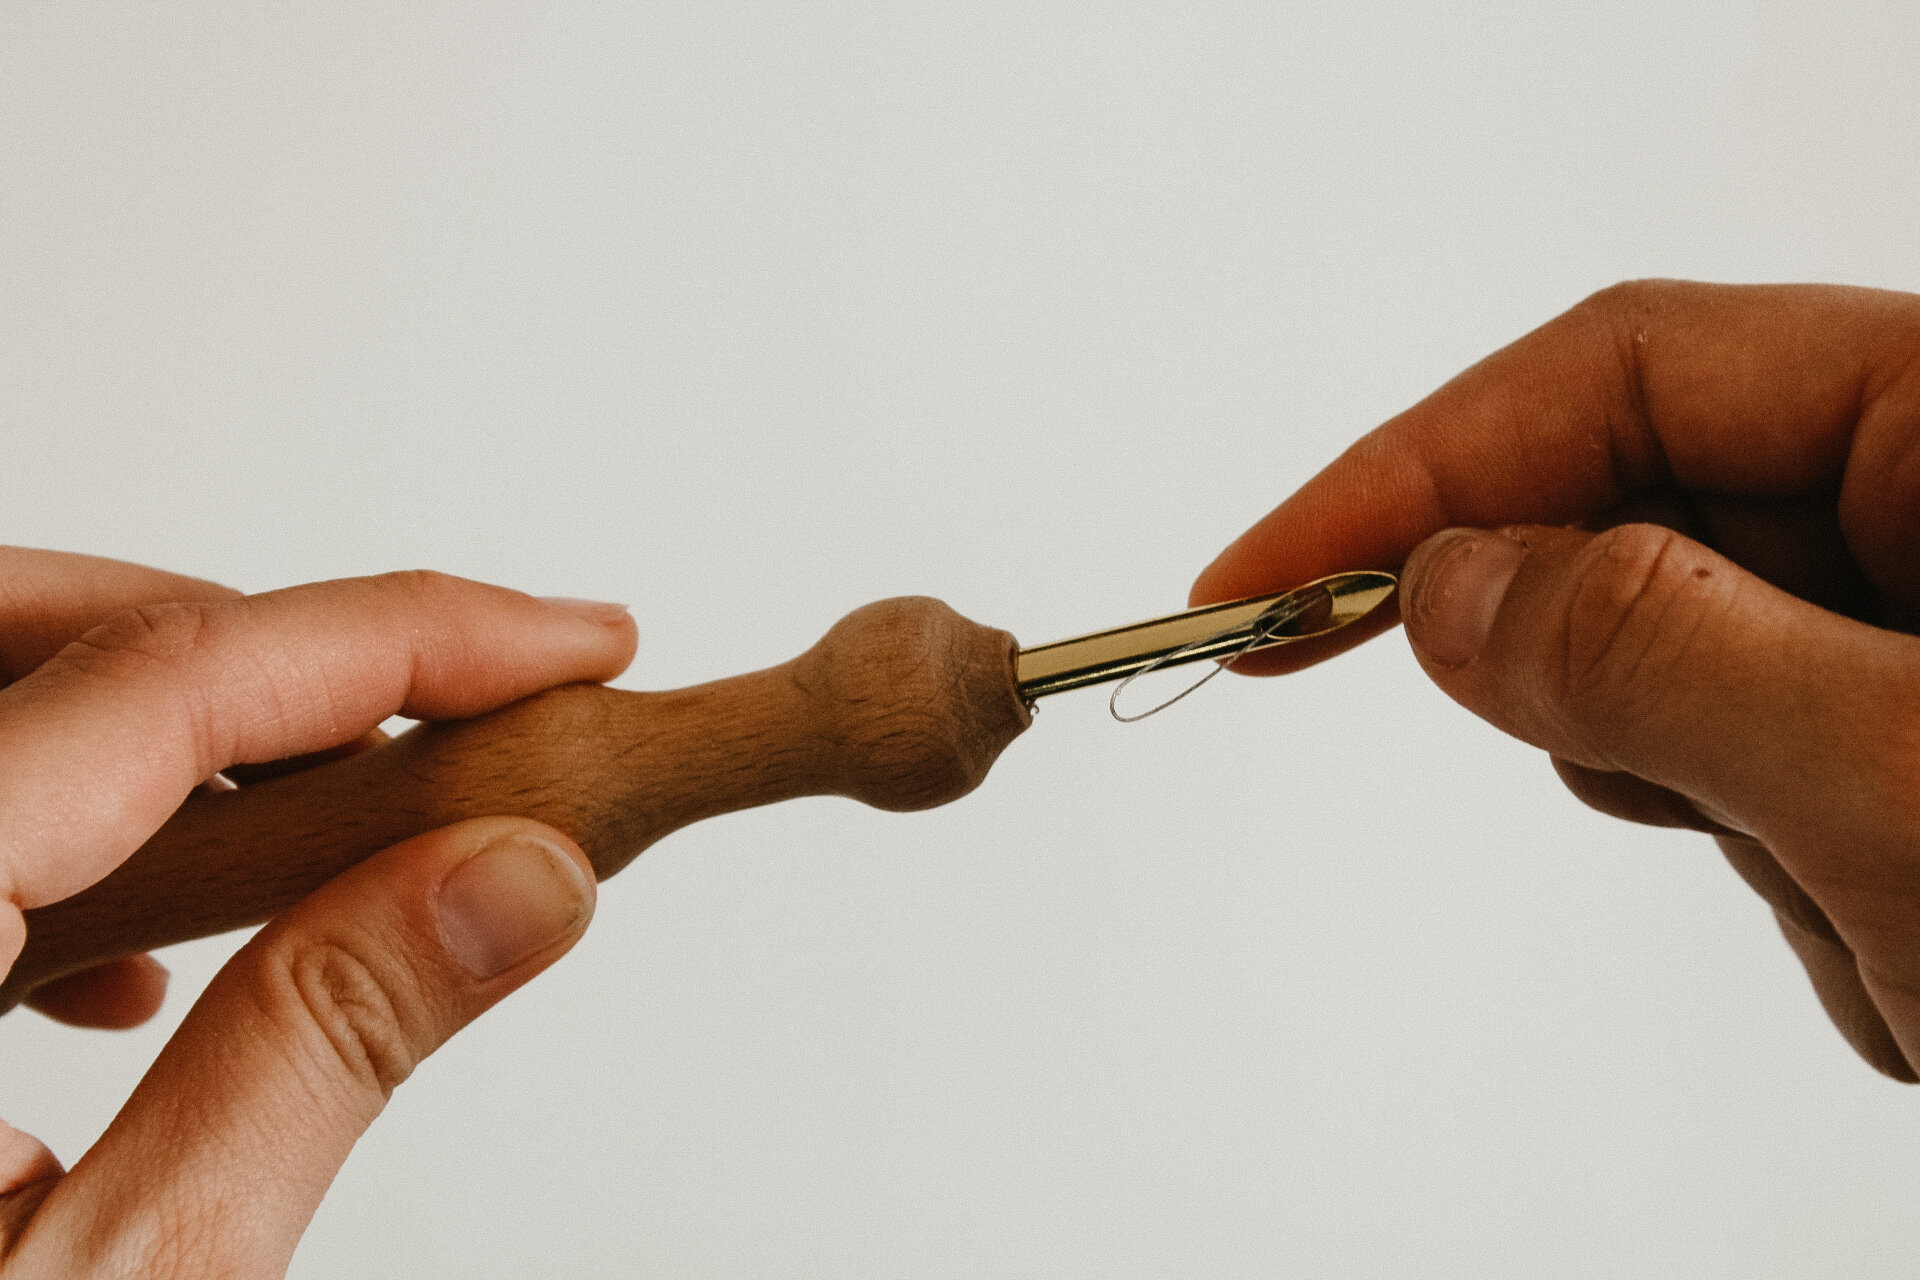
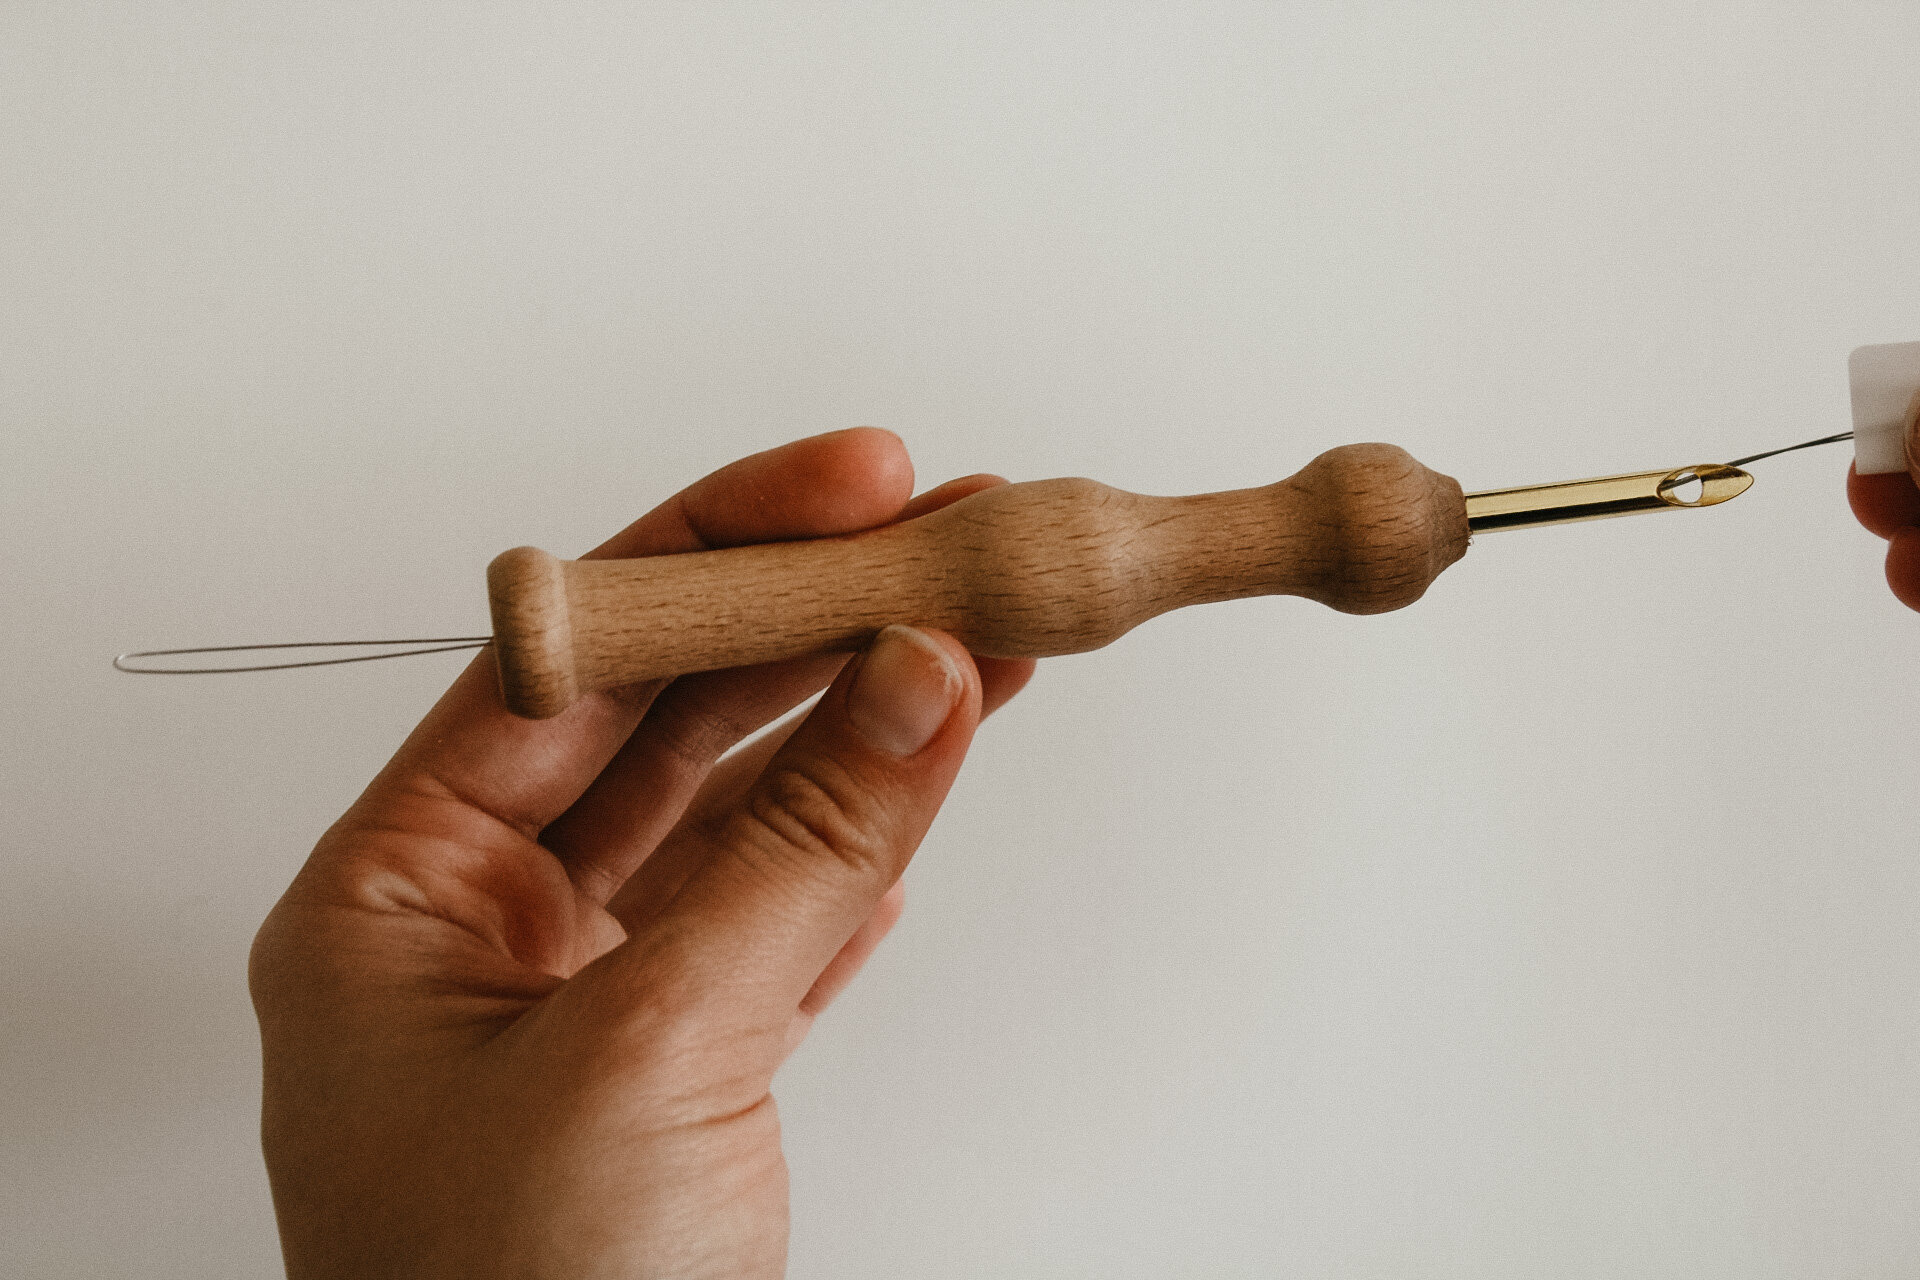
01. using threading wire to thread the needle. insert the threader into the top of the needle (pointy end). starting with the eye of the needle (the small hole at the top) and then through the center of the needle.
pro tip: the yarn must go though the whole needle as well as that small hole, so don’t forget to pull it through there!
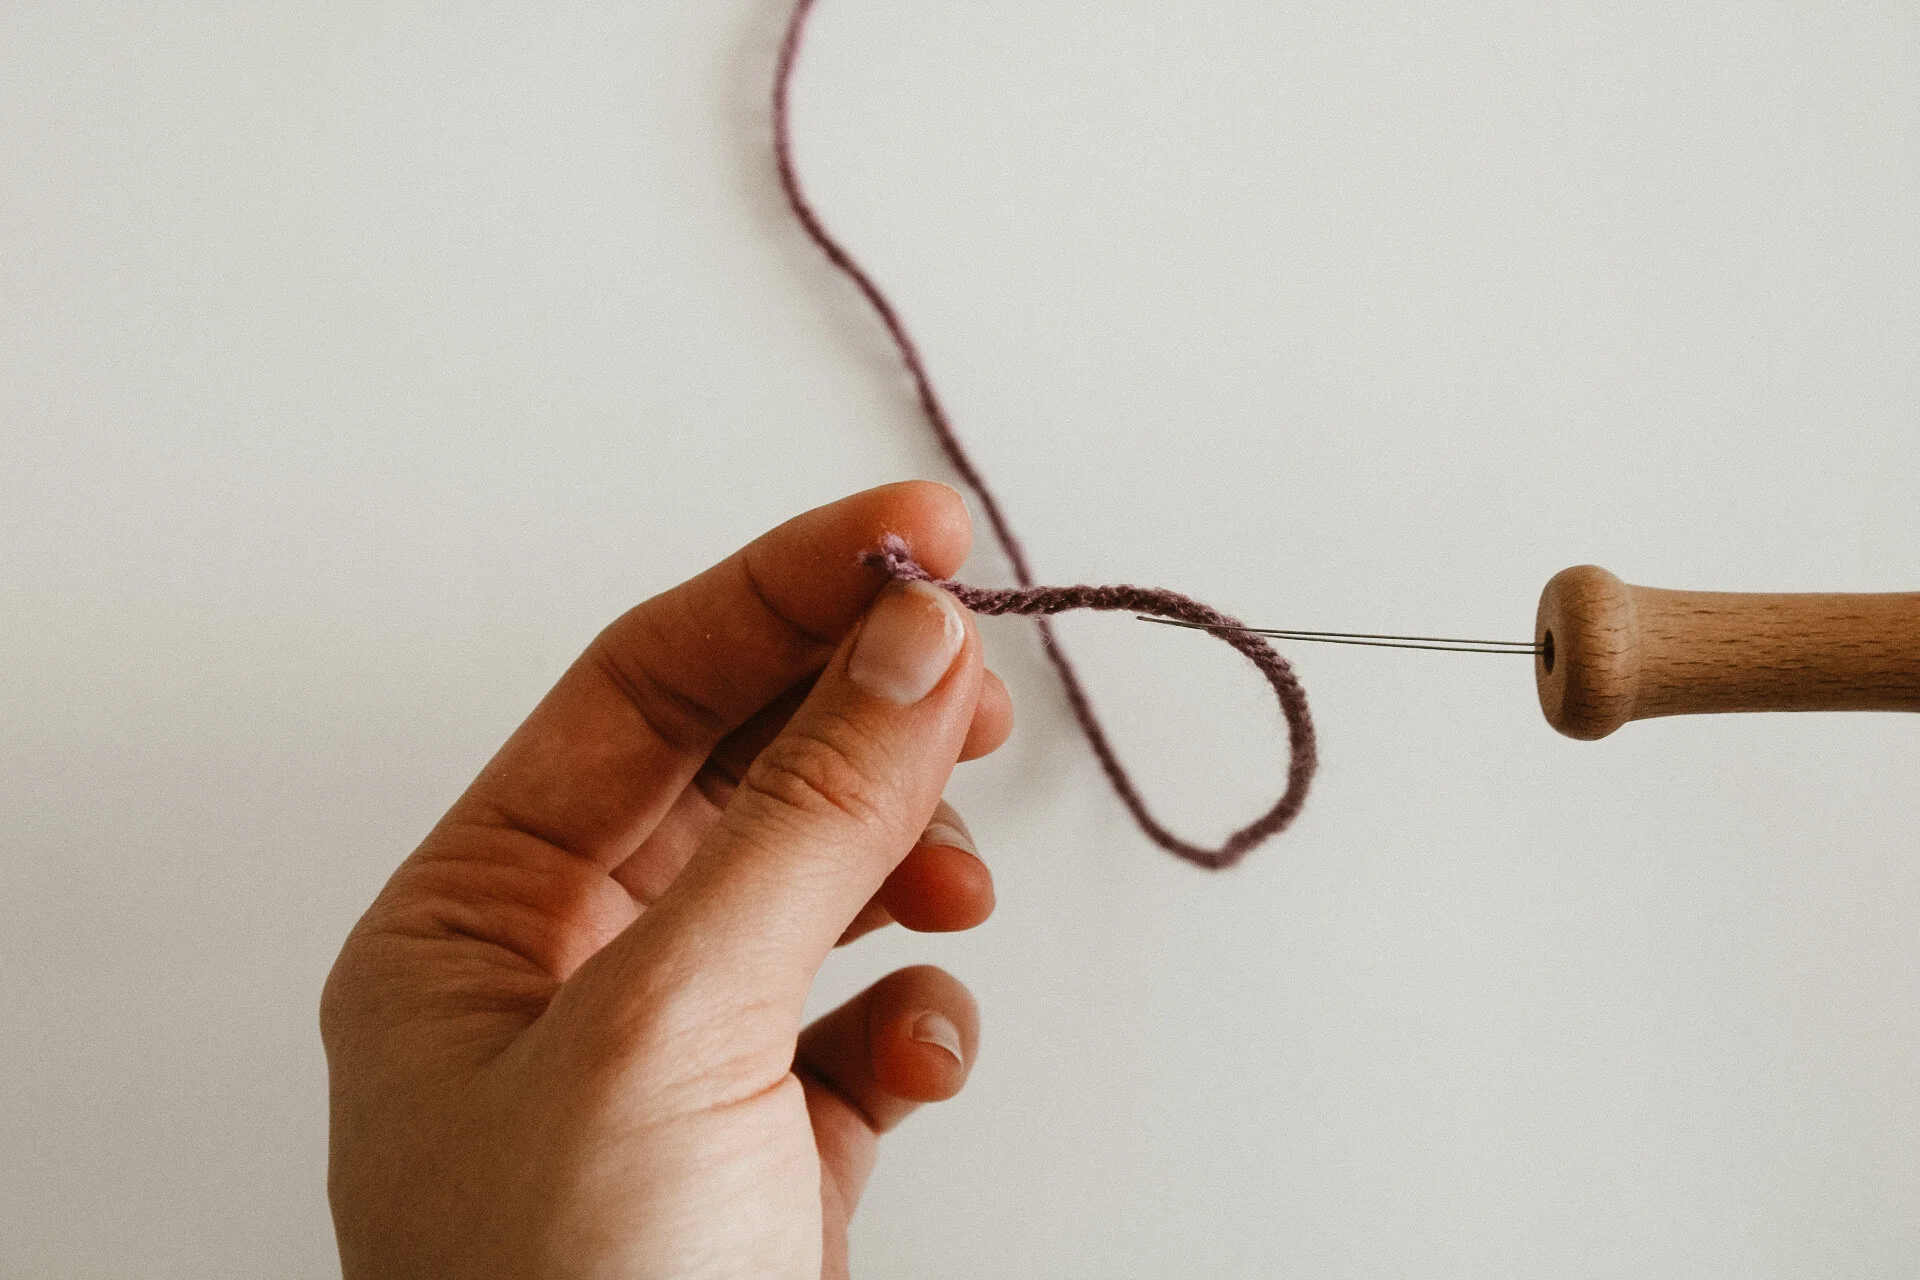
02. place 2 inched of yarn through the threaders loop end.
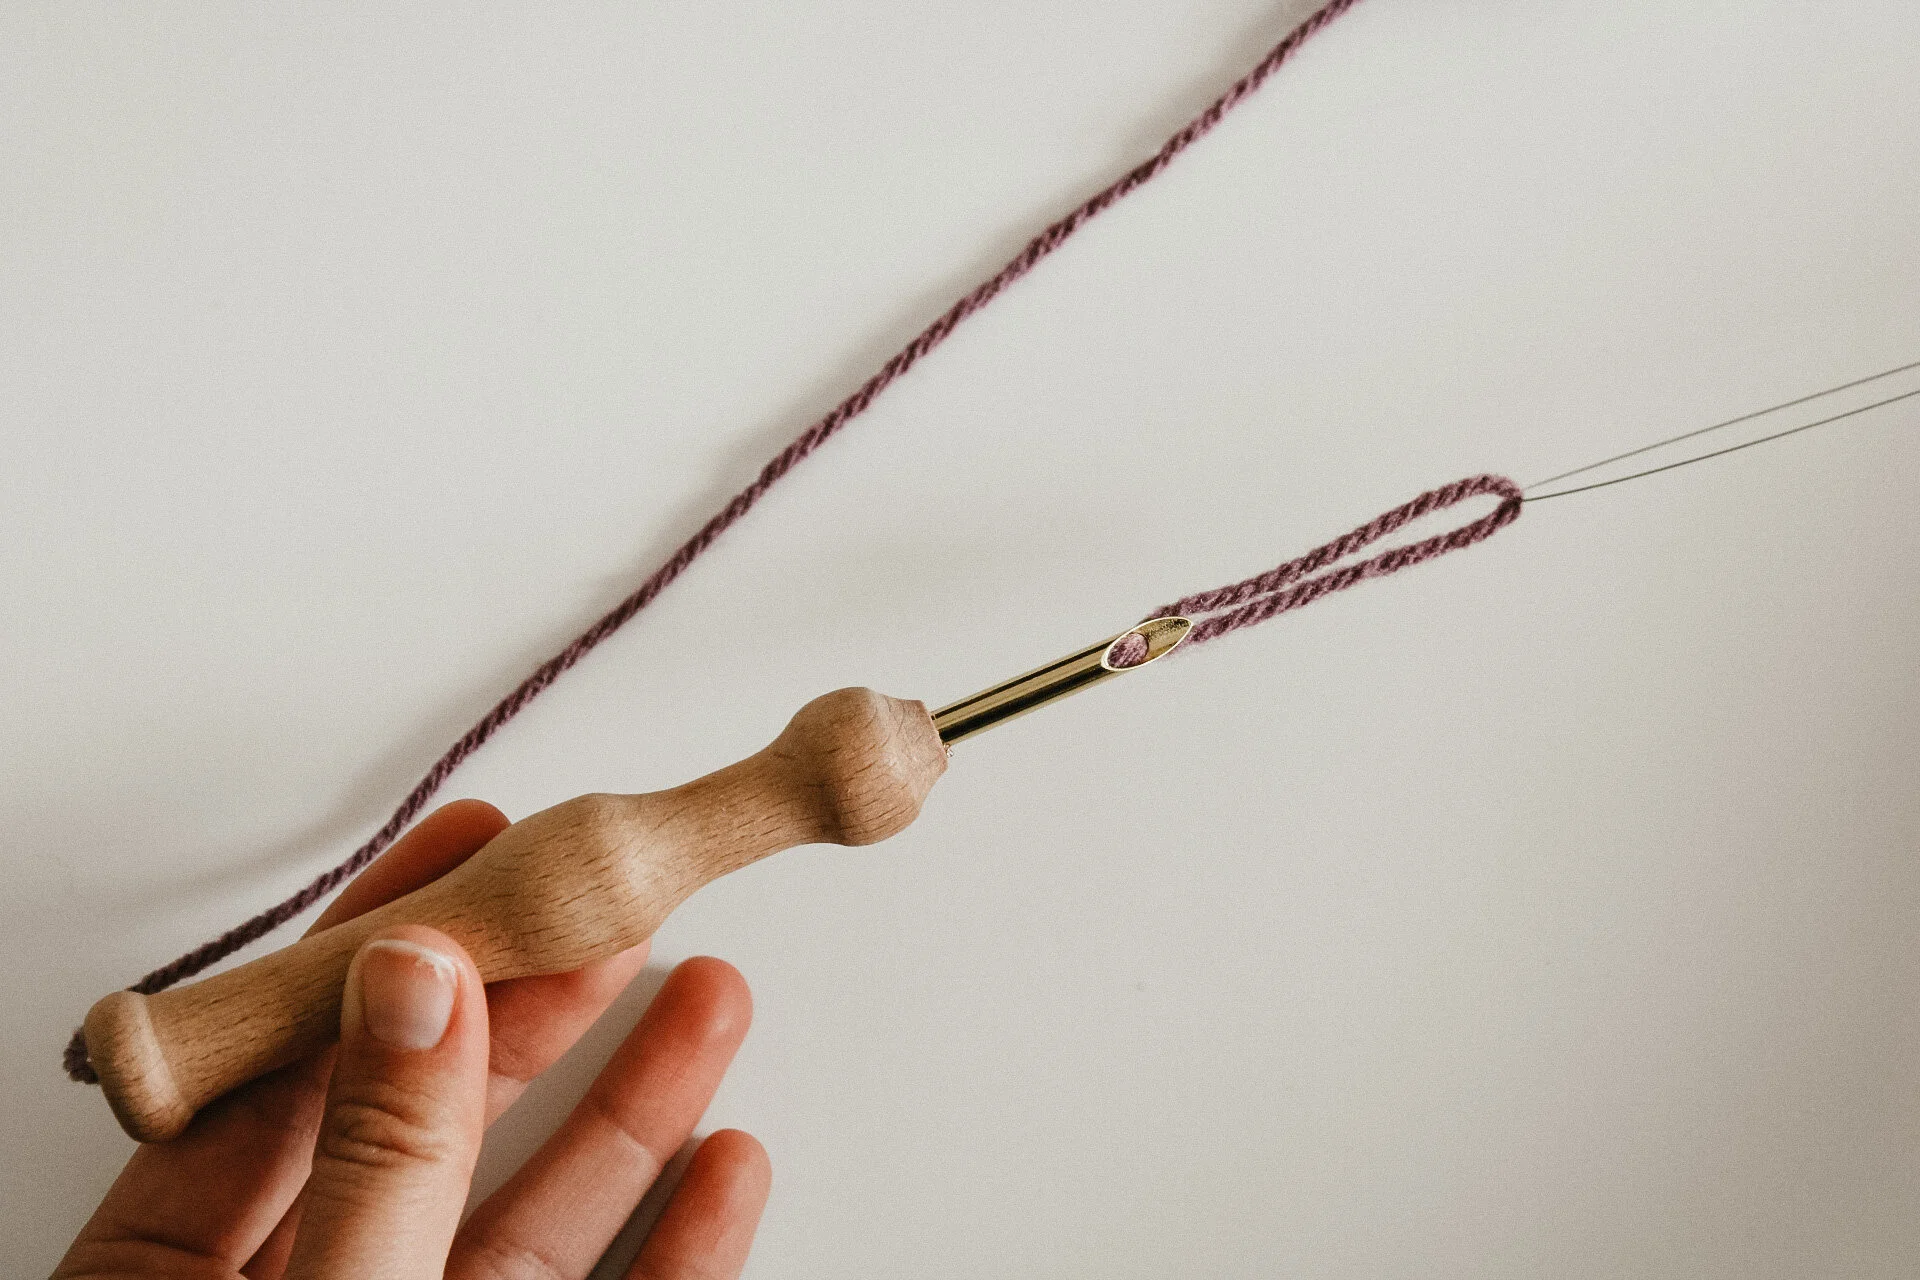
03. pull the threader slowly and carefully back through the needle.
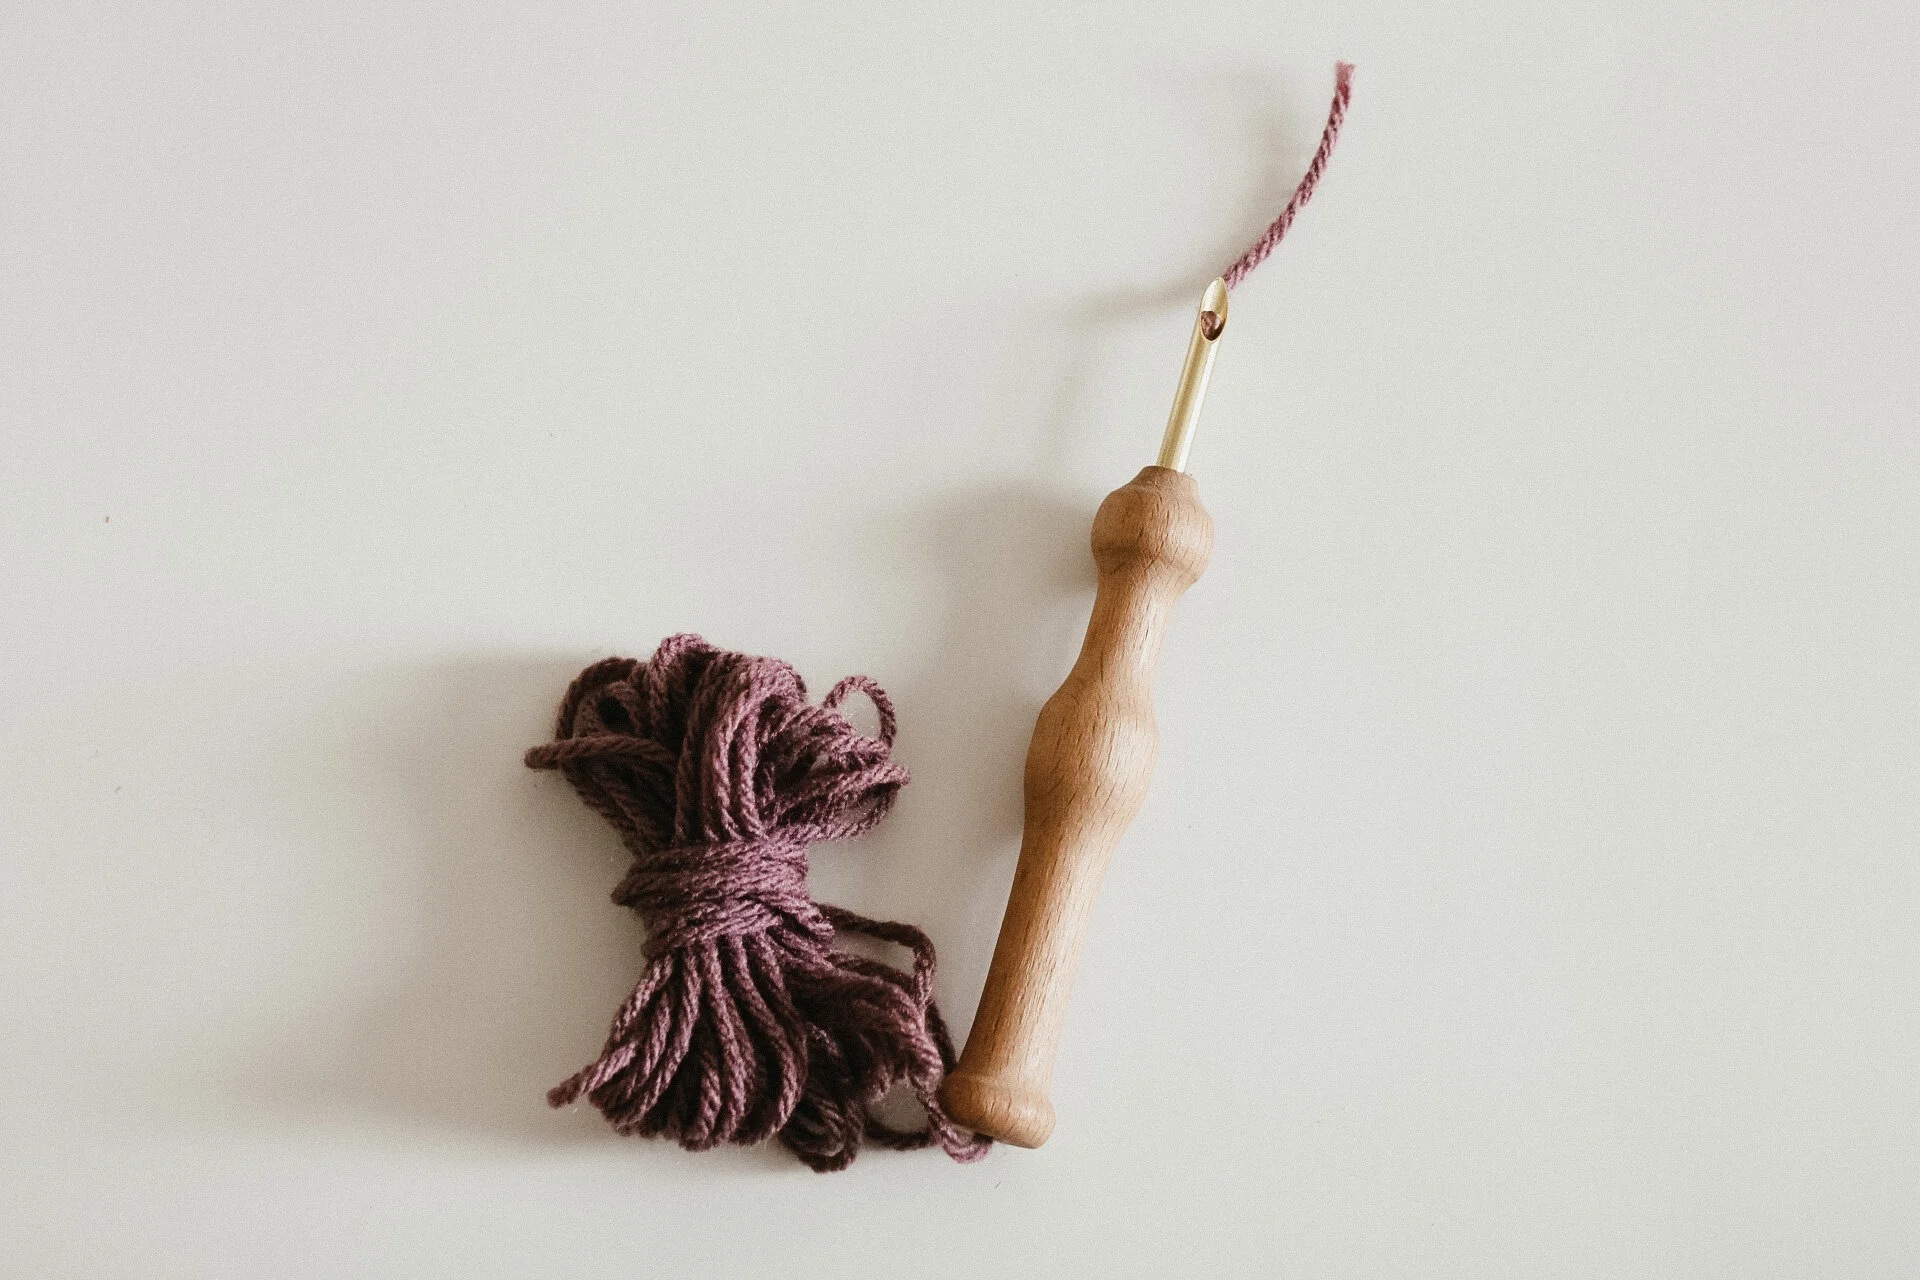
04. the needle will now be attached to your ball of yarn. you’ll want to make sure there is enough slack in the yarn to help move the needle when you start punching (next step)
pro tip: place the ball of yarn on the floor while you punch!
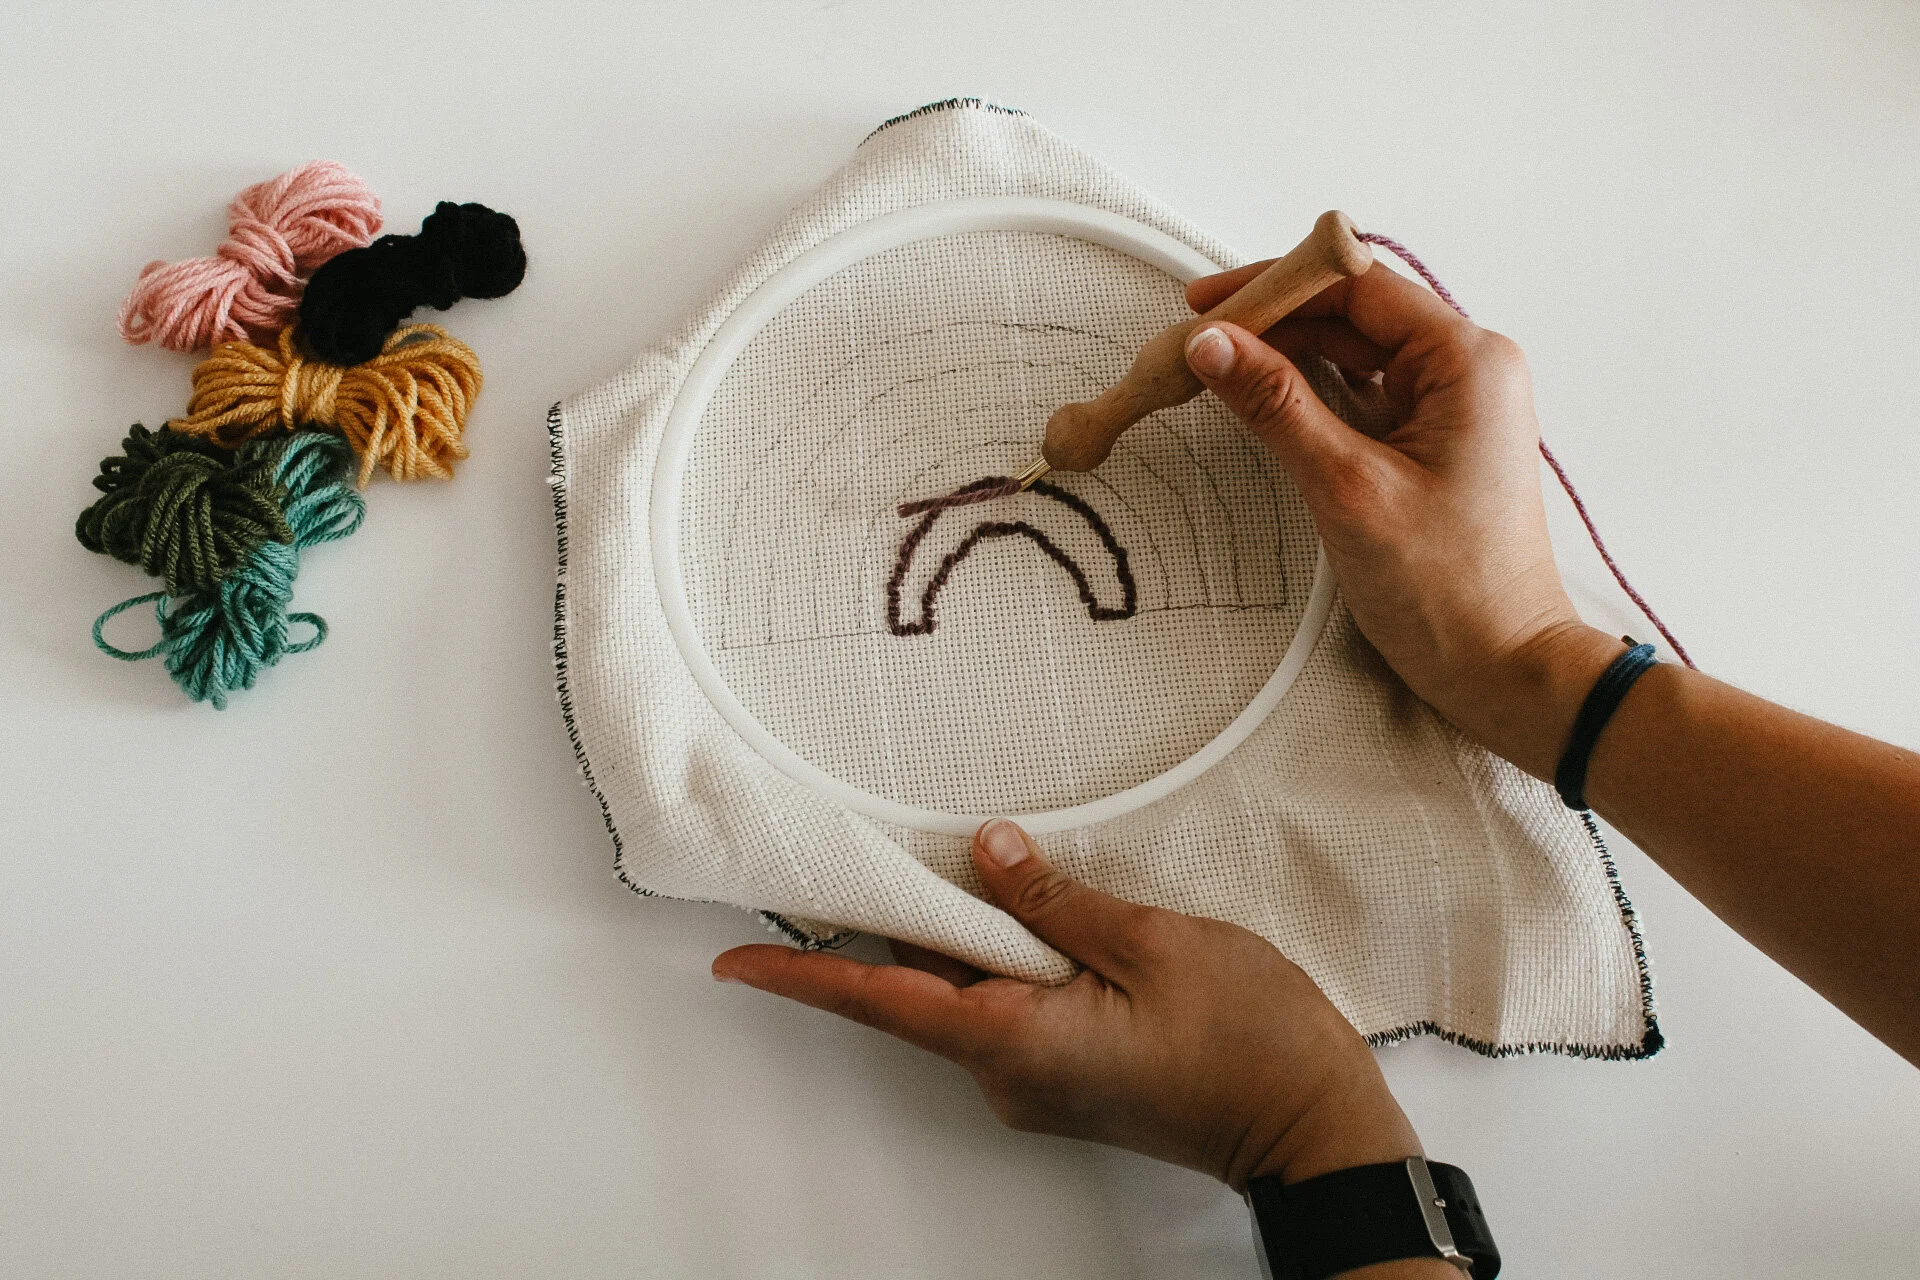
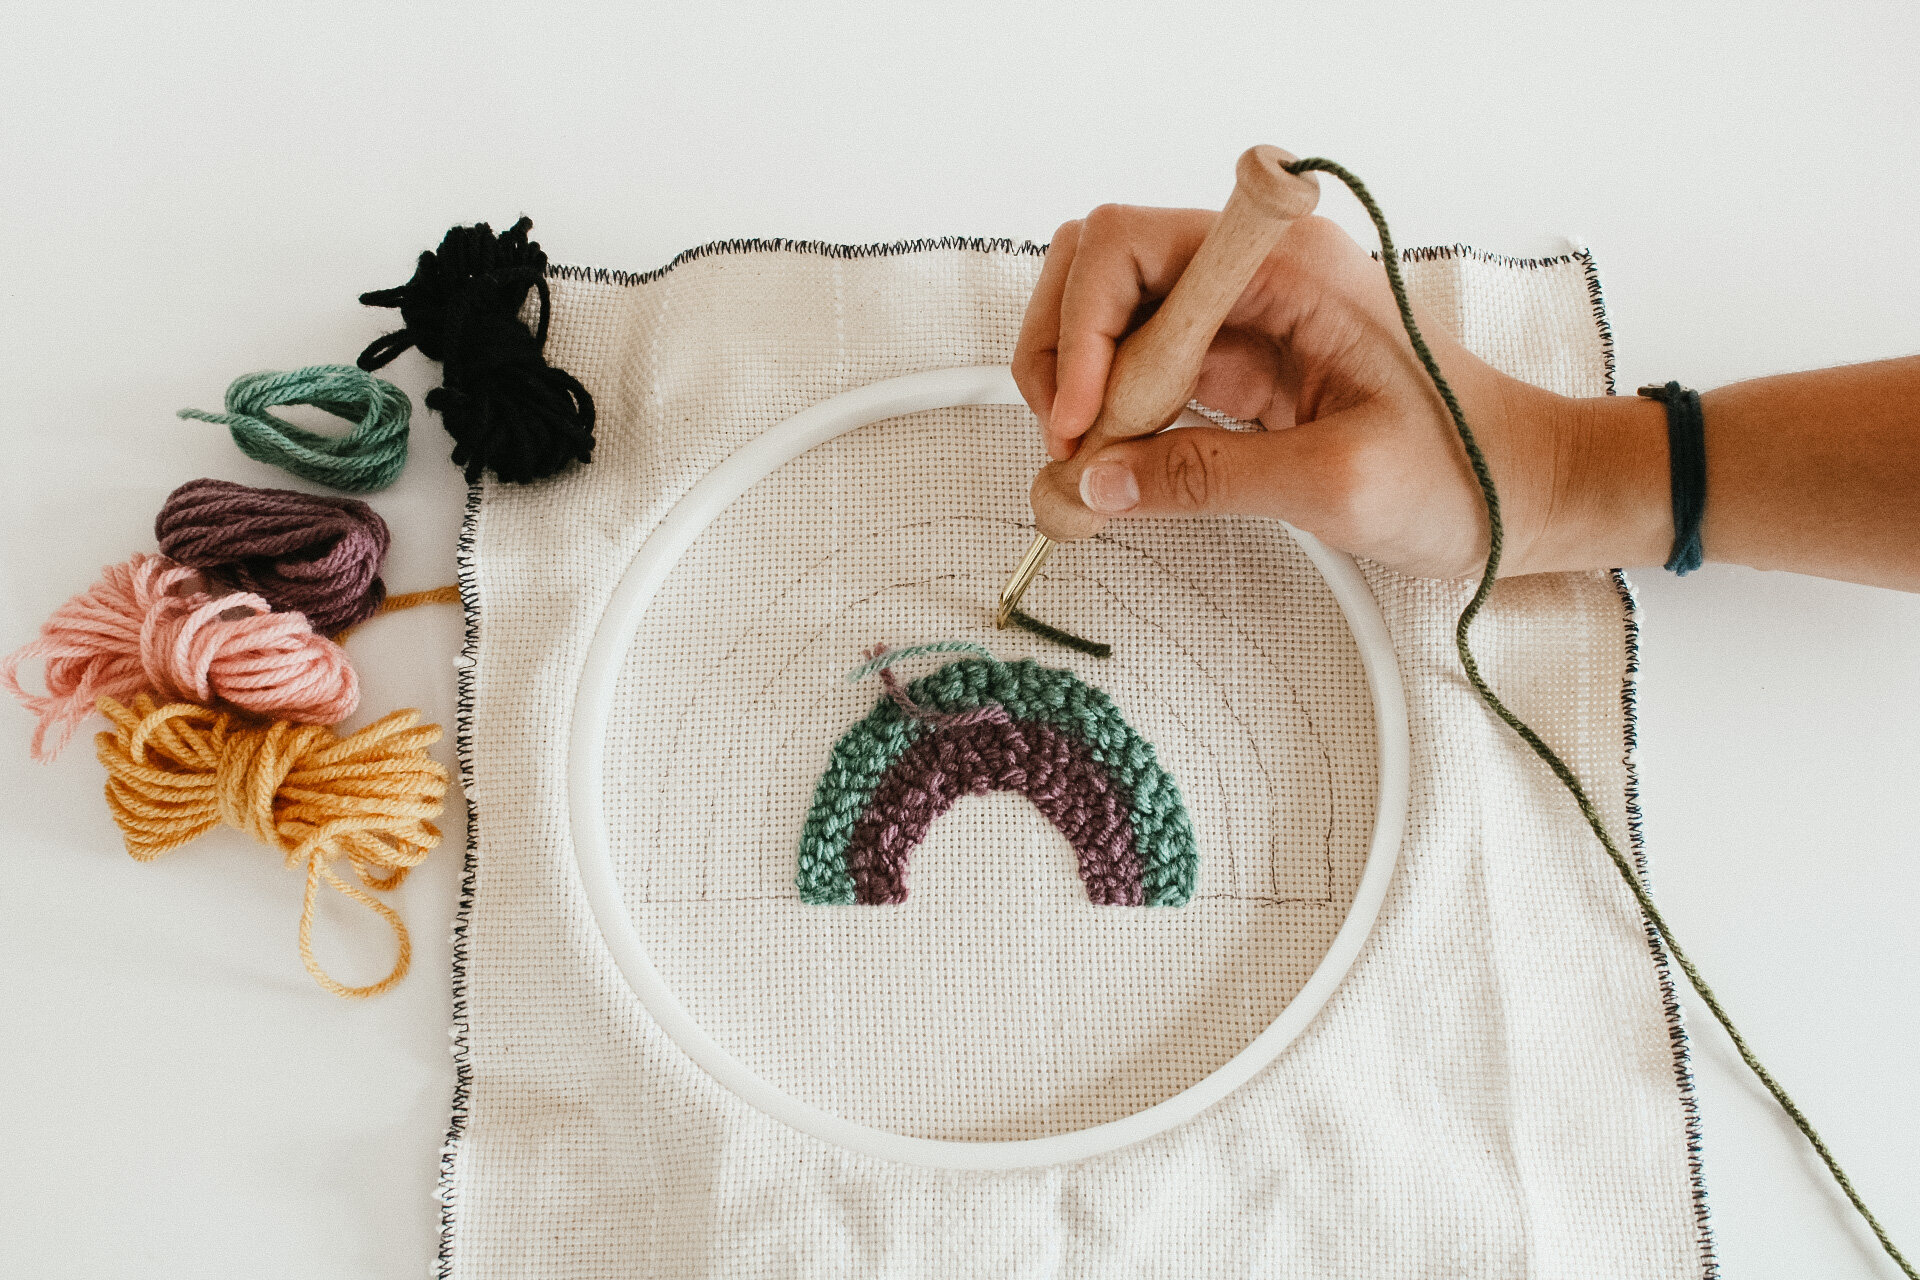
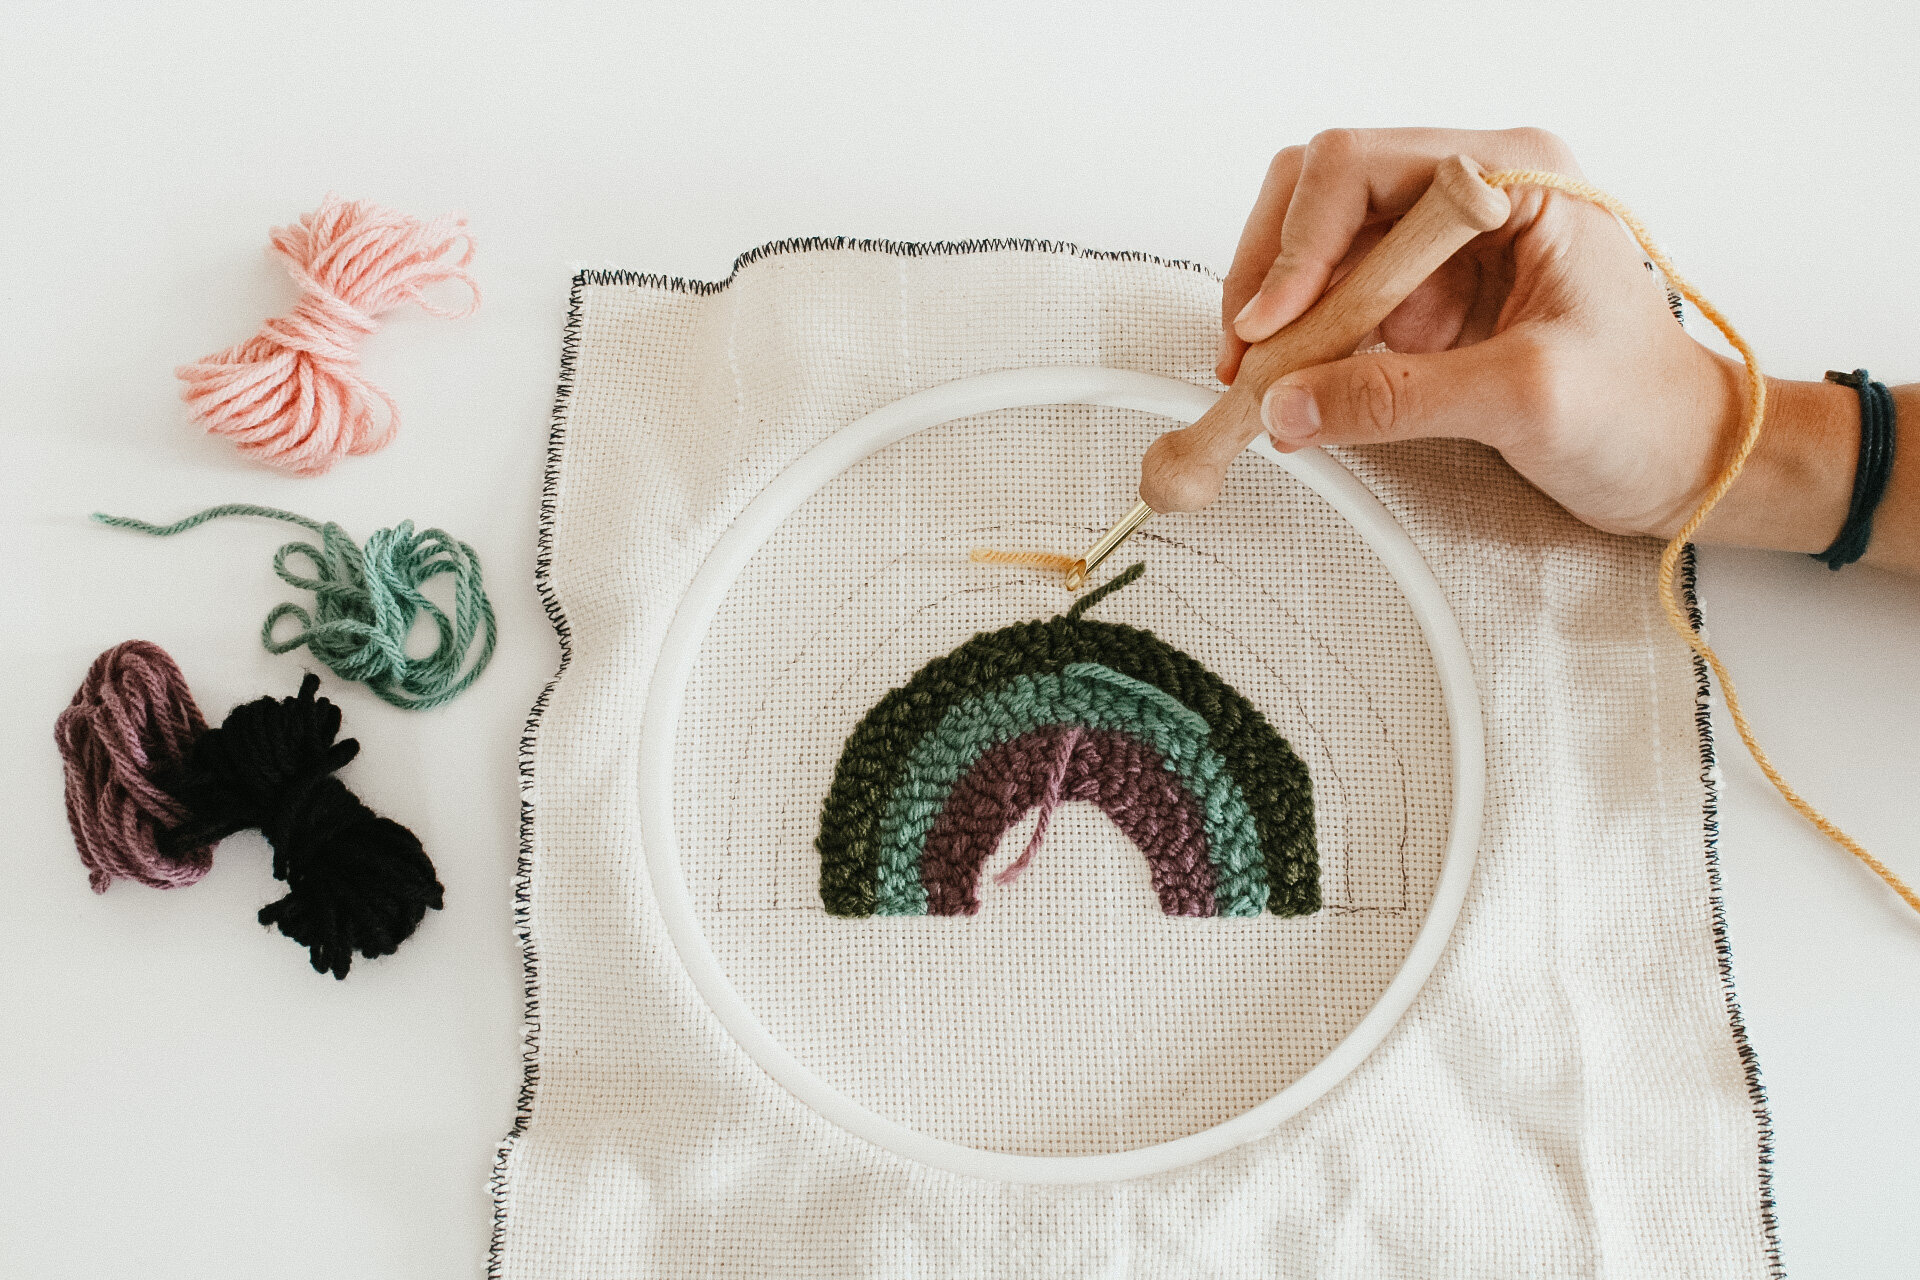
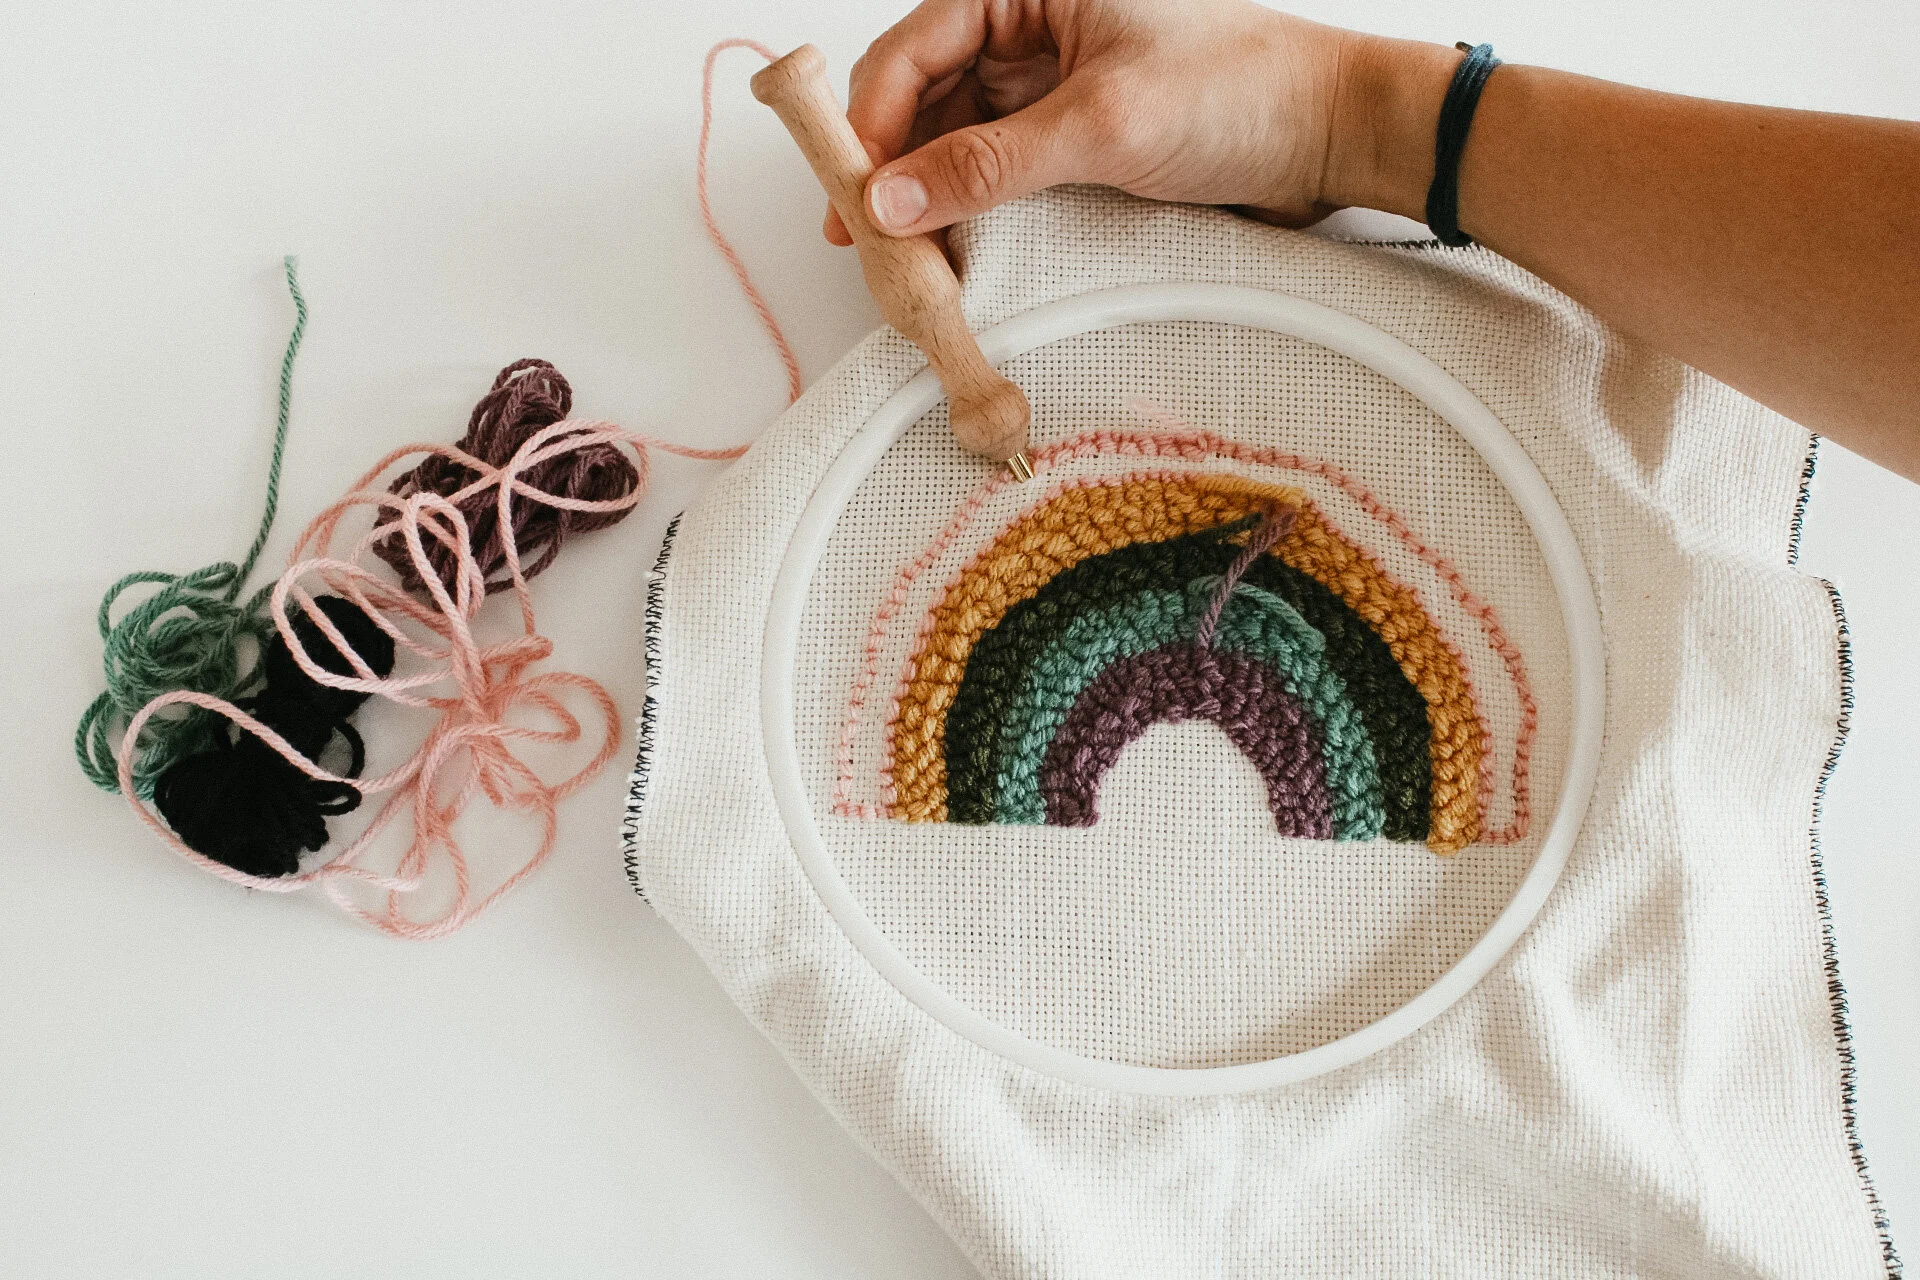
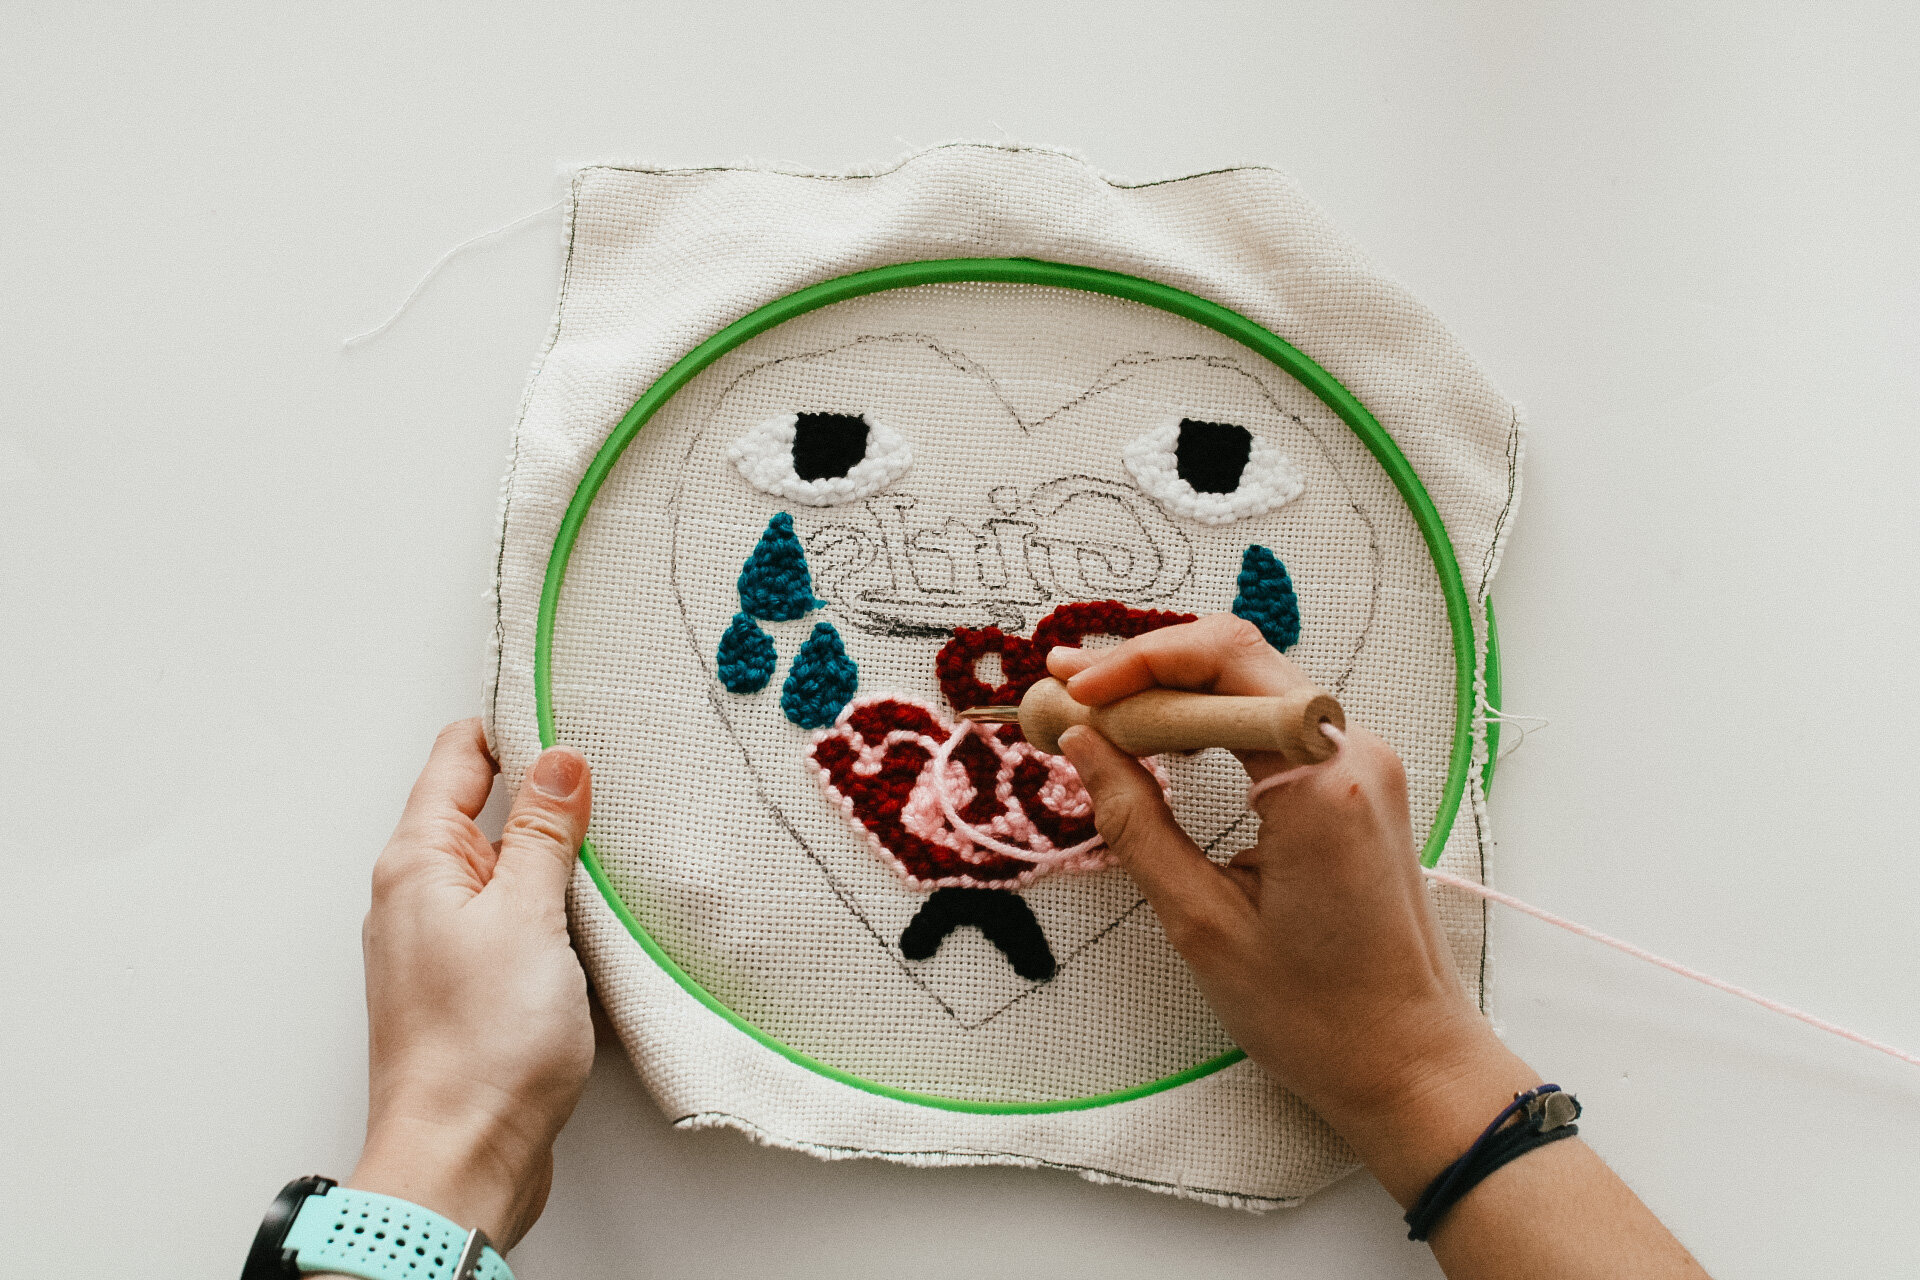
+time to punch
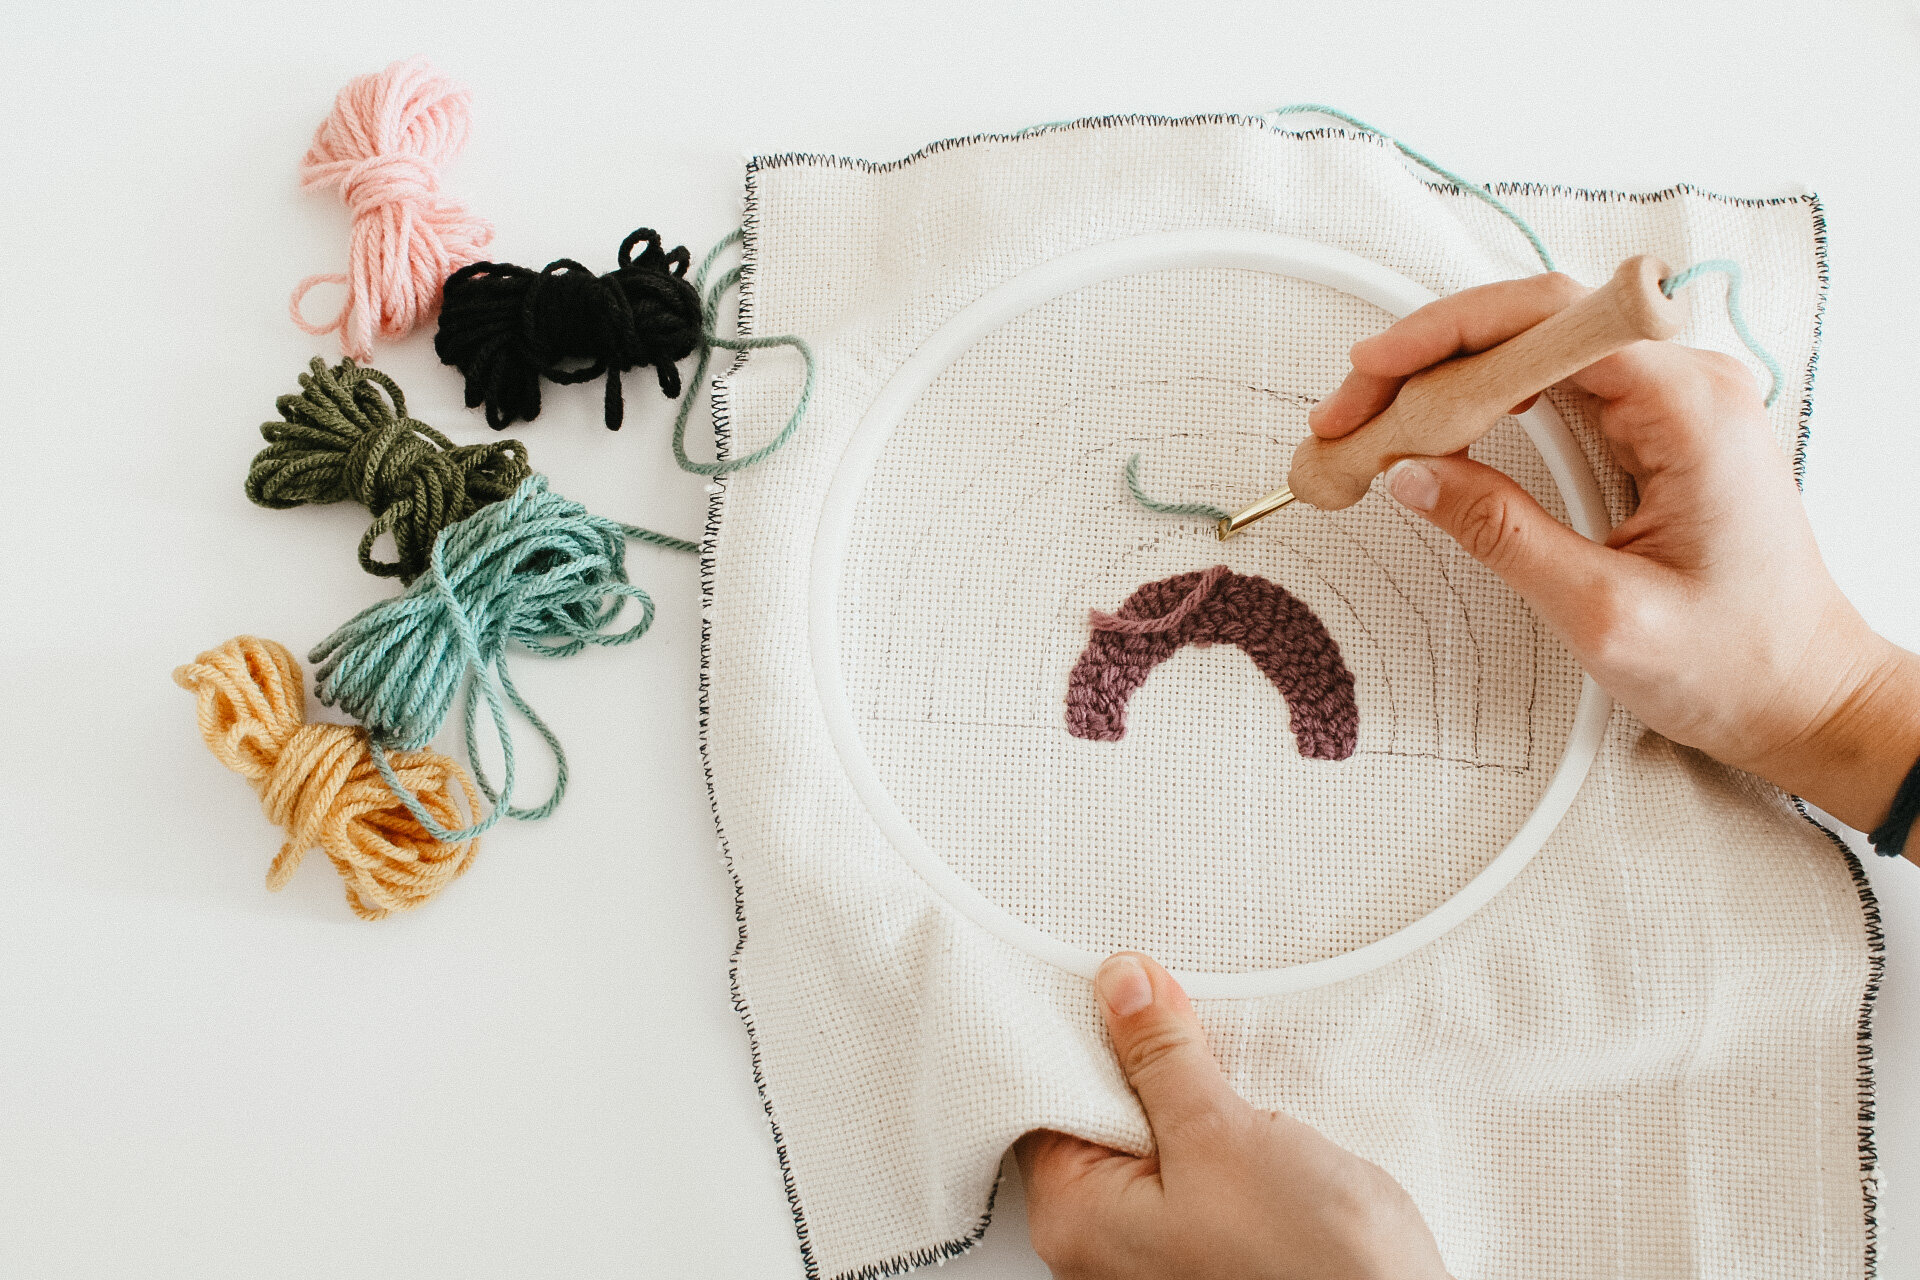
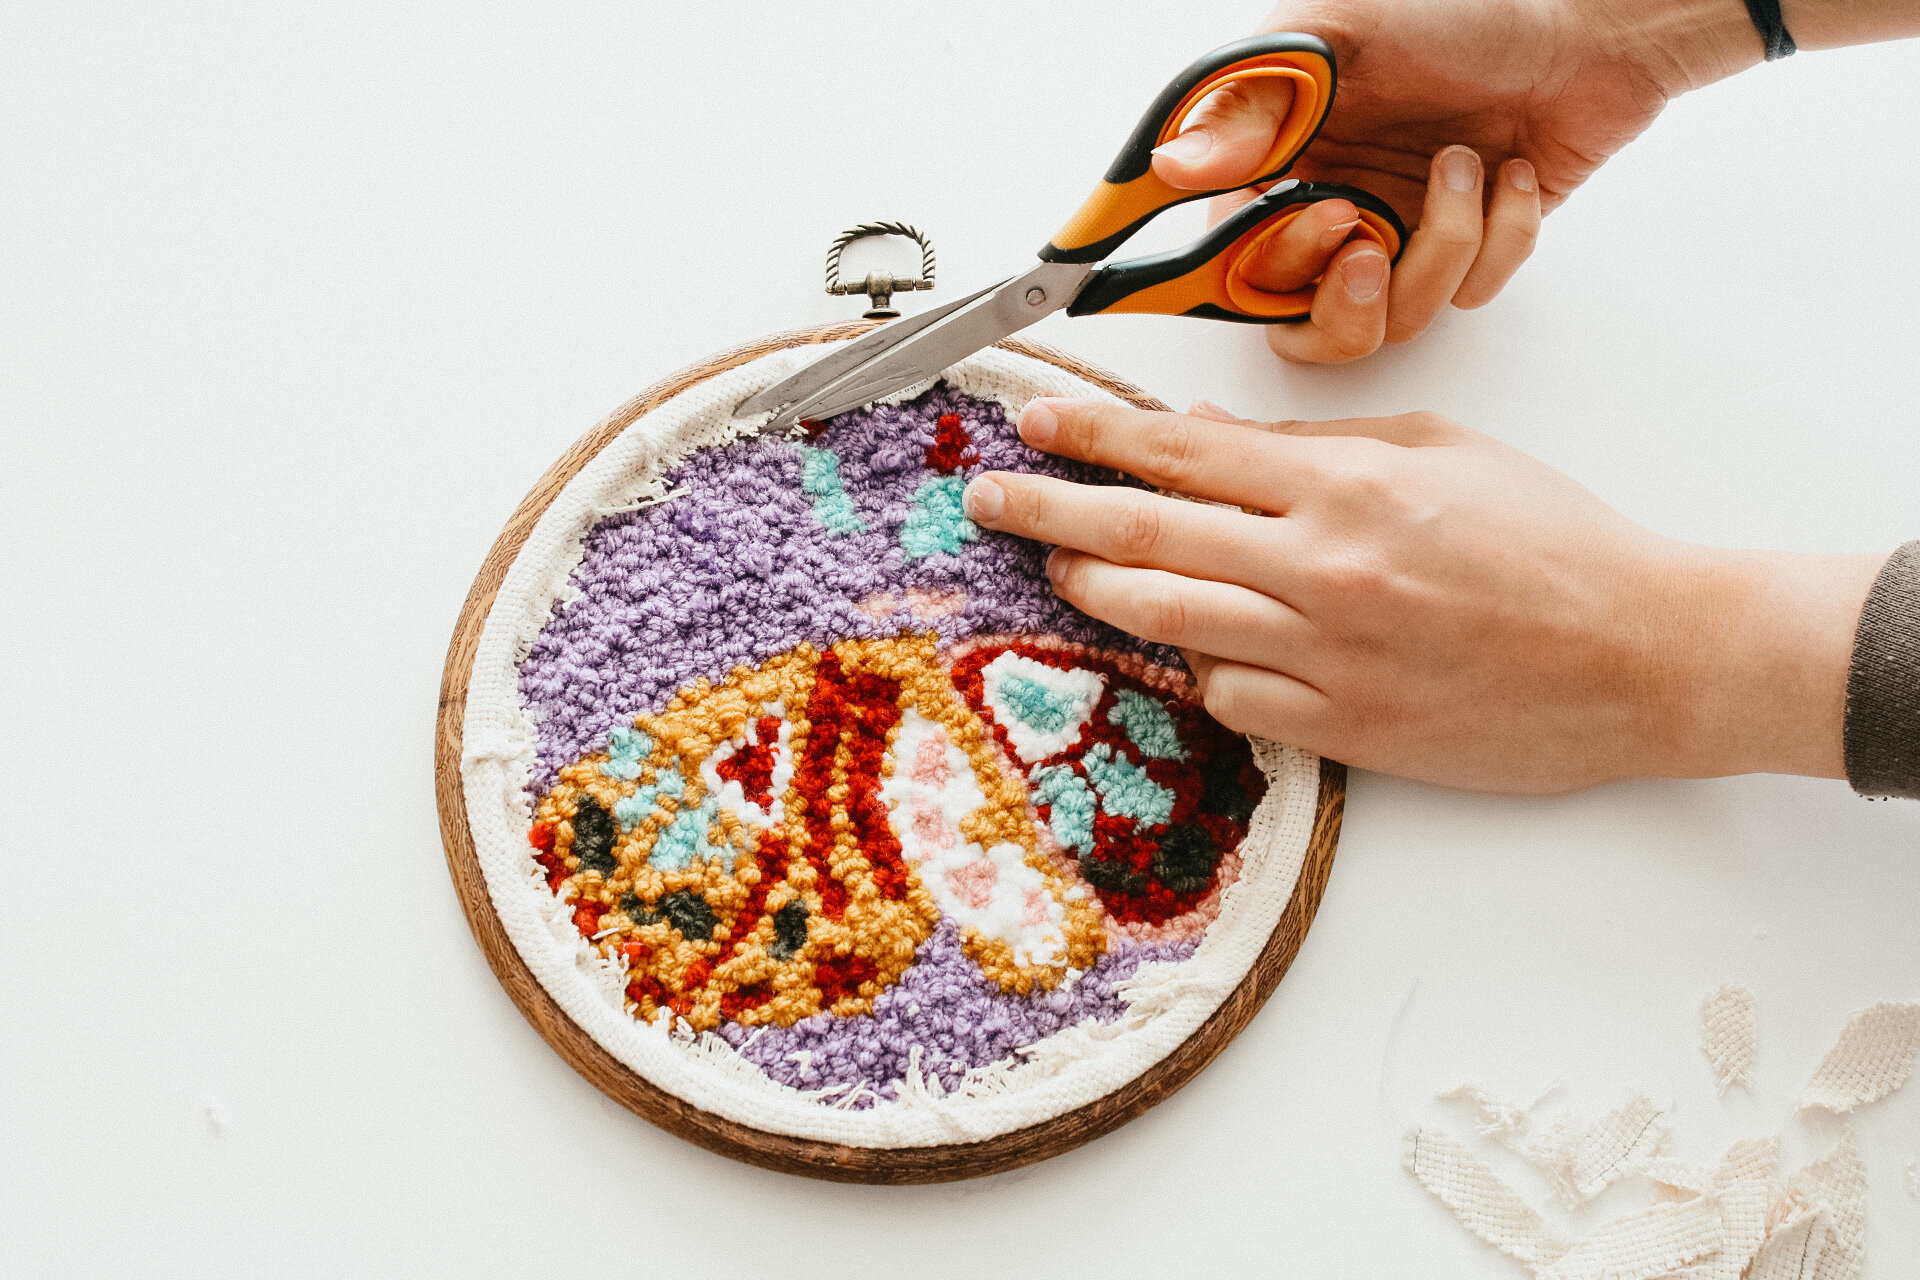
in the design there are smaller areas and then some larger areas. it is important to start with the smaller areas and work your way to the larger areas. you have to options to punch on both the front and the back of the hoop to change the texture. I like the punch my image from the back of the hoop (as shown in photos below) to have the loop/ rug like texture on the front of the hoop.
pro tip: punch from the back, loops on the front. punch on the front, loops on the back!

01. you can start anywhere, but I like to start in the middle of the smaller sections. it helps to keep me organized because all my tails stay together. i like to complete all the colors in one group first and then move on to the other colors.

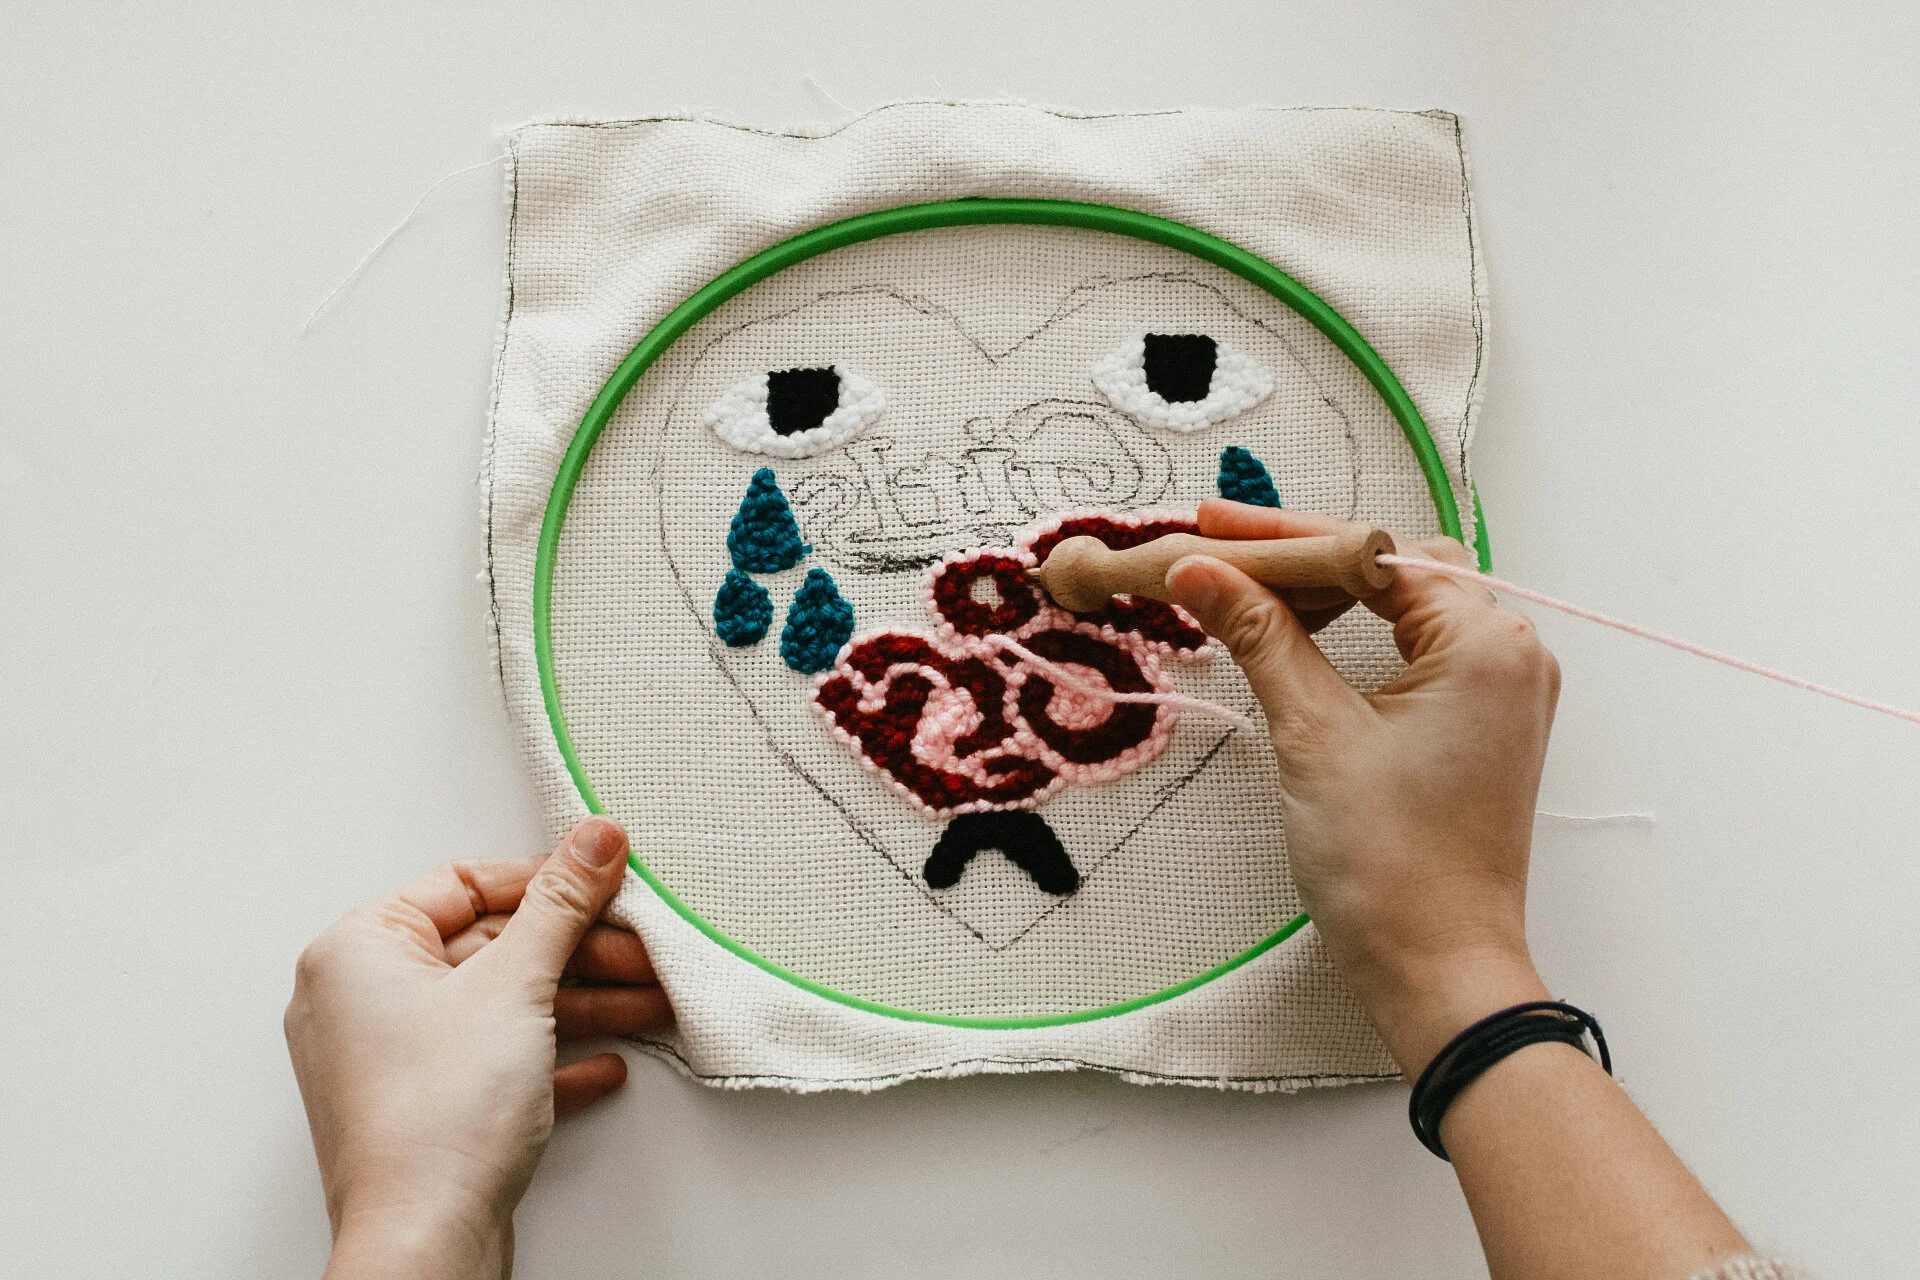
02. insert the needle into the fabric and put some force behind it. you are punching after all! make sure the needle hits the fabric when you punch down. you’ll want to pull the needle out slowly and then drag it across the fabric. you will count two holes and then punch into the the hole. the beveled part of the needle (the part that is open) should always pointing the way you are moving, so be sure the open slot of the needle is pointing in the direction you are working. see video below for assistance
pro tip: your body will want you to pull the needle out quickly, but make sure to move SLOW! the slower you move, the easier it will be to lean. you can move faster the more you practice.
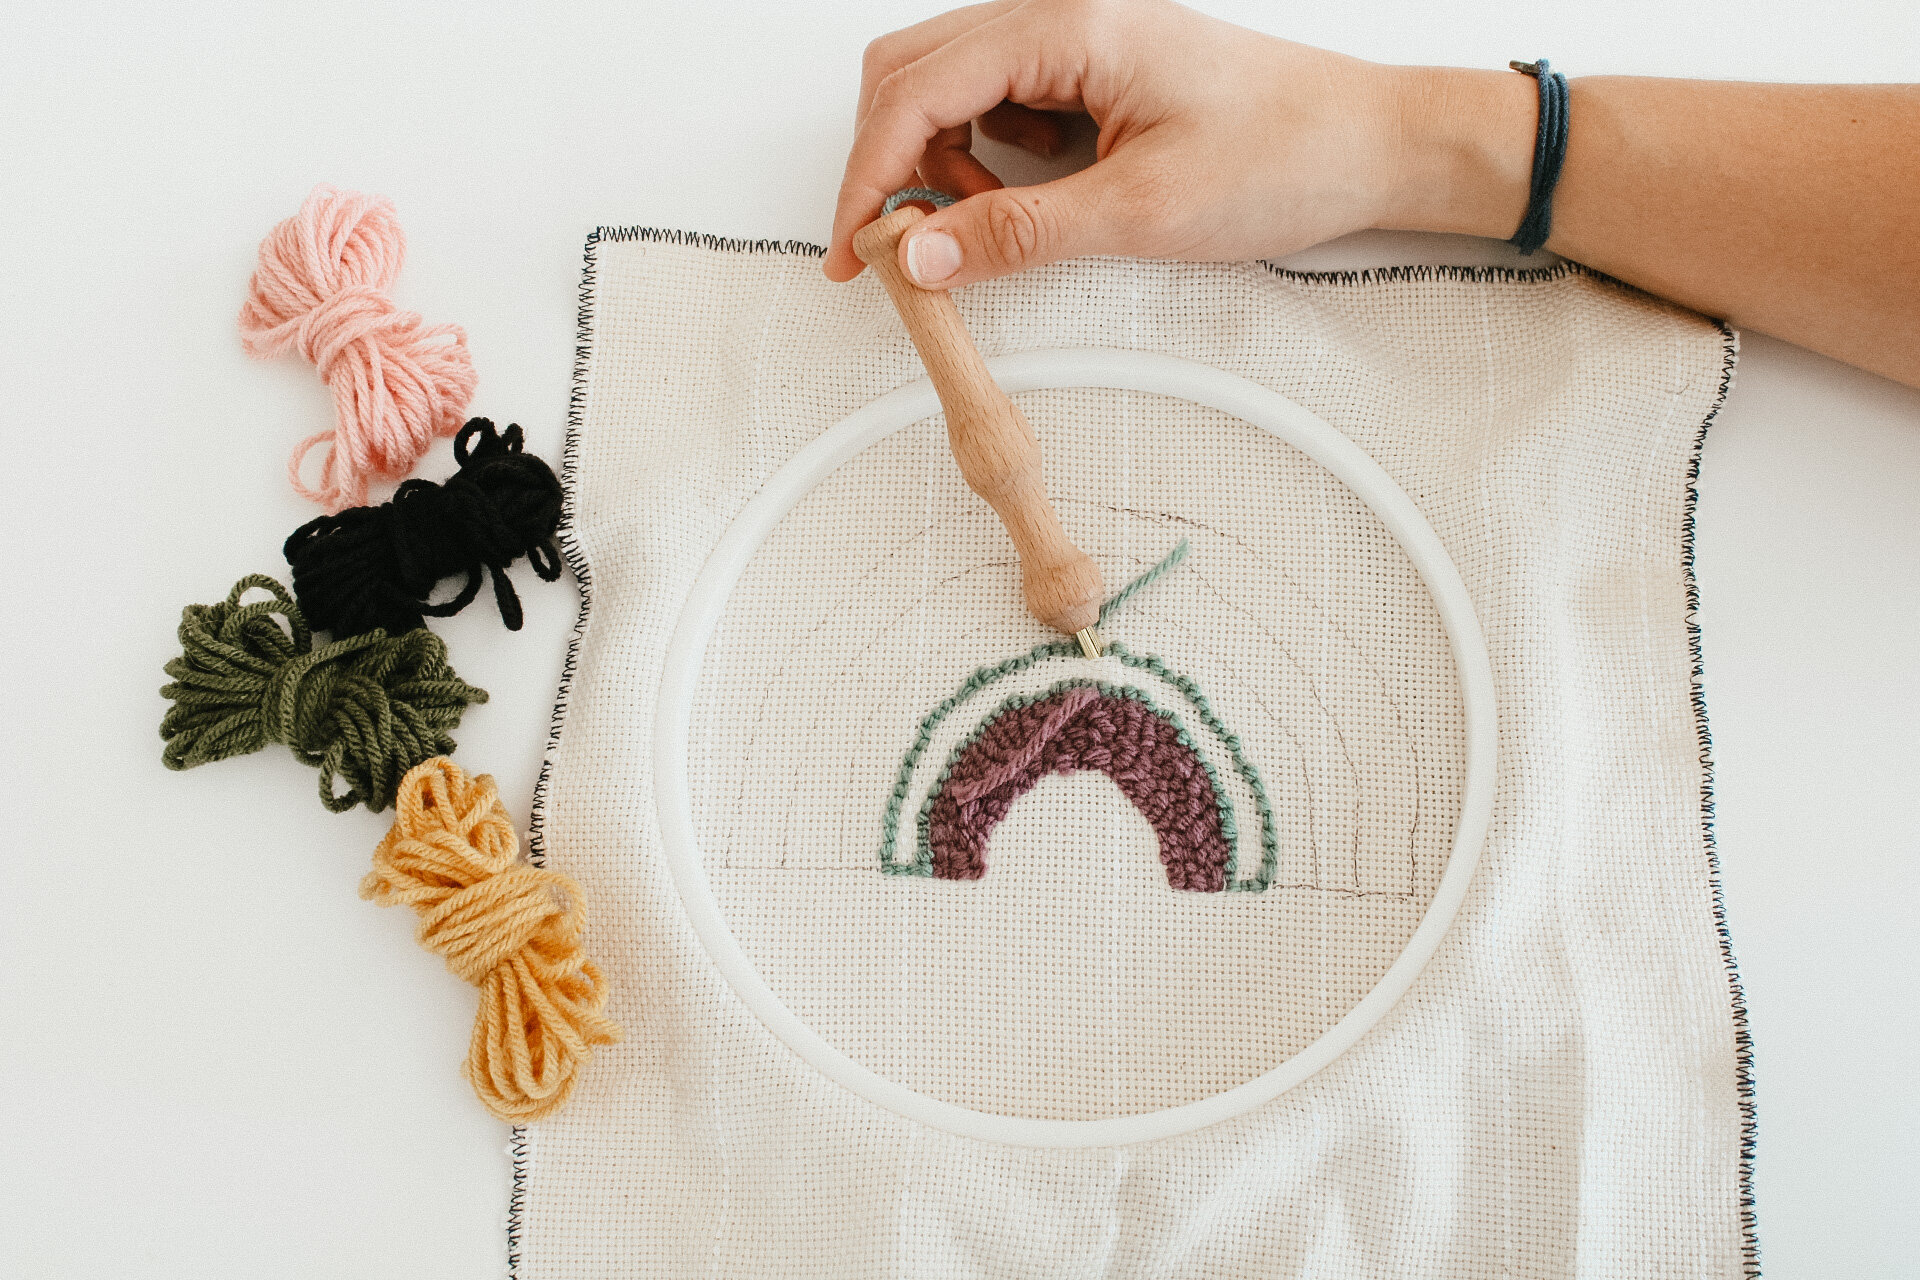
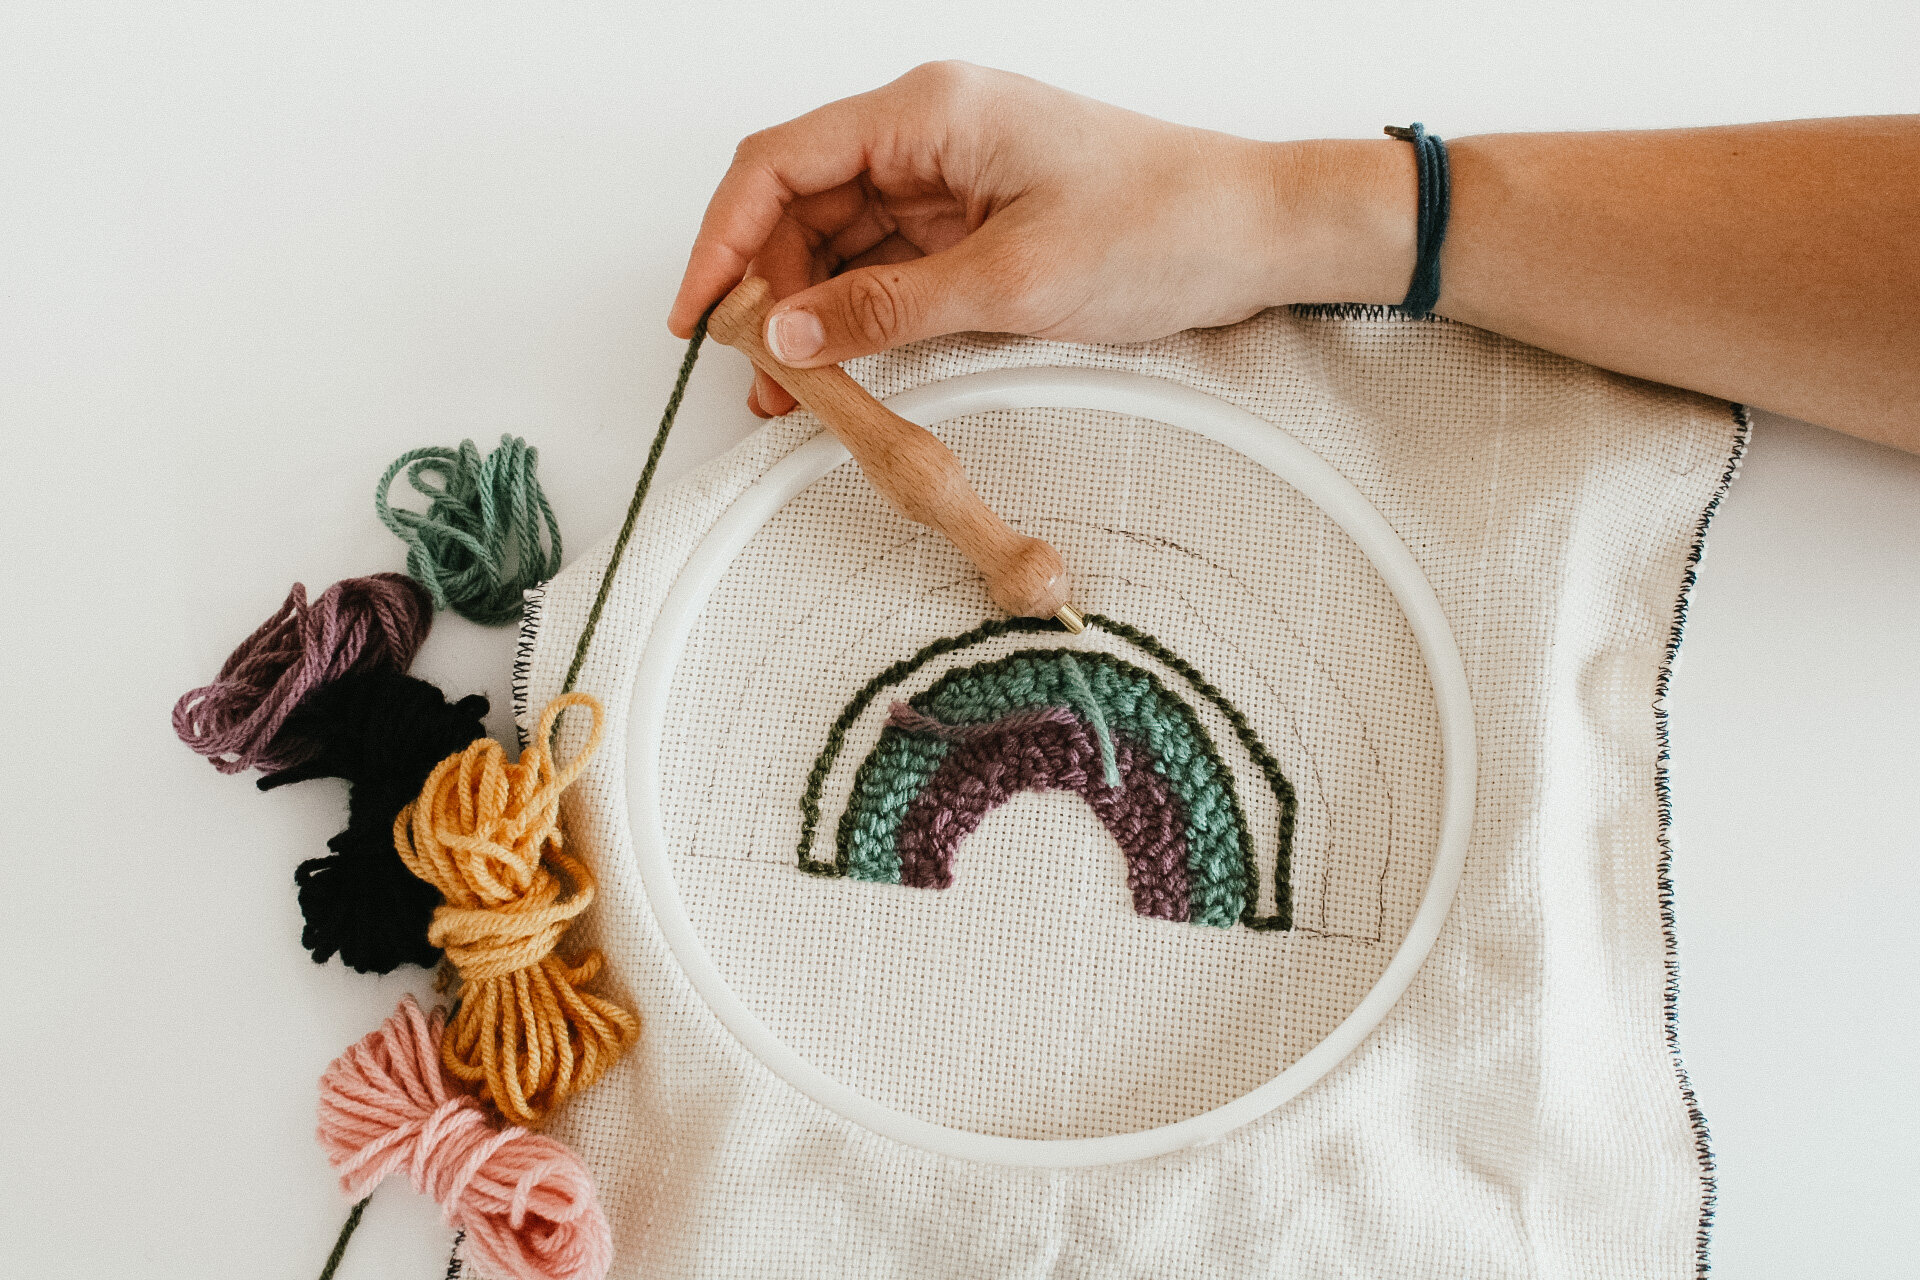
03. to ensure a clear outline, use a short stitch length for your first row around the outline. a short stitch is about every hole or every 2 holes of your monks cloth. i feel that its easier to count the holes in the beginning to figure out where to go. but as time goes on you don’t have to count, just be free.
04. when you come to a corner, i find it is easiest to turn the hoop in your hands and opposed to moving the needle around. to do this, leave your needle in the fabric, turn the piece, turn the needle so it is moving in the direction you are punching and continue.
pro tip: if you want to stop punching before you finish a section, move to step 6 and learn how to disconnect your needle from your fabric correctly.

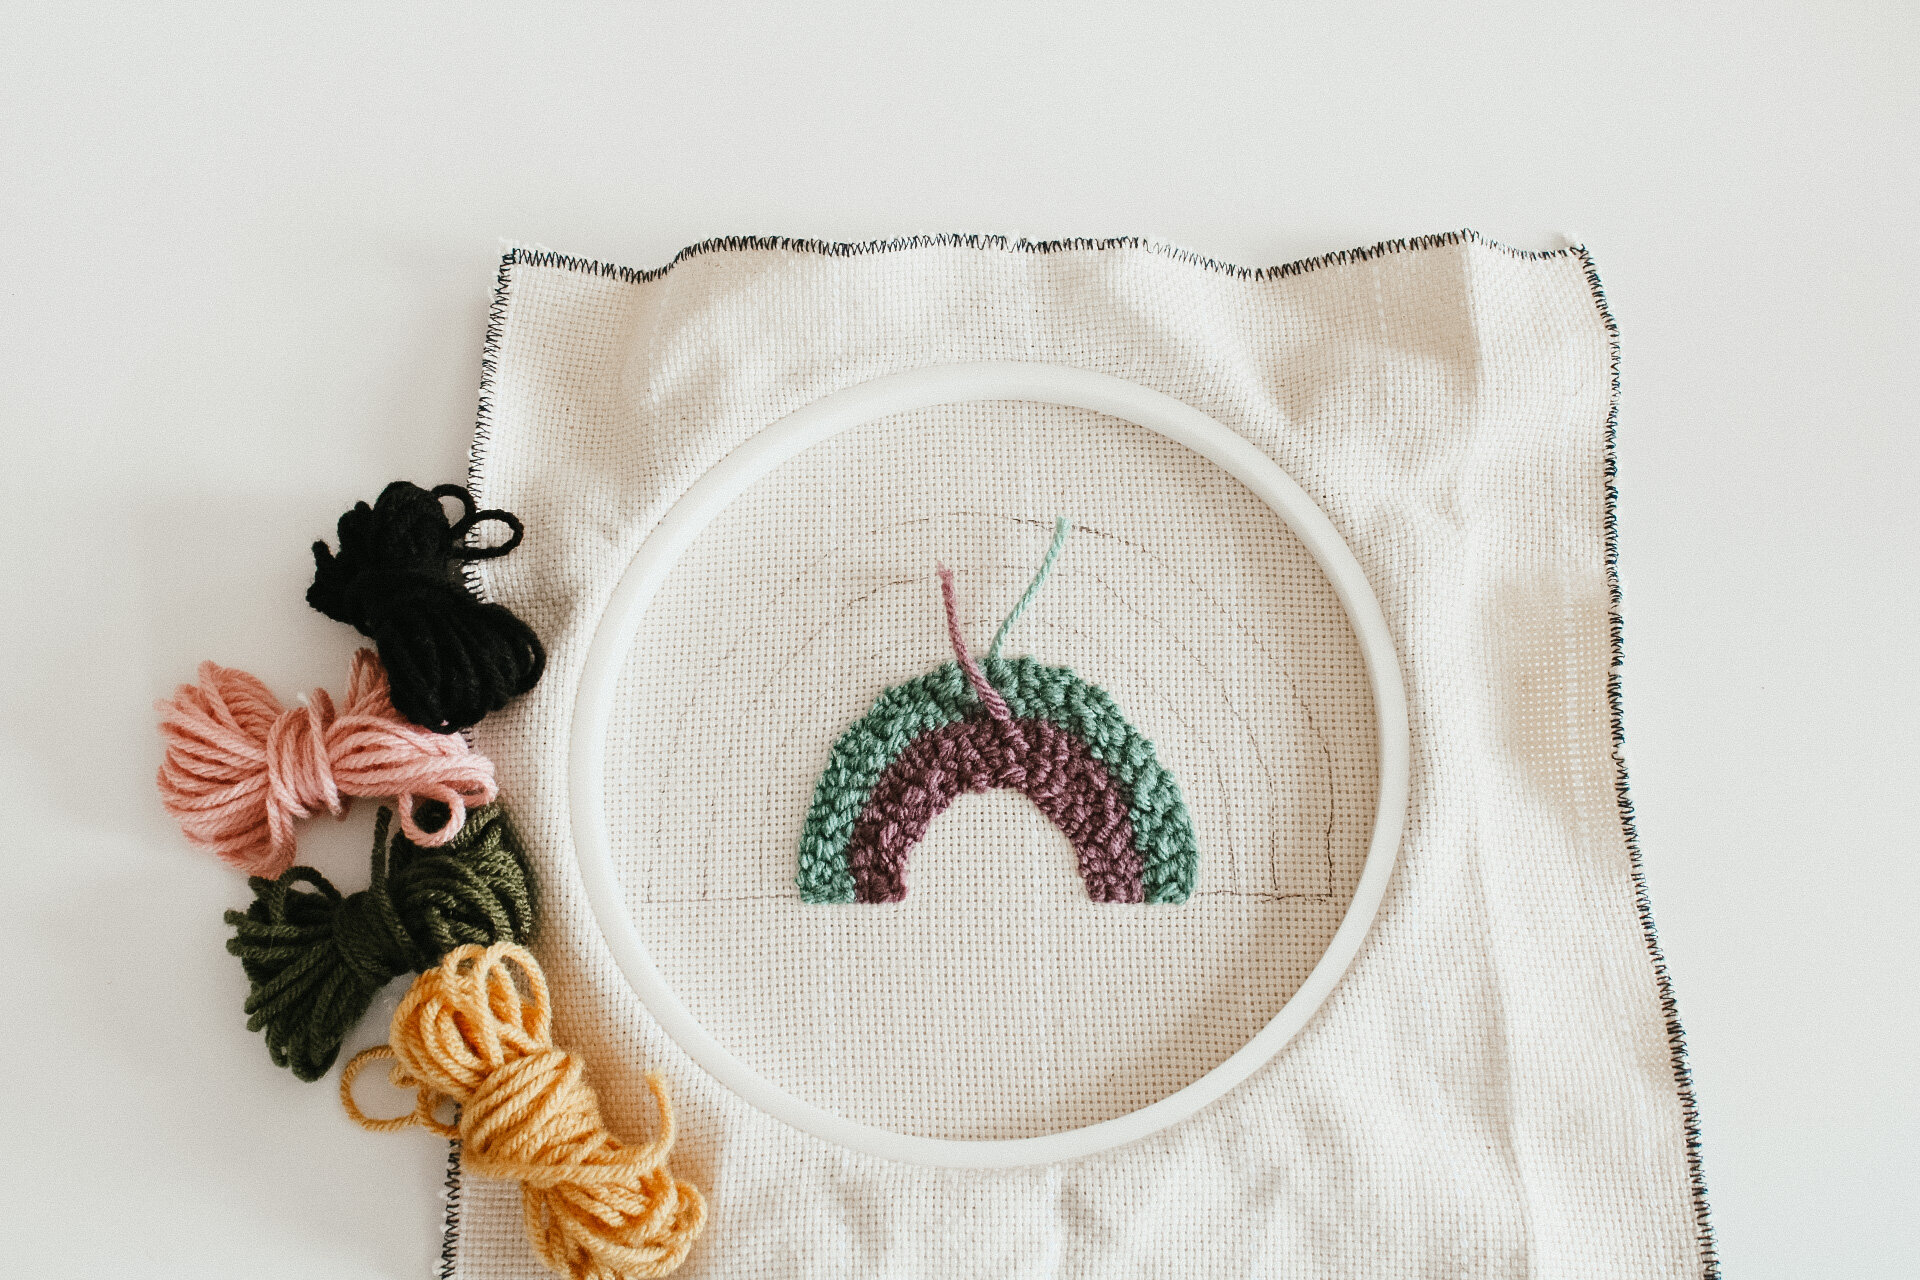
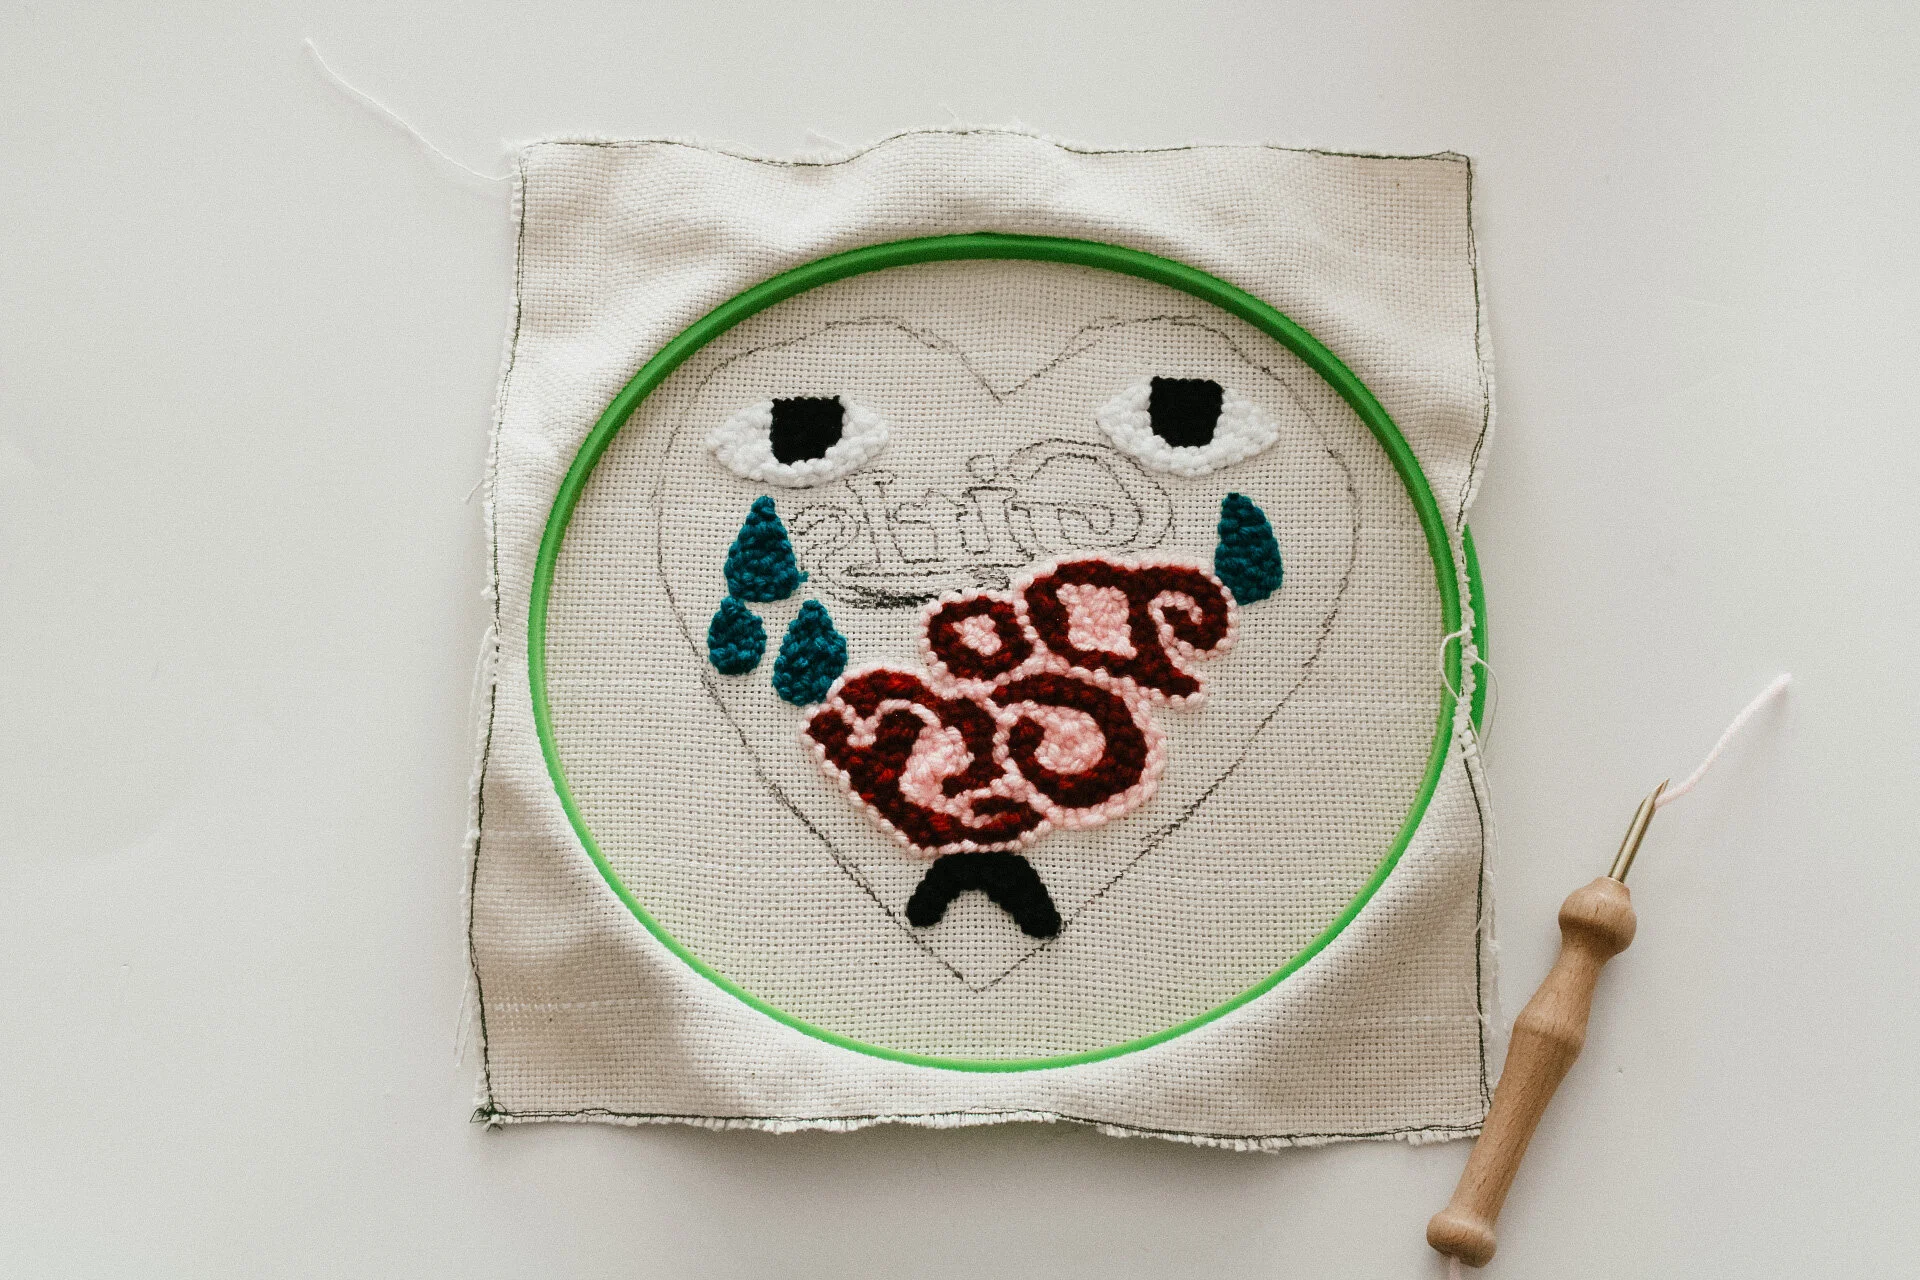
05. after the initial outline all the way around, you can begin to open up the stitch for the remaining filler rows. a larger stitch will be every 3 or 4 holes in the monks cloth. check your work as you go by flipping over the hoop. if there are bare spots, punch closer together.
pro tip: if this is your first time punching, don’t let all these details scare you. it is much easier than it sounds! the smaller stitch outline and larger stitch center is something that i have learned overtime. it helps make the design pretty and even but it is NOT necessary. just start, have a good time and punch your way through.

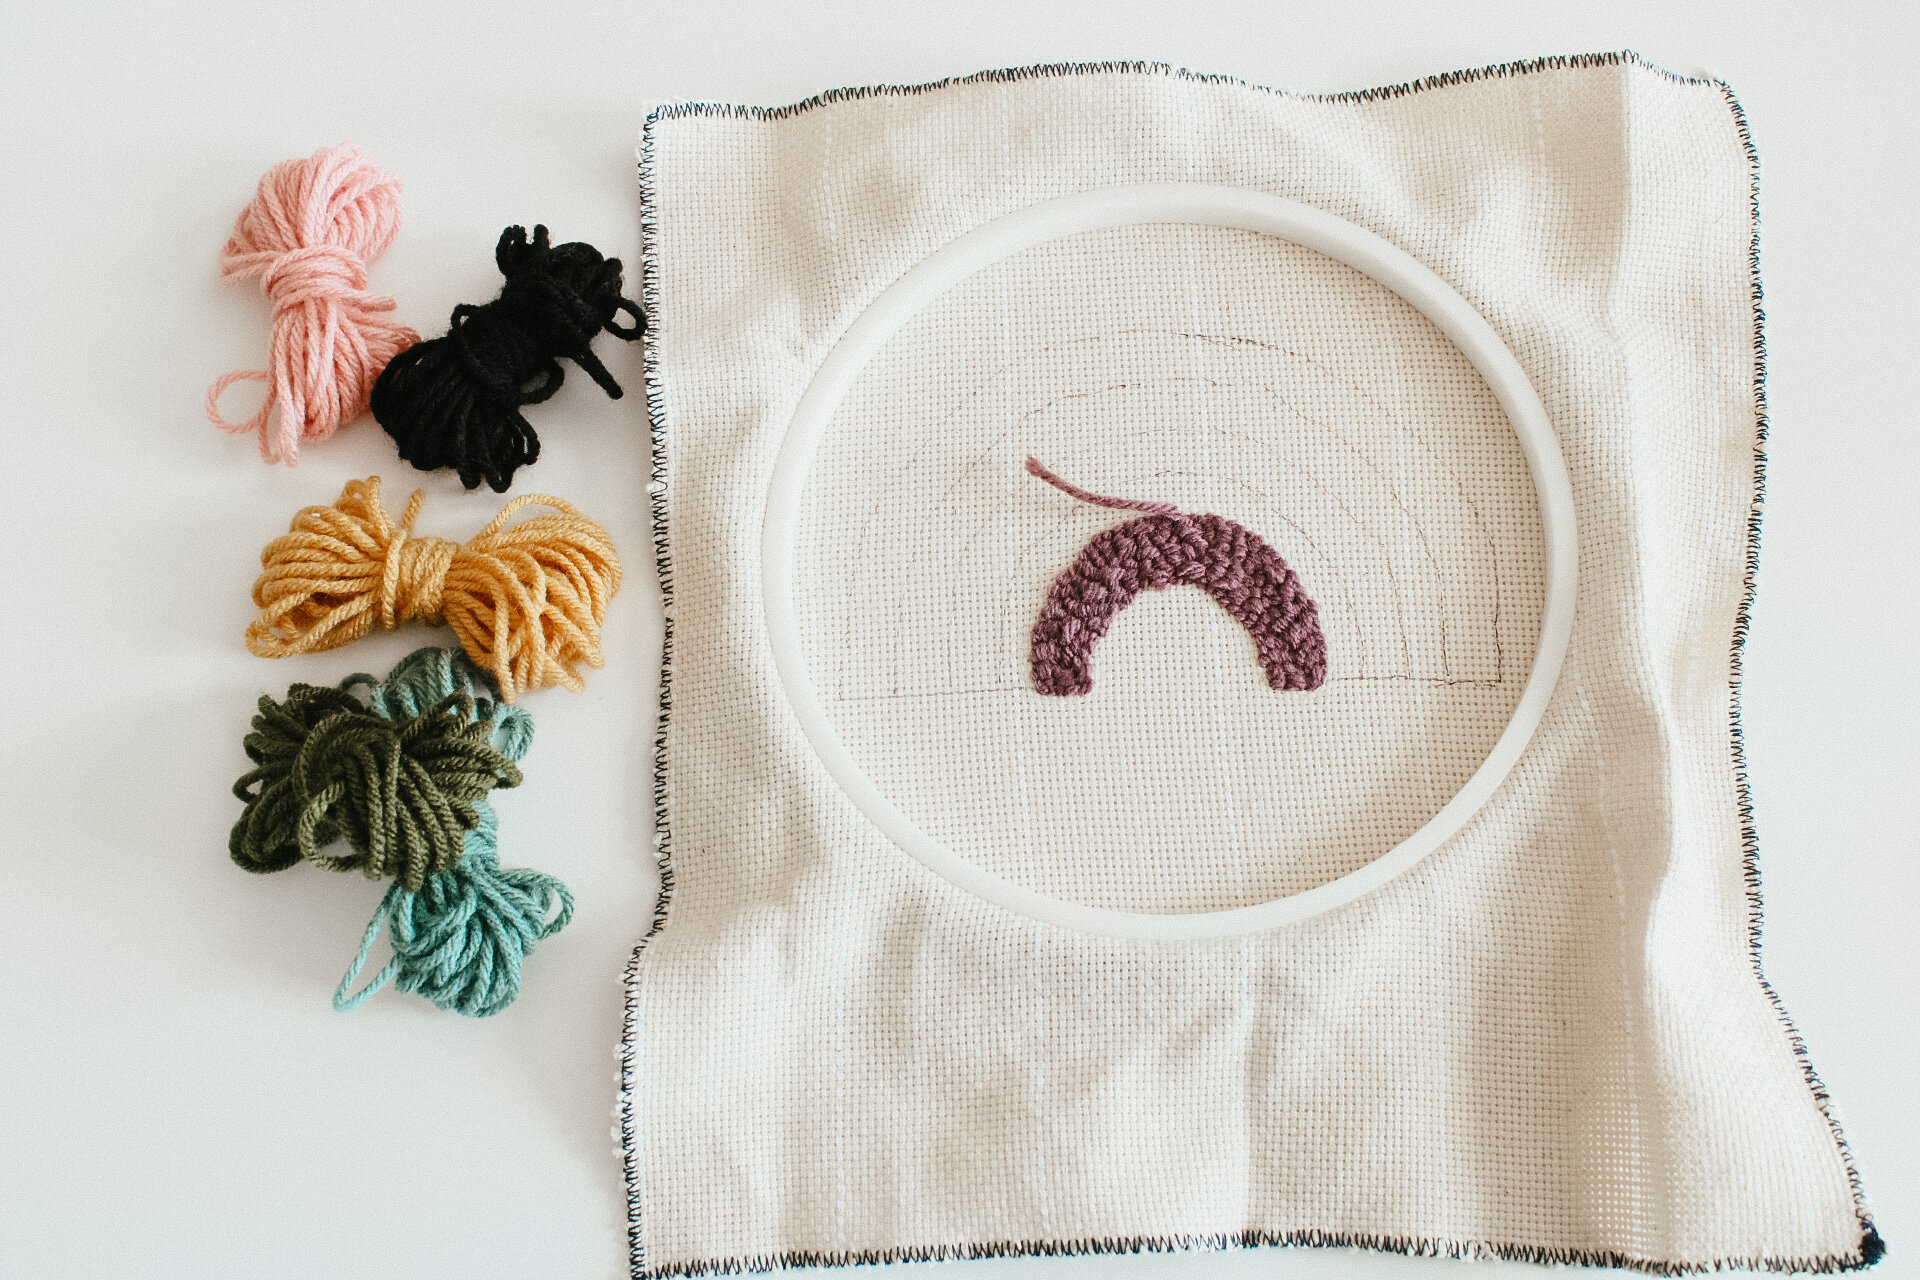
06. to finish each color, no knots needed! punch the needle into the fabric and leave the needle. flip your hoop over and pull a small amount off your needle, about 2” and trim. pull the punch needle tool out of the fabric and your yarn will stay in place. there will be a small tail on the loop side that you can trim to be in line with your loops.
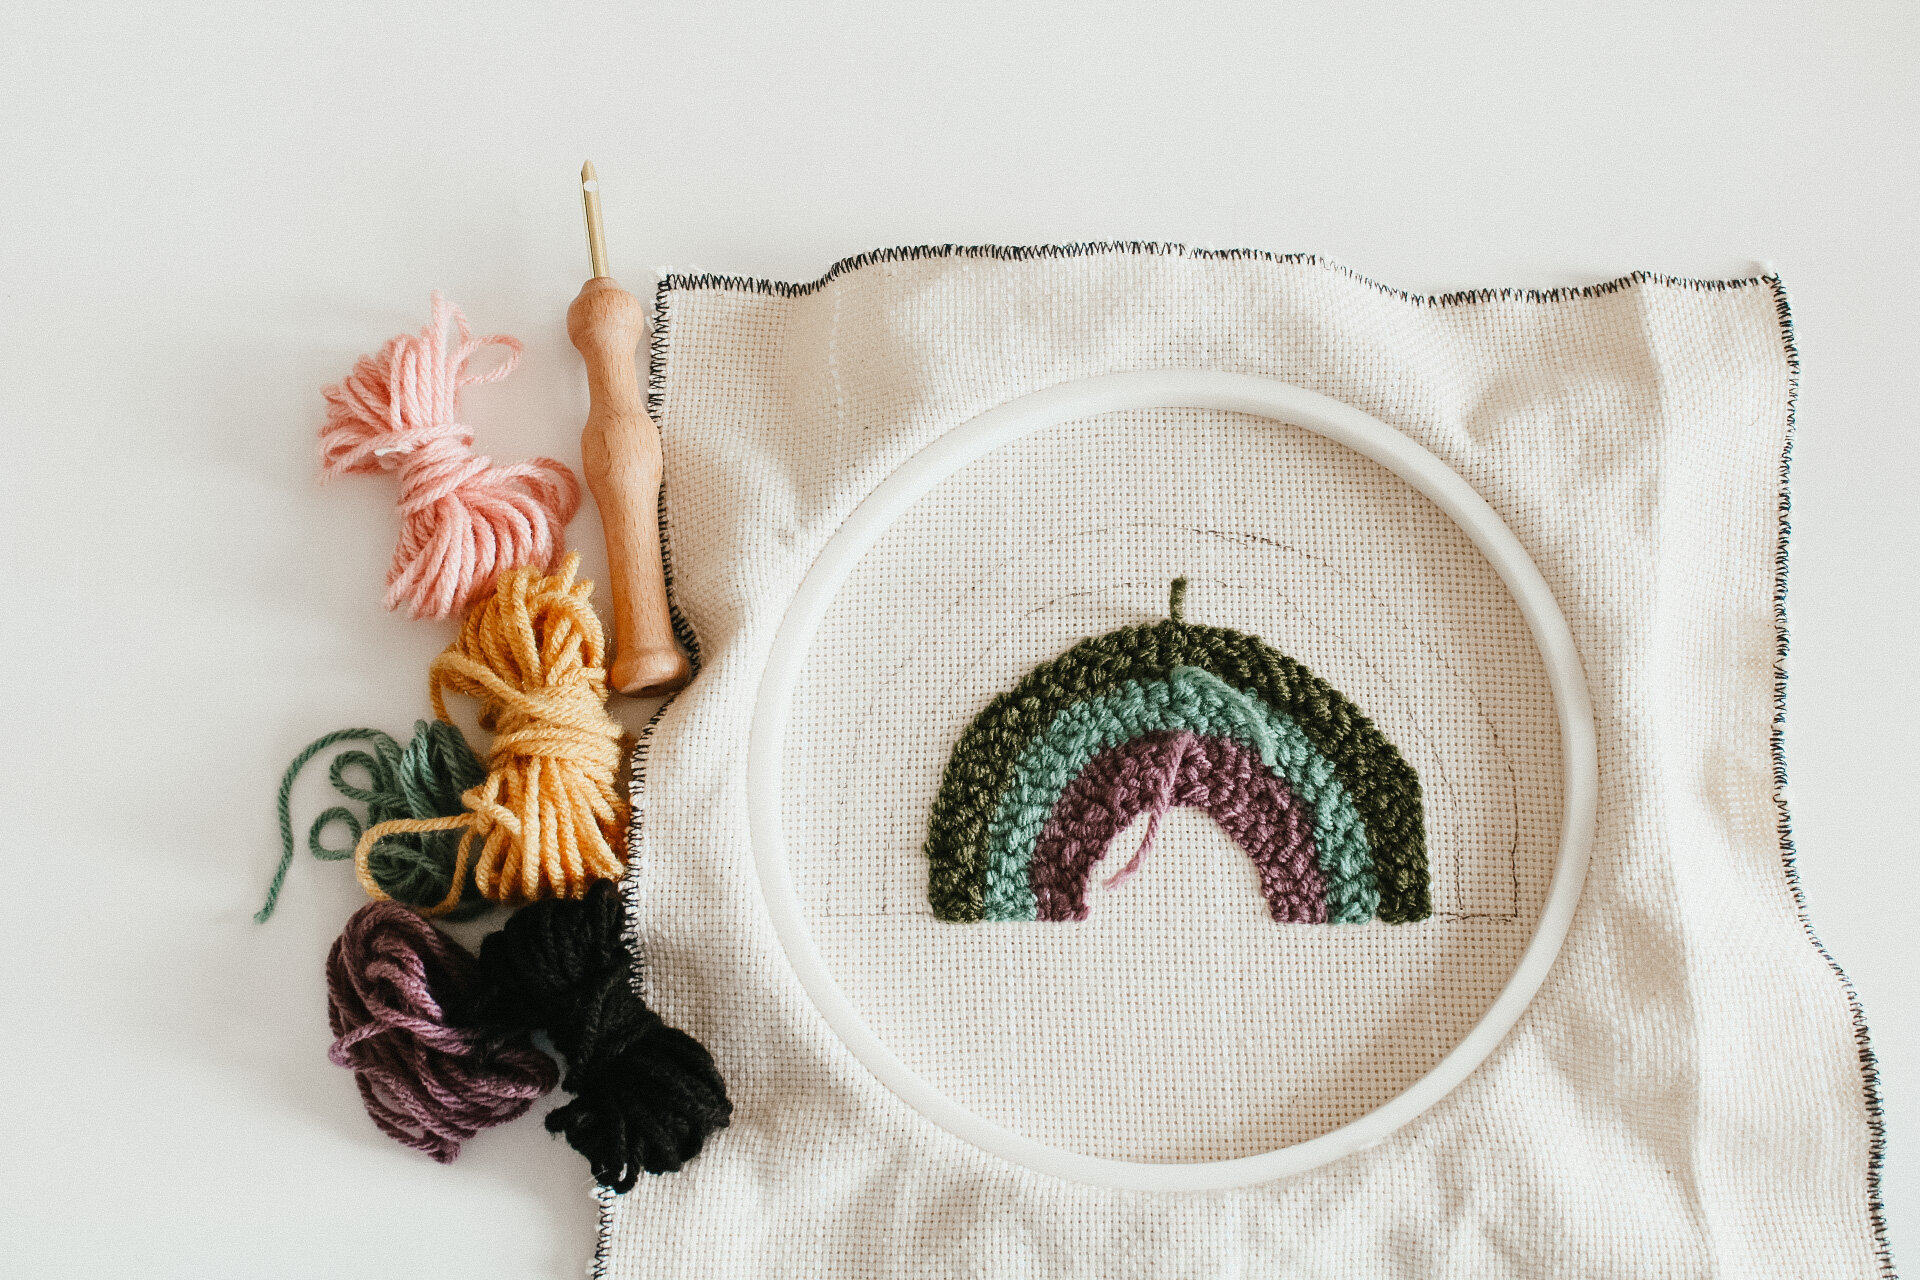
07. repeat steps 1-6 for each color in the design. continue to complete the smaller sections and then move to the largest sections. your last section to complete should be the background.

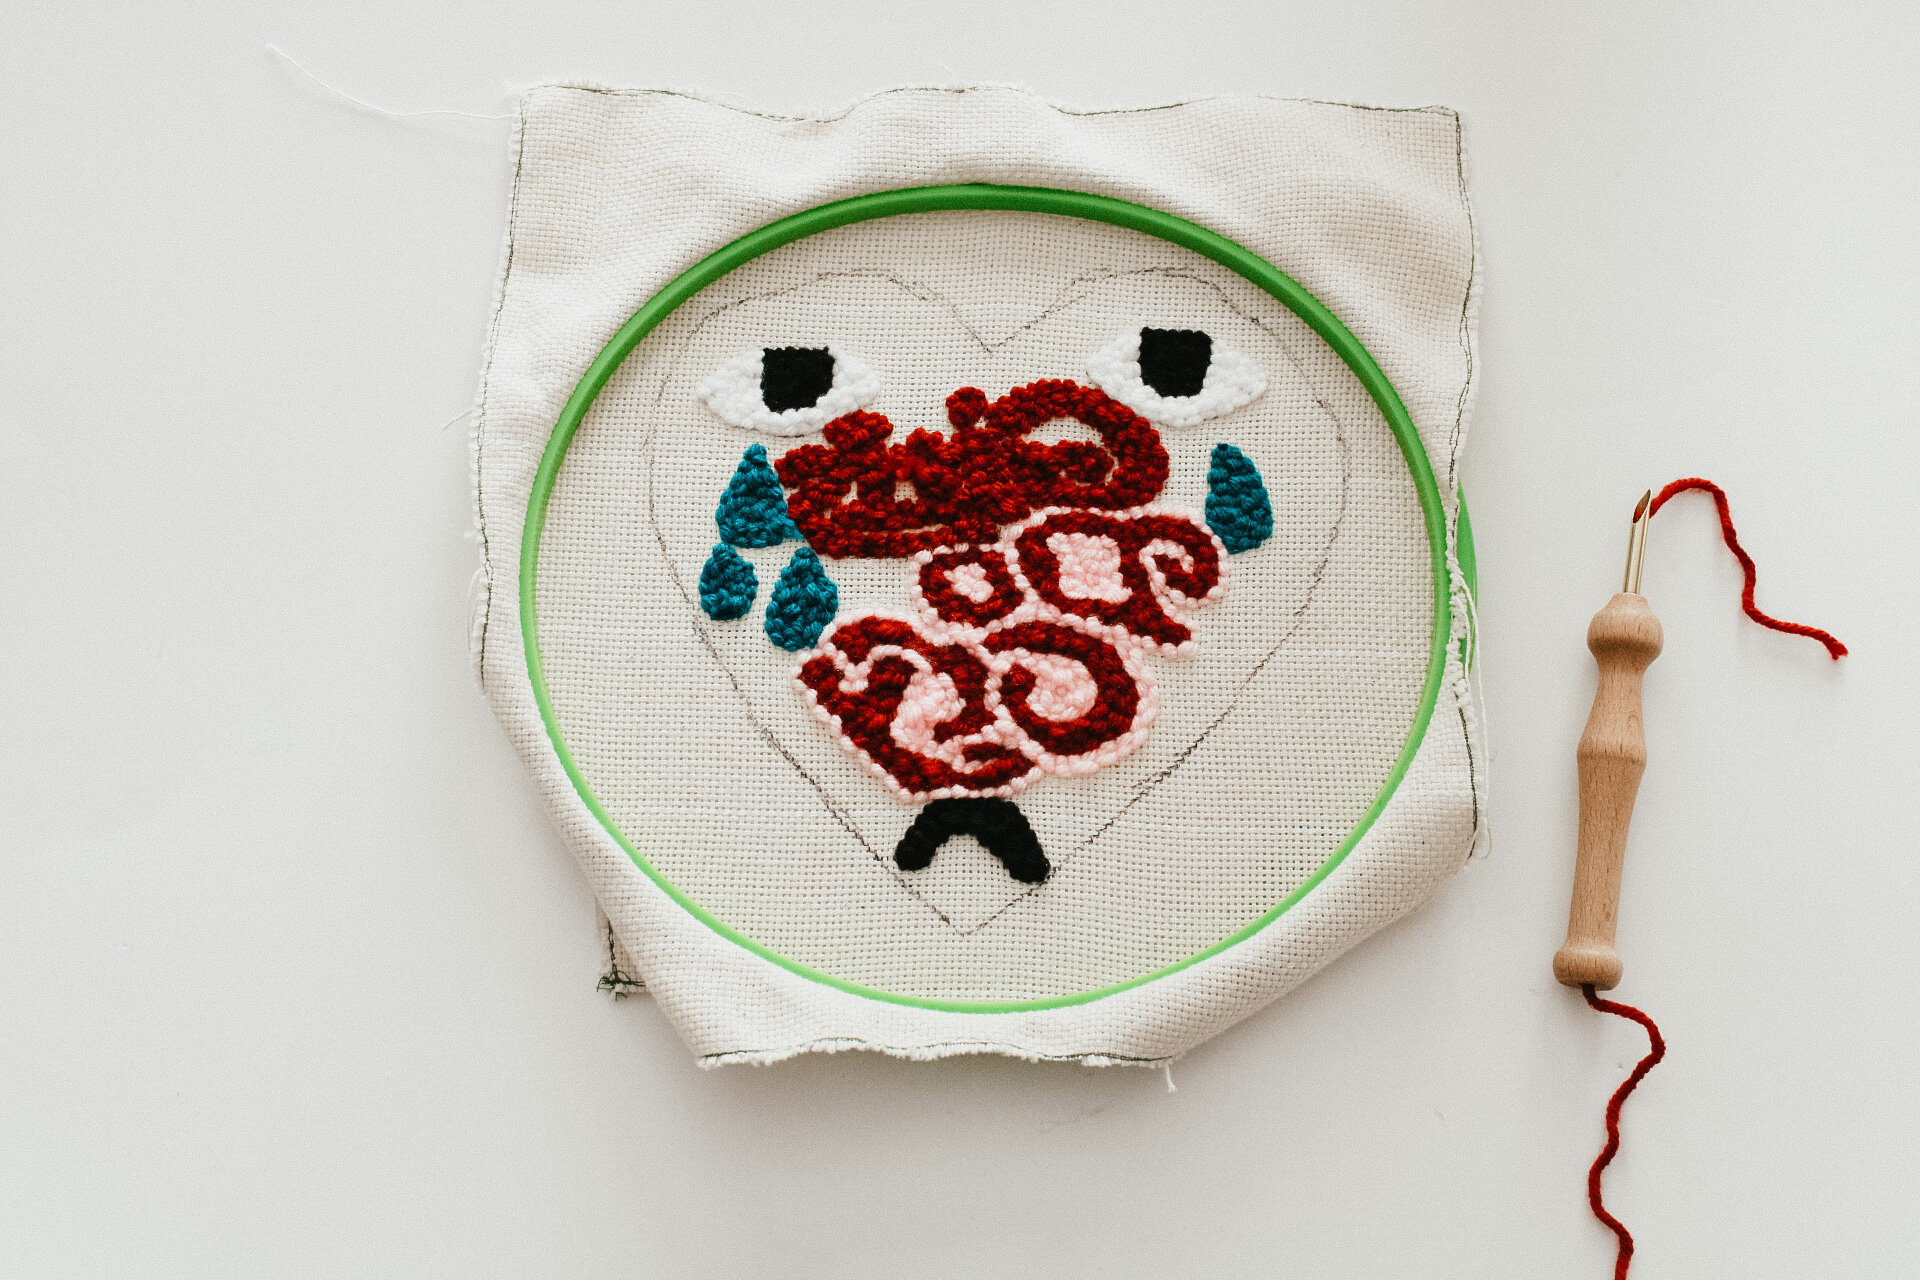
+punching letters/ words

01. in some designs there will be letters and even words that need to be punched in a more specific way. to start, you will be punching one letter at a time and then filling in the background as you go.
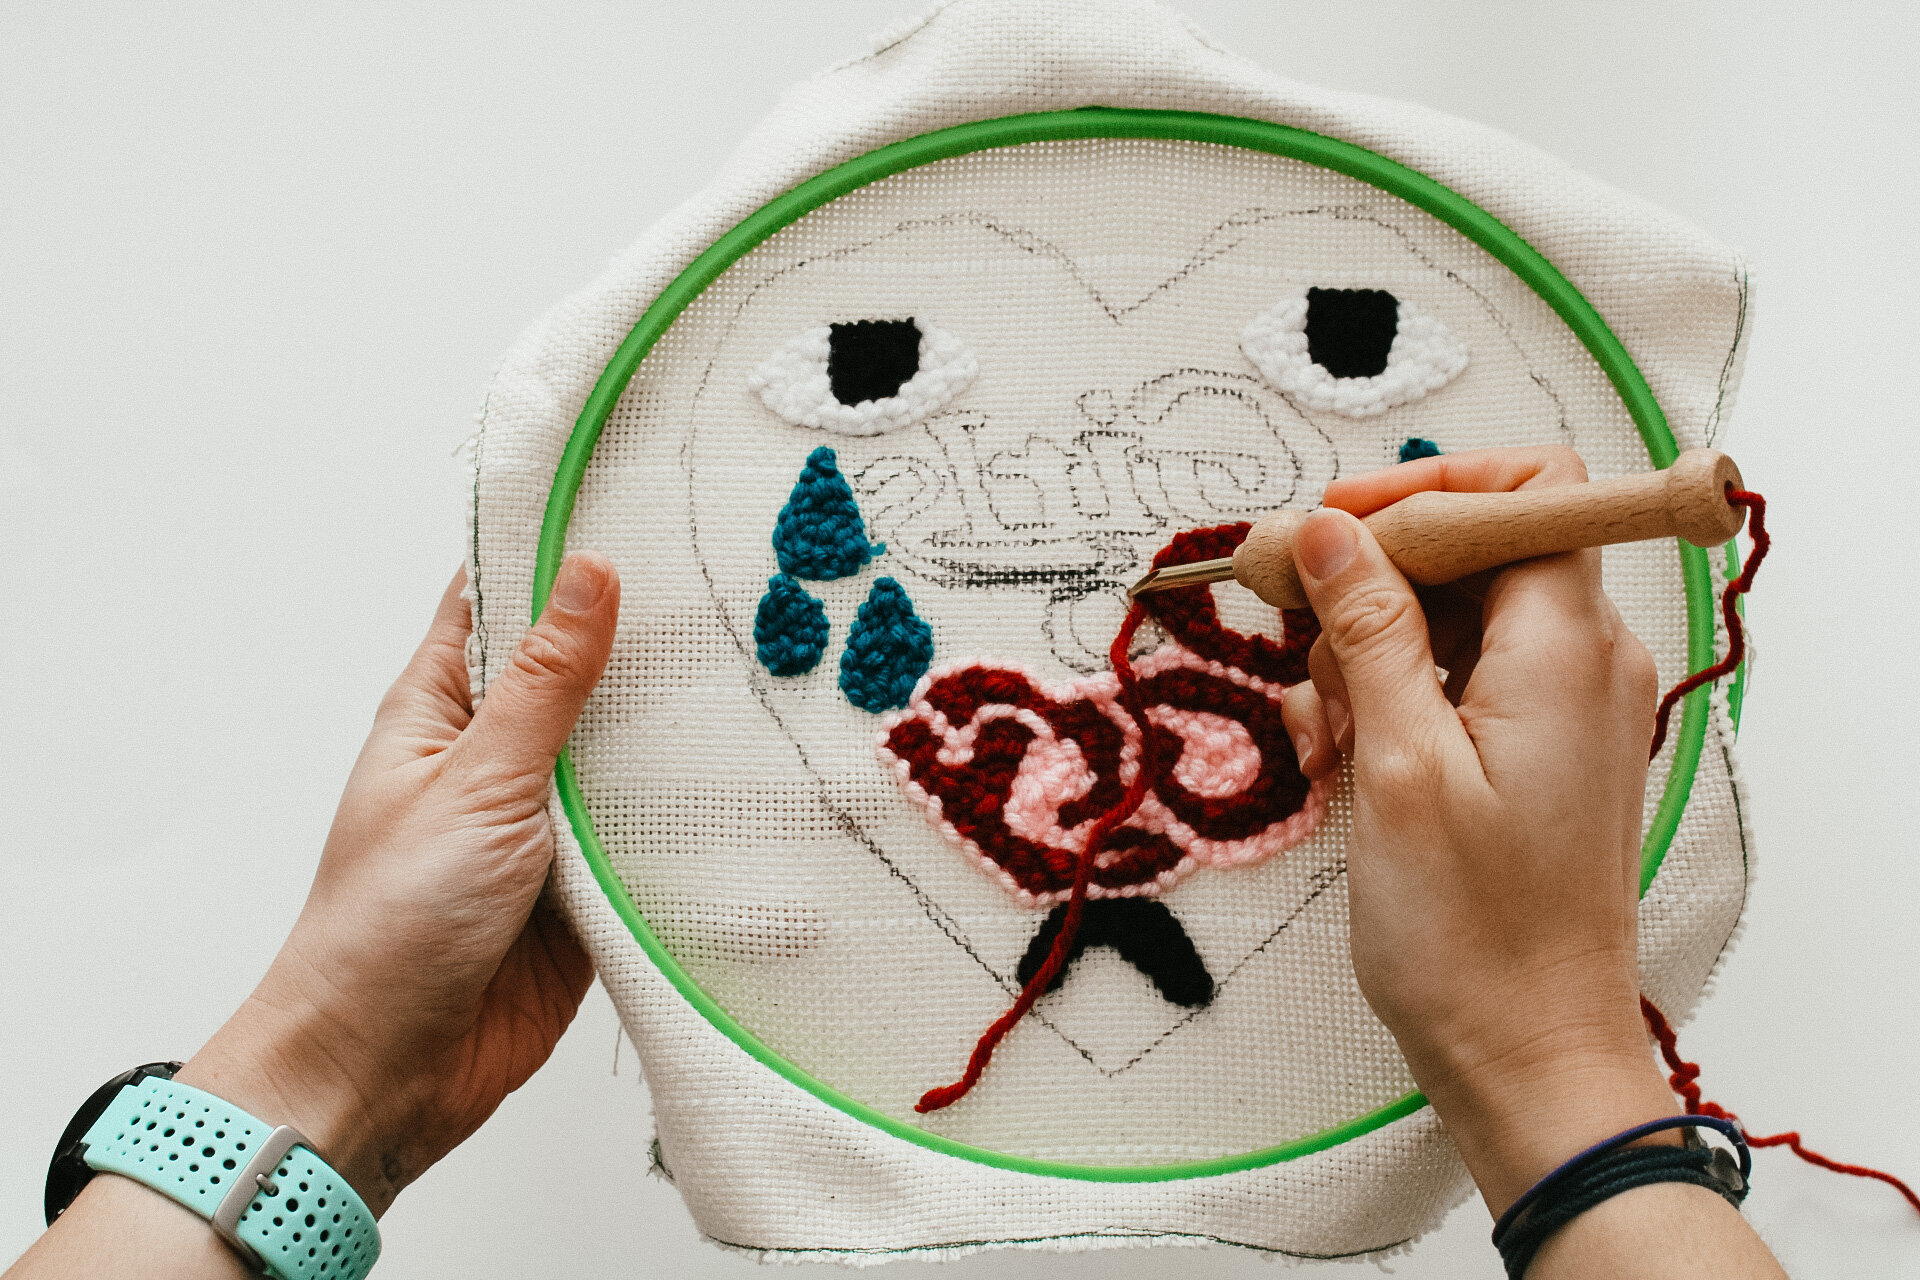
02. start at the bottom and punch all the letters in the words that is drawn on your fabric.
03. once completed punching the letters, begin by punching an outline of each letter/ word.
04. punch with your outline color until you have about a 1-2 inch section of background color “protecting” your letters and until your background color reaches the next set of letters.
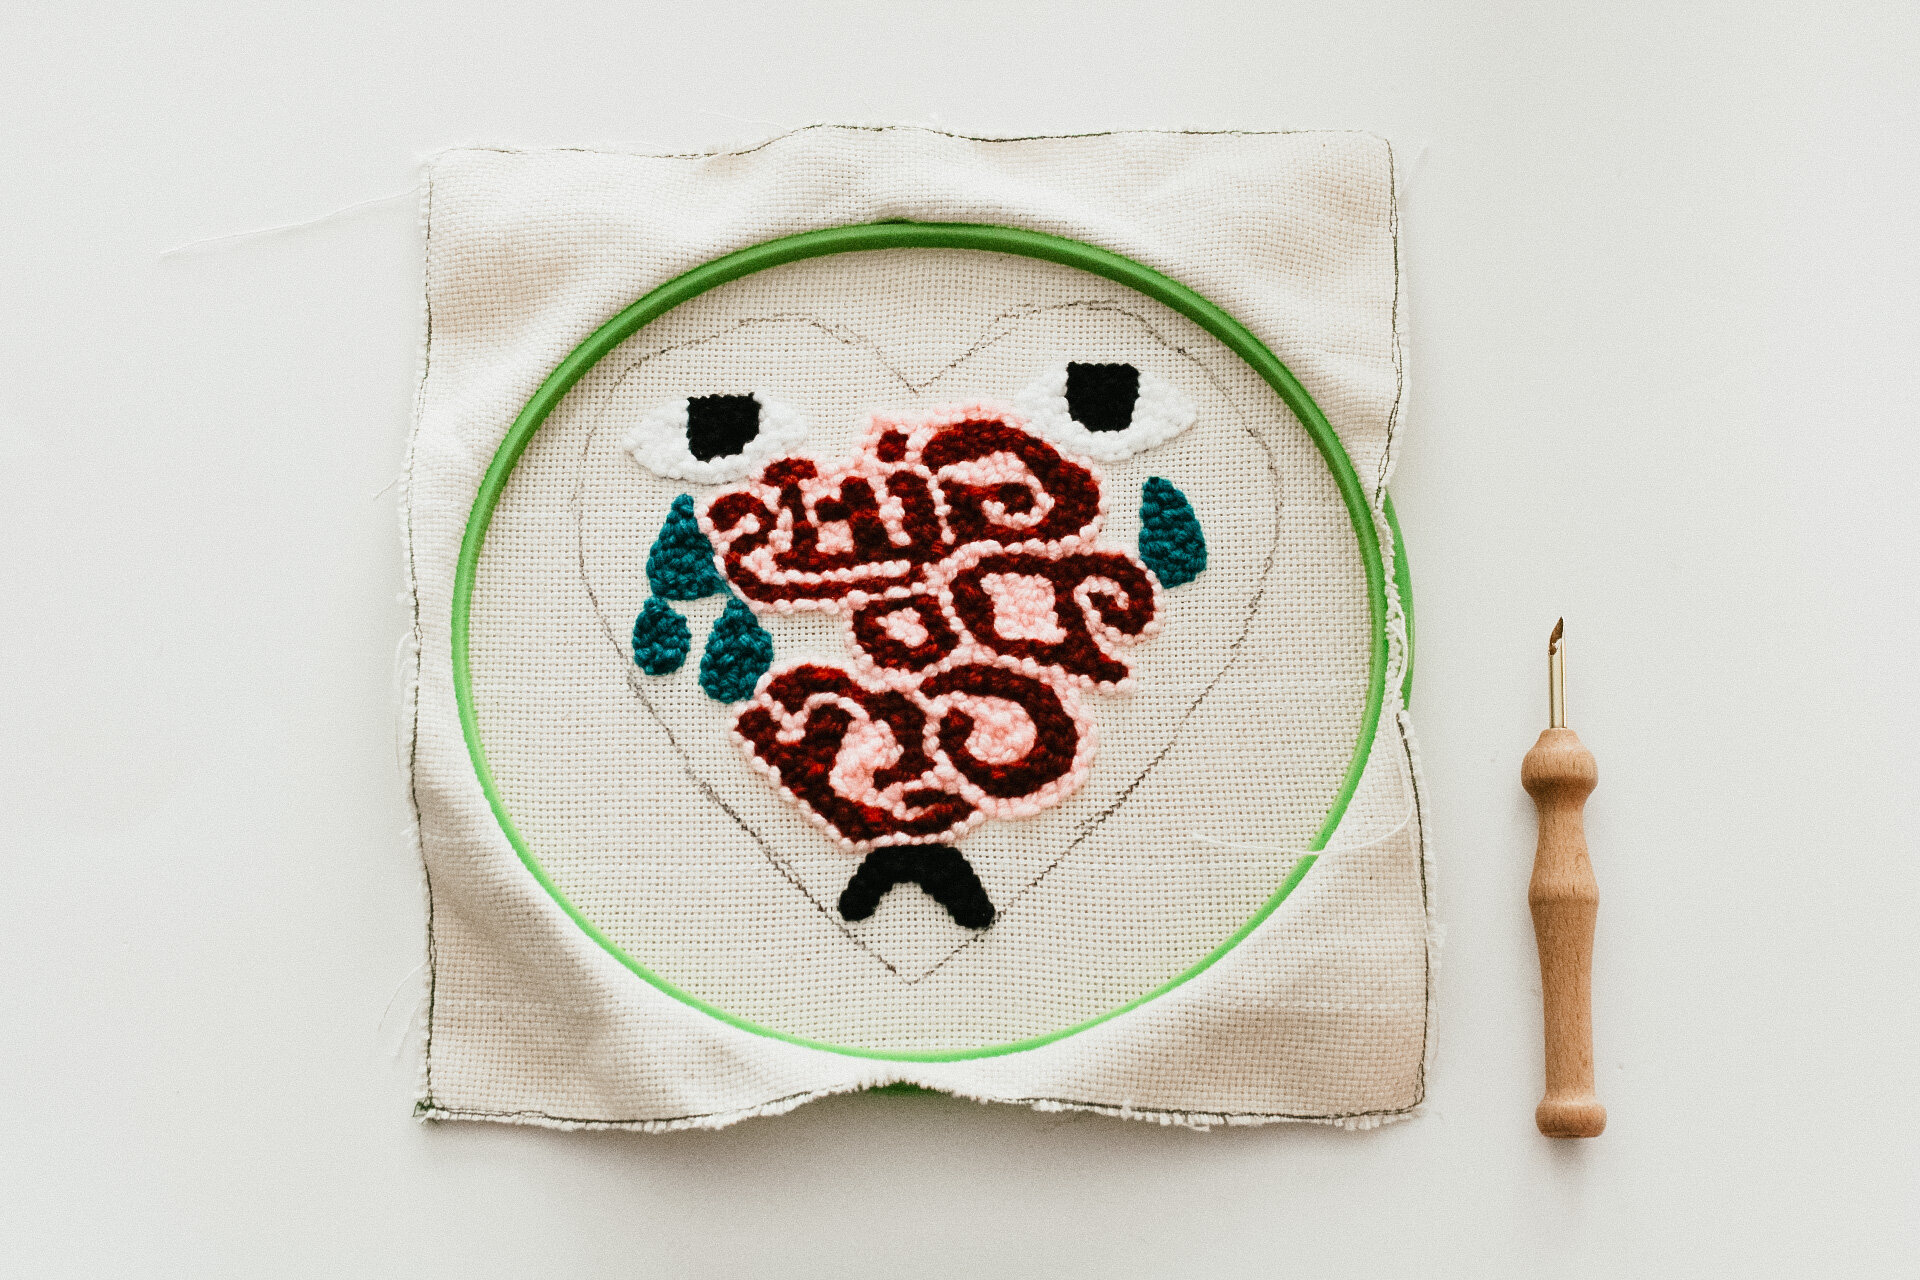
05. continue to move your way up the rows of letters, punching the letters first and then the background color around it.
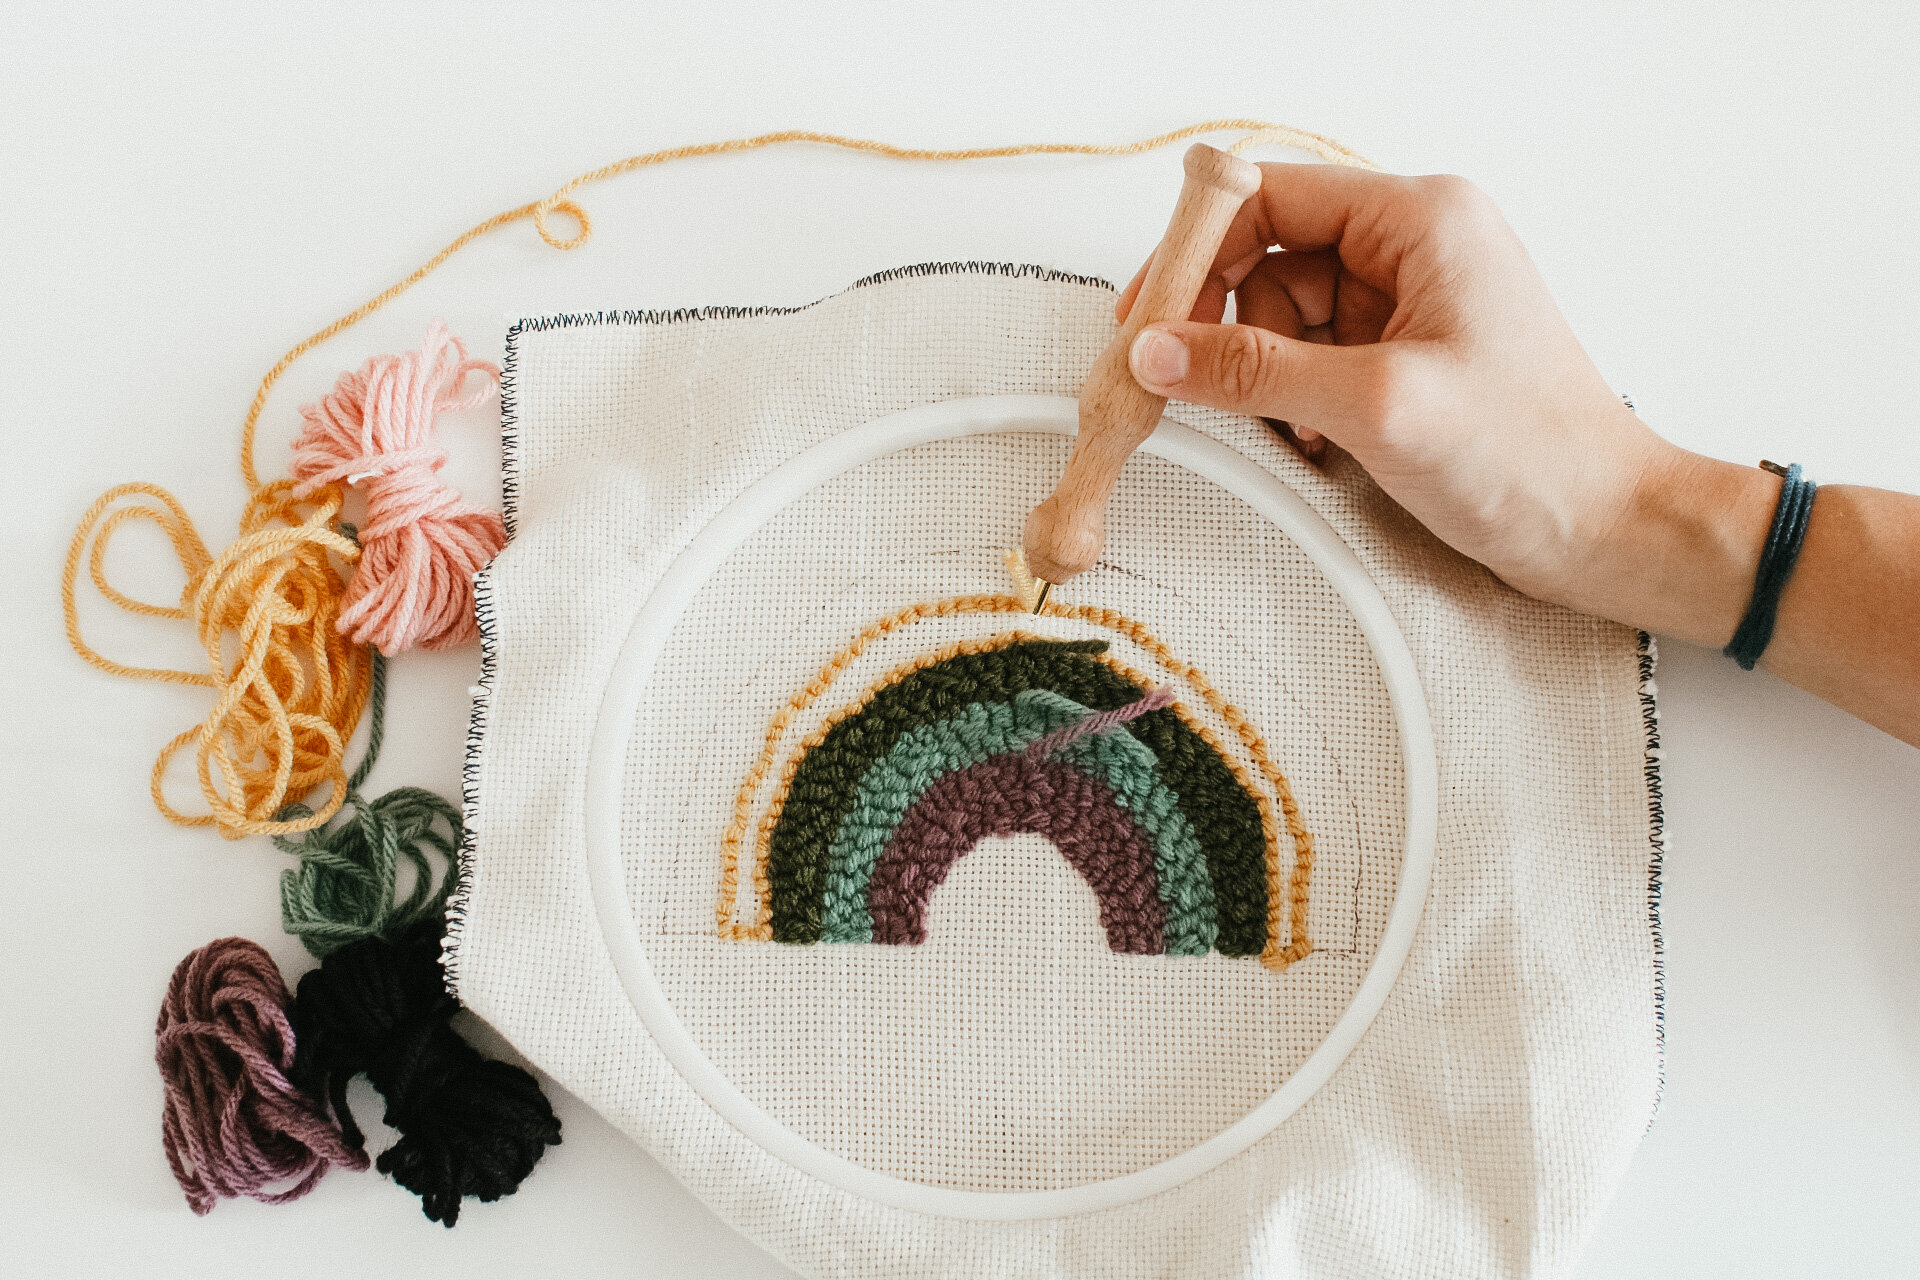
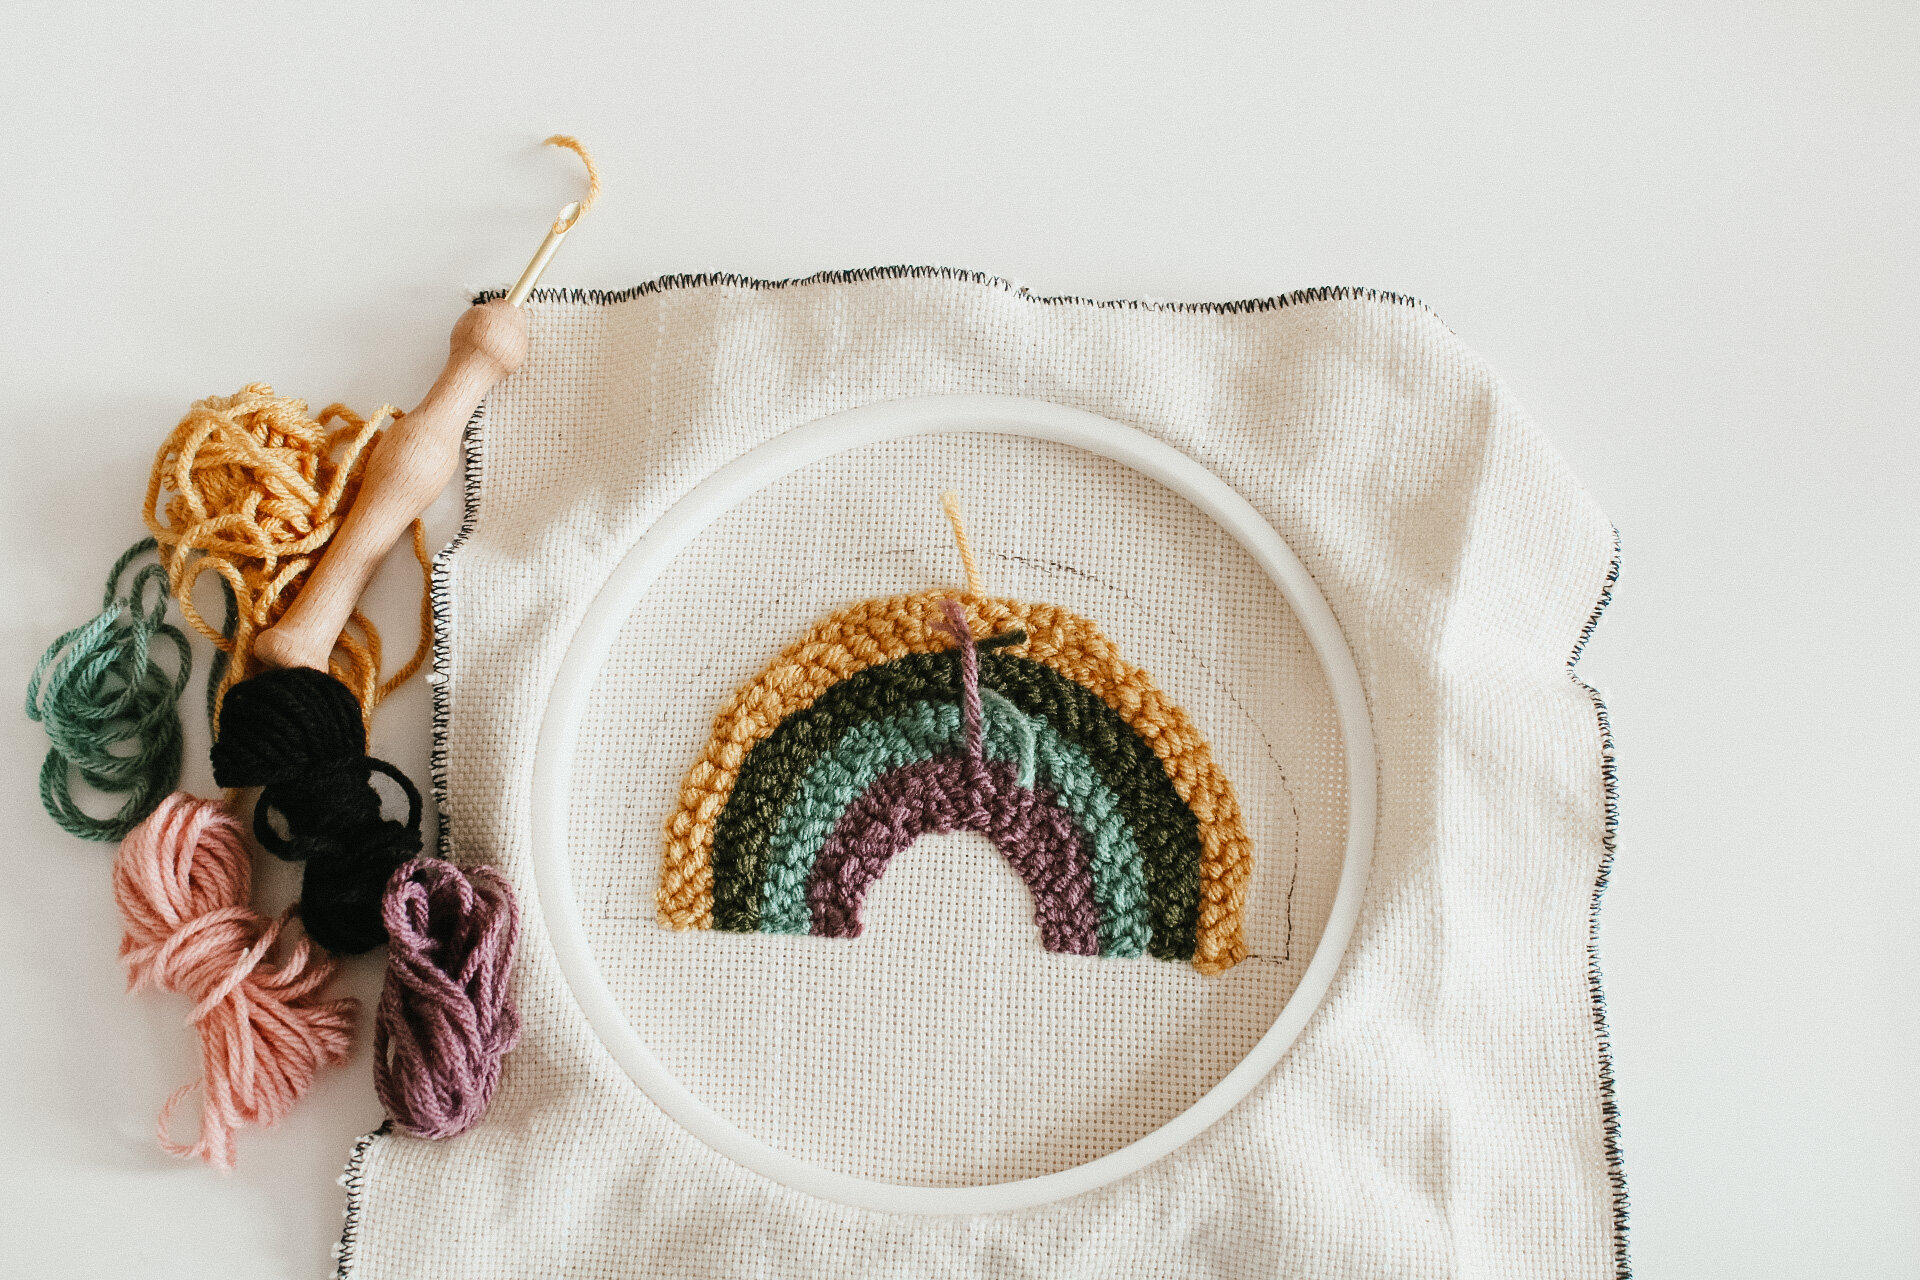
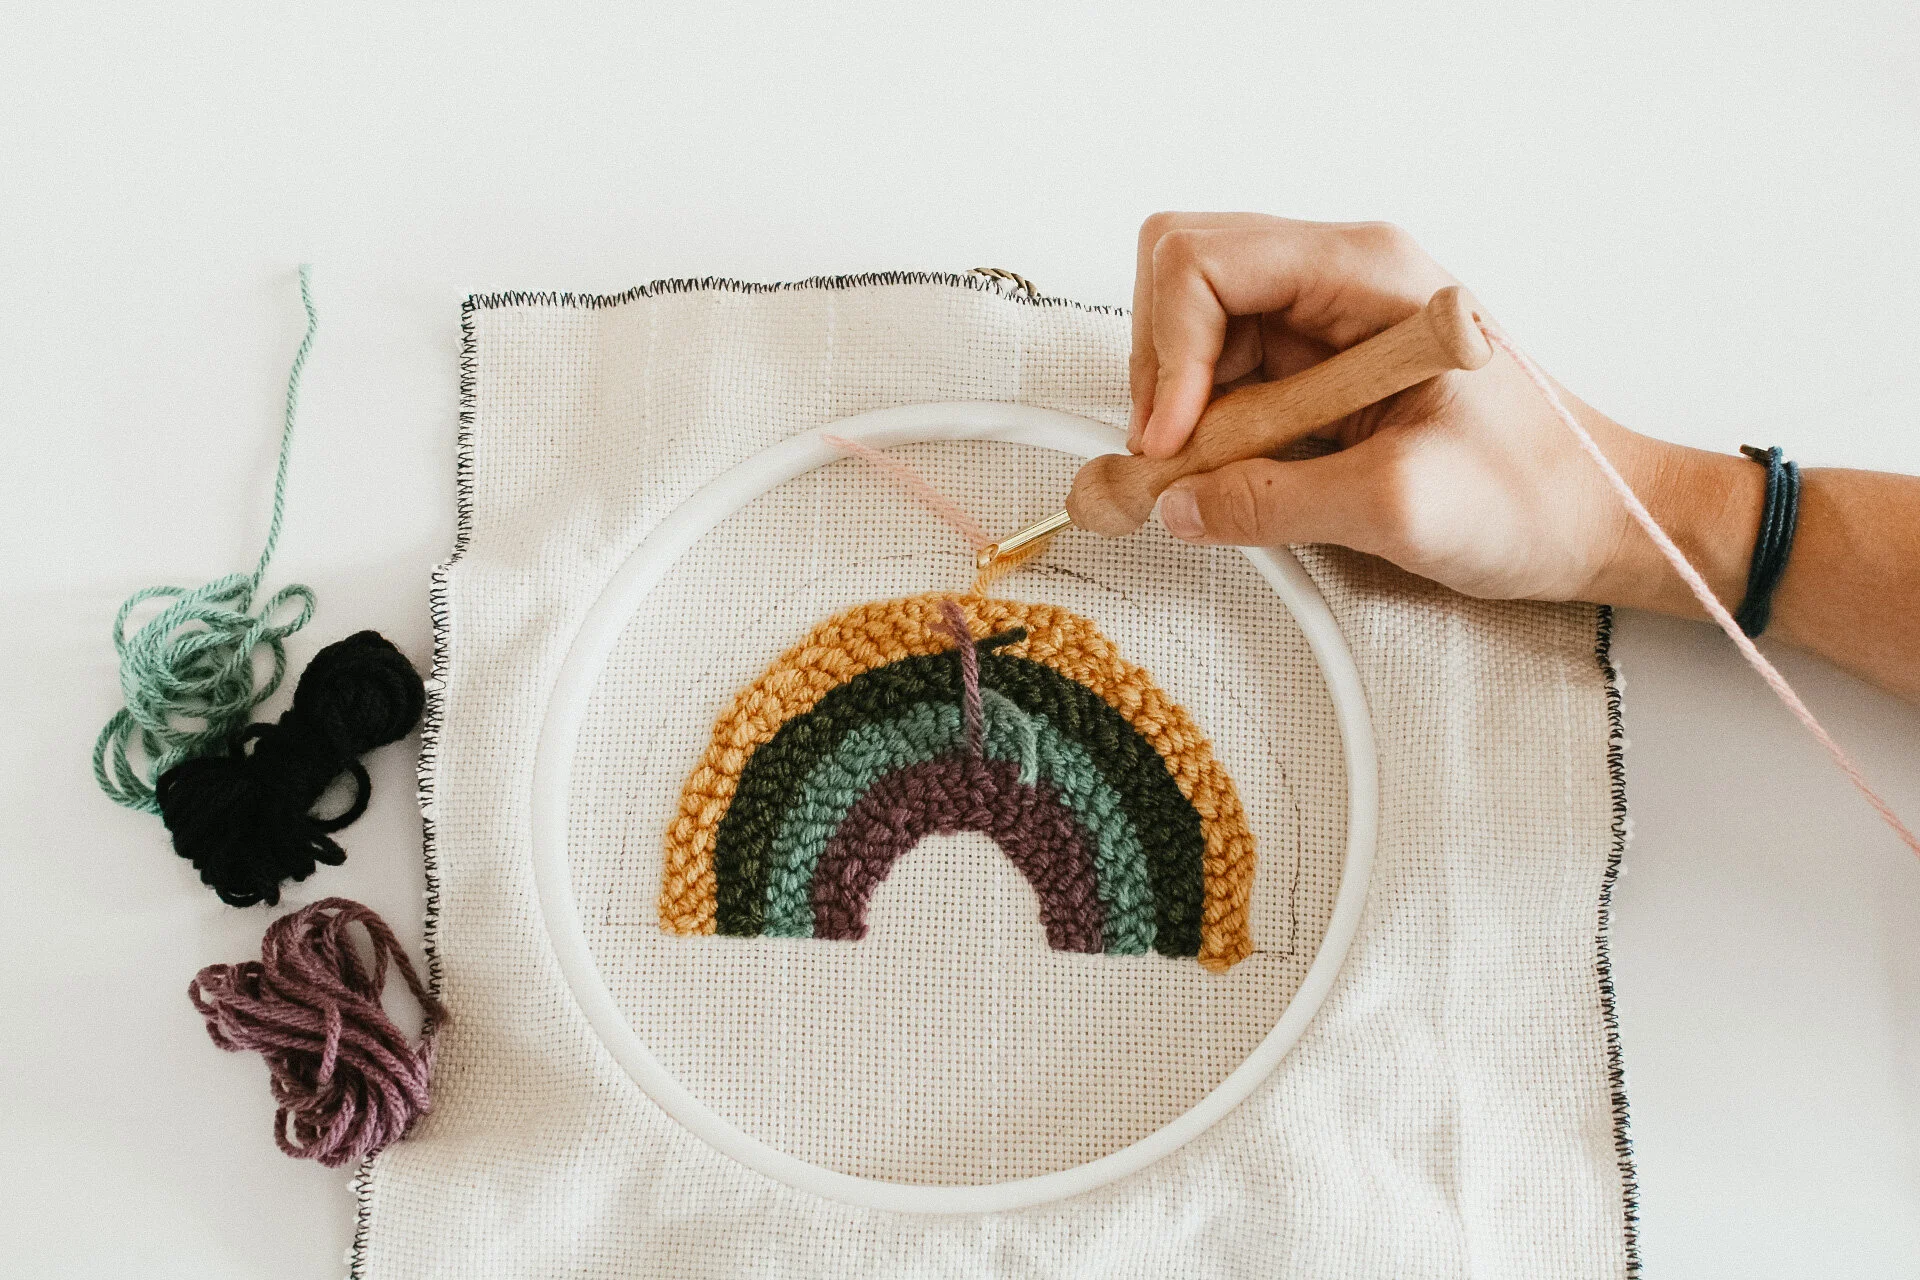
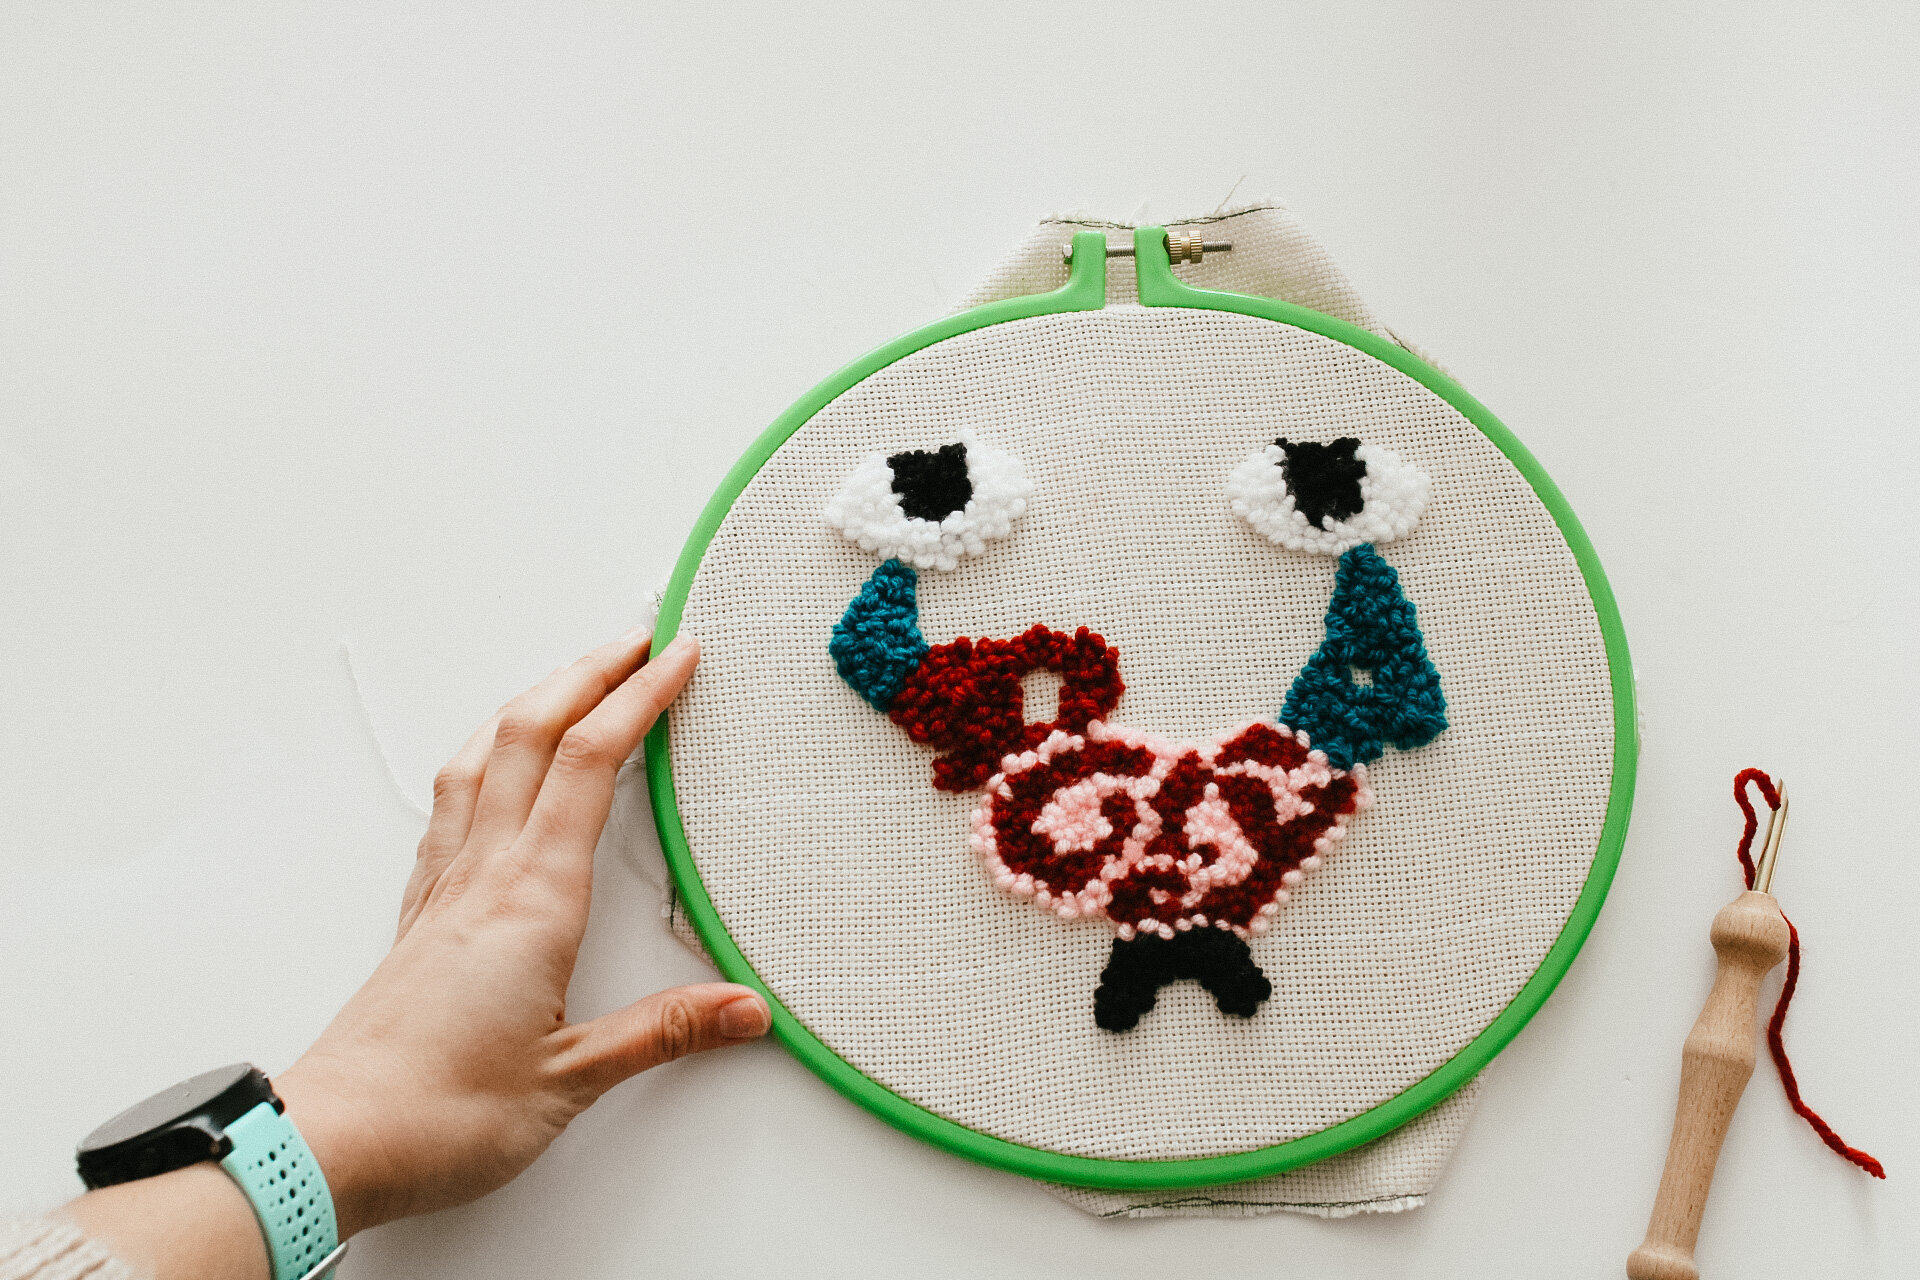
+background
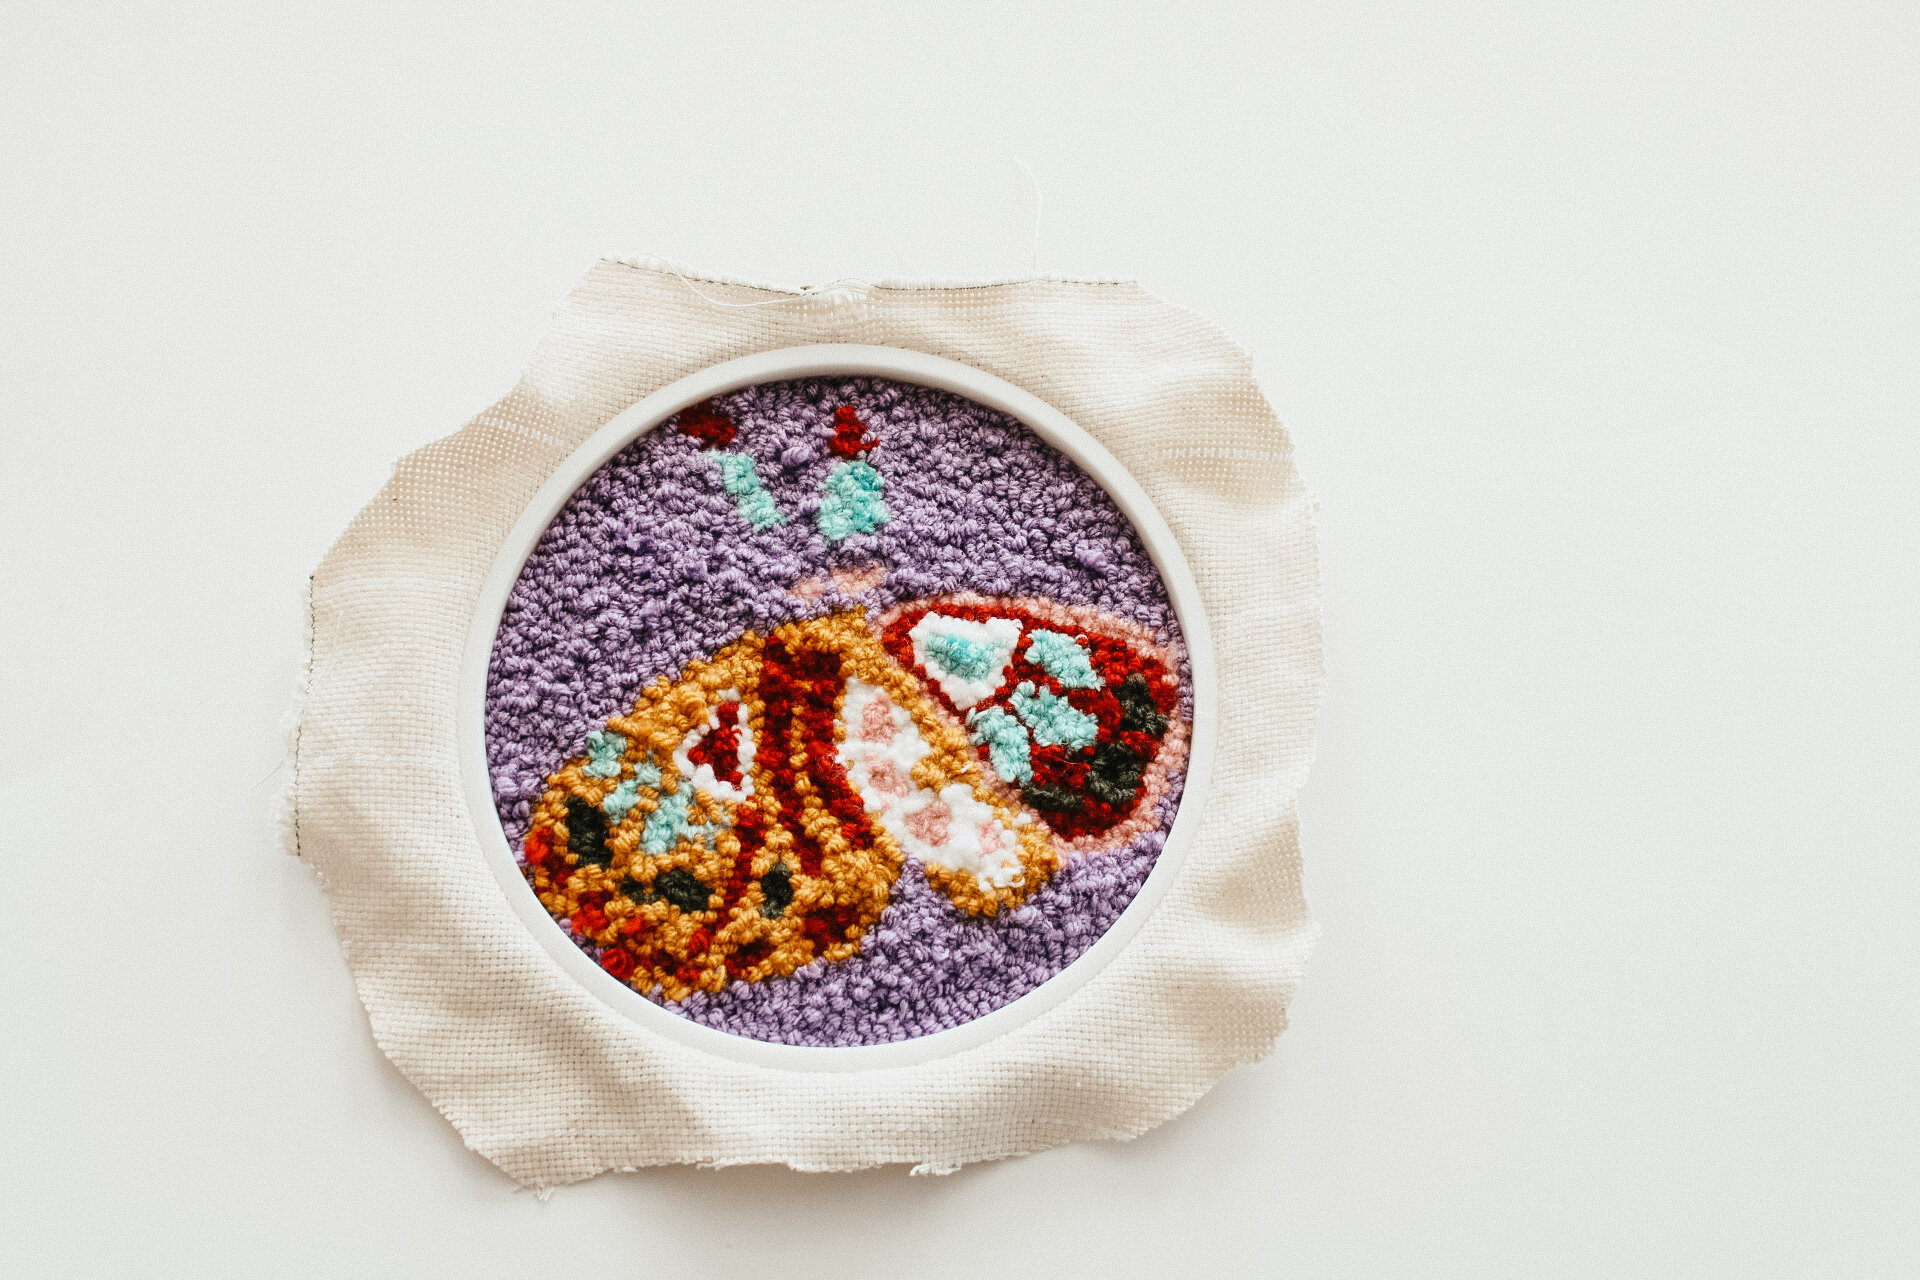
for the background color, i prefer to punch on the loop side (the front of the hoop) to make the loops in my design pop more. if you want your design to be all loops, continue punching on the inside of the hoop and have your whole project be loops.

01. using your background color, being to punch an outline of the circle shape of your hoop using a small stitch. (every 2 loops).

02. continue to go around the circle and fill it in using the small stitch, until you complete the circle. if you are working from the inside of the hoop, you can work a larger stitch, because the loops will take up more space. make sure to always check for bare spots on the front of your work as you are punching.

pro tip: it might be easier to work in 2 halves with the design in between. completing the top of the background first and the the bottom half.
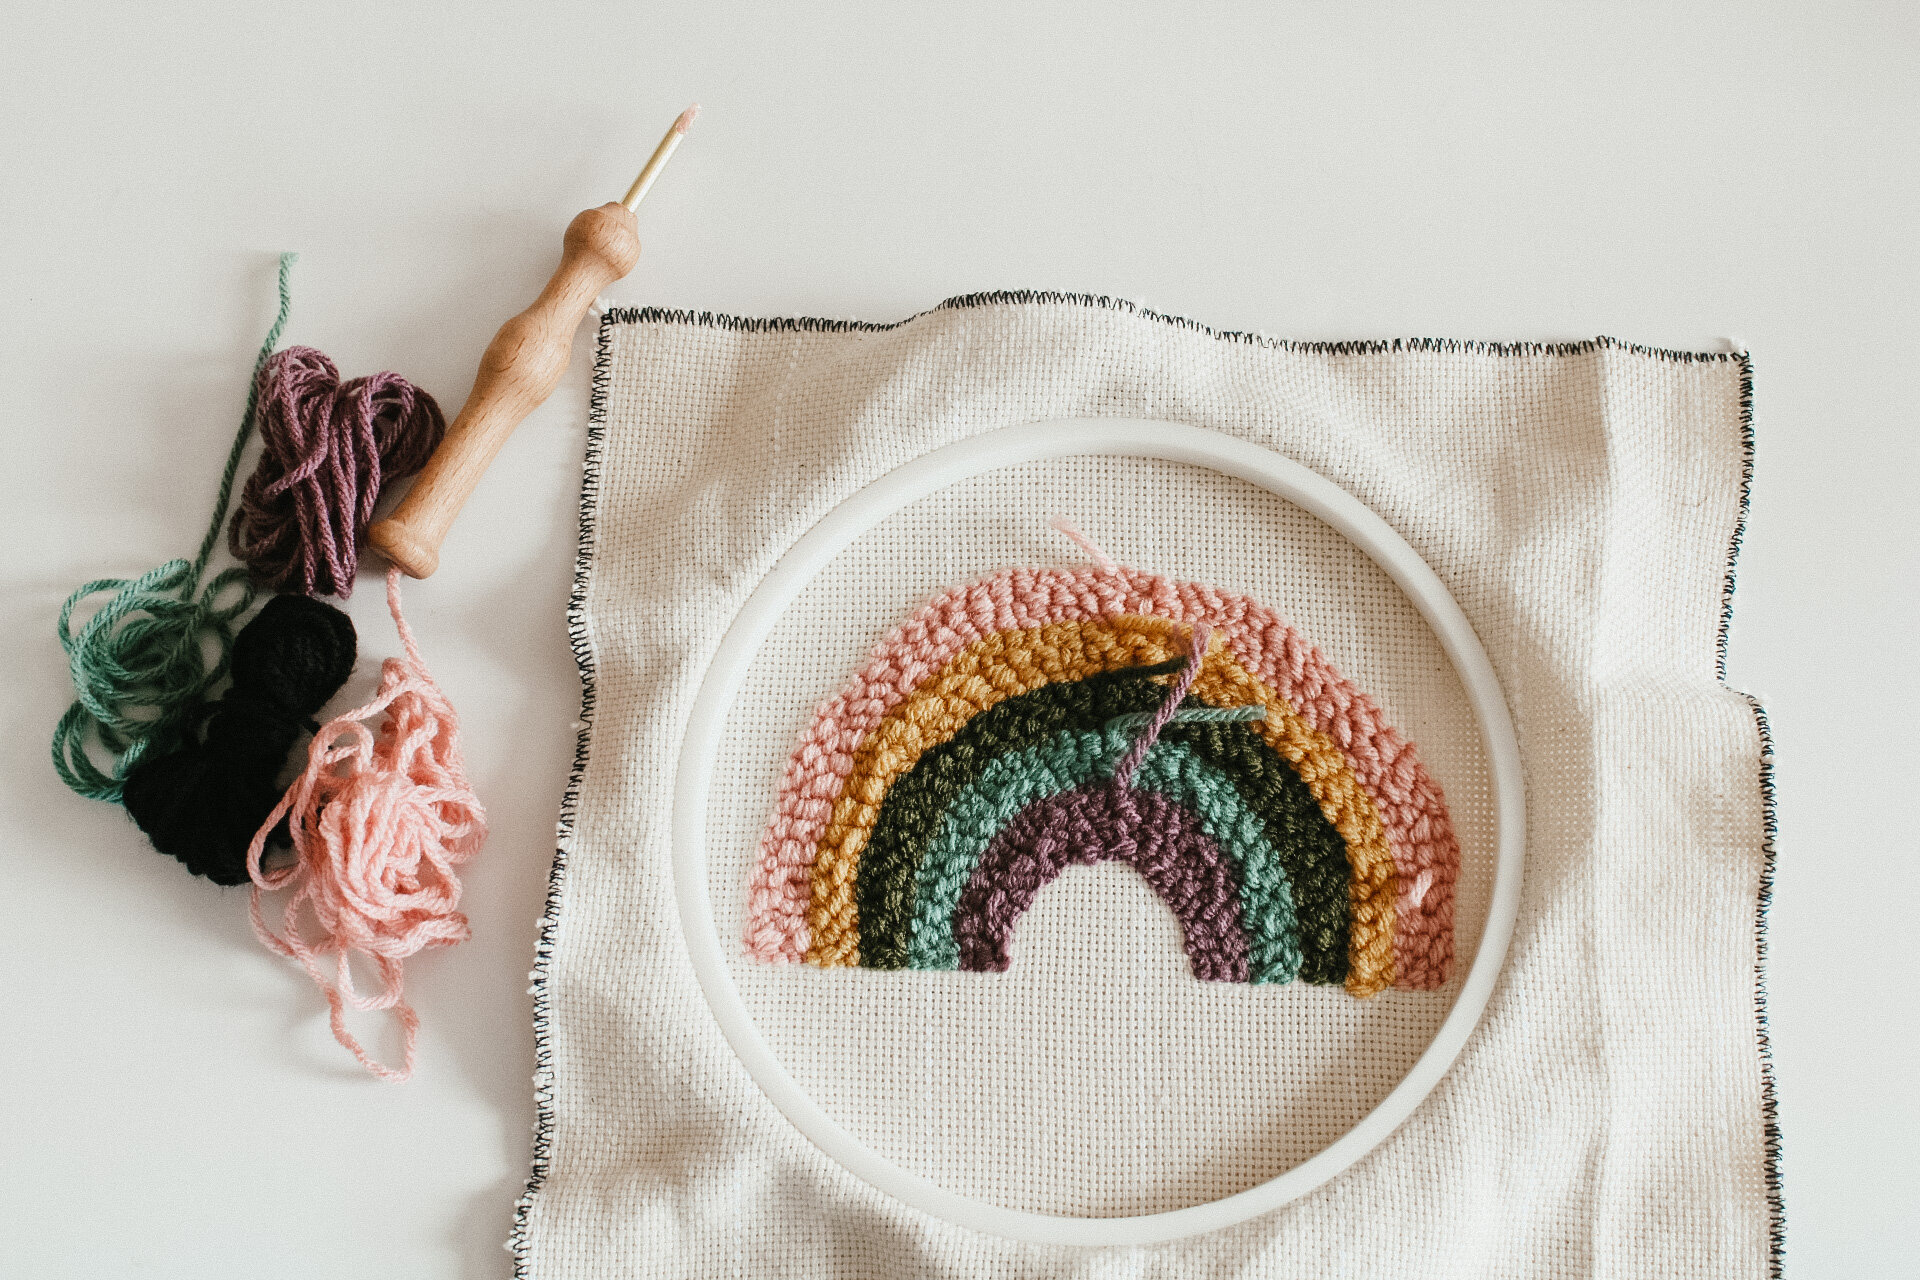
+finishing
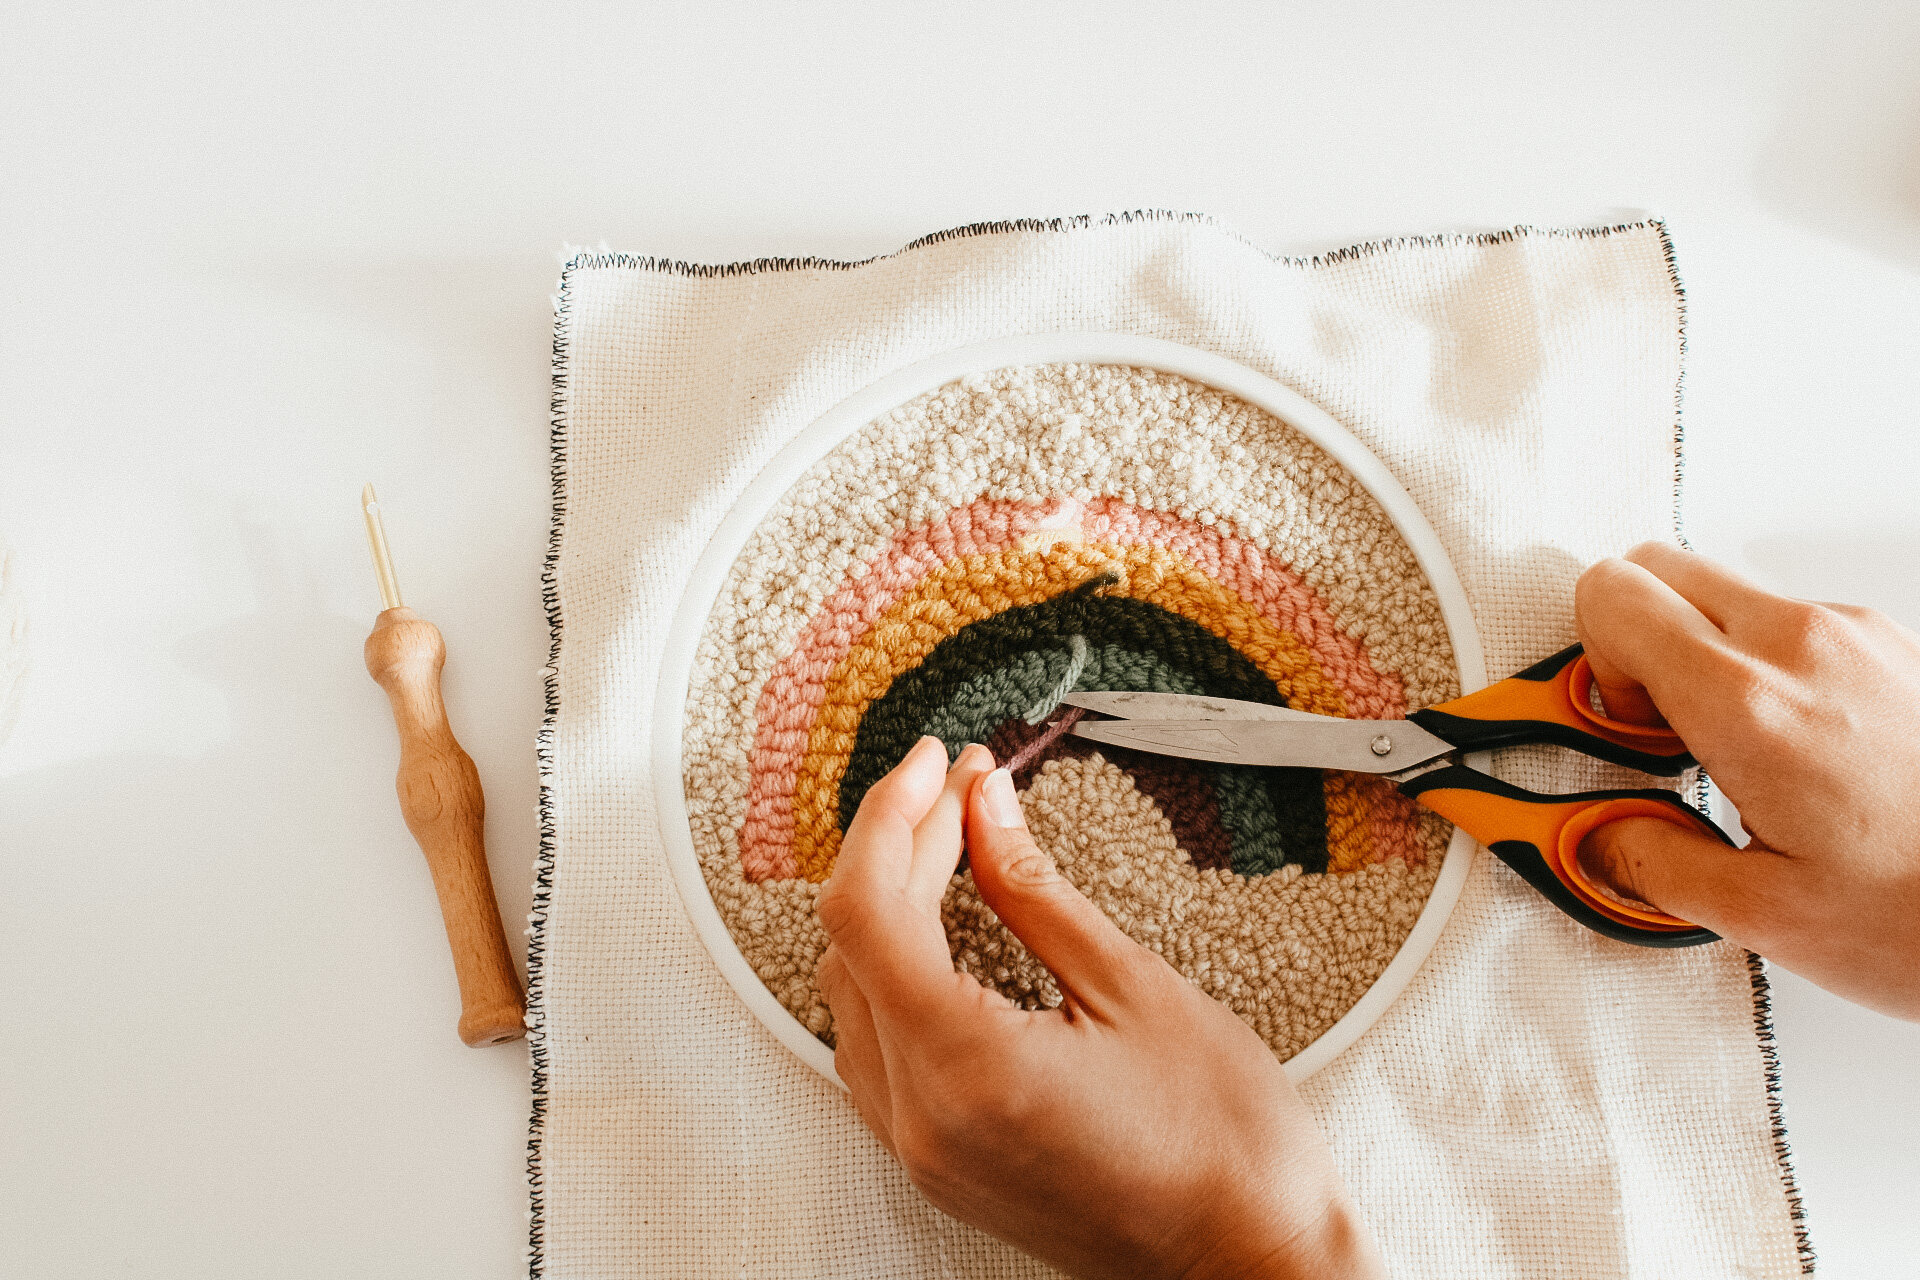
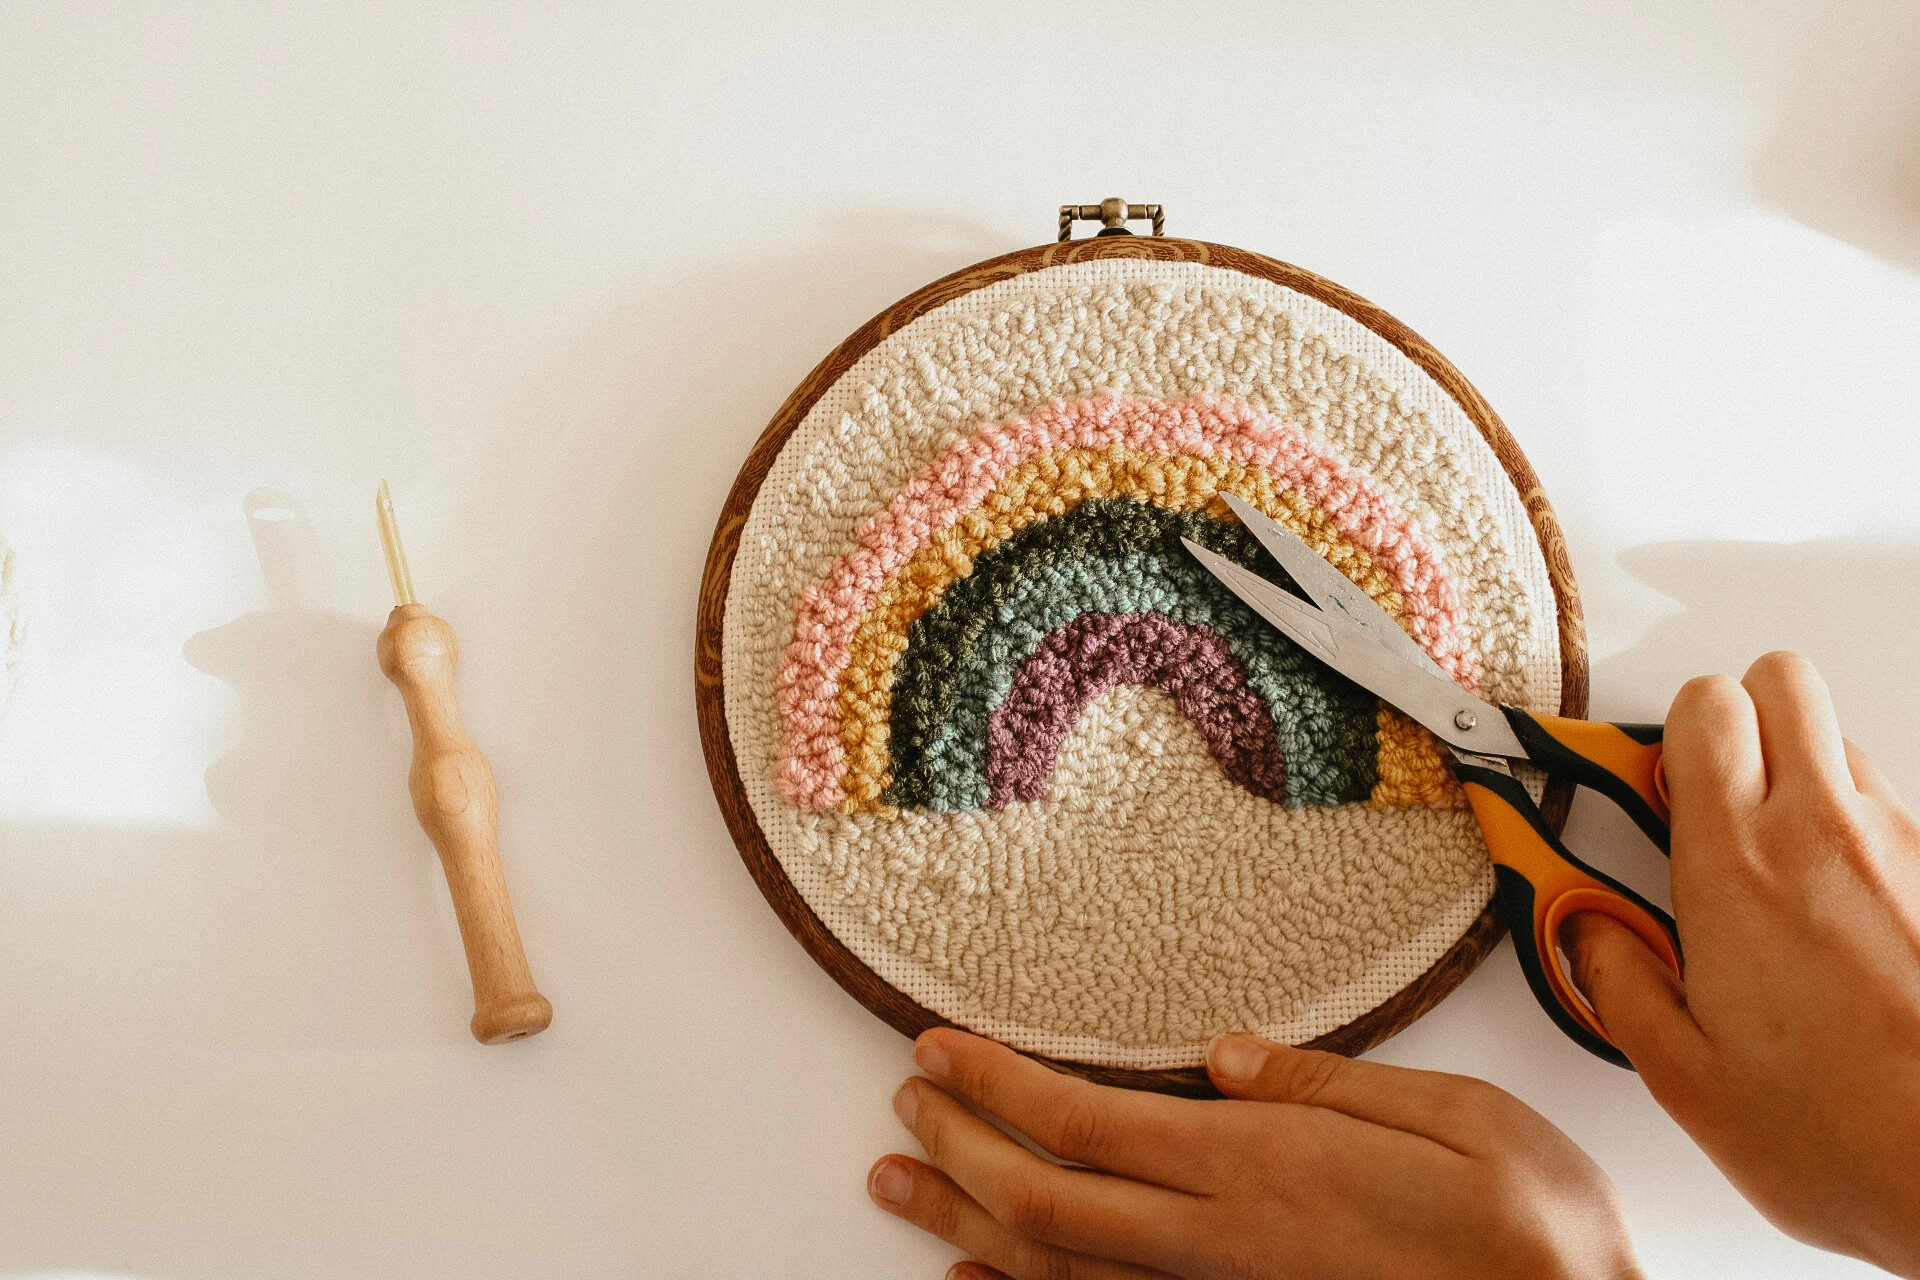
01. after the punch needle piece is finished, there will be multiple short little tails throughout. simply trim these tails so they will hid within the other loops. if you have any straggling yarn bits trim those as well. the fabric will do the job of holding the yarn.
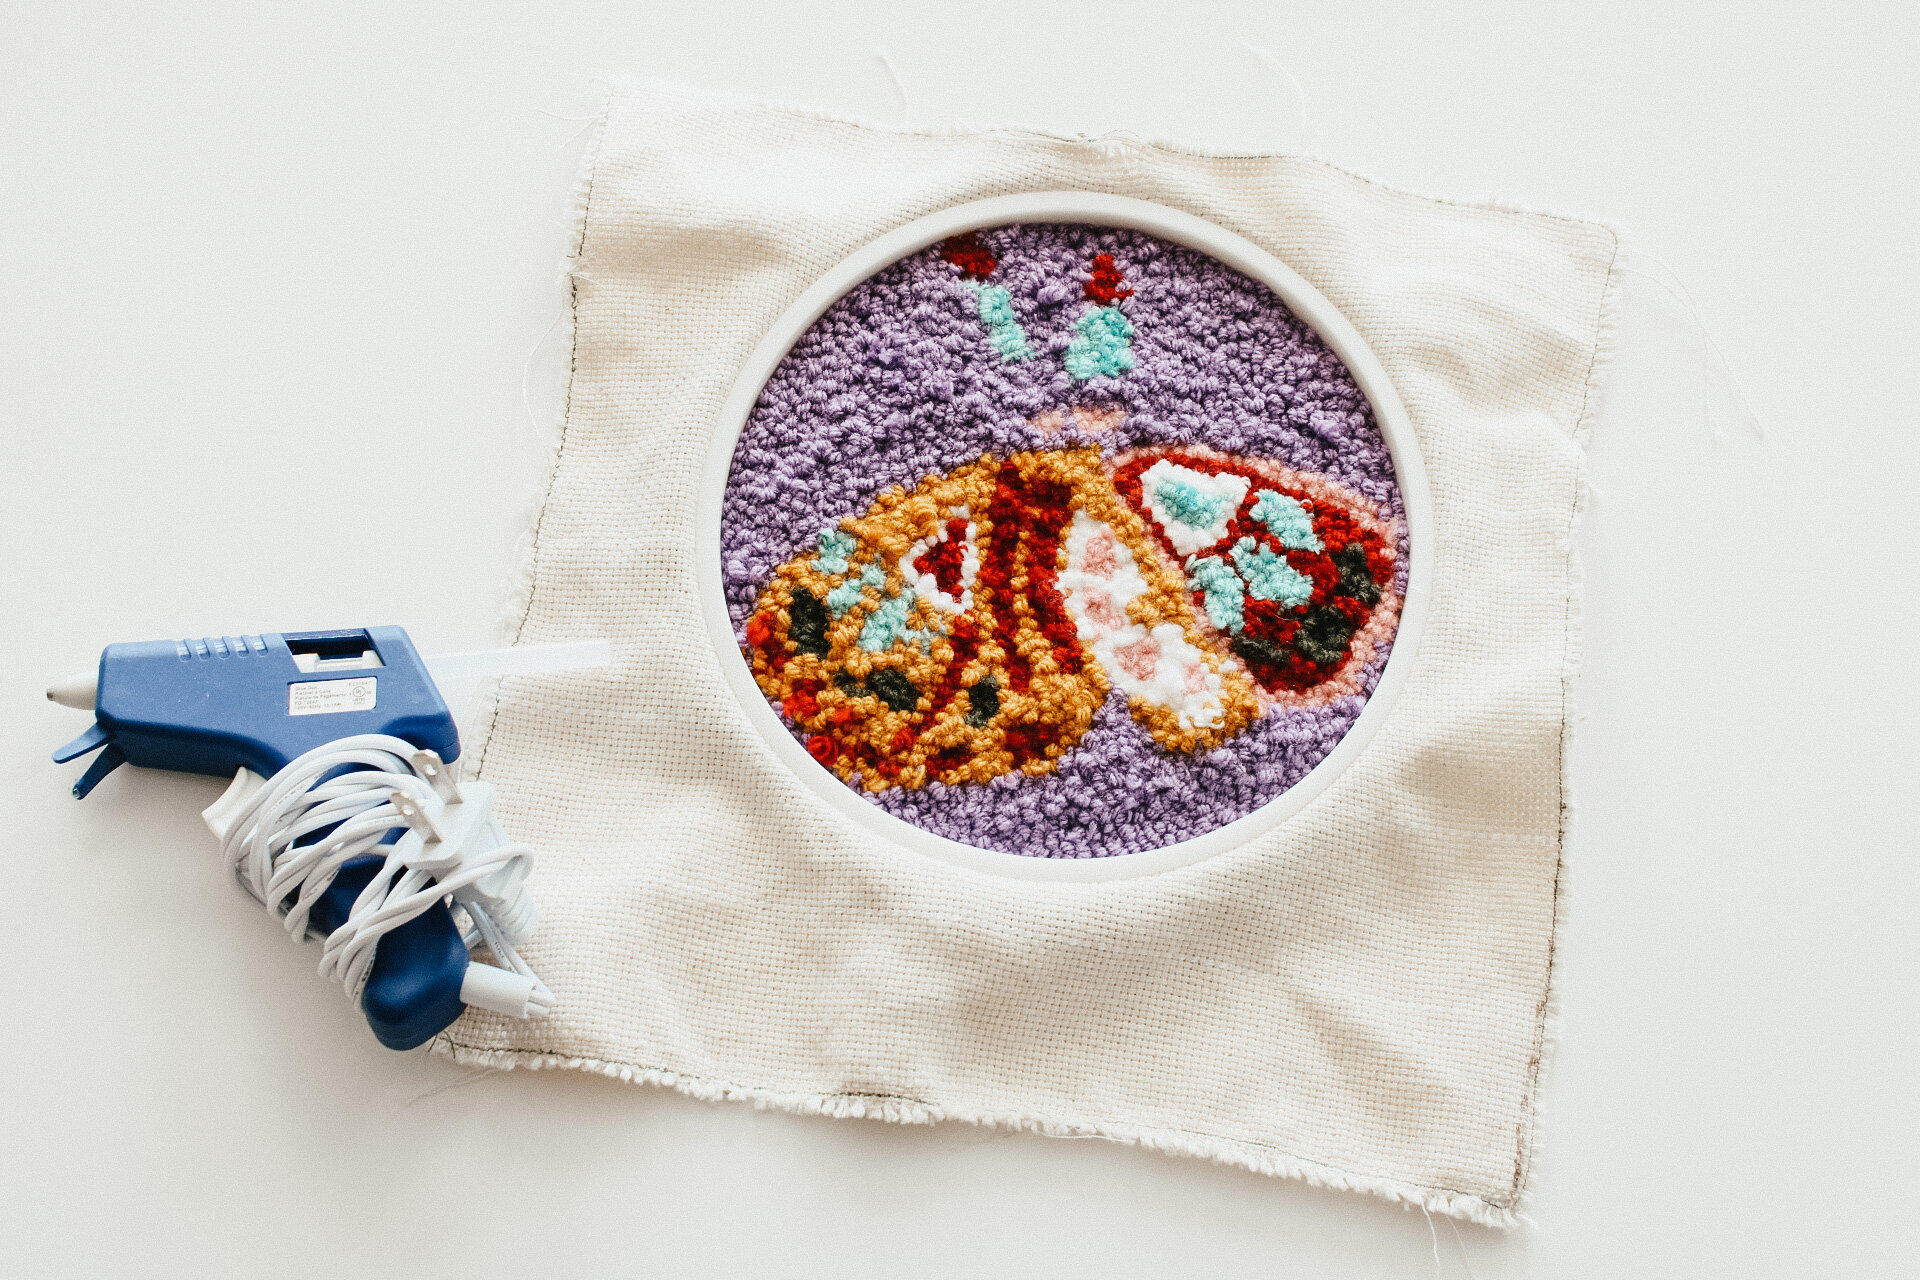
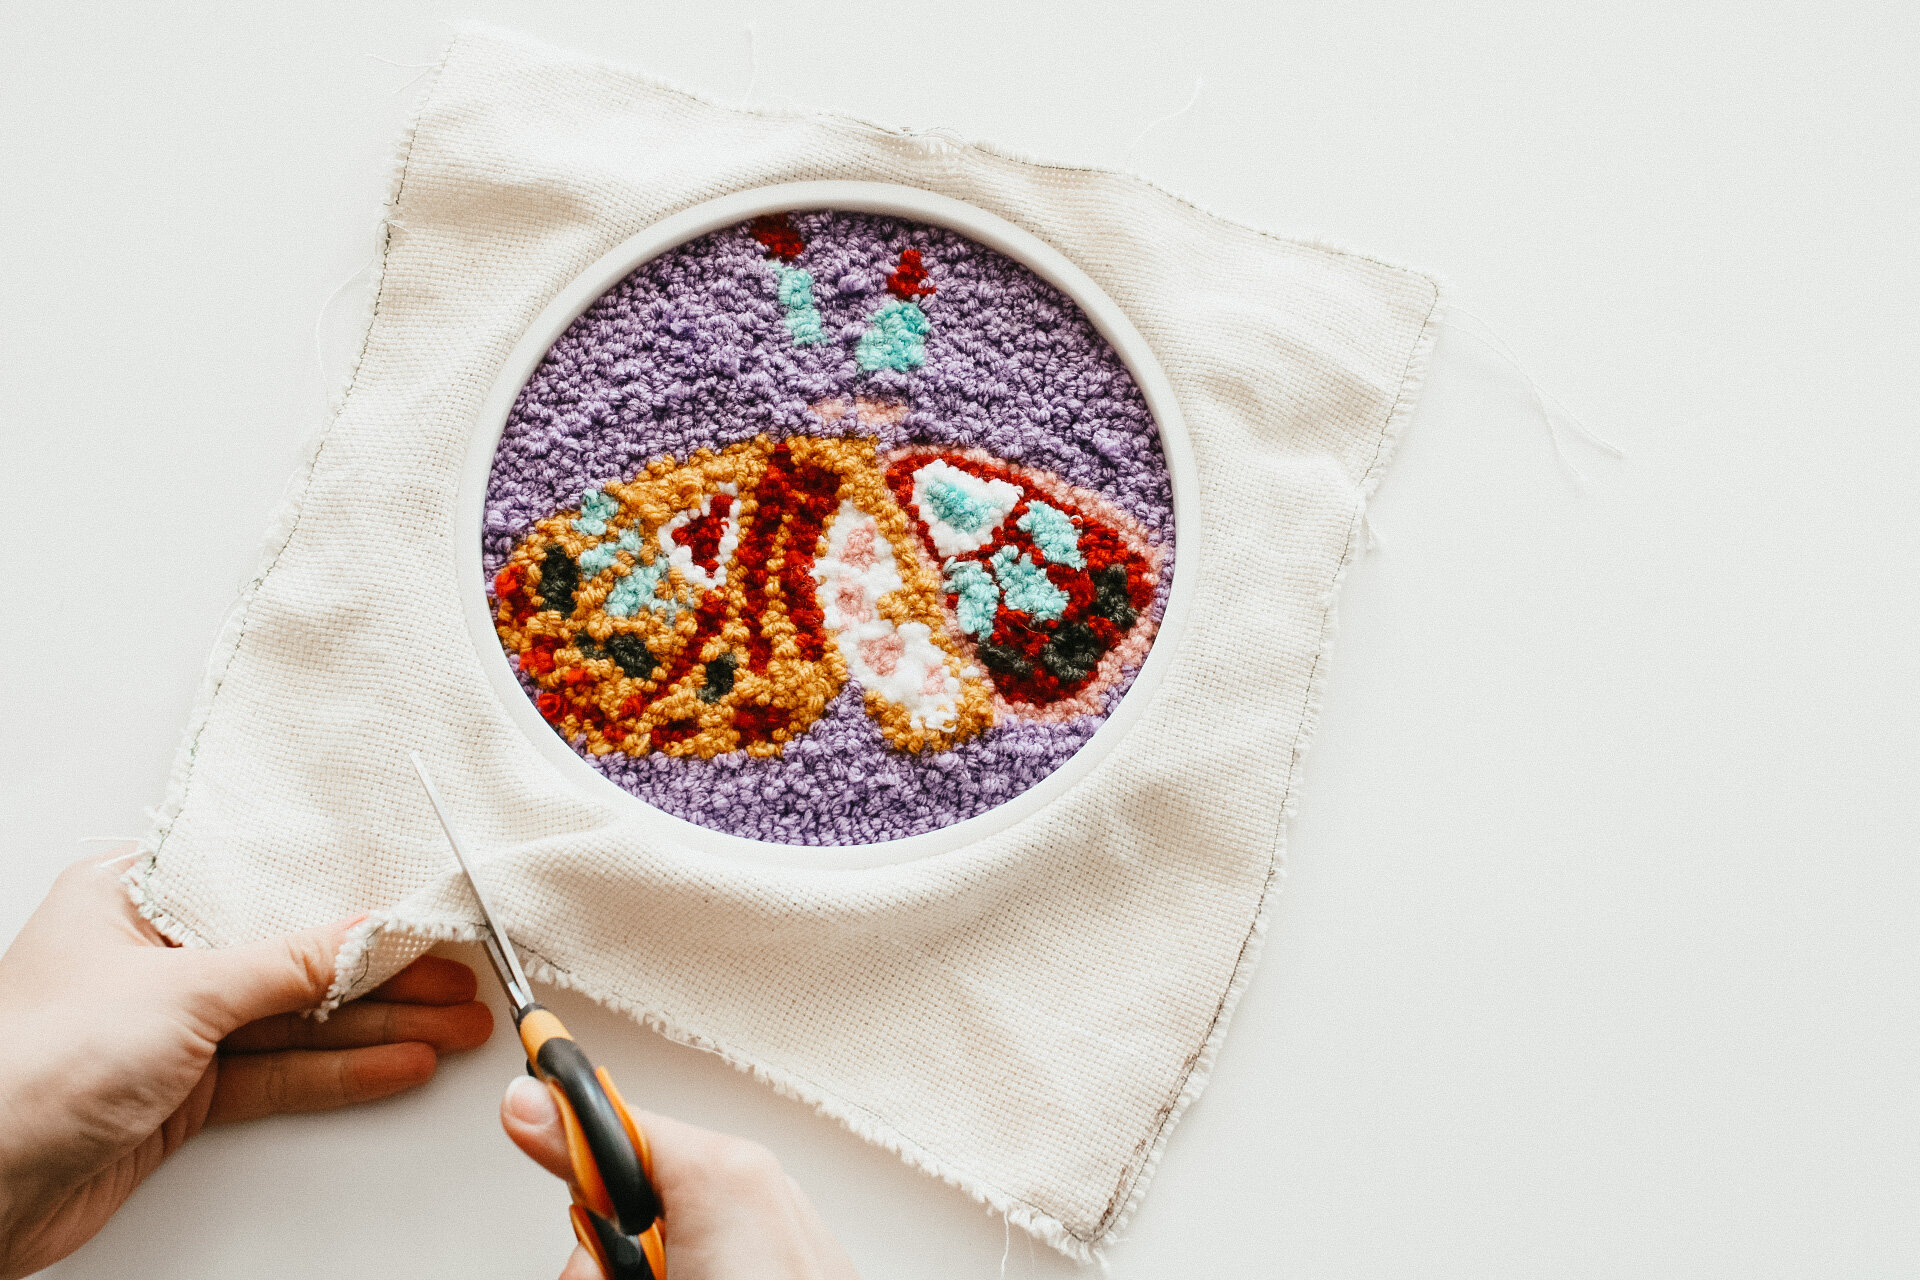
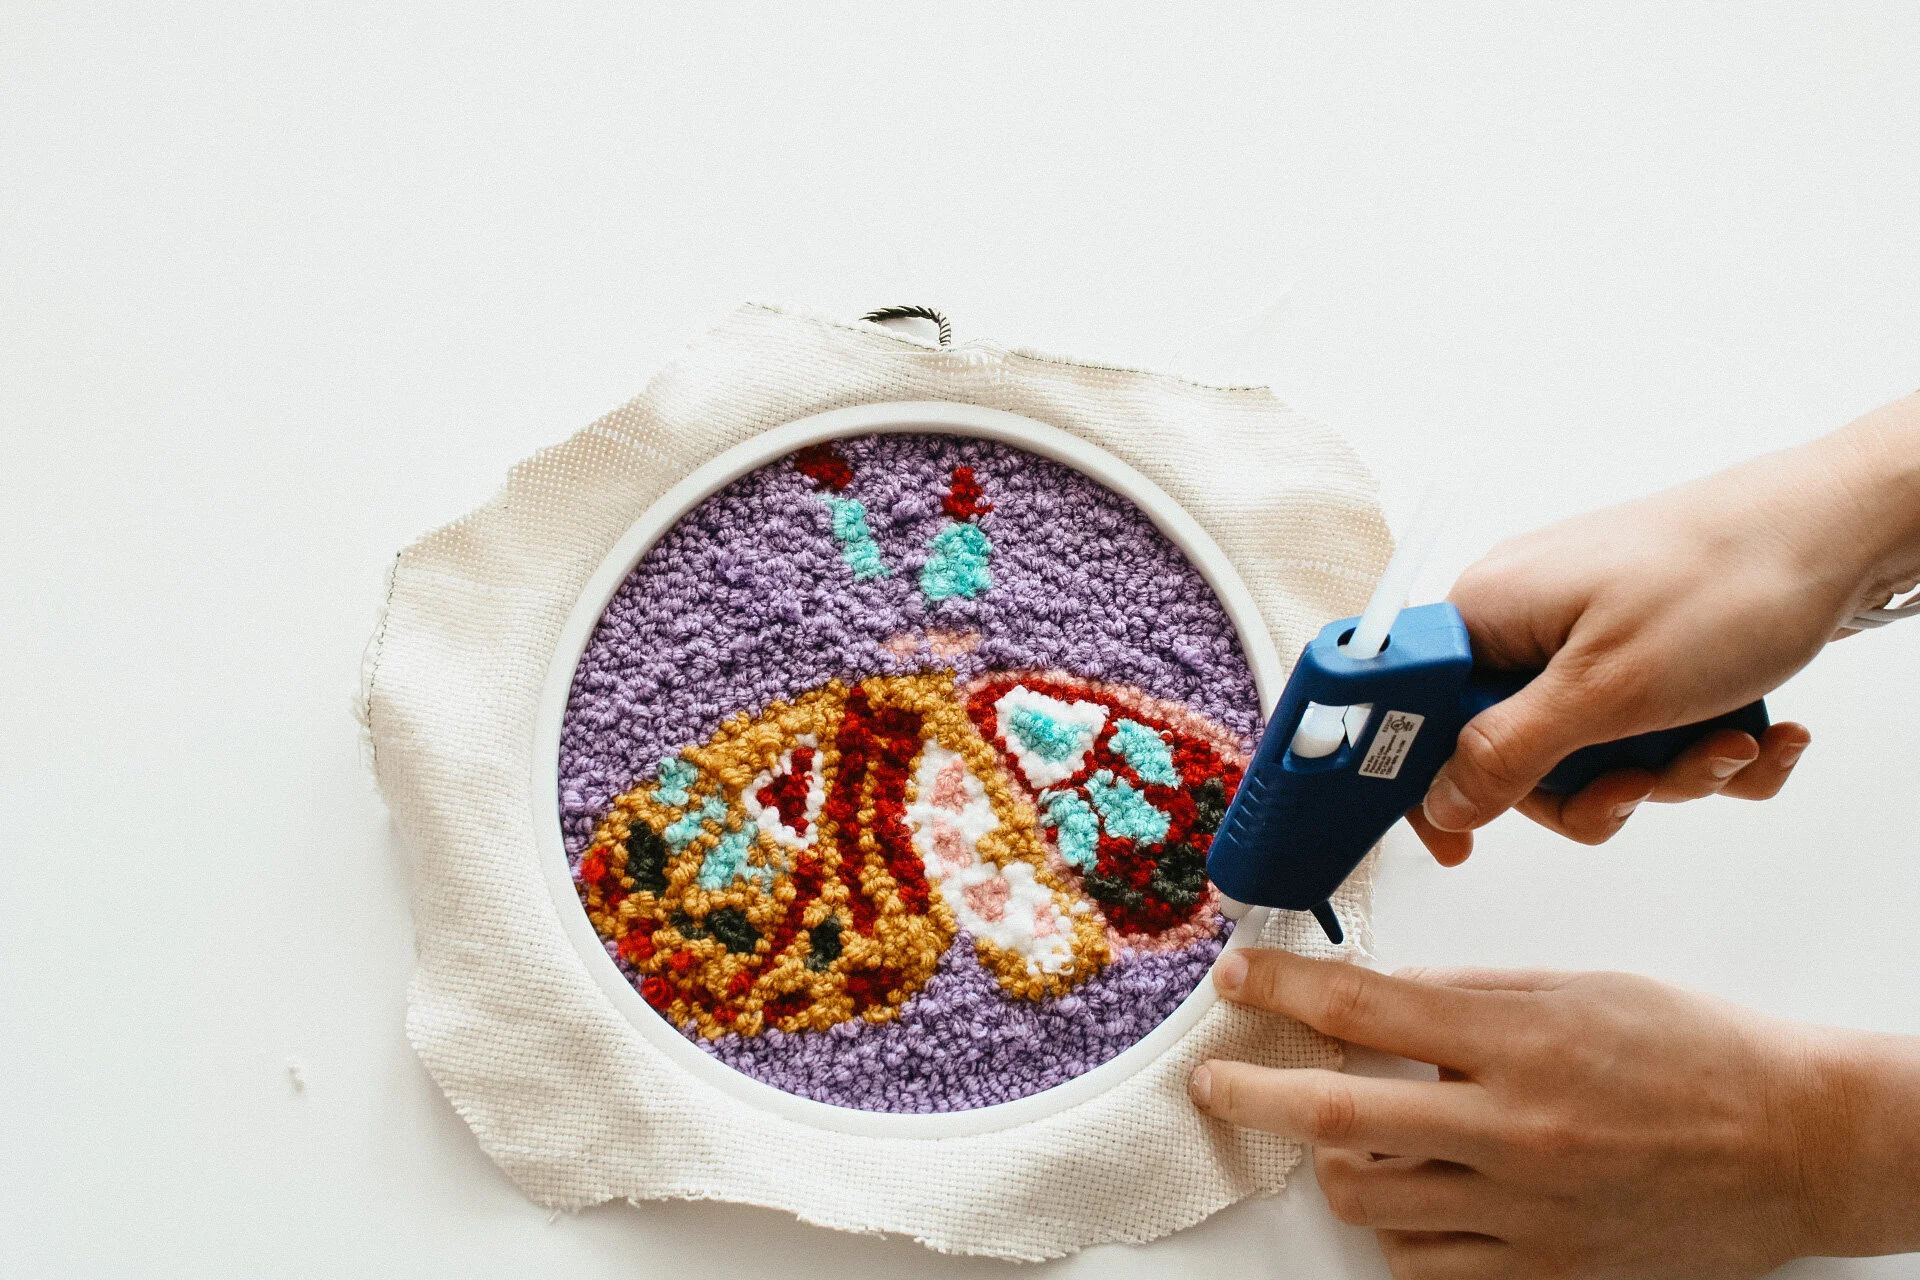
02. pull the fabric to make sure that it is very tight. and cut around the edge leaving 2” of fabric.
03. using a hot glue gun, glue the fabric to the white plastic of the hoop. trimming the excess as you go.

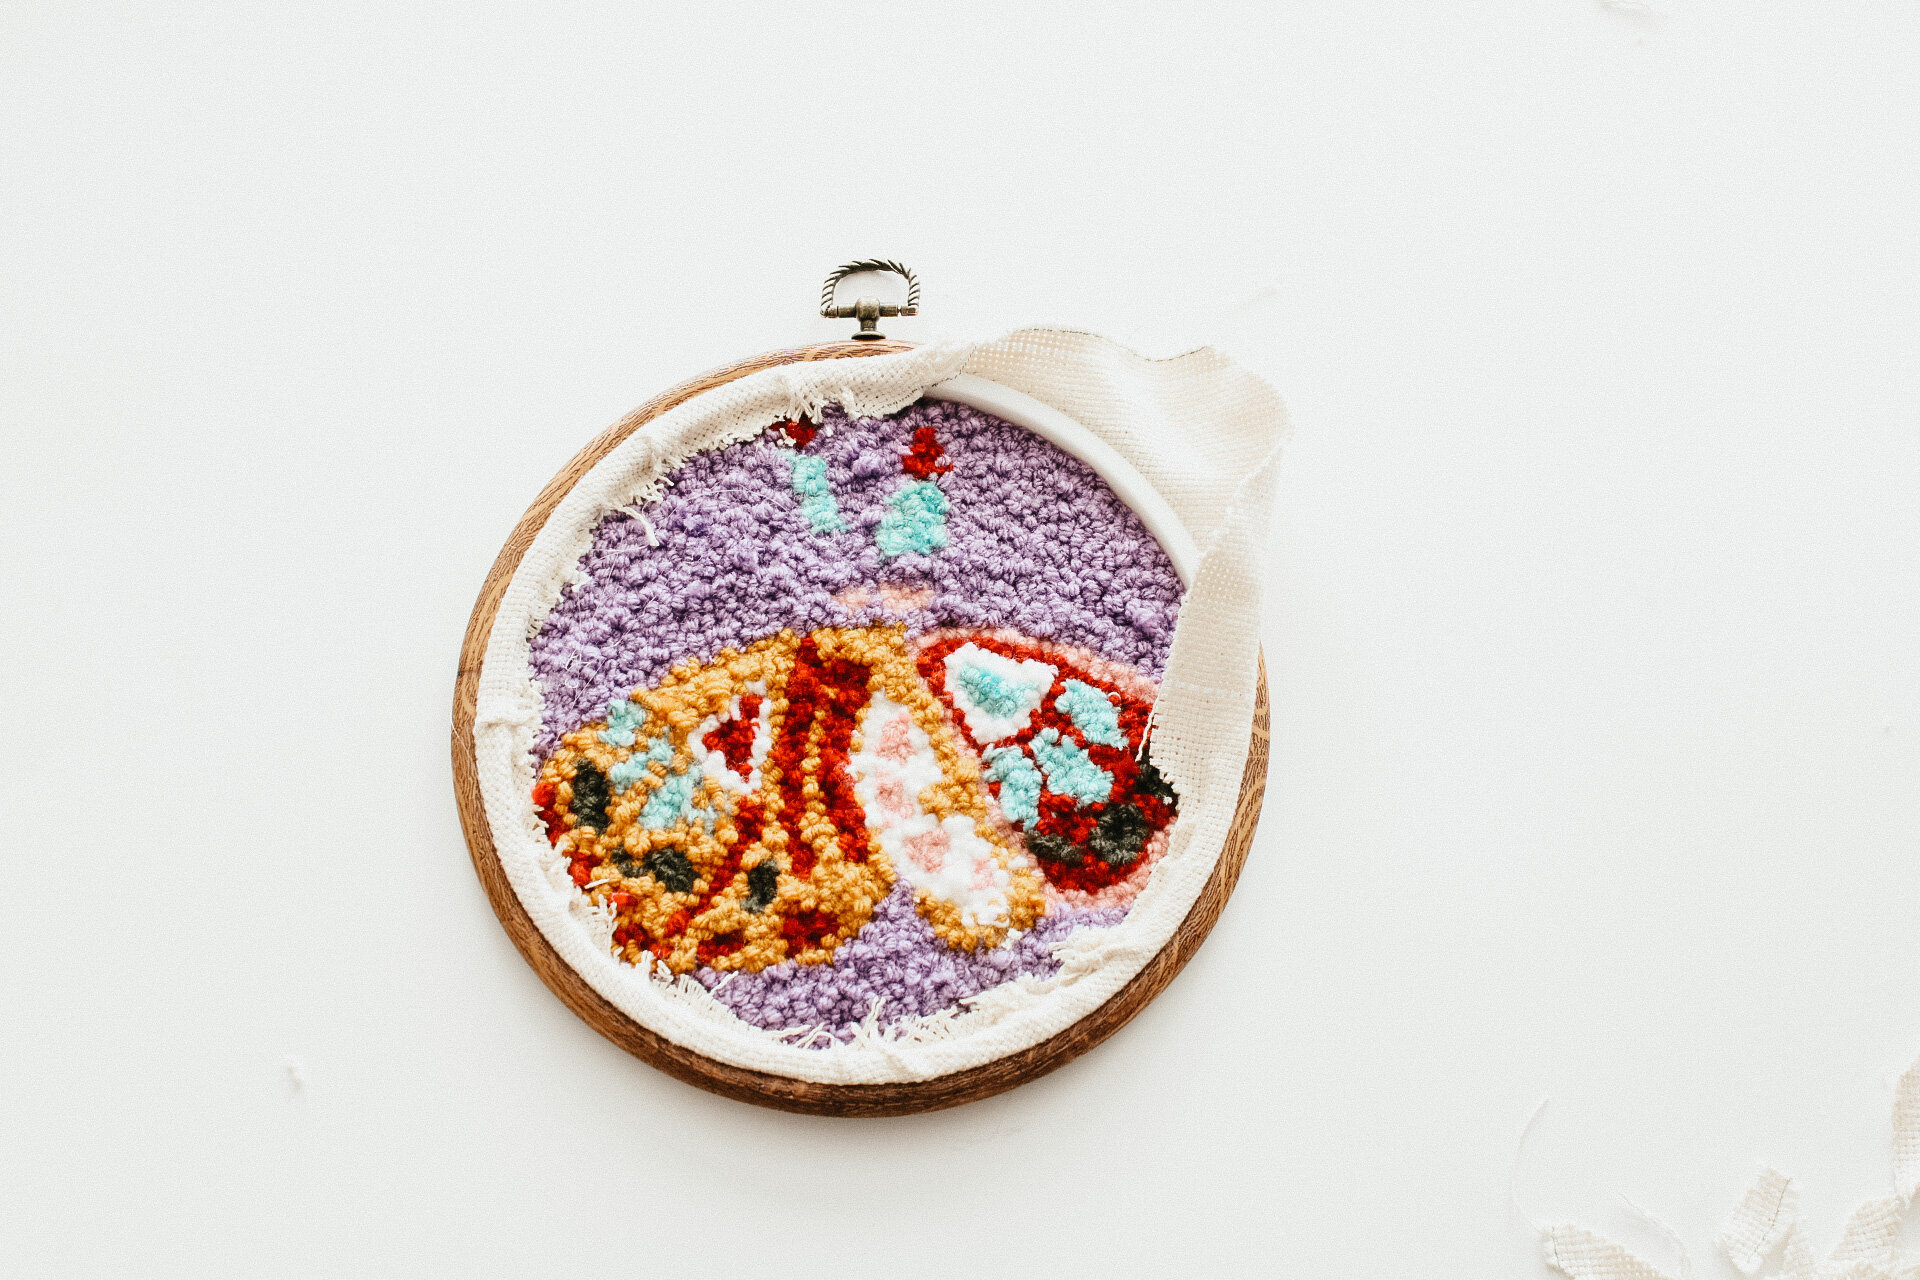

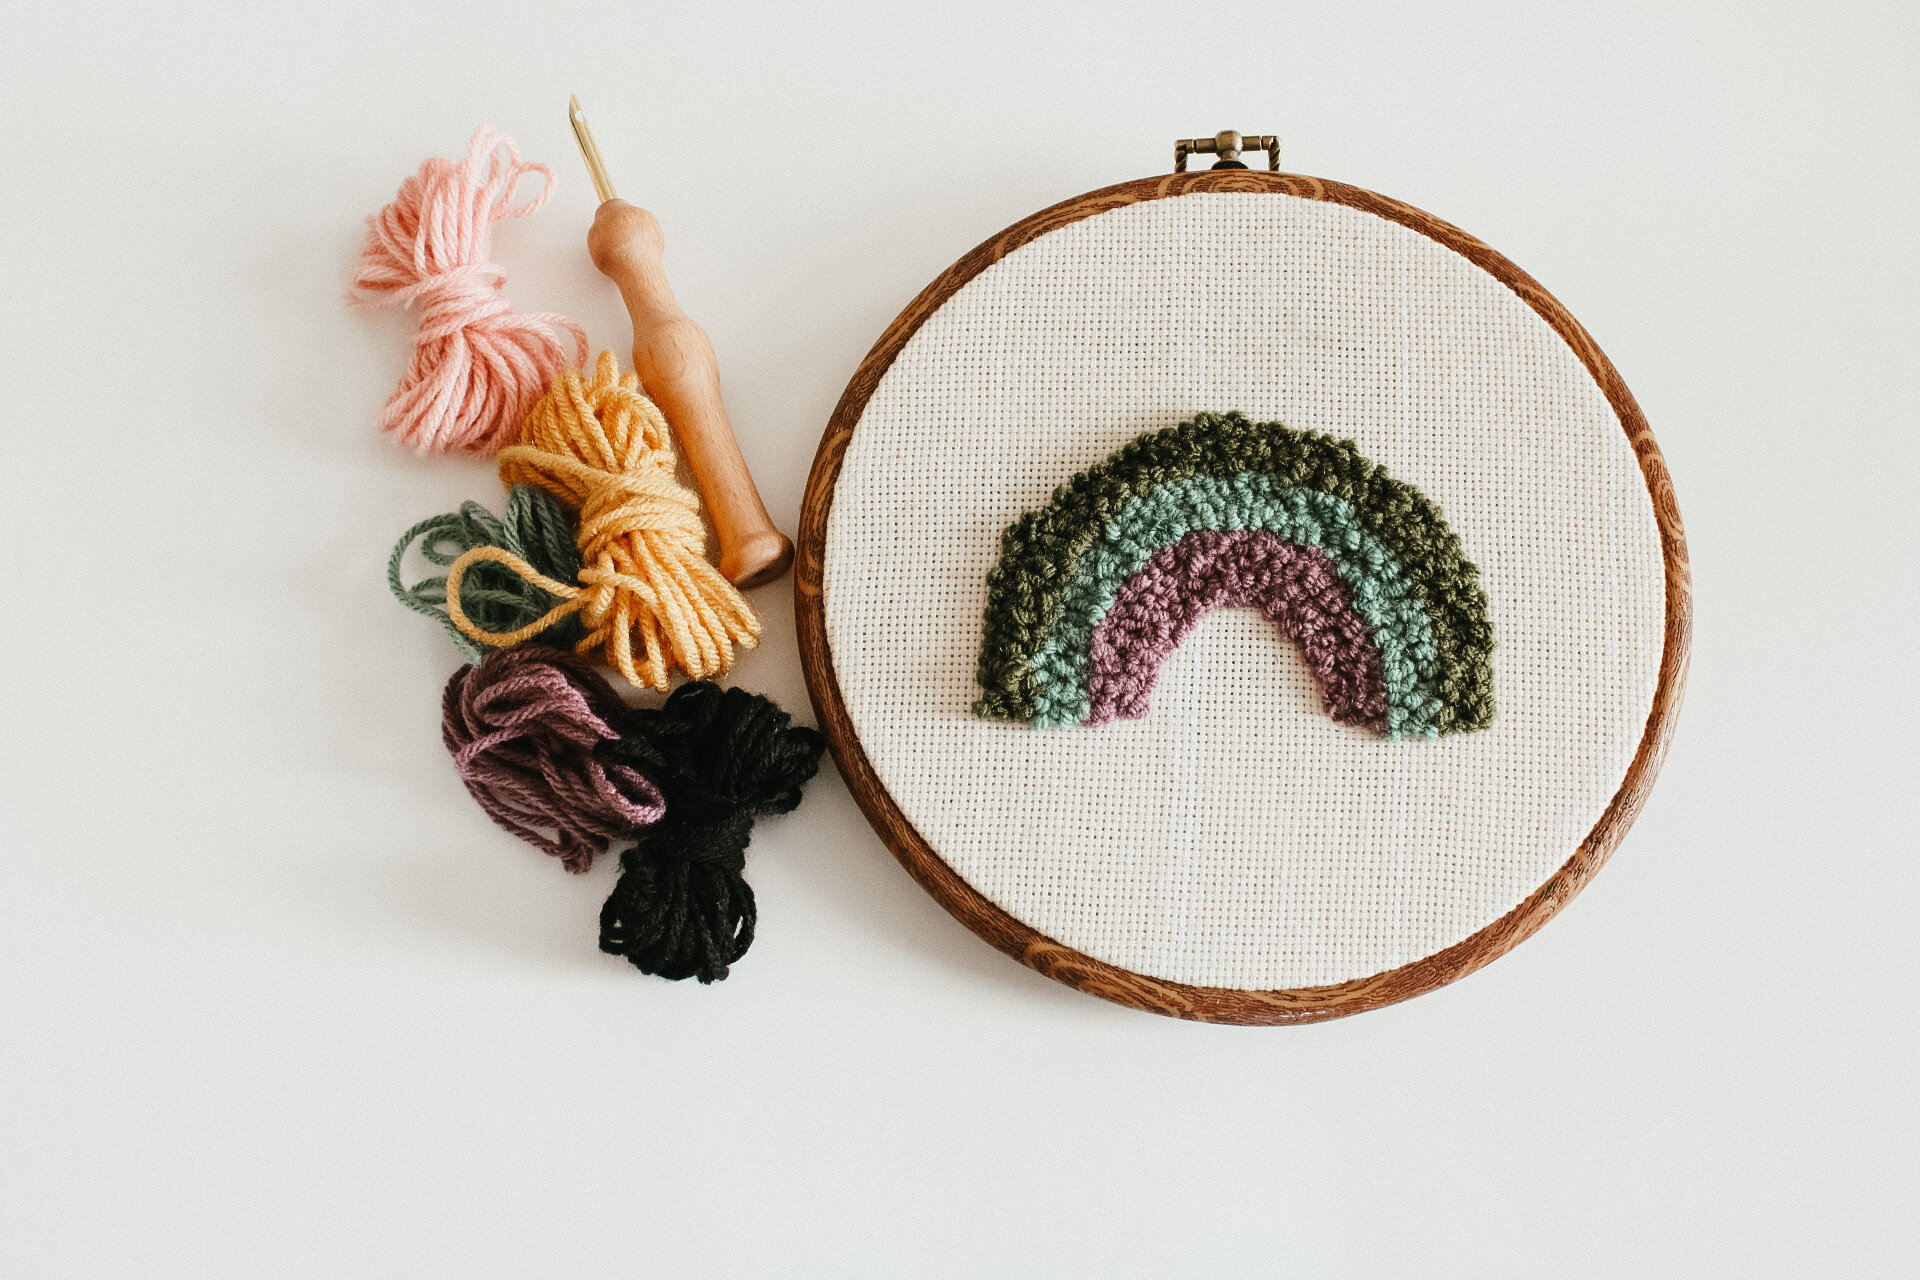
03. hang your punch needle piece up on the wall to bring you joy every day!
pro tip! these hoops make it easy to display the flat or the loop side of the fabric. if you decided to punch everything, including the background on the inside of the hoop and you want to change the display side. simply take out your completed design, flip it over and re-stretch the fabric into the hoop and there you have it!
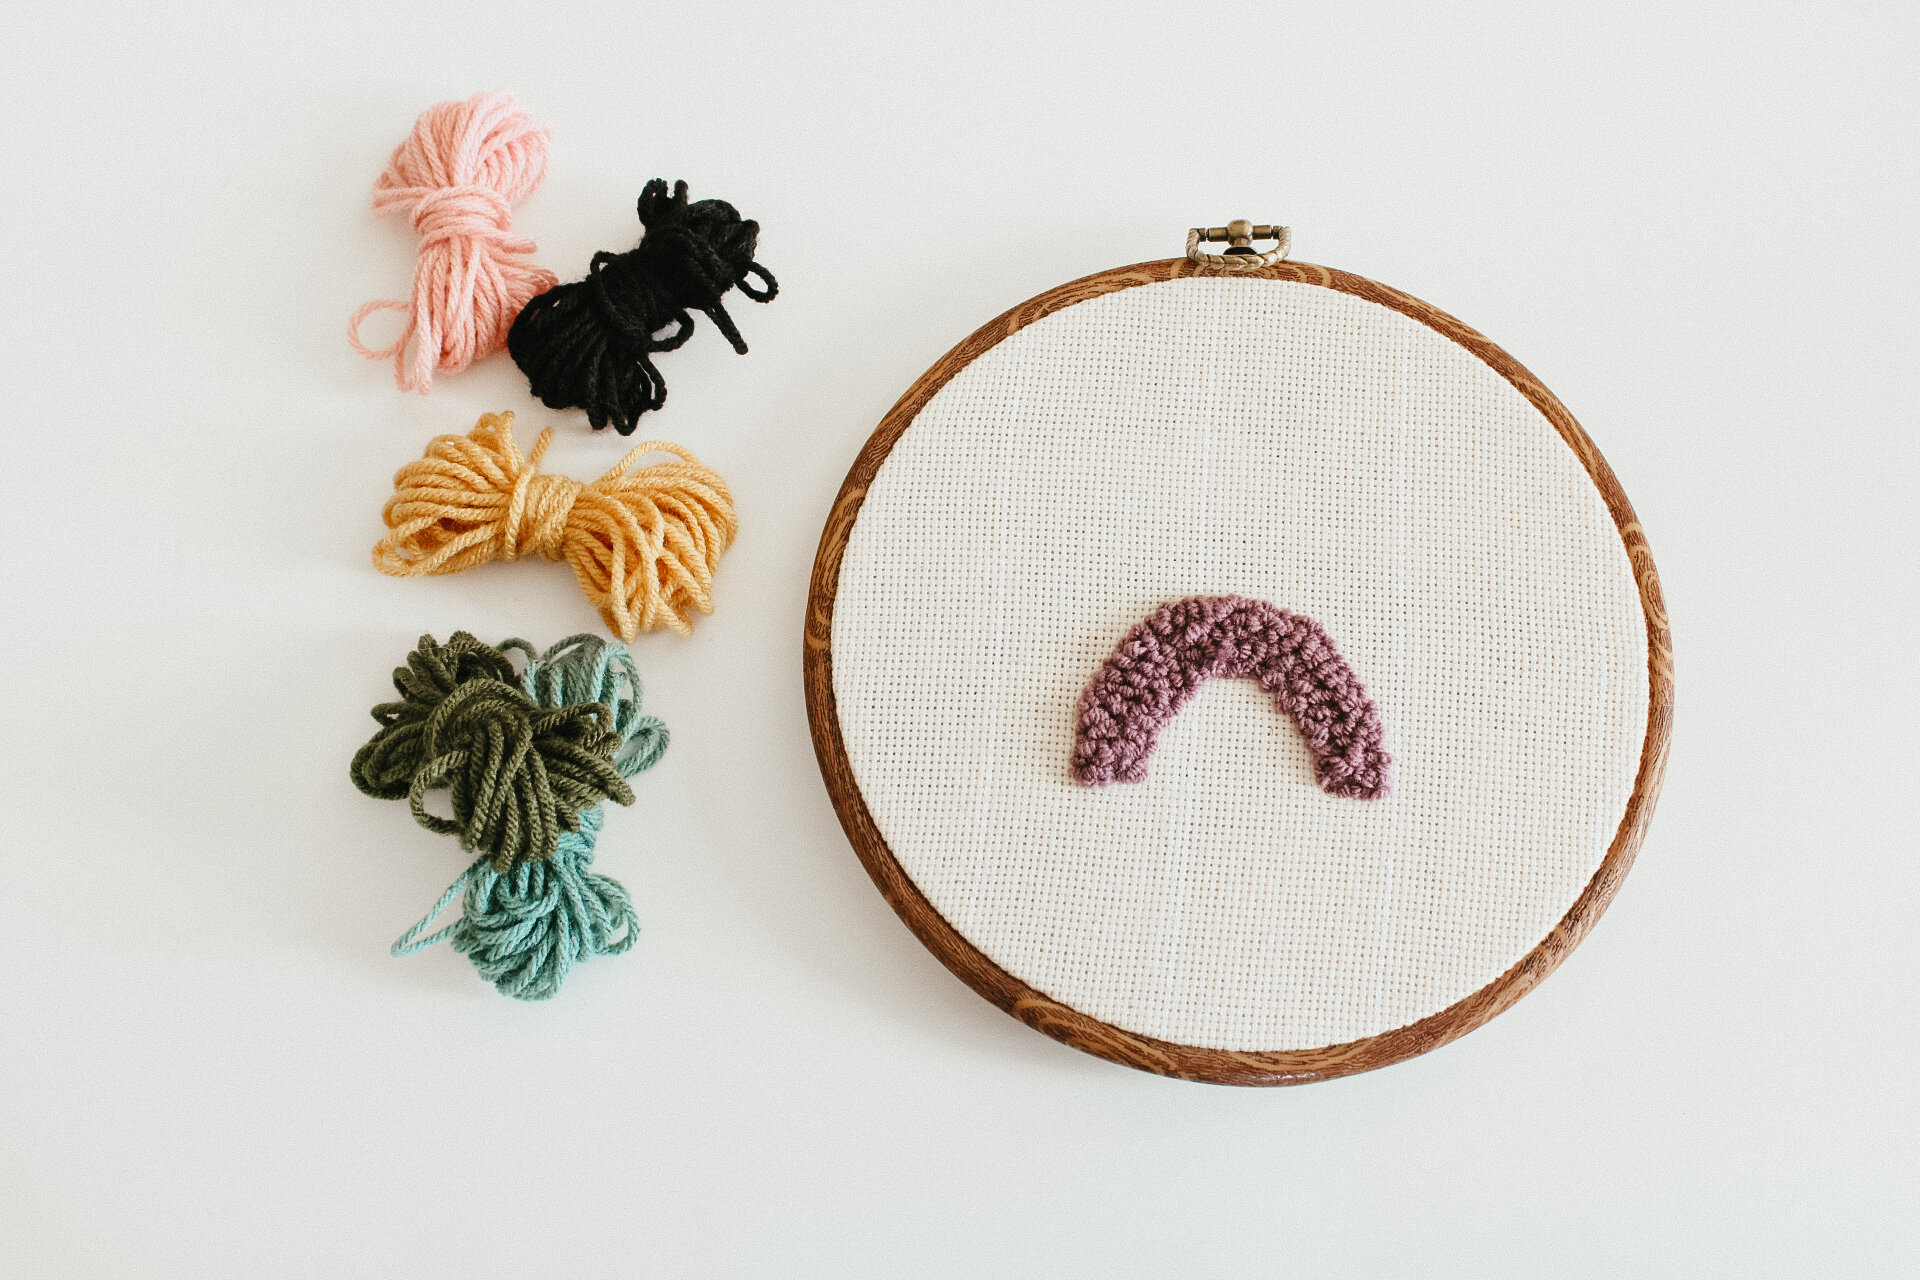
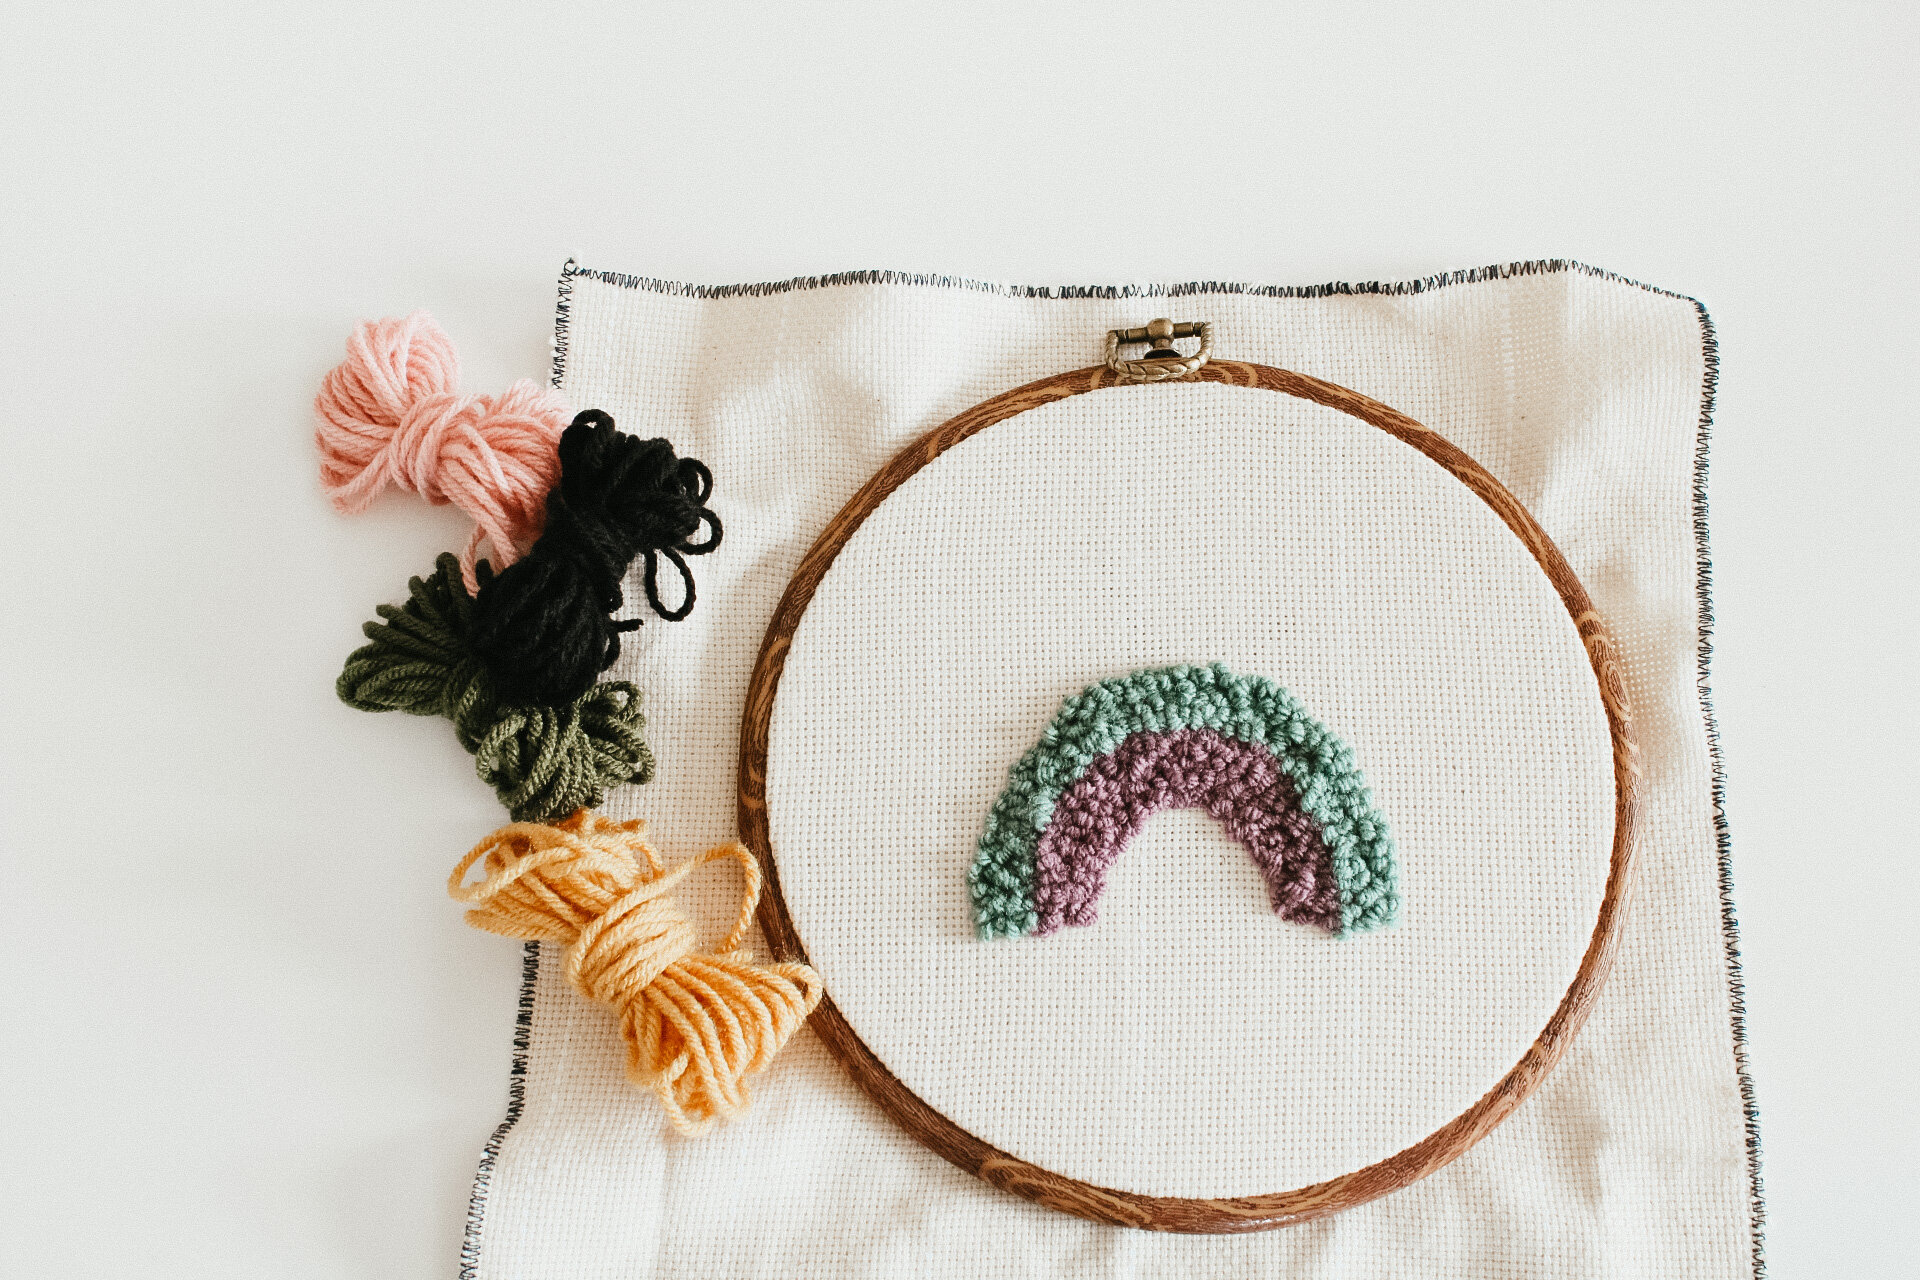
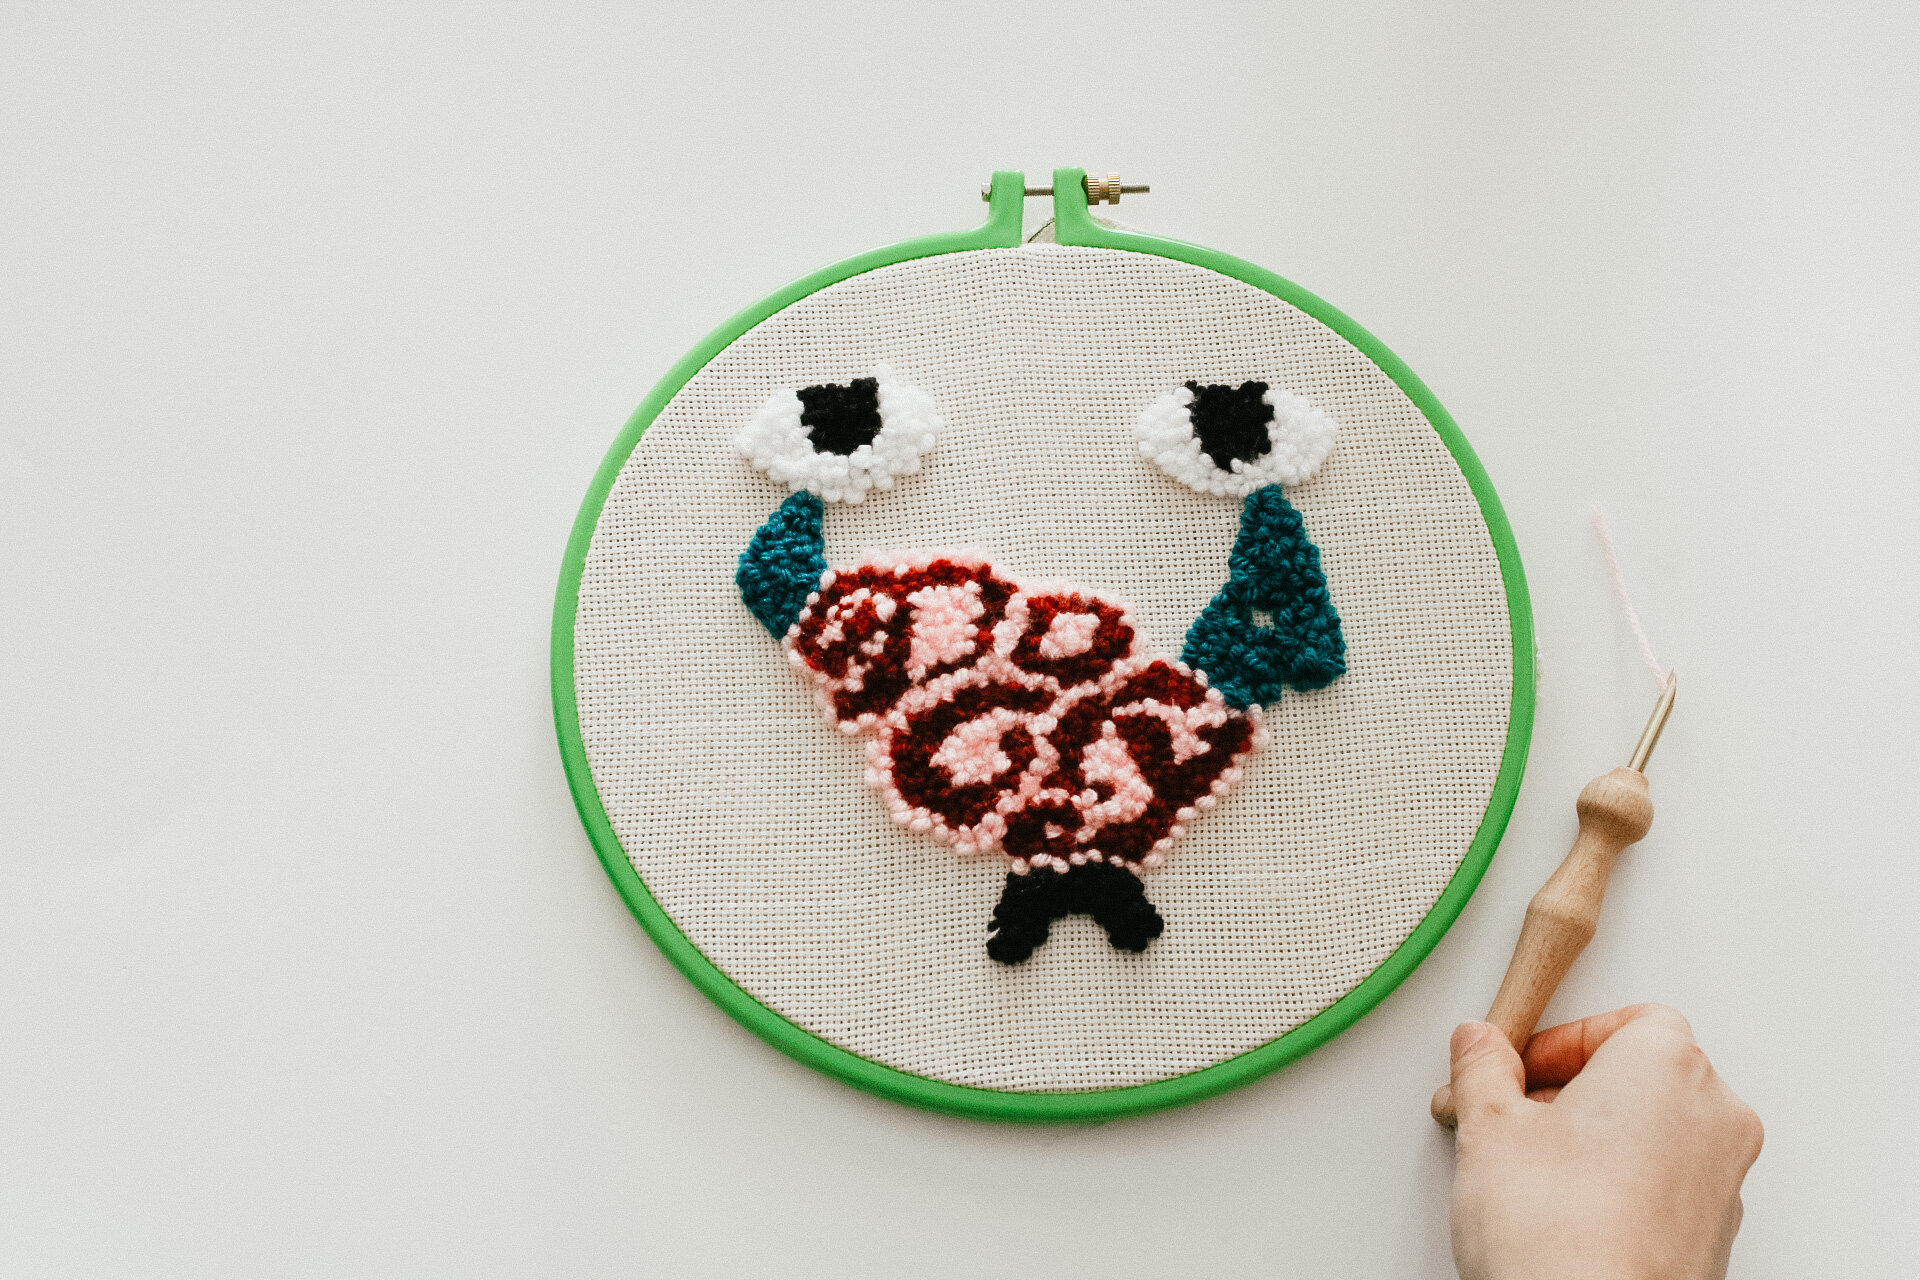
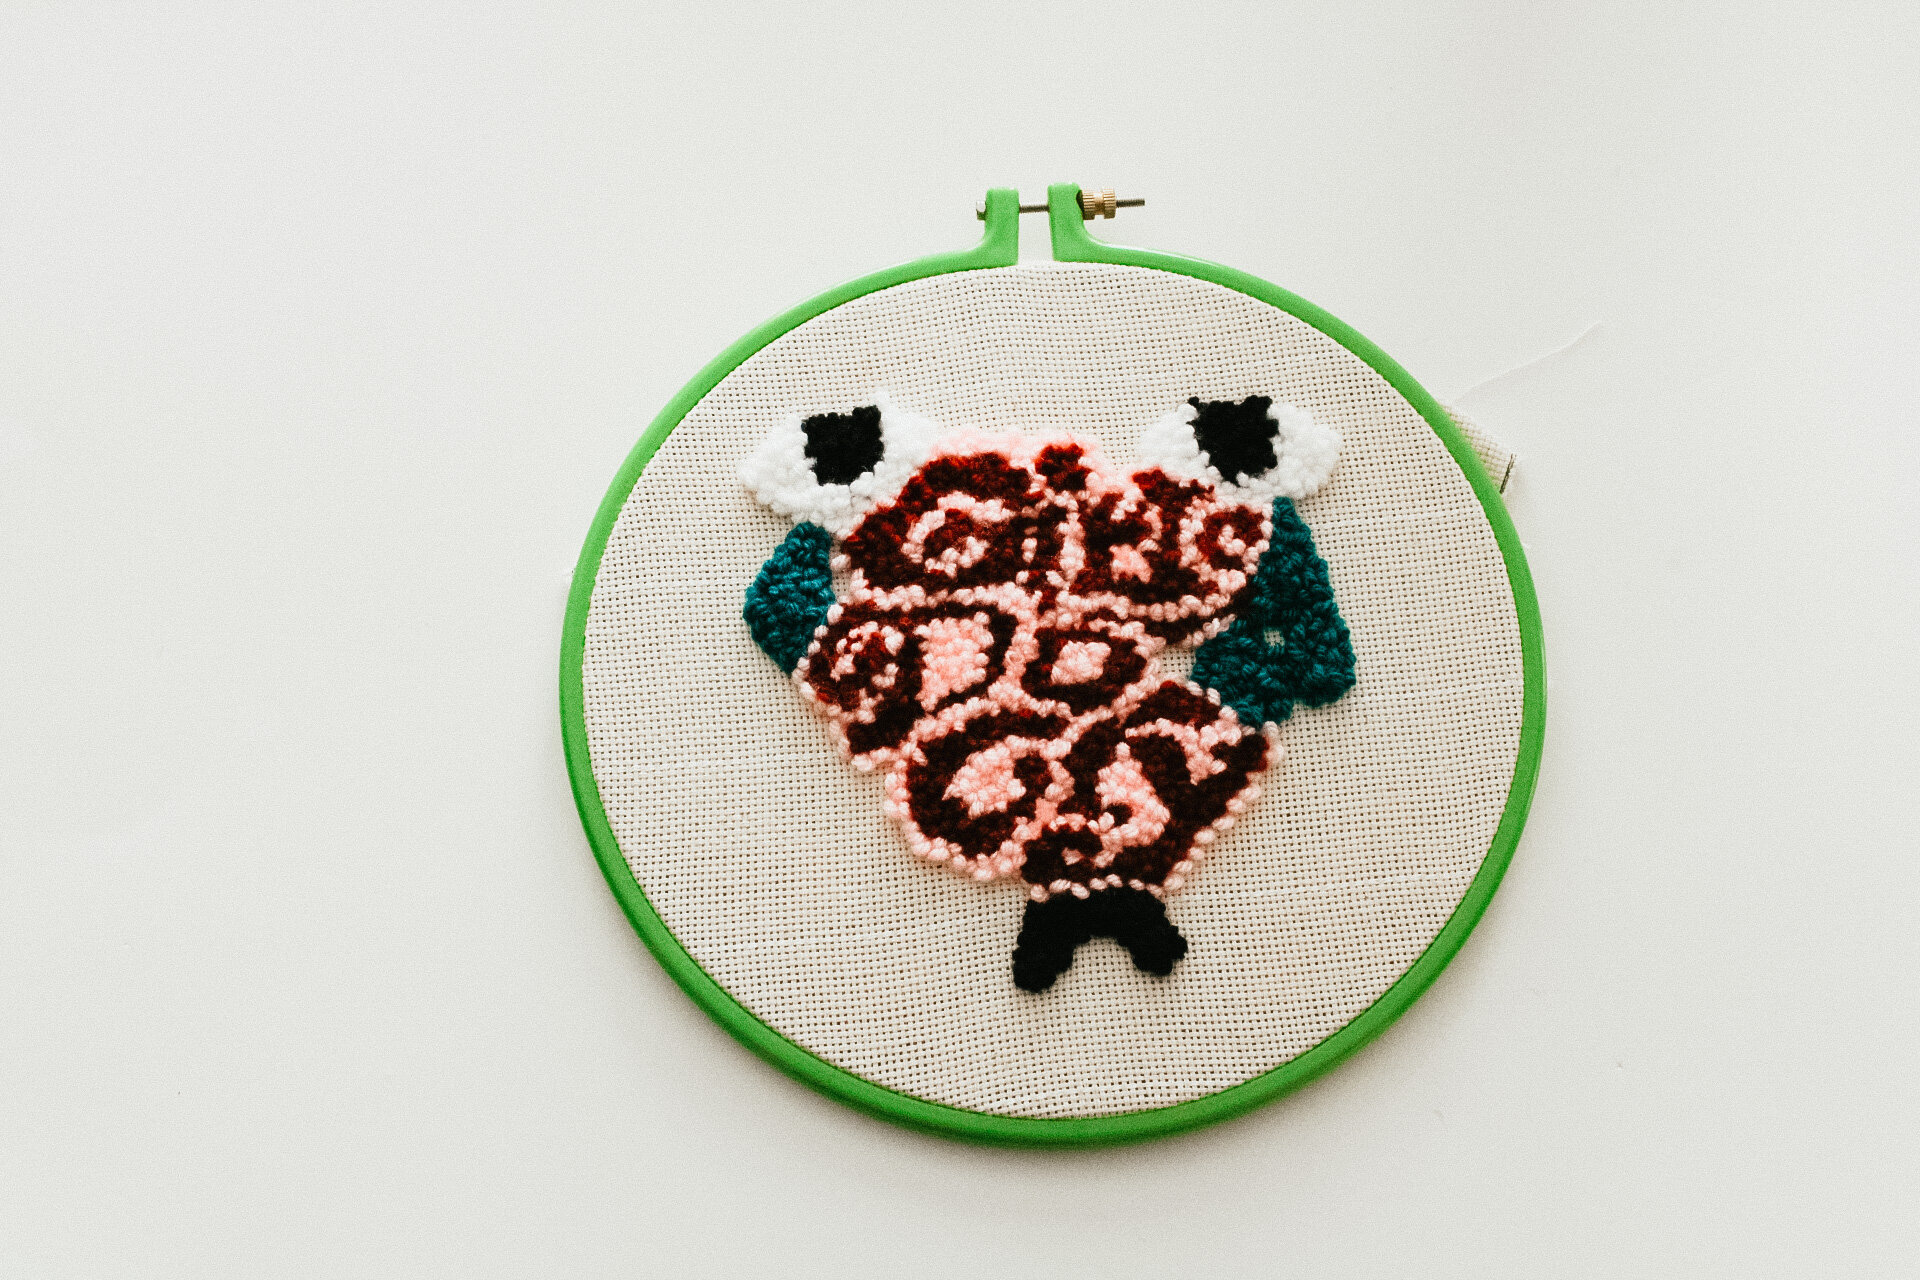
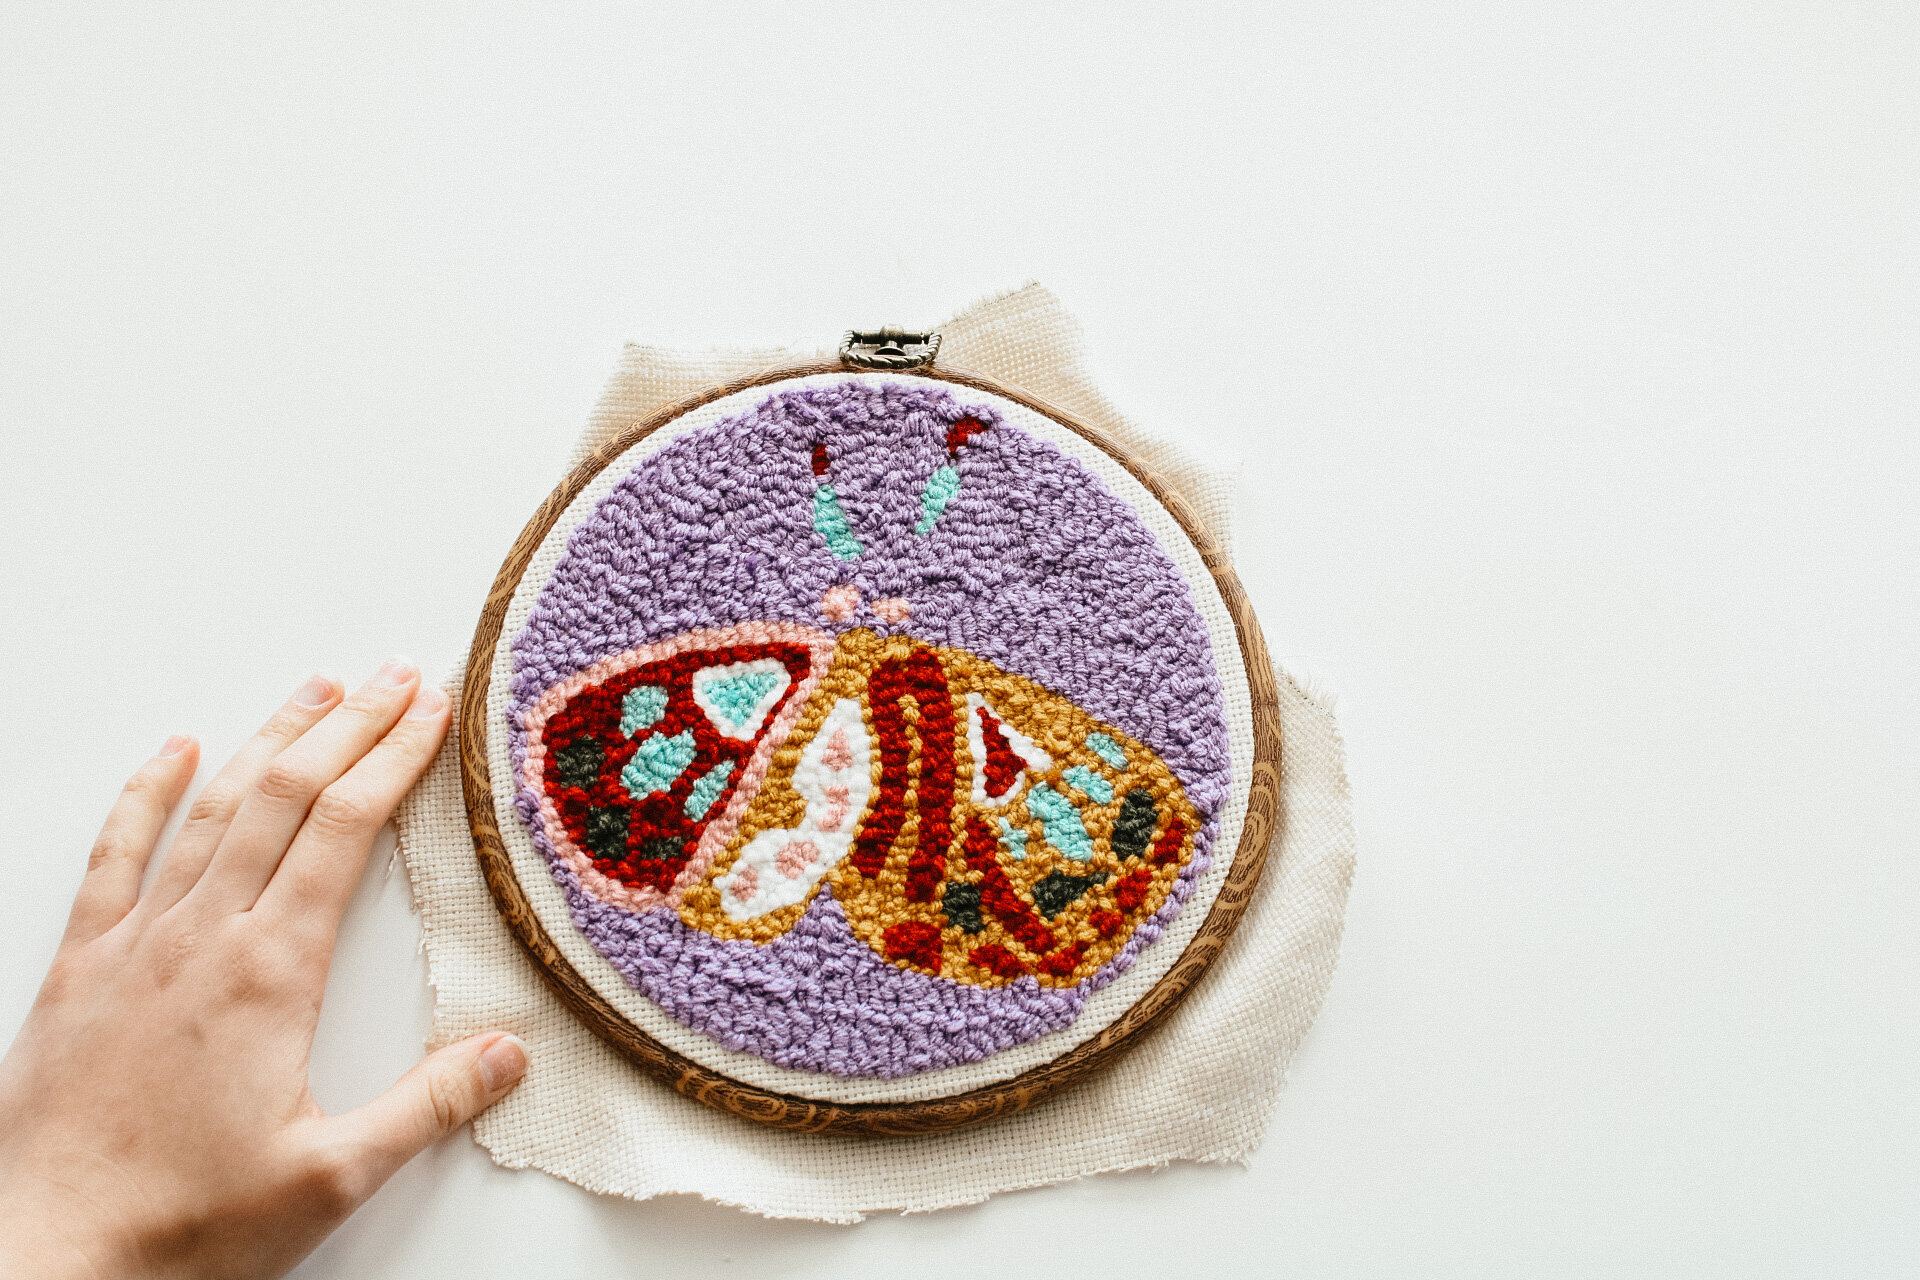
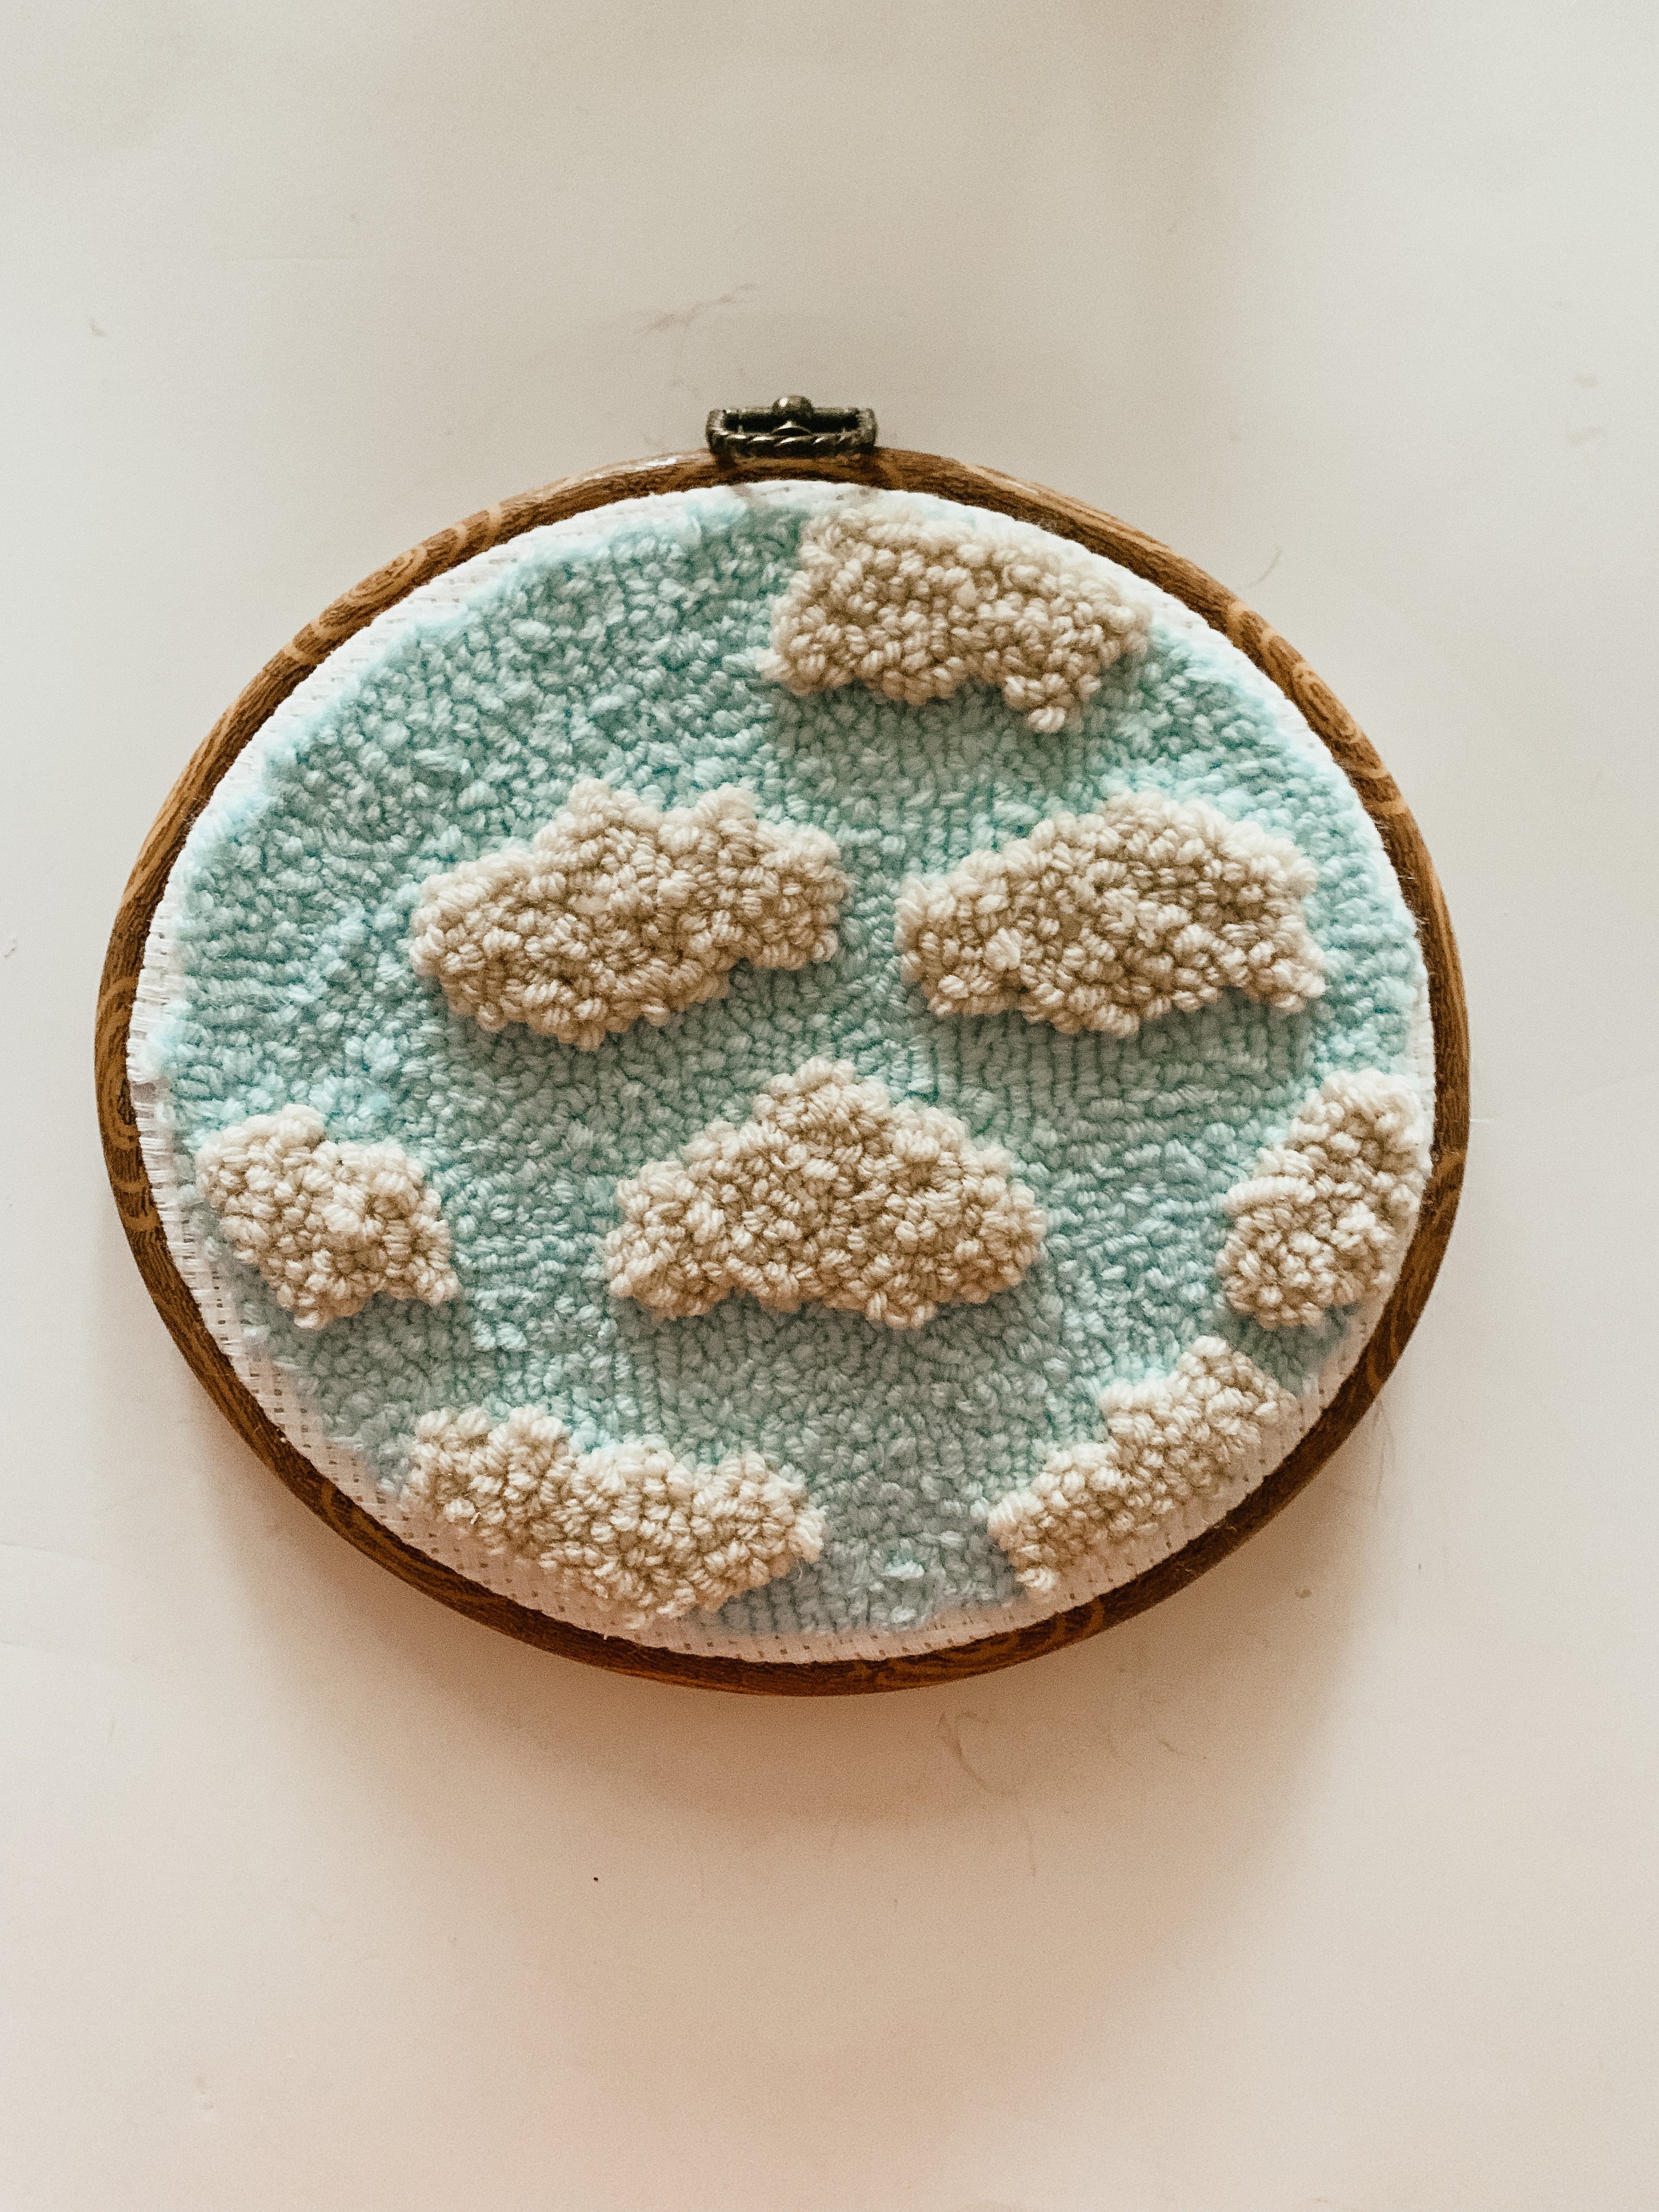
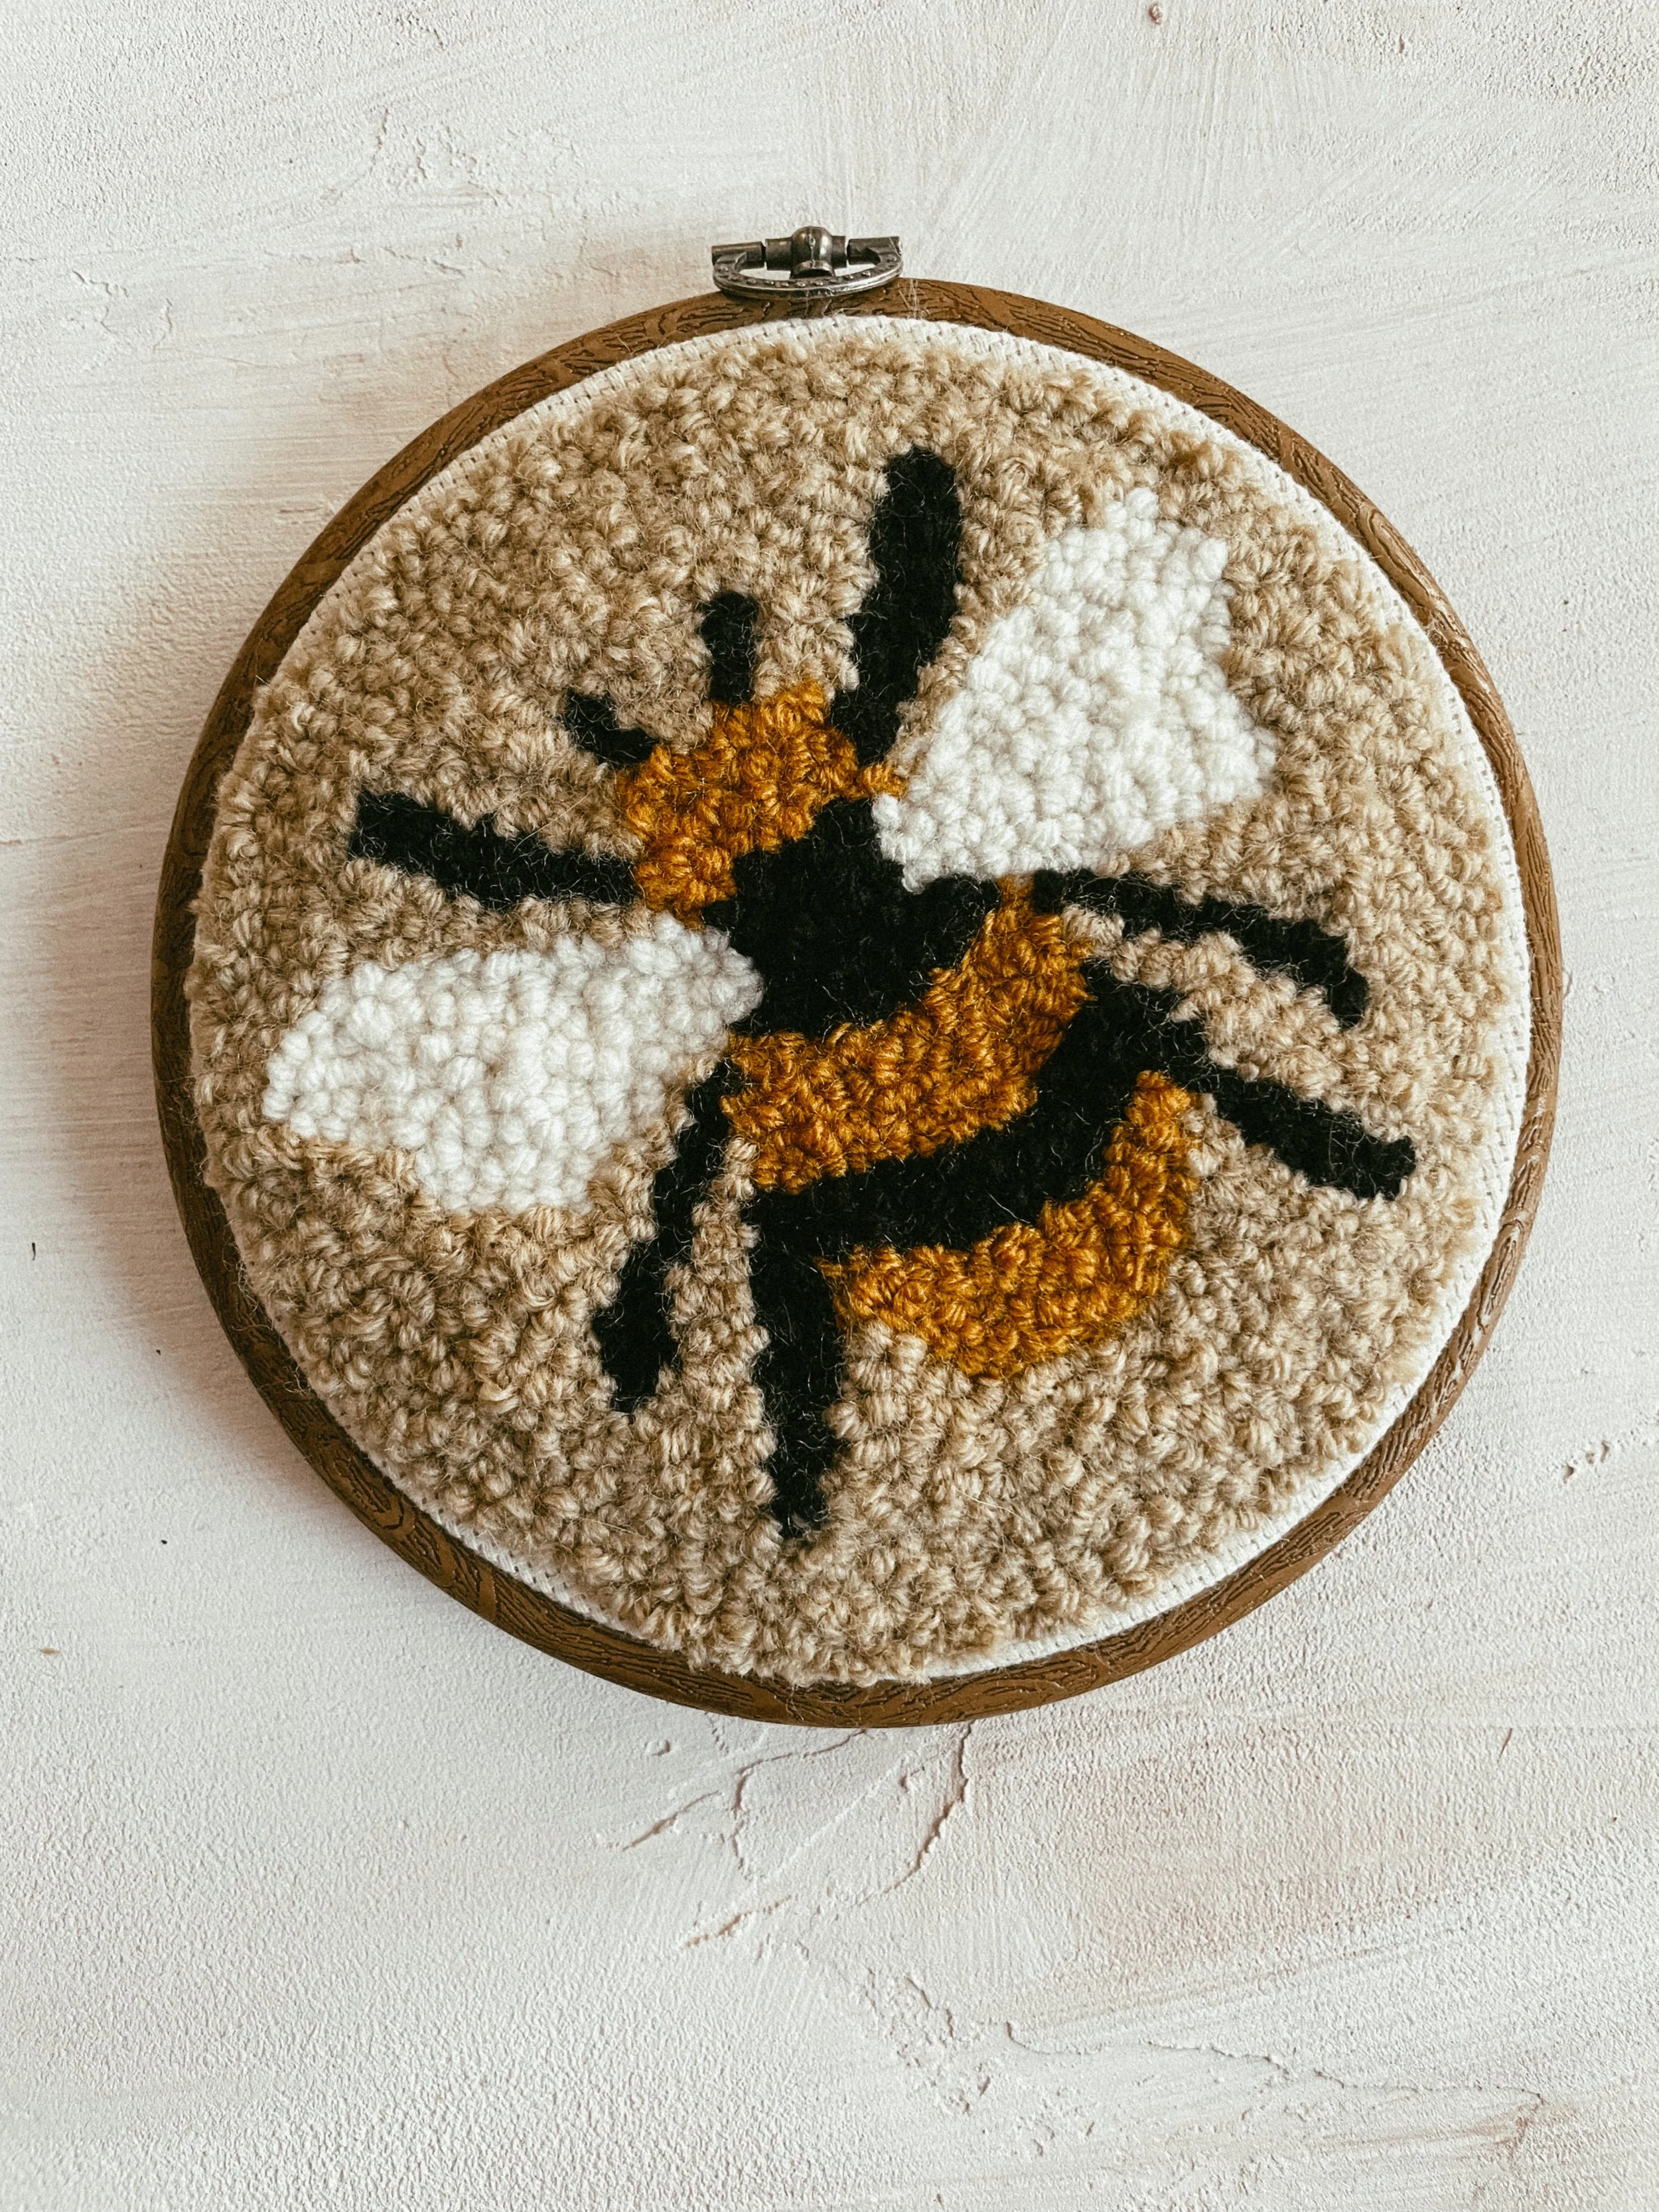
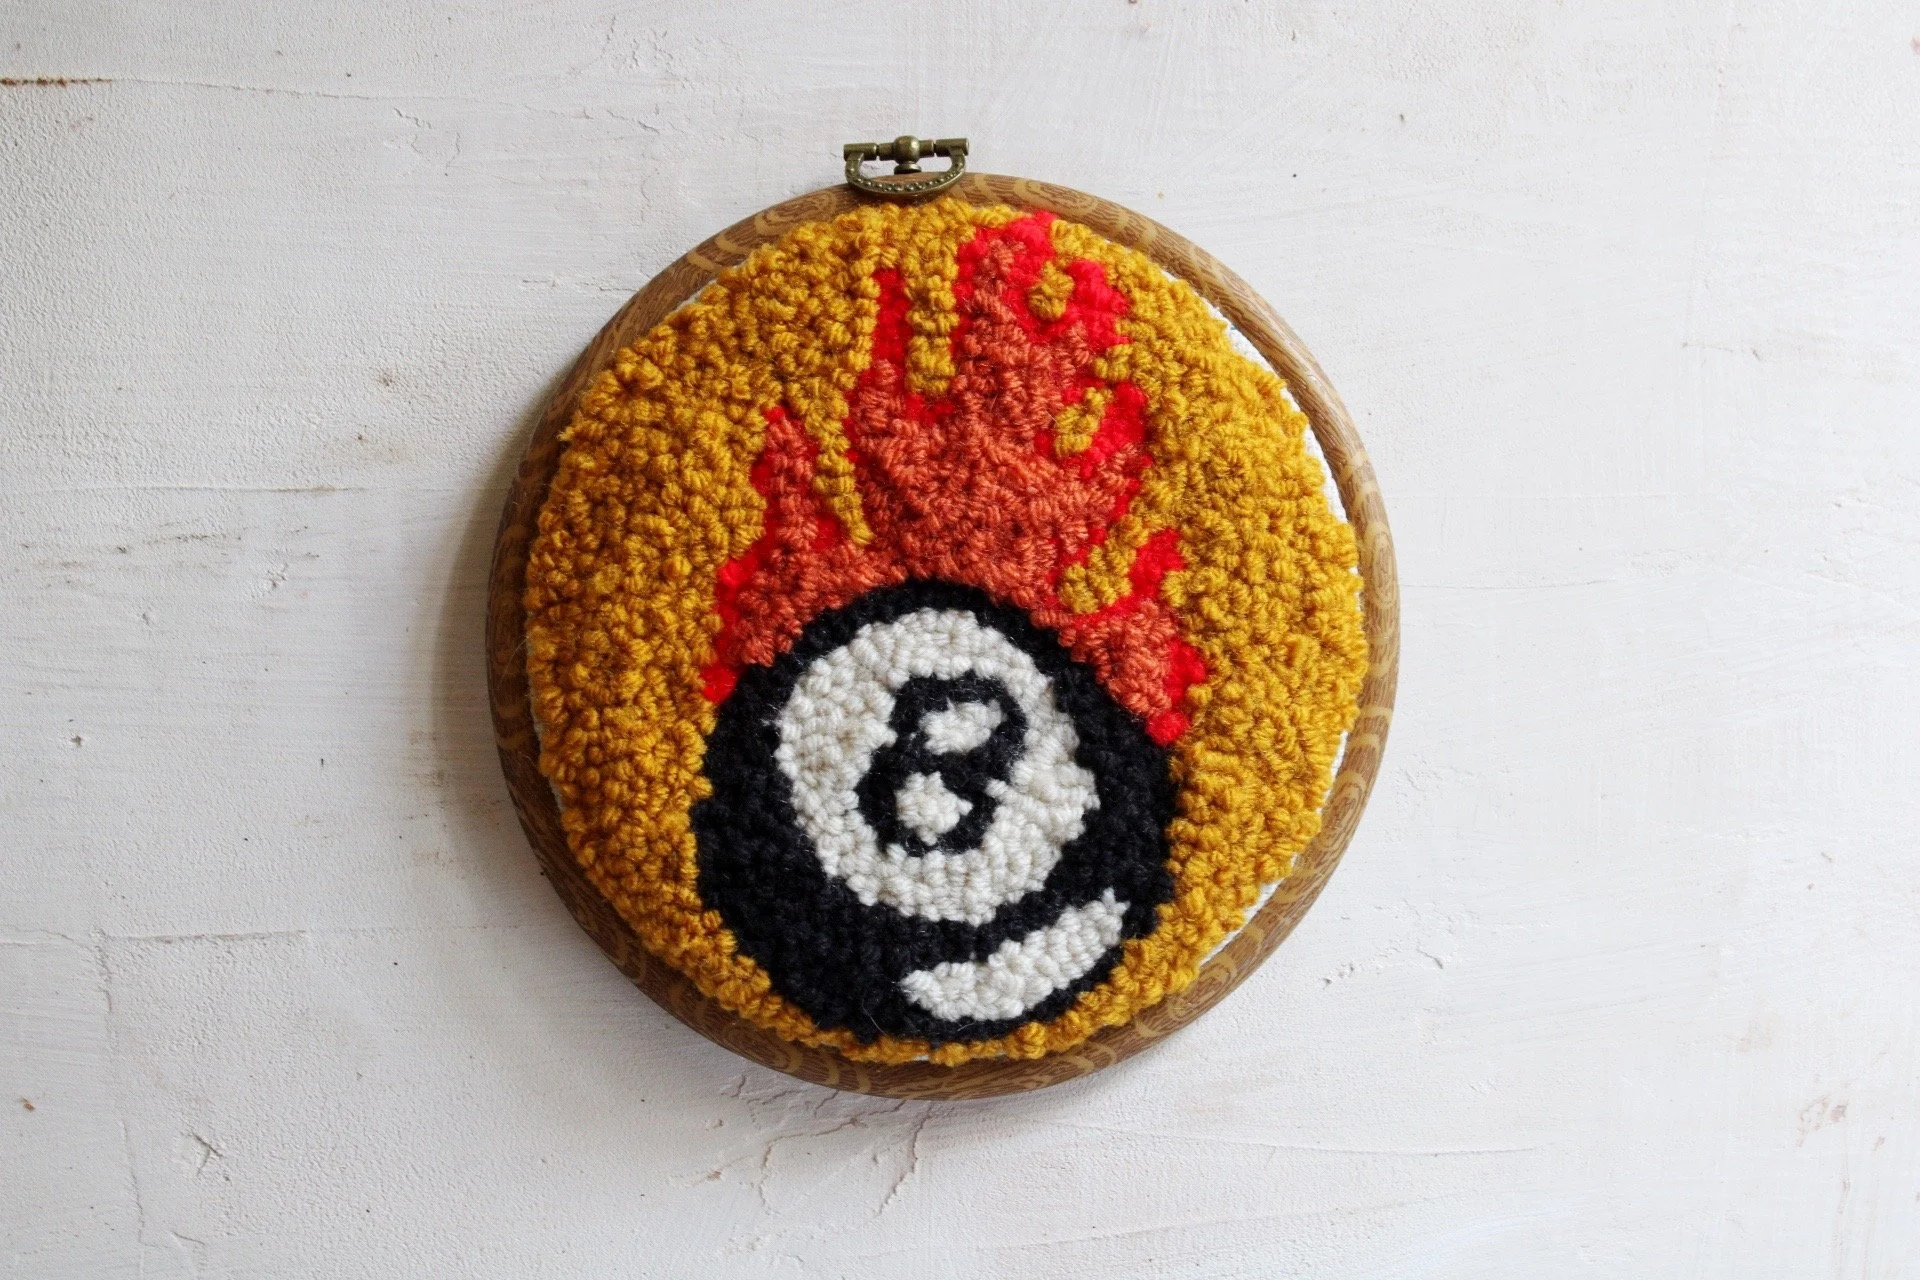
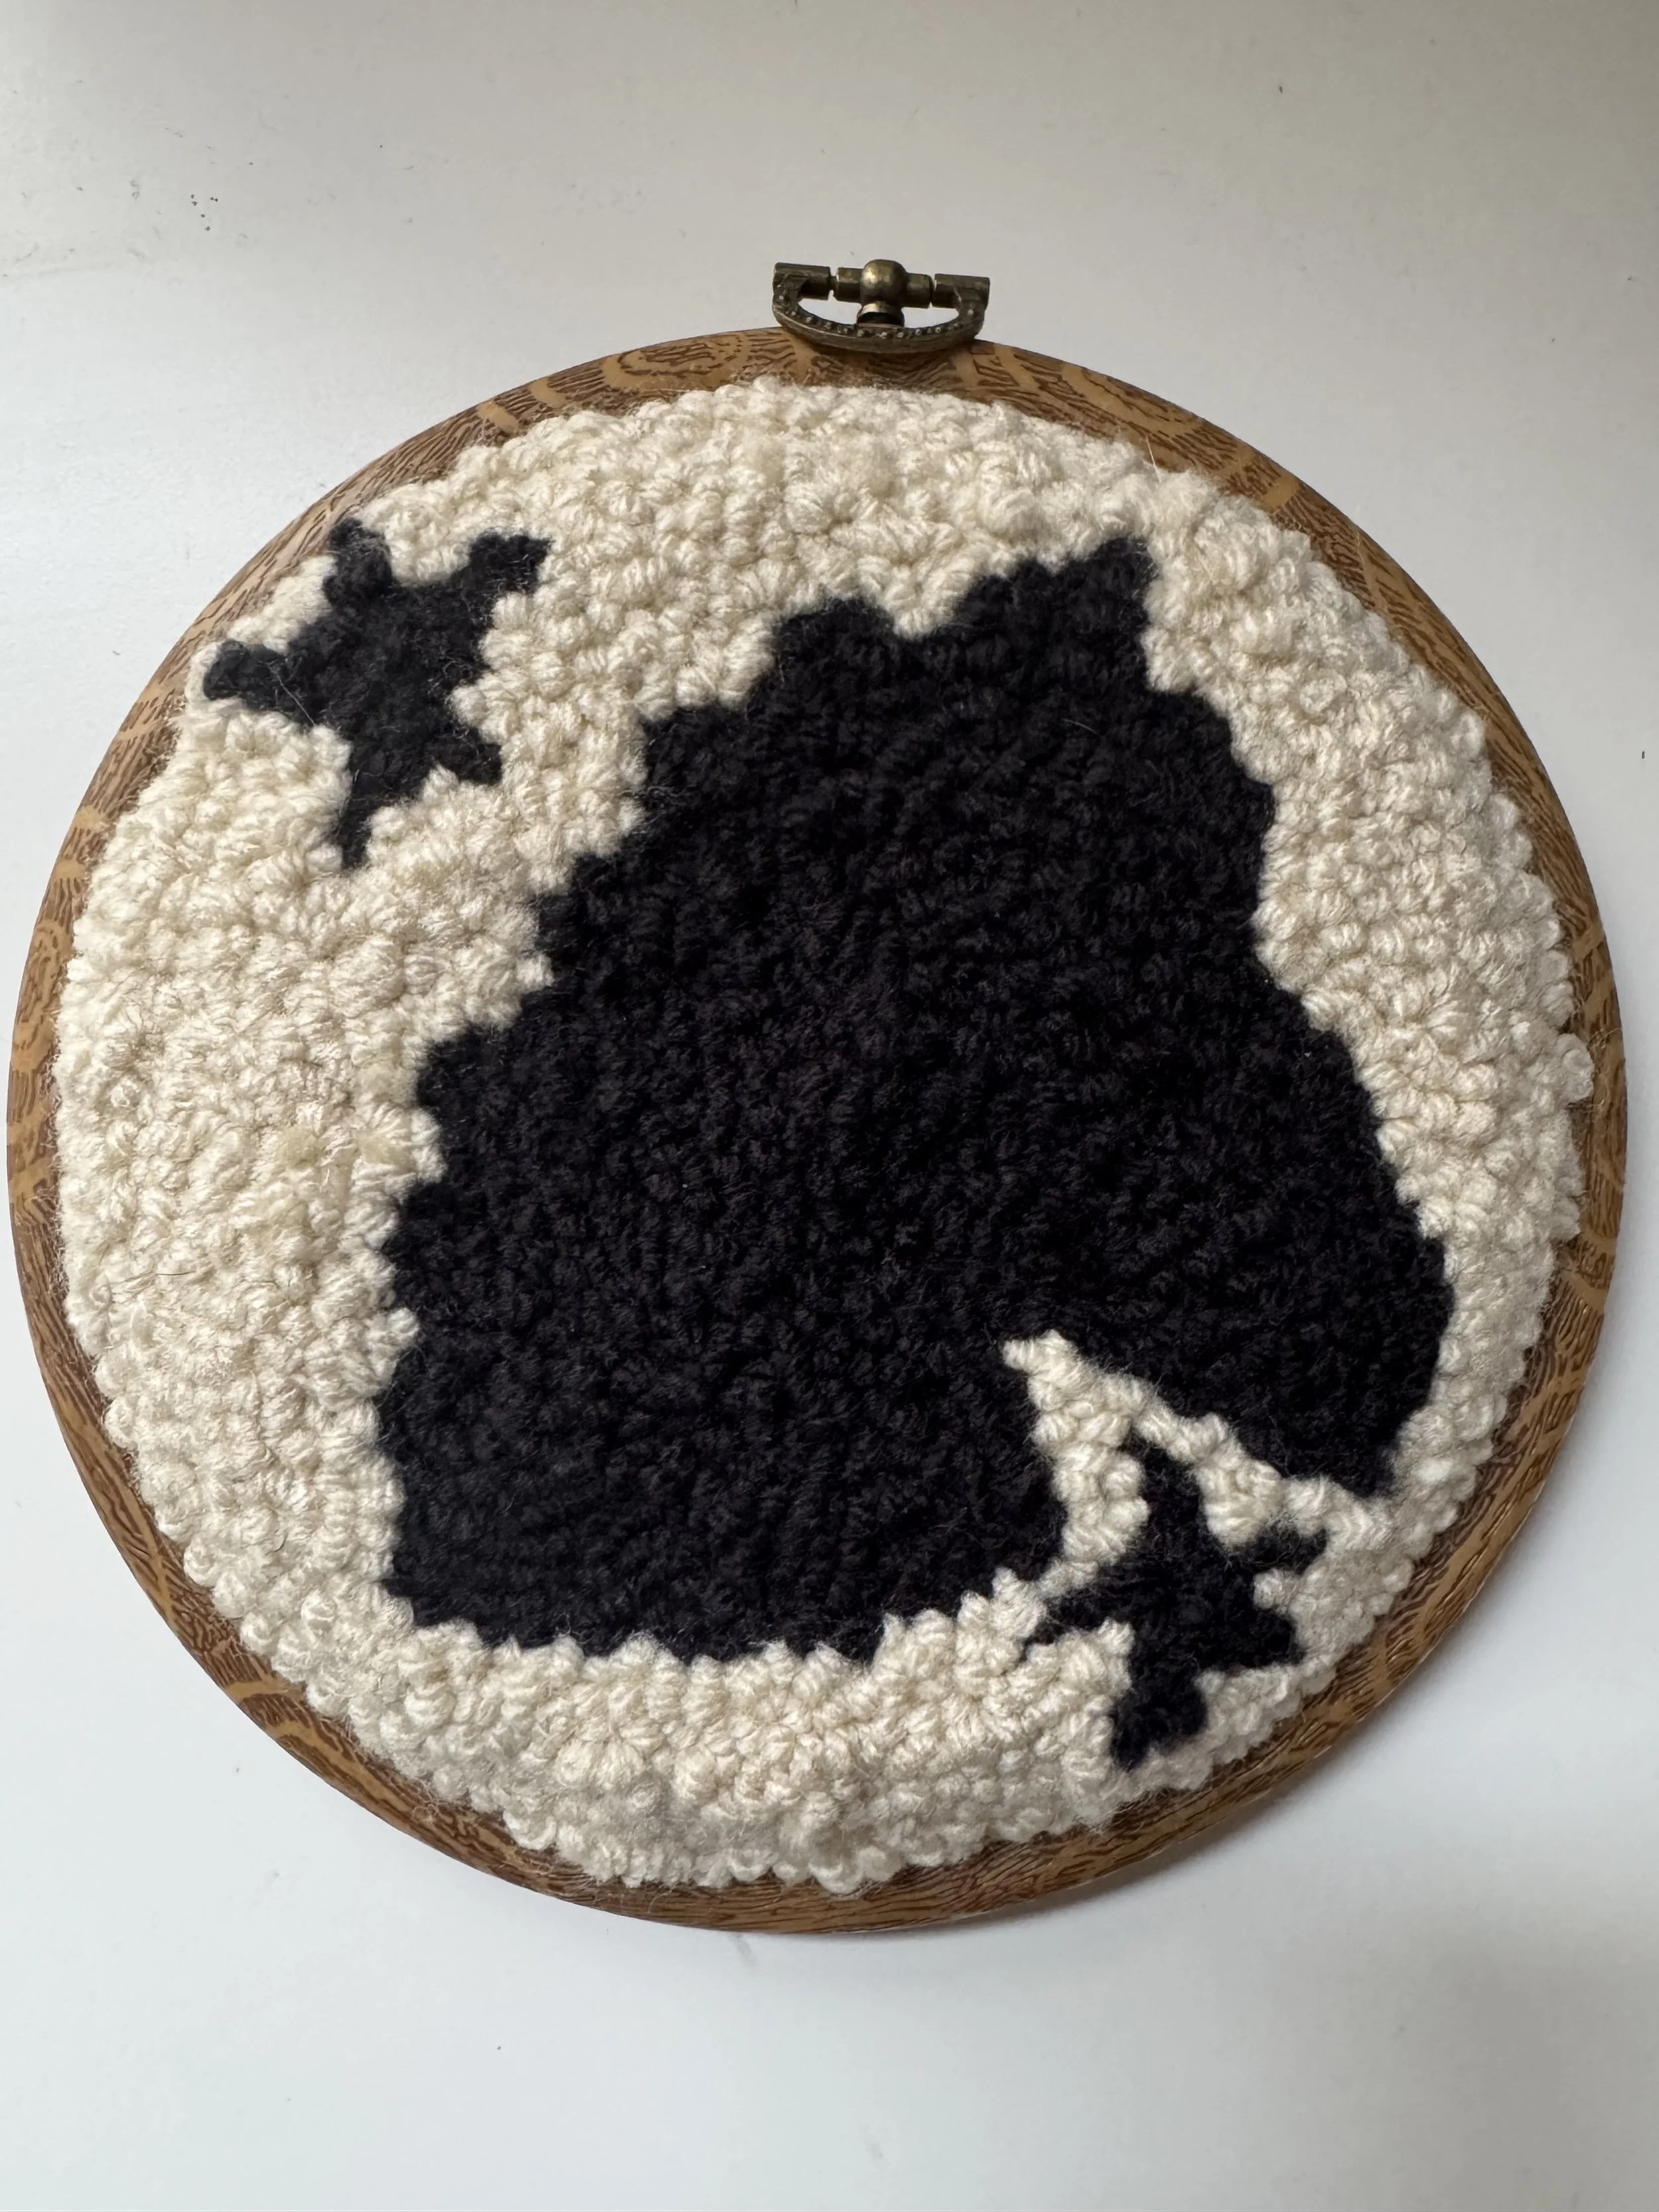
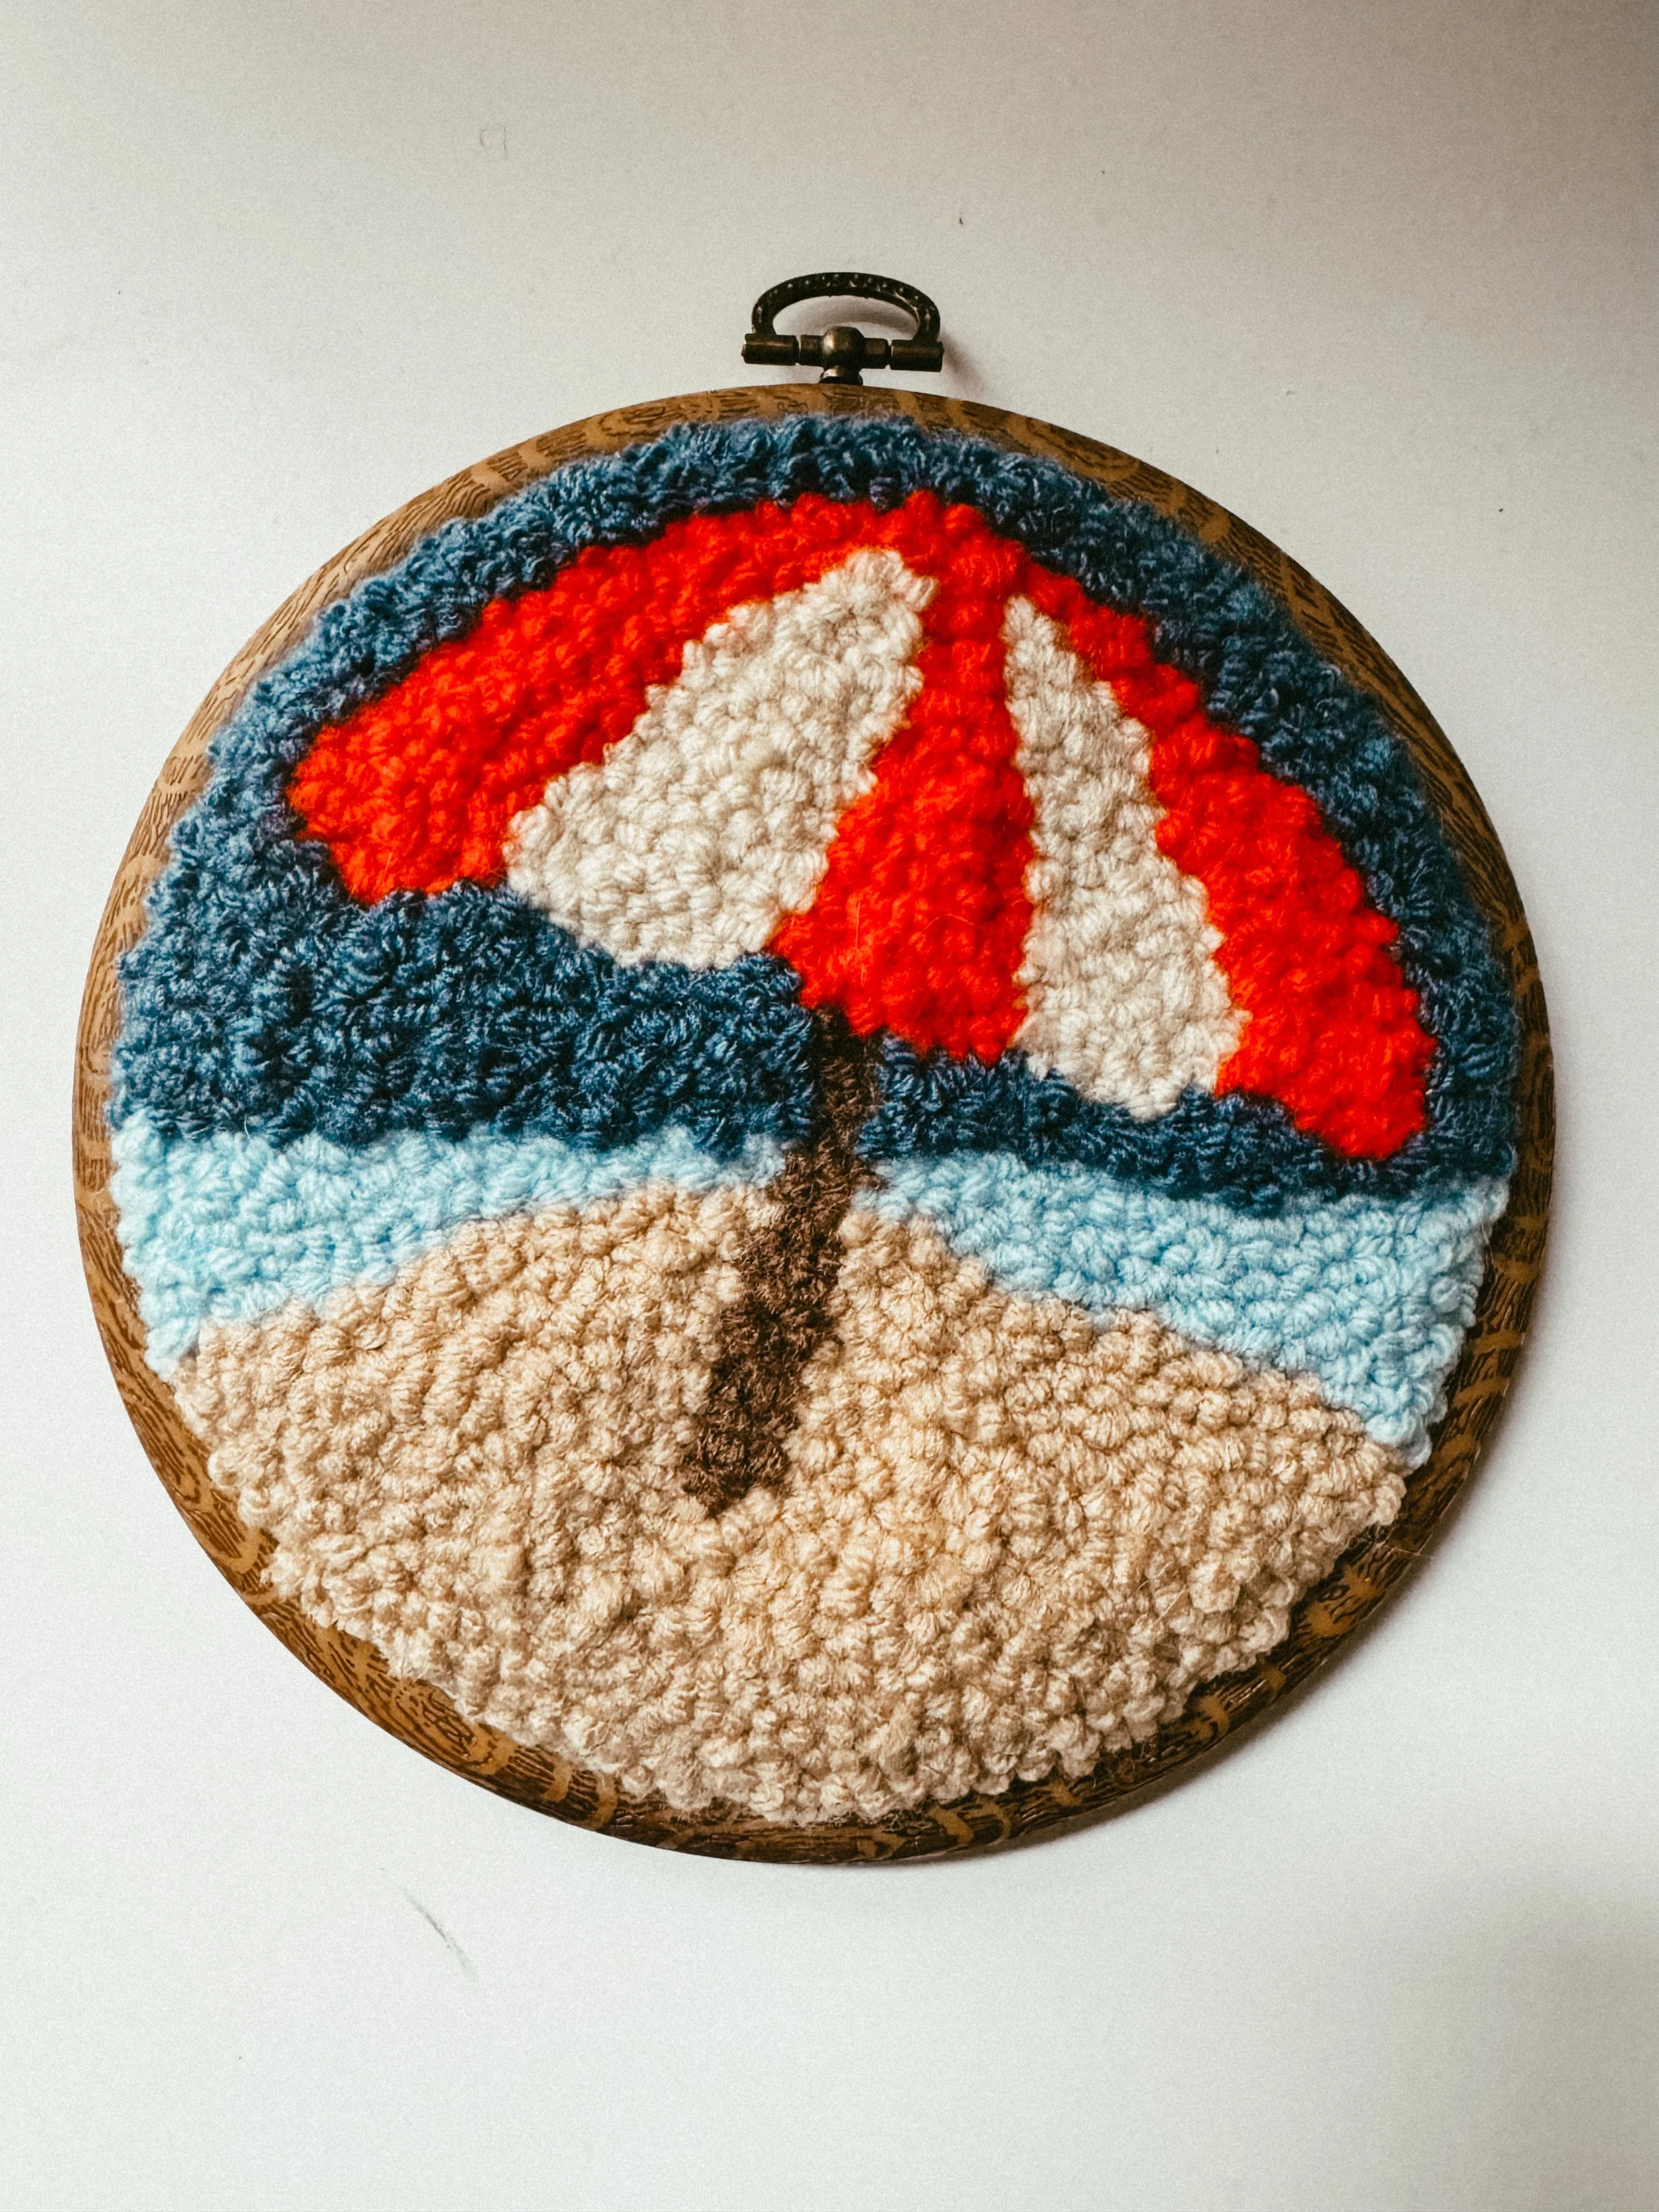
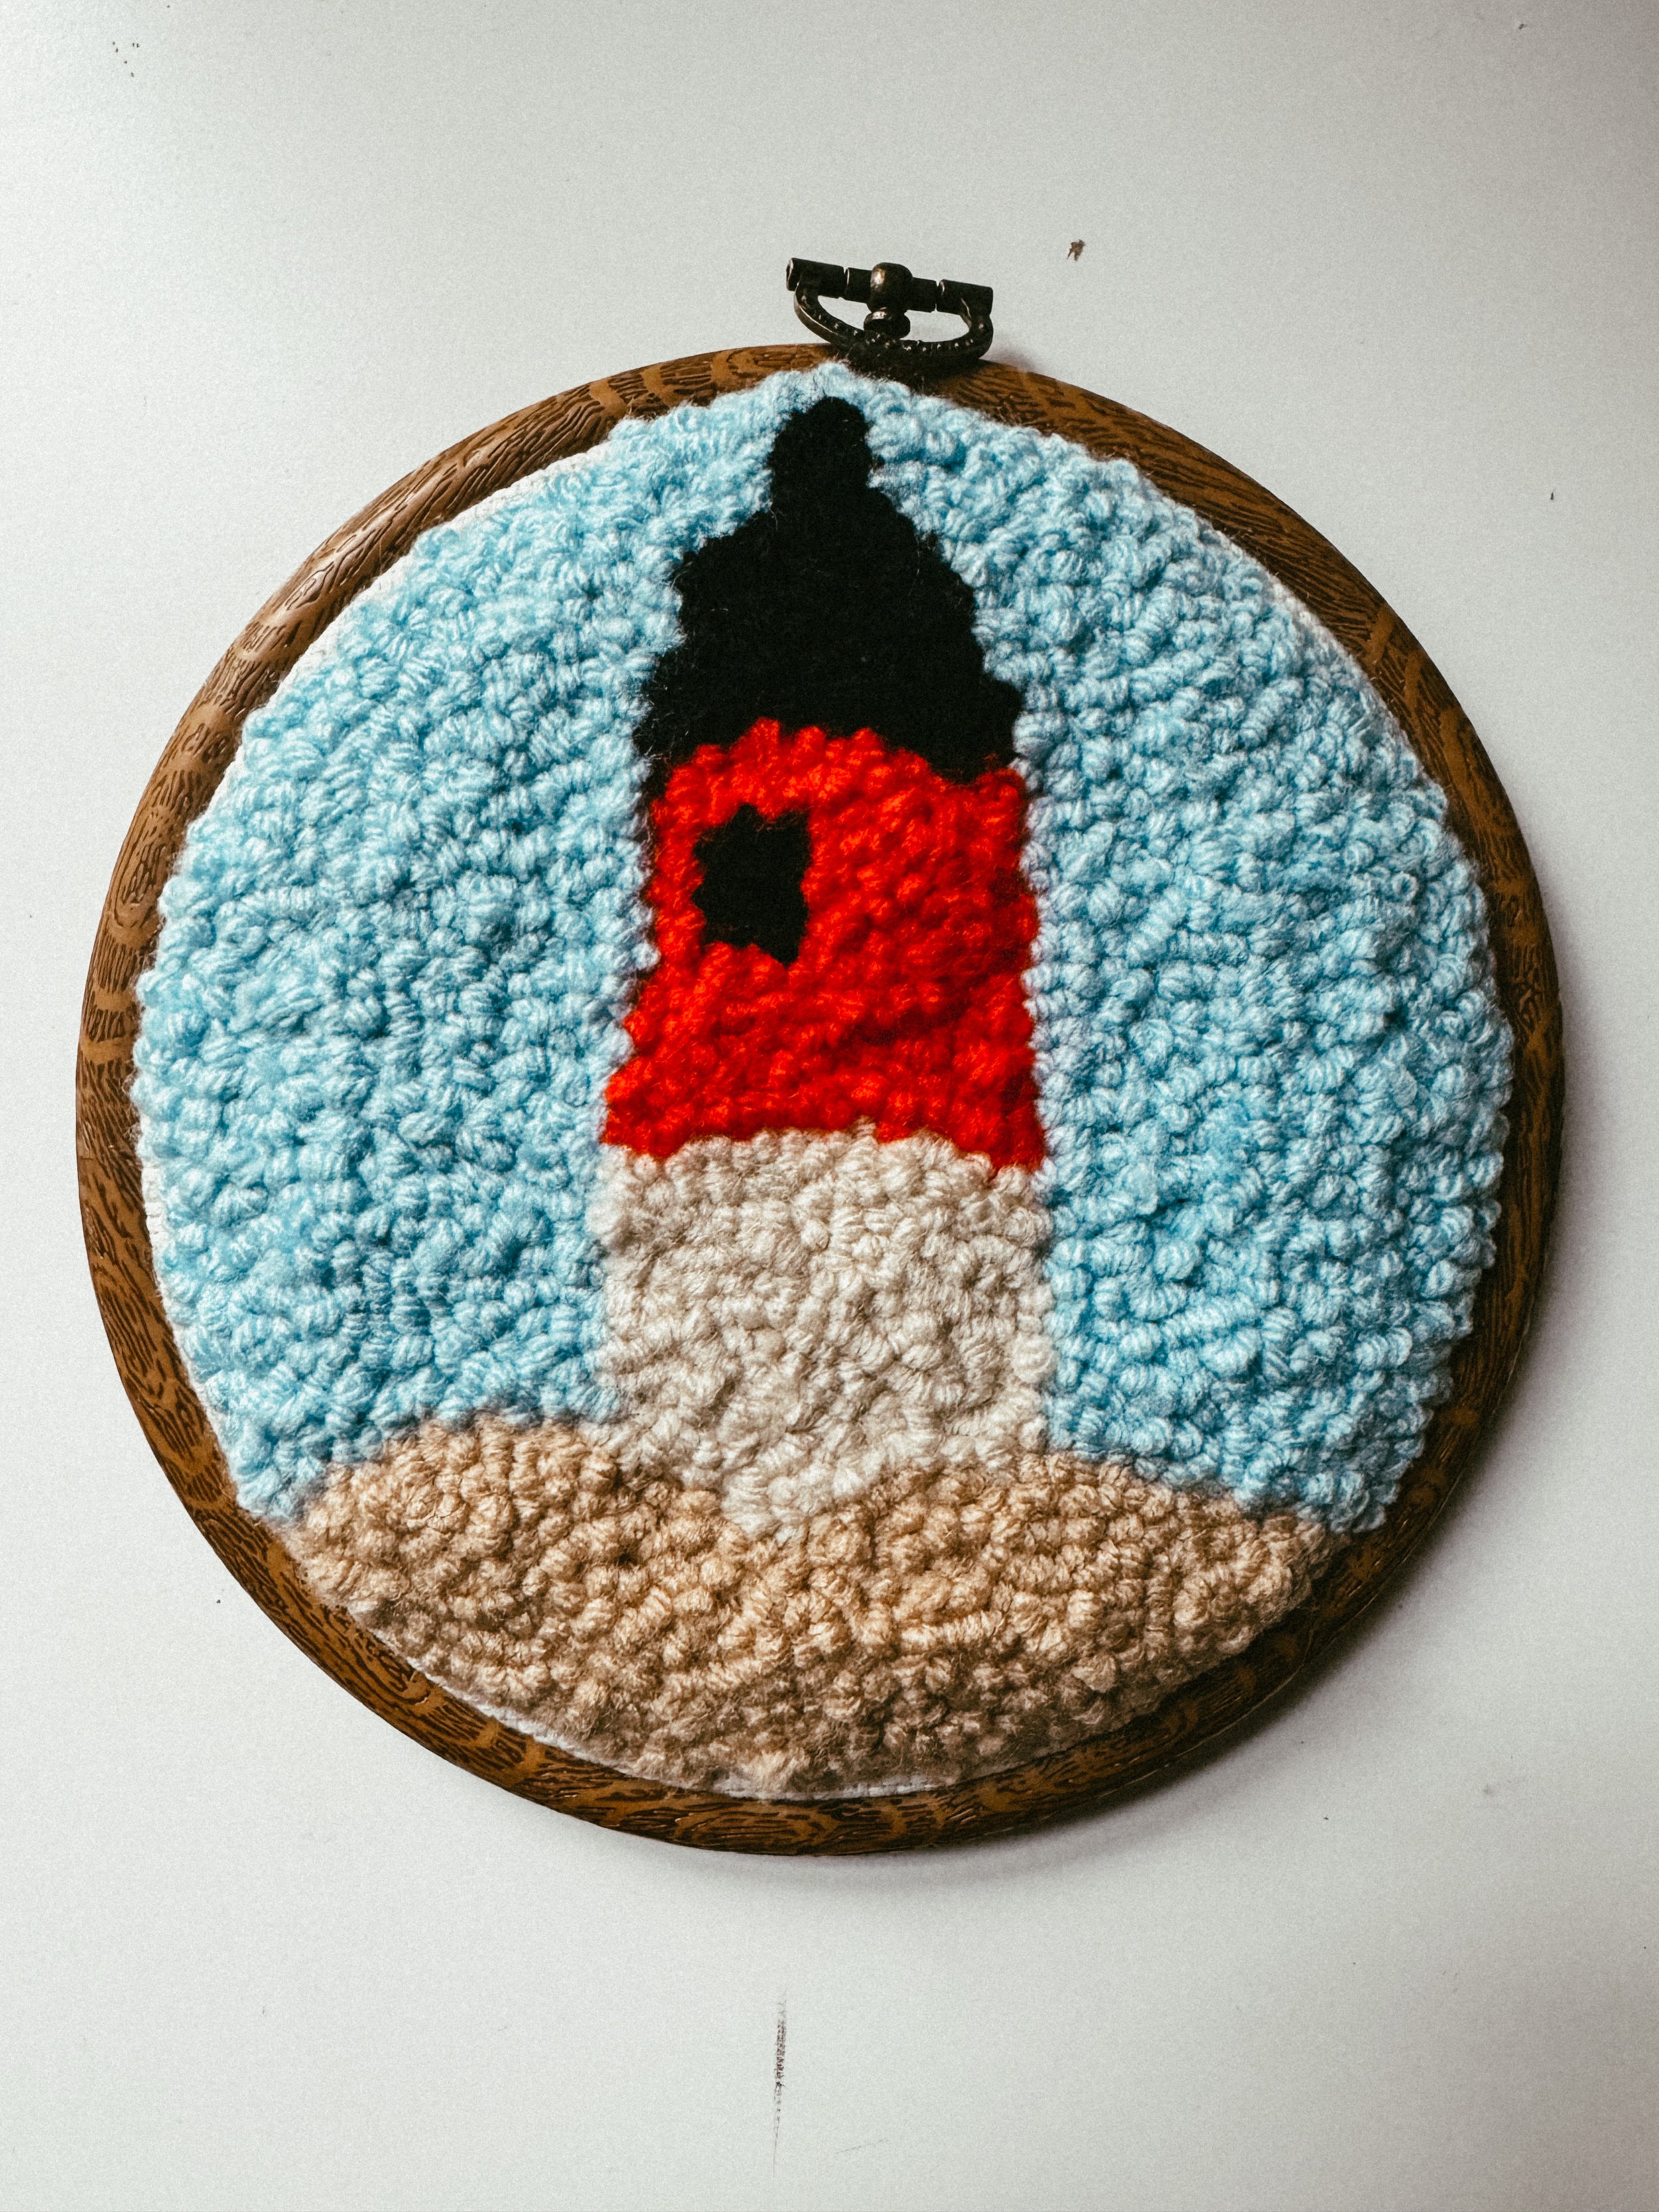
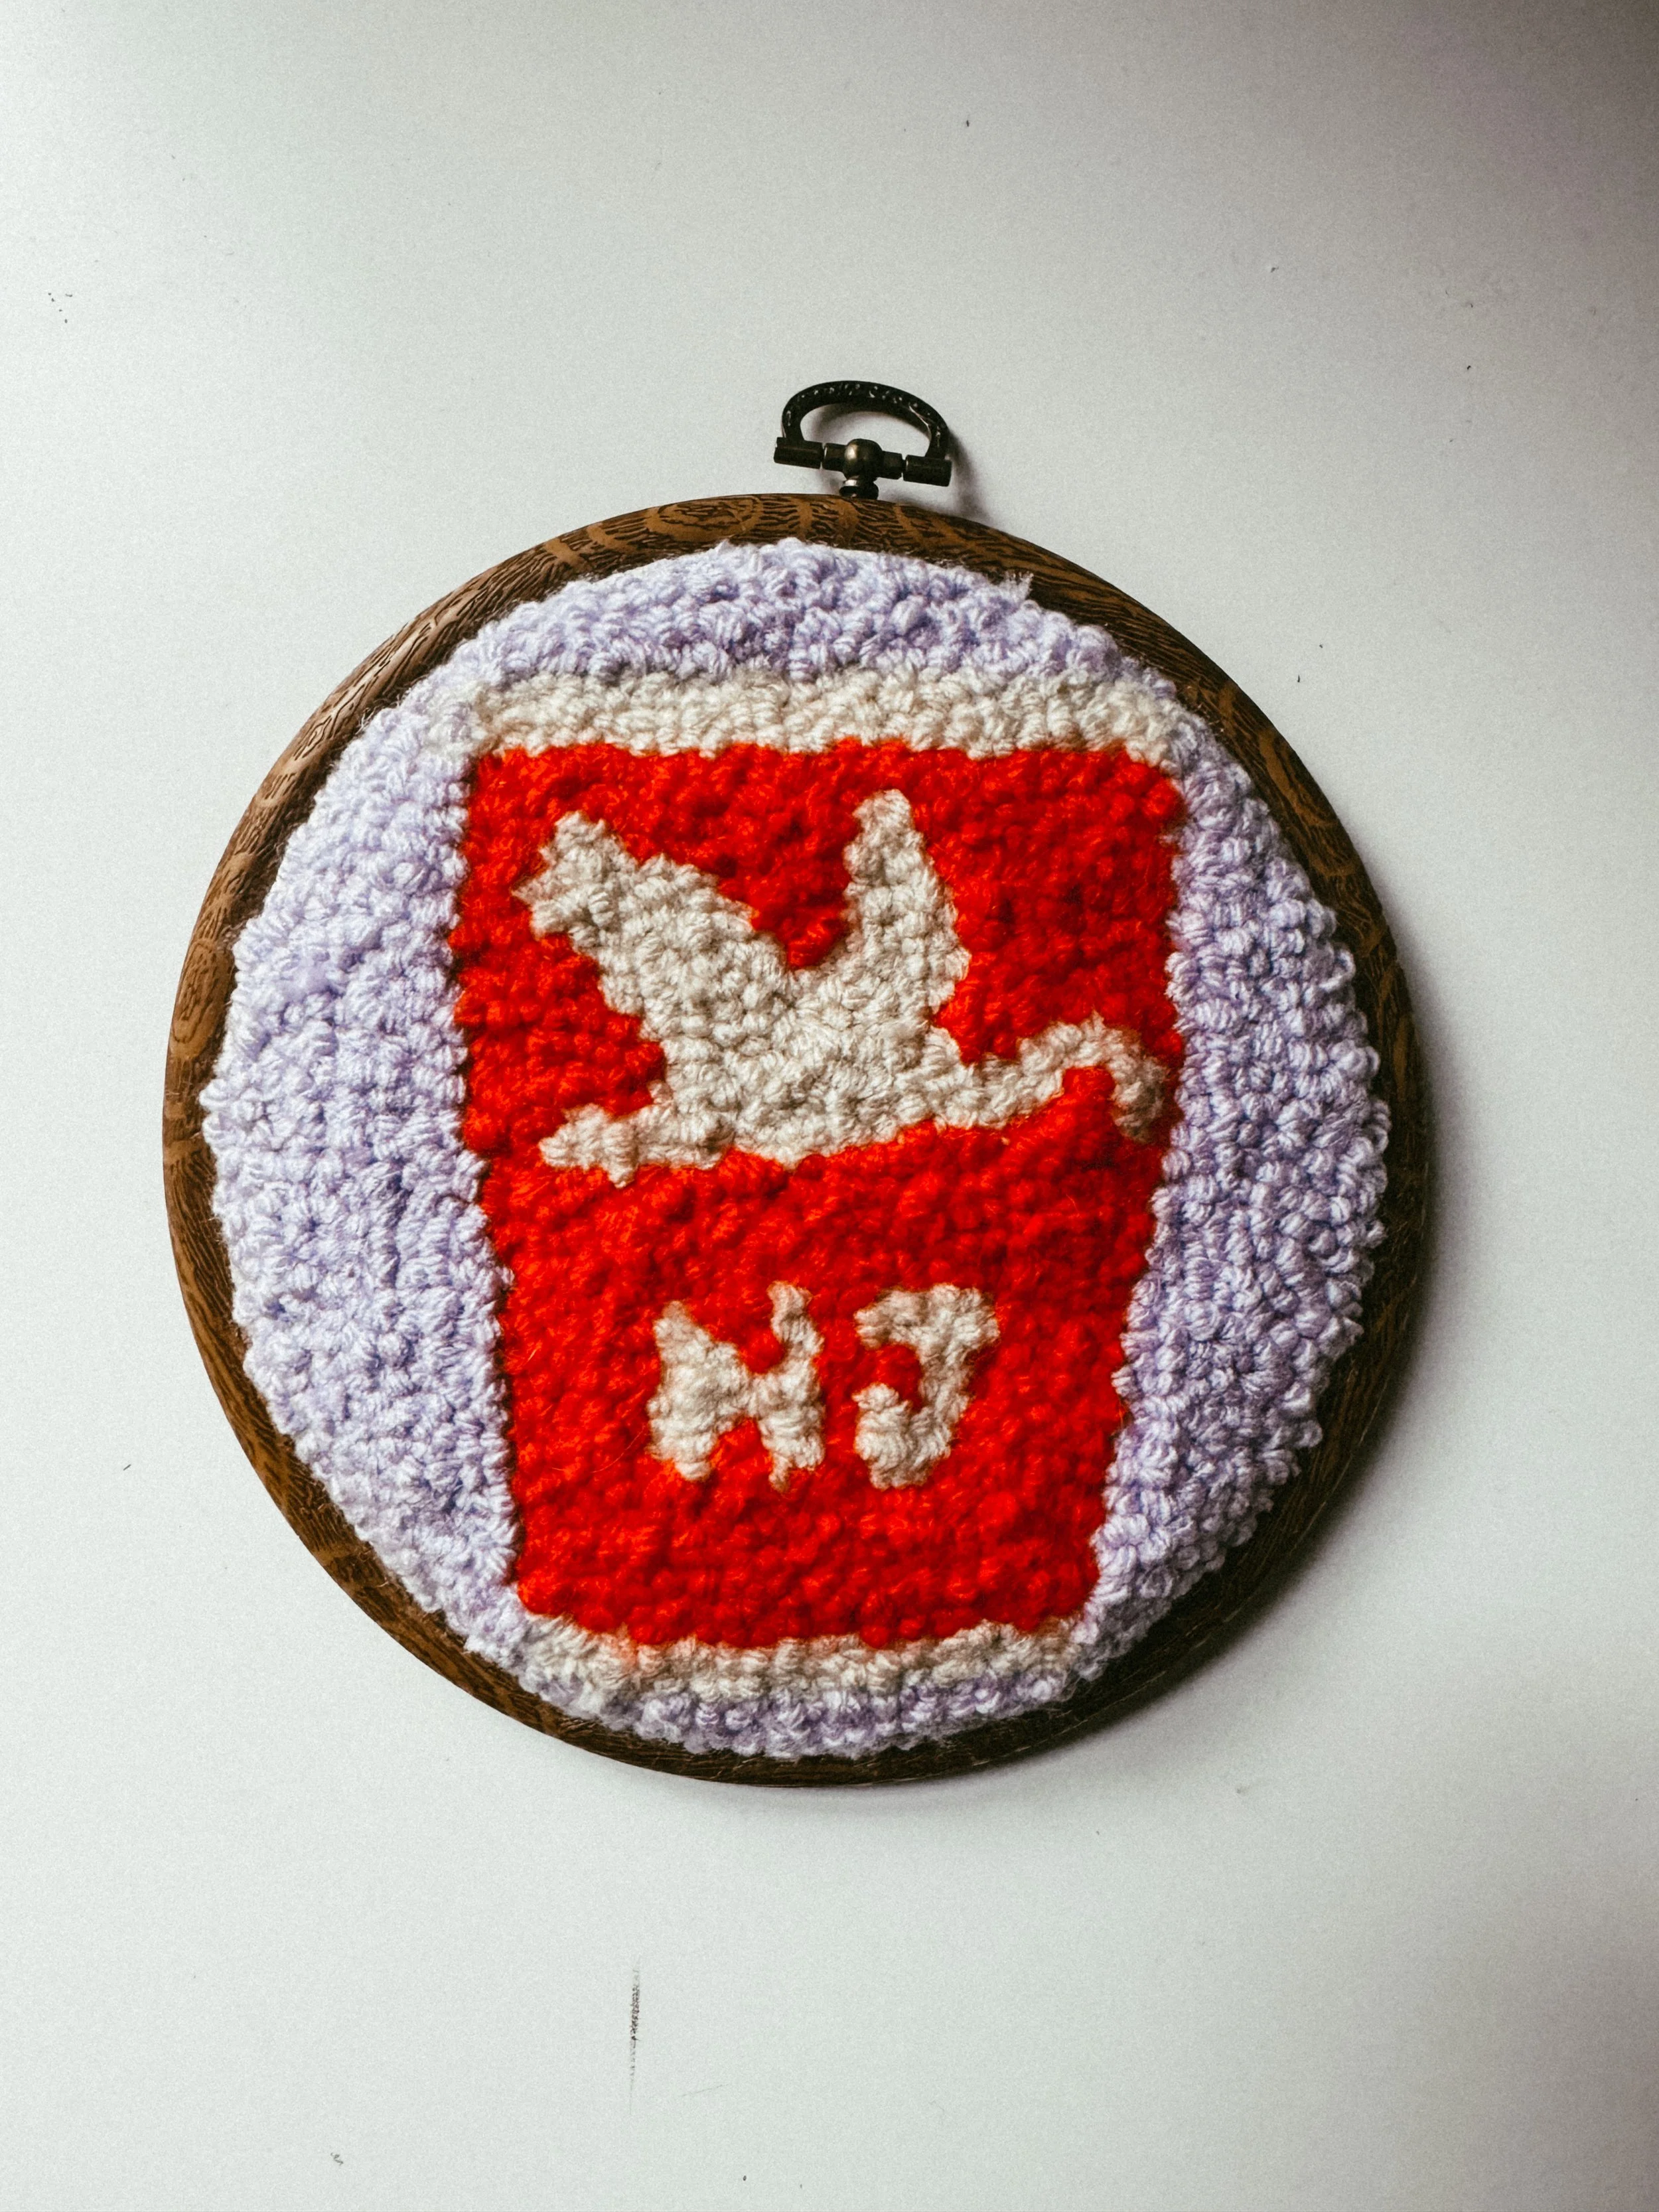
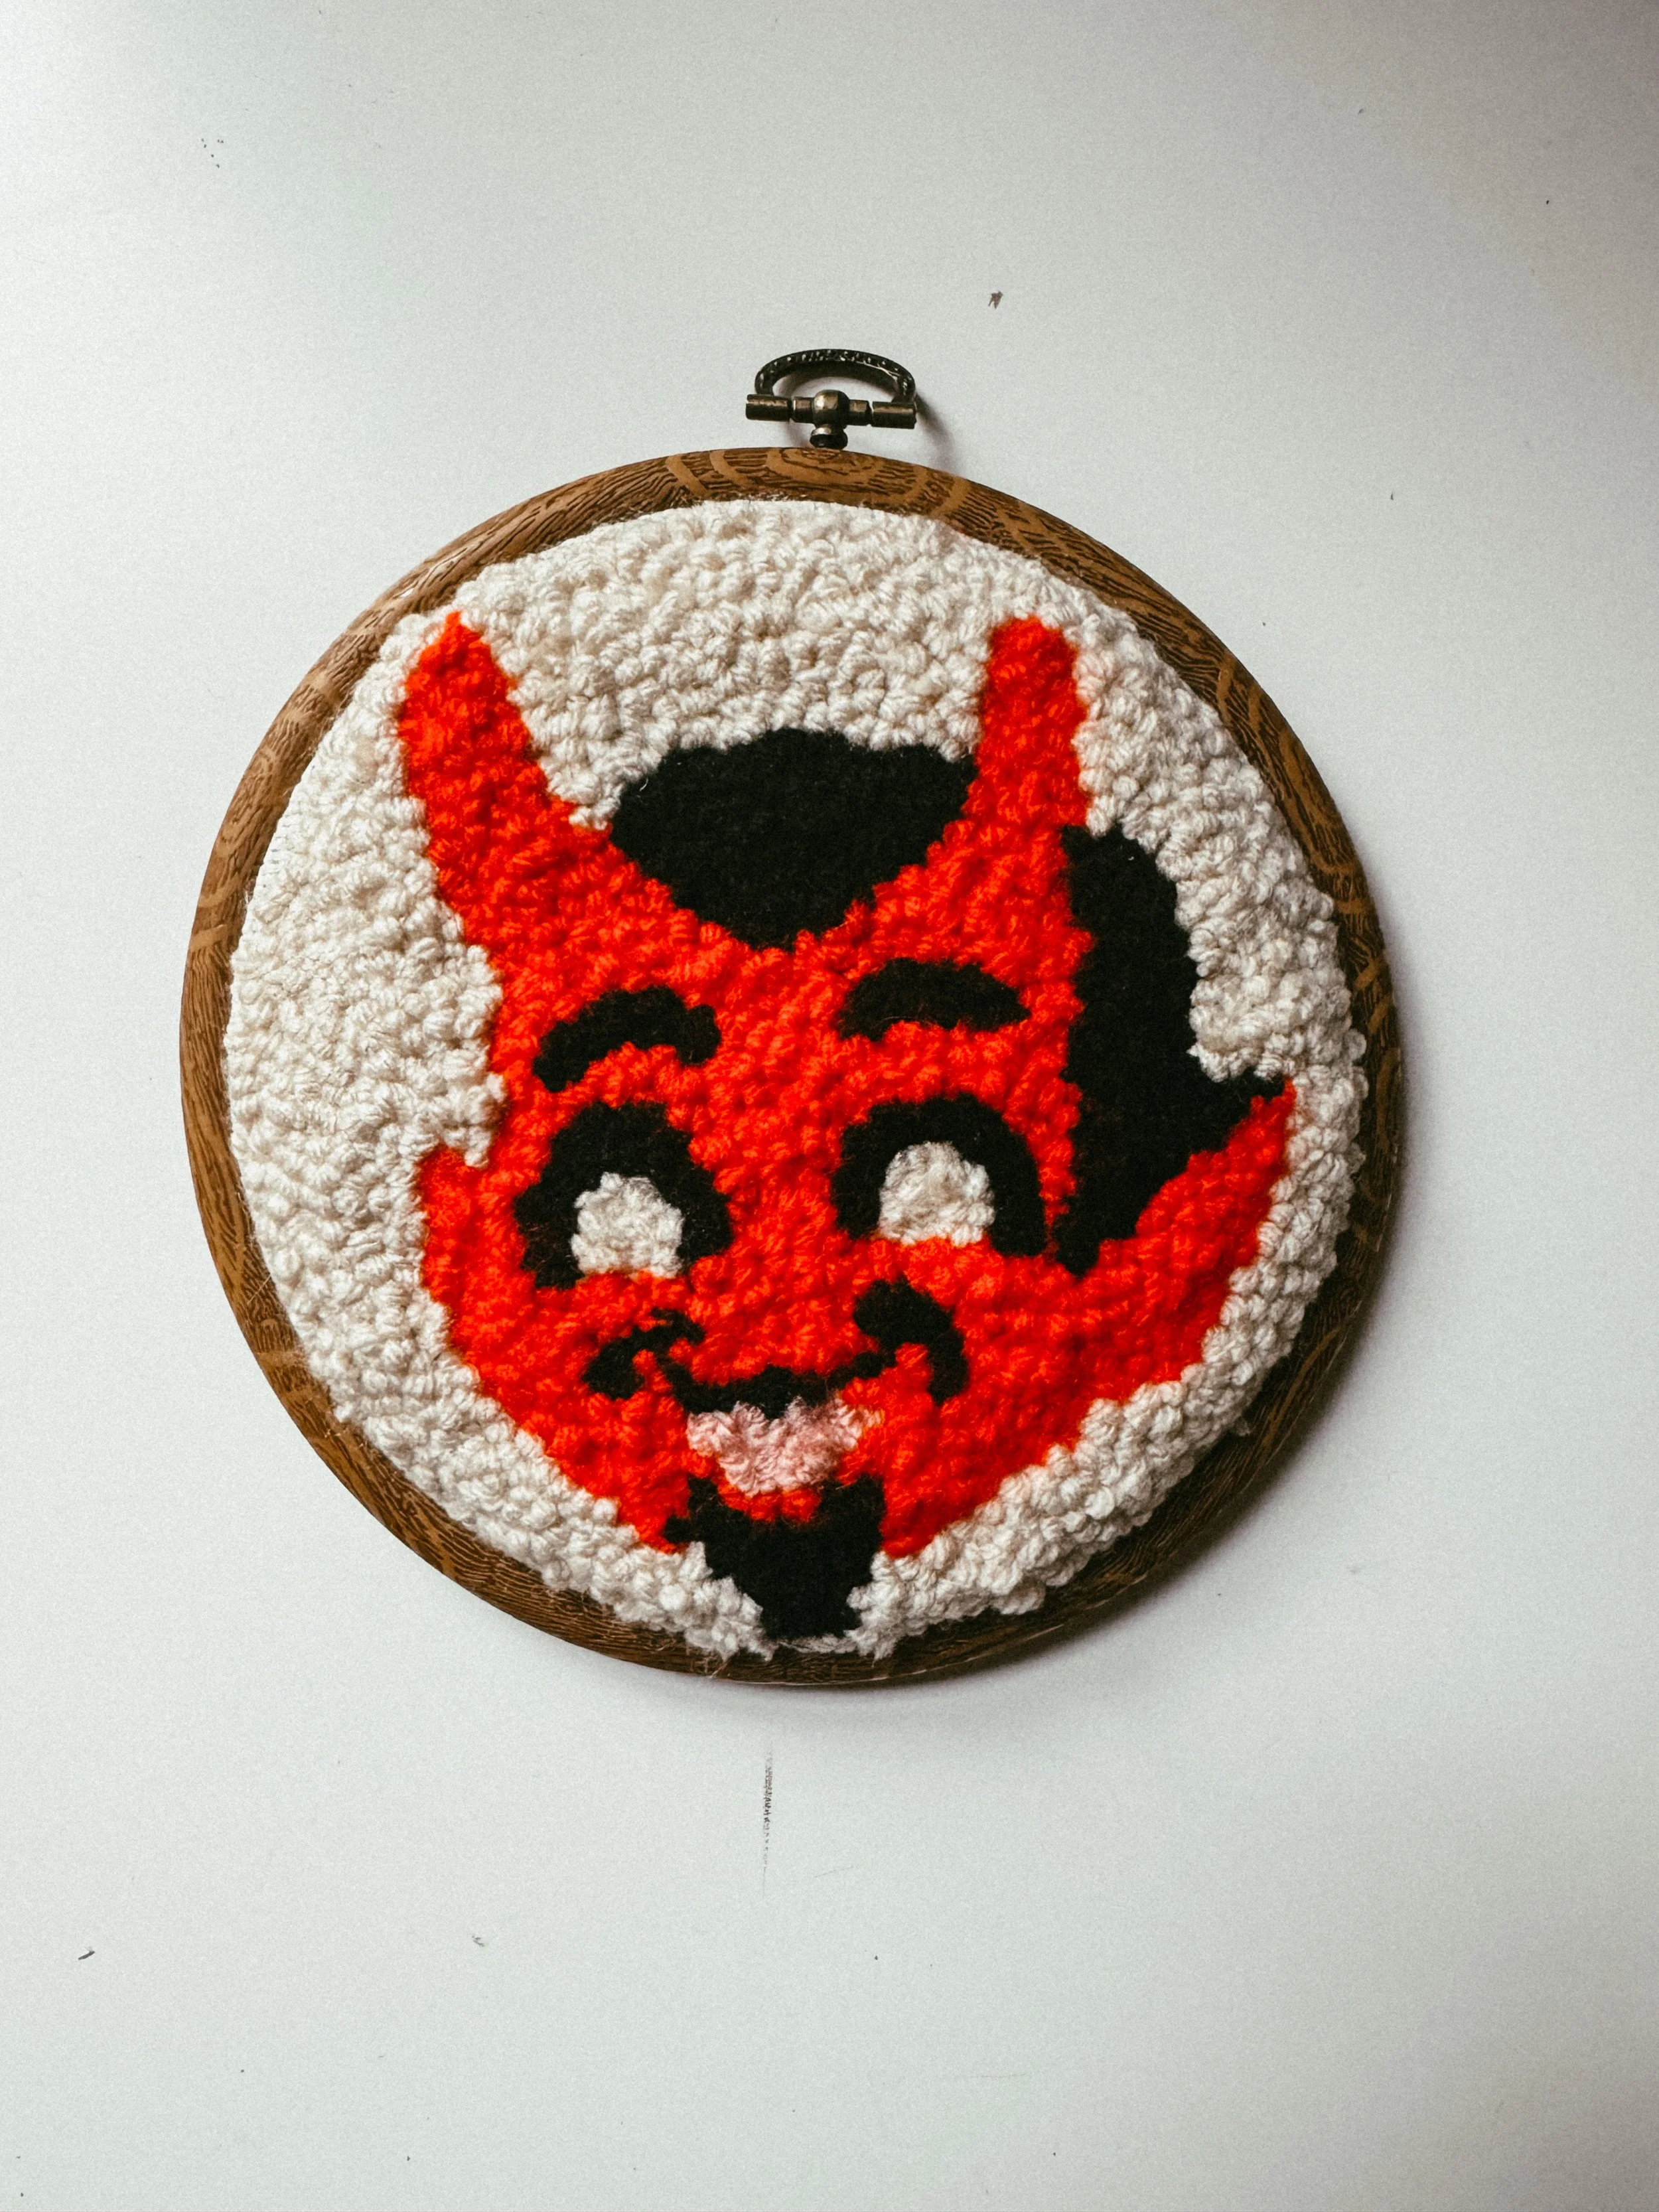
+ completed kit photos


+patterns