
DIY American Flag Pom Poms
With this year being not much of a celebration of the fourth of July, with beaches being closed and fireworks being cancelled, it calls for a bit of a craft celebration! Last year I worked on fourth of July and I wanted to make the day more fun for my clients so I wrote up a pattern for an American Flag Pom Pom. They were such a hit and a cute little way to be festive, pass the time and engage in a perfect coping skill. The best of all the worlds!
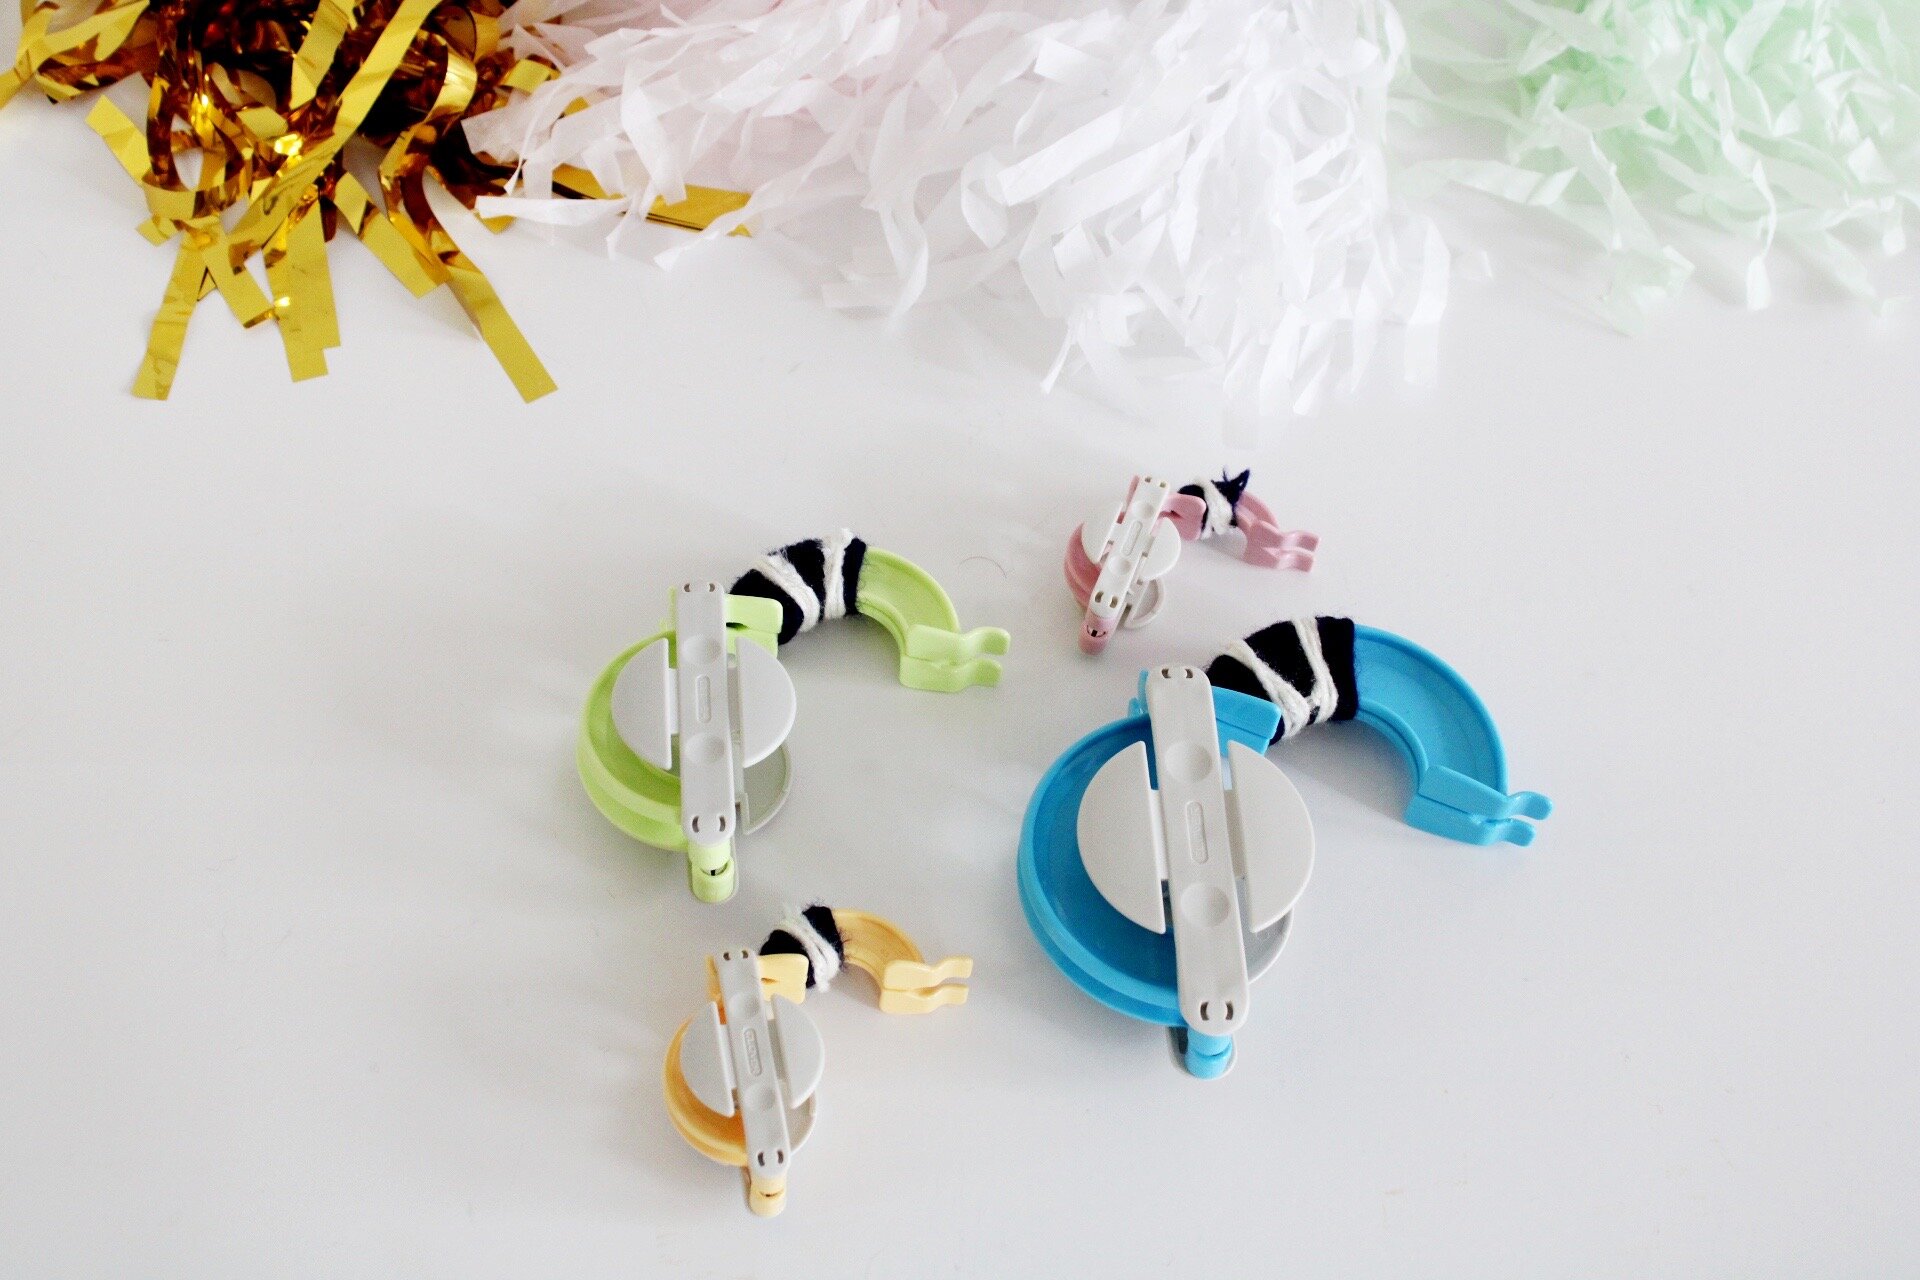
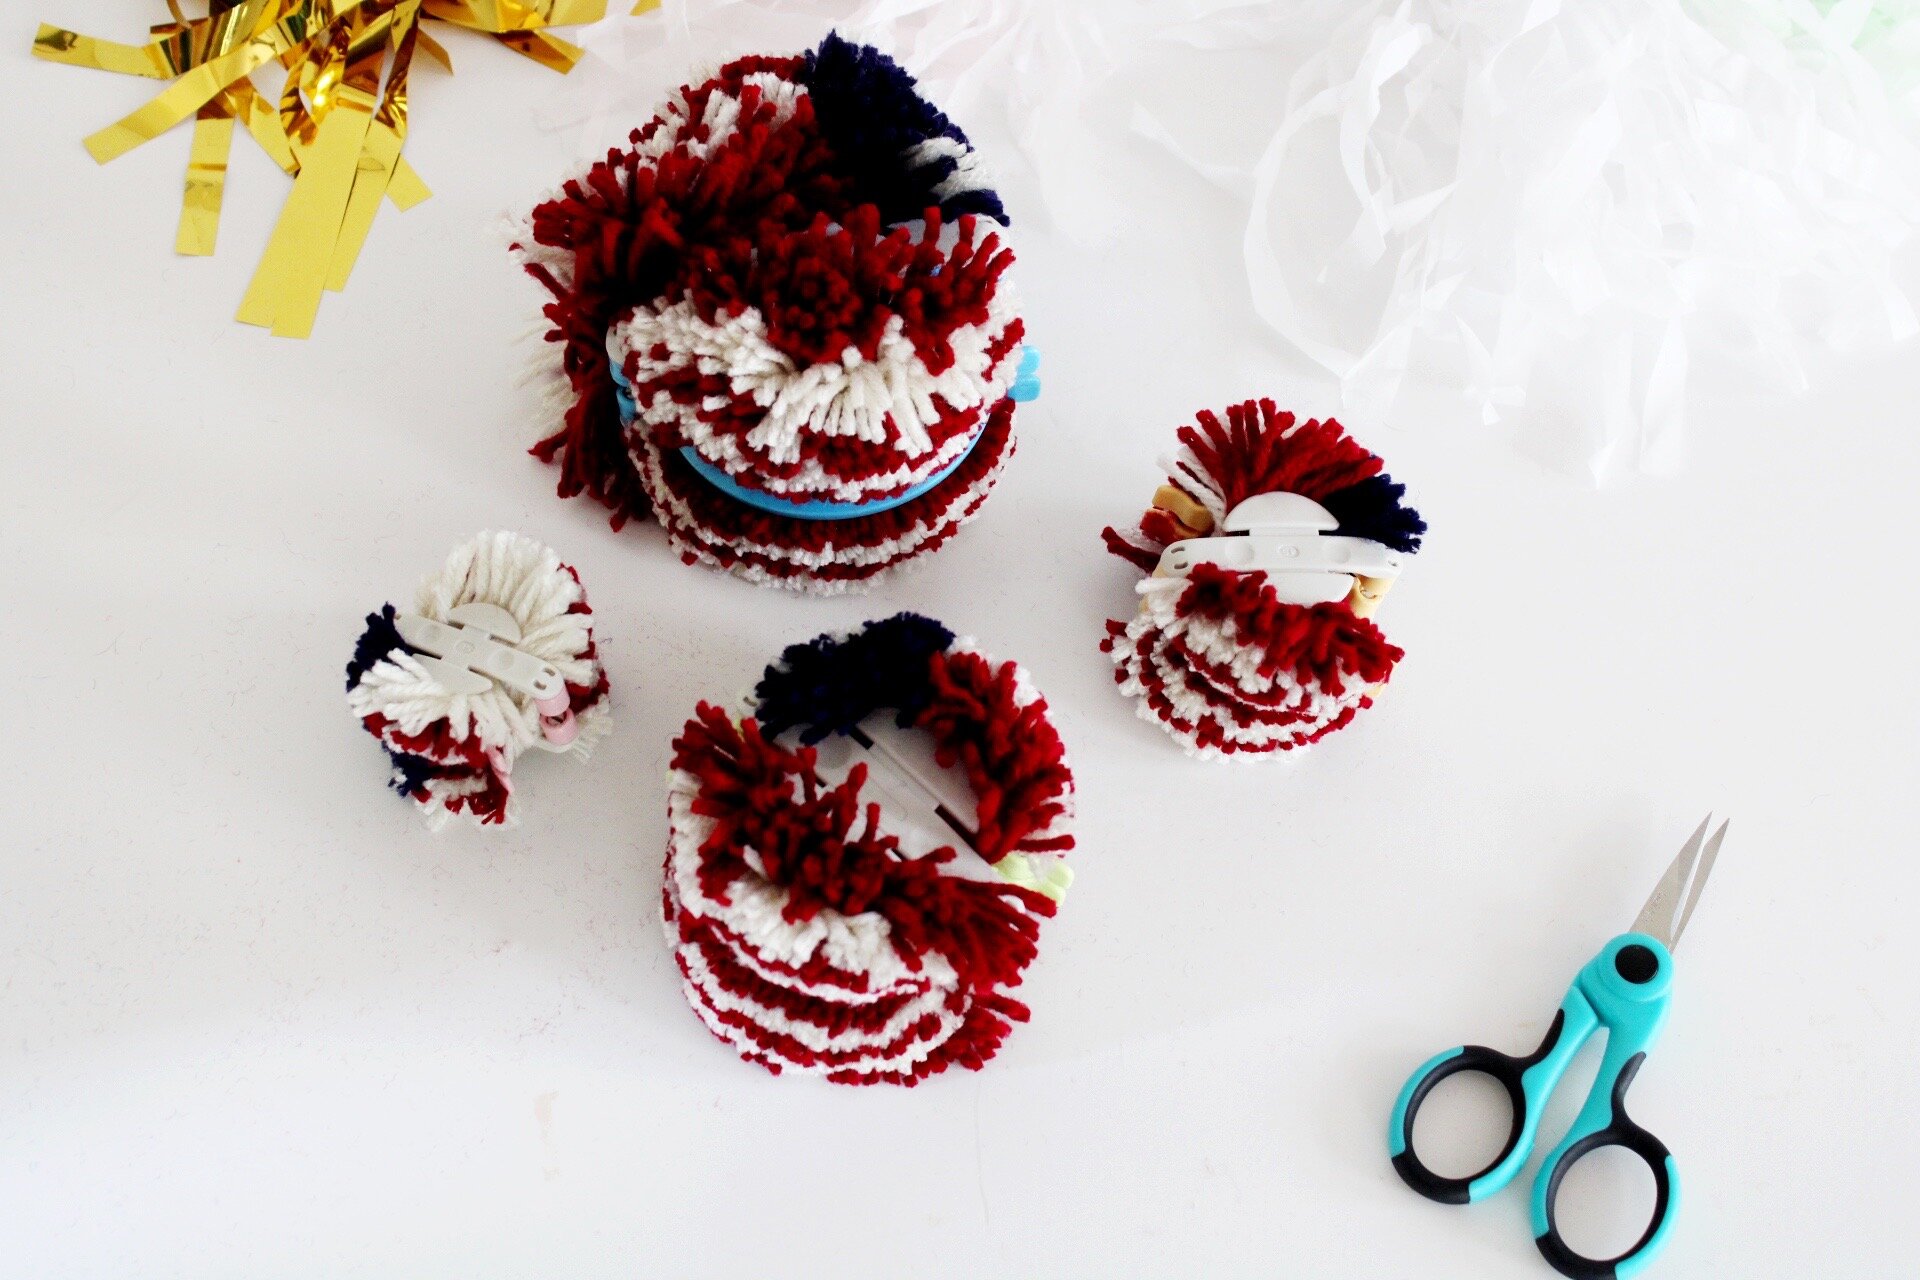
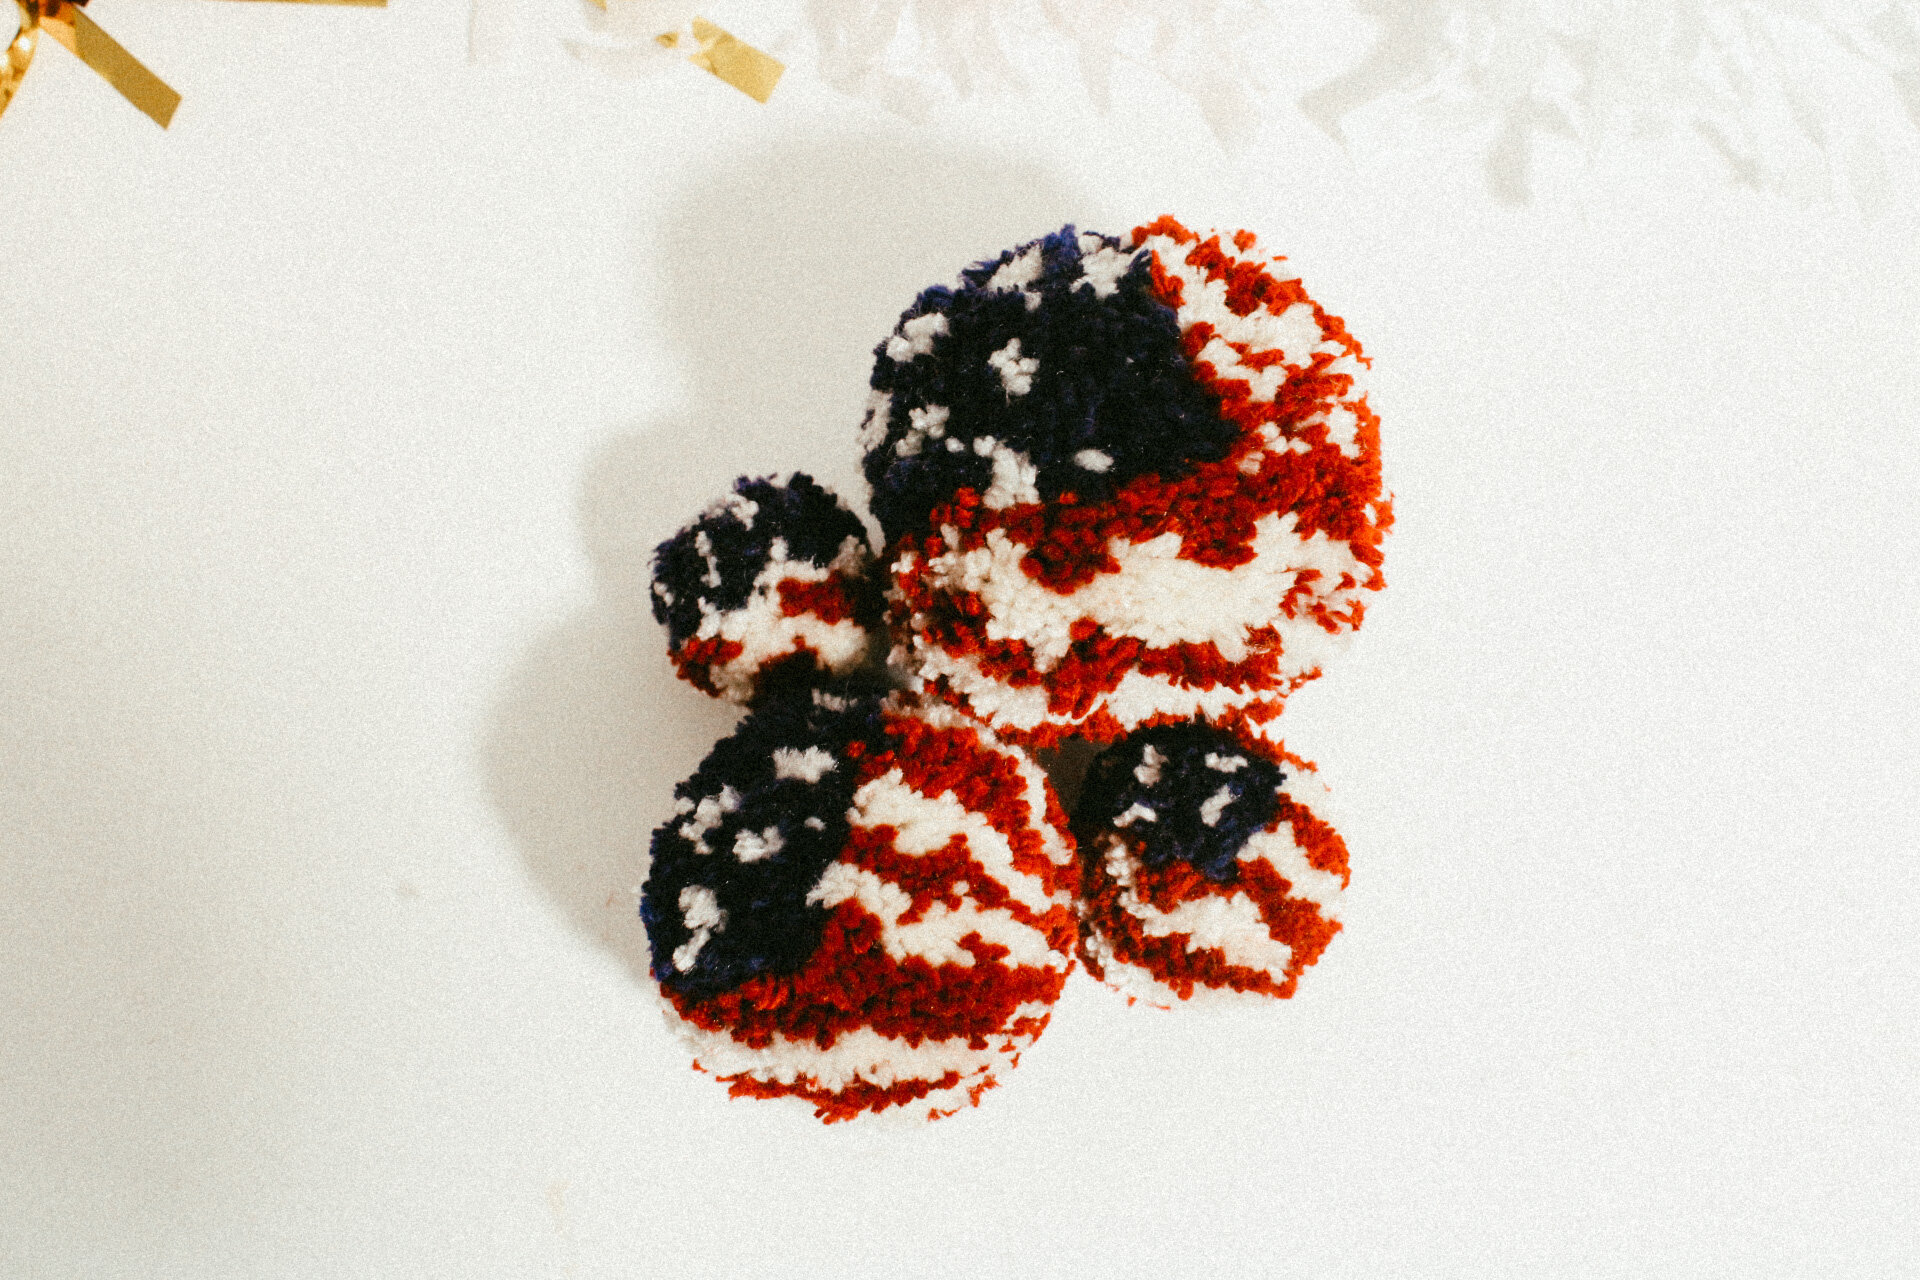
Get ready to get crafting and to enjoy a day in where you might end up covered in pom poms. I made them in every size that way you can best know what it will look like no matter what size pom pom maker you have/ choose.
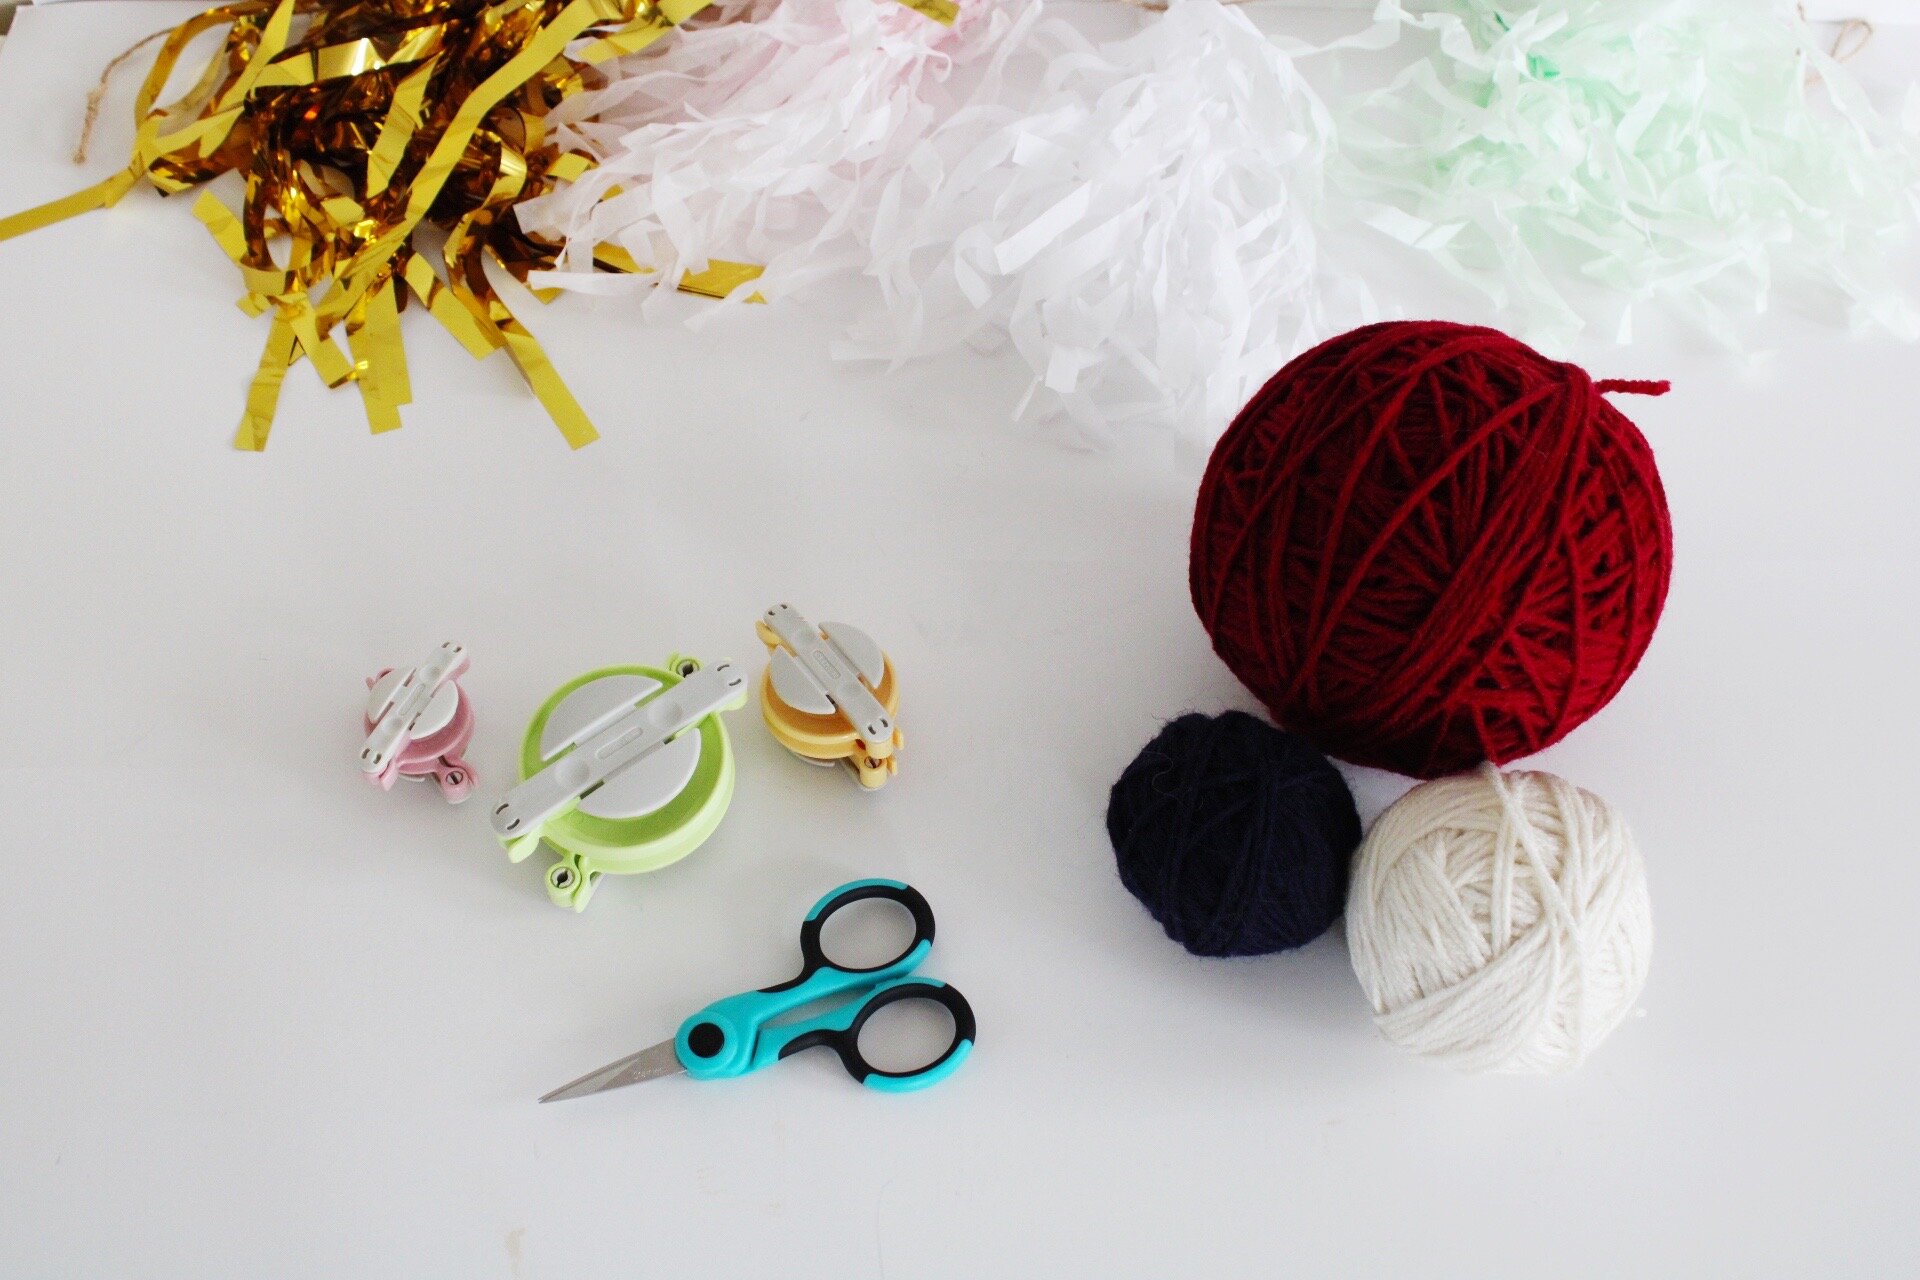
SUPPLIES
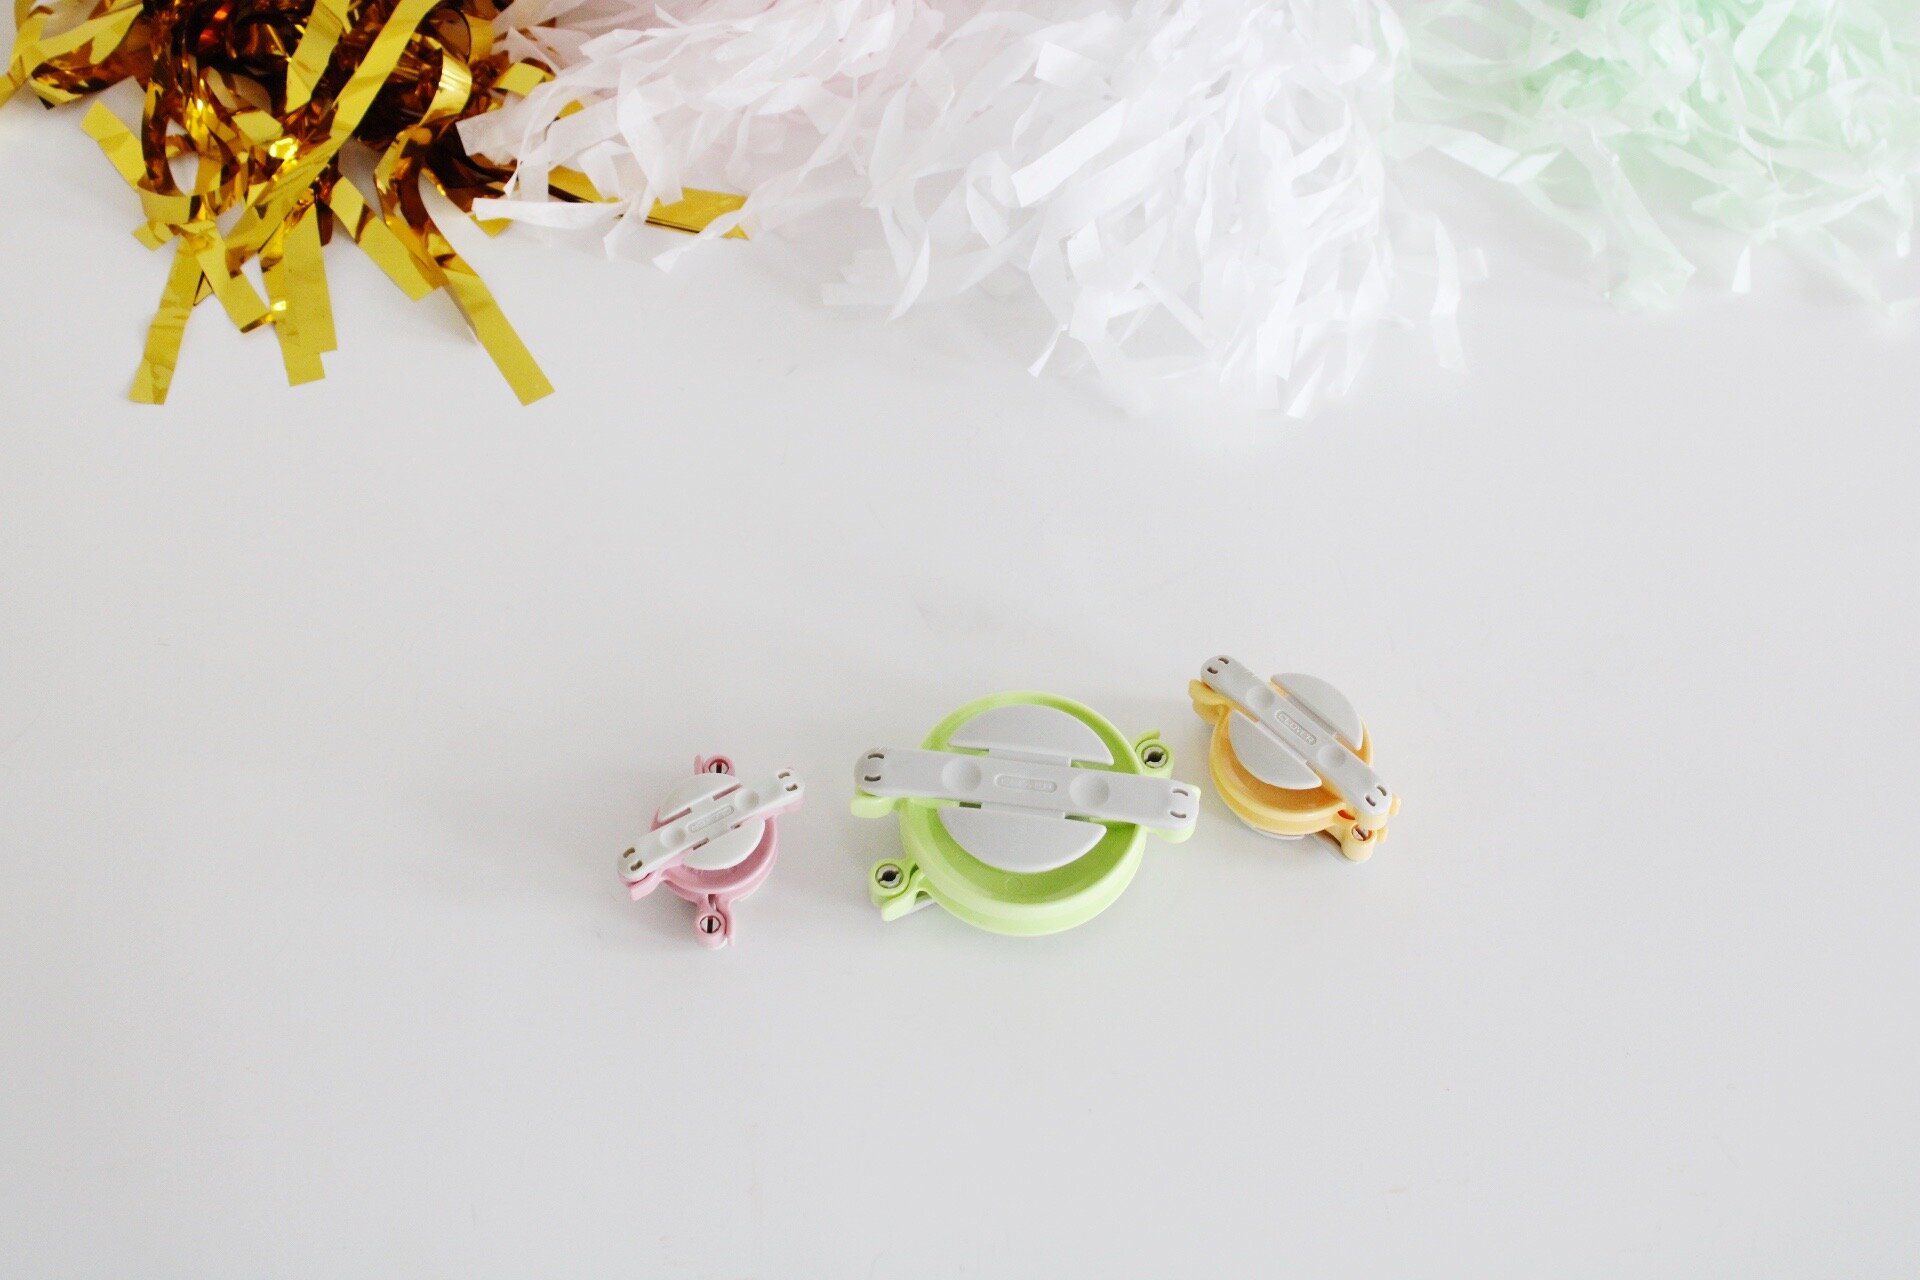
-Pom Pom Maker (any size)
-Yarn (red, white & blue)
-Scissors
-Bowl
STARS
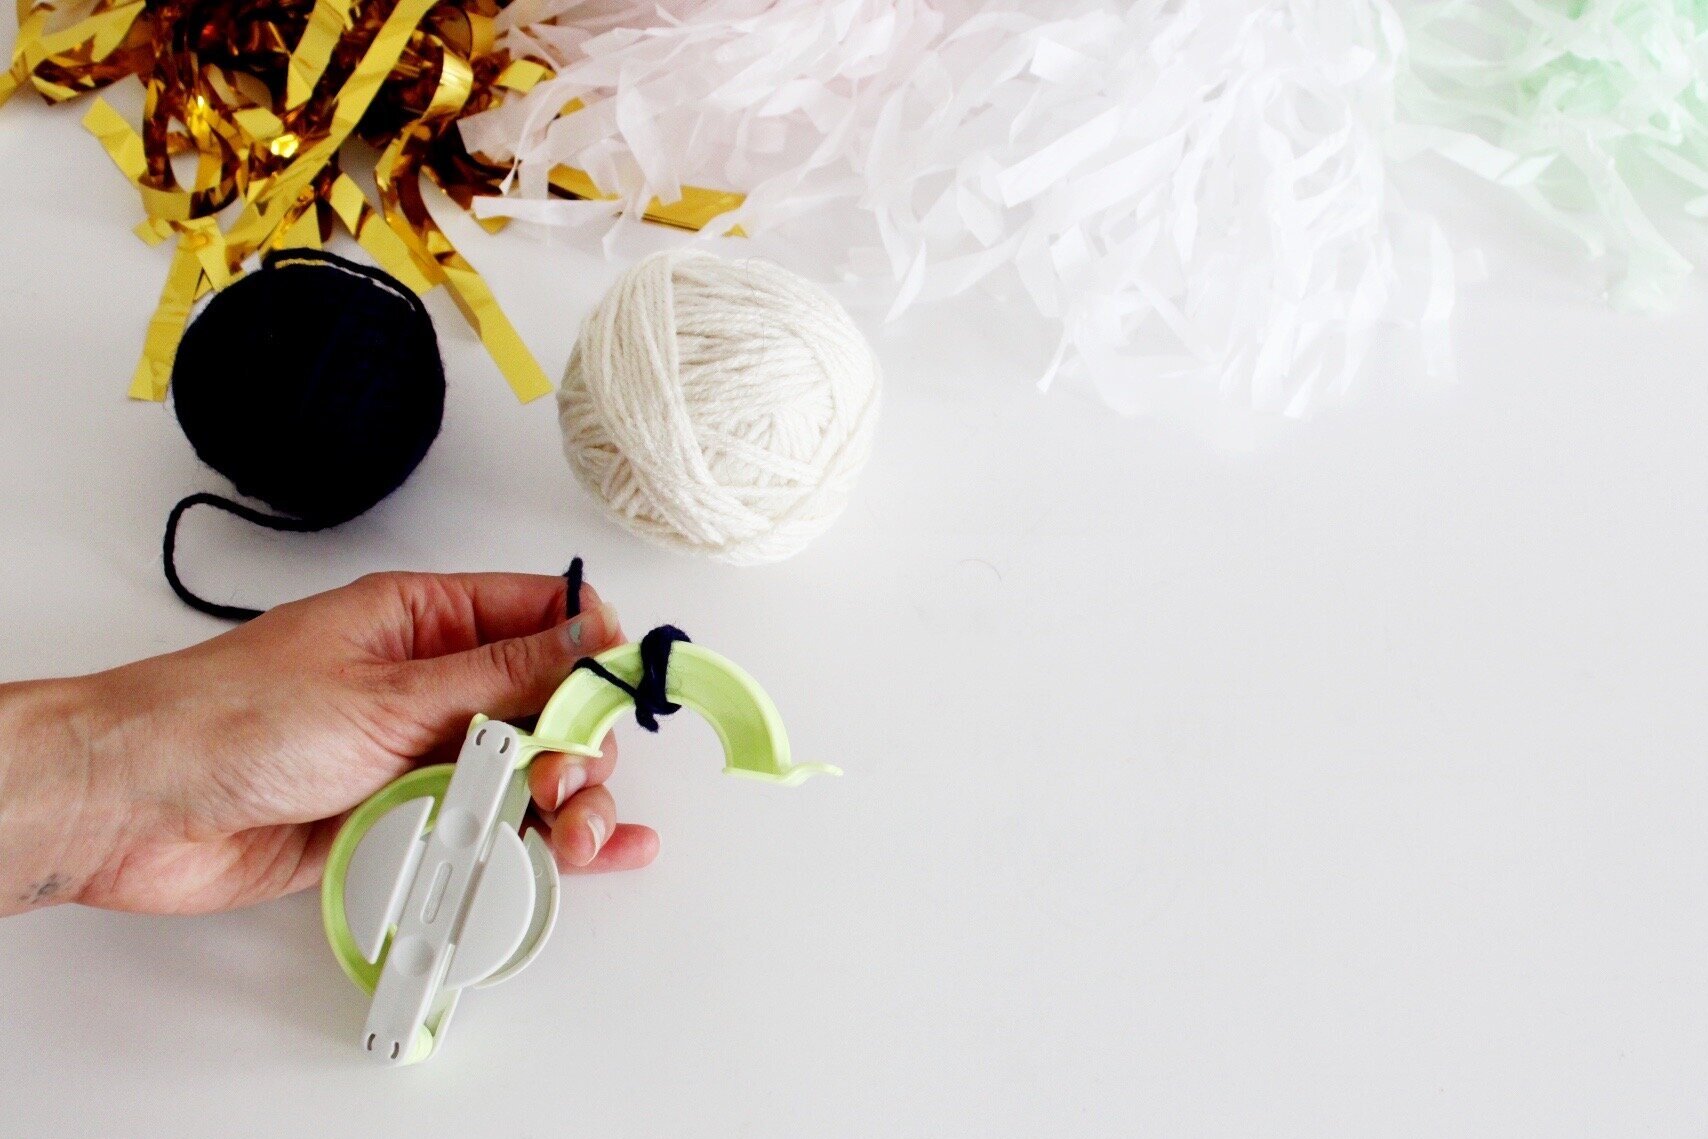
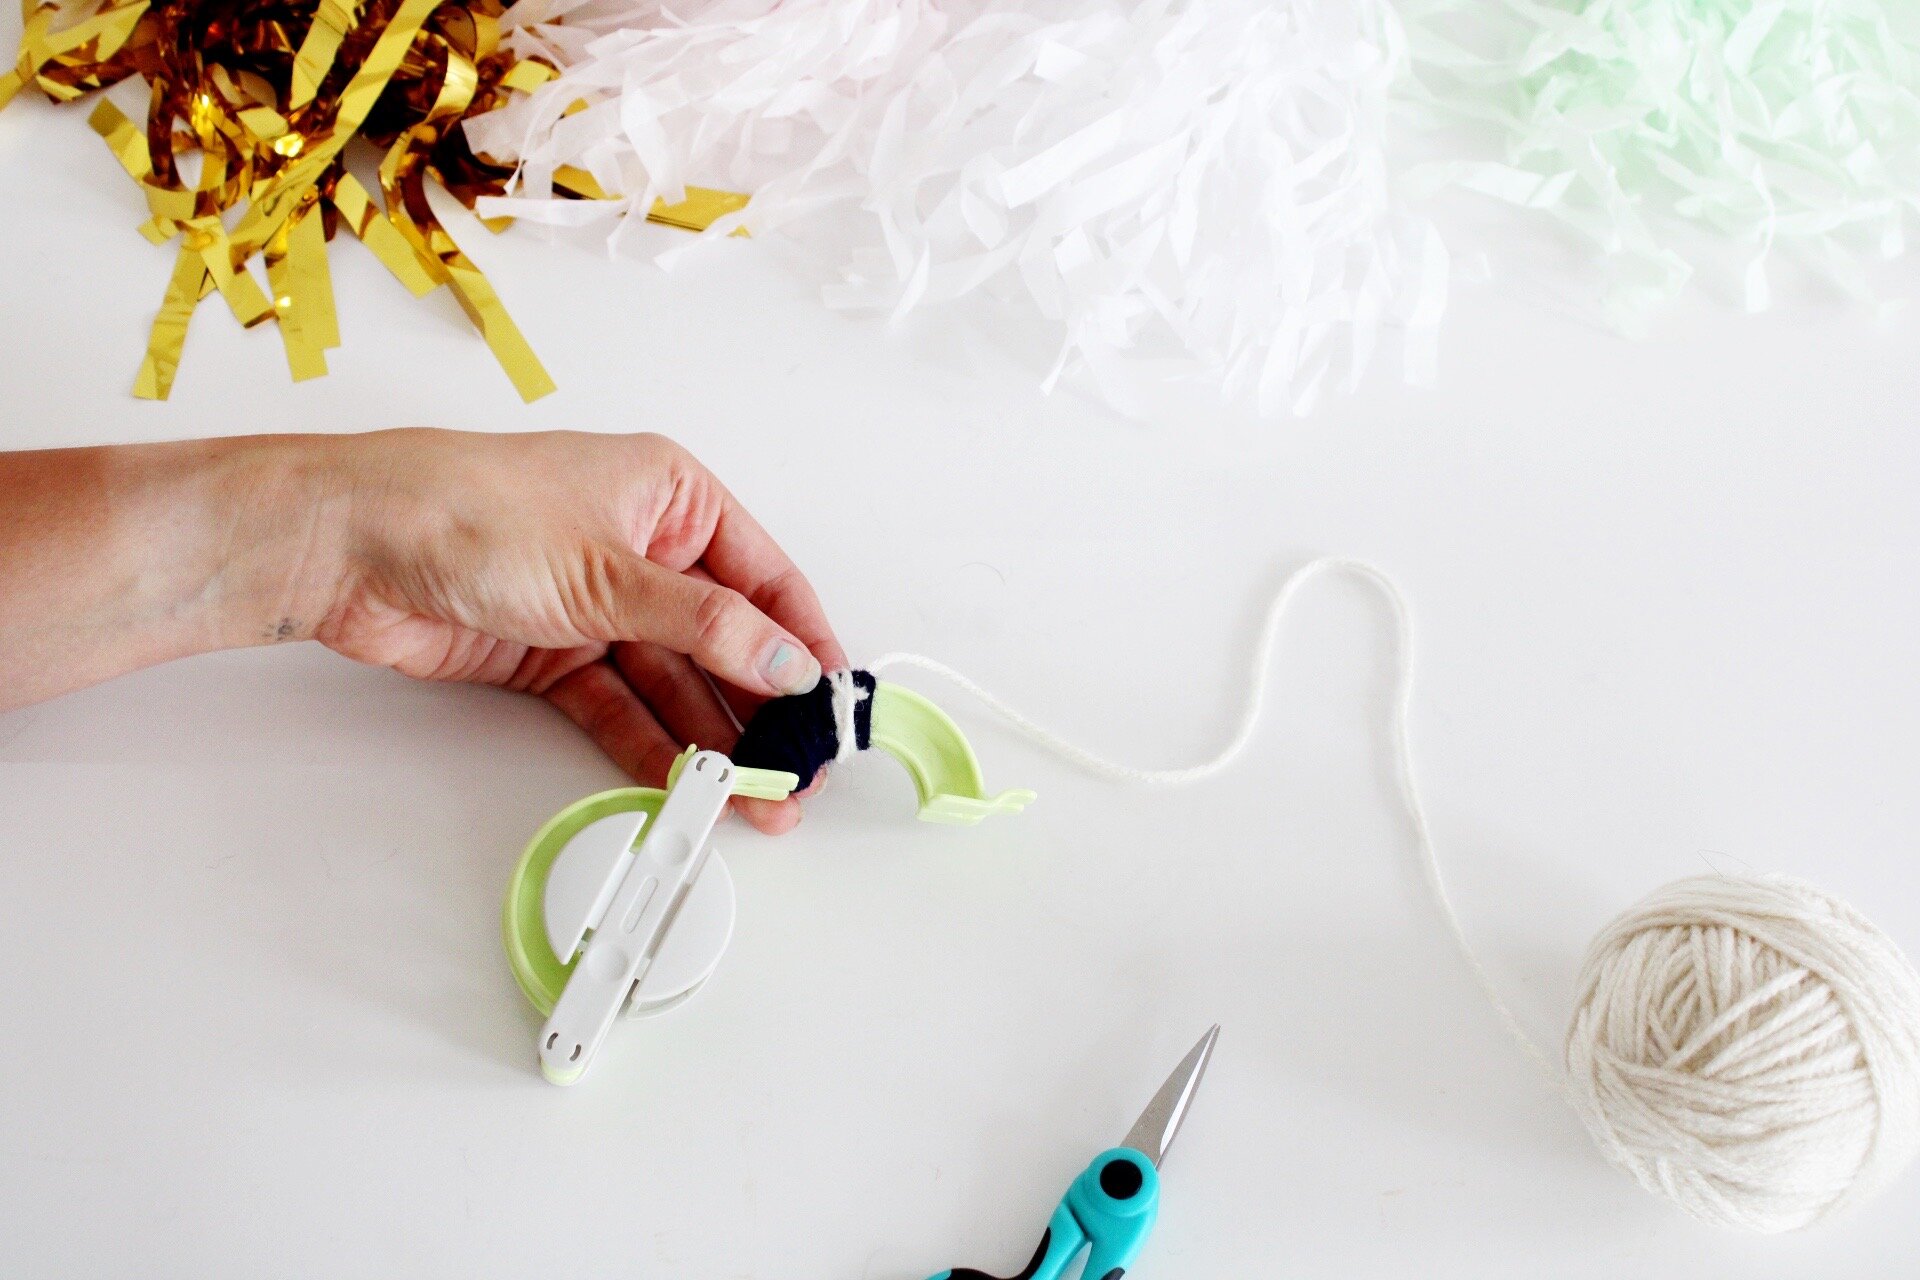
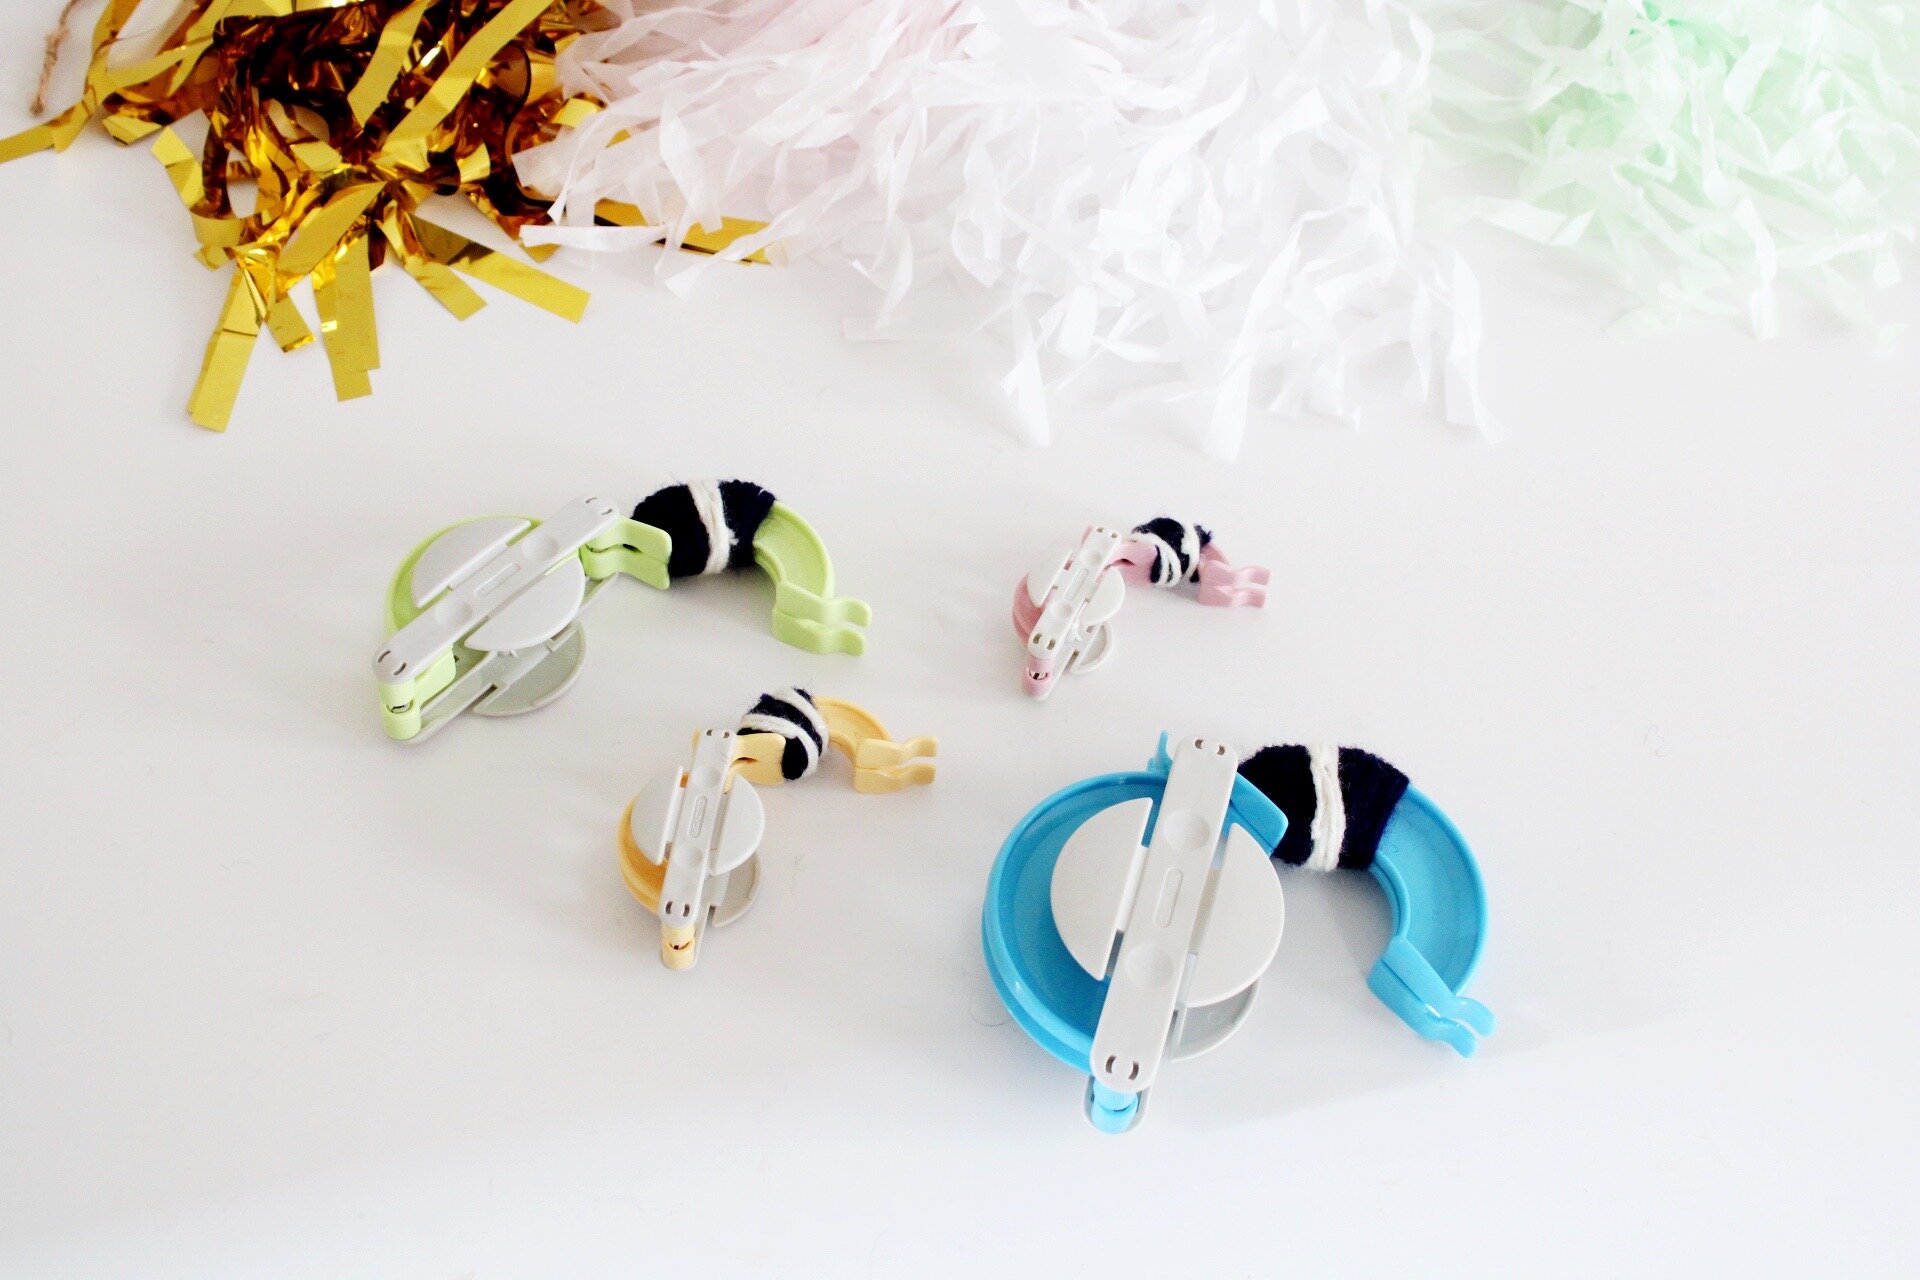
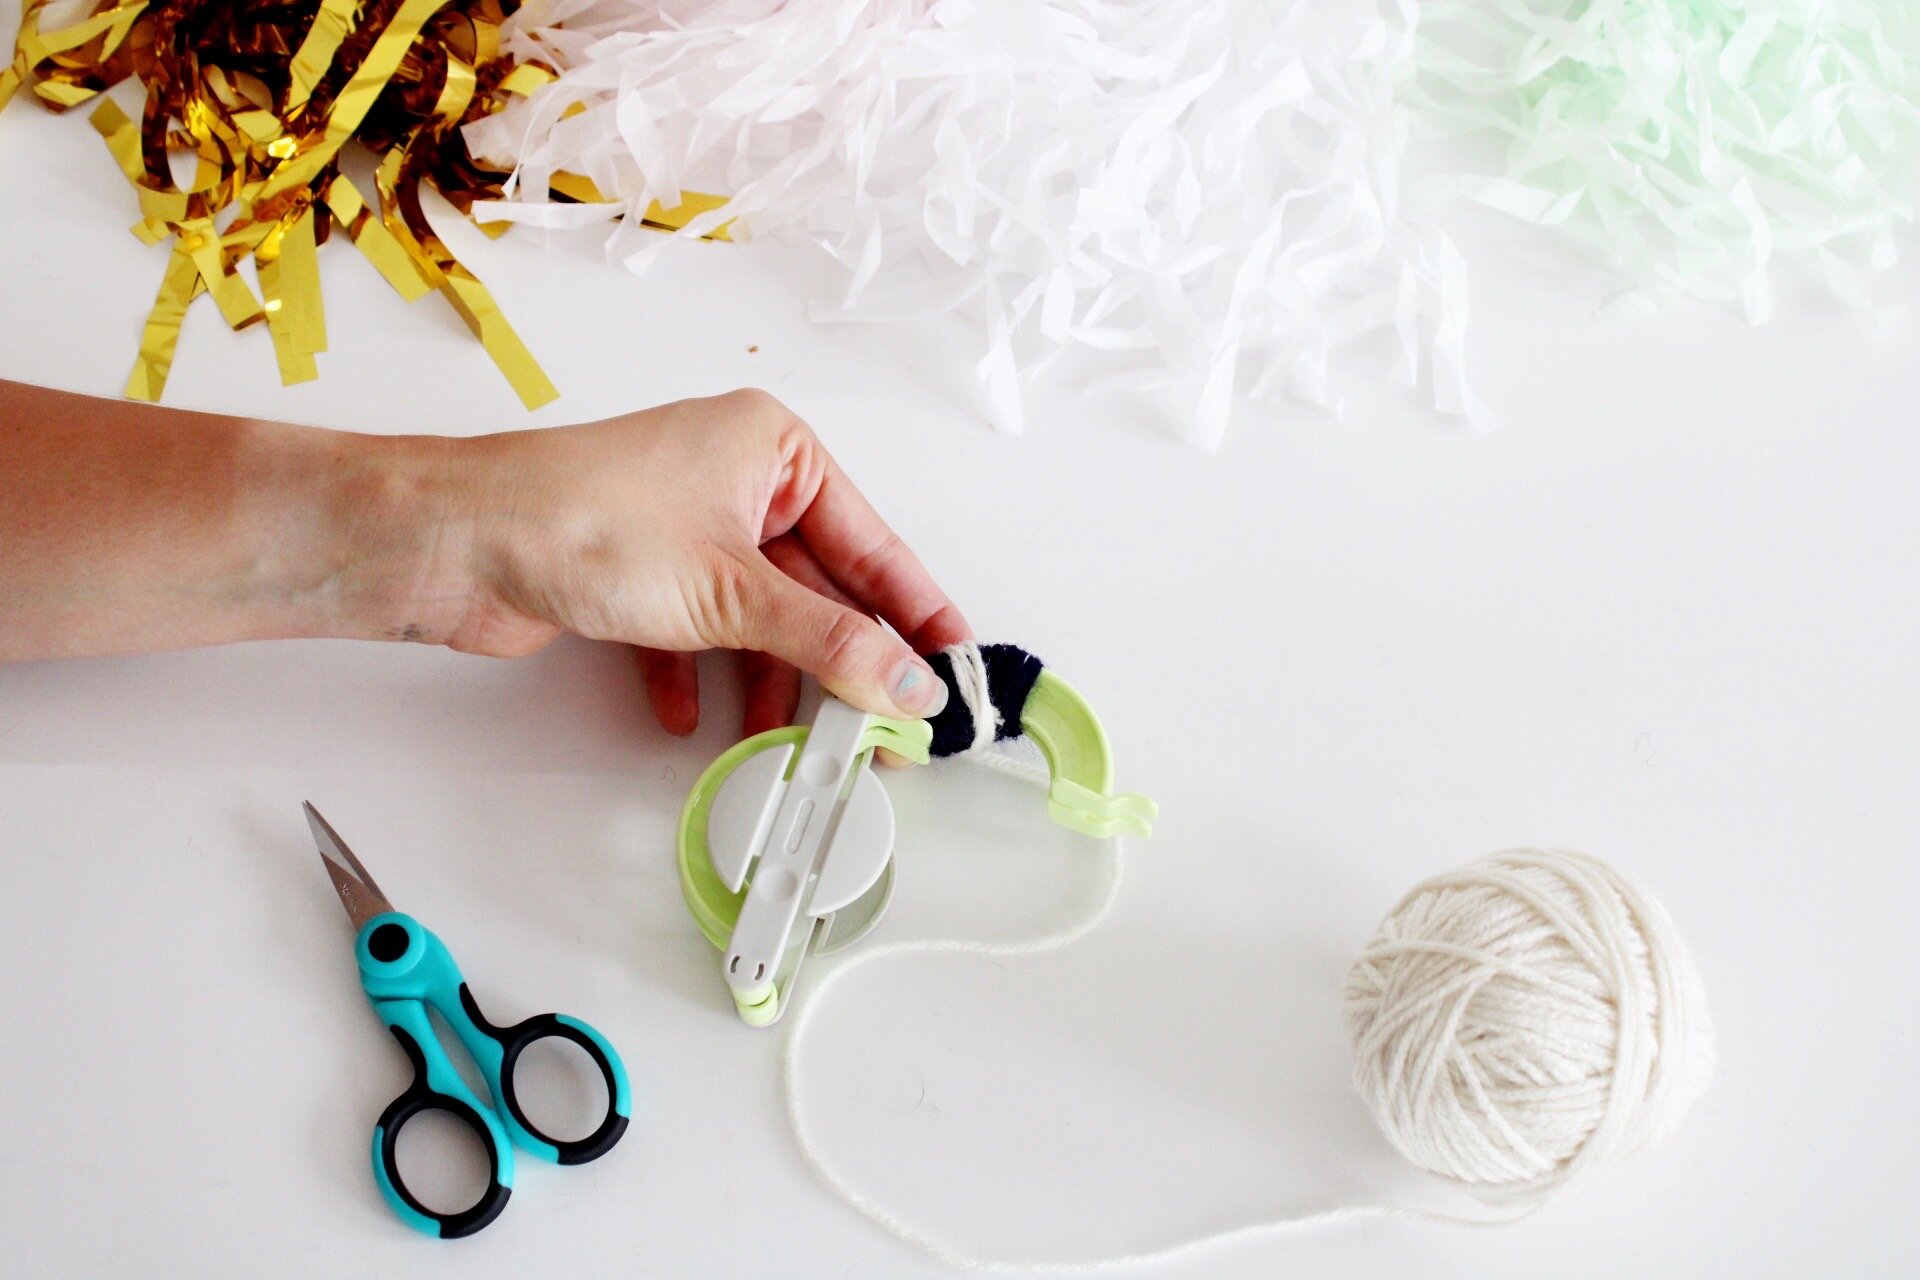
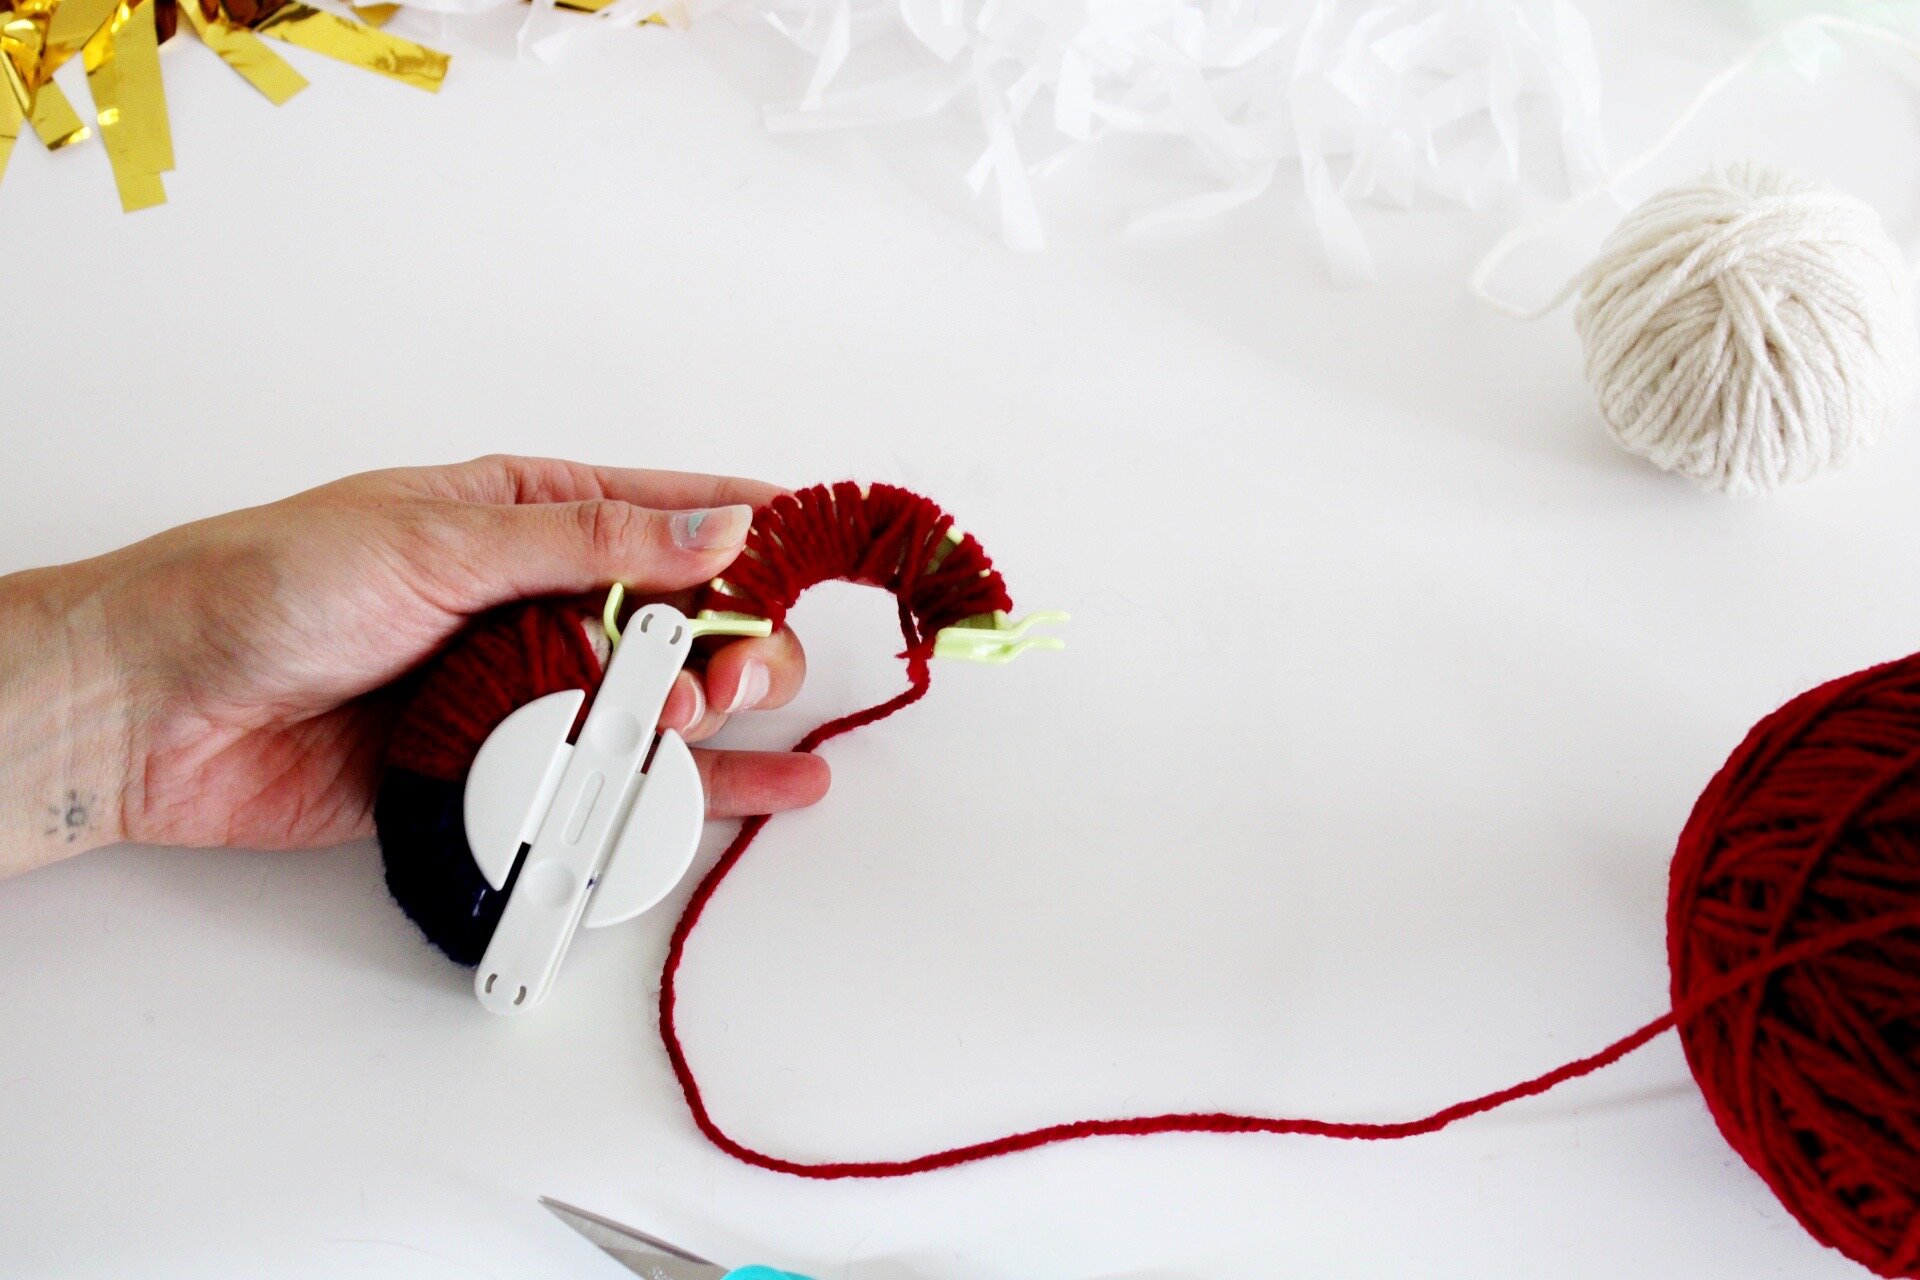
01. Begin by opening up your pom pom maker and getting to know it. Realize that it will come apart and all that jazz. I will refer to each side of the pom pom maker as “arms.” That is where you will wrap your yarn
02. Starting with the star portion, take your blue yarn and wrap a single layer on 1 half of the pom pom arm.
03. Using the white yarn, wrap over the blue three times in two sections creating small white section.
04. Now with the blue yarn, make another single layer over the blue and white yarn.
05. Using the white yarn, wrap over the blue three times in one section, creating small white section (it will basically be in the center of the two white sections from the previous row)
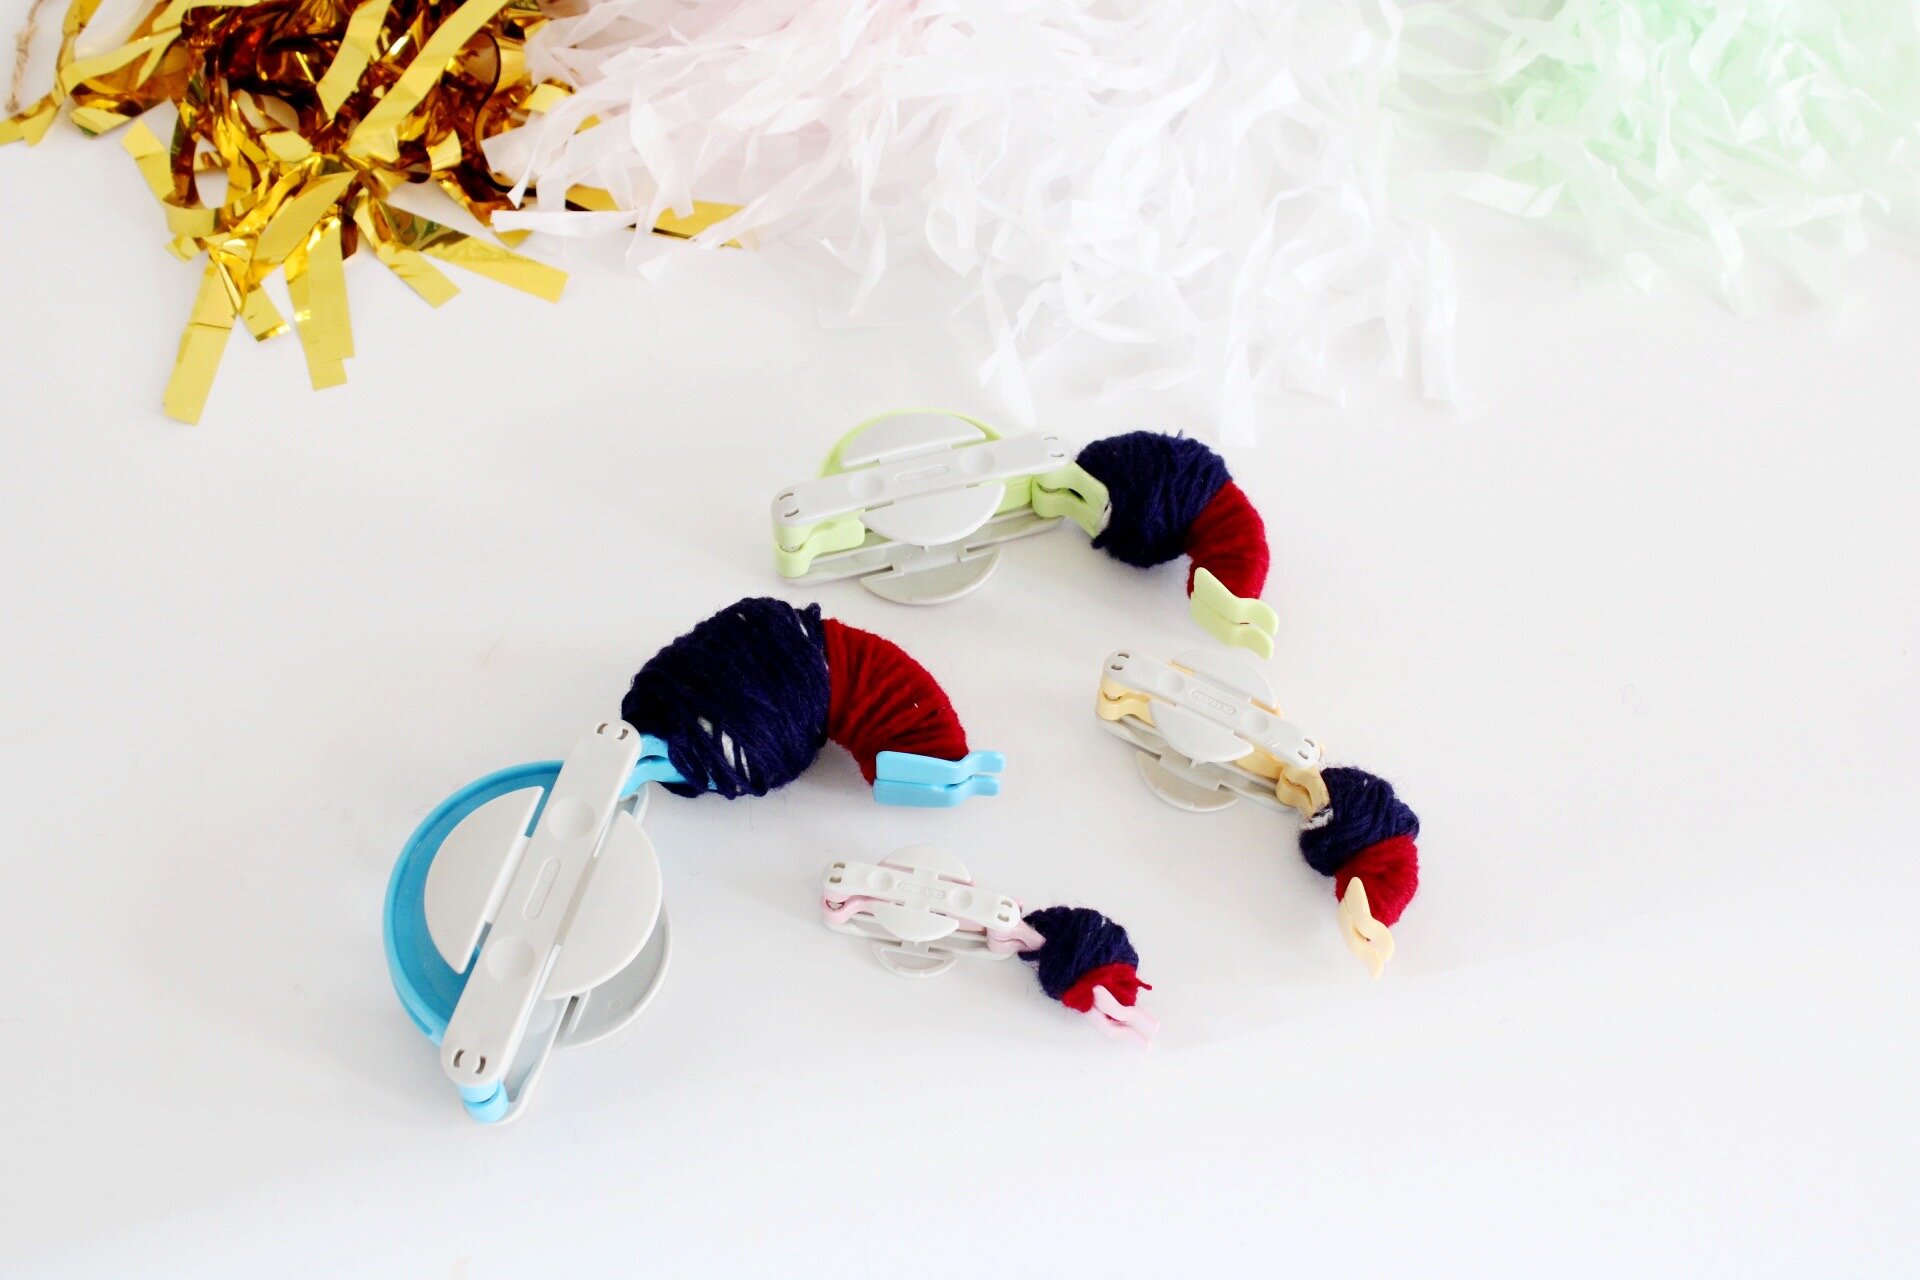
Repeat steps 04 and 05, 1-3 times, depending on the size of the pom maker, until one half of the arm is filled.

AND STRIPES
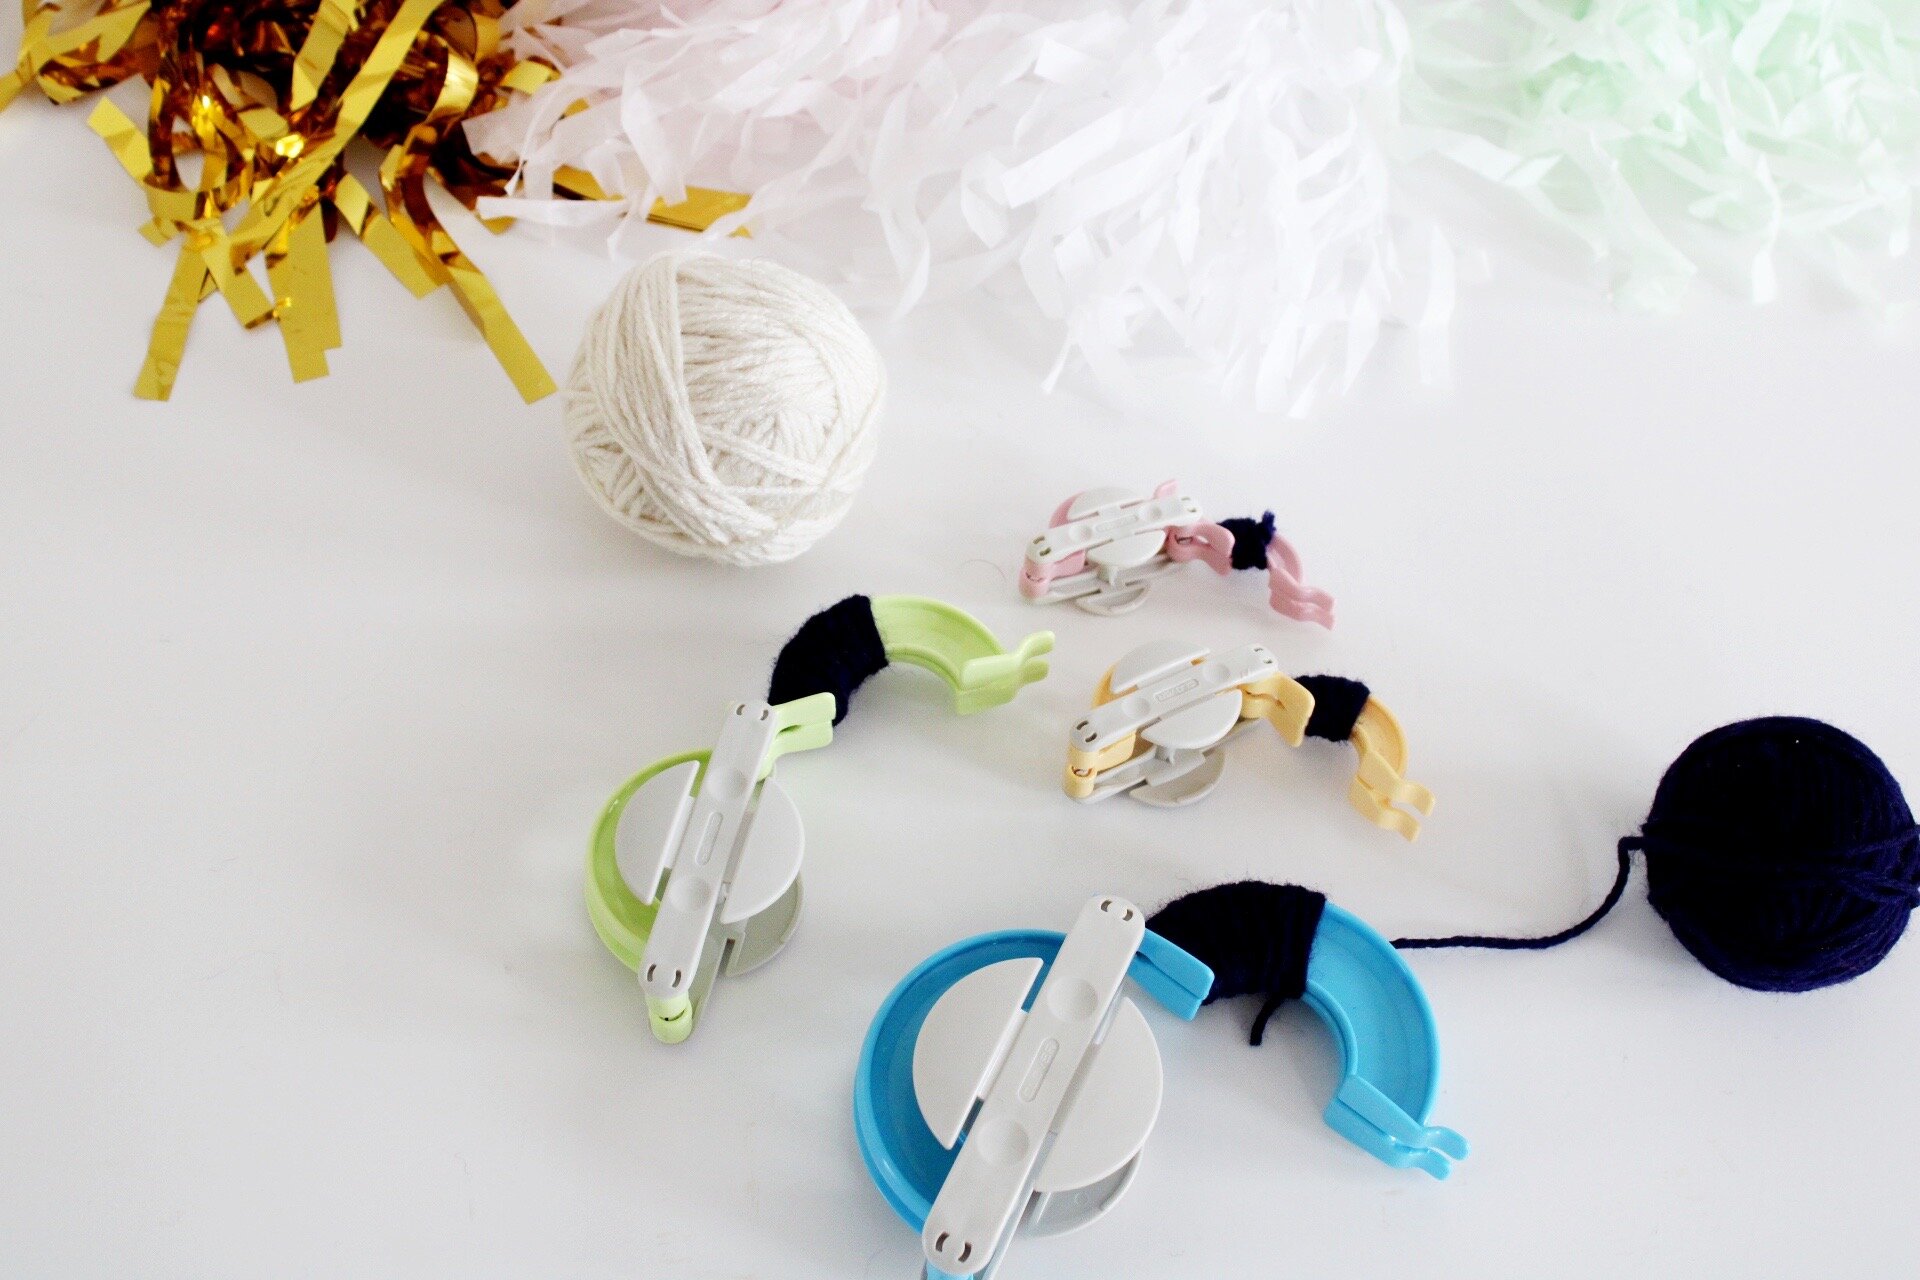
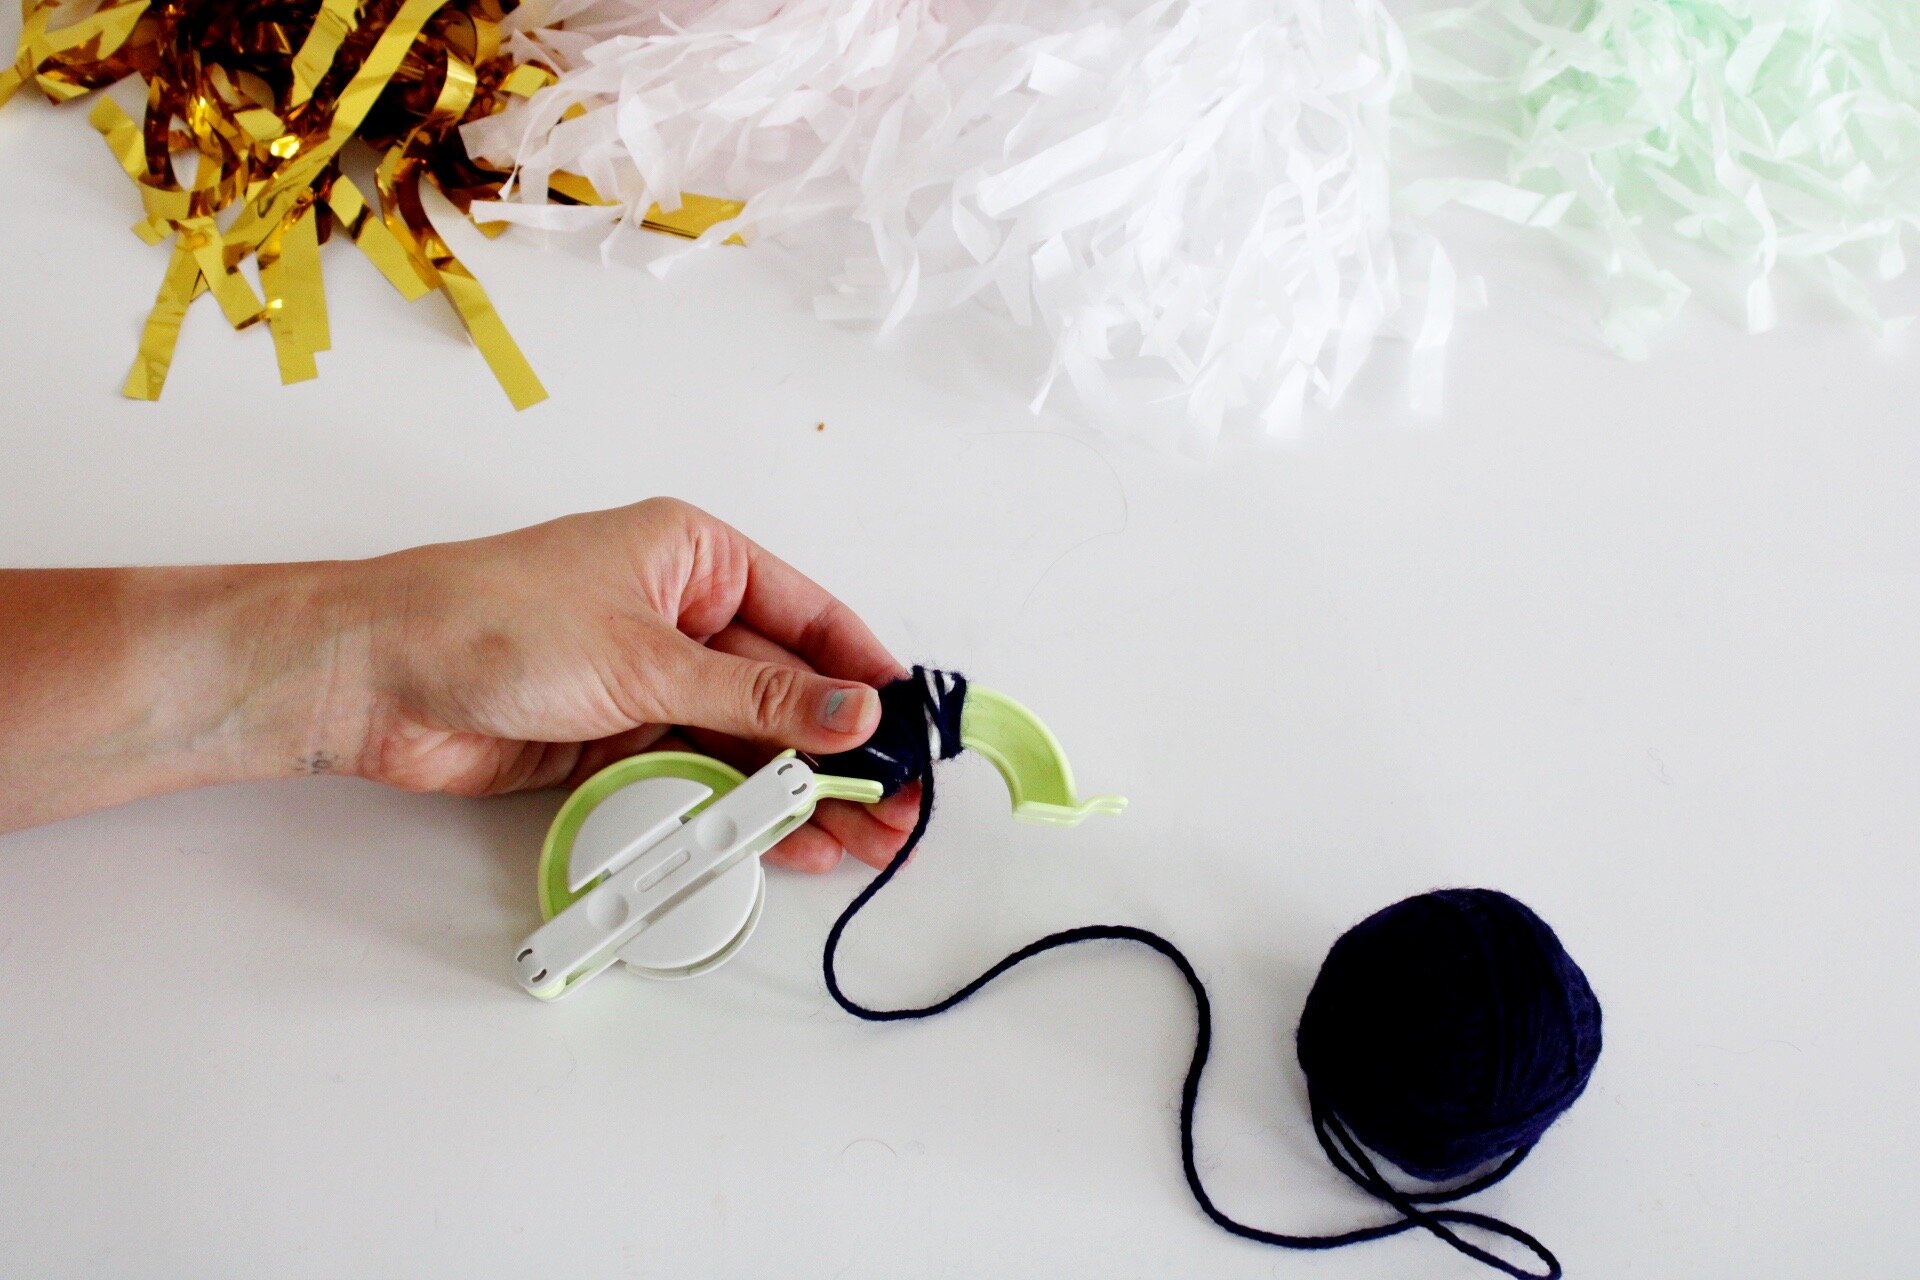
01. Starting with the red yarn, wrap one layer of red yarn on the other half of the arm next to the blue yarn
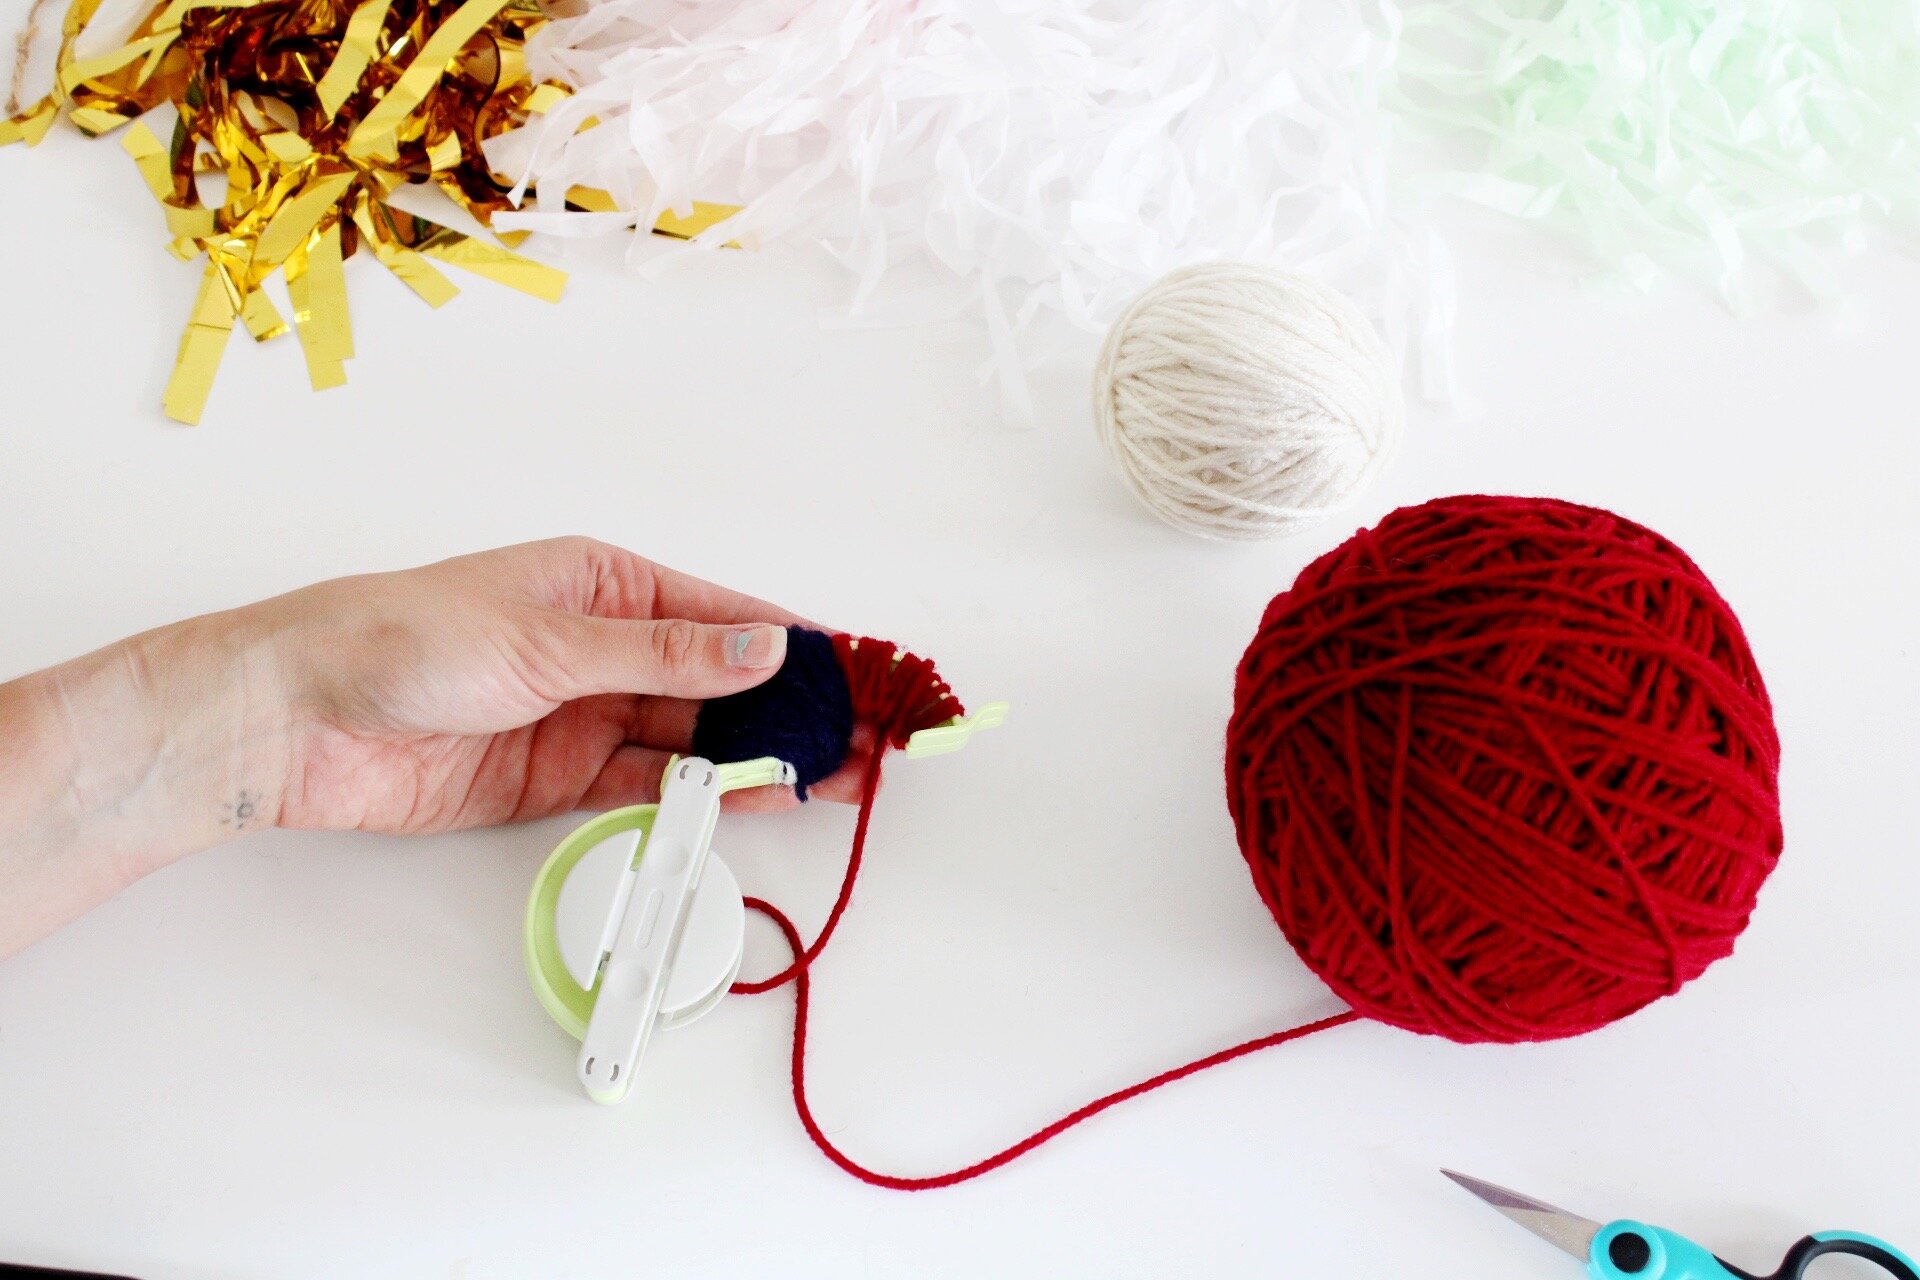
02. Using the white yarn, create a single layer of white, completely wrapping over the red yarn.

Repeat steps 01 and 02 until it matches the same thickness of the blue. Keep in mind if your last layer is red or white.

03. Now you will start to wrap on the other arm. Starting with the red yarn, wrap the entire arm with a single layer.
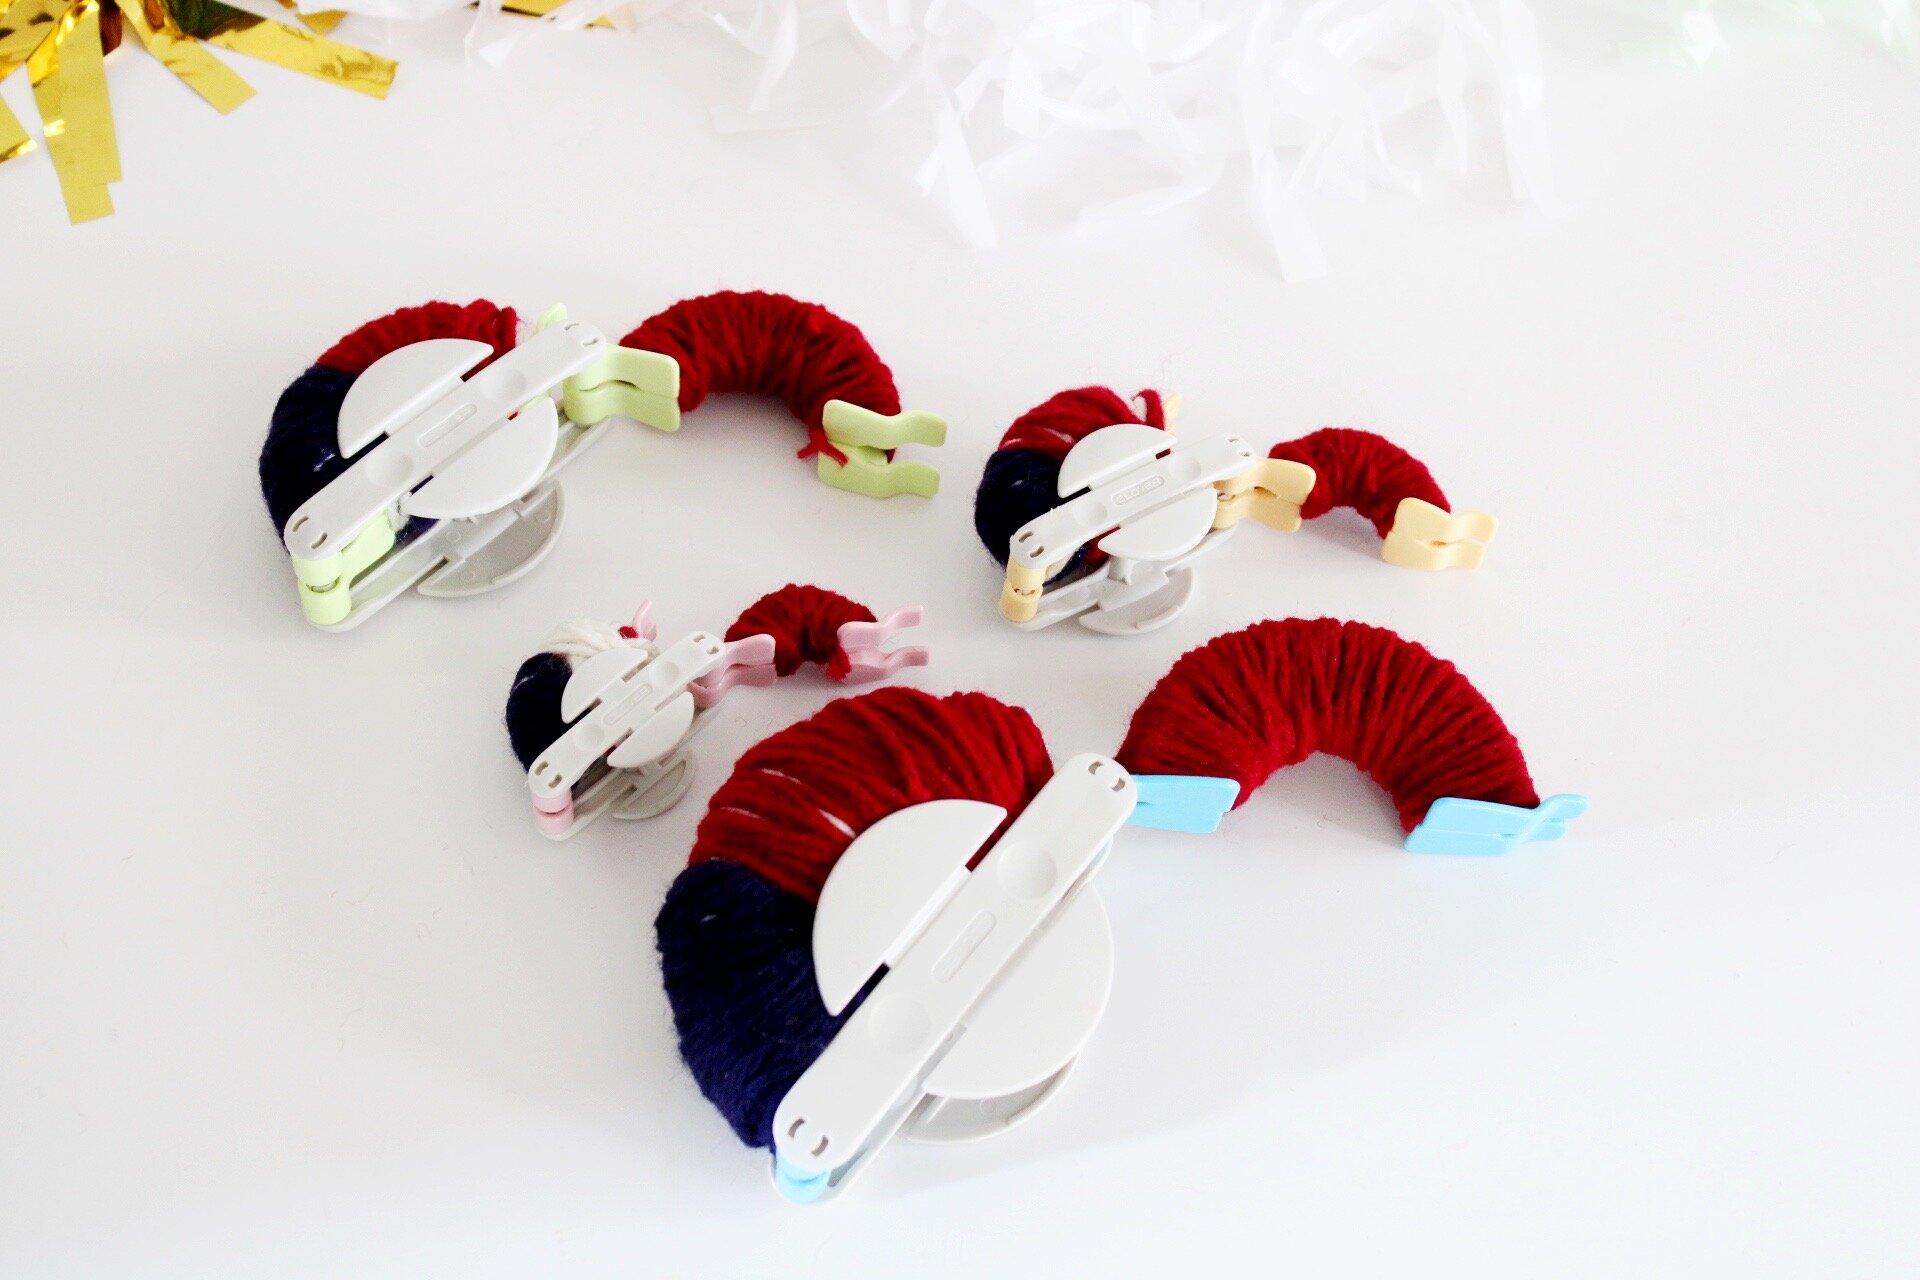
04. Using the white yarn, create a single layer of white, completely wrapping over the red yarn.

Repeat steps 03 and 04 until it matches the same thickness of the blue. Keep in mind if your last layer is red or white.

FINISHING THE POM
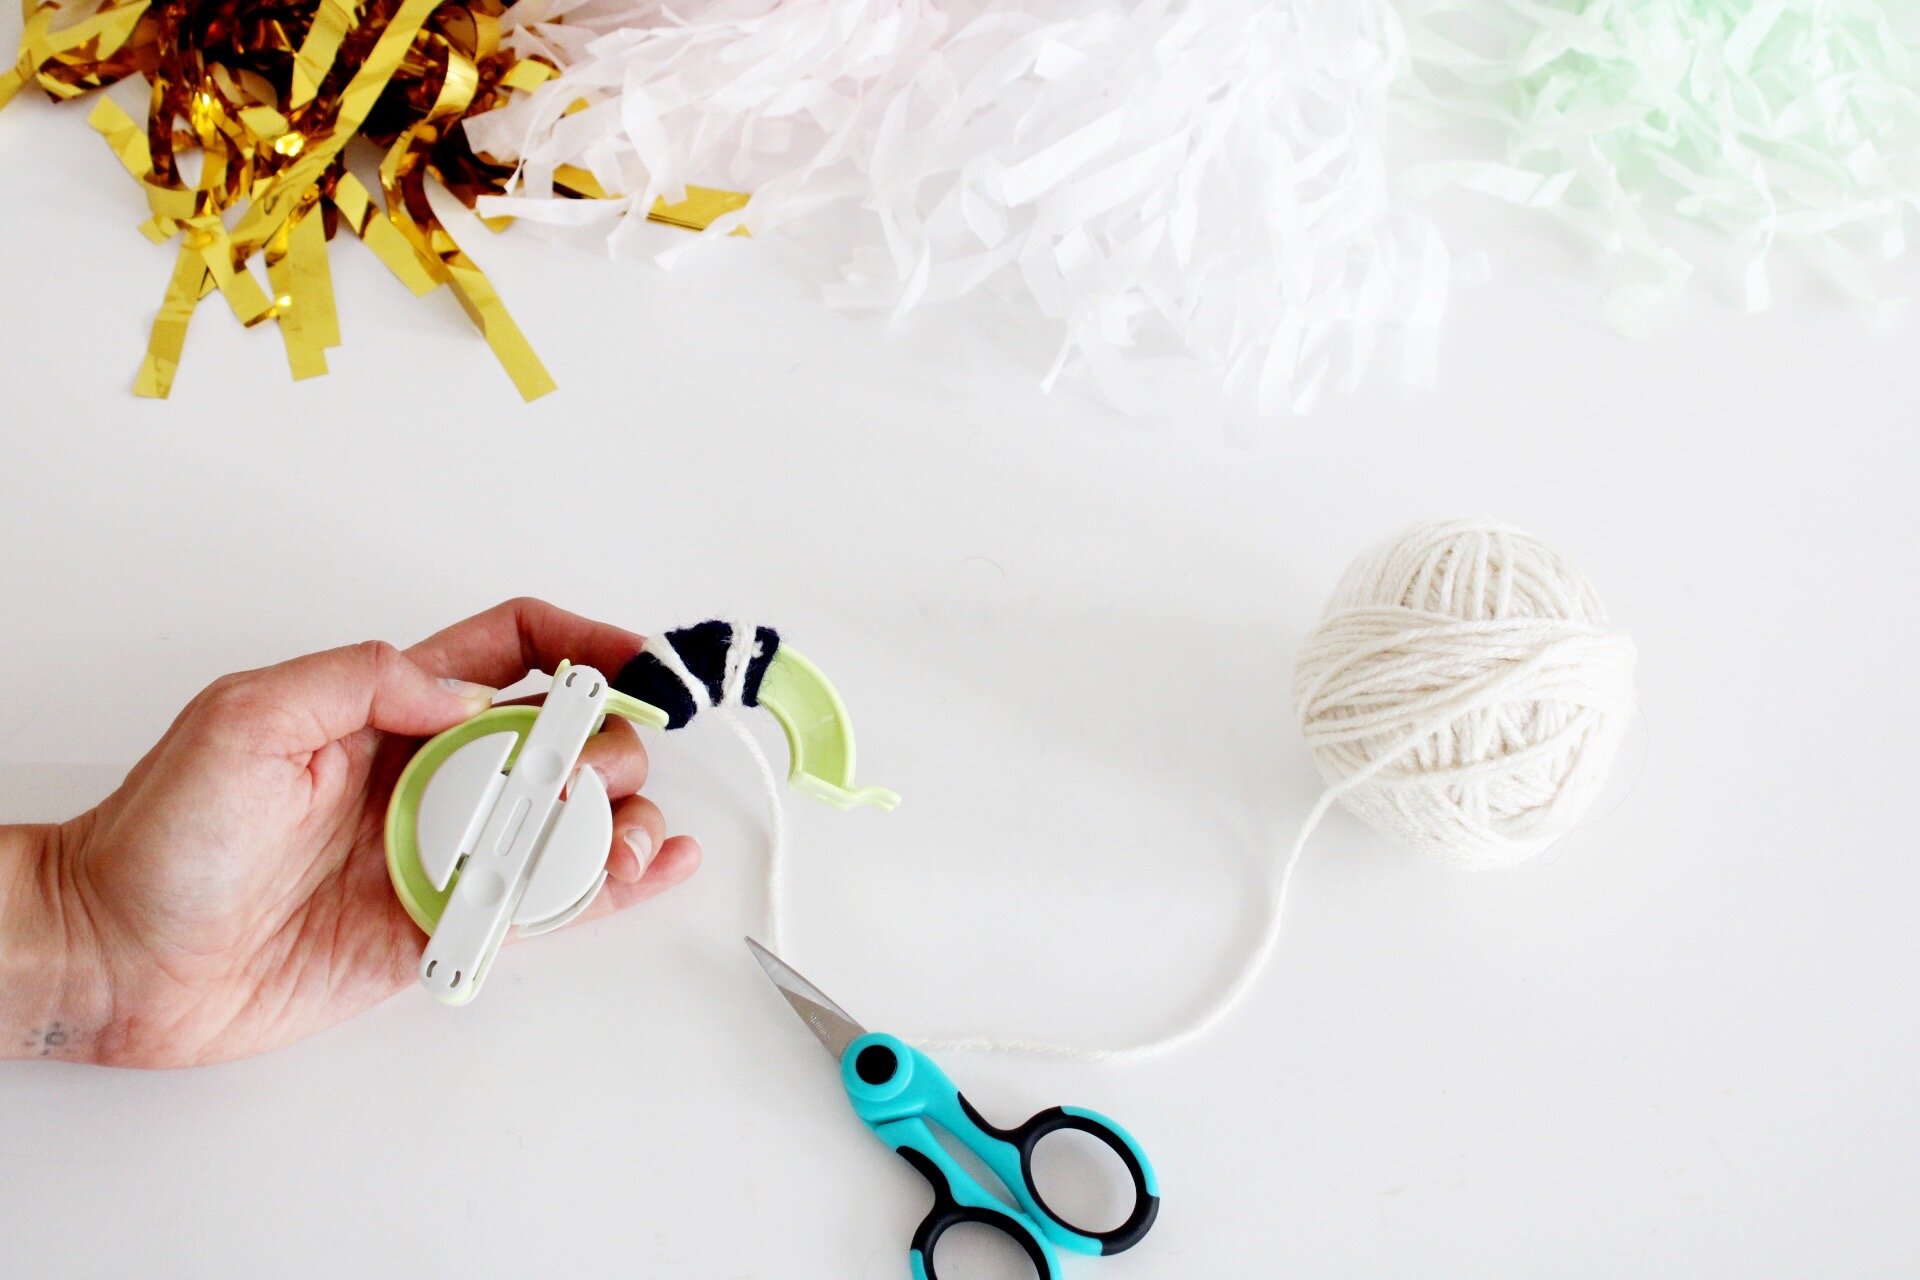
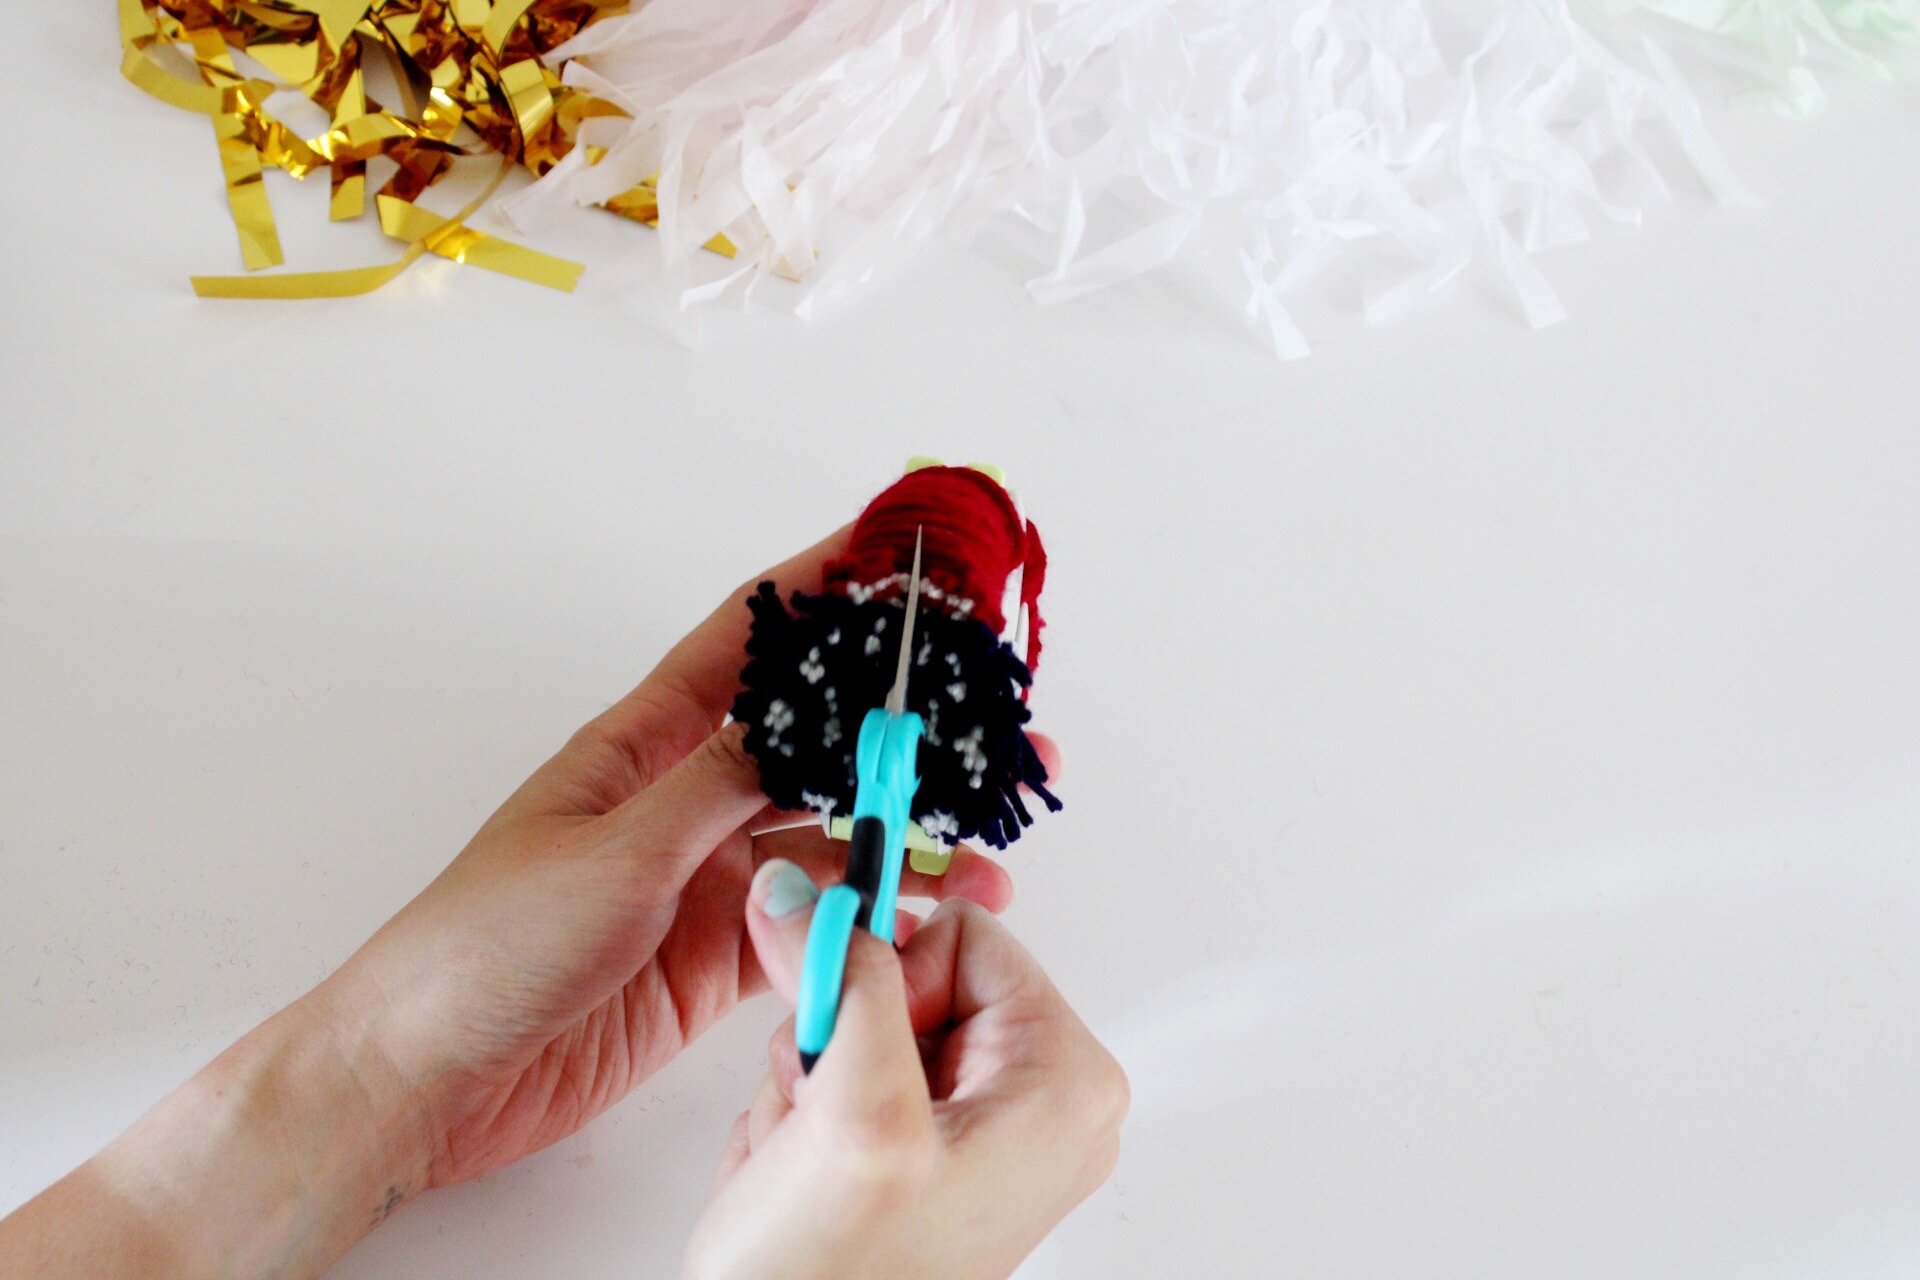
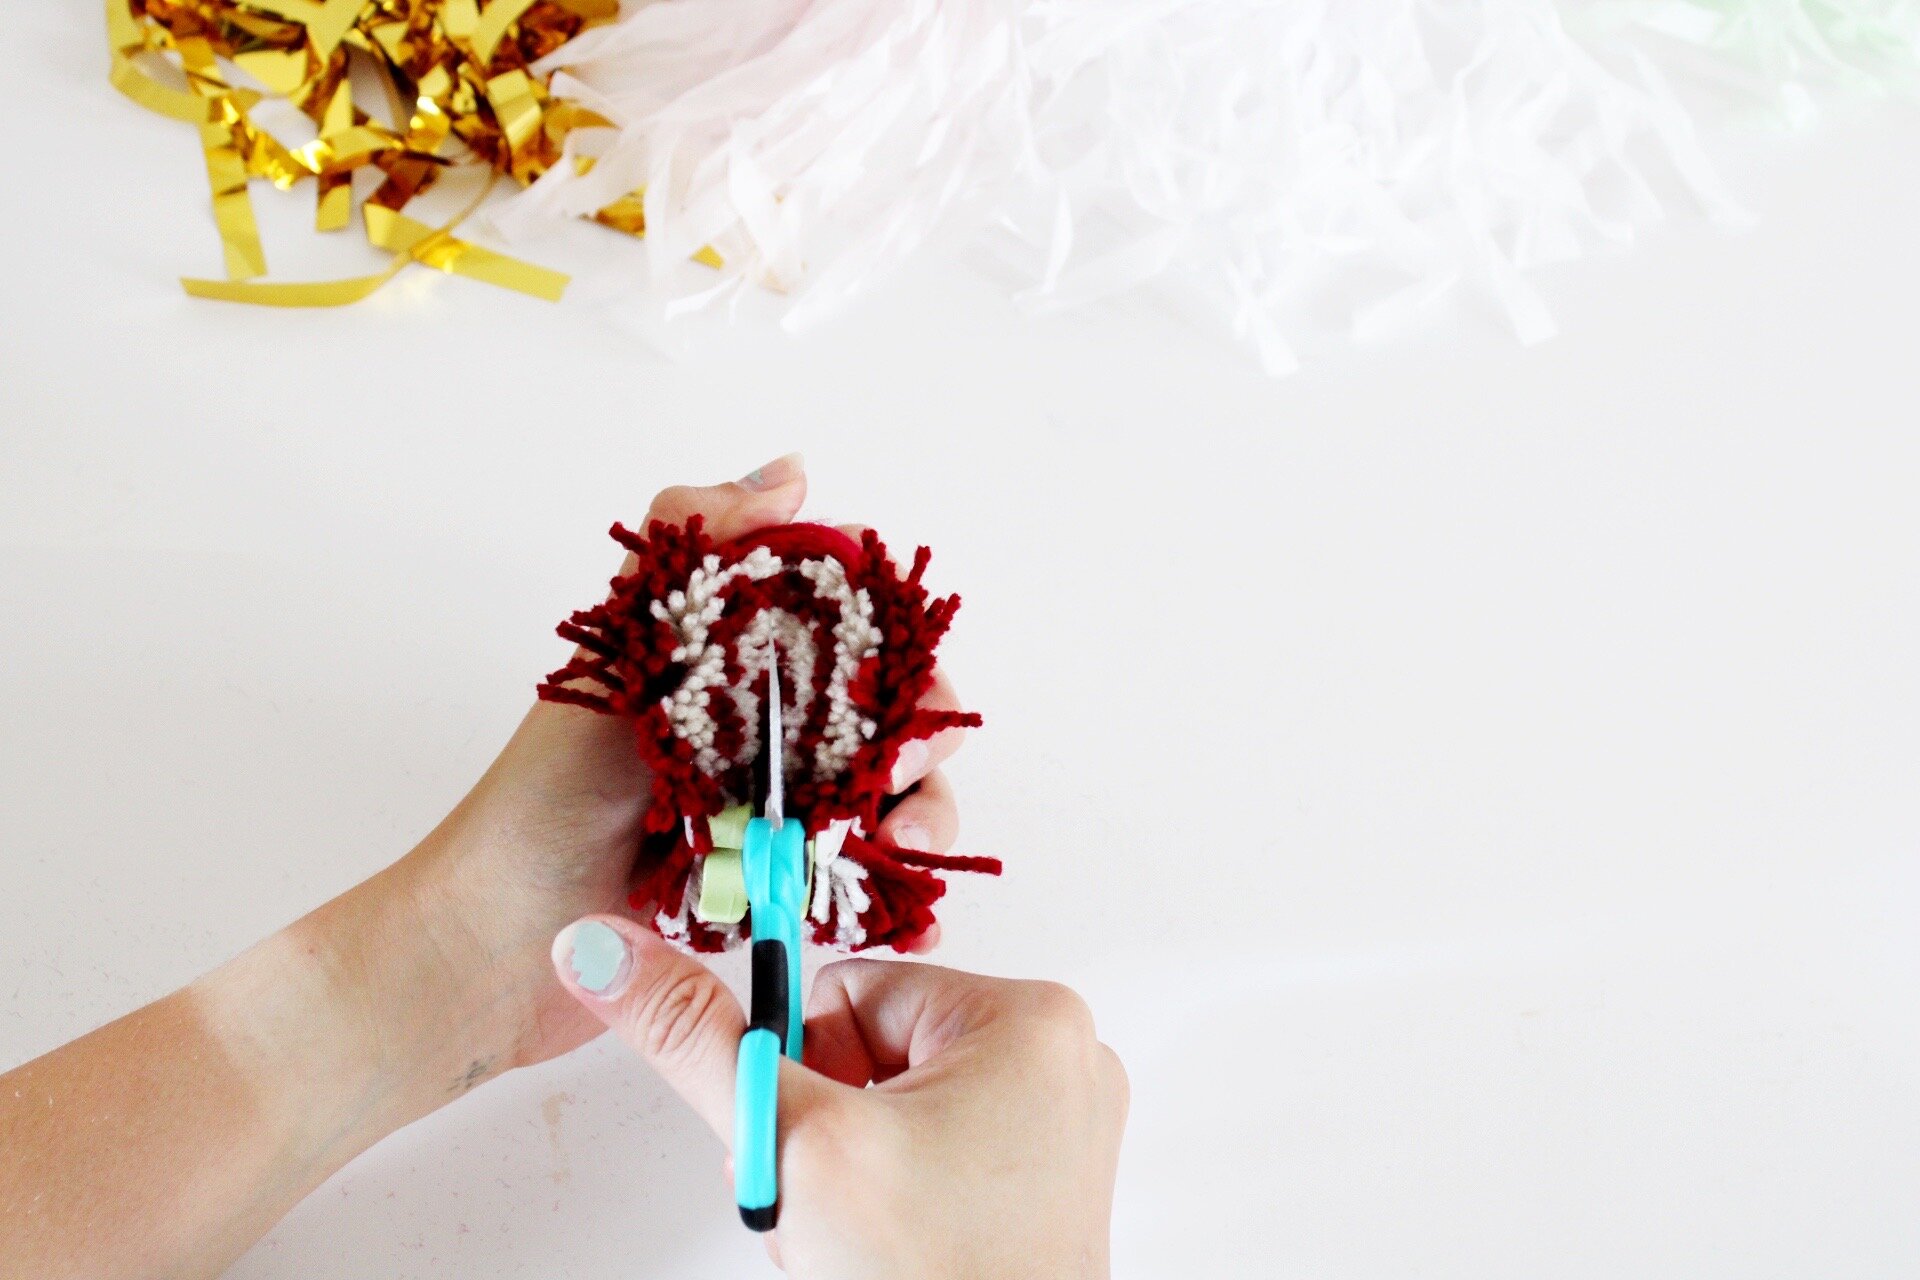
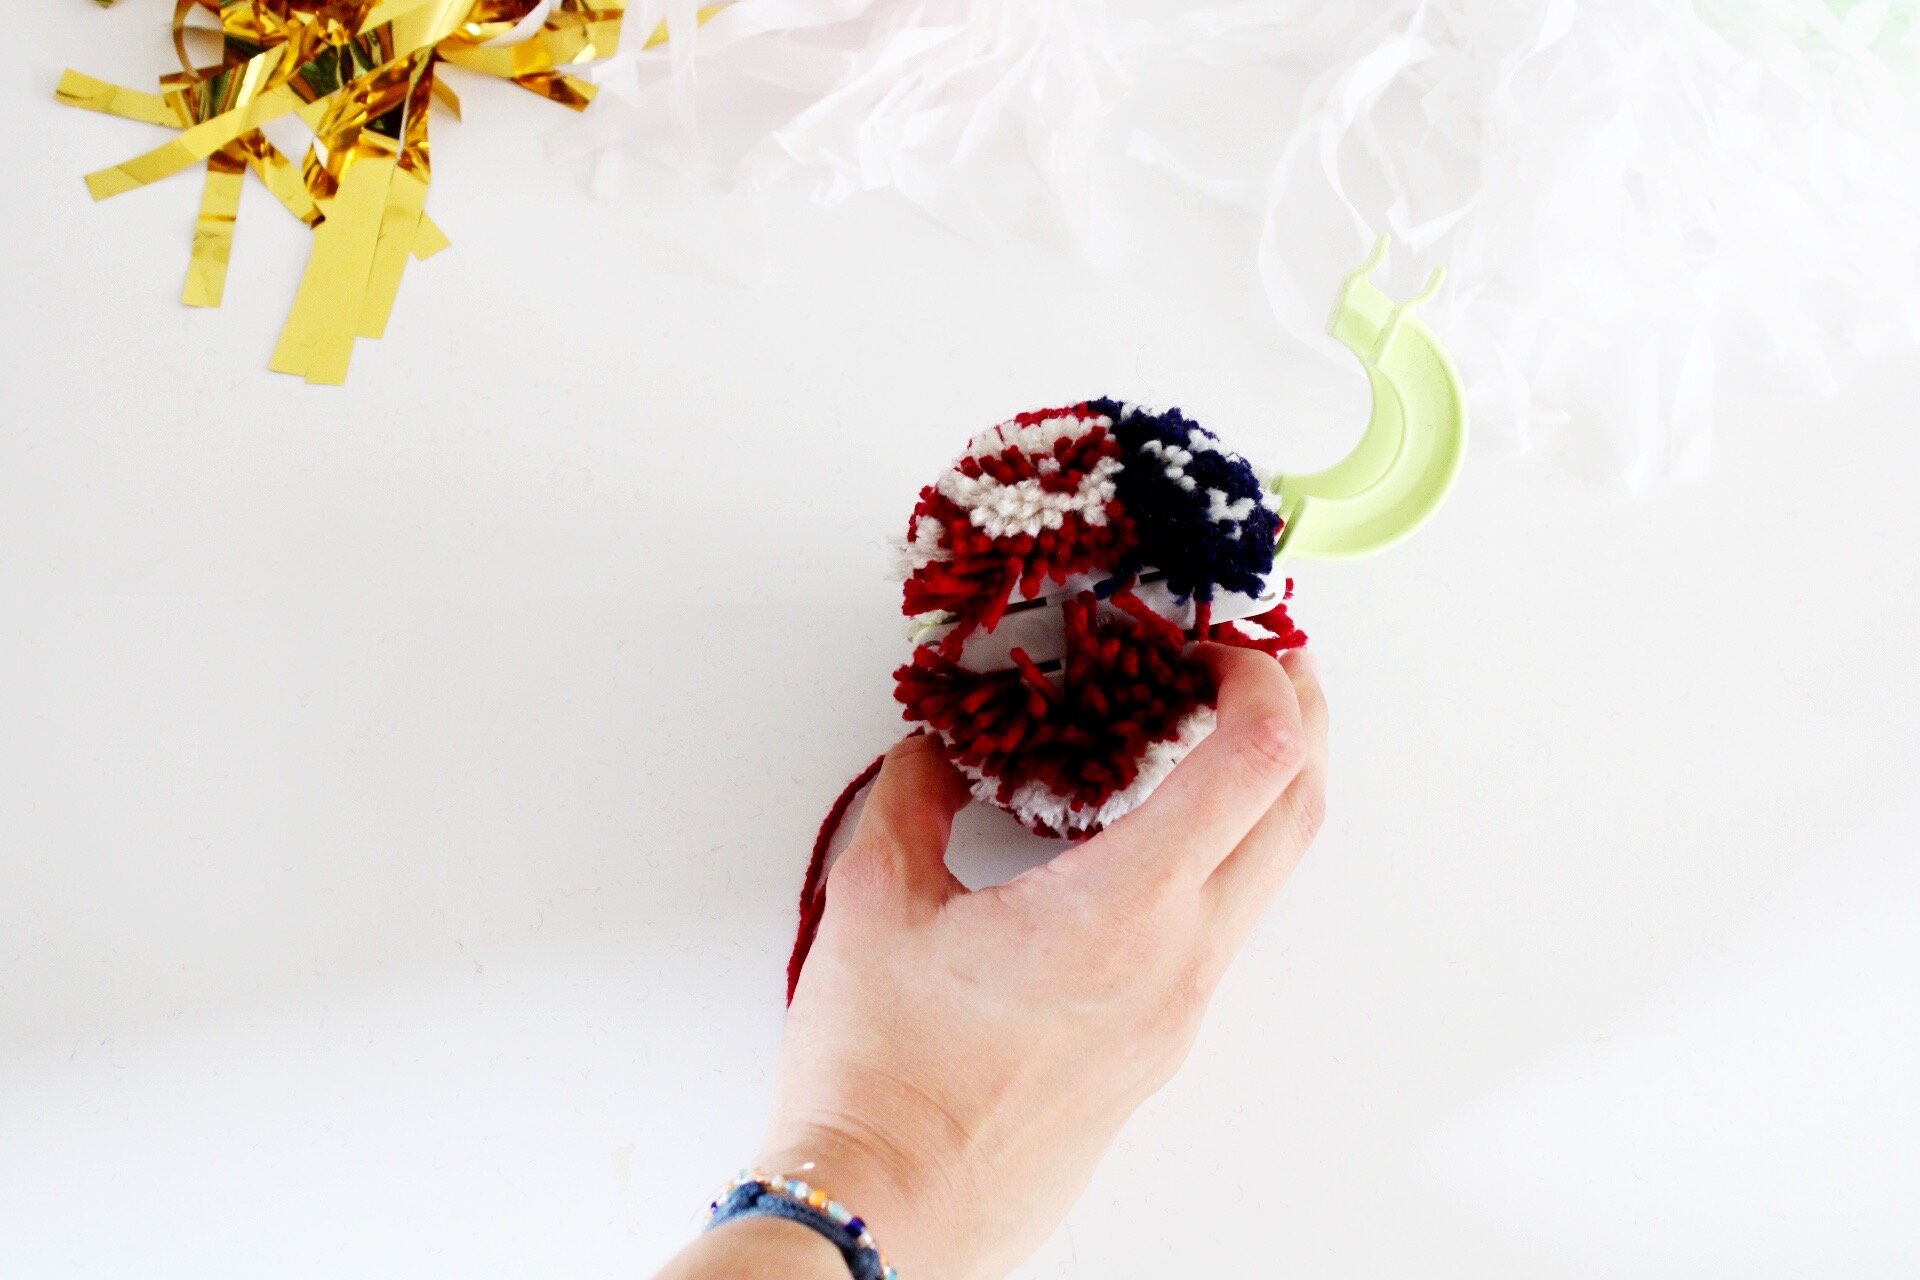
01. Now for my favorite part, to cut this bad boy open. Starting on the hinge side, cut up the center on both sides. I love cutting open the flag, because it is like revealing a surprise! LIKE HOW COOL?!
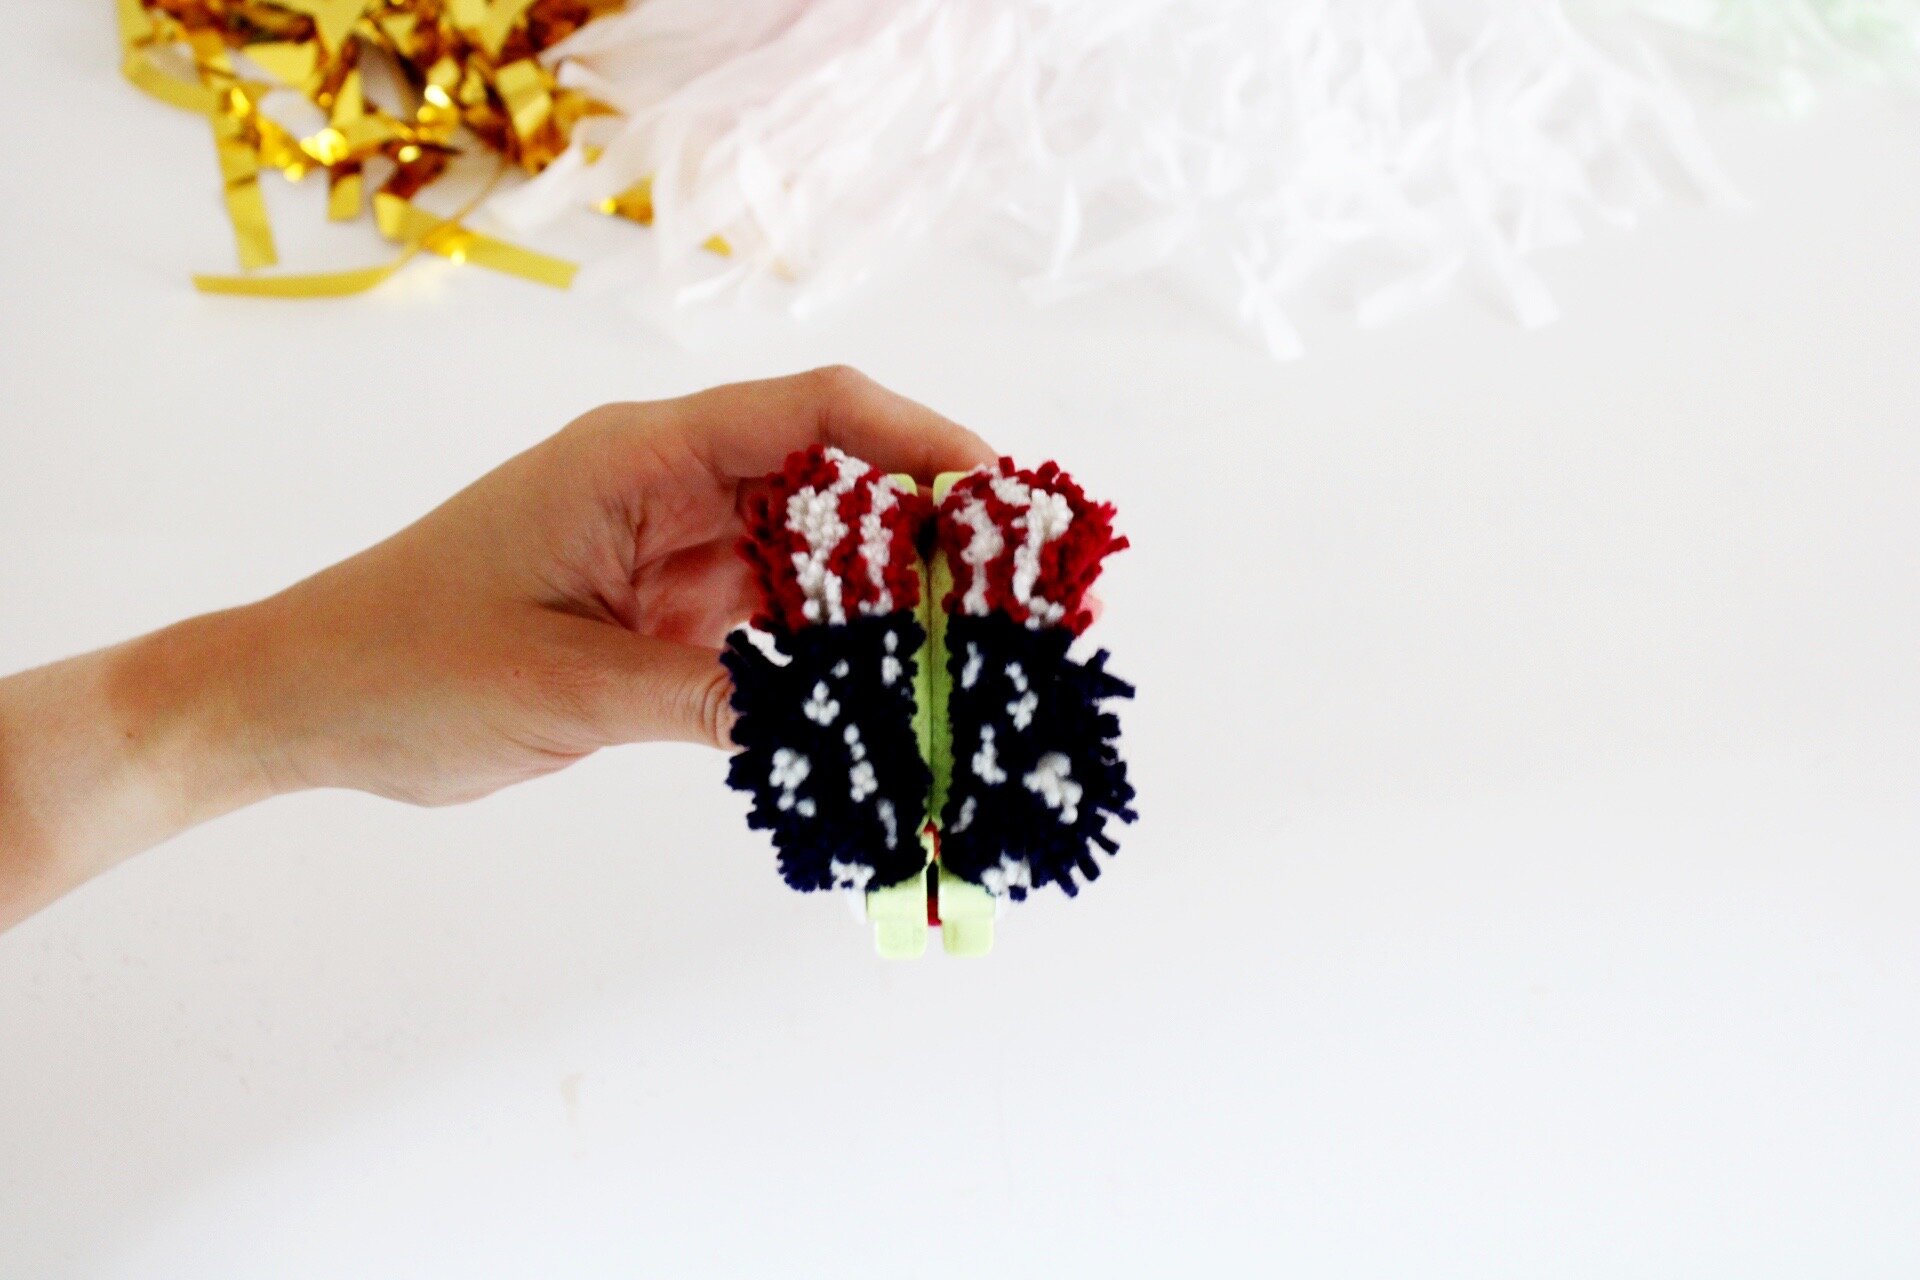
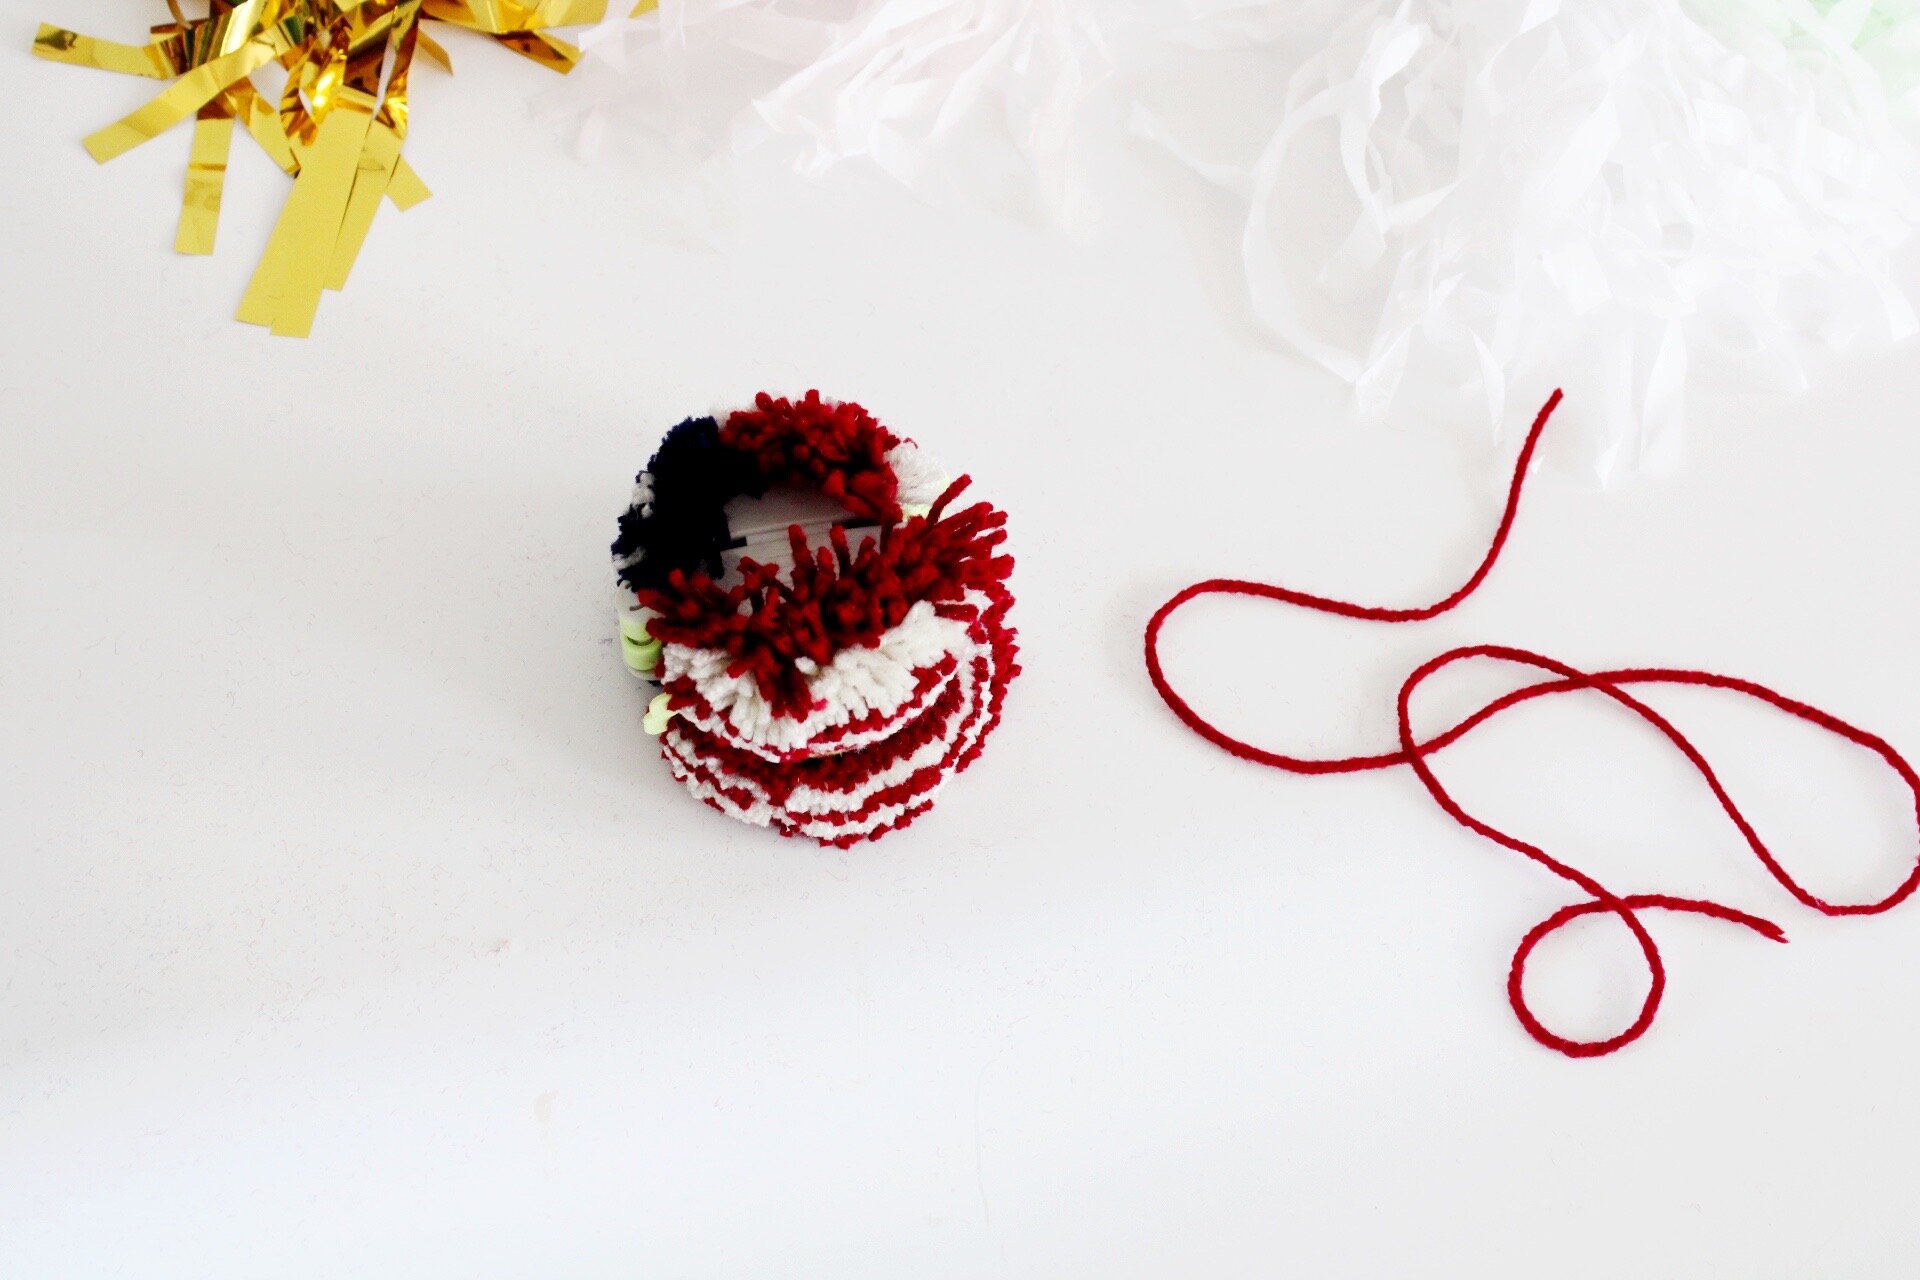
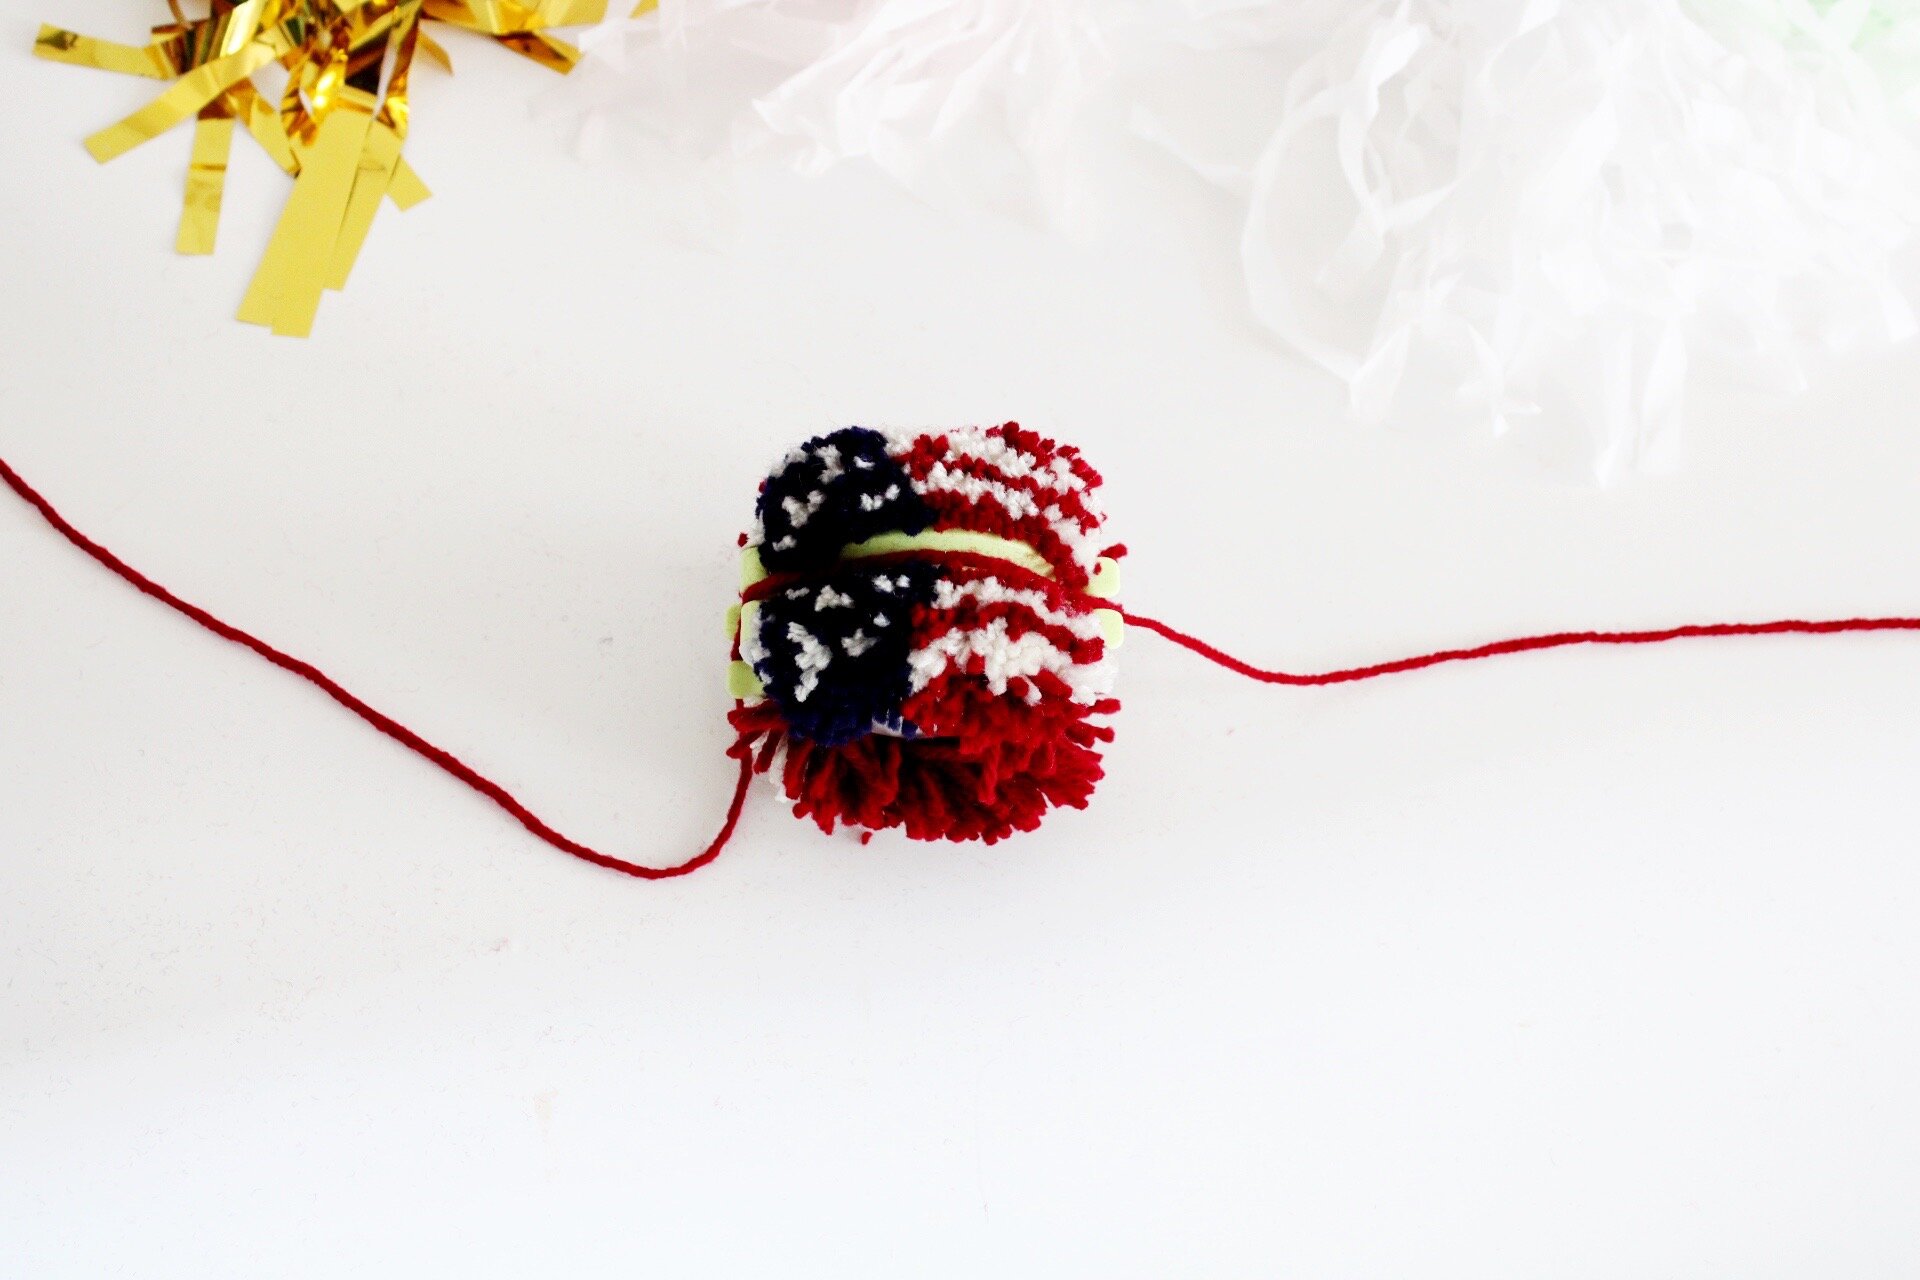
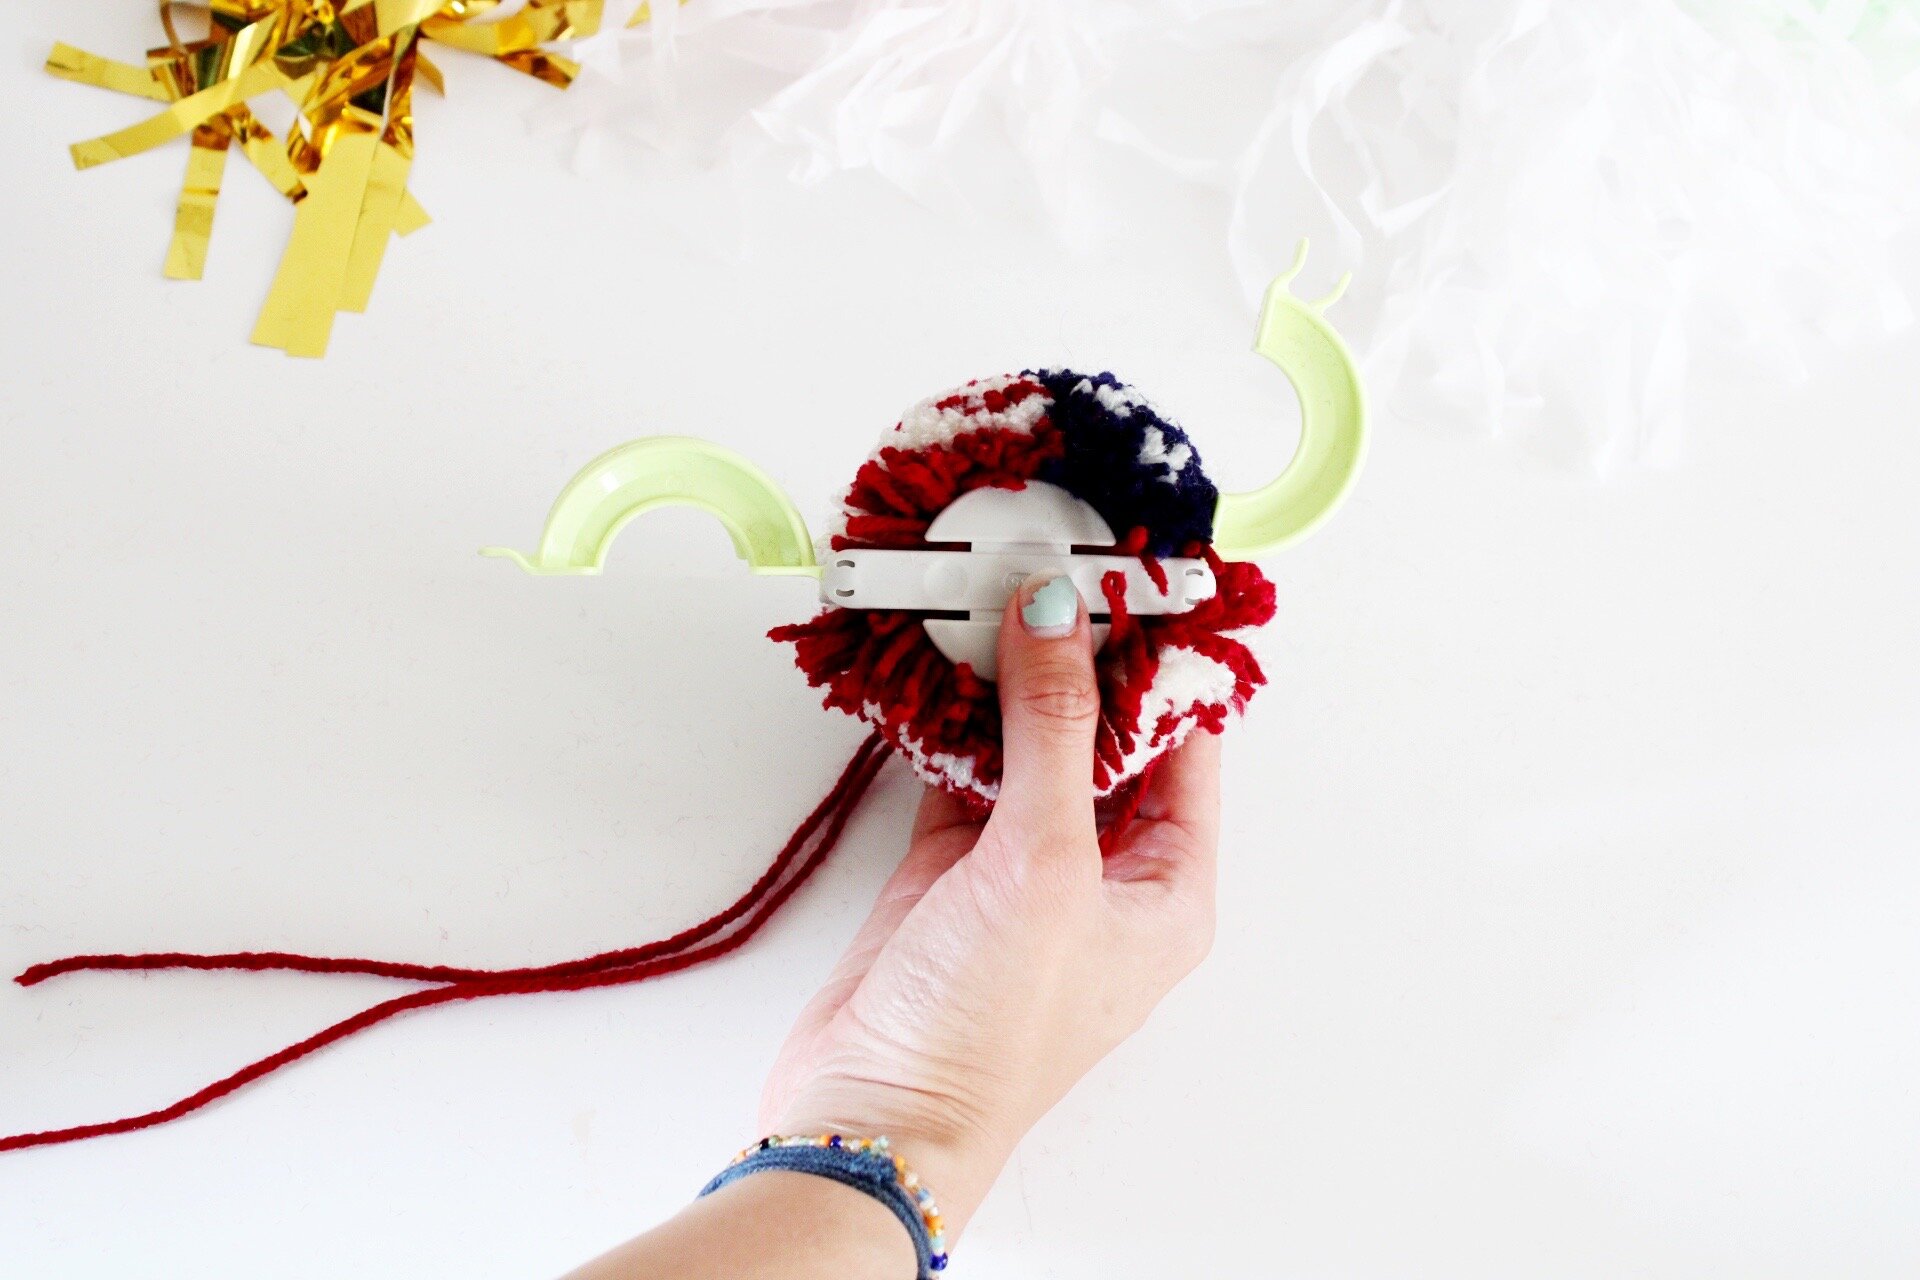
02. Tie a string in the center of the pom pom maker to secure the yarn pieces in place.

03. Open the arms of the pom pom maker and pull apart.
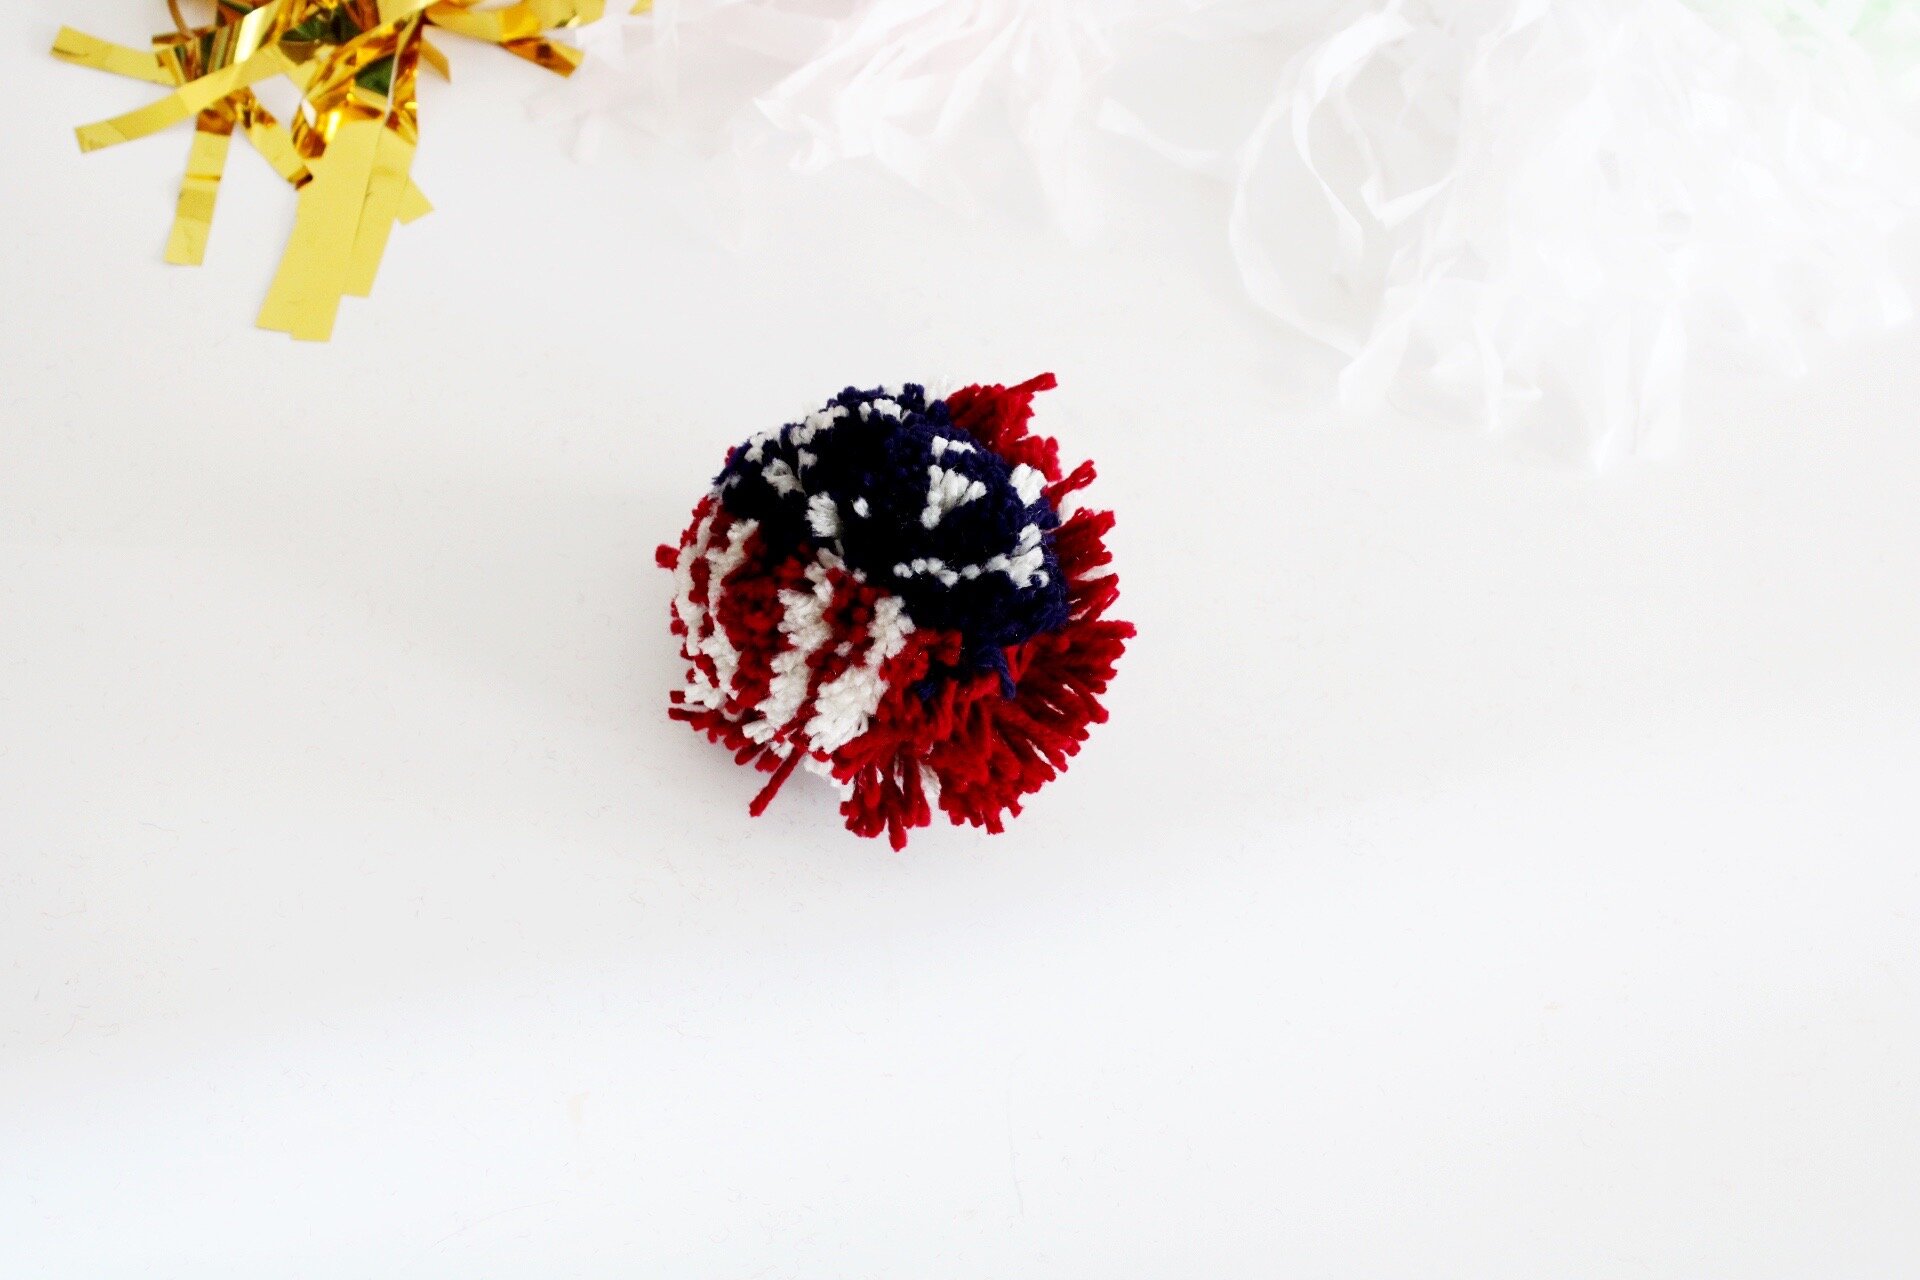

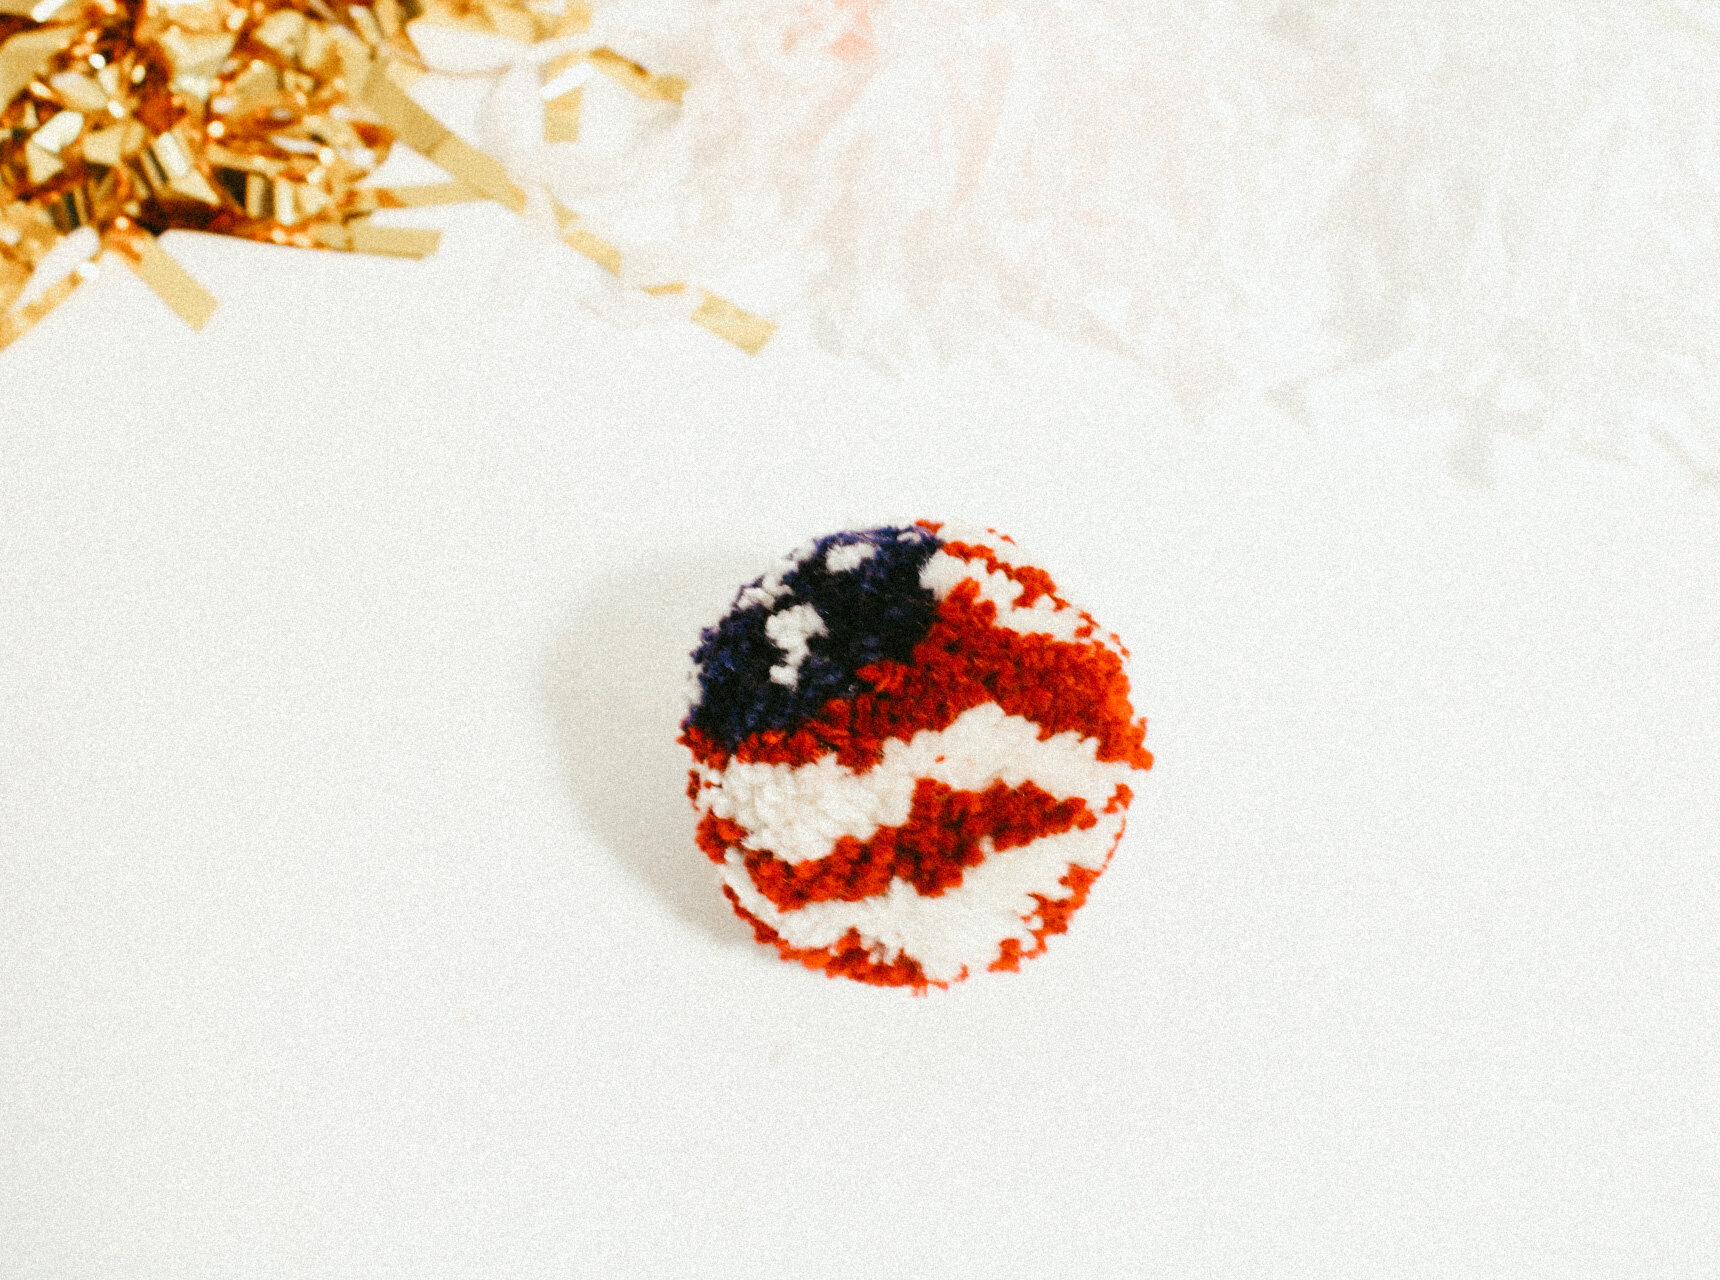
04. Begin to trim the pom pom over a bowl. You can go a little overboard during this part so know what you want. If you want a fluffy pom pom, only cut a little but. If you would rather a dense pom pom you will trim it a lot until you have the density you want. I like to keep the flag poms a bit more fluffy to make them look windblown.


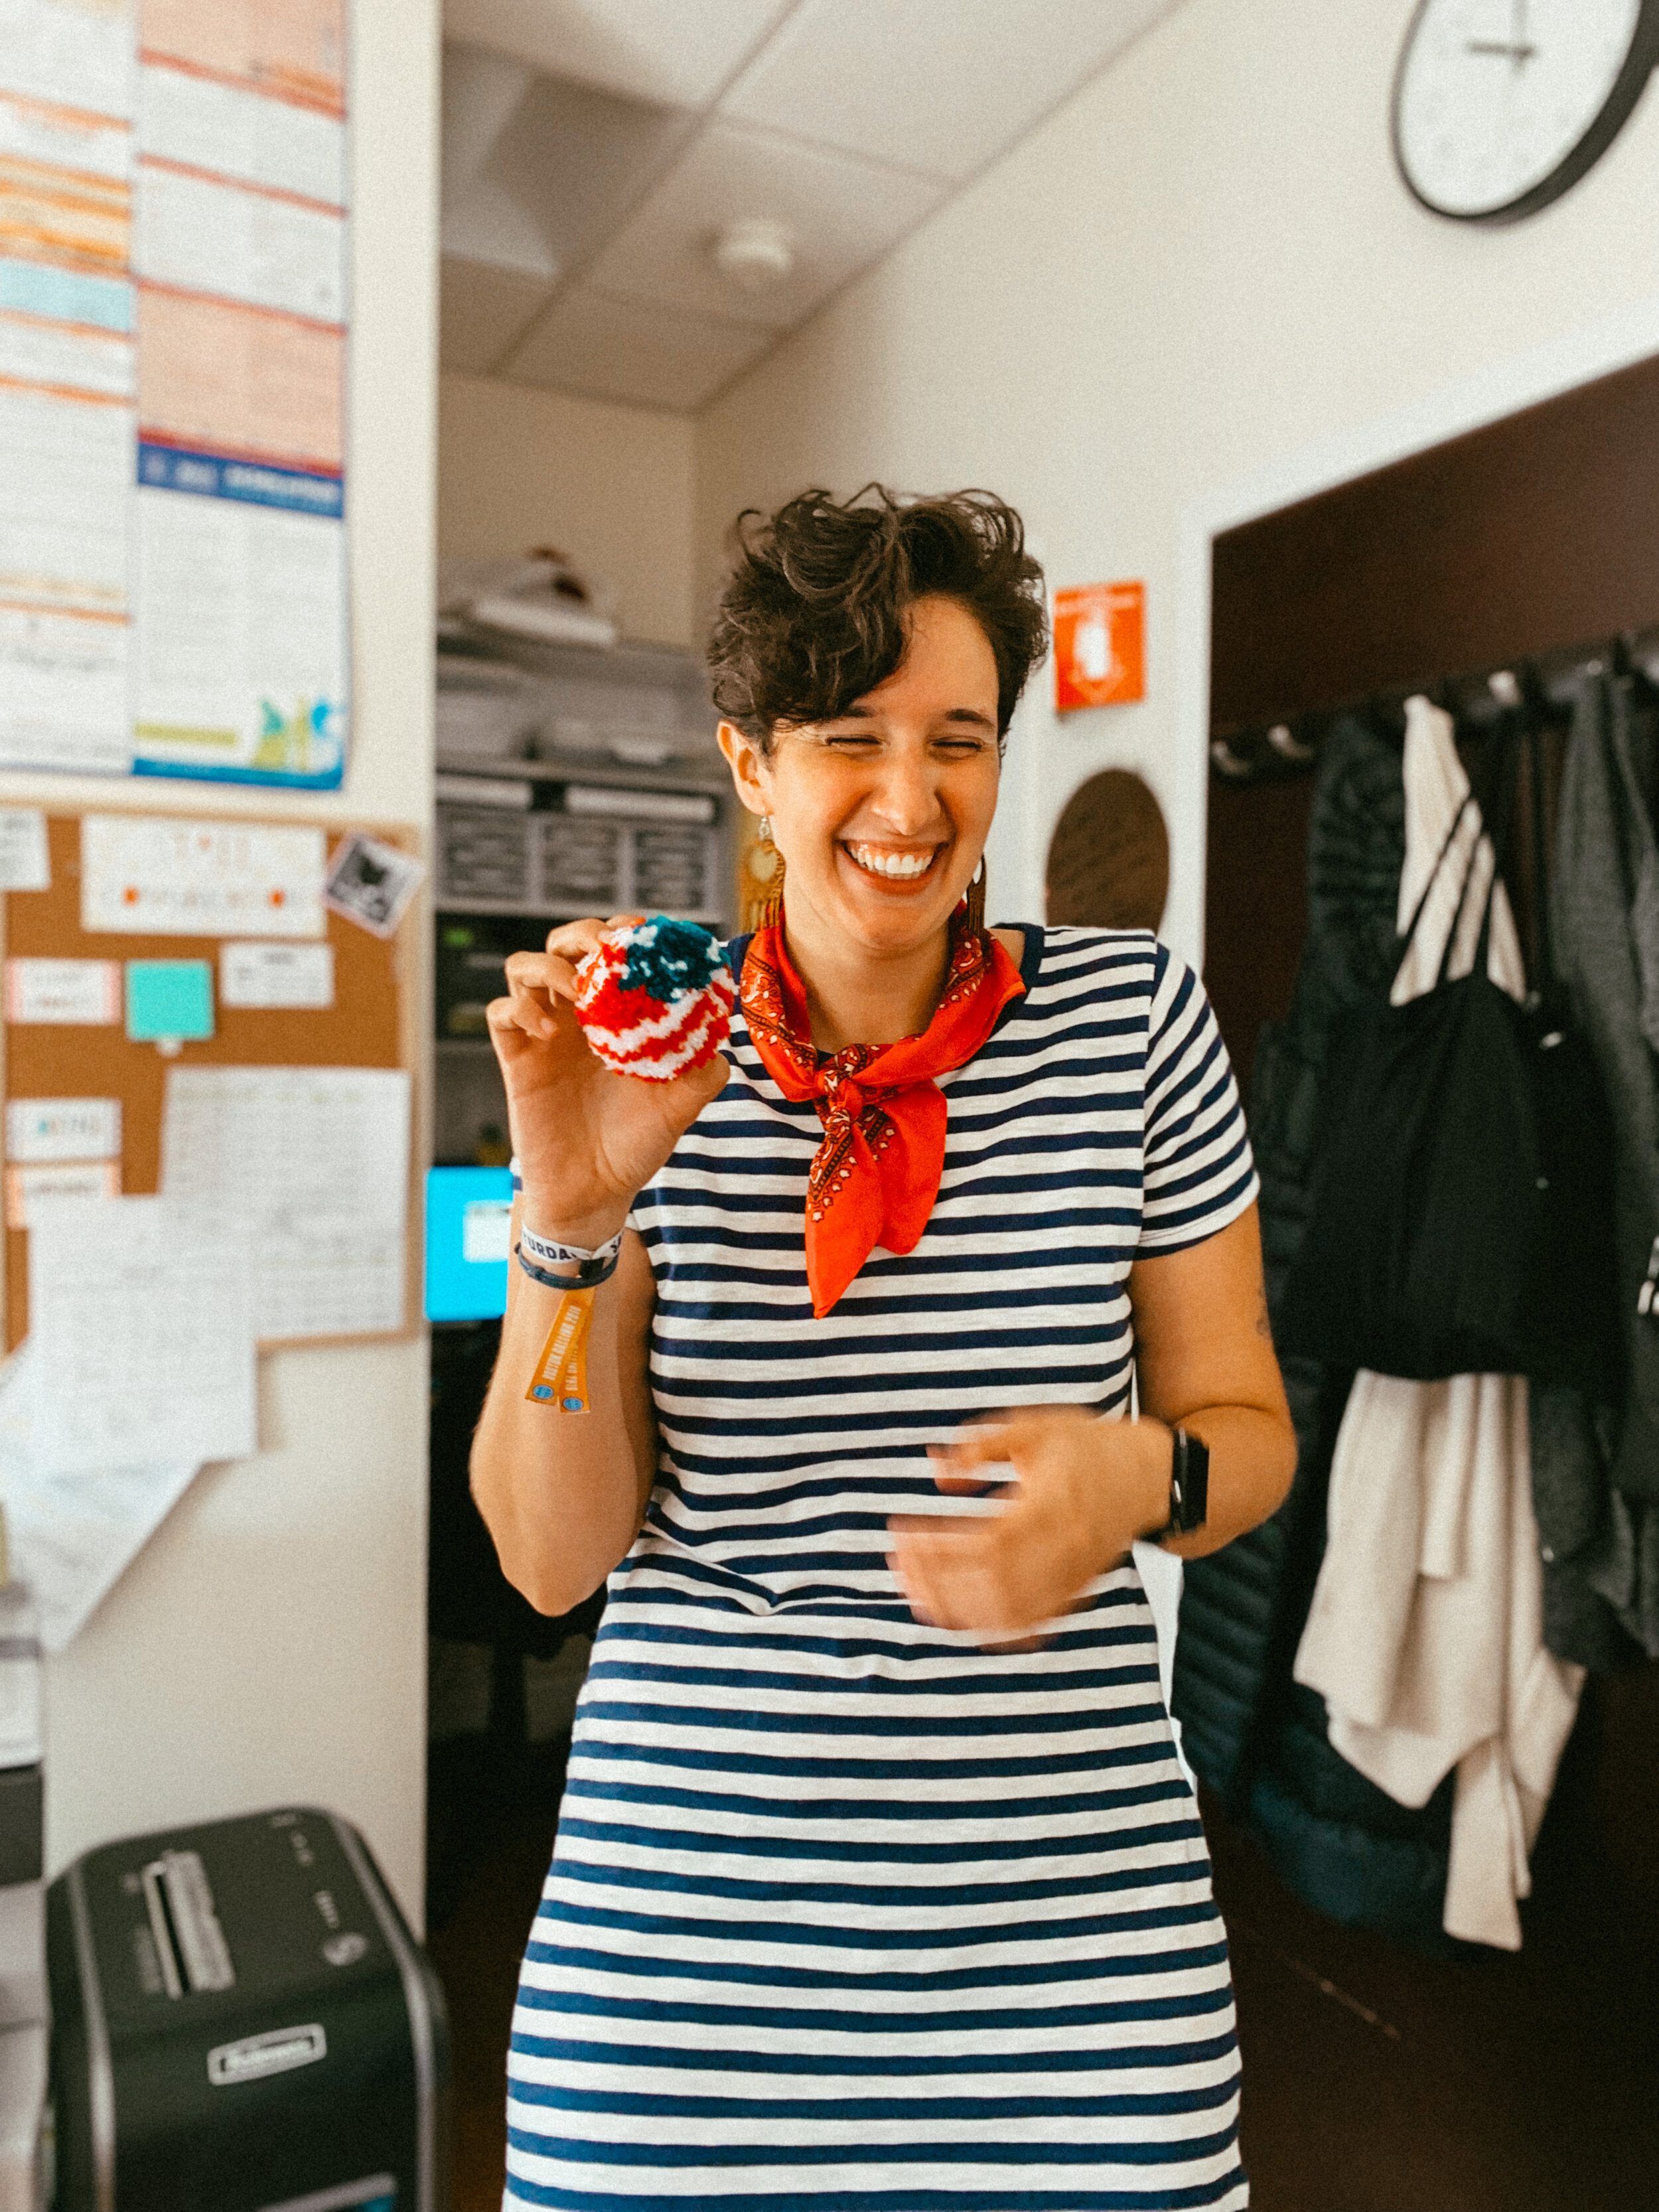
I seriously love making these American Flag poms. They are super cute and overly festive. You absolutely AMERI-CAN make these today and have a fun time hanging at home and celebrating your long weekend!

XOXO