
DIY Pom Poms Using a Pom Pom Maker
Pom Pom Making
Everyone now a days knows exactly what a pom pom is. They often sit a top a knitted hat like a cherry on an ice cream sundae. There are plenty of ways to make a pom pom. A lot of which call for you to cut out cardboard circles, using your hand and of course using a fork. My favorite way to make a pom pom and honesty the one I feel is the easiest is using a Pom Pom Maker! These makers allow you to make double the pom poms in half the time, so you to make pom poms fast and fun in just a few easy steps
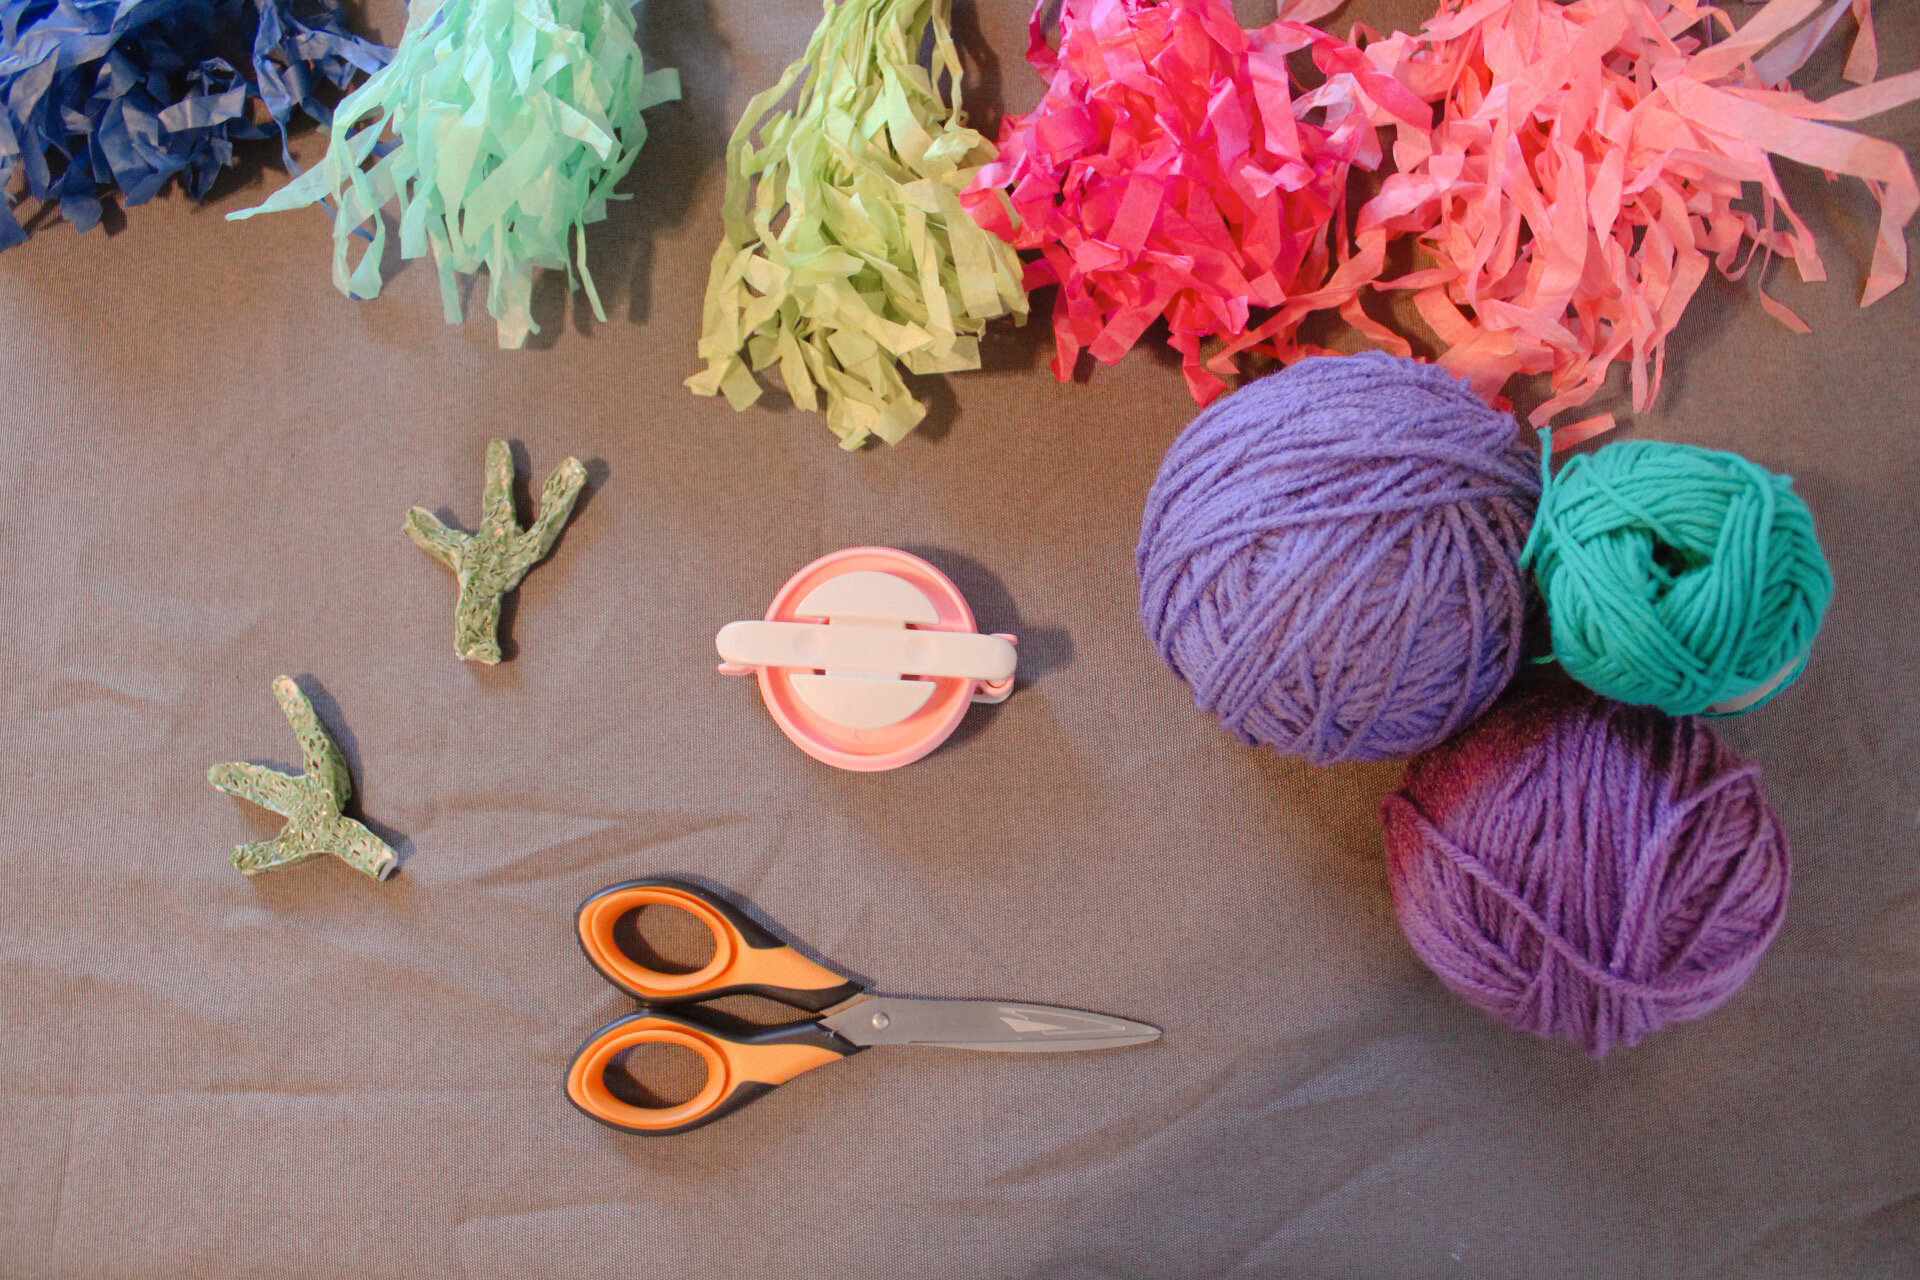
Supplies:
Yarn (any type but I like Impeccable Loops and Threads )
Scissors
A bowl
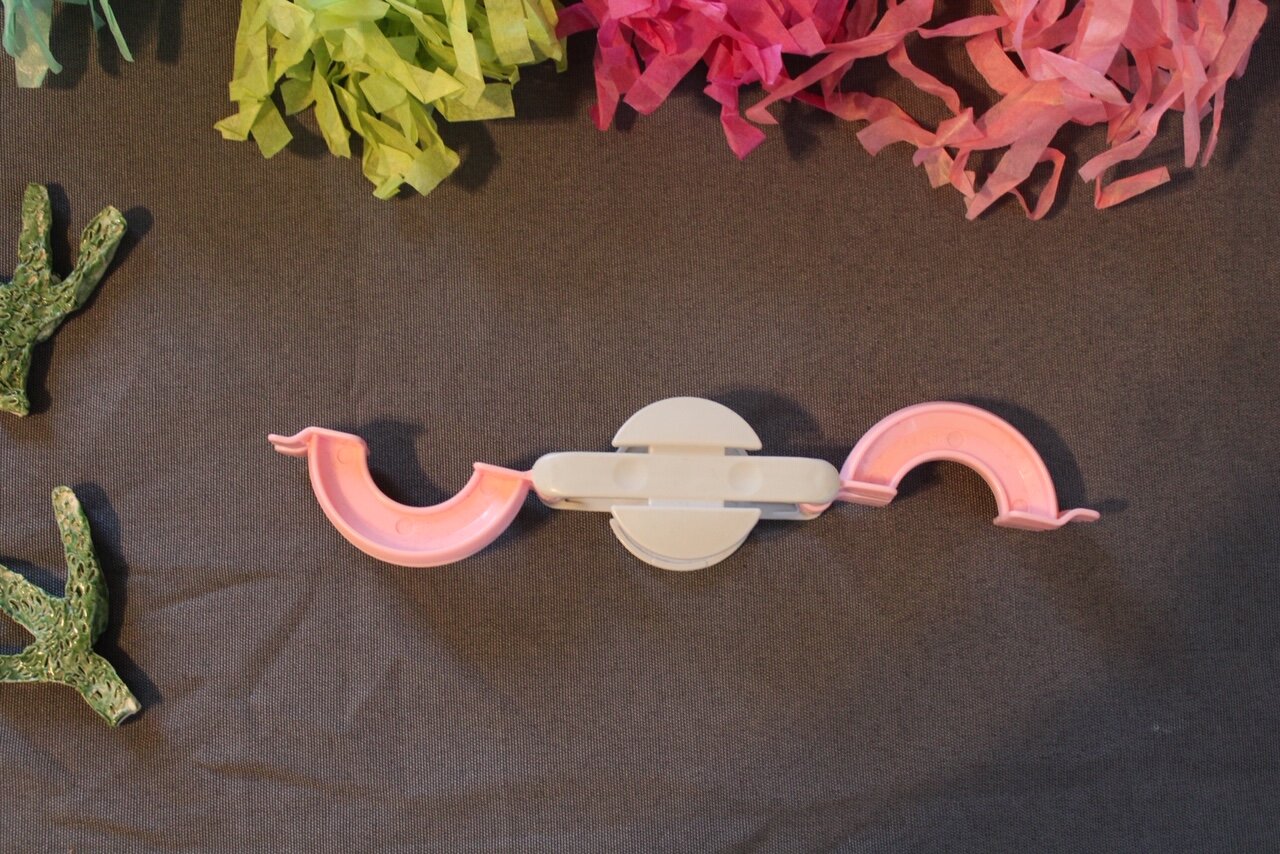
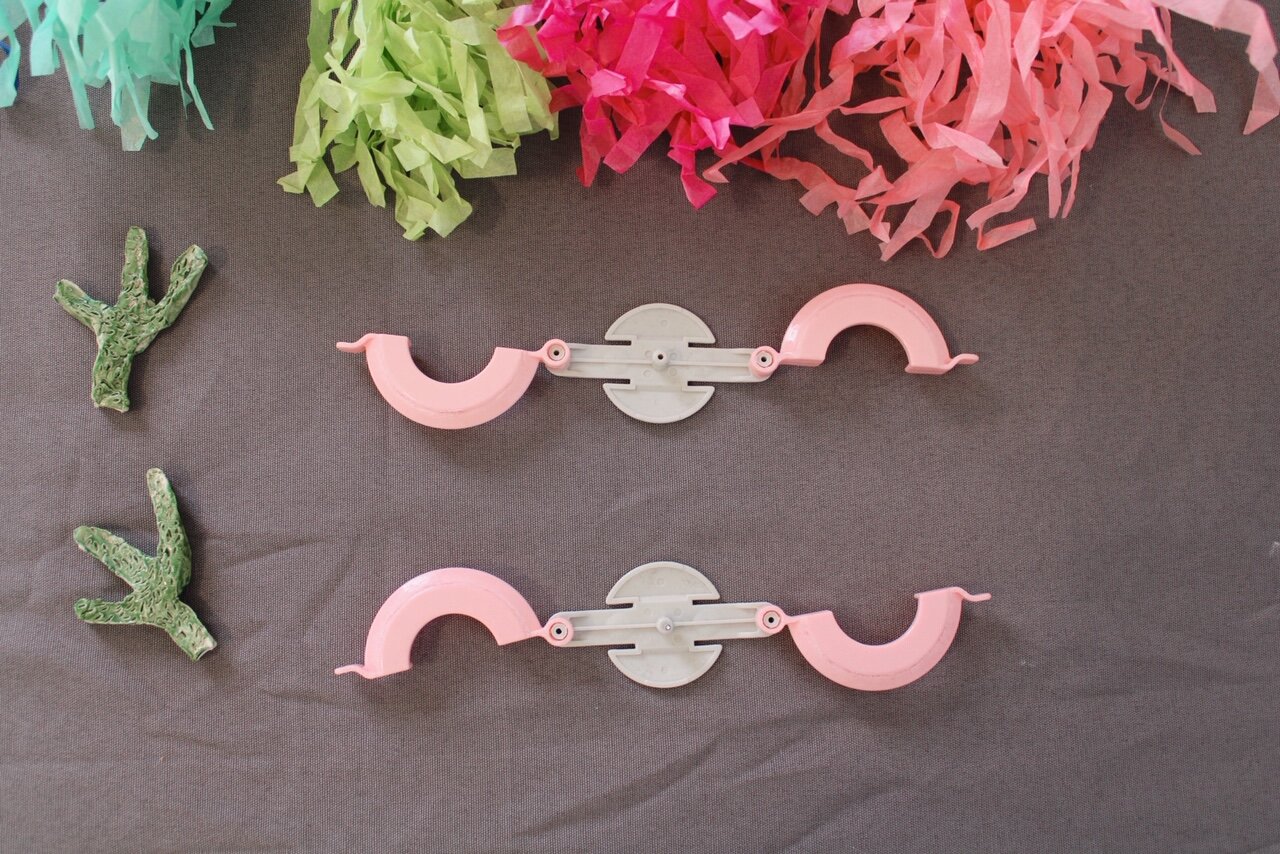
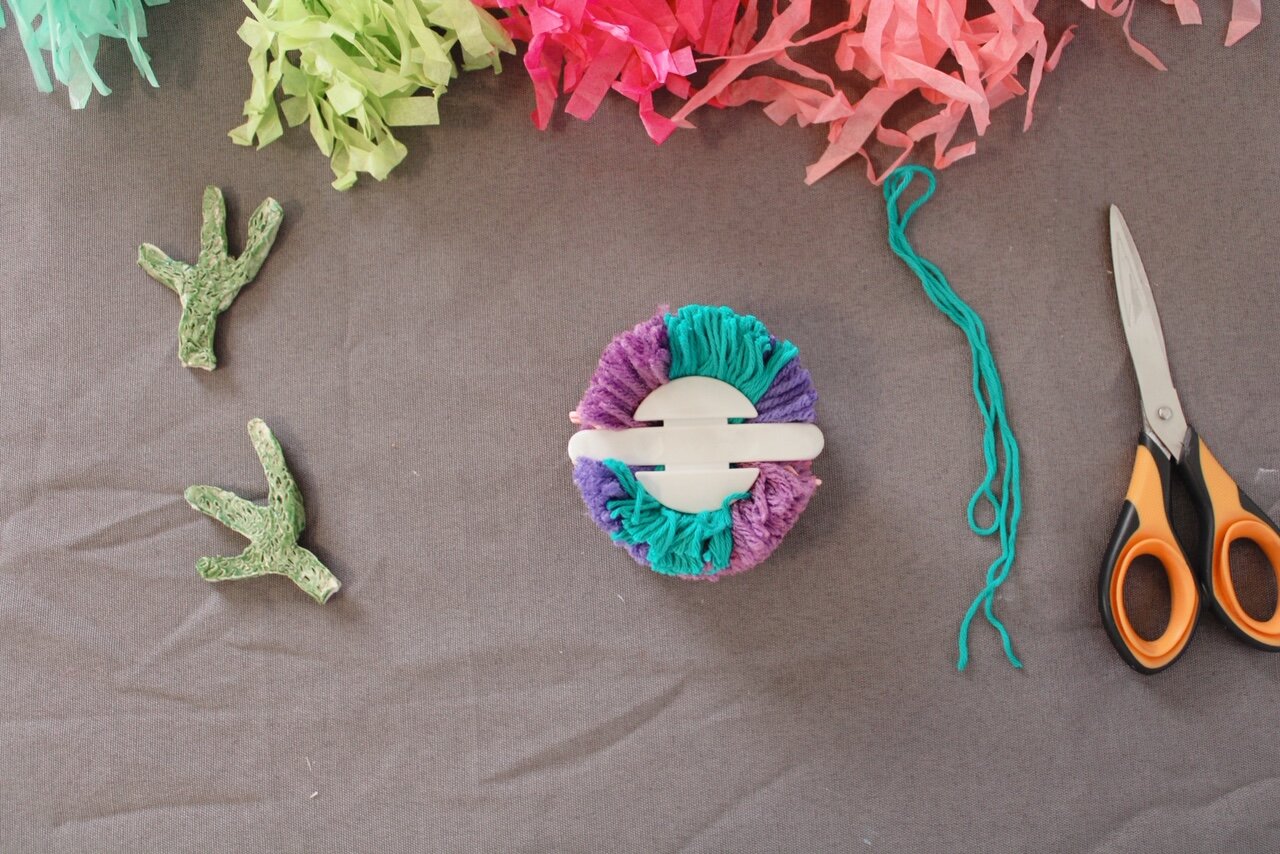
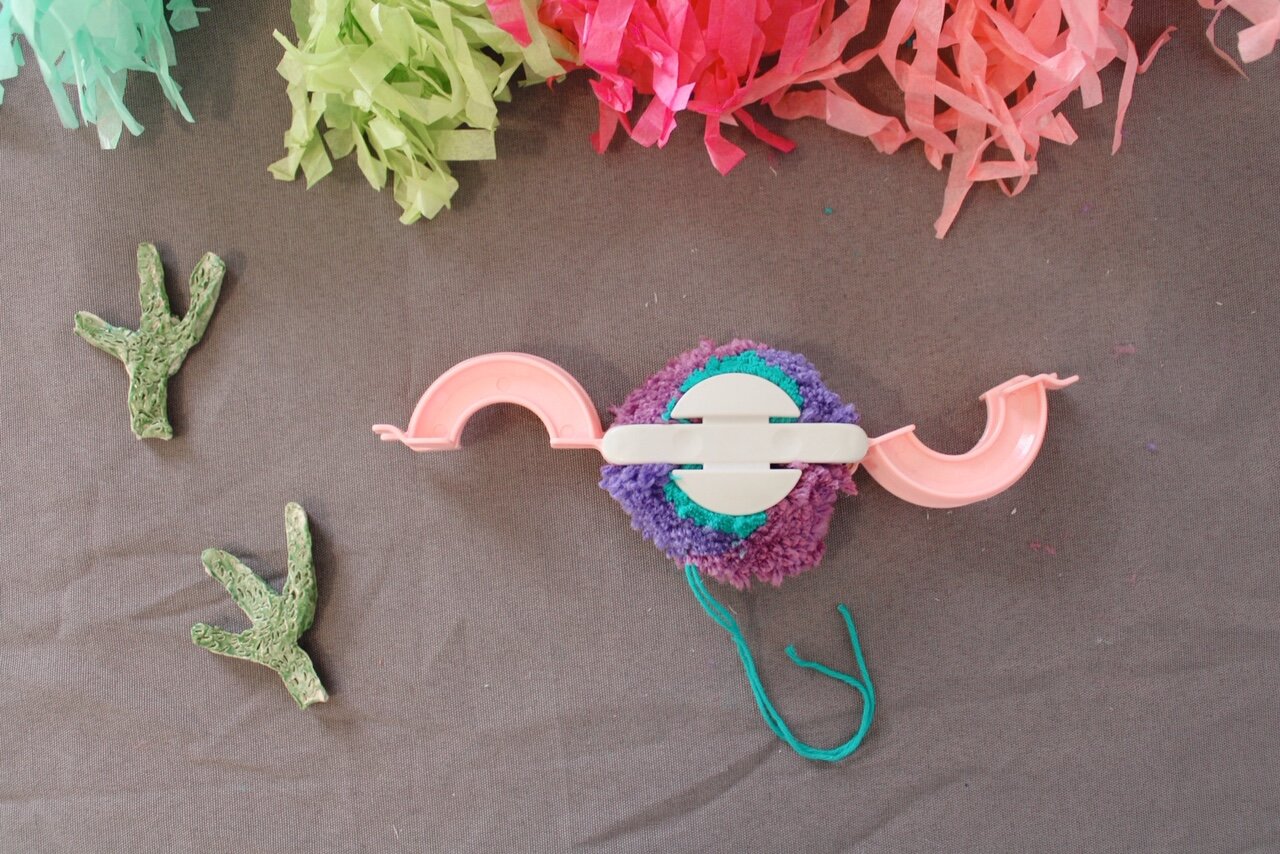
Step One: Start by getting to know your pom pom maker. It looks like a circle when it is closed, but it has arms that can open out on each side- there are two arms per each side and they act as a team. The maker can also pull apart. Don’t worry you did not break it!
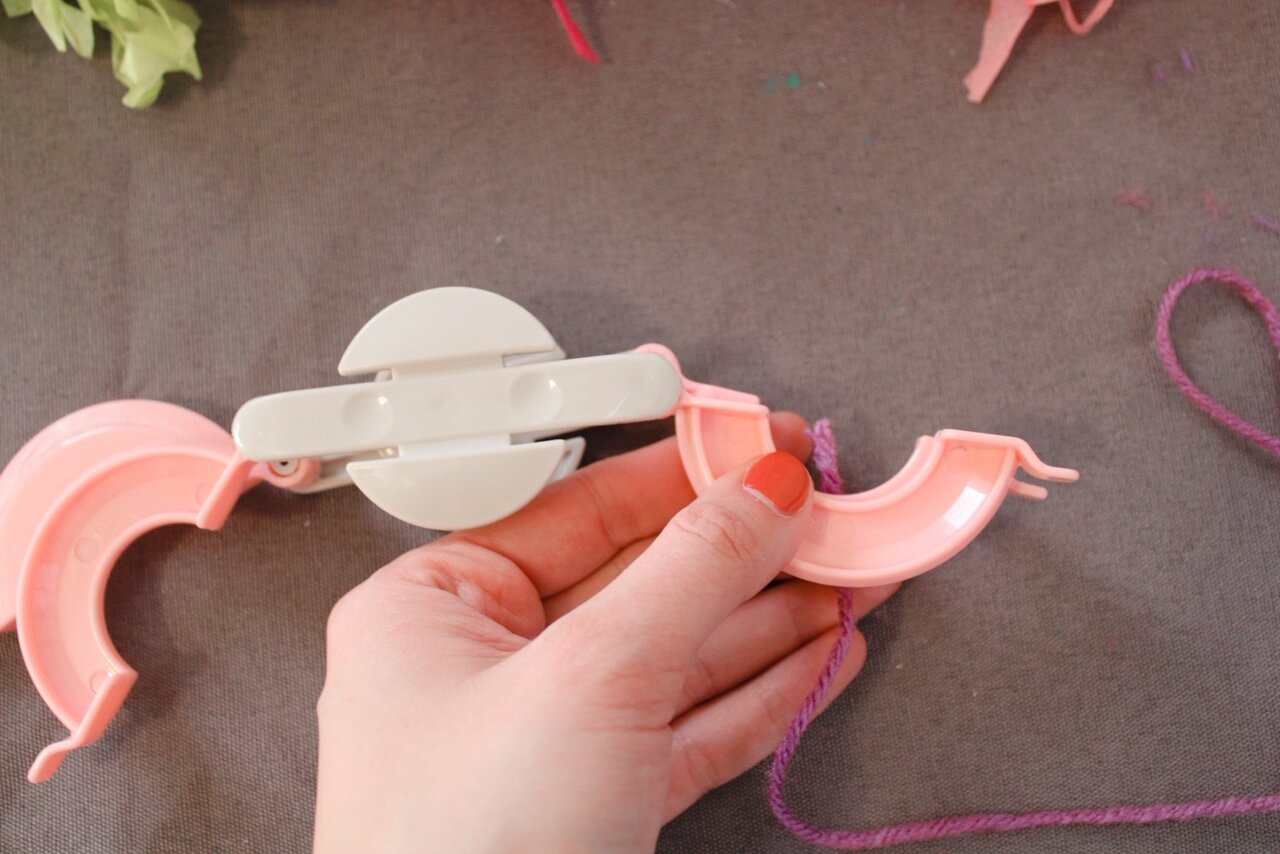
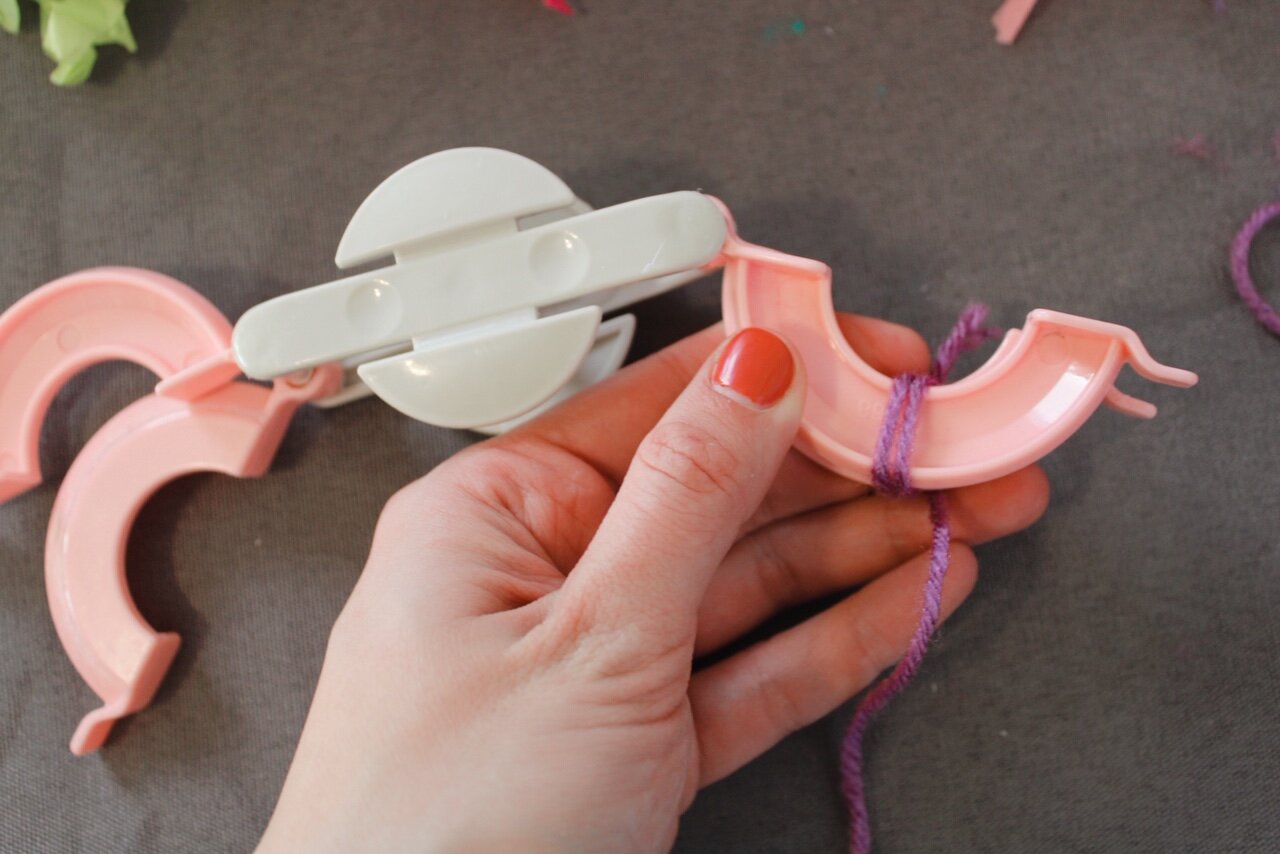

Step Two: Now that you are well acquainted, begin by wrapping the yarn around both of the arms on one of the sides. You want to wrap tight but not too tight, keep in mind that the tighter you wrap the more dense the pom pom will be, if you want the pom pom to be floppy you can wrap a little looser. Wrap until the arm is completely full, the way I like to think about it is the pom pom maker is a doughnut and you are wrapping until the center is full like a doughnut hole! You will also be able to tell when you are ready, when you close the arm and you have to push it closed.

Step Three: When you are done wrapping the yarn you need to secure it. Wrap the yarn around your thumb and bring the tail of the yarn through the loop that you have made. That will secure the yarn into place. Then you will be able to close the arm without any of the yarn shifting.

*Repeat steps two and three for the other arm, putting yarn on both sides of the pom pom maker*

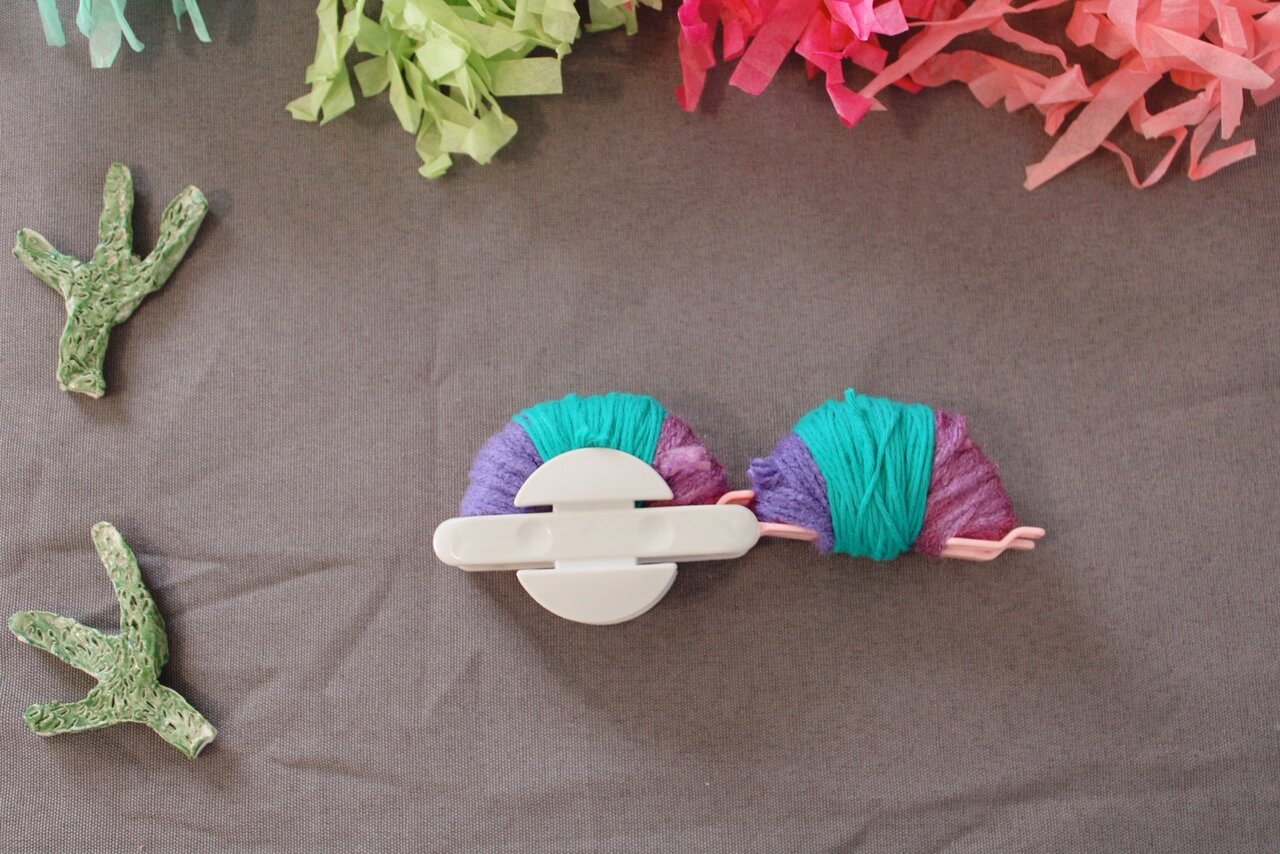
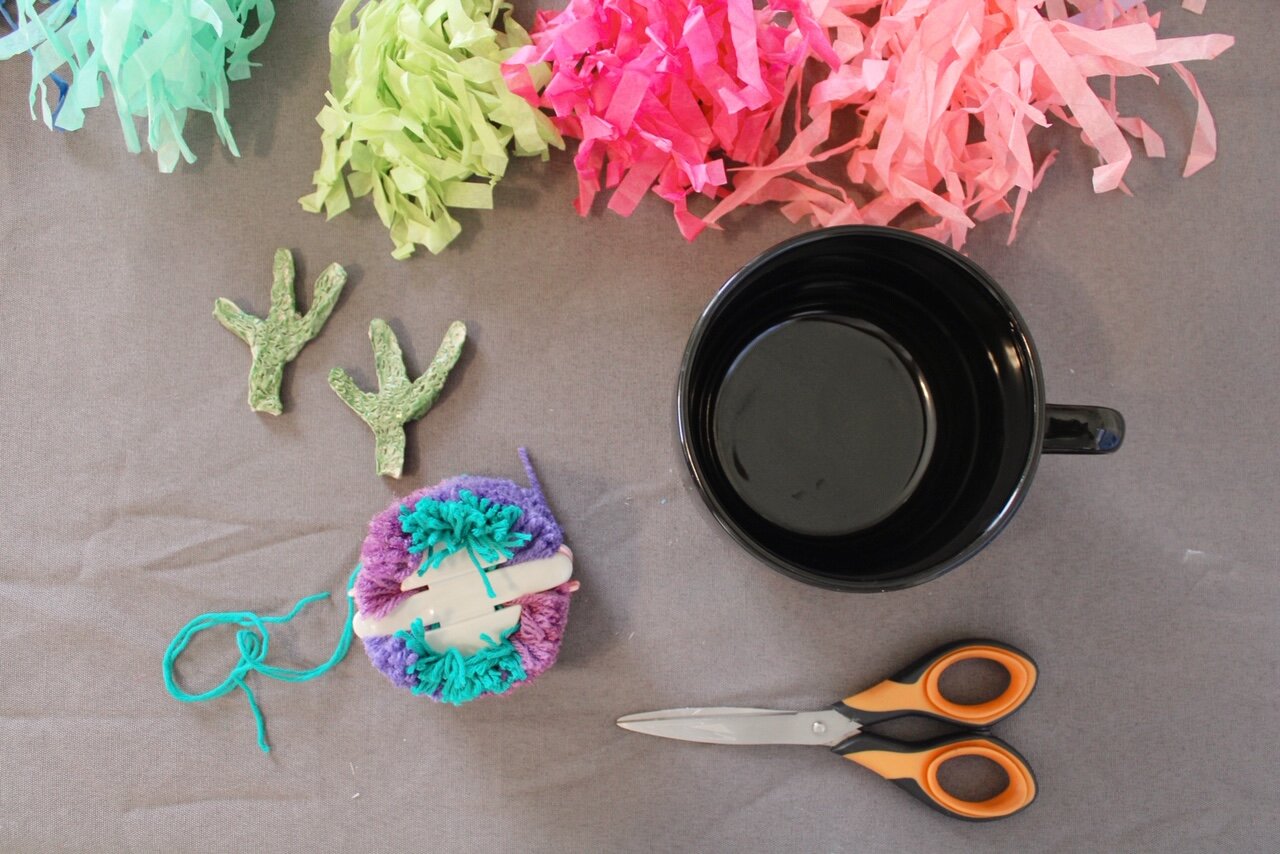
Step Four: Next you will cut the yarn. Starting on the side that looks like a hinge, position the tip of the scissors under the yarn. Begin to cut across the arch of the yarn on the arm. Do not open the arm of the pom pom maker. If the arm begins to pop up, do your best to push it back down. Repeat this on the other side as well keeping both arms closed.
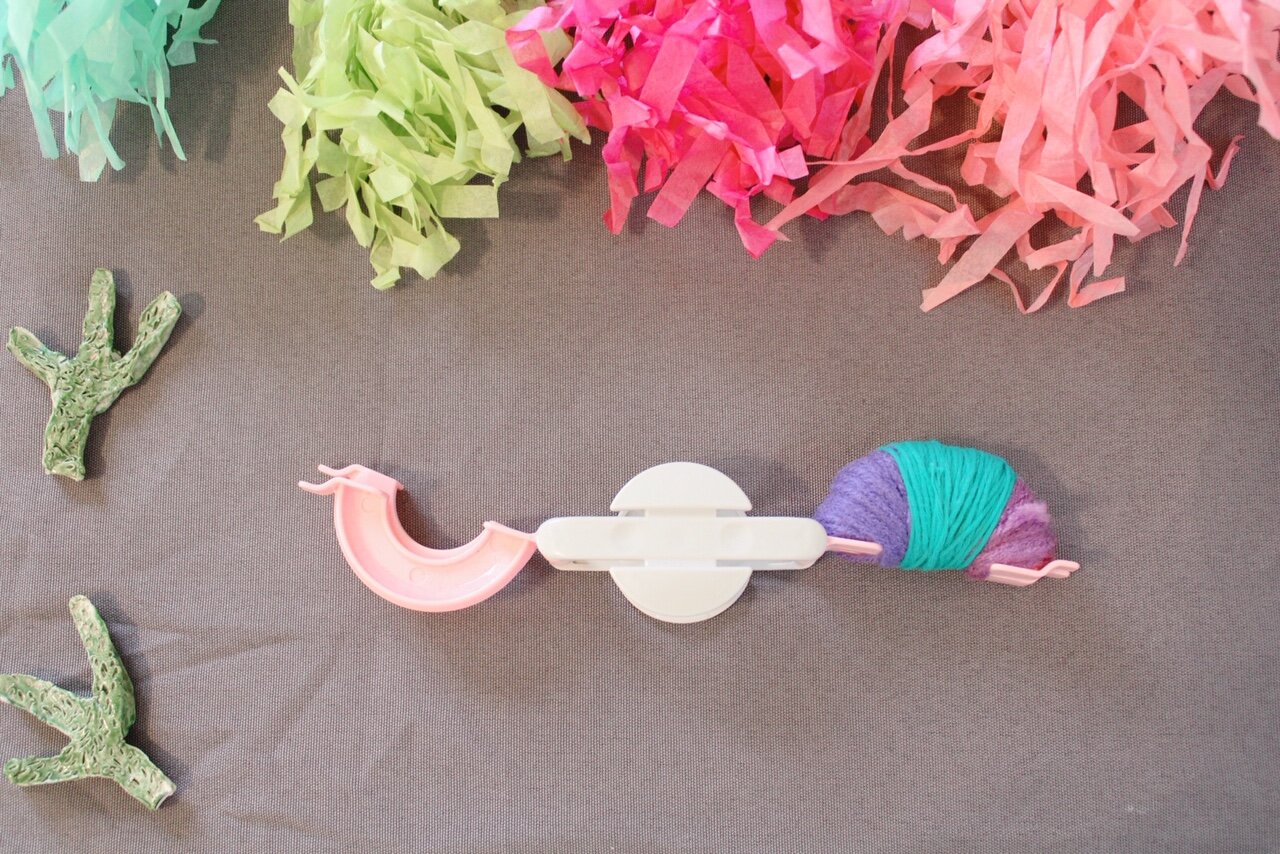
Step Five: Now you will cut a piece of yarn 4-8” in length this will wrap around the maker. When you look at the maker on its side you will see where the arms separate creating a space. That is where you will put your yarn. Flipping it over to the other side and grabbing the tails you will be pulling the yarn through the center of the pom pom maker.

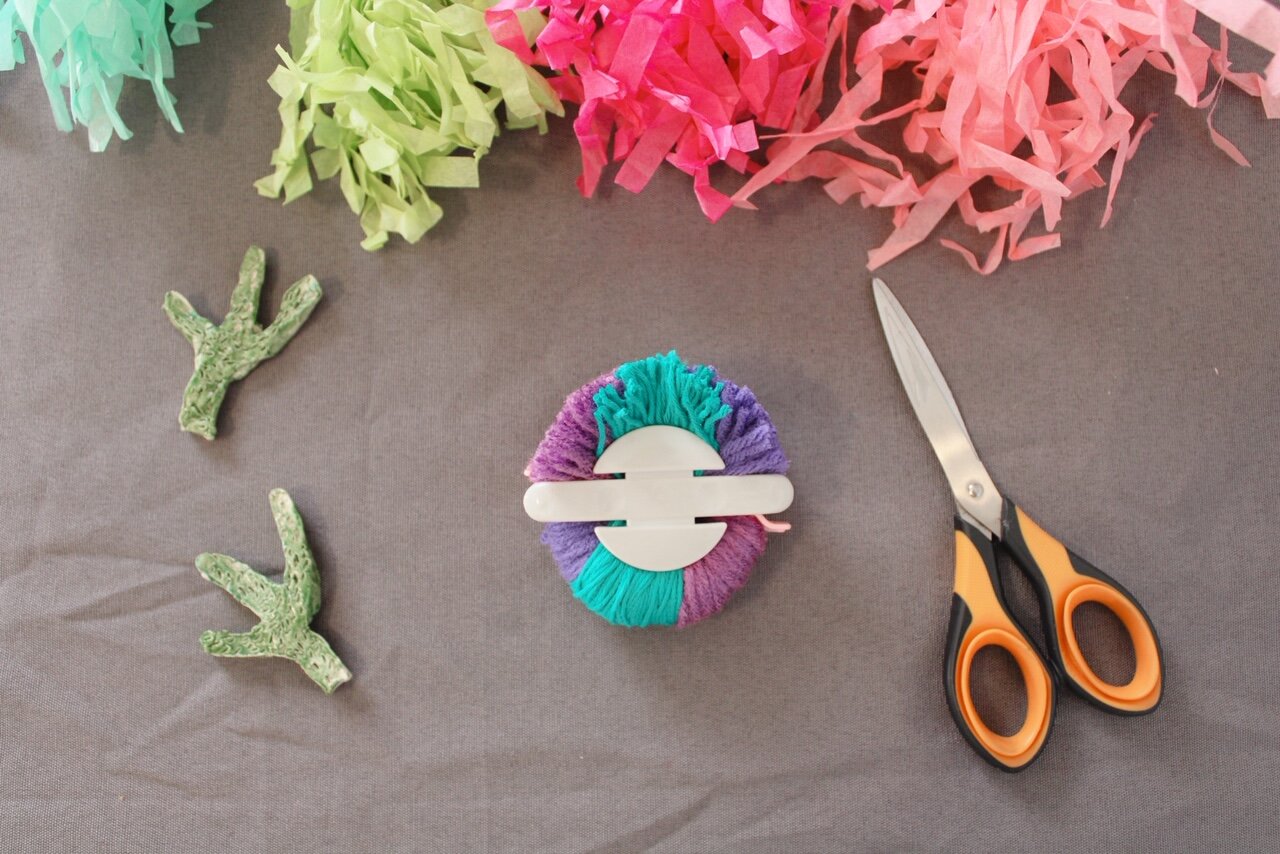
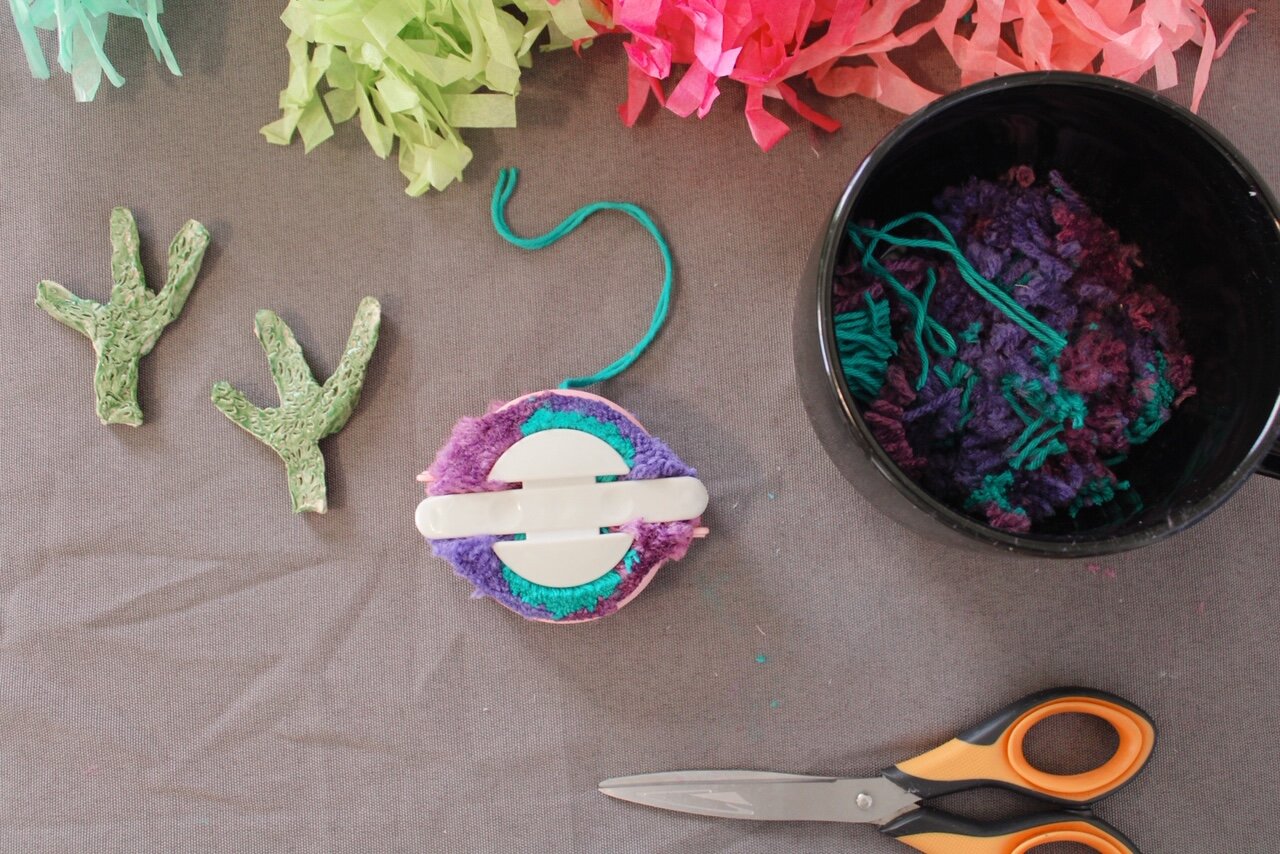
Step Six: Next, tie the yarn in a knot and repeat that 3 times. Make sure the knot is super tight, this knot is holding the pom pom together.

Step Seven: This step is if you want a dense pom pom as opposed to a fluffy pom pom. If you want a fluffy pom pom skip this step. Now, you will trim the pom pom while it still on the maker. Get a bowl and trim off the excess yarn over the bowl making sure the yarn goes into the bowl for easy clean up. You want to cut the yarn basically down to the pom pom maker.
Step Seven: Next you will open the pom pom maker one set of arms at a time. You will then pop the center off, pulling the pom pom maker apart. You will have to fluff the pom pom up a little bit to see where you need to trim it.
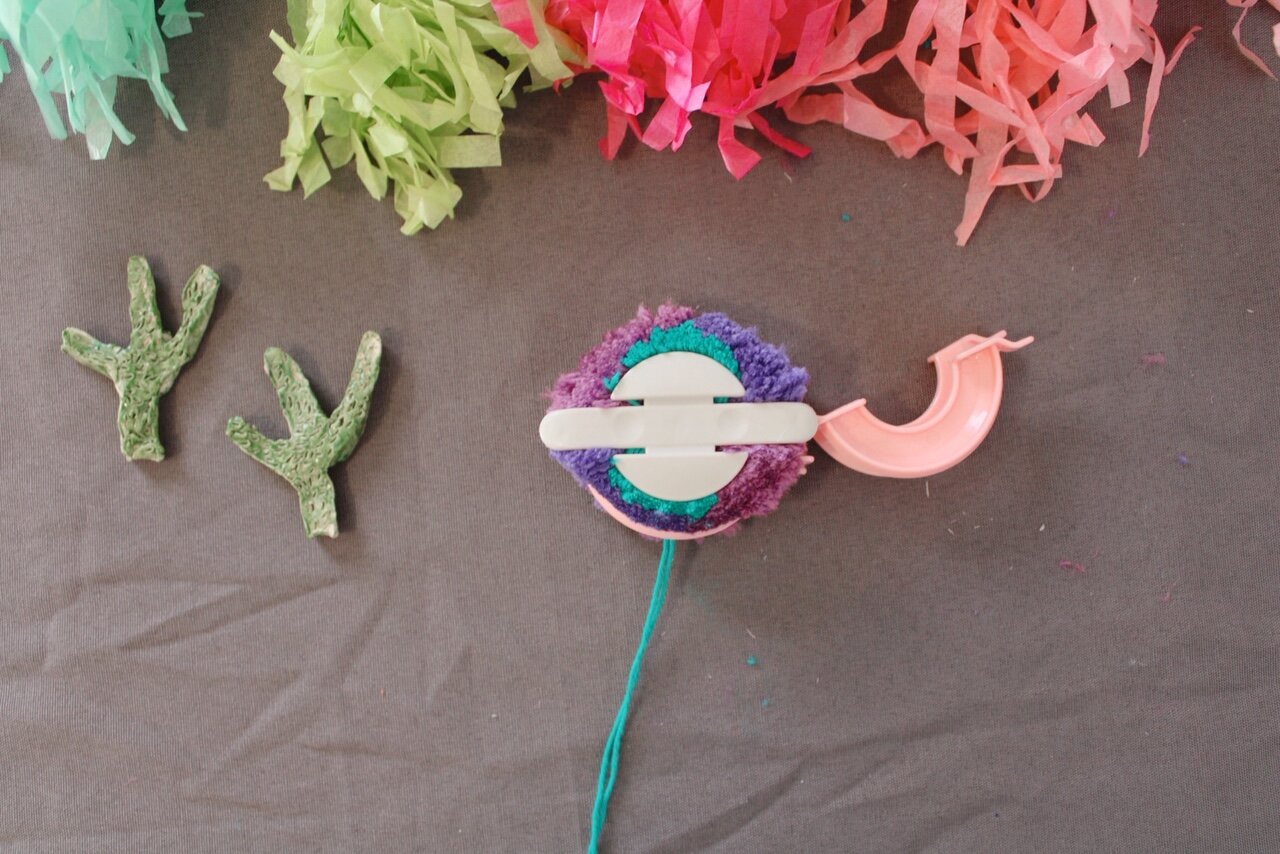
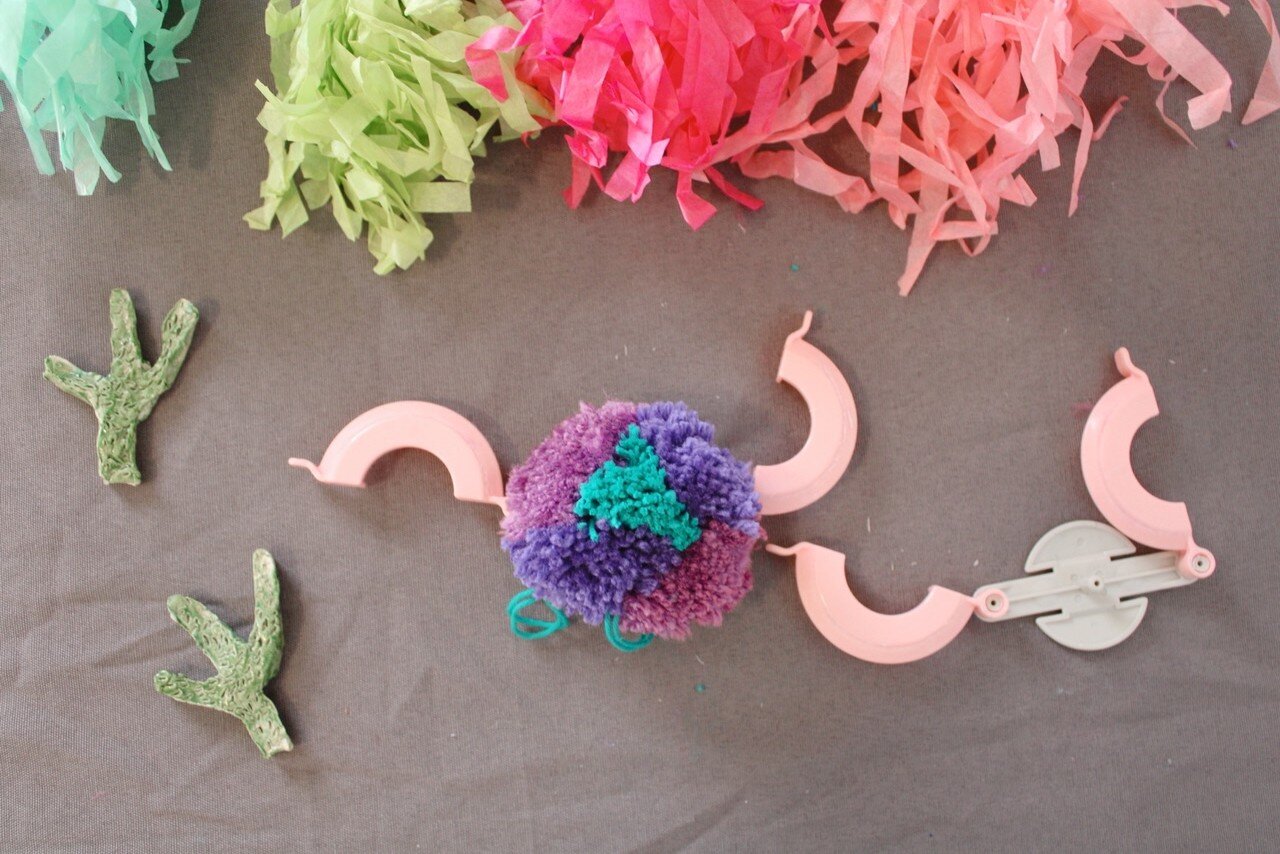
Step Eight: Now, you will trim the pom pom over the bowl. This part can get tricky because you might get perfectionist here. Trim the pom pom just to make it a nice circle where there are no stragglers sticking out. By the end of this you will have a very dense pom pom. If you want the pom pom to be fluffy, just trim it to just make a circle as best as you can.


There you have it! A nice amazing pom pom made with minimal fuss and lots of fun. Keep trying out the DIY with all different types of yarn where you mix and match the yarn colors as well as textures. You can keep them on the string and just tie a knot at the top and place them everywhere. There will be more DIYs about pom poms in the future to show what else you can do with them.
