
DIY Soy and Beeswax Candles
DIY Soy and Beeswax Candles
I love candles!! Honestly if I could give all my money over to candles I would 100% do it, they just make spaces feel so much more cozy! Considering that that is not at all in my budget, I decided to give candle making a try that way I can have handmade cozyness at anytime I wanted. At first I was hesitant to try it but as it turns out, candle making is quite easy and so much fun. This could be something you and your kids could do! I promise once you make a candle you’ll never buy another one again.

I wanted to make these candles look sleek and uniform so I used all the same jars and a label that I will attach a link to at the end. If you would prefer to use jars you already have at home (jelly jars would be awesome) that is also an amazing idea.
Supplies:
Large Mason Jar or Pouring Pitcher
Step One: Get a cookie sheet and line it with parchment paper that way when you are ready to pour there will not be a mess everywhere
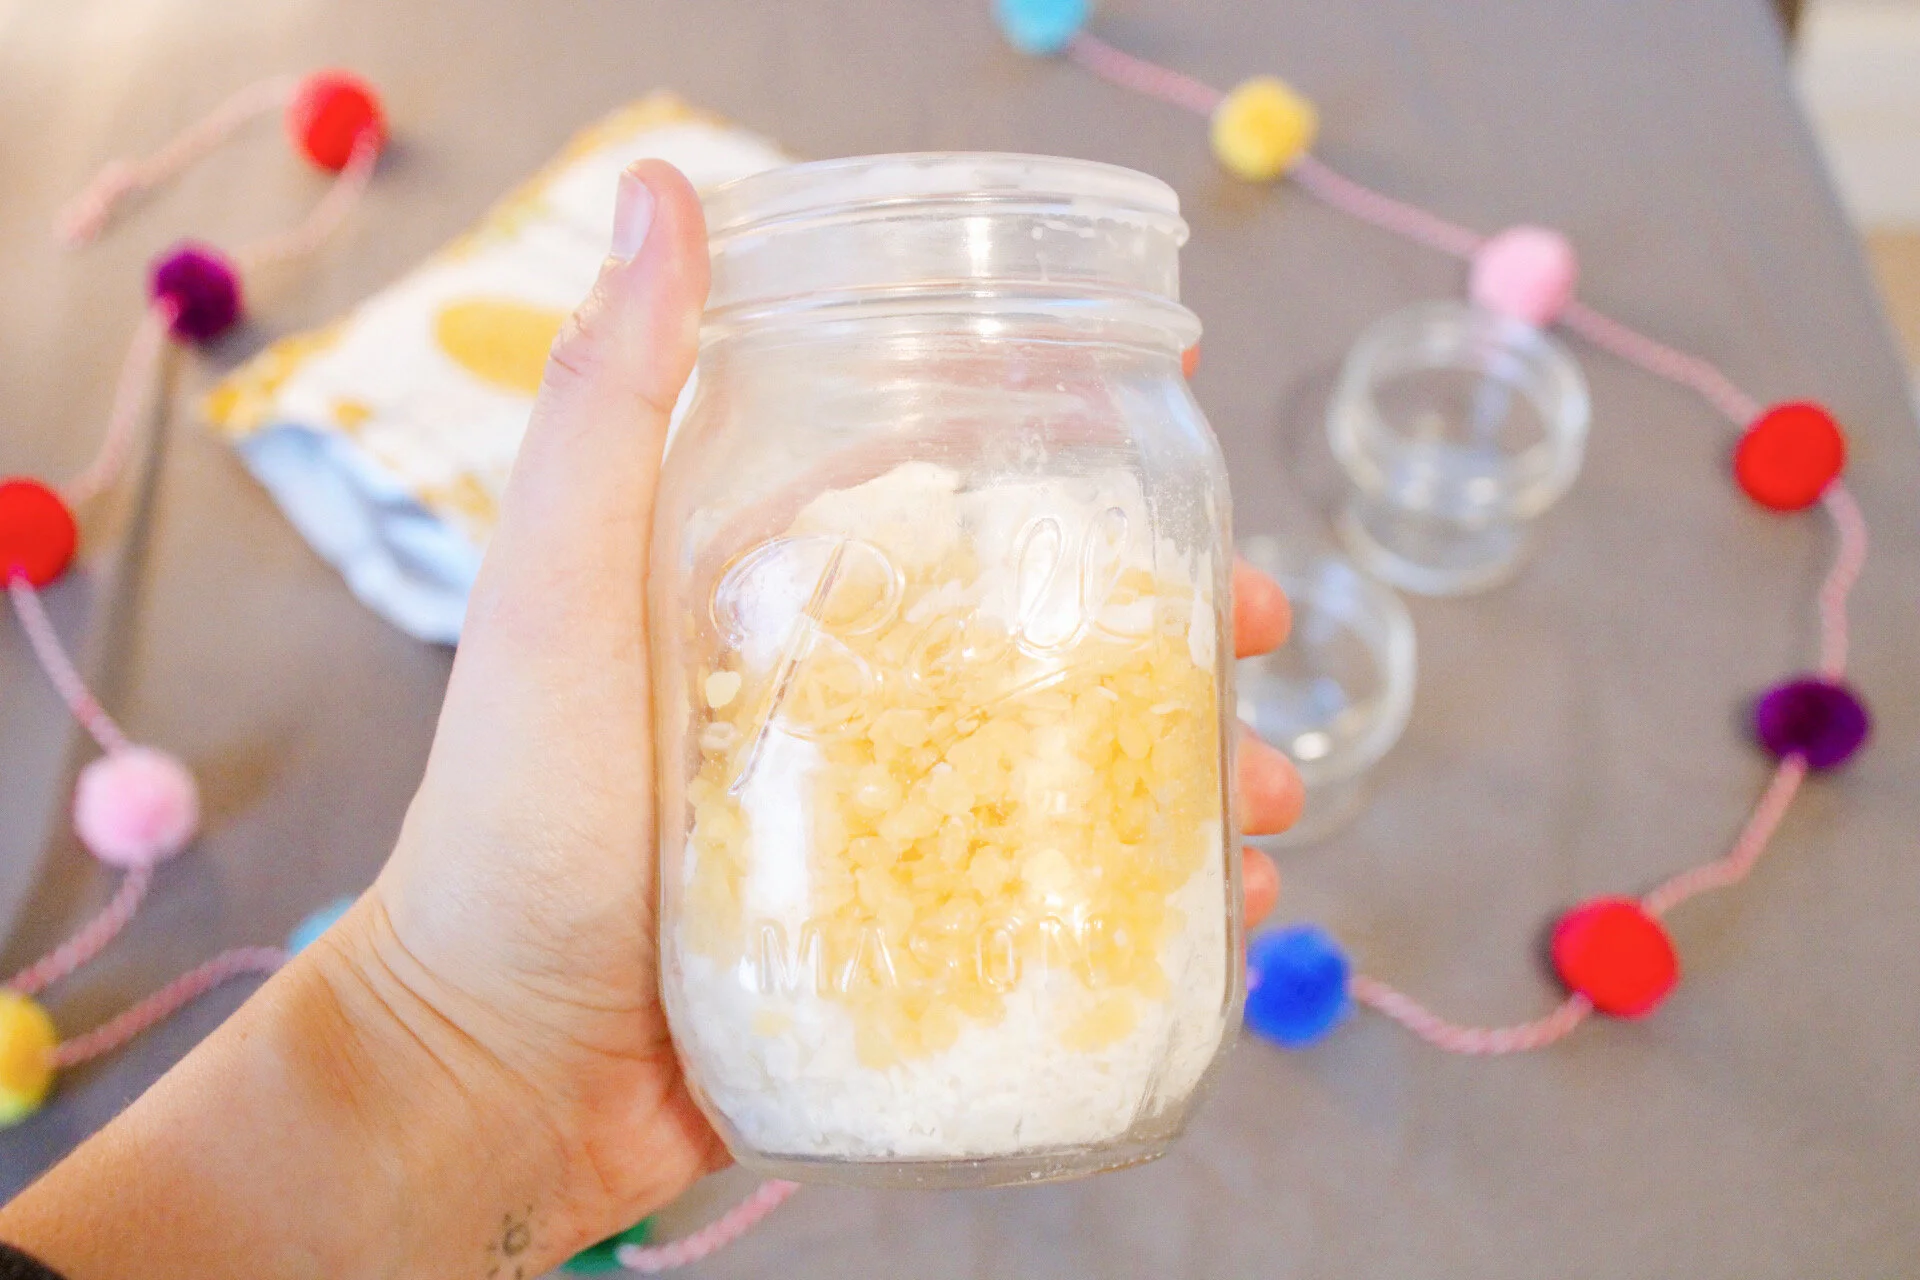
Step Two: Next, it is best to measure out your wax flakes and beeswax. A good rule of thumb is to double the volume of each jar. So for 4 oz jars you want to put 8oz of wax. I then like to mix in about a tablespoon of beeswax per candle for a bit of an off white color. Once you prepare this, place it aside.
Step Three: Now it is time for some candle wick STICK UM to place on the metal part of the wick before you place into the jar. Use about a dime size amount at the bottom of each wick. This helps the wick stay in place
Step Four: Next you will wrap your remaining wick around a wooden dowel and rest the dowel on top of the jar.

Step Five: Place a pot filled half way with water onto the stove and bring it to a medium boil.
Step Six: Place your wax flakes (soy and bees) into a large mason jar or metal pouring pitcher and place the jar/ pitcher into the water. Stir frequently until the flakes are melted. Take the jar out of the water and wipe off with a towel (it will be wet)
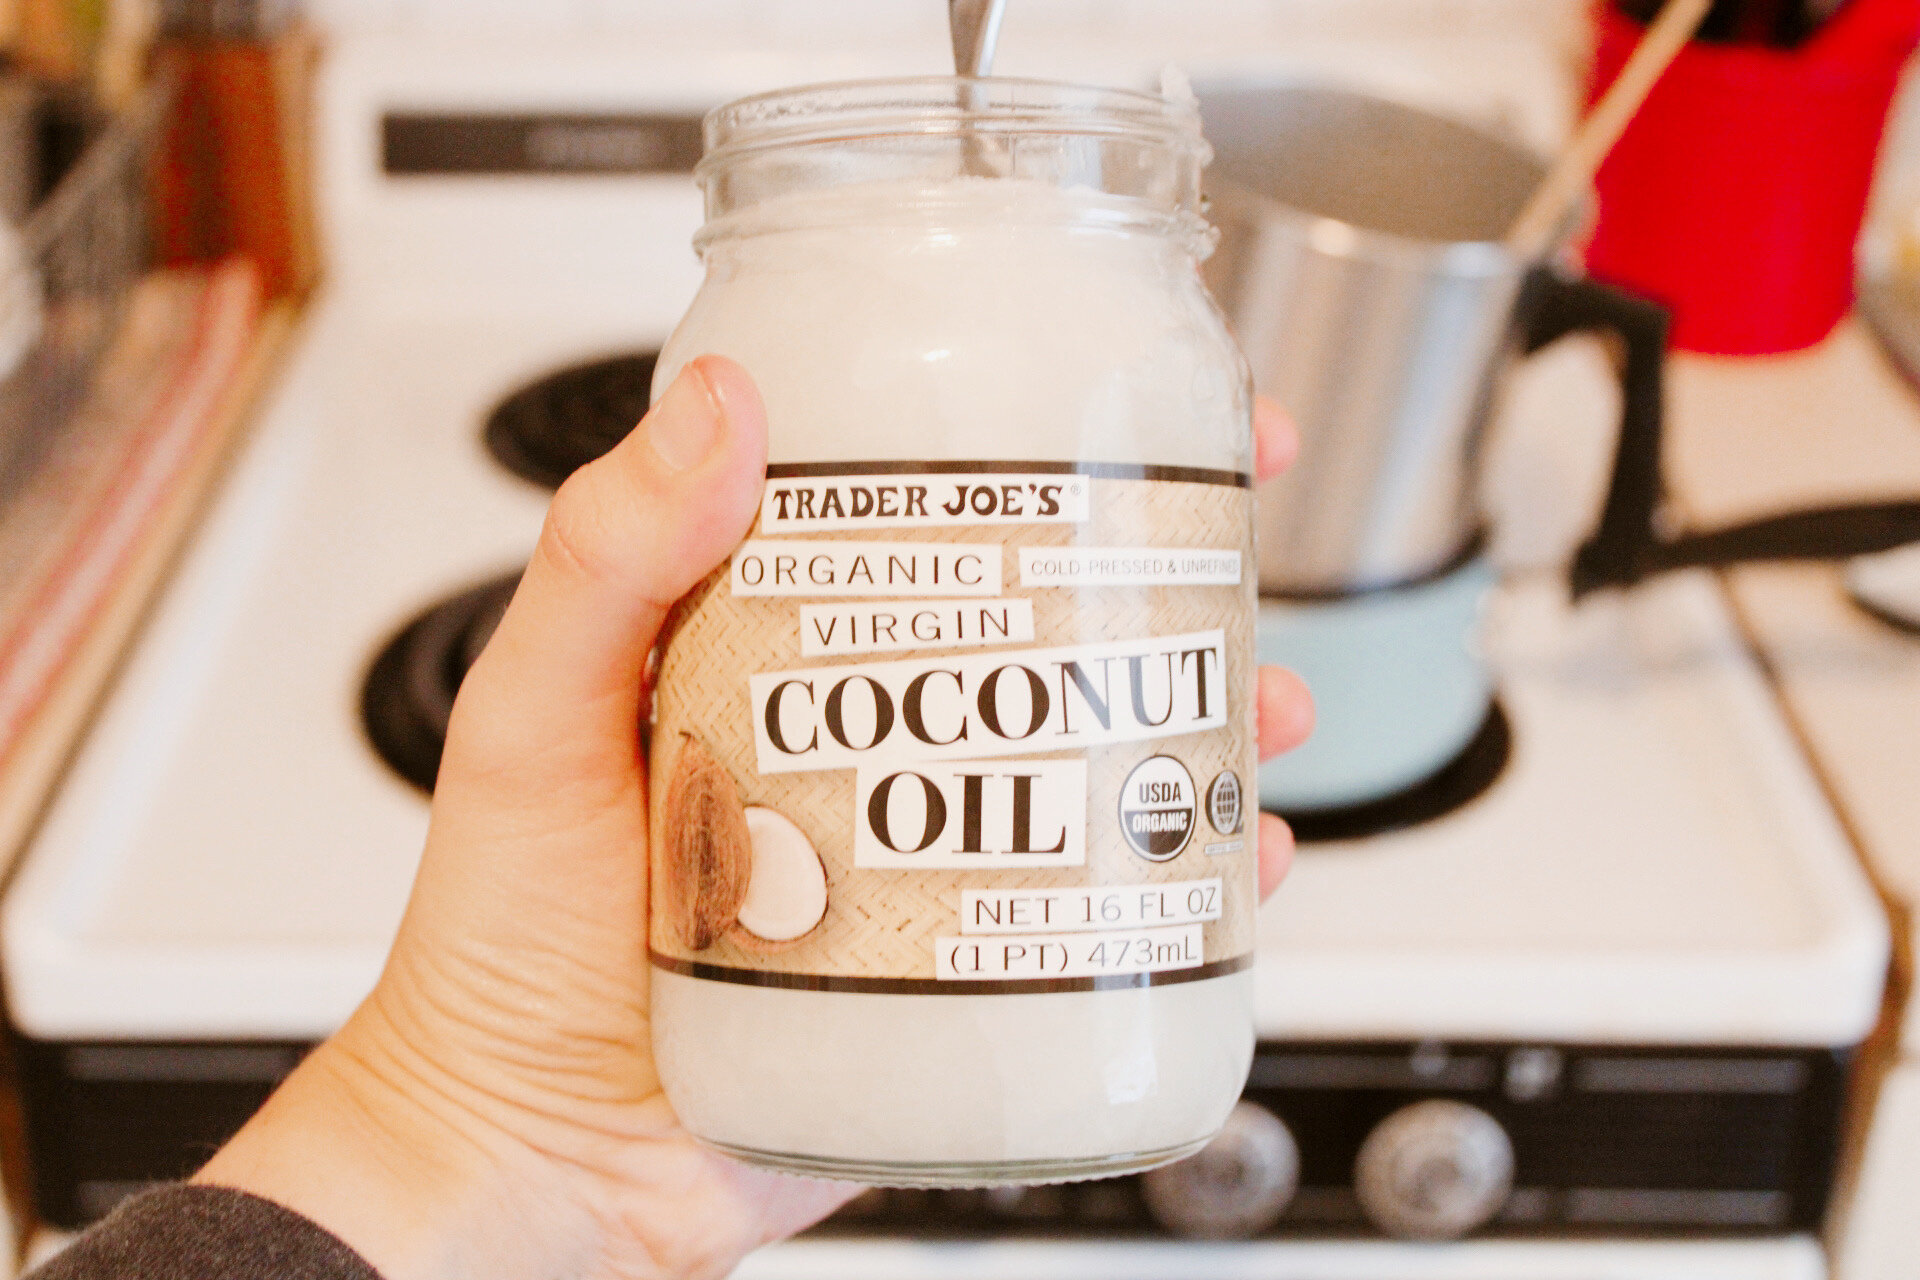
Step Seven: Next you will add coconut oil and essential oils. Add roughly 10-20 drops of oil PER CANDLE to the jar/ pitcher and stir with a wooden dowel. Add 1 teaspoon of coconut oil per candle. (The number of drops will greatly depend on how strong you would like the scent to be and what type of essential oils you are using. For the 4oz mason jars I like to use at a minimum of 15 drops per candle because I like a stronger scent. I also use essential oils so I need to add more than if you would use fragrance oils.)

Step Eight: Let the wax cool for a bit while you stir. Next pour the wax into the jars. I prefer to use the Pouring pitcher as opposed to the large mason jar because I have more control over the even pour and makes less of a mess.

Step Nine: Now you are going to let the wax completely cool. This can take from 1-4 hours depending on the size. I personally like to leave them to cool overnight. Once the wax is completely cool, cut the wick to ½ inch. I then like to seal them and leave them for a day or two before using, it makes the scent much stronger!

You can easily leave the jars blank and give them as gifts to friends and family, they make the perfect gift! Everyone loves a candle and something personally homemade. I wanted to let the people I was giving candles to know what scent they were so I purchased a label off of Etsy. I felt that it made a really clean look and allowed the receiver to know the scent!