
DIY Lip Balm
Making Lip Balm
Making lip balm has been a game changer for me. I can honestly say that up until I made lip balm myself, I never used it. It also is super easy and fun to make! There were plenty of times that I was in my kitchen with my friends and made lip balm that I would send them home with when they left.
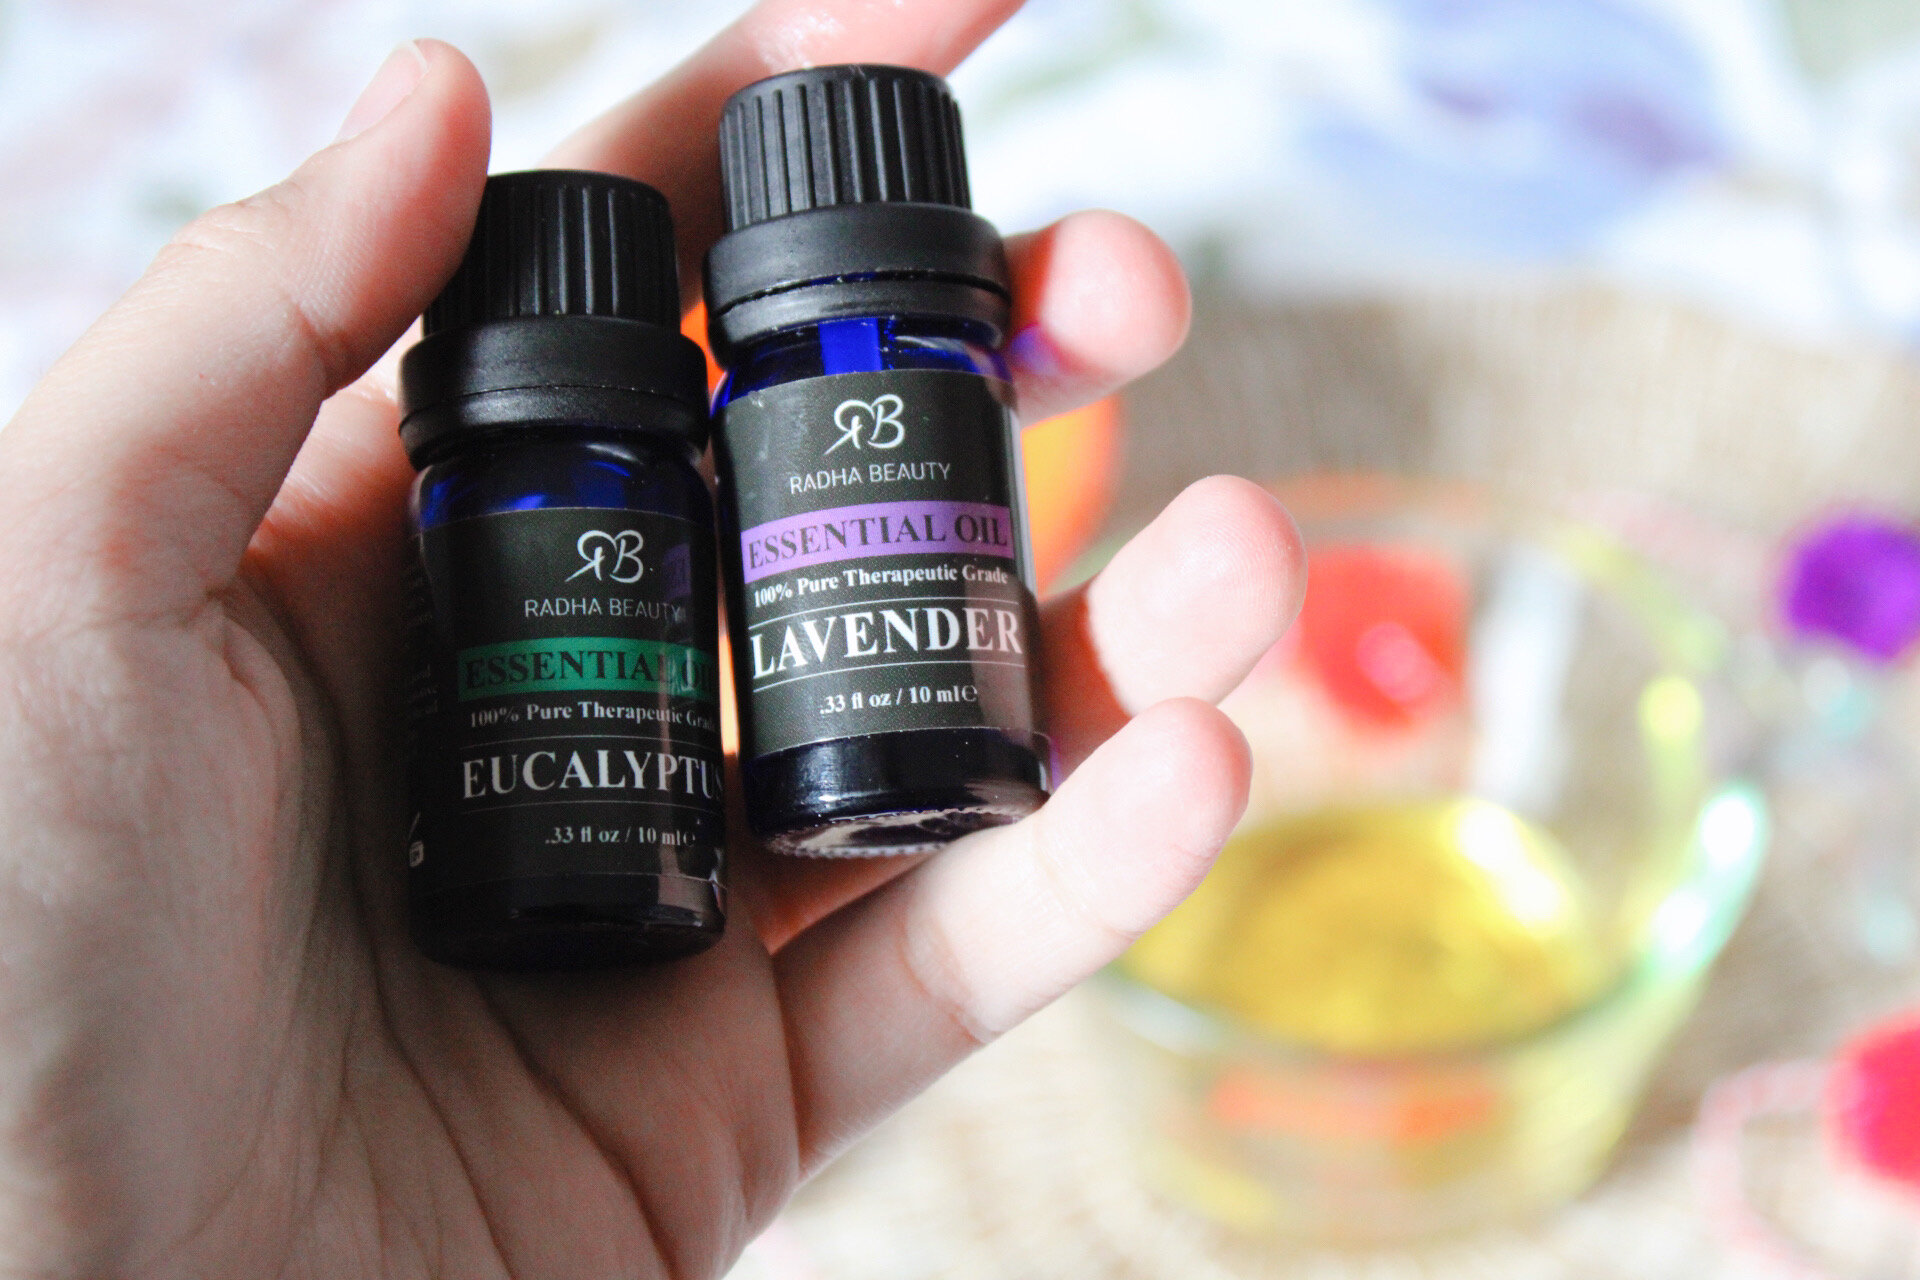
Living in Boston, having lip balm that is hydrating is important. It is also important to have a calming smell associated with the lip balm because dry lips can be painful! You also always want lip balm to smell good and taste good when you put it on! That is why for this lip balm recipe I went with Lavender and Eucalyptus essential oils.
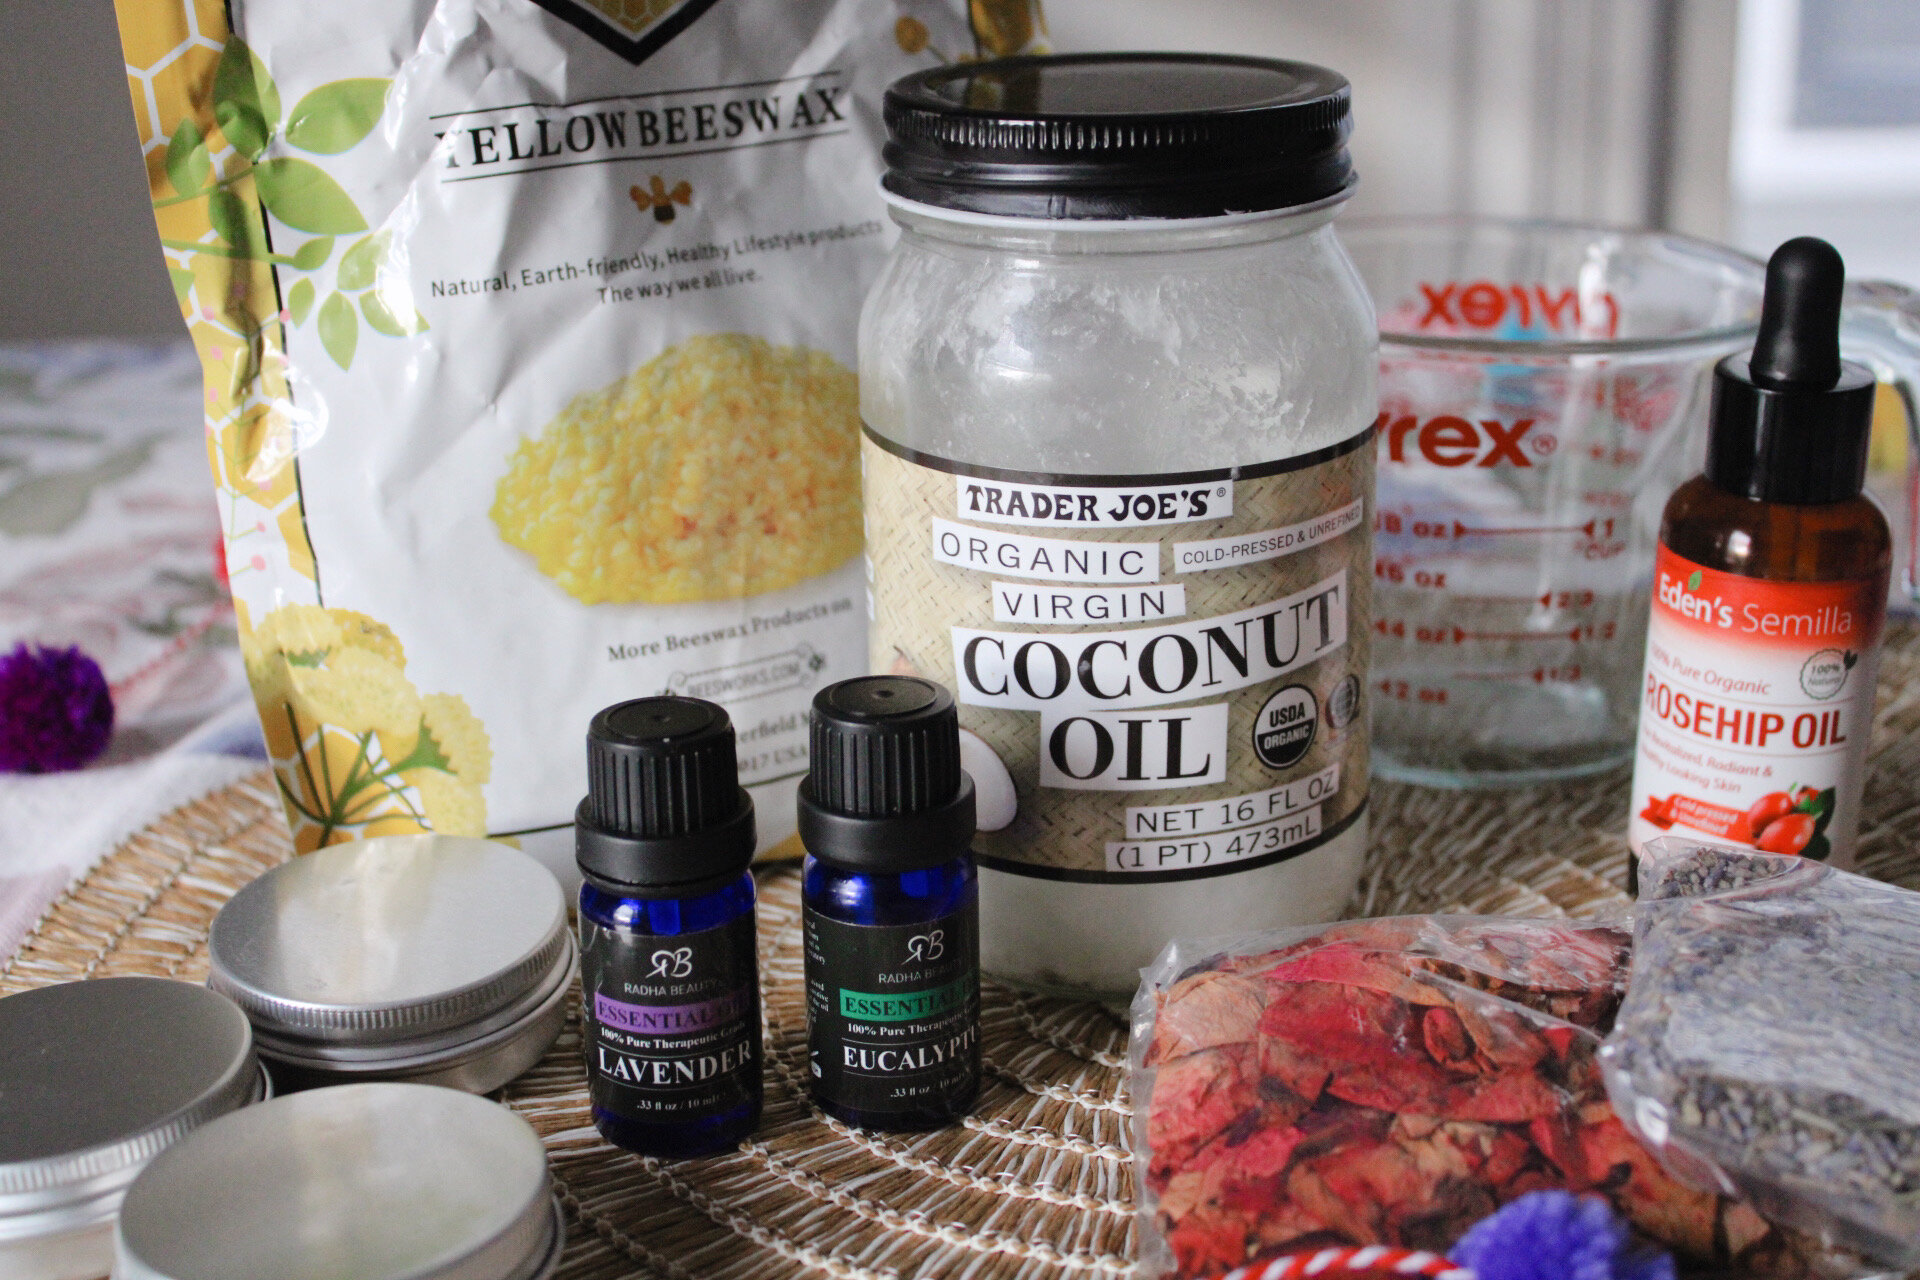
Supplies (for 4 lip balms)
2 tablespoon coconut oil (I used Trader Joe’s brand)
4 tablespoons beeswax pellets
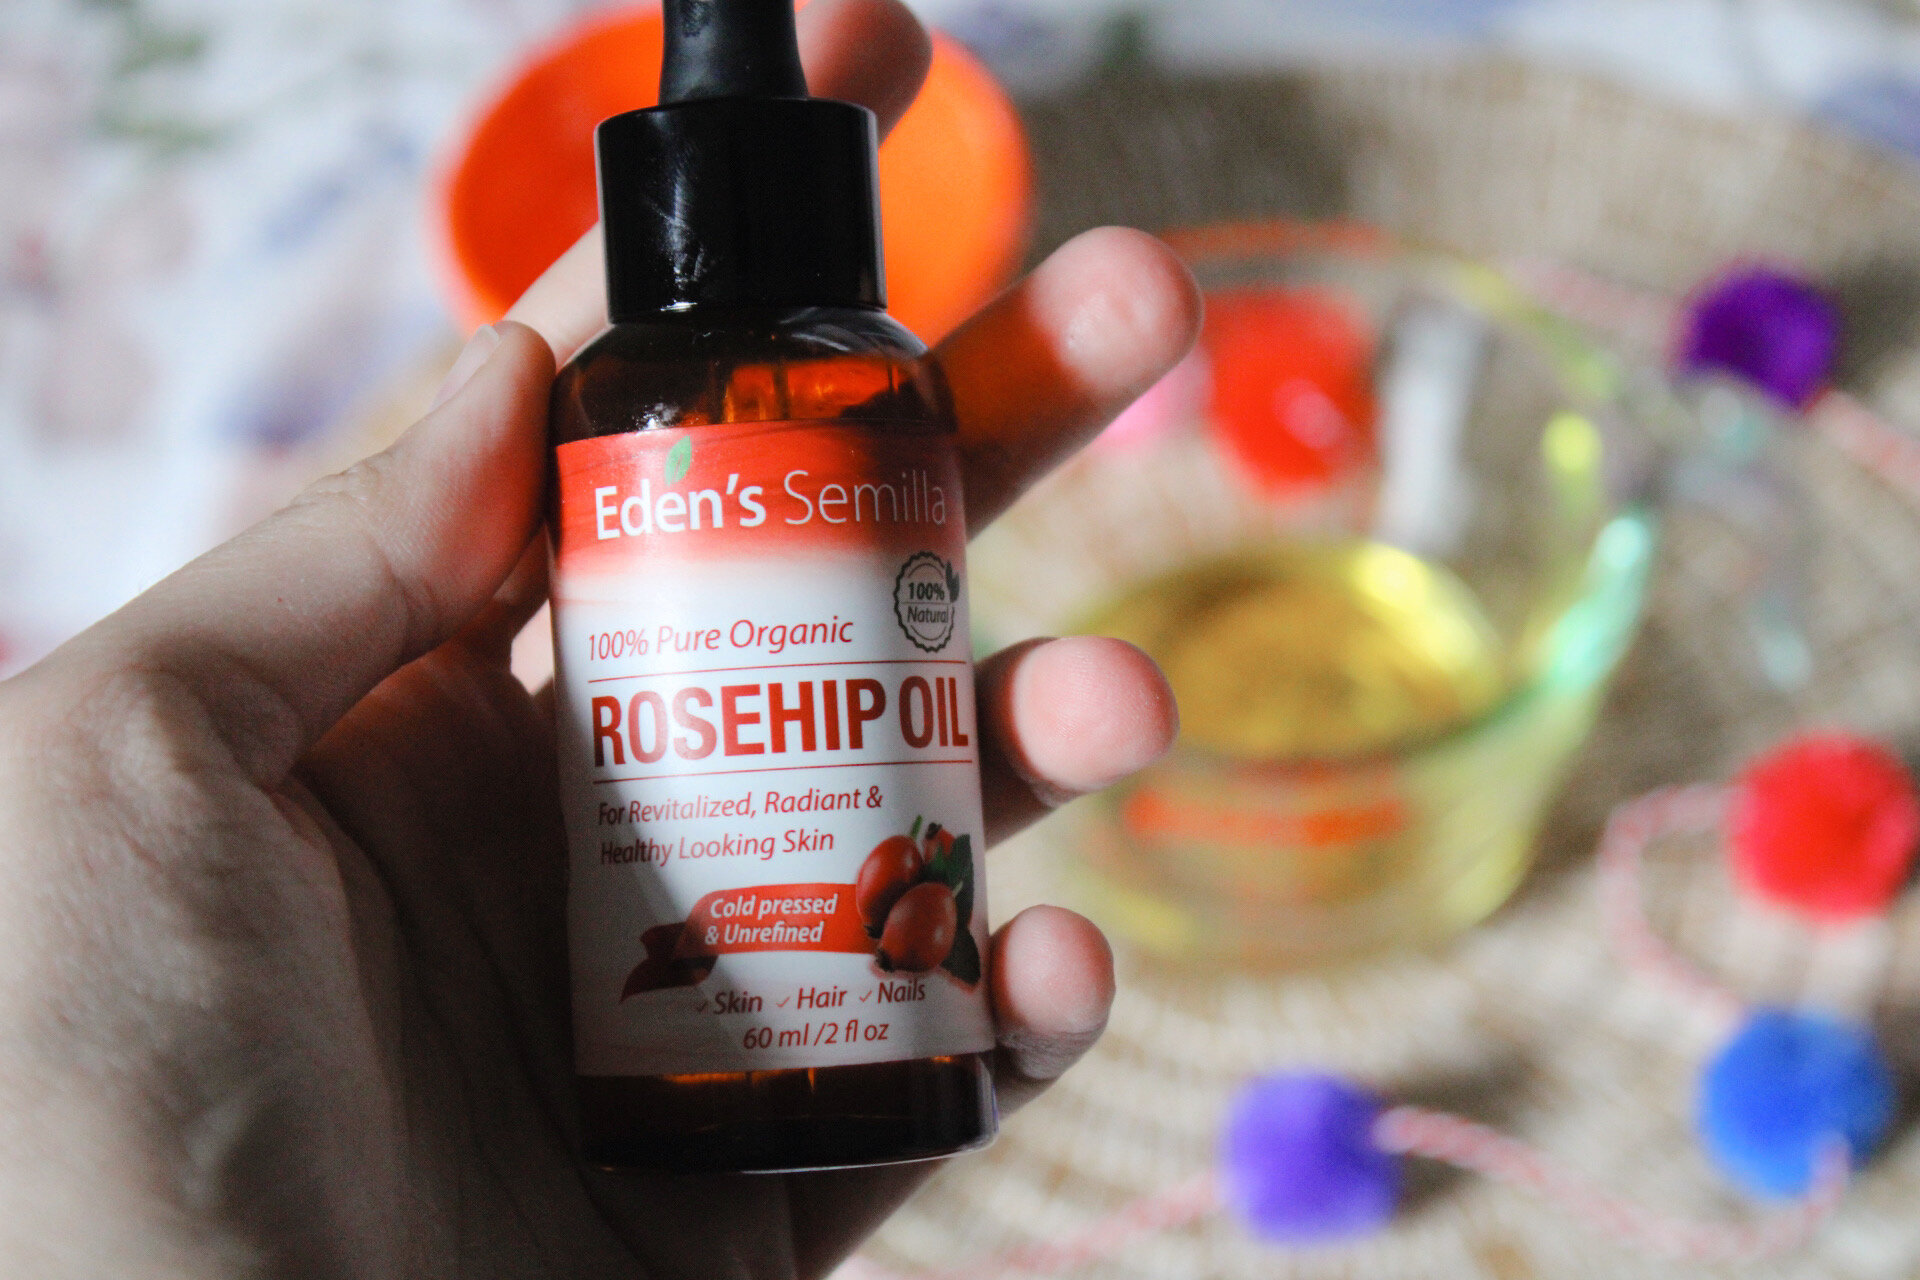
2 teaspoon rosehip oil
Essential oils (eucalyptus and lavender)
Small bowl
Once you have everything together, the lip balm making process can commence as follows:
Step One: First start out by placing 2-3 spoons in the freezer and lining a baking sheet with parchment paper and placing the tins ontop as to not make a mess
Step Two: In your glass measuring cup mix together the coconut oil and beeswax pellets

Step Three: Next, microwave at 30 second intervals until ingredients are completely combined. CAUTION - the measuring cup will be hot. Wear an oven mit when removing and place a potholder on the table for when you place it down.
Step Four: Now, remove your measuring cup from microwave and grab one of the frozen spoons. Place the spoon into the mixture and test the consistency. If you would like it to be a harder lip balm add 1teaspoon more of beeswax pellets. For softer, add 1 teaspoon more coconut oil and microwave. If you like the consistency move to the next step.

Step Five: While the mixture is in the microwave, take a small bowl and shred some dried rose petals and lavender. You want it to be small but not too small.
Step Six: Next, Add rosehip oil and 20-30 drops of each flavor of essential oil. This may seem like a lot, but you need it to be strong enough to cut through the smell of coconut oil. Stir together until blended.
Step Seven: Now, pour the mixture into your tin. Stop pouring when you reach the top of the tin. No worries if you pour too much. It is a very easy clean up.
Step Eight: Immediately before the mixture cools, sprinkle some of the dried flower mixture you made earlier into each of the lip balms. Allow to cool for 15 minutes, until solid. I personally like to wait at least an hour to be on the safe side, but if you are in a rush you can always place them in the freezer for a few minutes.

There you have it! I love how these little balms turned out and the process was a whole lot easier than I ever expected. They make the perfect gift for friends and family… I’ve given one to almost everyone I know and they use them regularly. Take a chance, make a few and give them out for a birthday or holiday gift, you won’t regret it!