
DIY Clay Rainbow Door Stopper
Something that happens when you live in an old house is that it settles and sometimes it settles on an angel. Now I bet that there are many ways that this concept can be rectified, but as renters we just take it as it is and work with a slant here or there. One of the things that we found odd was that the bedroom door would close on its own. This is not the end of the world by any means and actually is quite helpful because our bedroom is right off the kitchen and when we are cooking it is best to keep that door closed. It also is good for when we have people over and no one would walk into our bedroom space. Lots of positives about having a self closing door, but there is a negative of sometimes you just want it to stay open and it can’t.
I researched plenty of door stoppers but I really did not like any of them. Most of them reminded me of being at school or in a gymnasium. I wanted to make something that could act as a doorstop by day but then turn into a decorative item at night (though I don’t want it to hang on the door). Right now I have an oversized pom pom that is doing the trick but I wanted something more long term so here we go to make one out of clay! It is super simple and so fun but just keep in mind that it is a multi day project!

SUPPLIES
-Air Dry Clay
-Sandpaper Pieces
-Acrylic Paint
-Paint Brushes
MAKING THE DOORSTOP
Step One: First, you need to decide how big you want your rainbow to be. I wanted mine to be pretty thick and heavy so I used the entire package of air dry clay which is just over 17oz. Just move the clay through your hands to make a big ball. You will be using the whole package, so it will still be a little thick. Air dry clay gets dry pretty quickly, so make sure that you have some water close by that you can just add to the clay and make it easier to handle.


Step Two: Squeeze two edges together until you have an oblong shape. Smooth over each side with water.
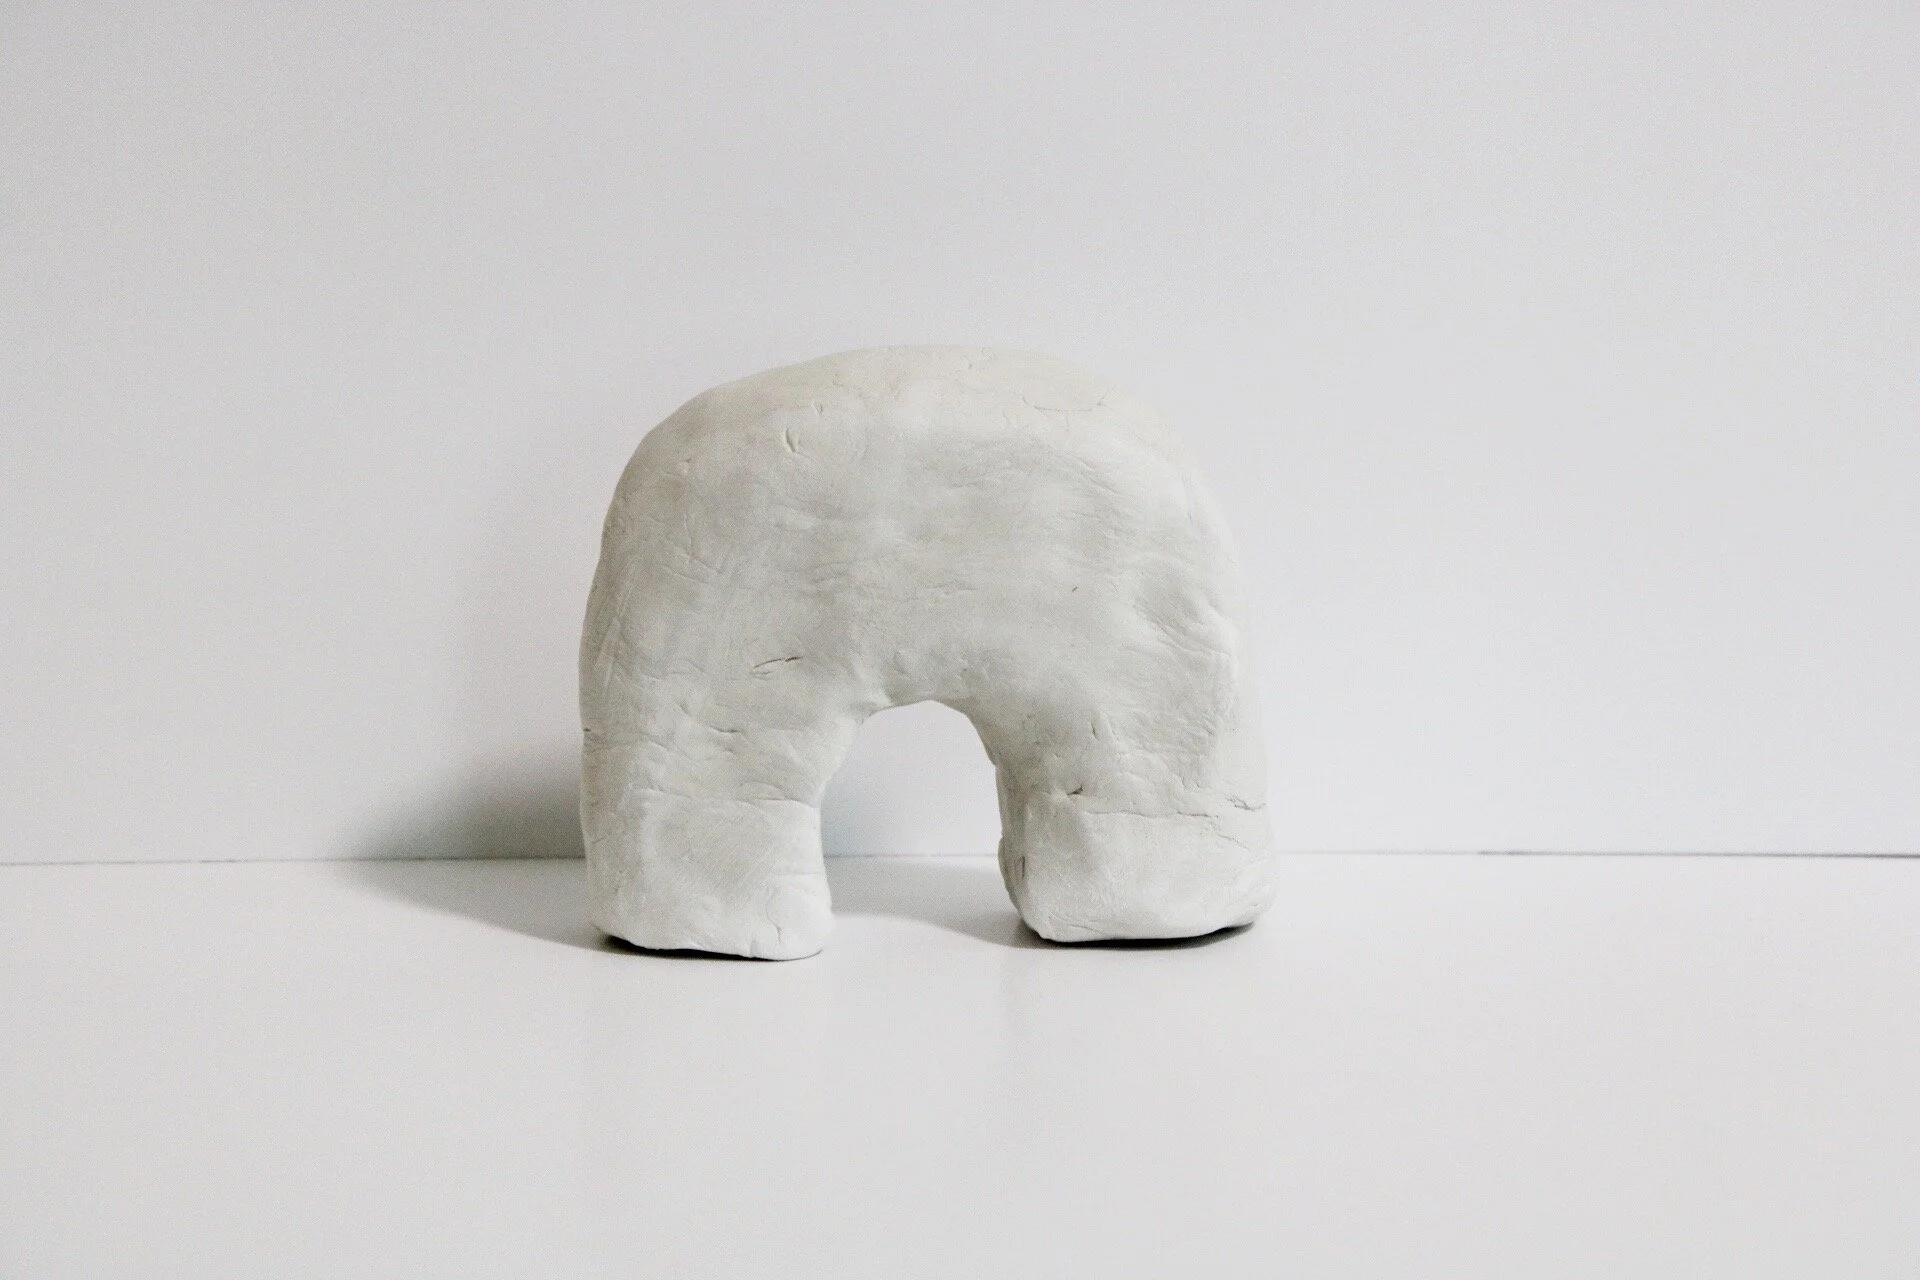
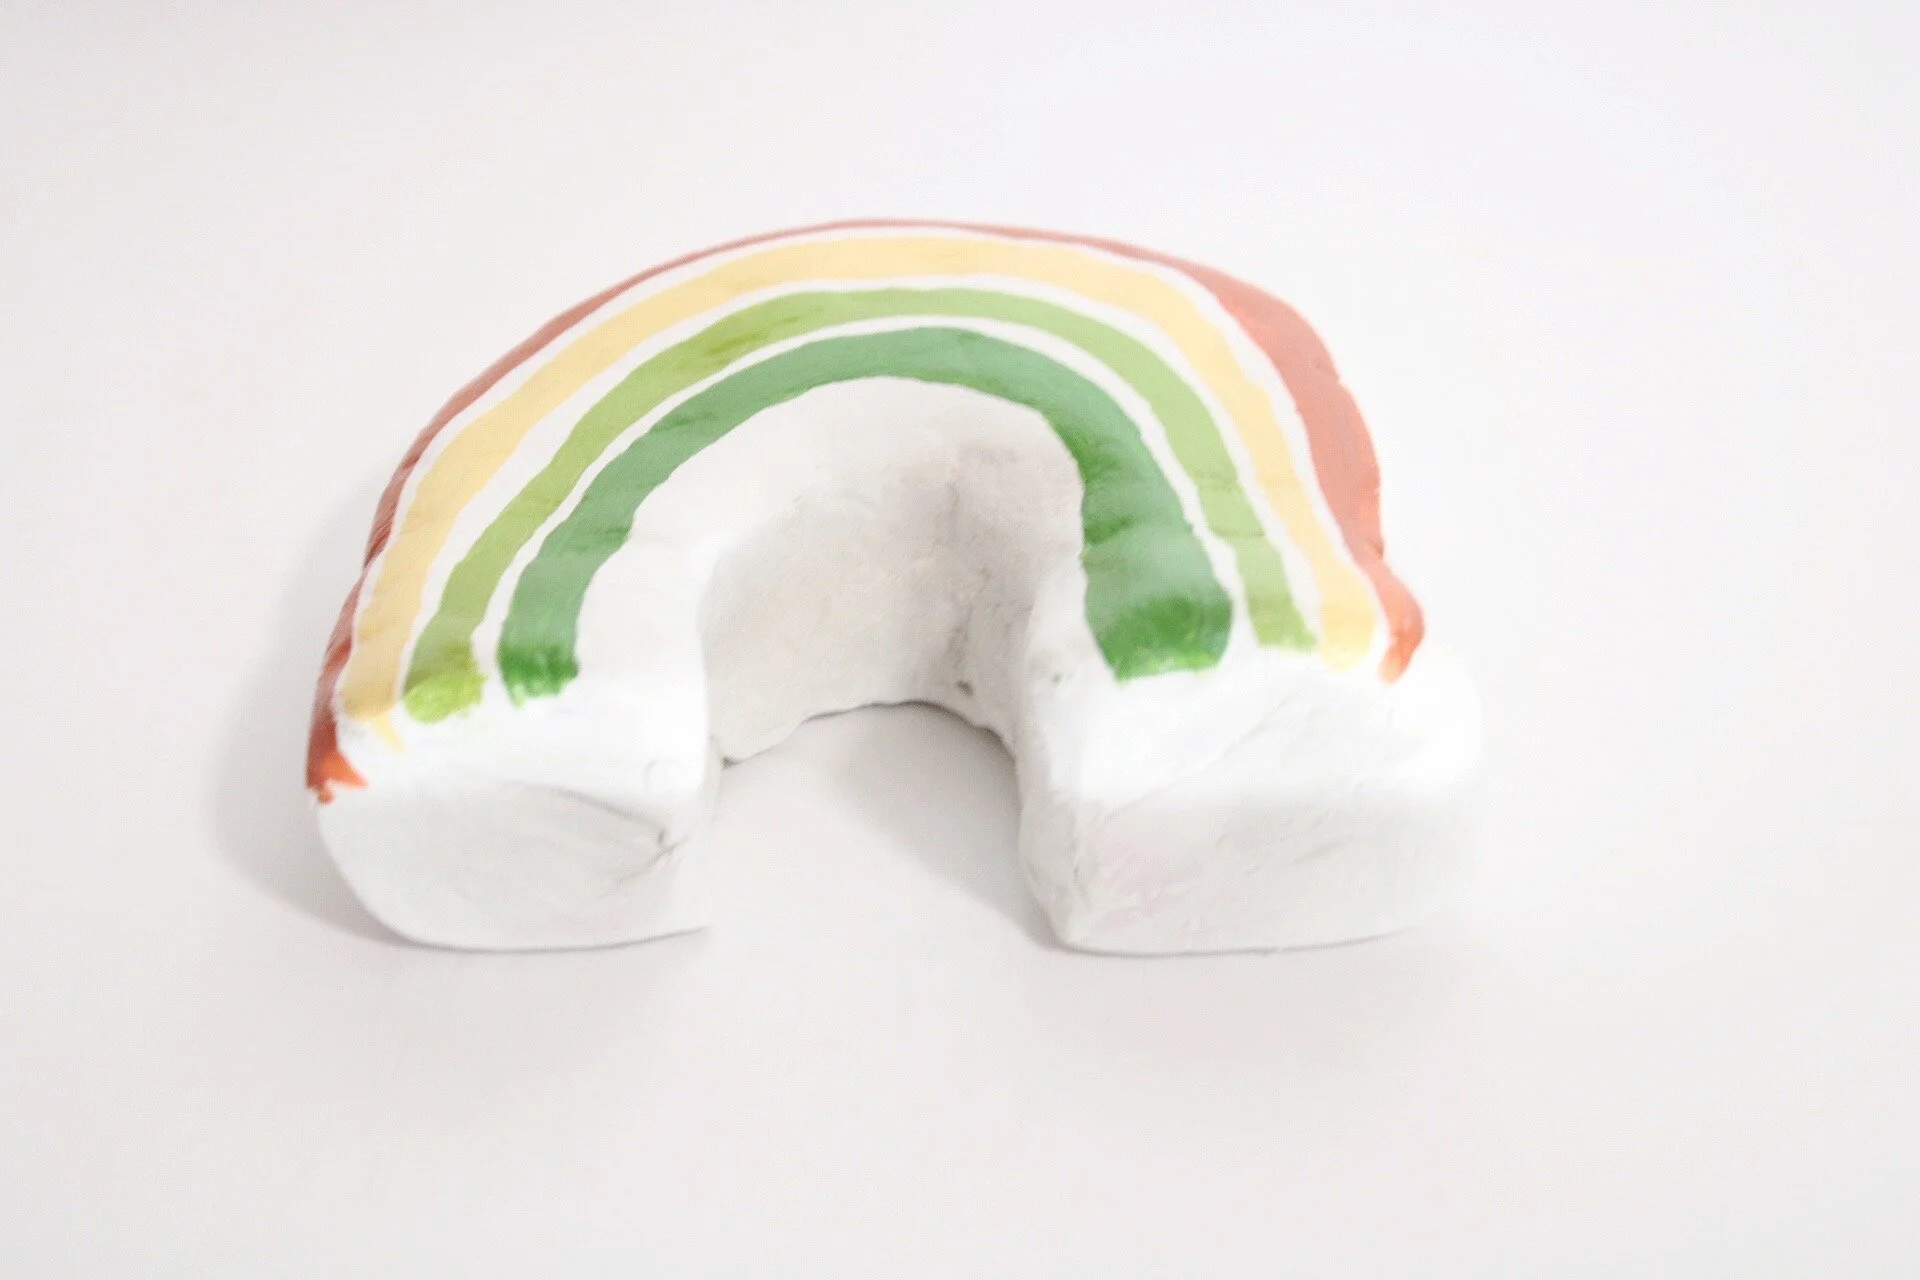
Step Three: Shape your rainbow into a half circle shape that is thick enough to stand up on its own. The shape might be wonky, but that makes it way more fun!
Step Four: Then cut a small curved shape in the middle to create a rainbow! Once this step is complete let it dry and set for 48 hours (I know it's a long time)
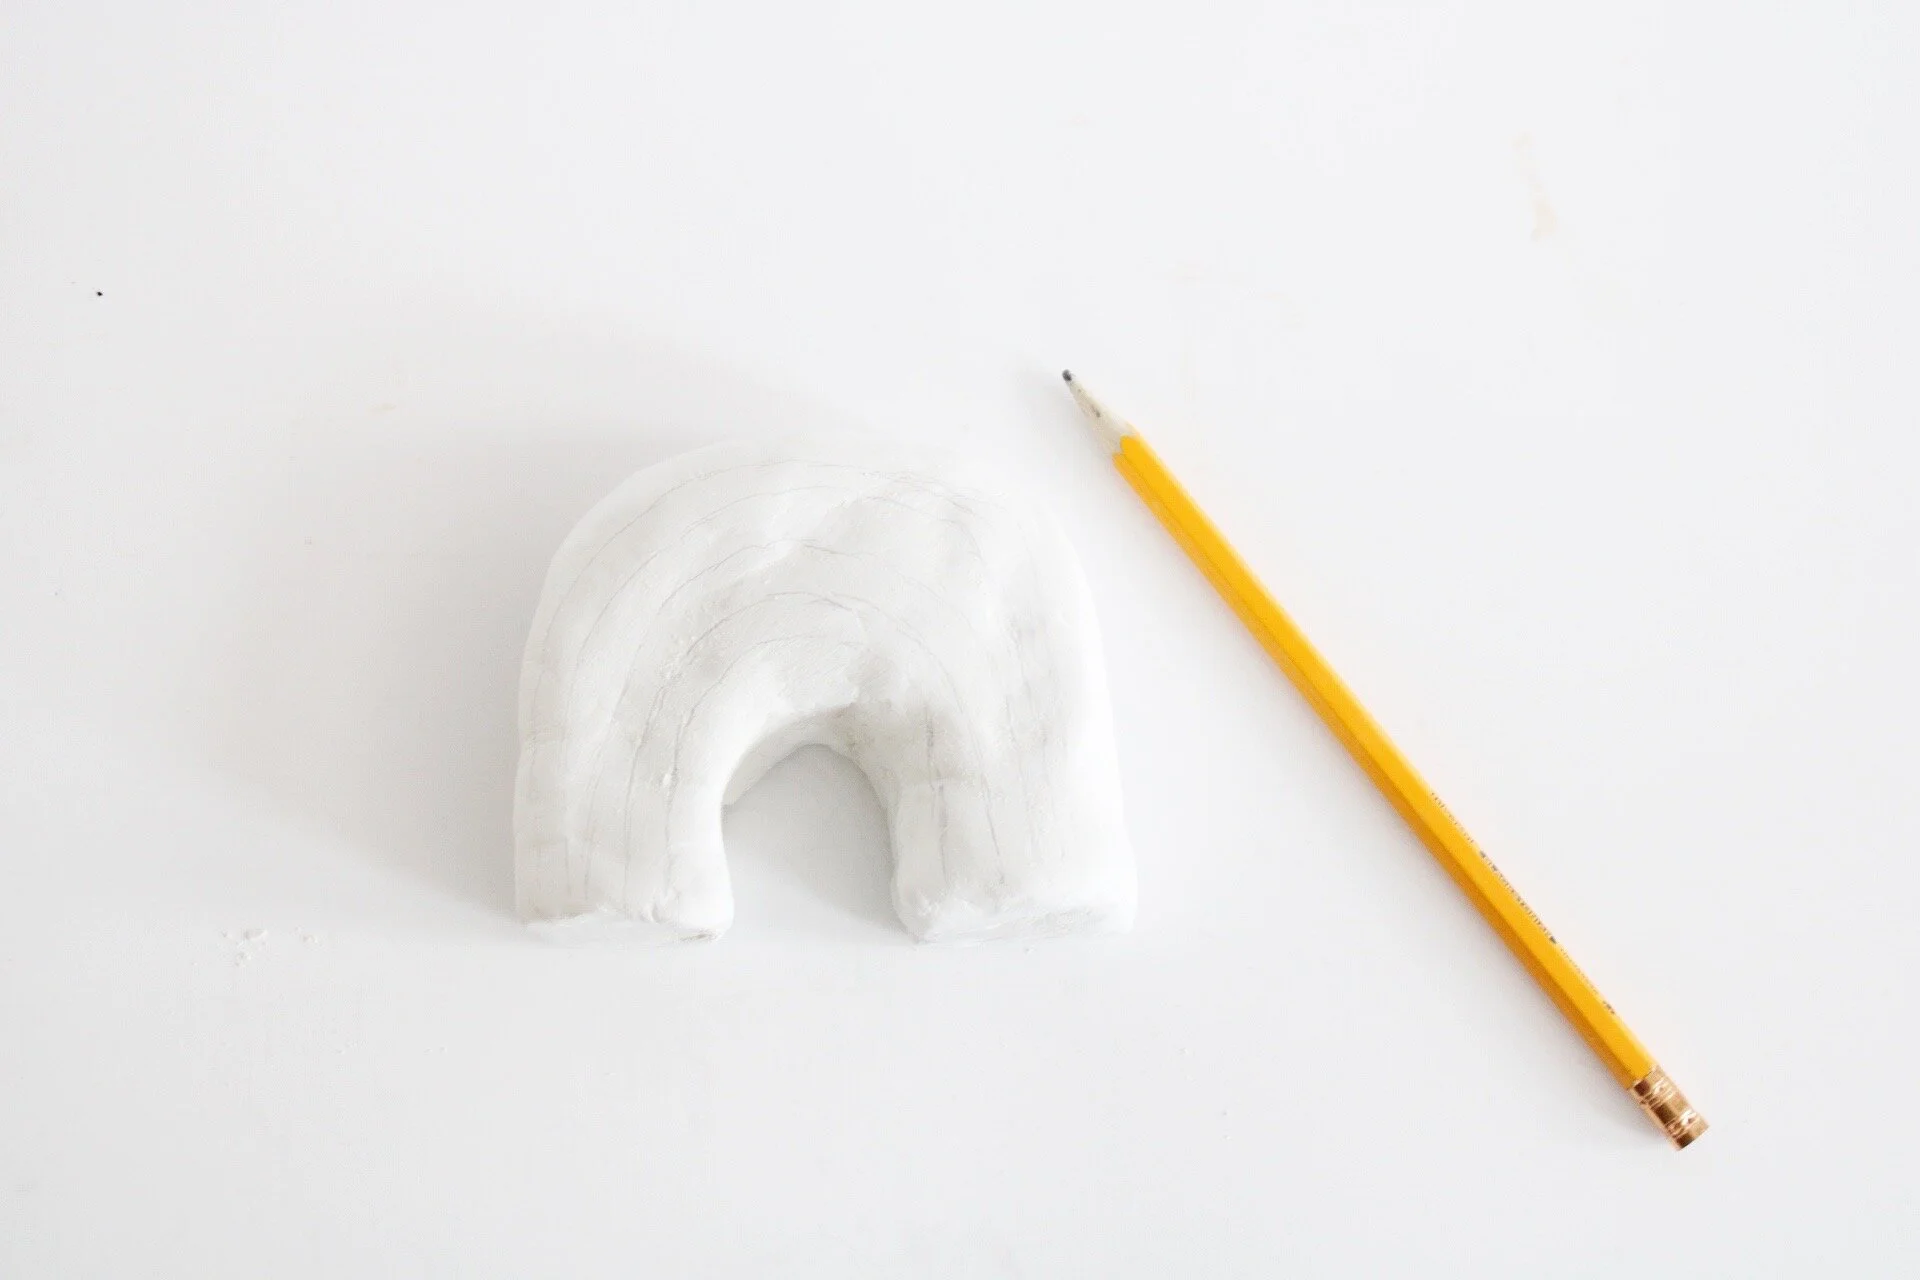
Step Five: Once everything is dried, sand your rainbow down it with some sand paper pieces. It does not have to be crazy, it can be quick and easy just to smooth out the edges.

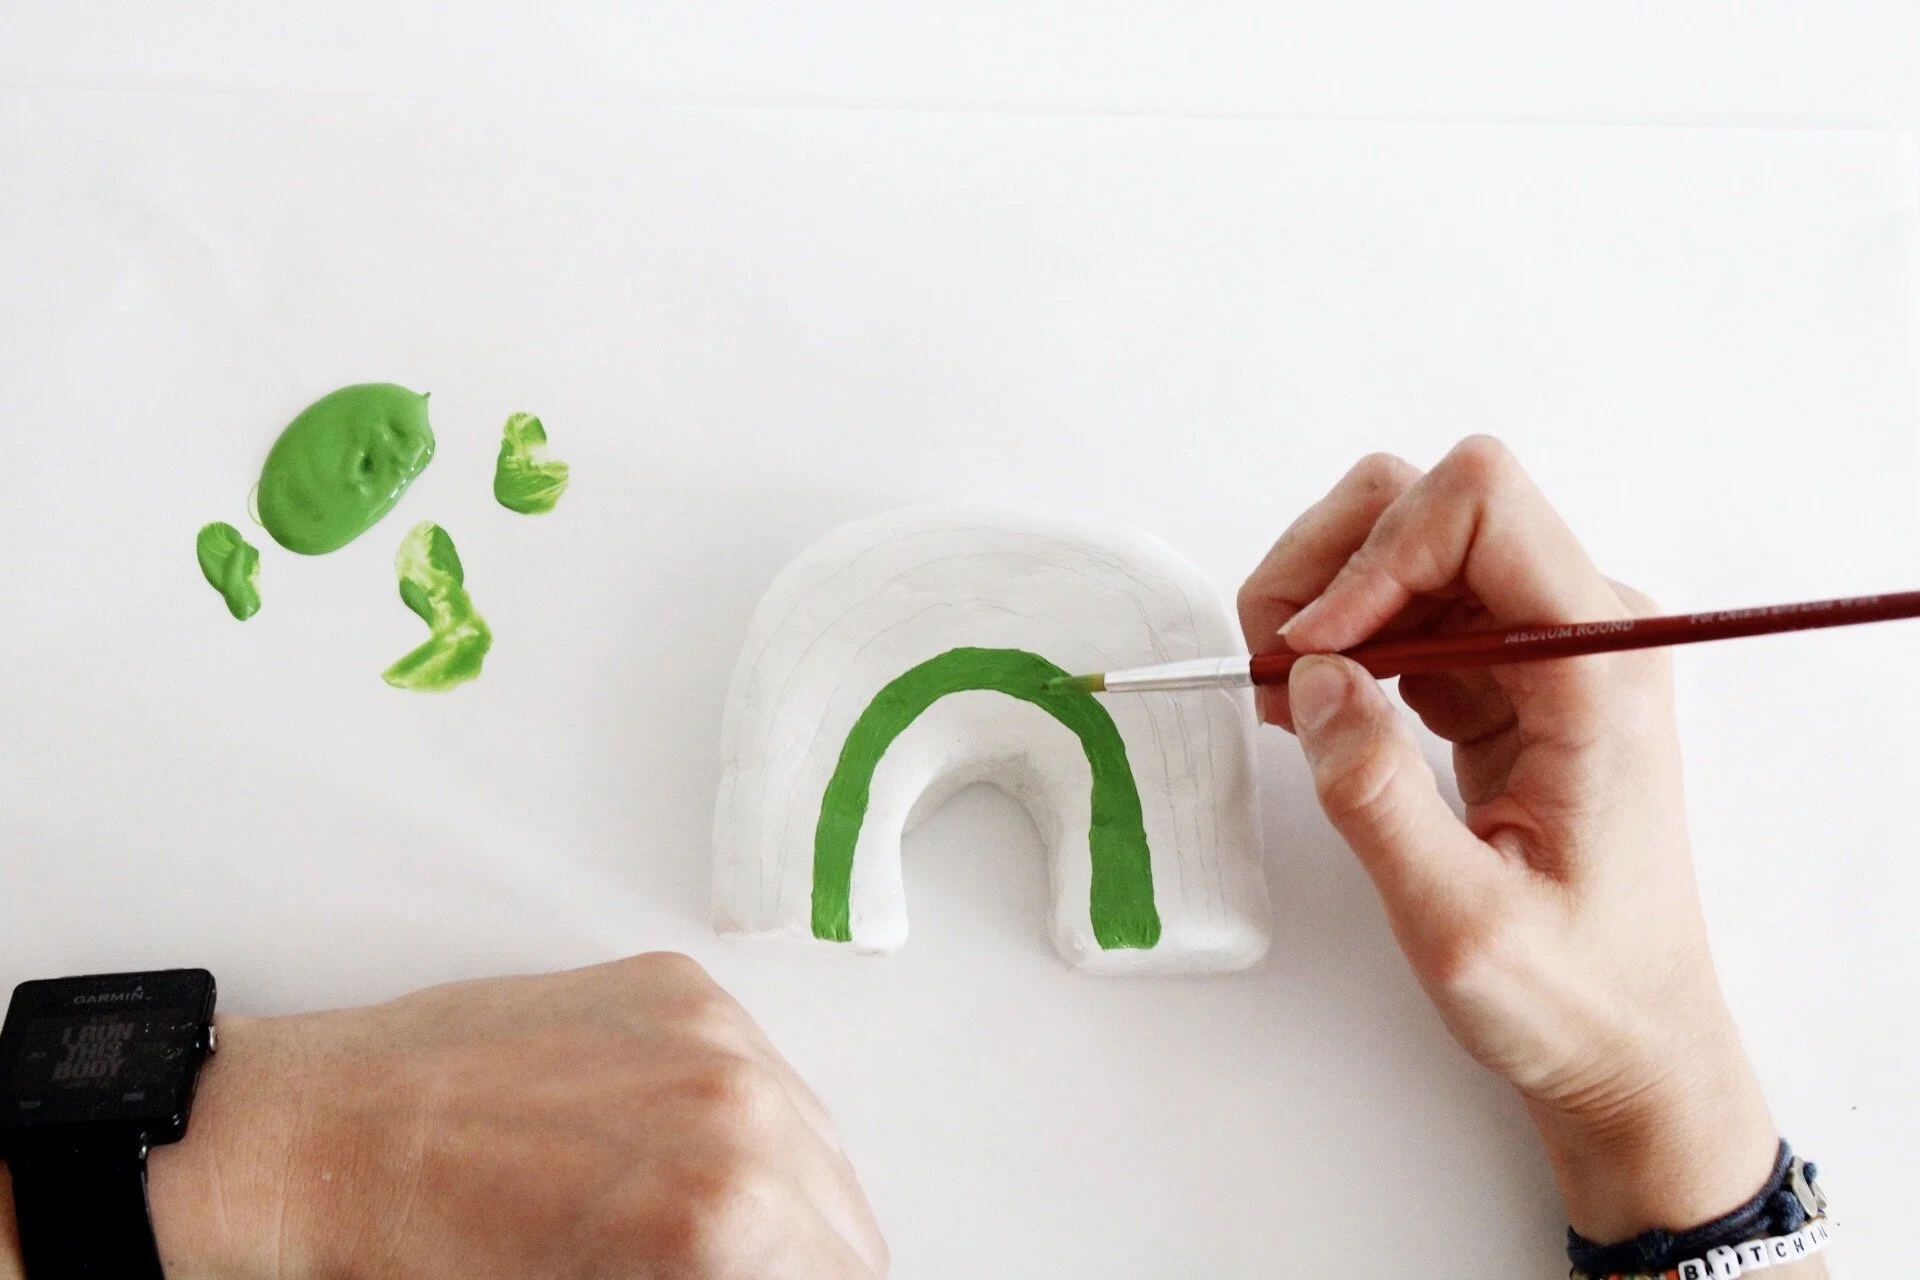
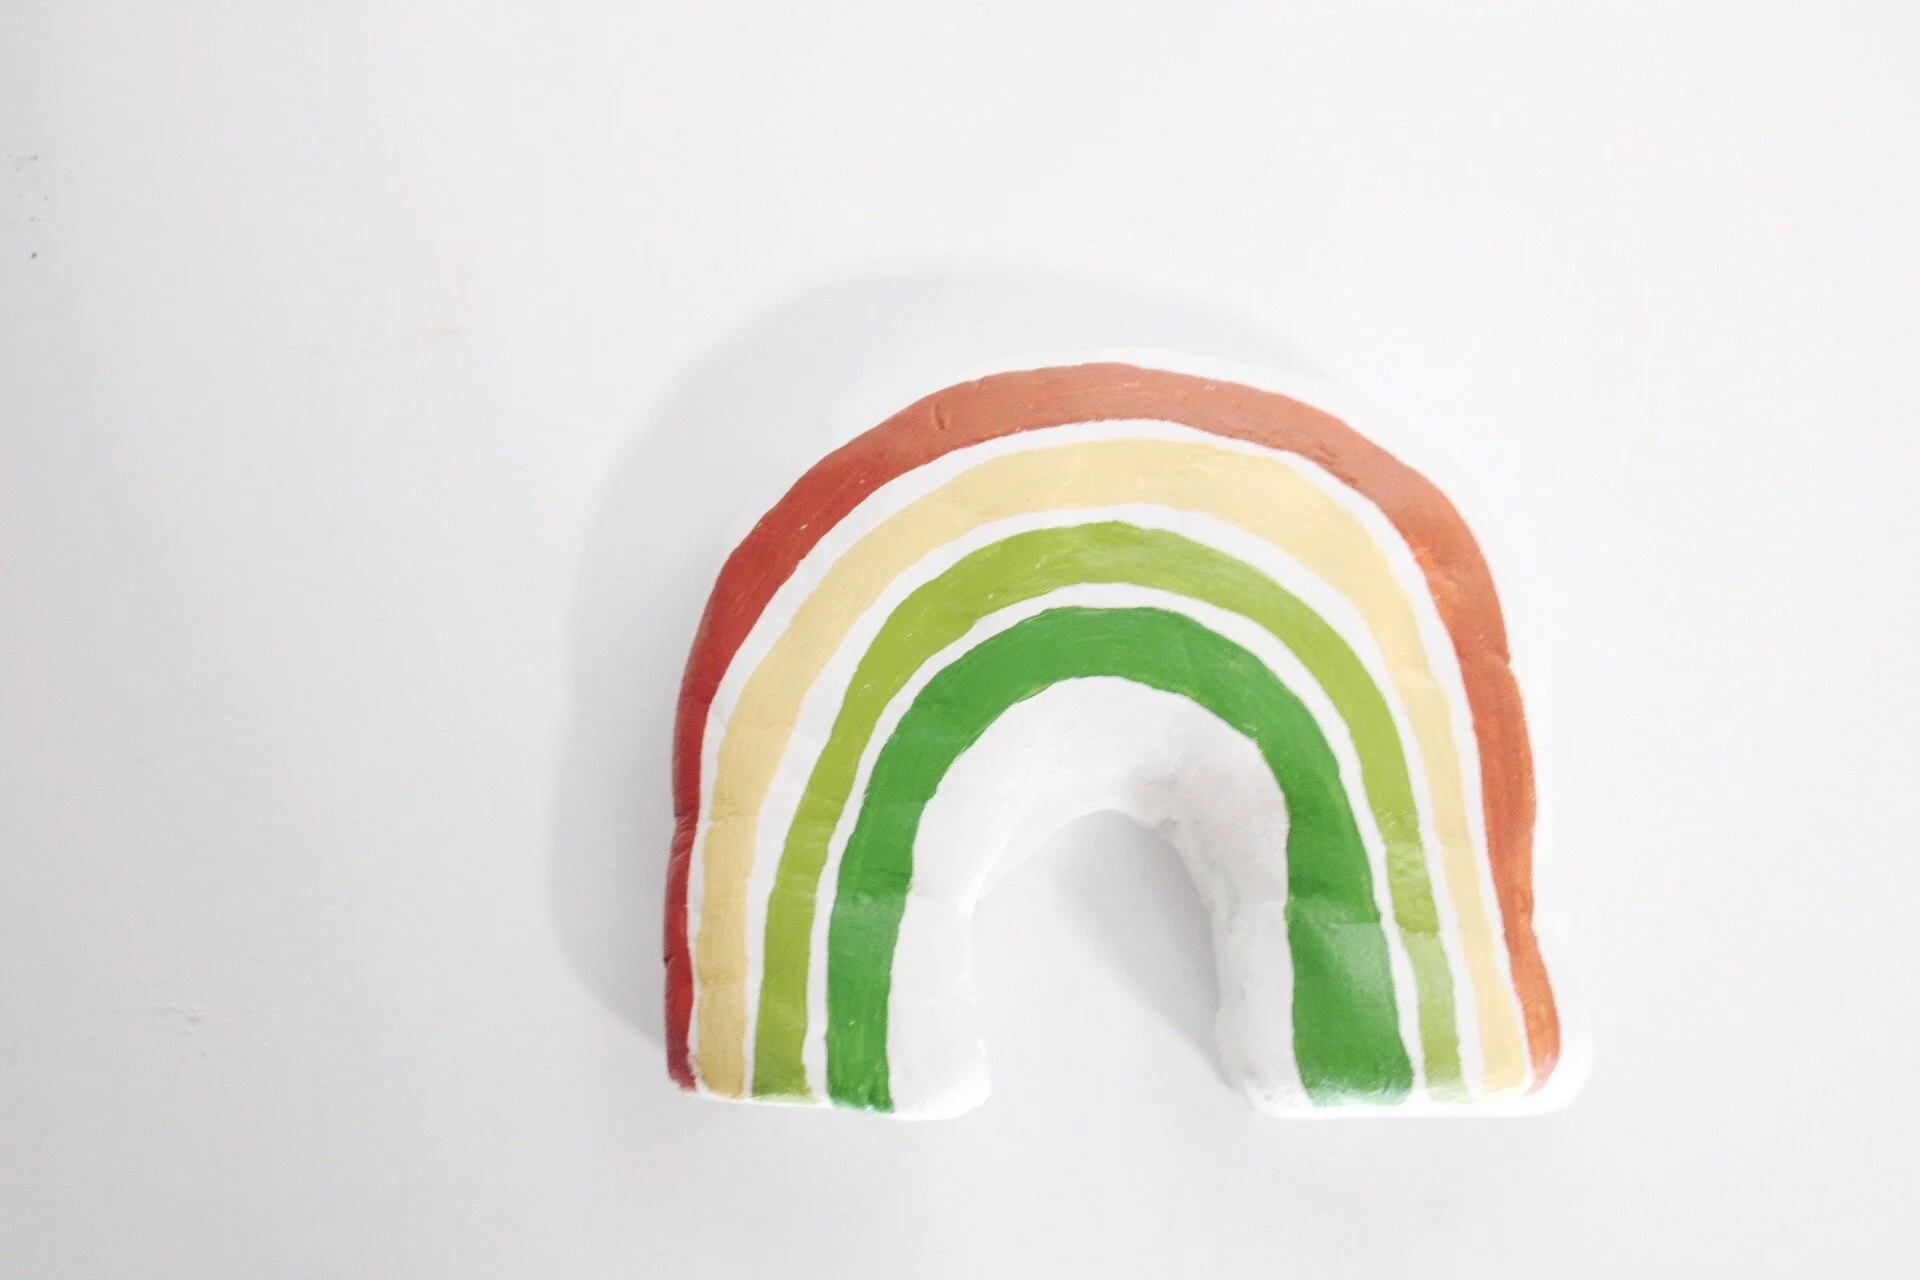
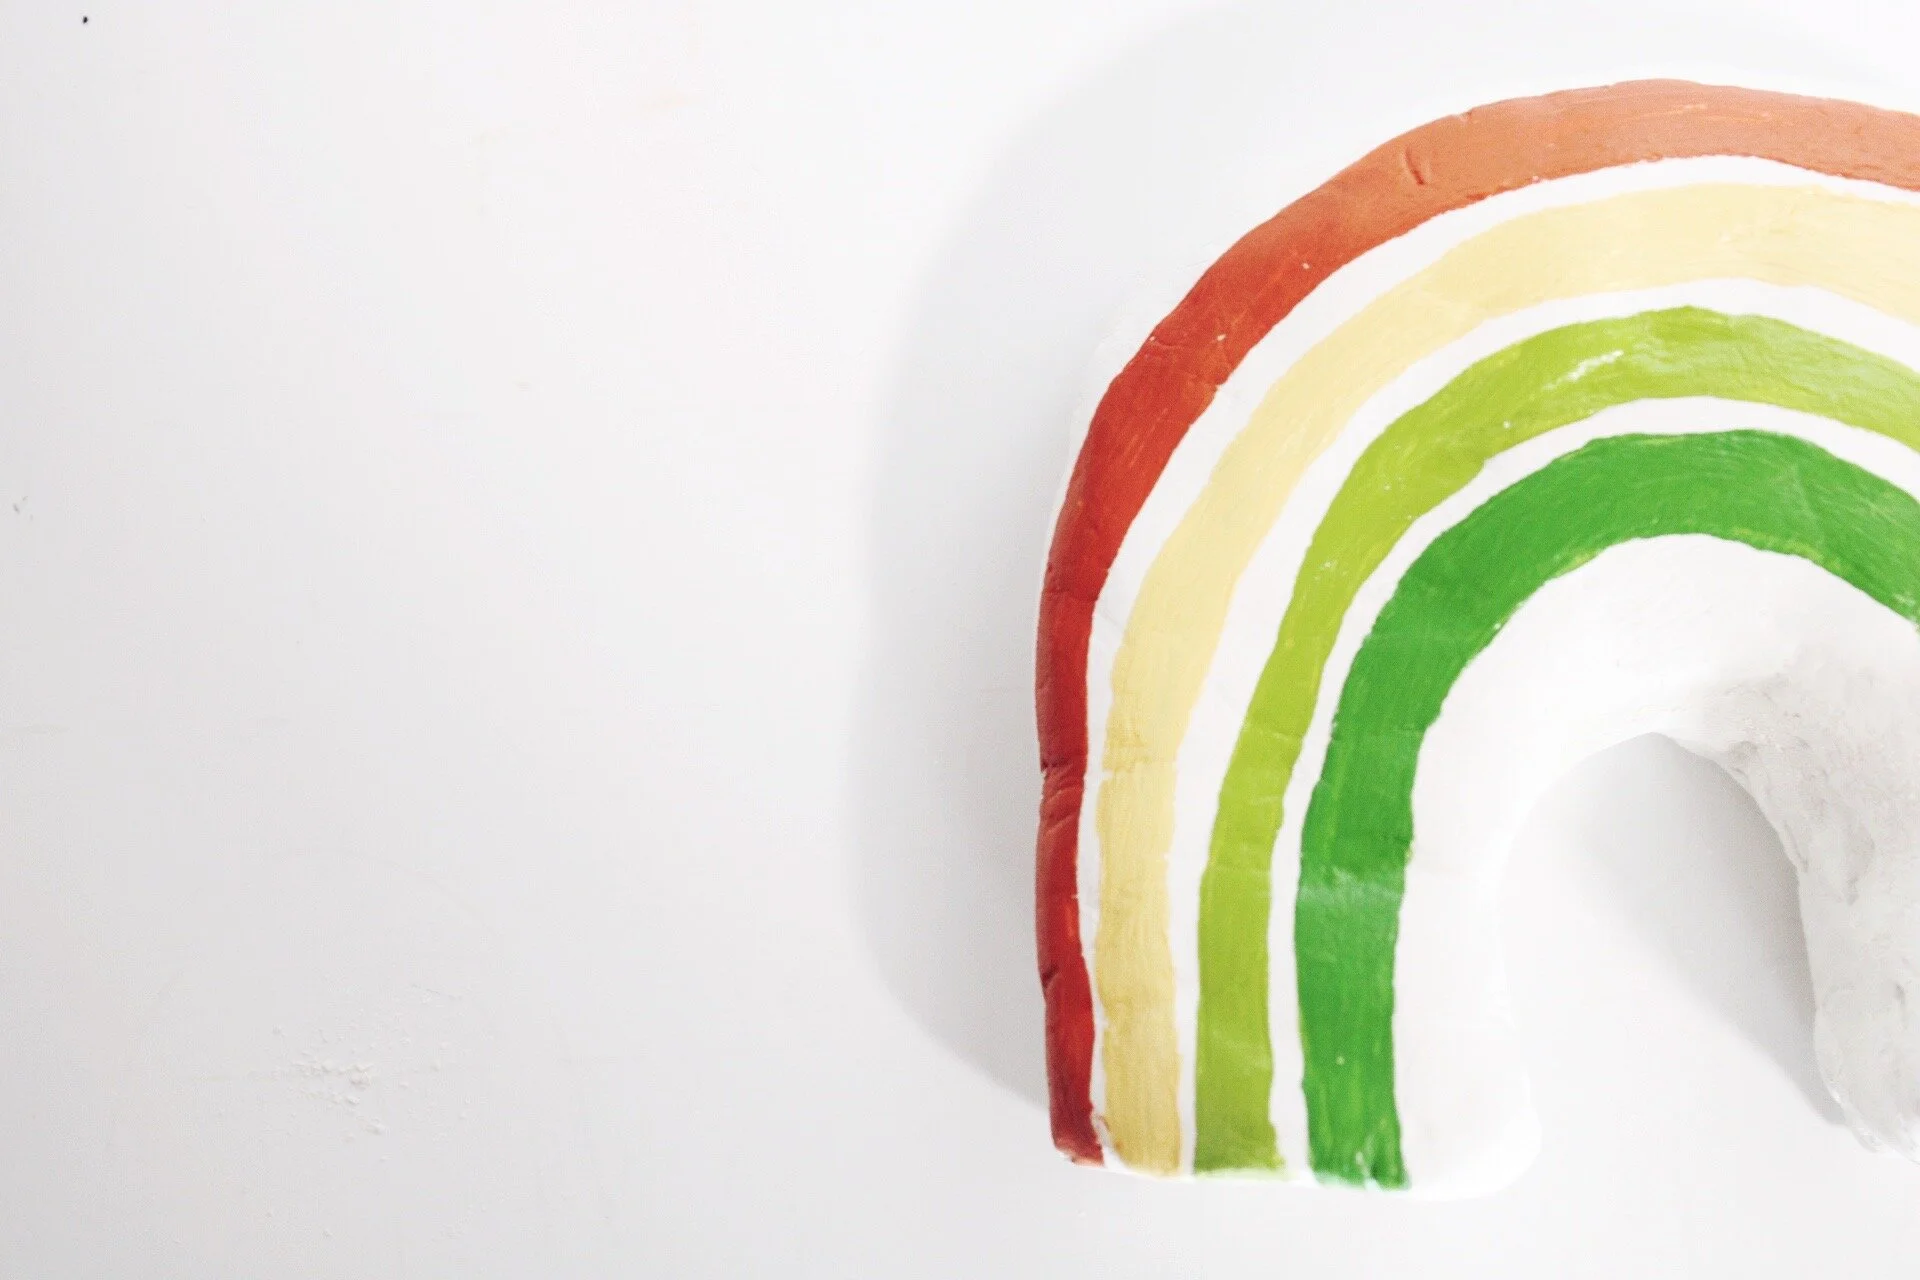
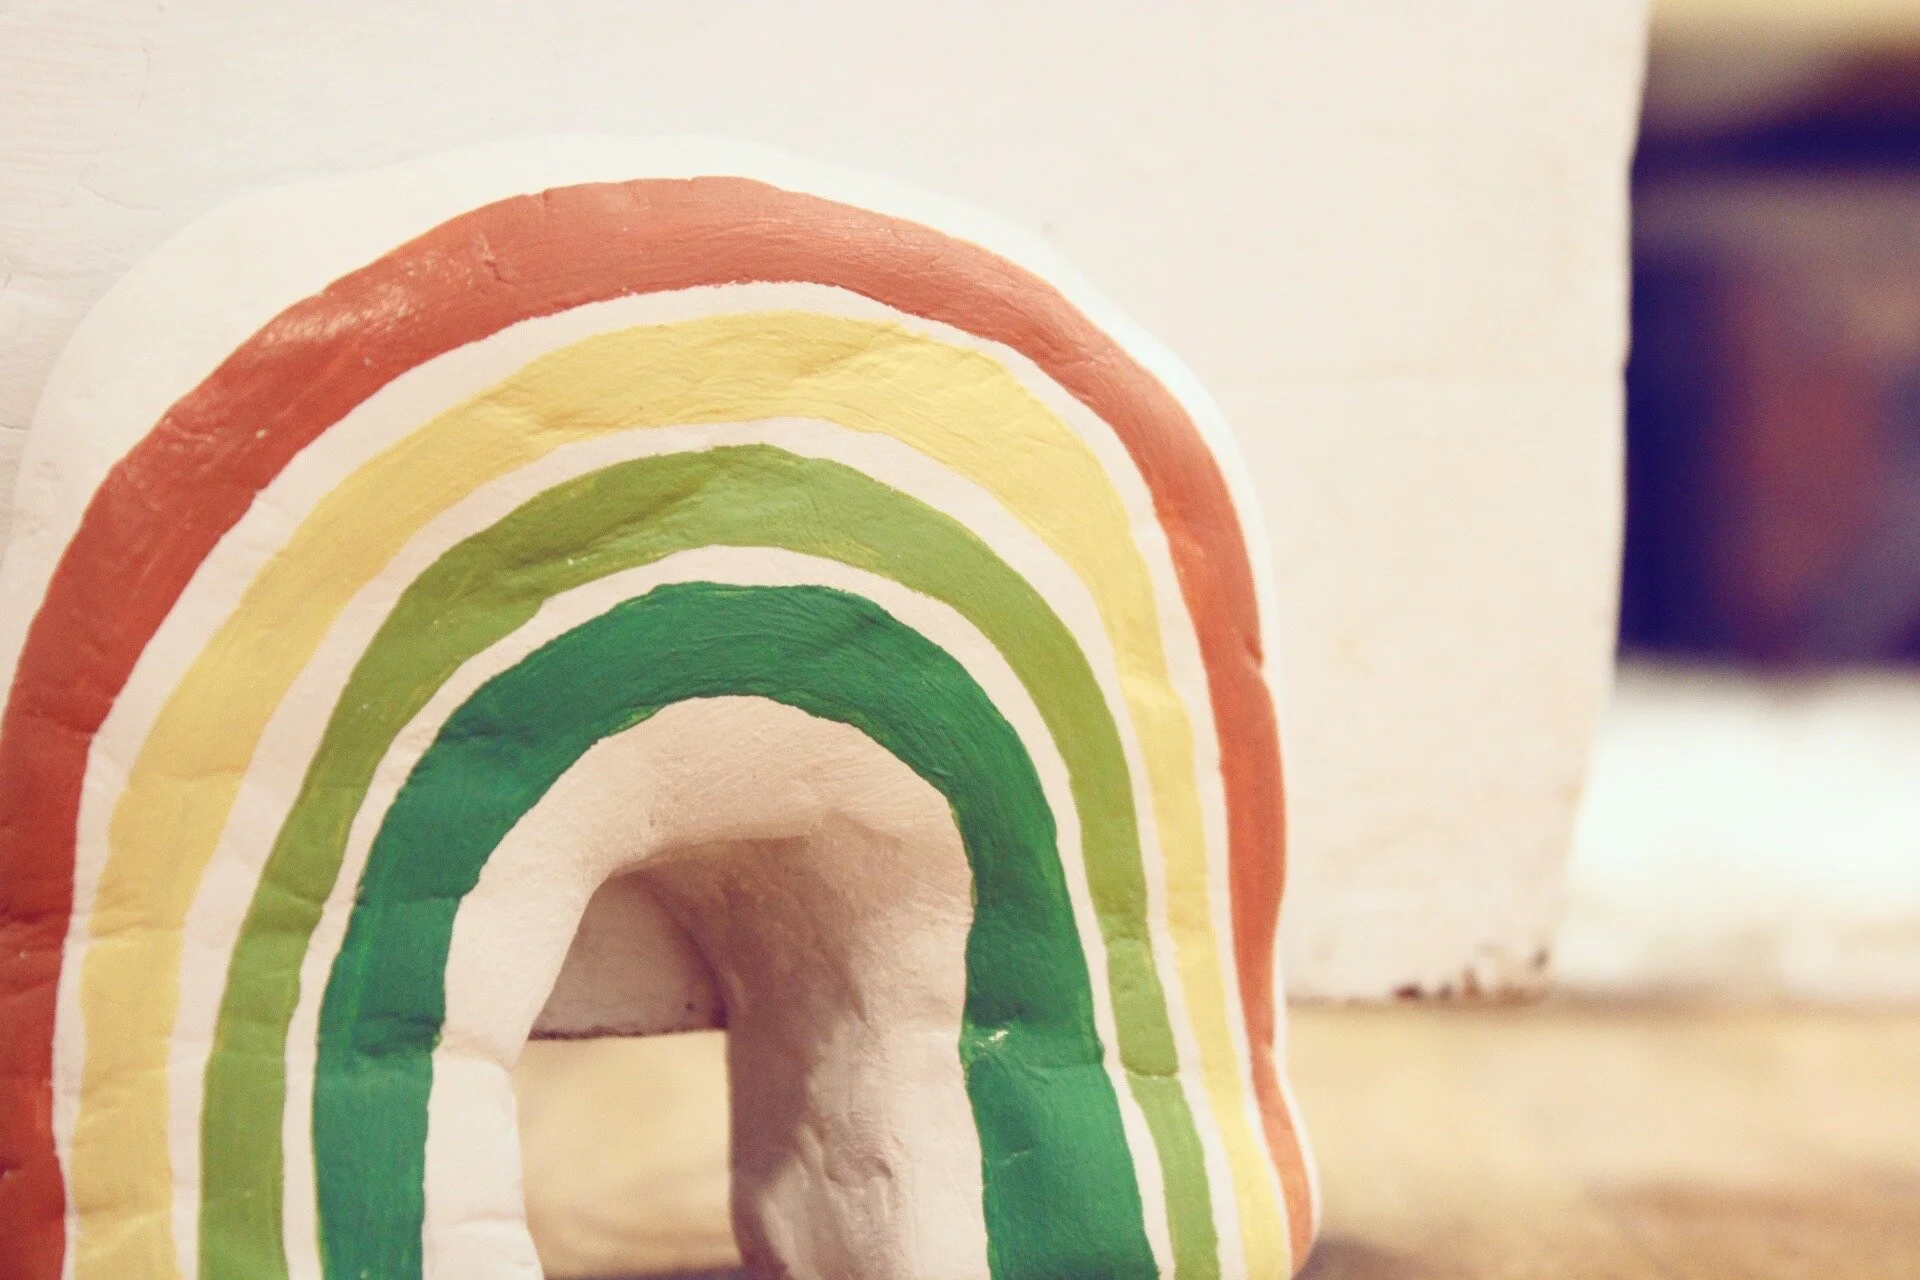
Step Six: Now, choose your colors of paint and paint your rainbow arches. This is where you can have some fun with it because you can choose if you want all the colors to be close together or if you want to have space in between. You can also choose how many colors you want to use. Have some fun with it!

Step Seven: Draw lines to mark where you will be painting the different colors. I wanted there to be some white space in between so I drew a bunch of lines.
Step Eight: Paint your rainbow!

Once you have it all painted you just have to let it dry and then you can start using it and keep your door open. If you want to seal it with Modge Podge that is also a great idea, but not 100 % necessary. I decided not to put a string holder at the top to hang on the door knob when it is not in use because I do plan to just put it on the dresser when the door is closed. If you want to you can add it to the rainbow in between step three and four.
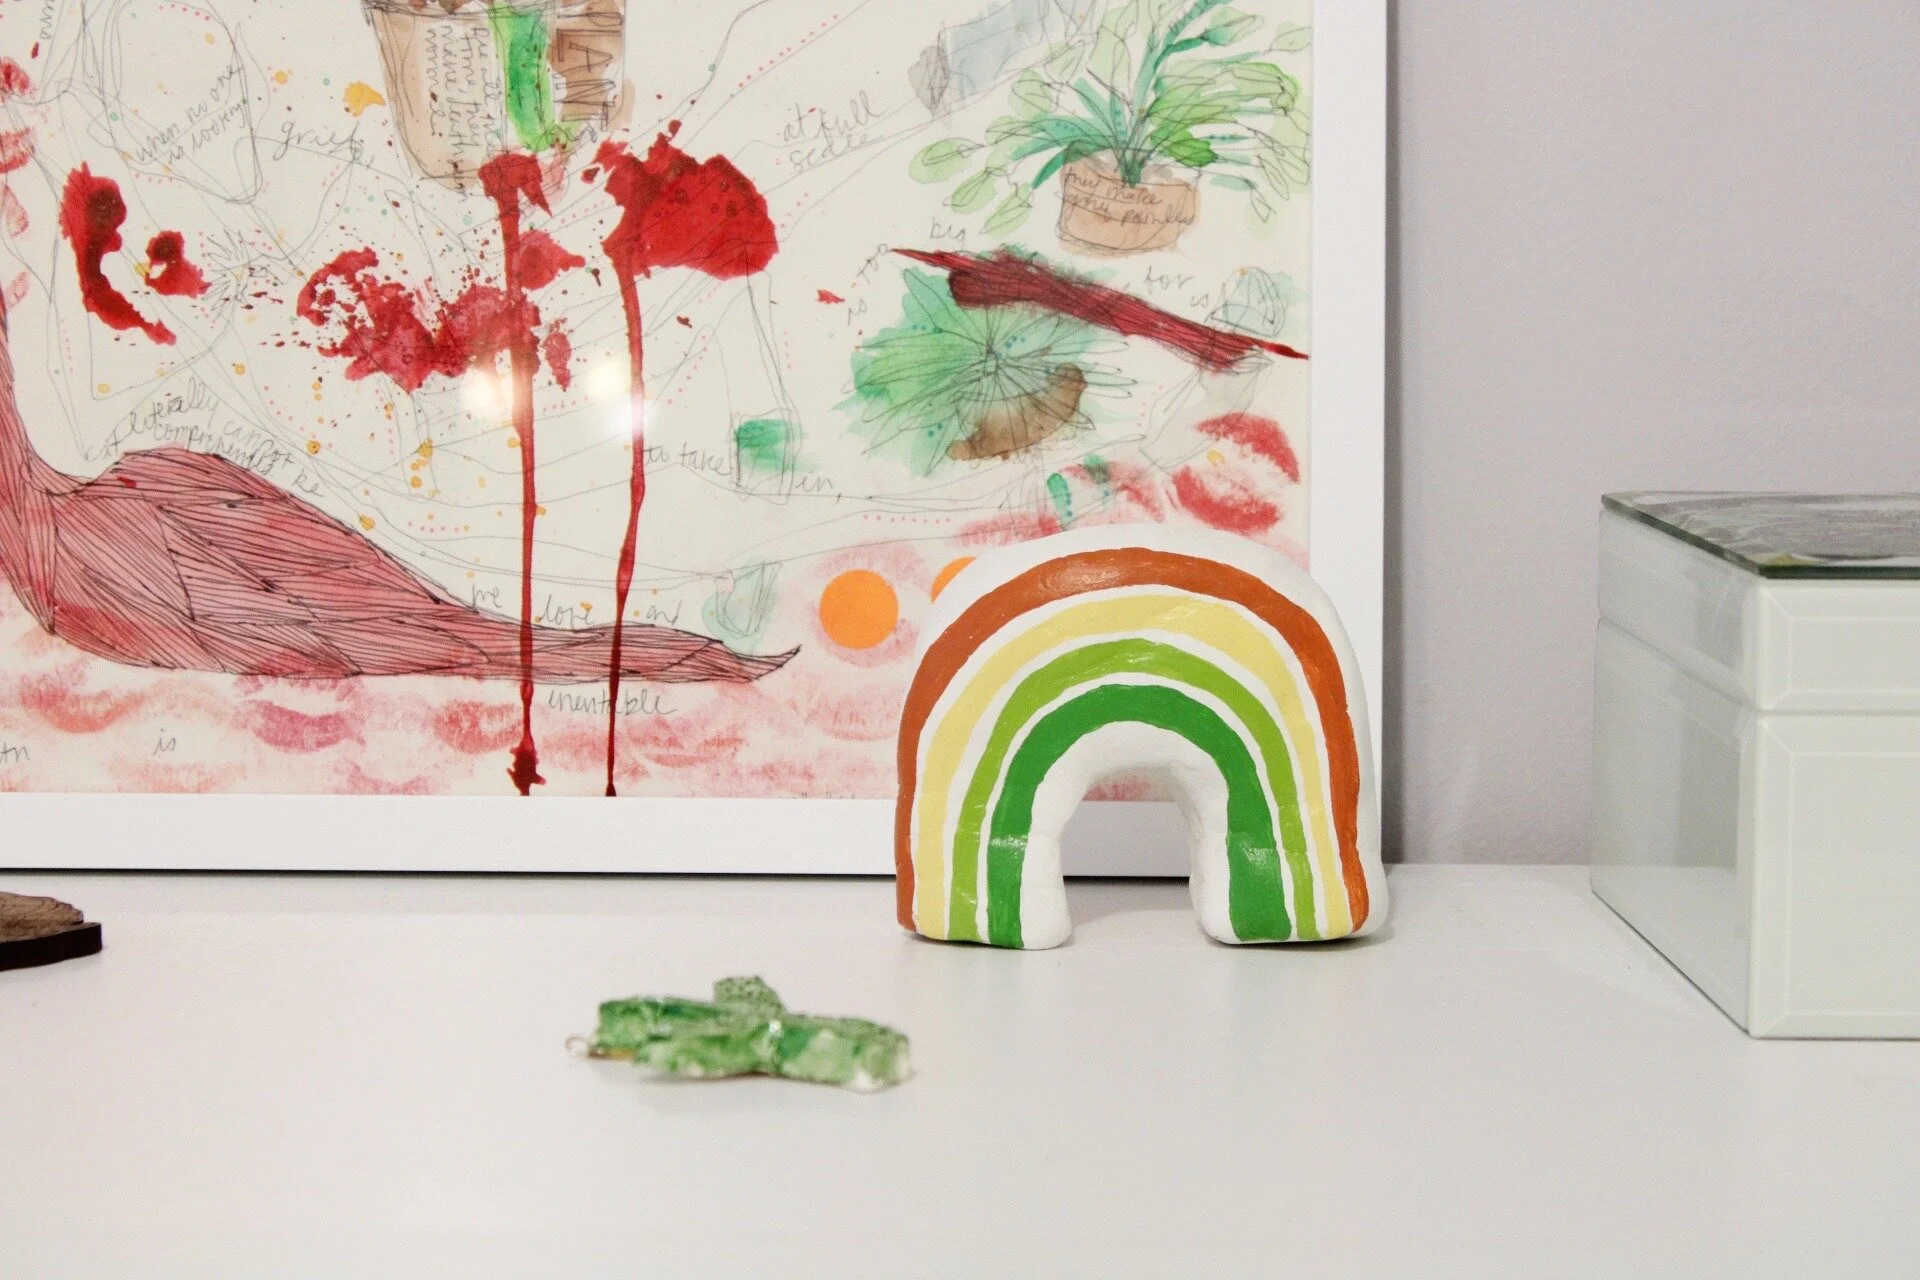
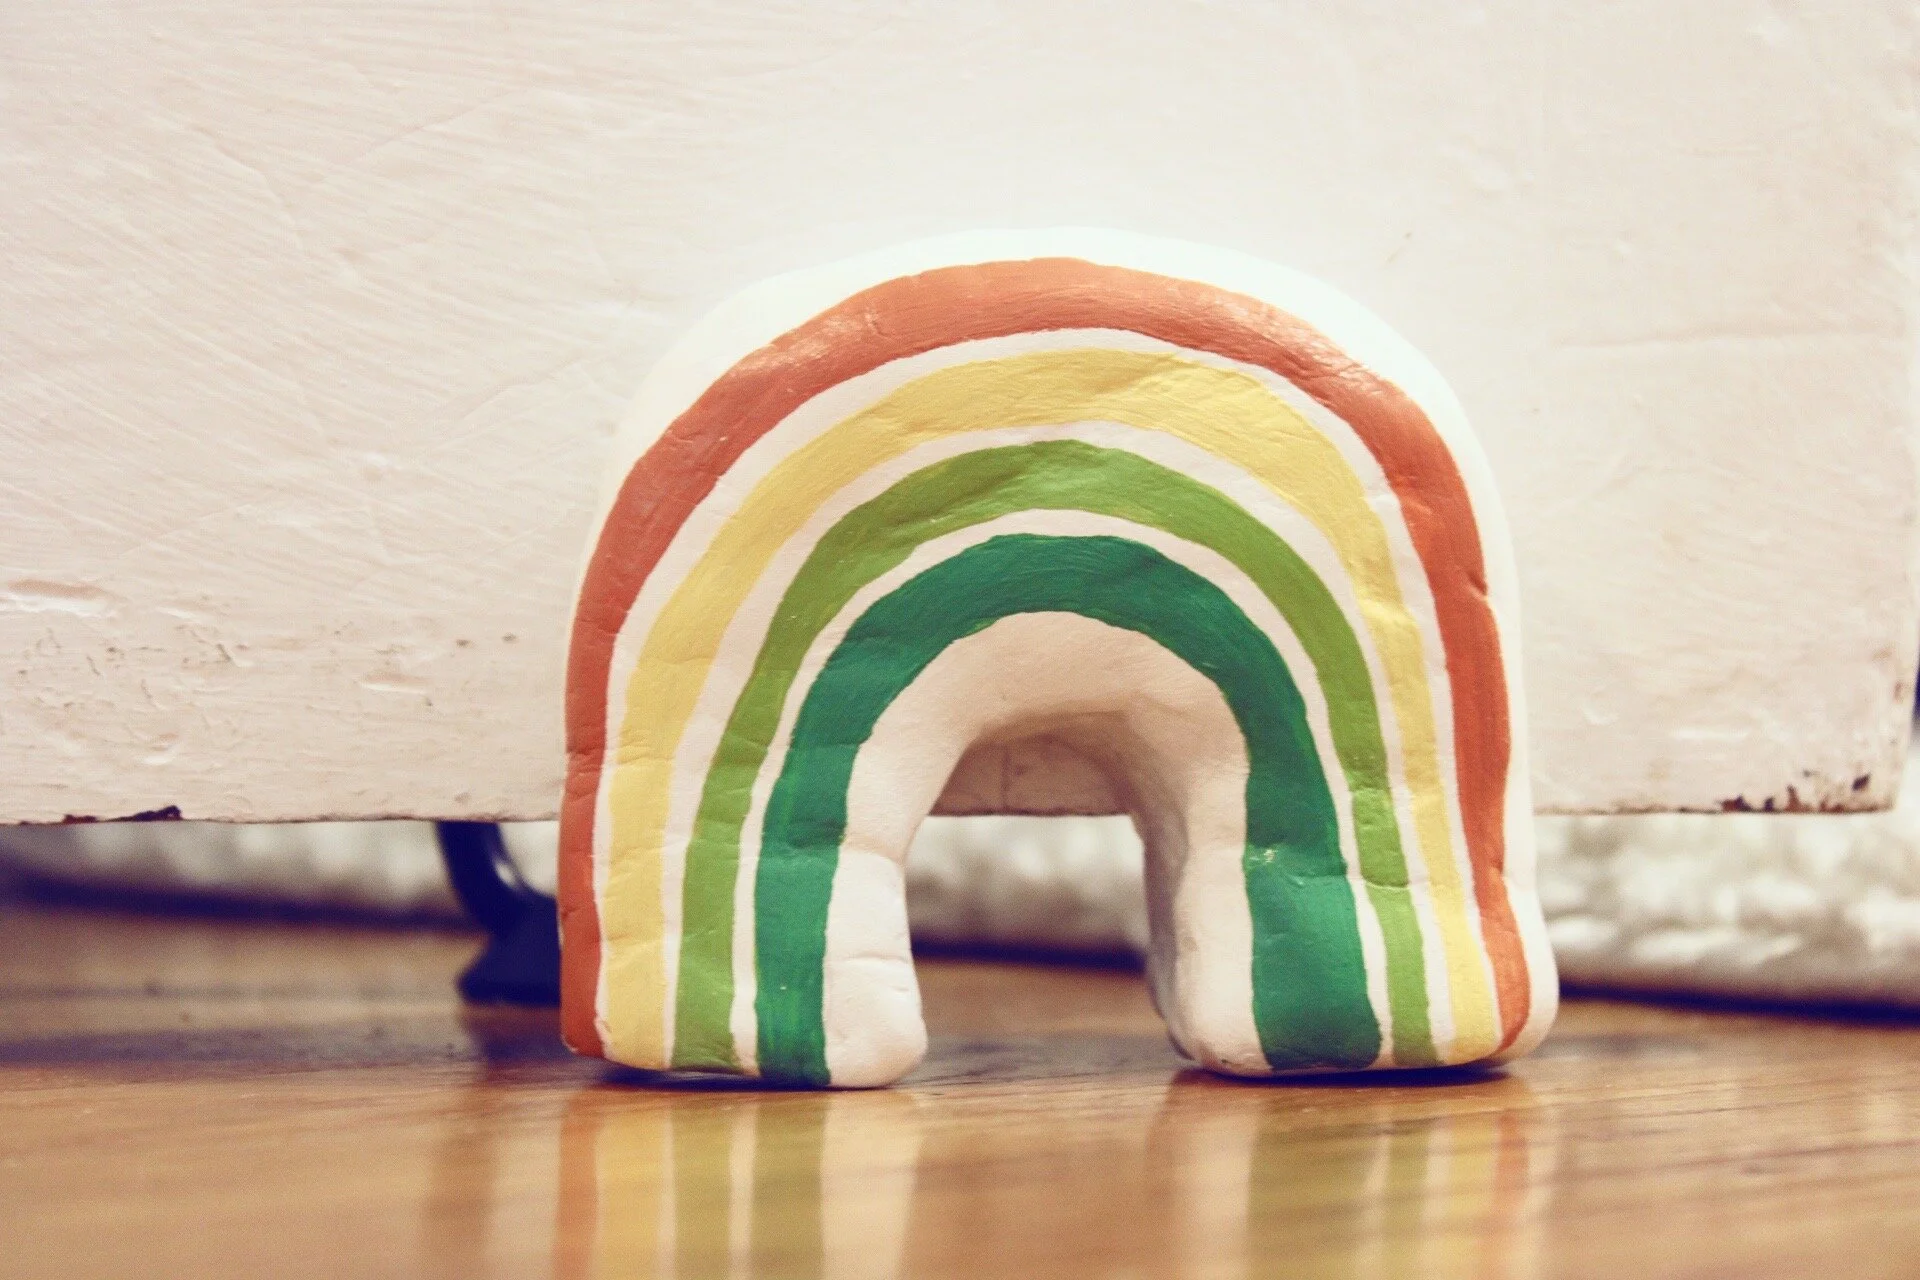
I love the way it looks at the door, especially because I used accent colors from our bedroom so it flows so naturally. I feel like it is big, but not too big and also not too small where we can’t see where it is/ trip over it. I have always loved rainbows, so I believe it is the perfect addition to our room and our space!

If you make this please tag #StayingHomebody and #HomebodyMakes