
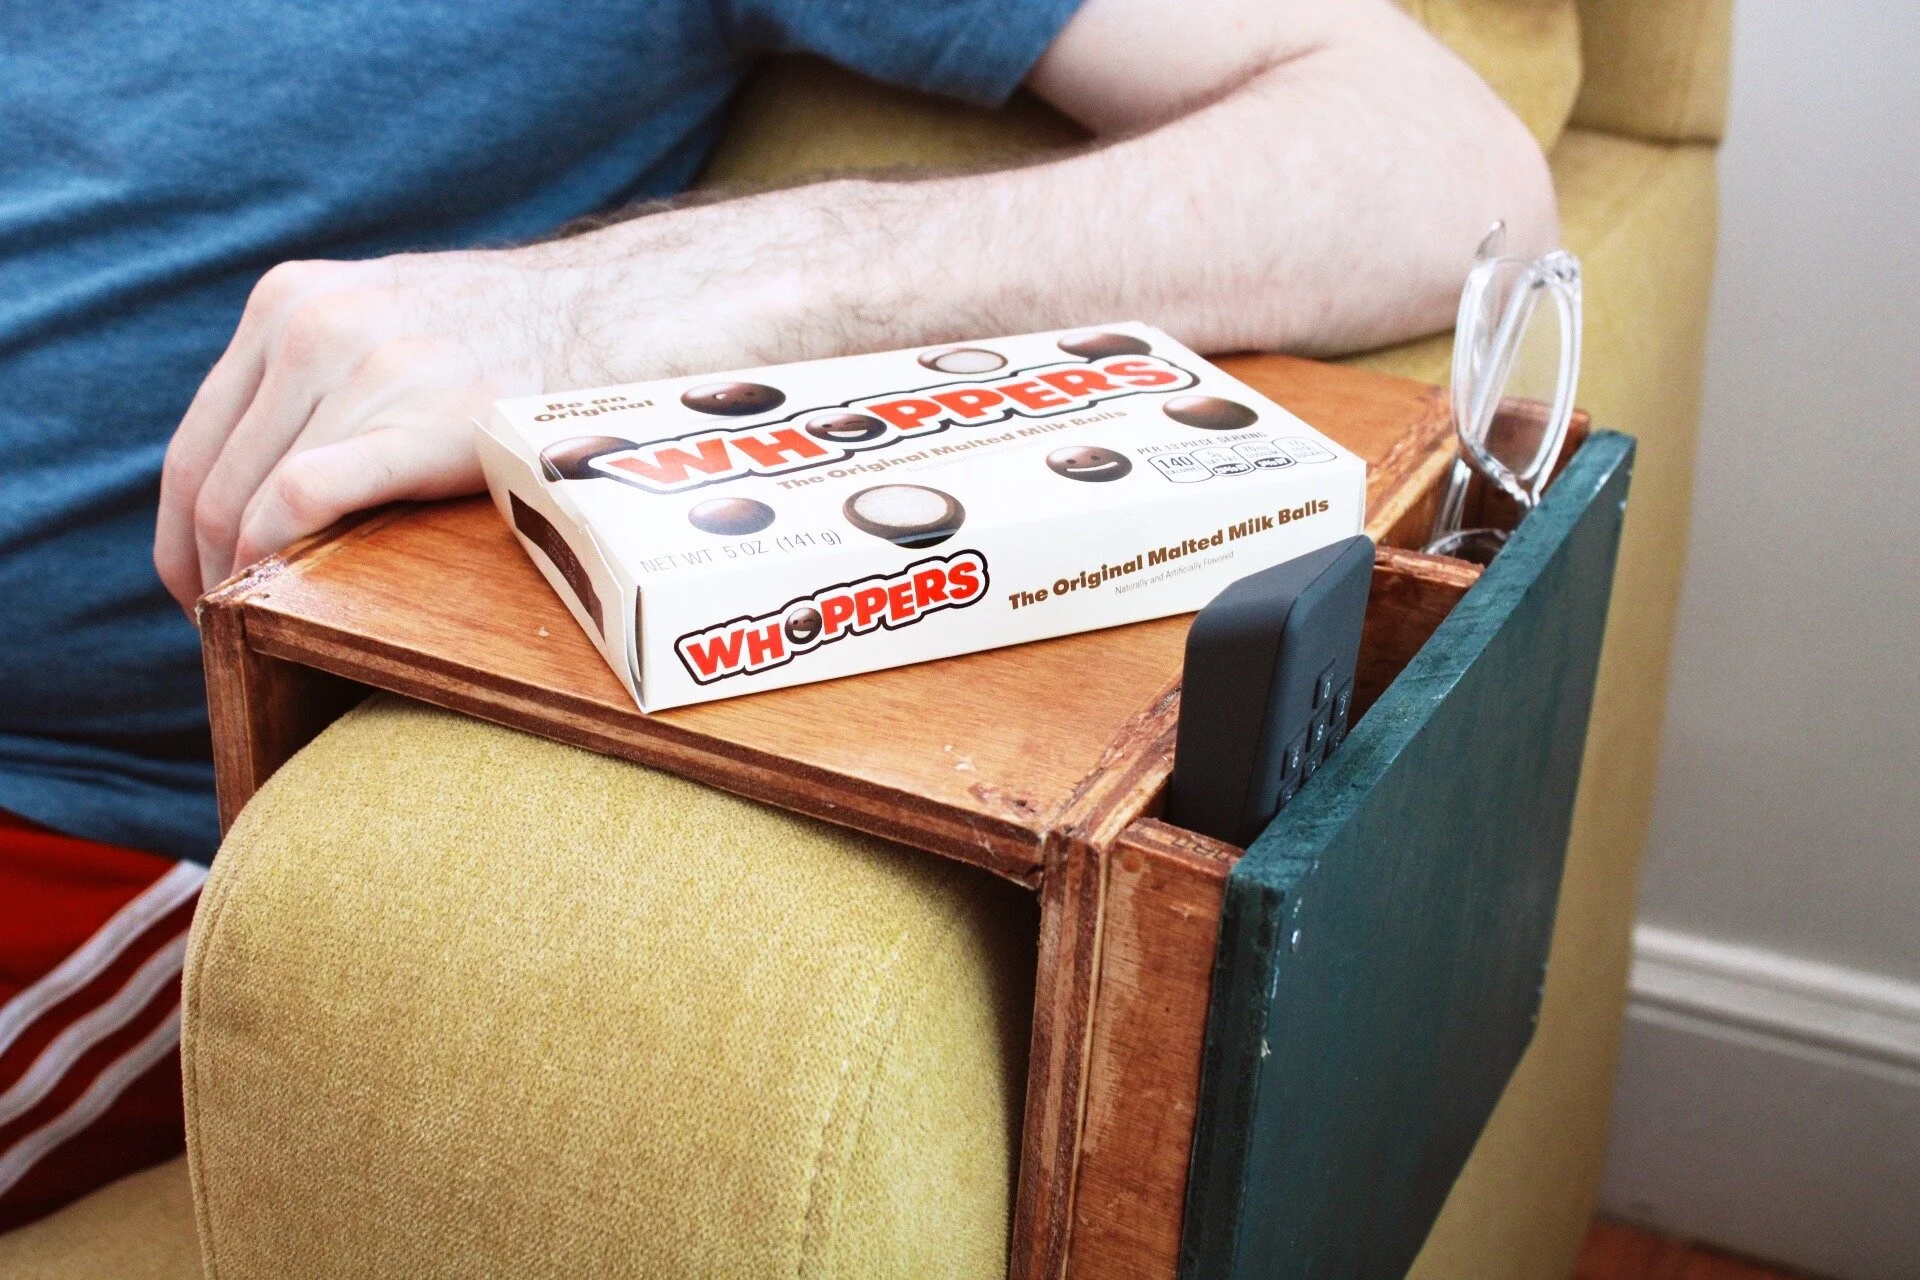
Wooden Sofa Sleeve With Remote and Glasses Holder
I am someone who seriously loves to eat on the couch, you feel me? I don’t know if it is because growing up, eating on the couch/ in the living room was completely taboo but now any chance I get, I eat on the couch. Honestly, there is a huge moment of excitement that comes across my face when I get to eat on the couch. My only downfall is that there is not a little table for me to put all of my things on while I am eating. I used to have those foldable tray tables, but they do take up some space, so I decided to make something that would suit my needs and also hold my necessities like the remote, my glasses, supplies of snacks. you know the good stuff!
I loved how this turned out so much that I actually made one of my own house and one for my parents house! It was just so simple and easy and now I want to make one for literally everyone that I know. I also am adapting this DIY from A Beautiful Mess because they have a more high tech version of this wooden sofa sleeve. I wanted this to be simple and easy where you did not need to get any fancy tools and can make this easily with just some cut wood, sand paper, wood finish, glue and nails. This project is very much like the tables, just smaller so remember that it will take a few days to fully complete.
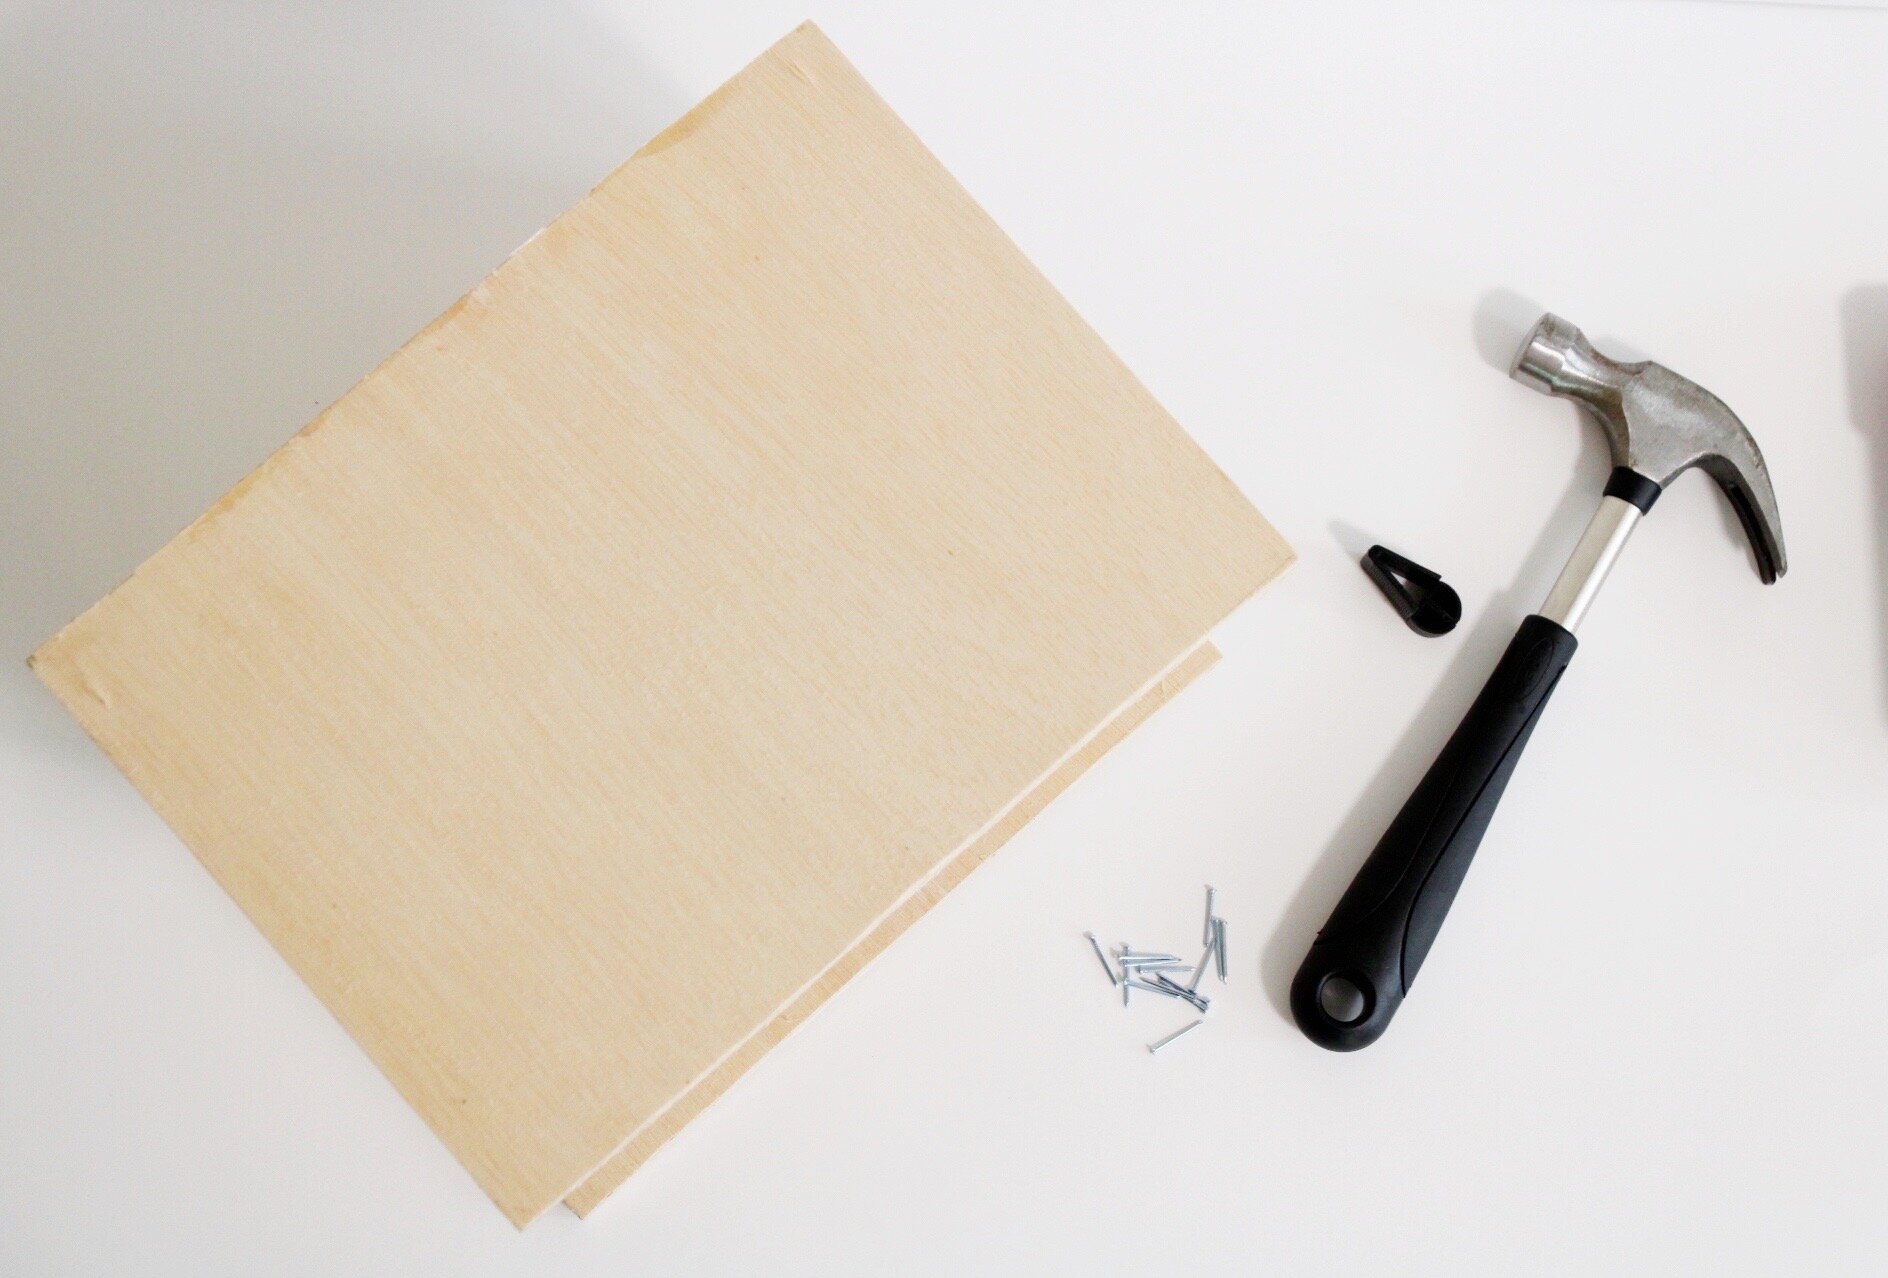
Tools:
-Hammer
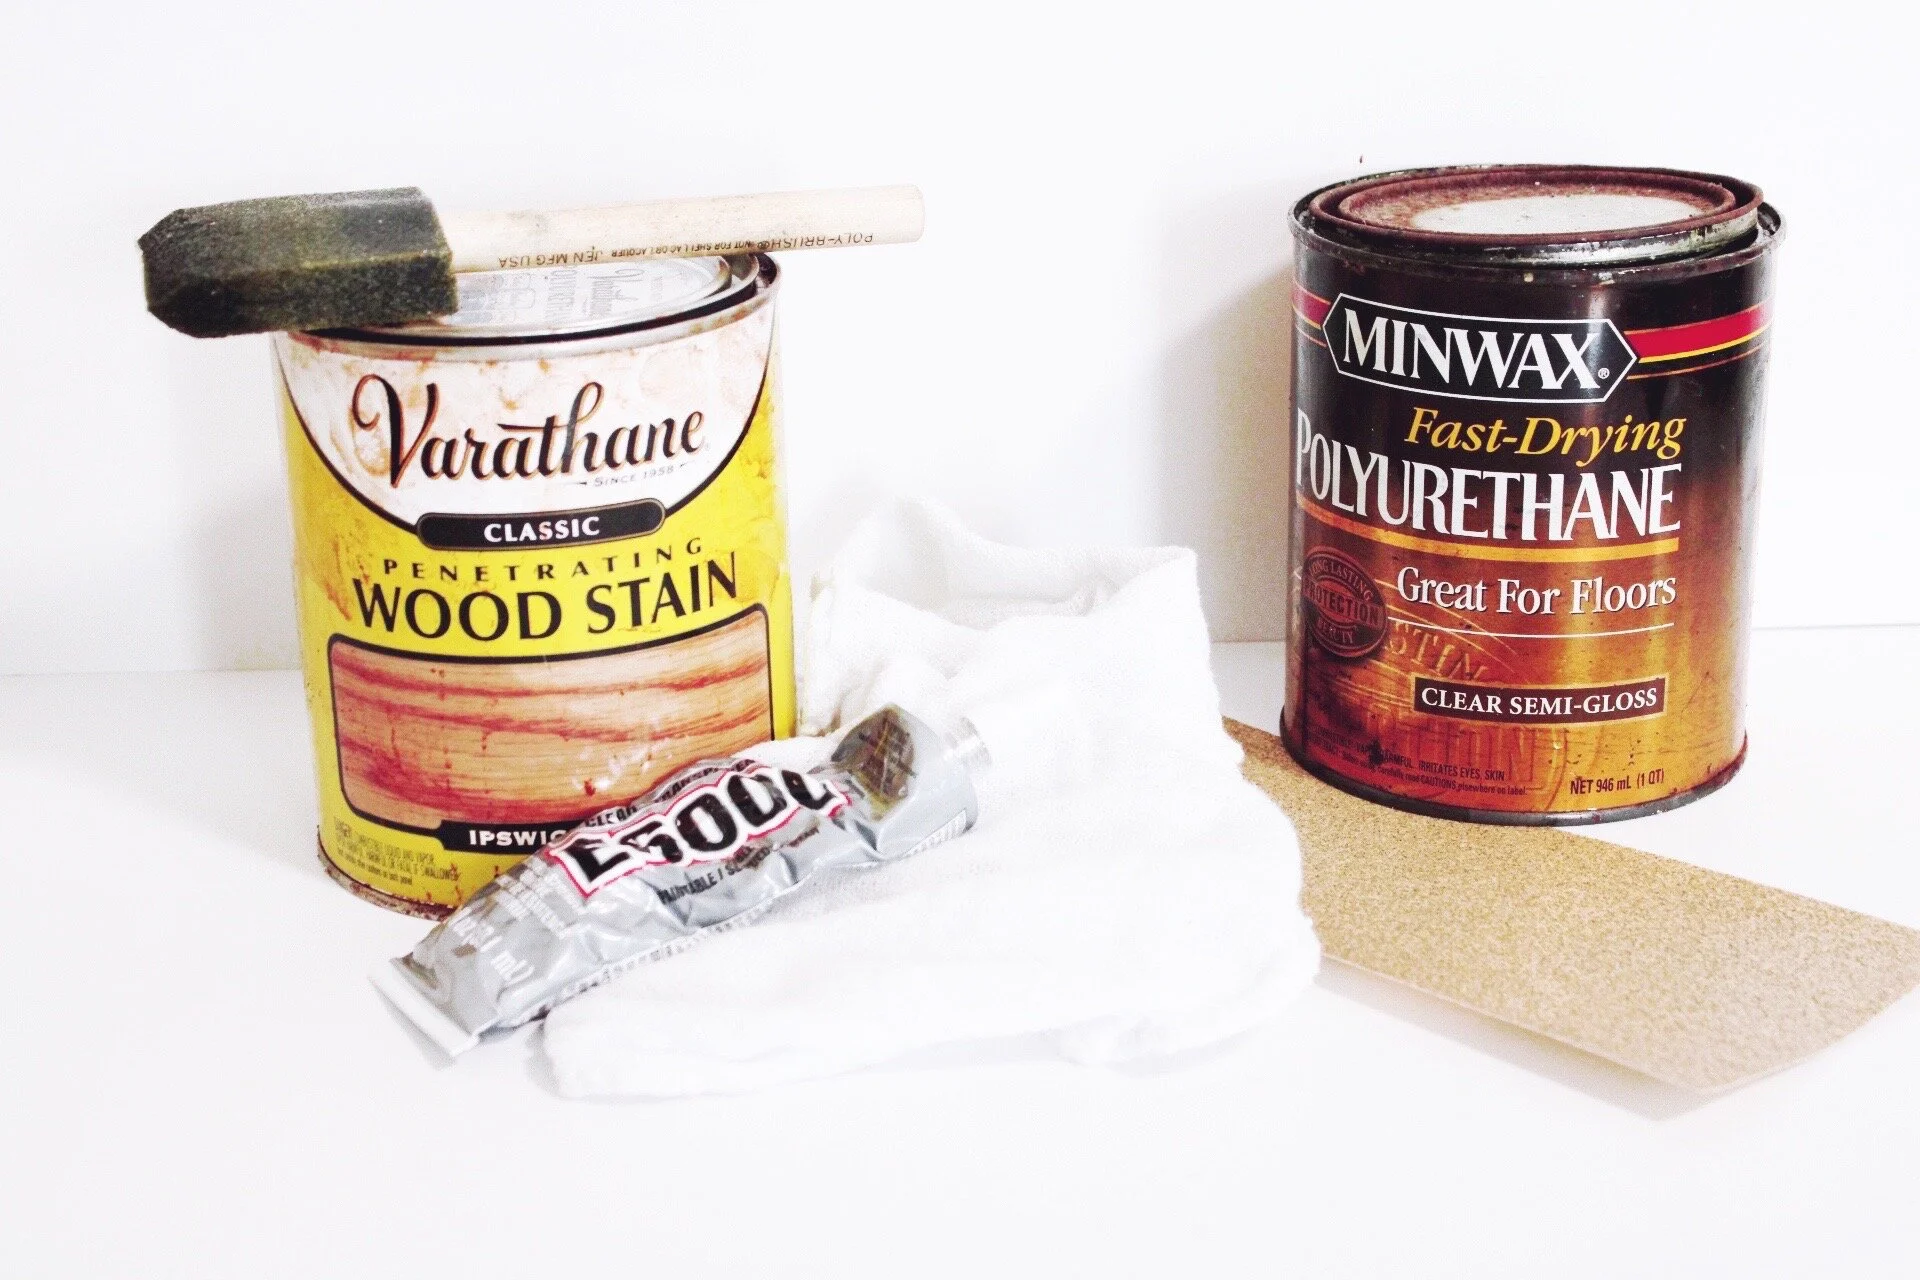
Materials
-Wooden board cut into measurements on the cut list
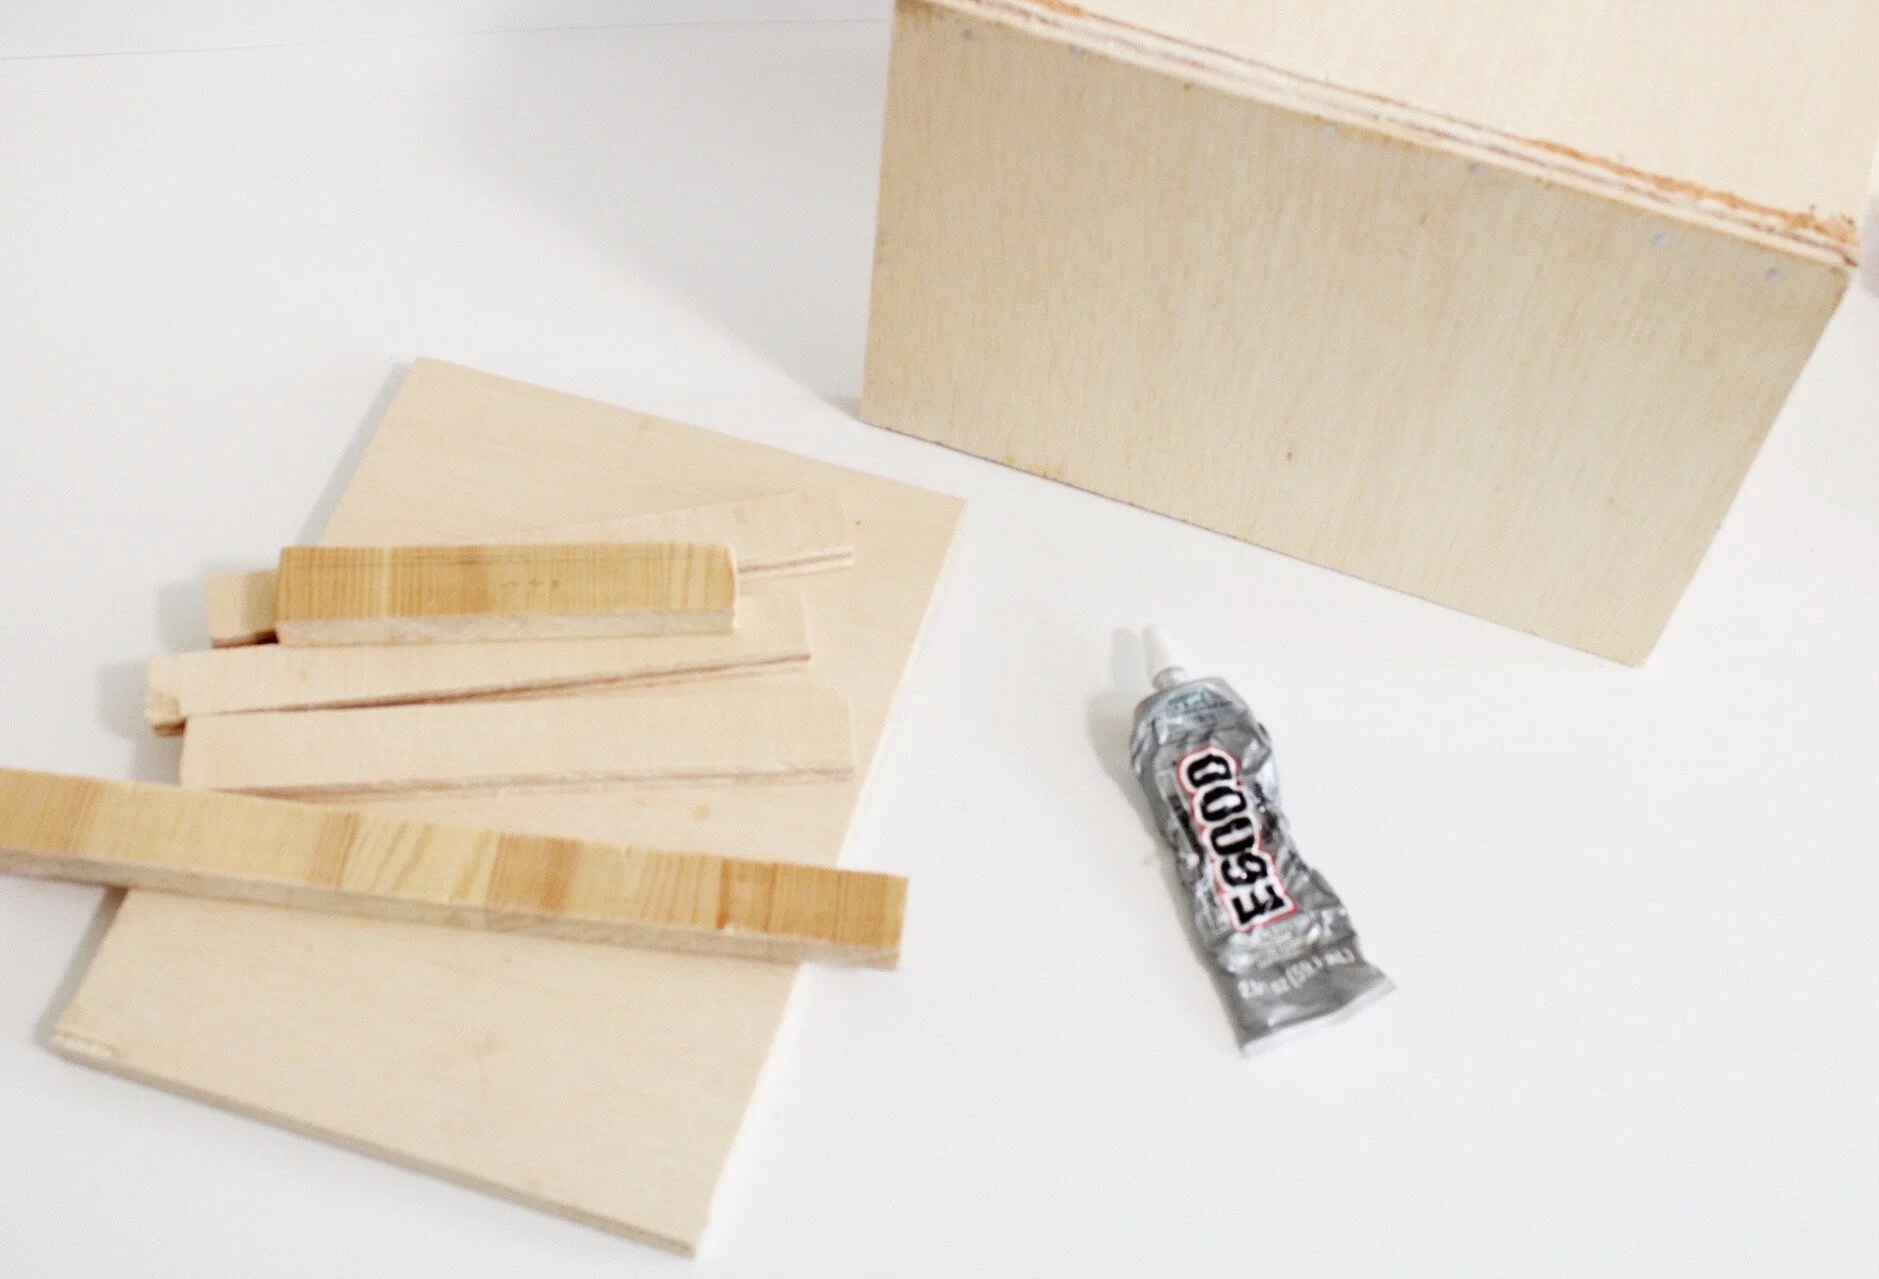
-E6000 glue
-Wood Stain
-150 or 180 grit sandpaper
-Polyurethane
-Steel Wool
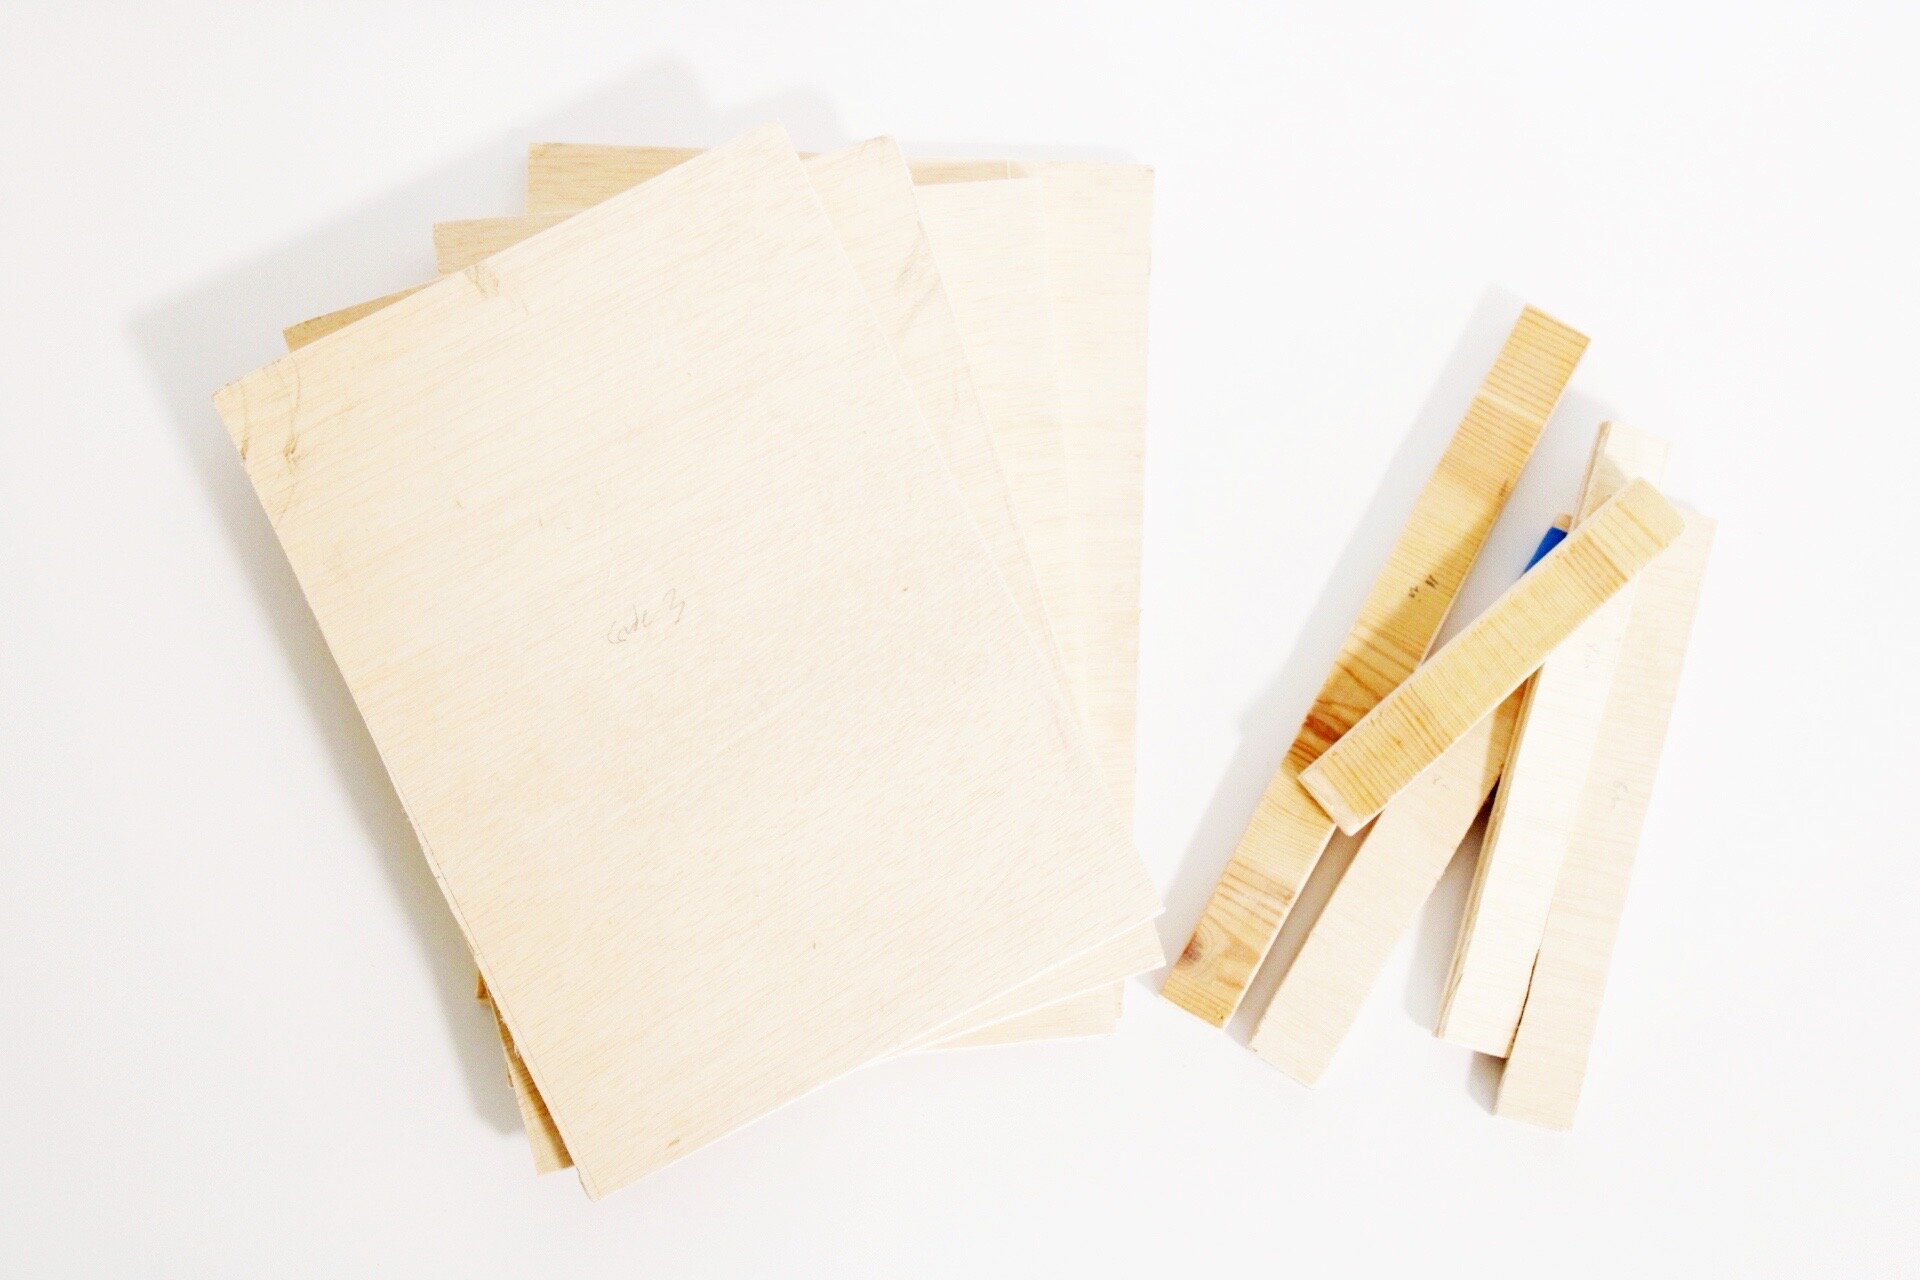
Cut List: Based on your couch you will 3 boards to your desired length and your width of the couch. Based on our couch we cut
1- 11 in x 10 in
3- 11 in x 8 in (one of these can be a thin piece of plywood)
To create the side pocket I cut- I wanted the pocket to be smaller, but if you want it to stick out a bit more, I say make the cuts an inch or so wider.
3- 1 in x 8 in
2- 1 in x 5 in
Before I got started, I did sand everything lightly. We made these cuts ourselves with just a hand saw so there were some frays. If you have a band saw or if you get this cut at a lumber department, you shouldn’t have to sand before you get started
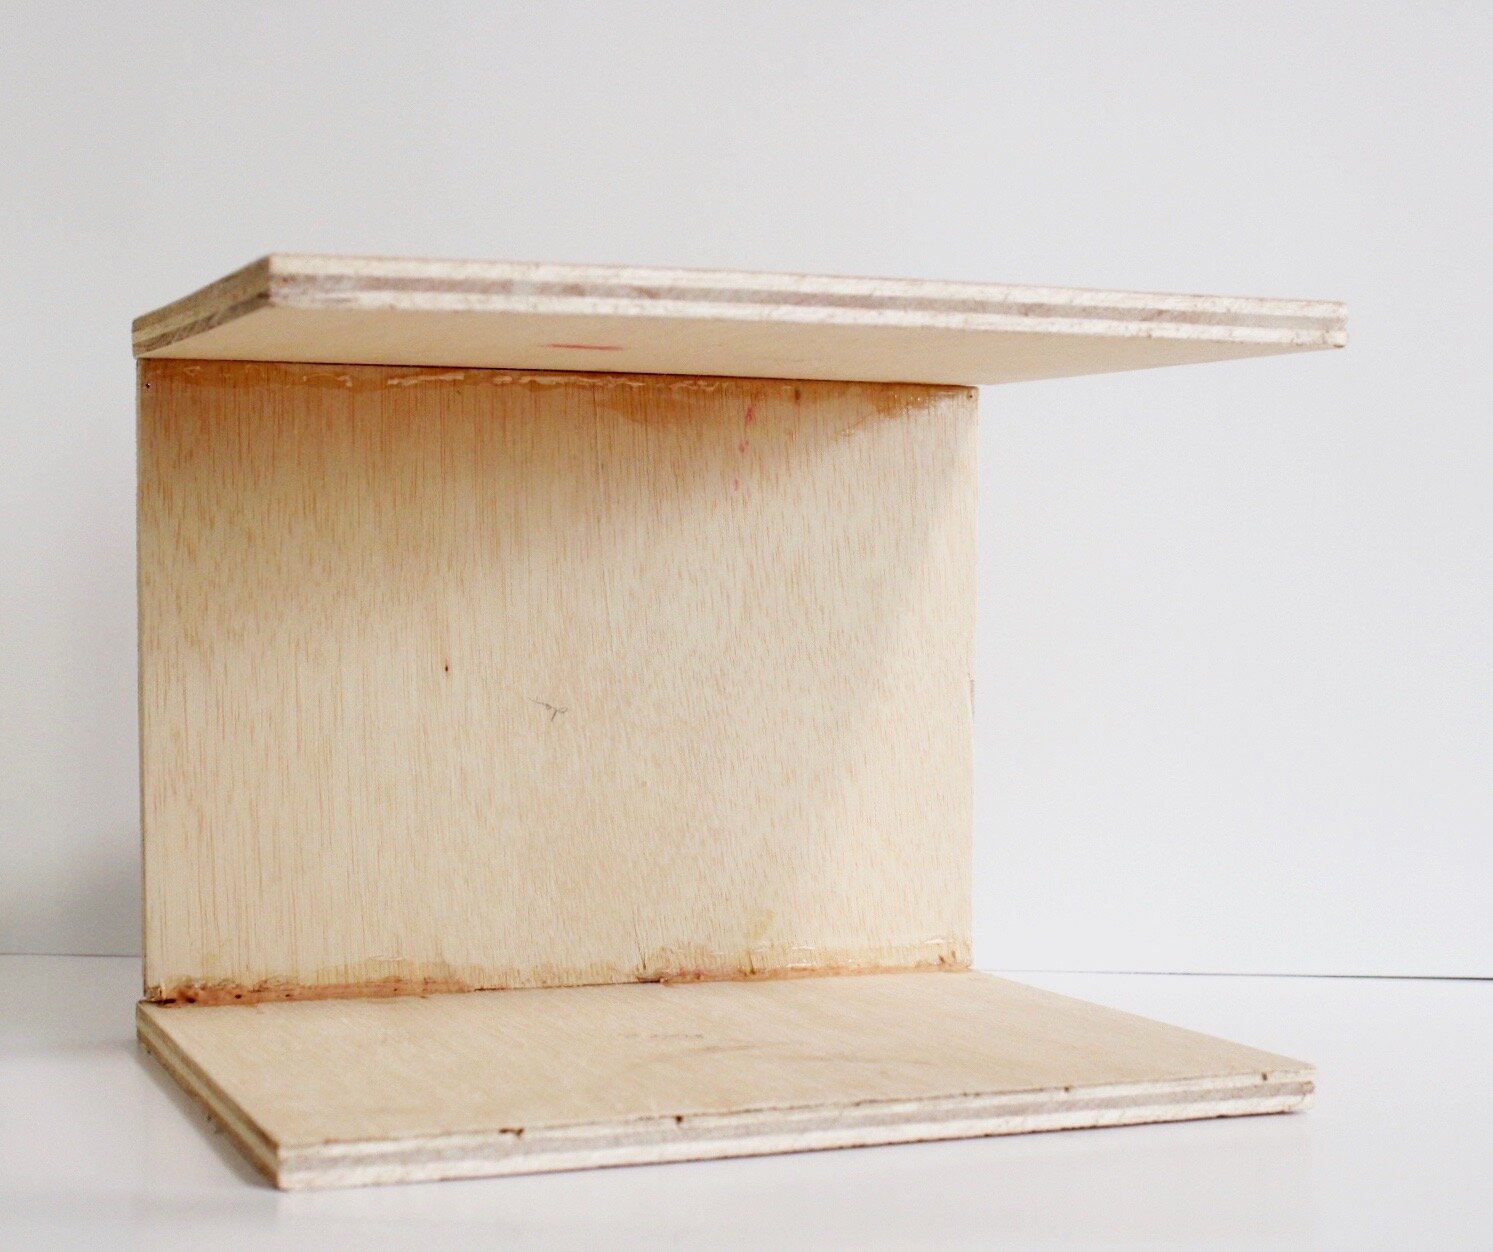
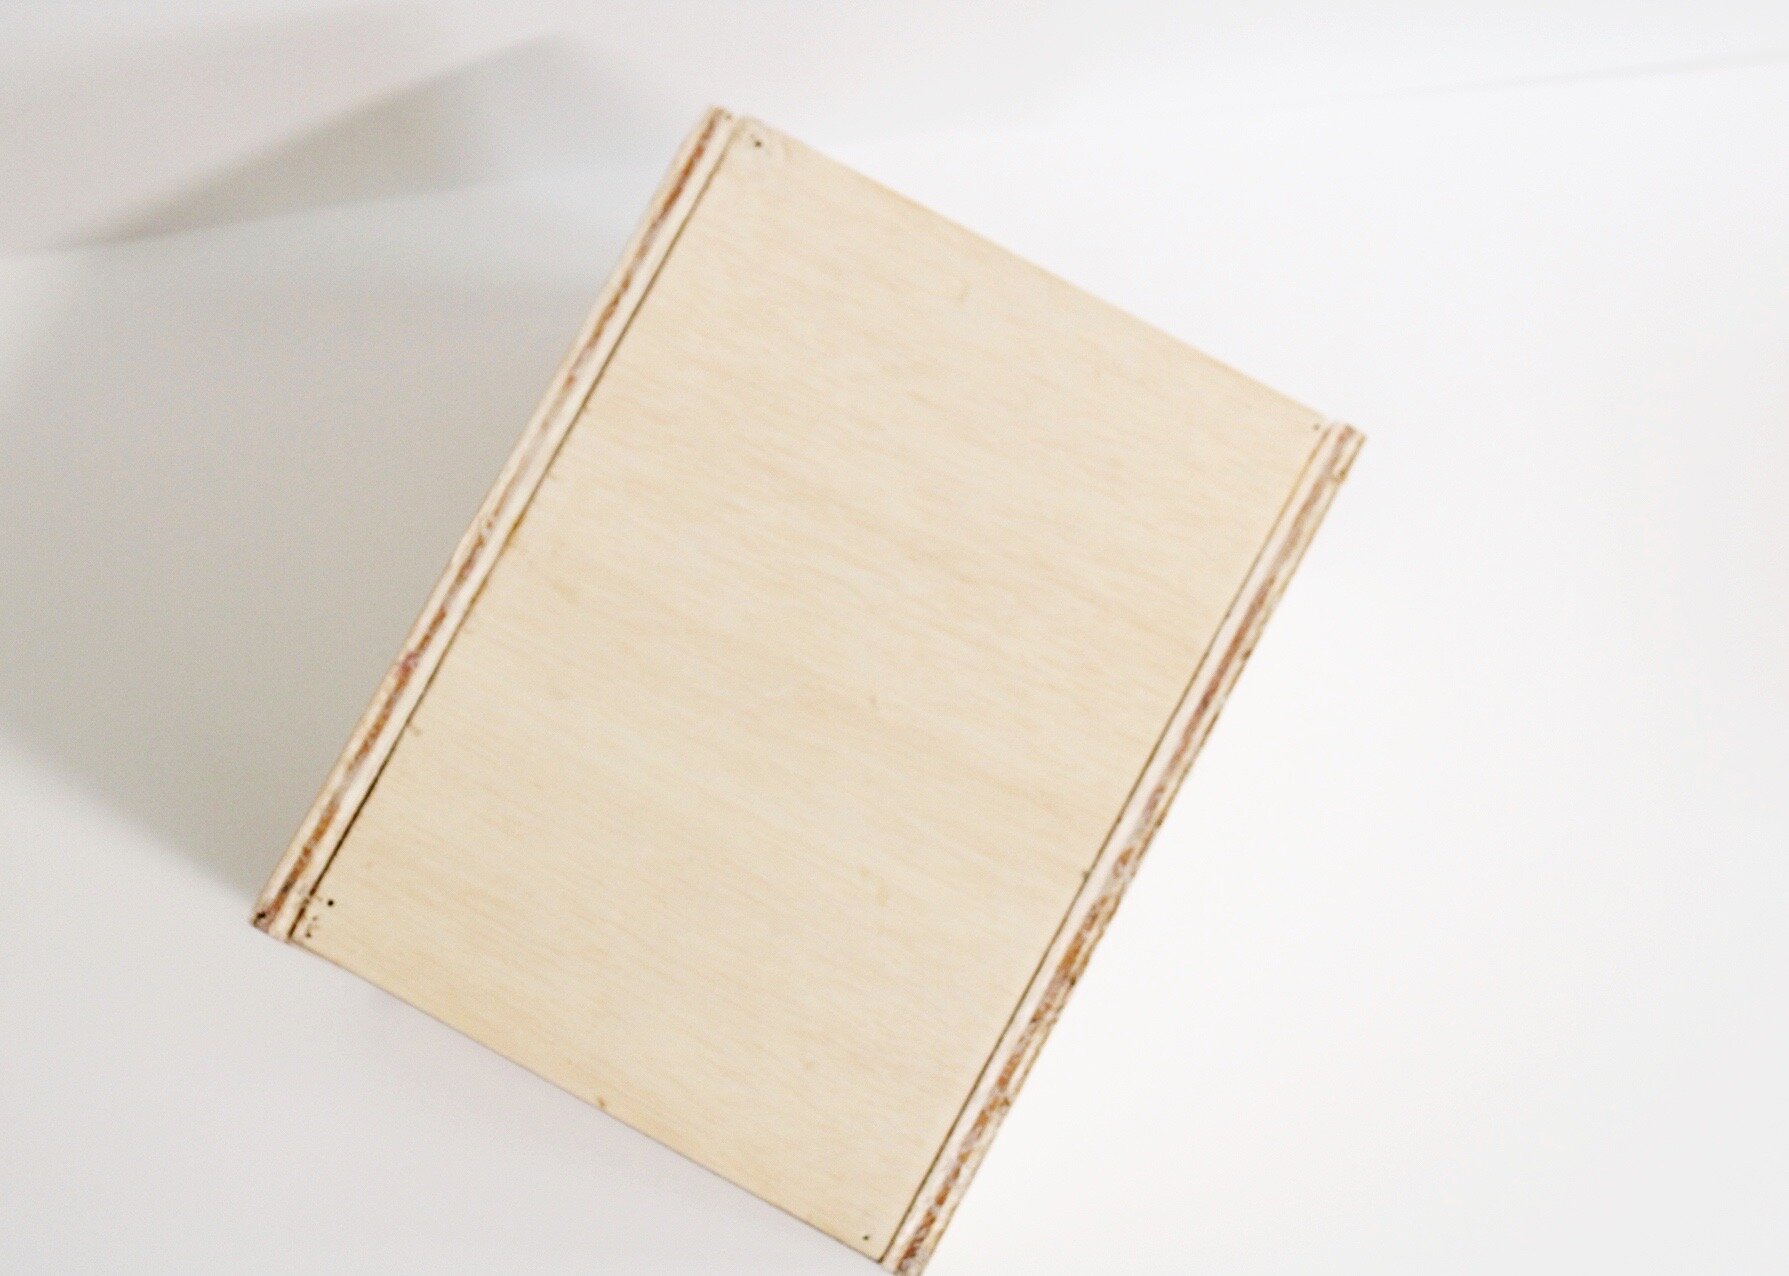
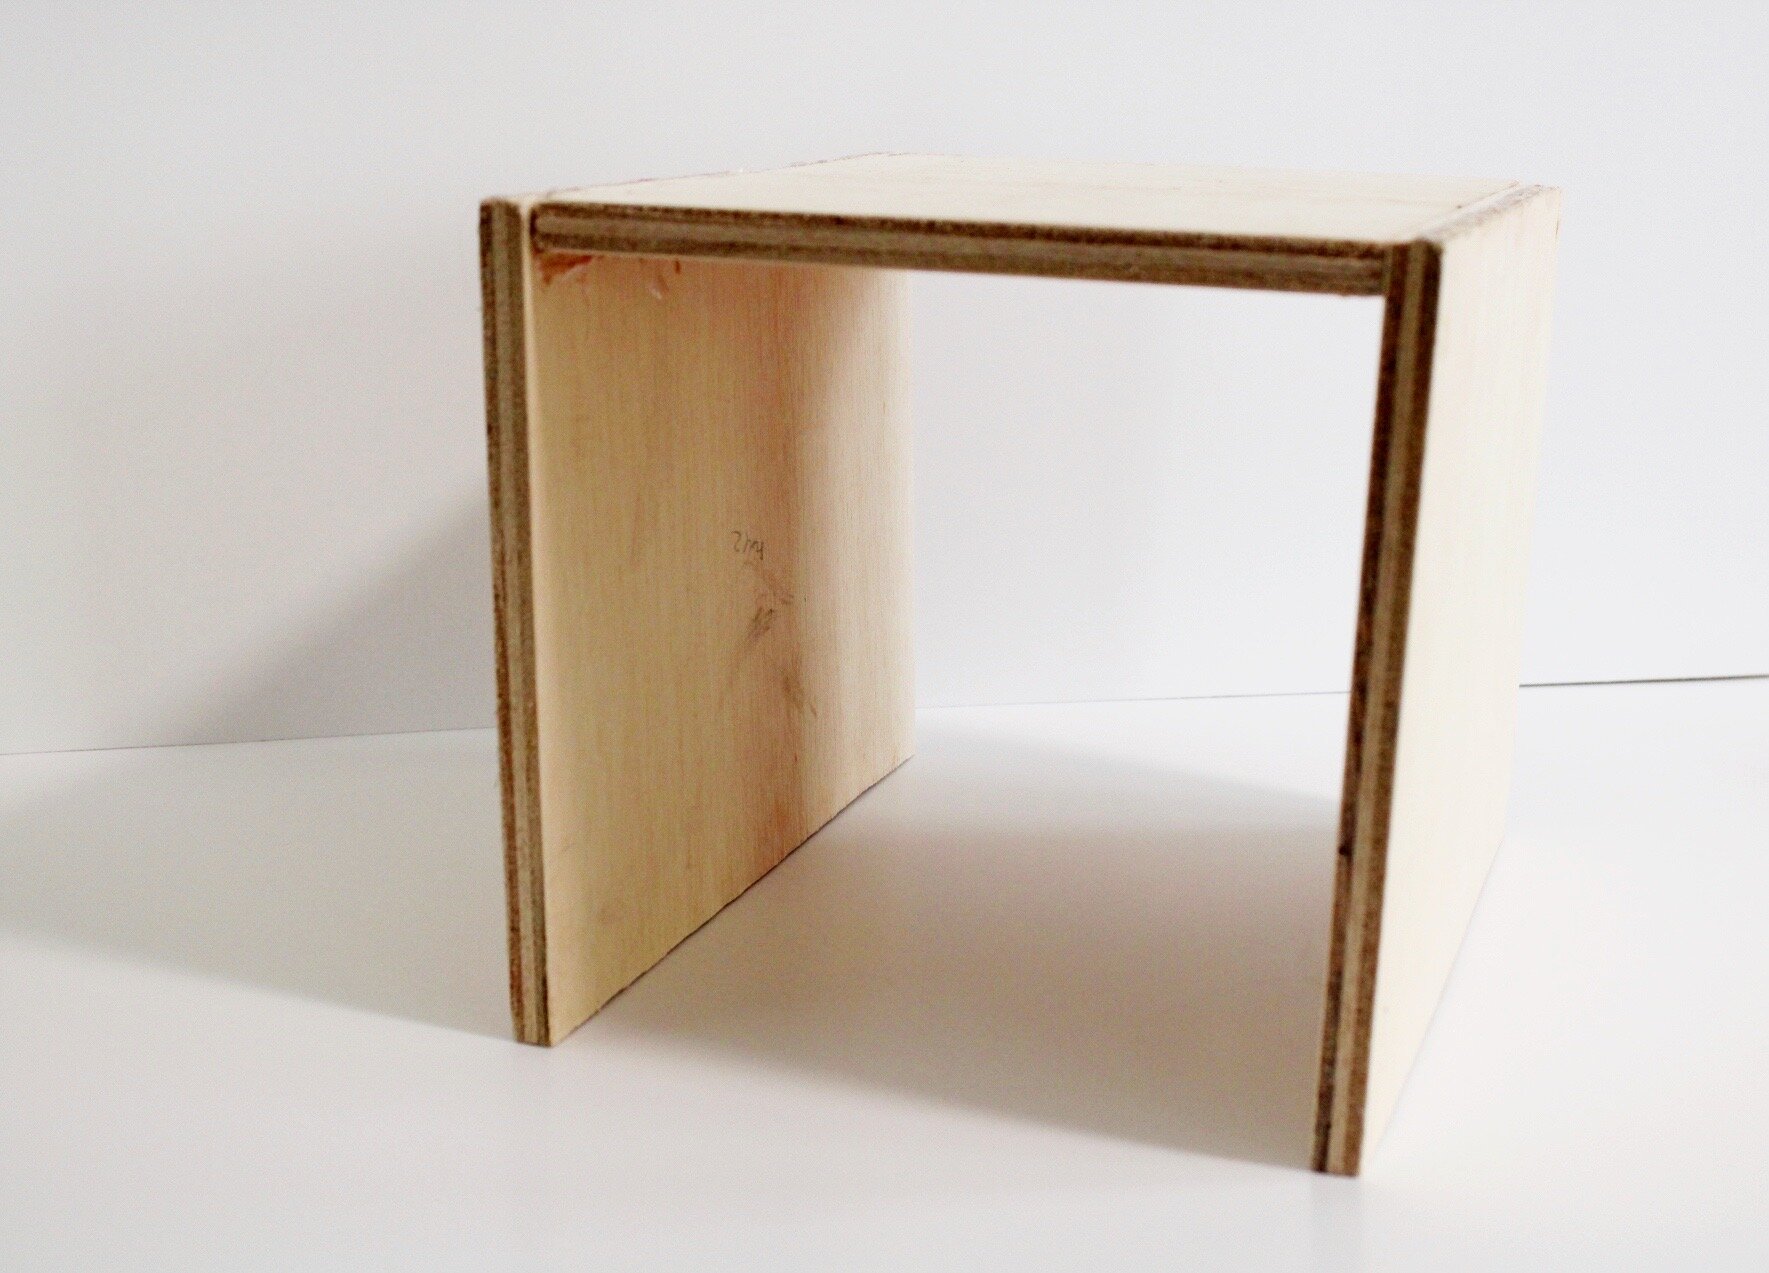
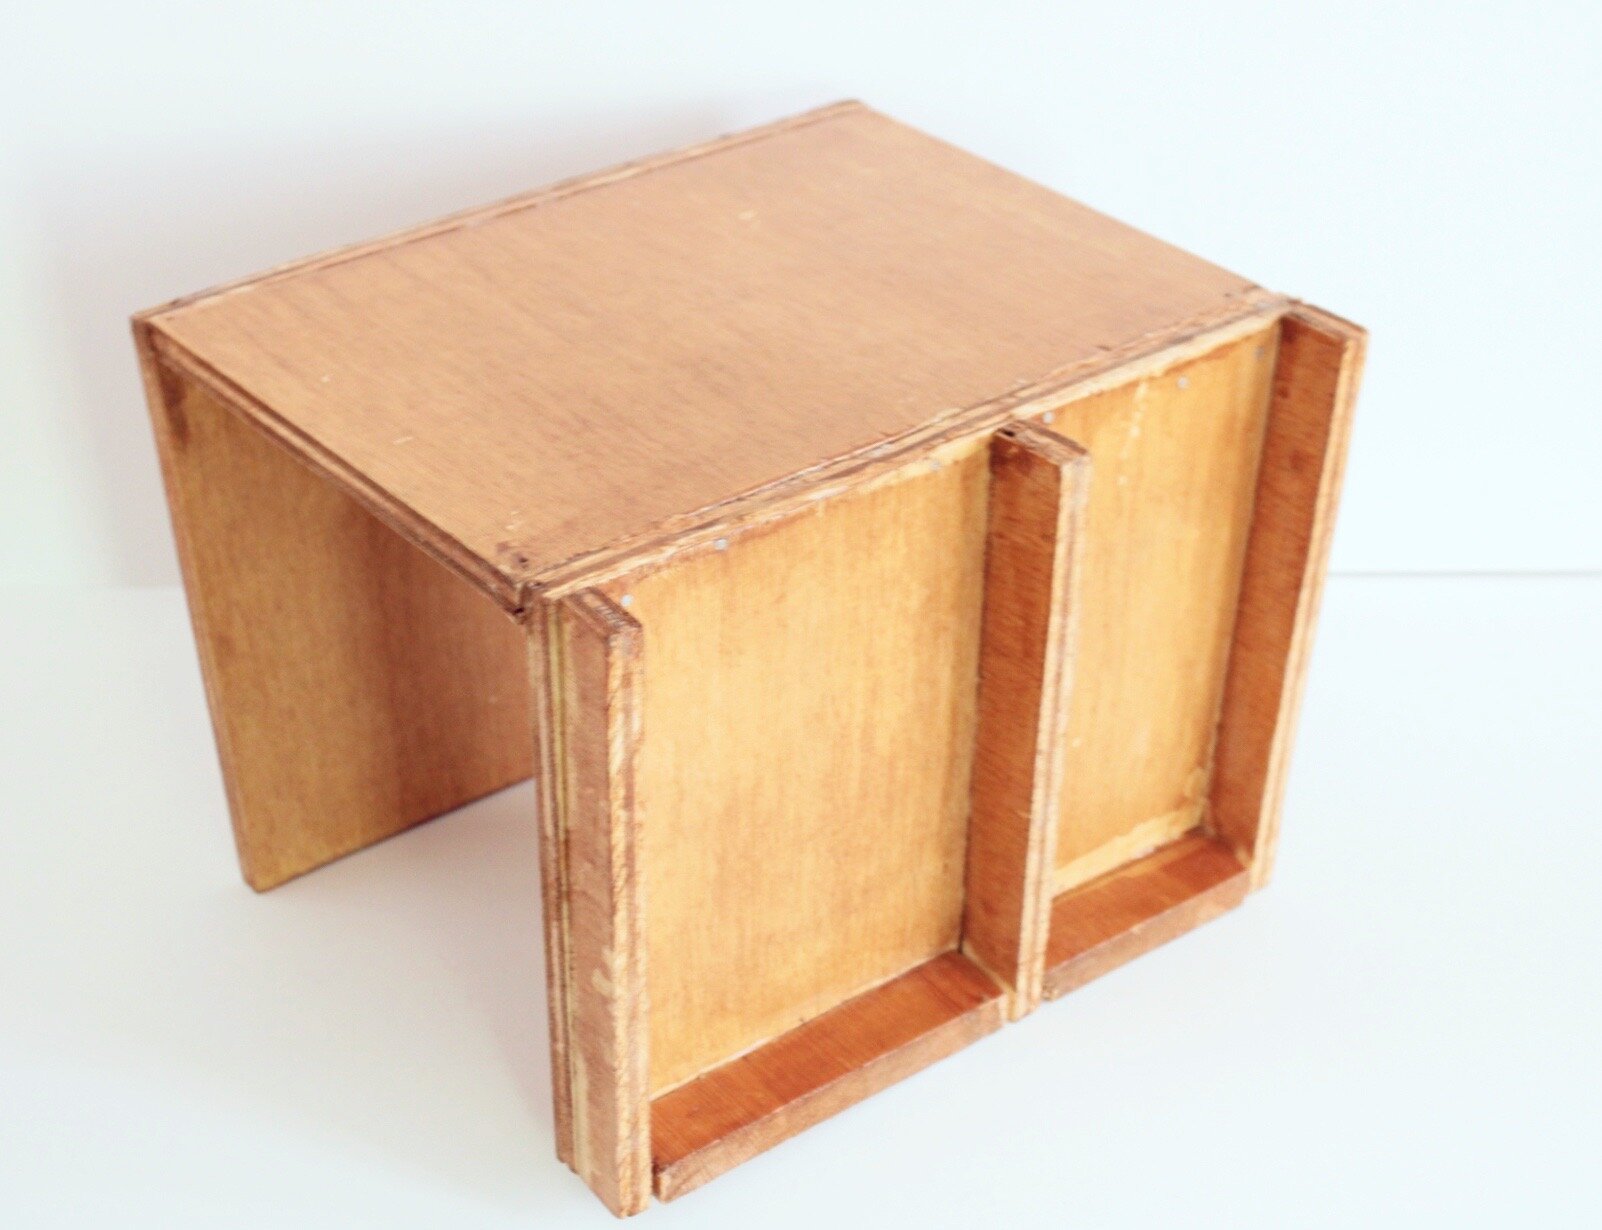
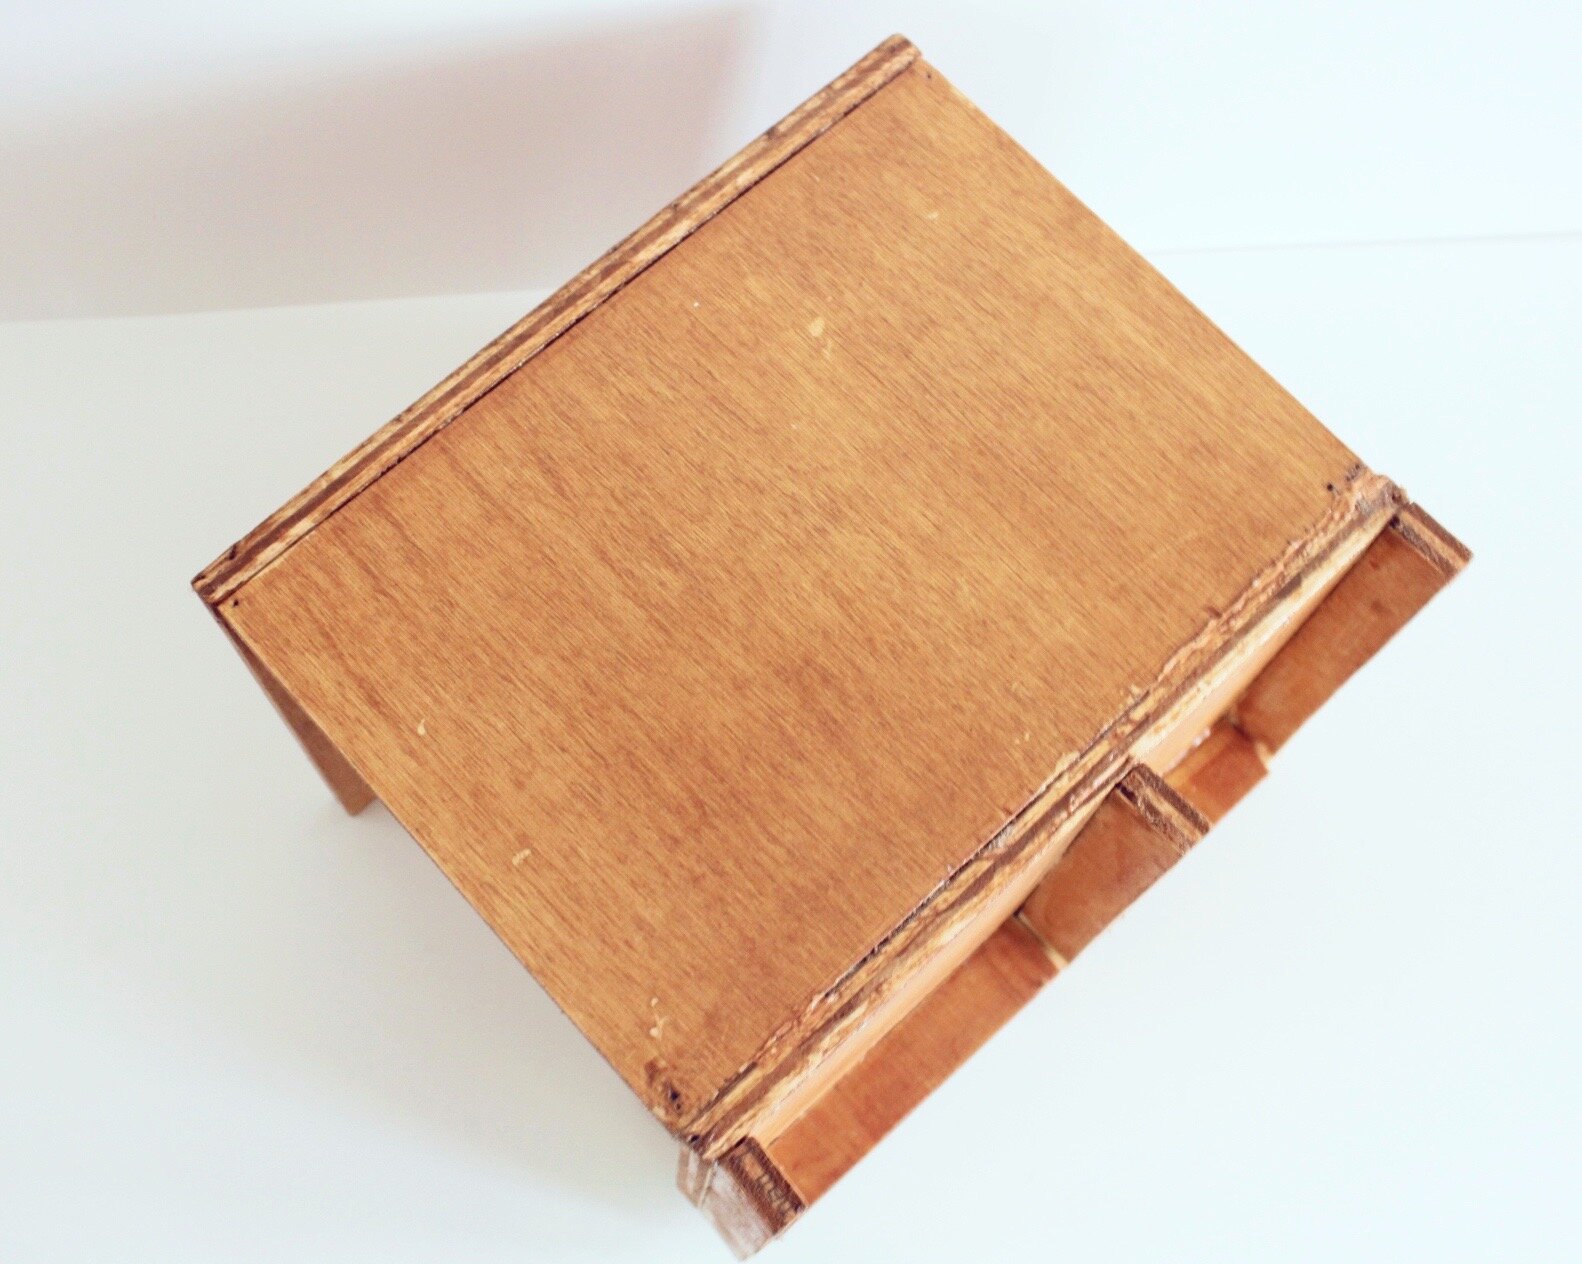
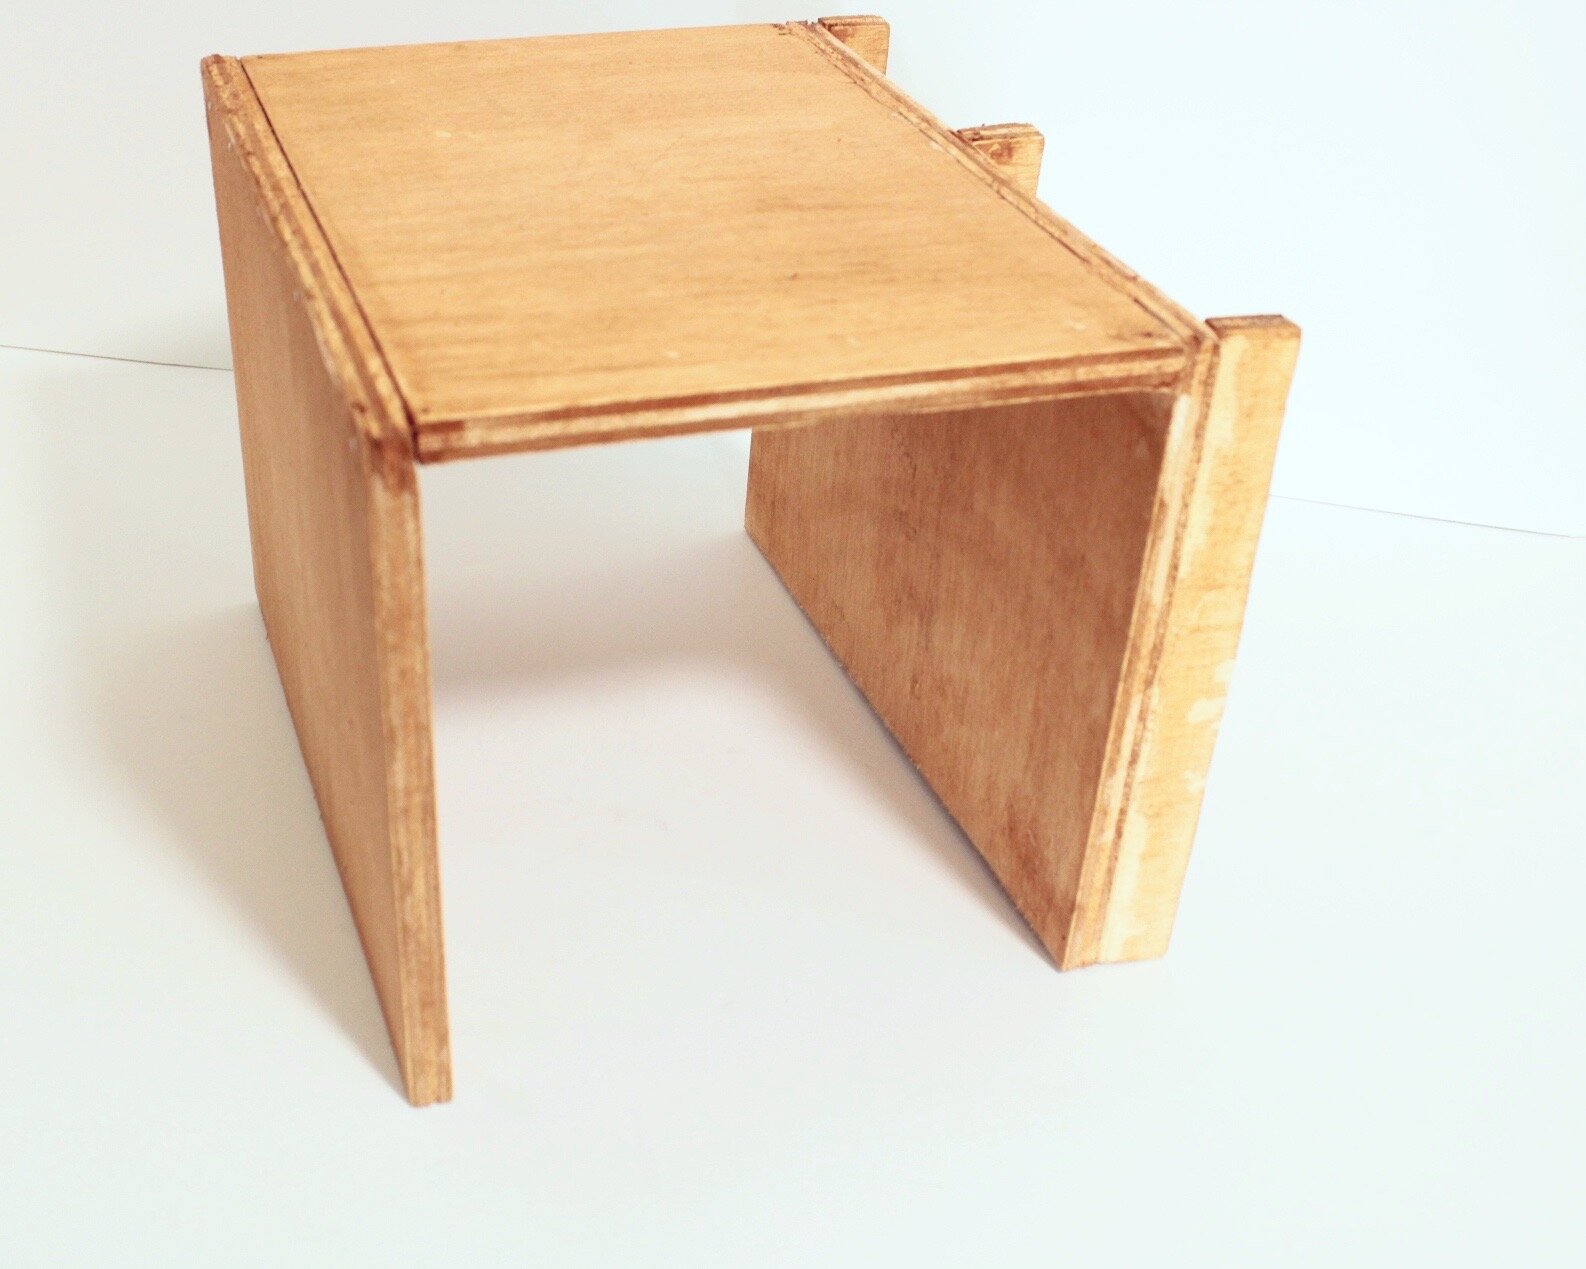
Step One: Take your E6000 glue and begin gluing parts together. Lay your 11 in x 10 in piece flat on a table. Now take one of your side boards and apply the glue to the long edge. Place it flush to the long edge of the top. E6000 glue is very intense so make sure to be wearing gloves that way you can smooth away any excess. Repeat this process for the other side board. Let these dry for 24-hours and then nail into place for extra security. You will see in my photos that I glued to the outside edge of the 11x10in piece of wood. Stylistically that is not what I wanted to do, but the arm of our couch was larger at the bottom and we did not measure for that, so make sure you measure the bottom and the top to get the width!
Step Two: Once everything is glued, give it a really good sanding. These pieces of wood are pretty small, so you can do it with just a piece of sandpaper. 150 grit sandpaper is recommended for this project.

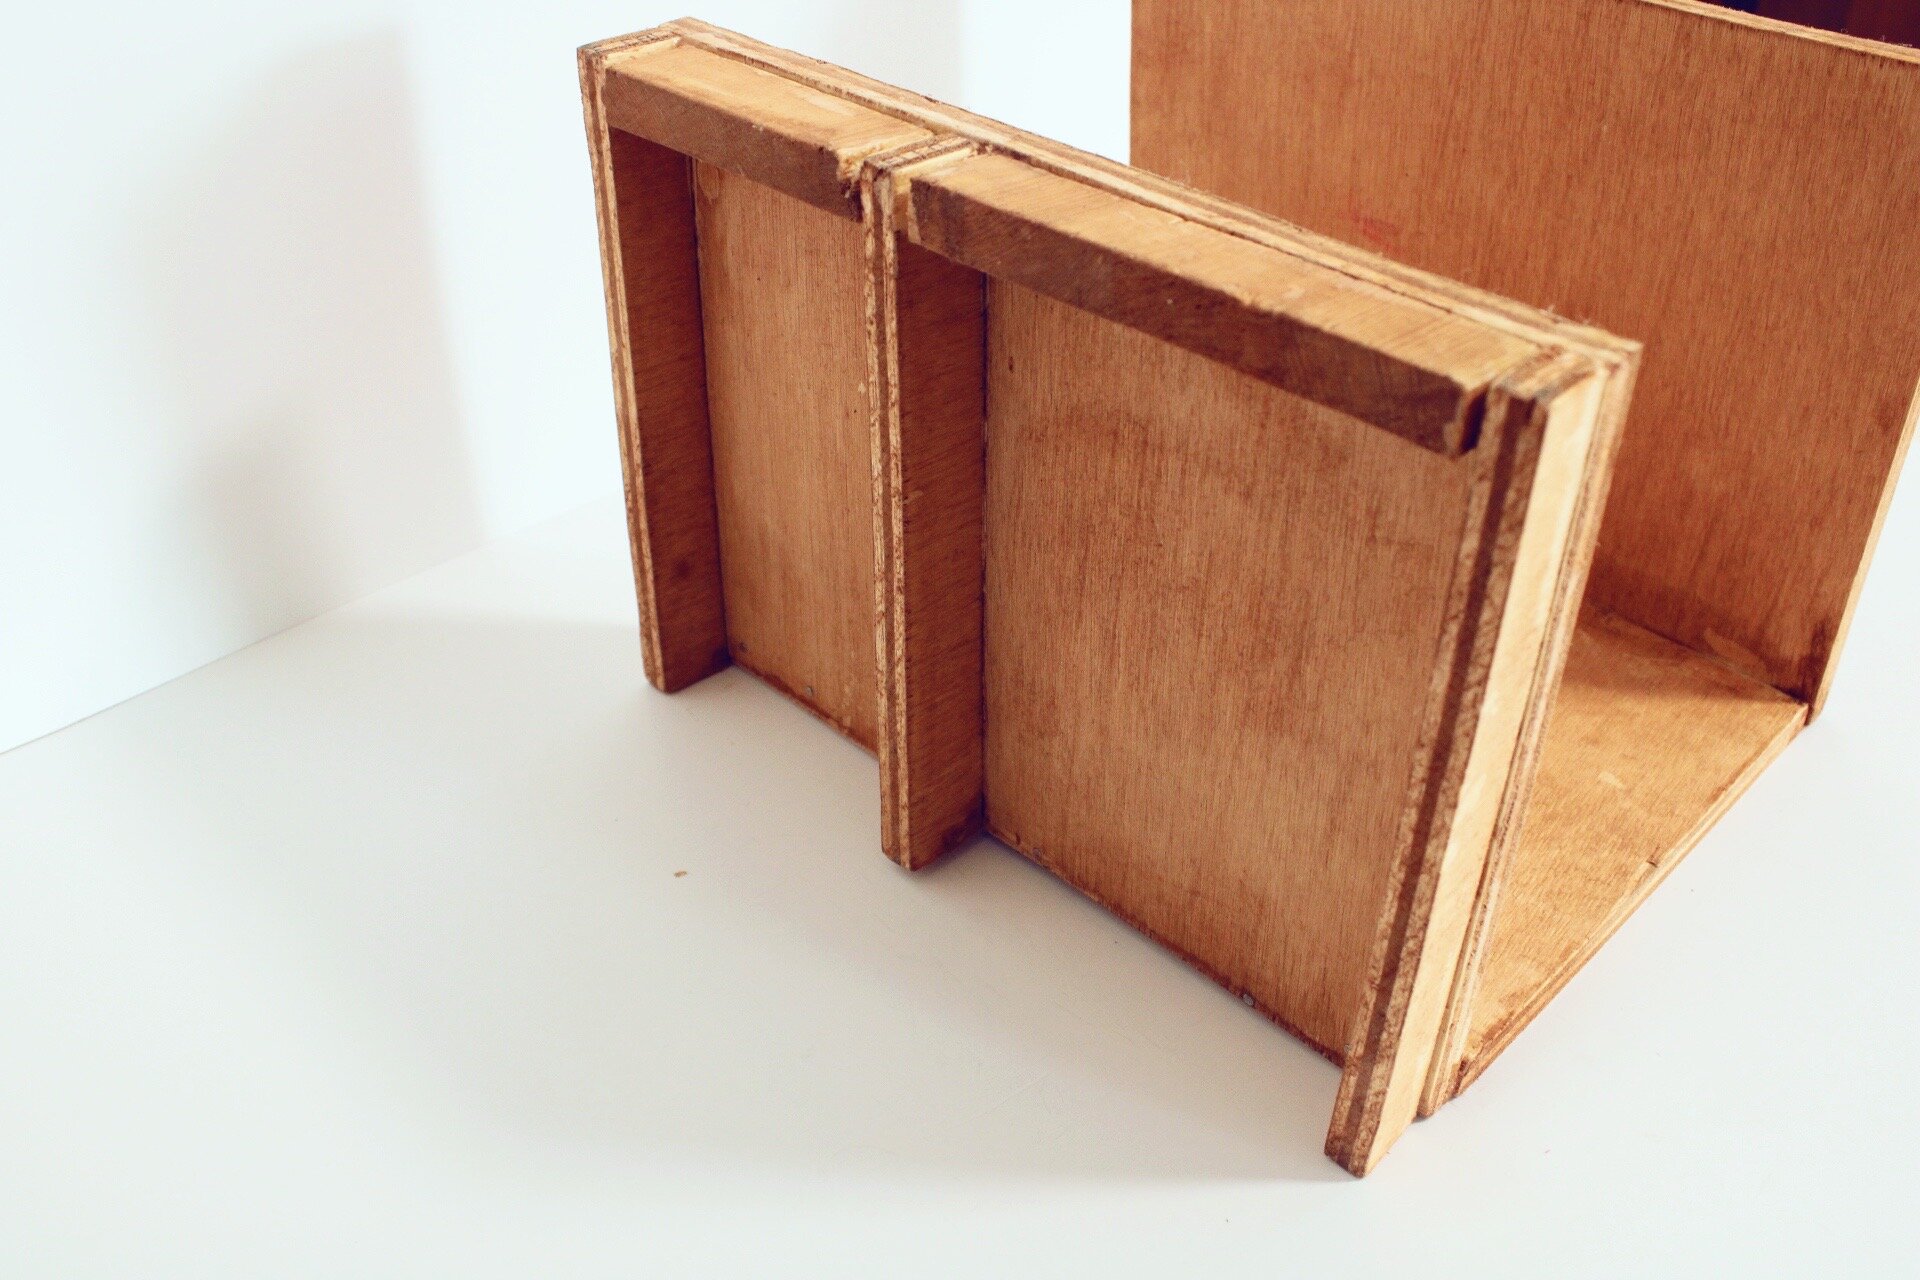
Step Three: Now to glue the side parts. Take all your glued together sofa sleeve and lay on the table with one of the side boards facing up. Taking your 1 in pieces line them up on the side board to know where they are going before gluing them into place. There should be two 5 in piece that will go across the bottom and three 8 in pieces that will be evenly separated across the side board. Glue all into place and let dry for 24 hours.
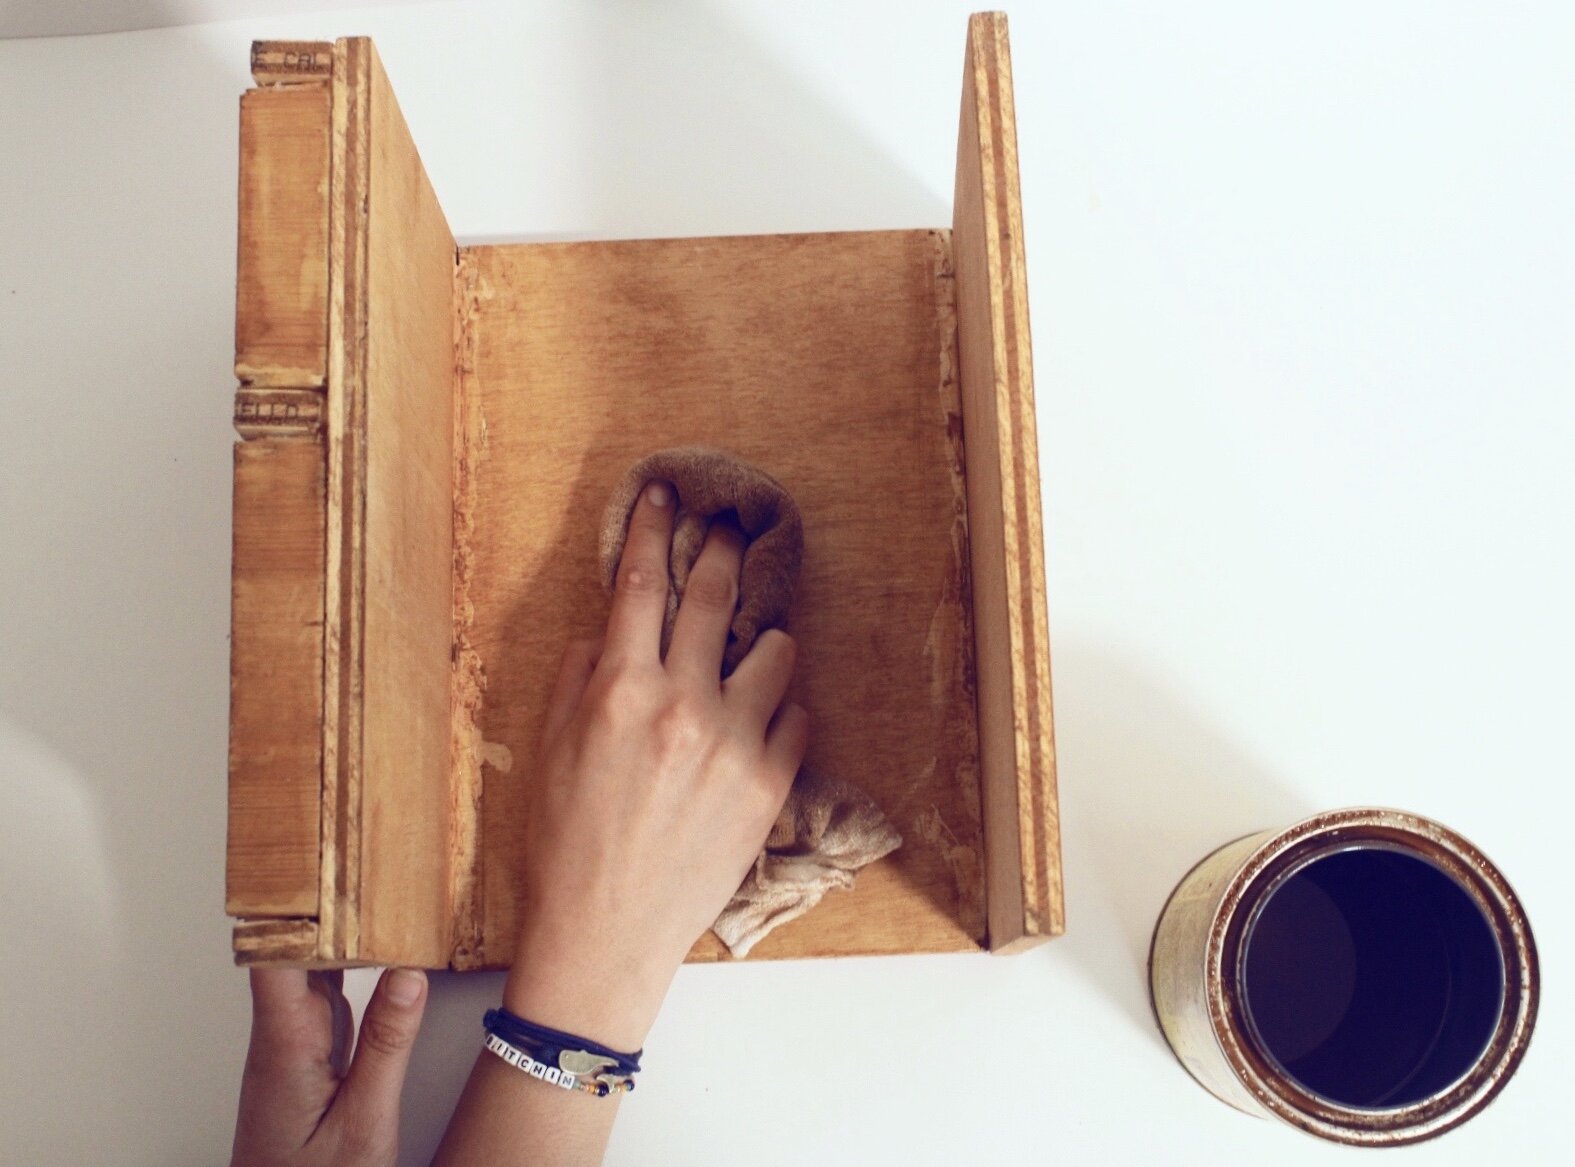
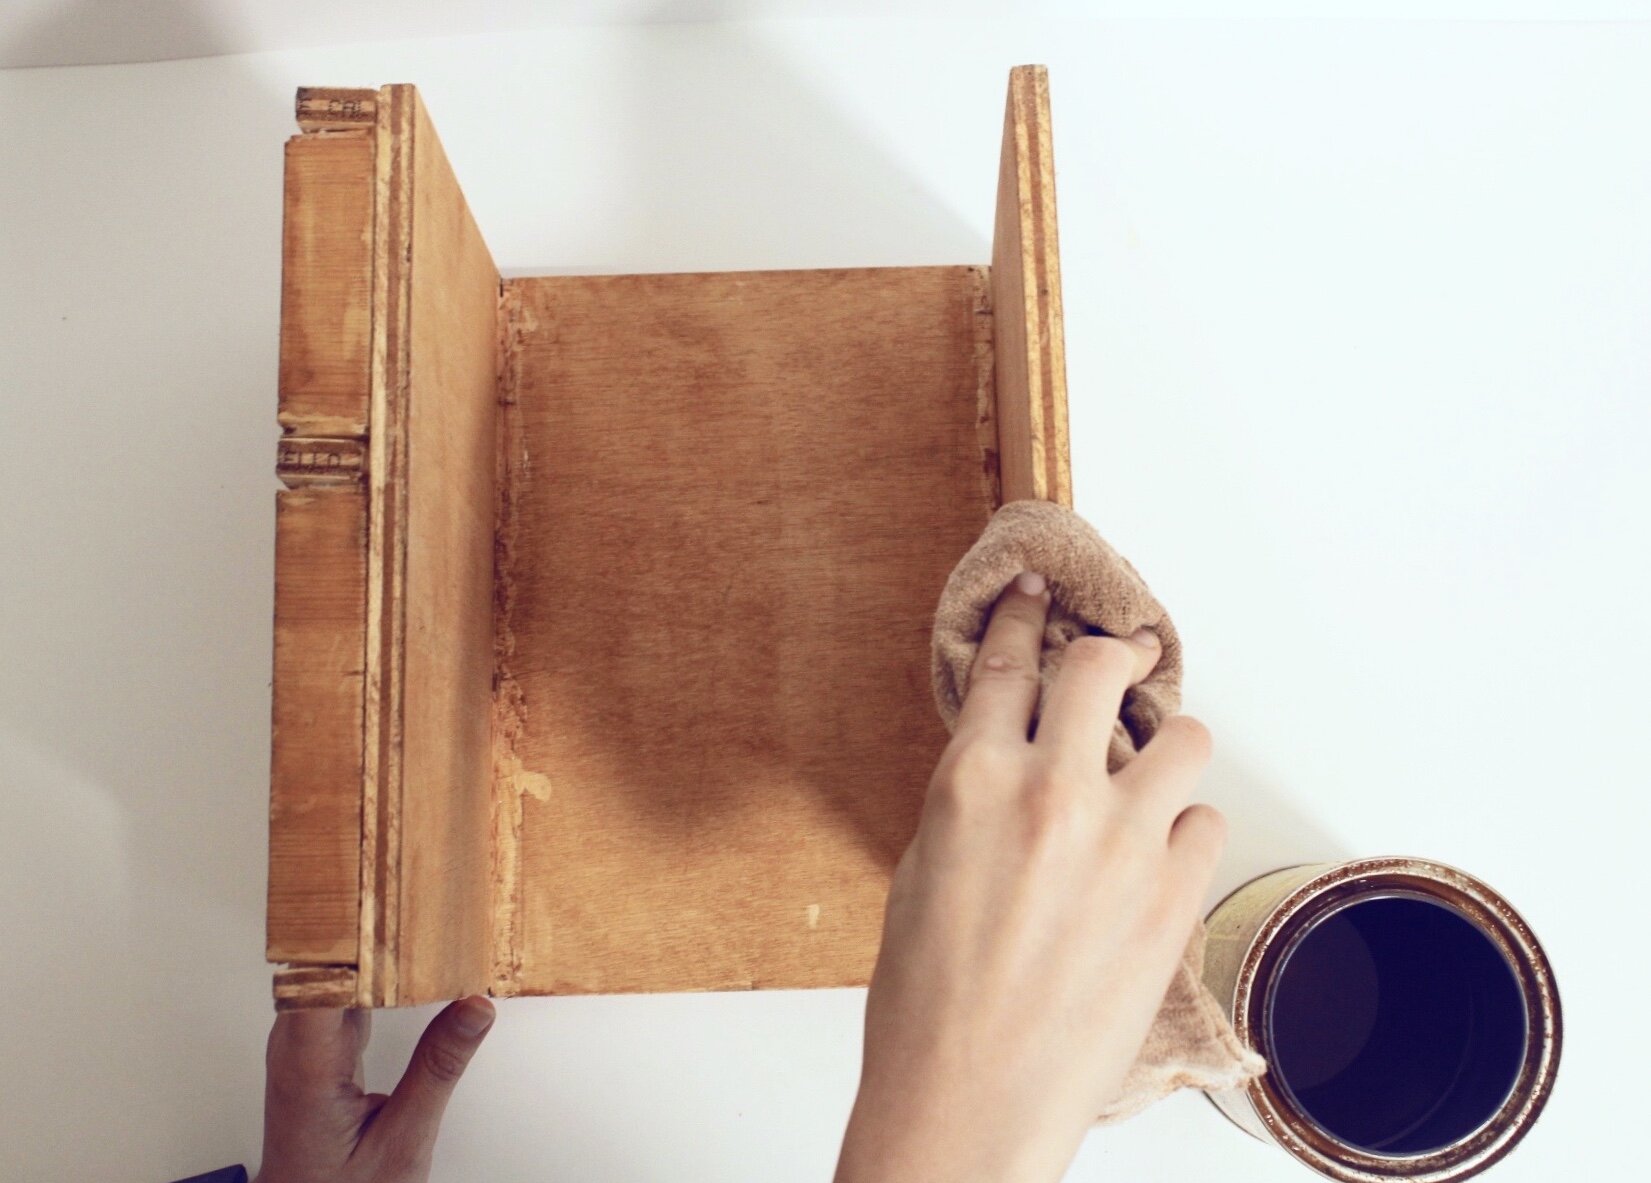
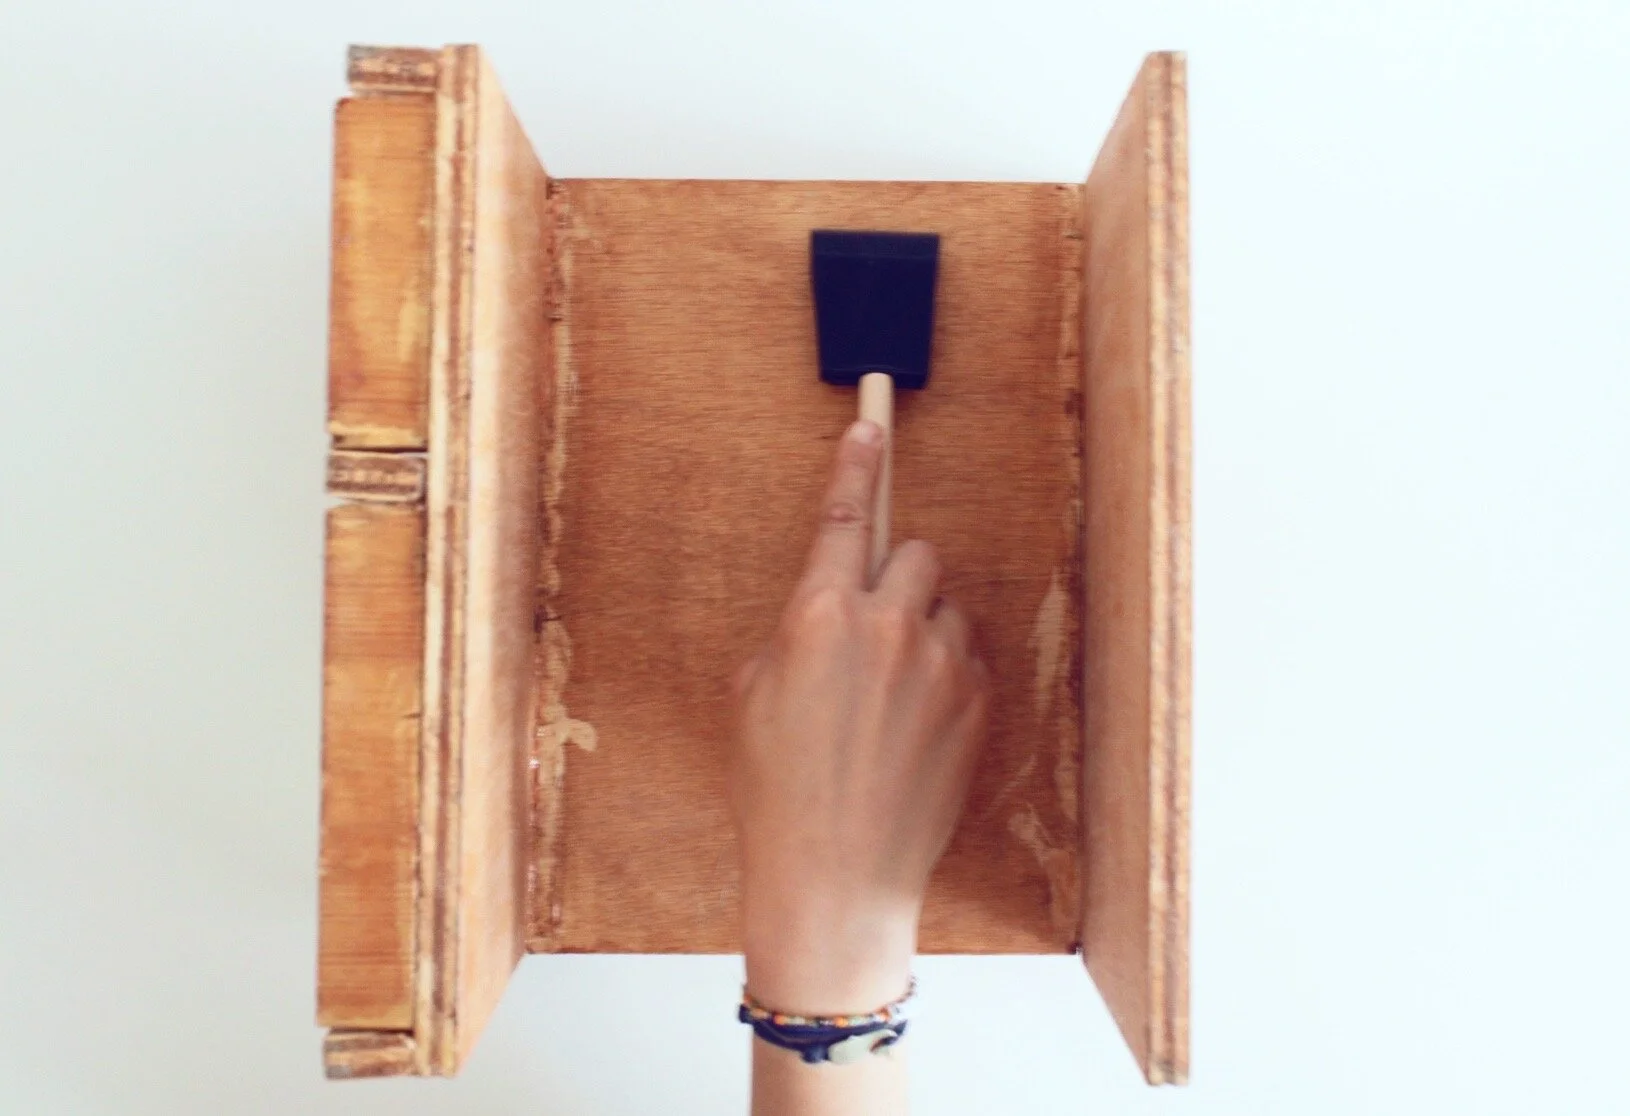
Step Four: Apply a coat of stain and allow it to dry for at least 12 hours before buffing away the roughness with a piece of steel wool or sandpaper. This will take off the little hairs that pop from the moisture of the stain soaking into the wood. You can apply a light second coat of stain if you notice the stain is getting lighter in some areas after buffering.
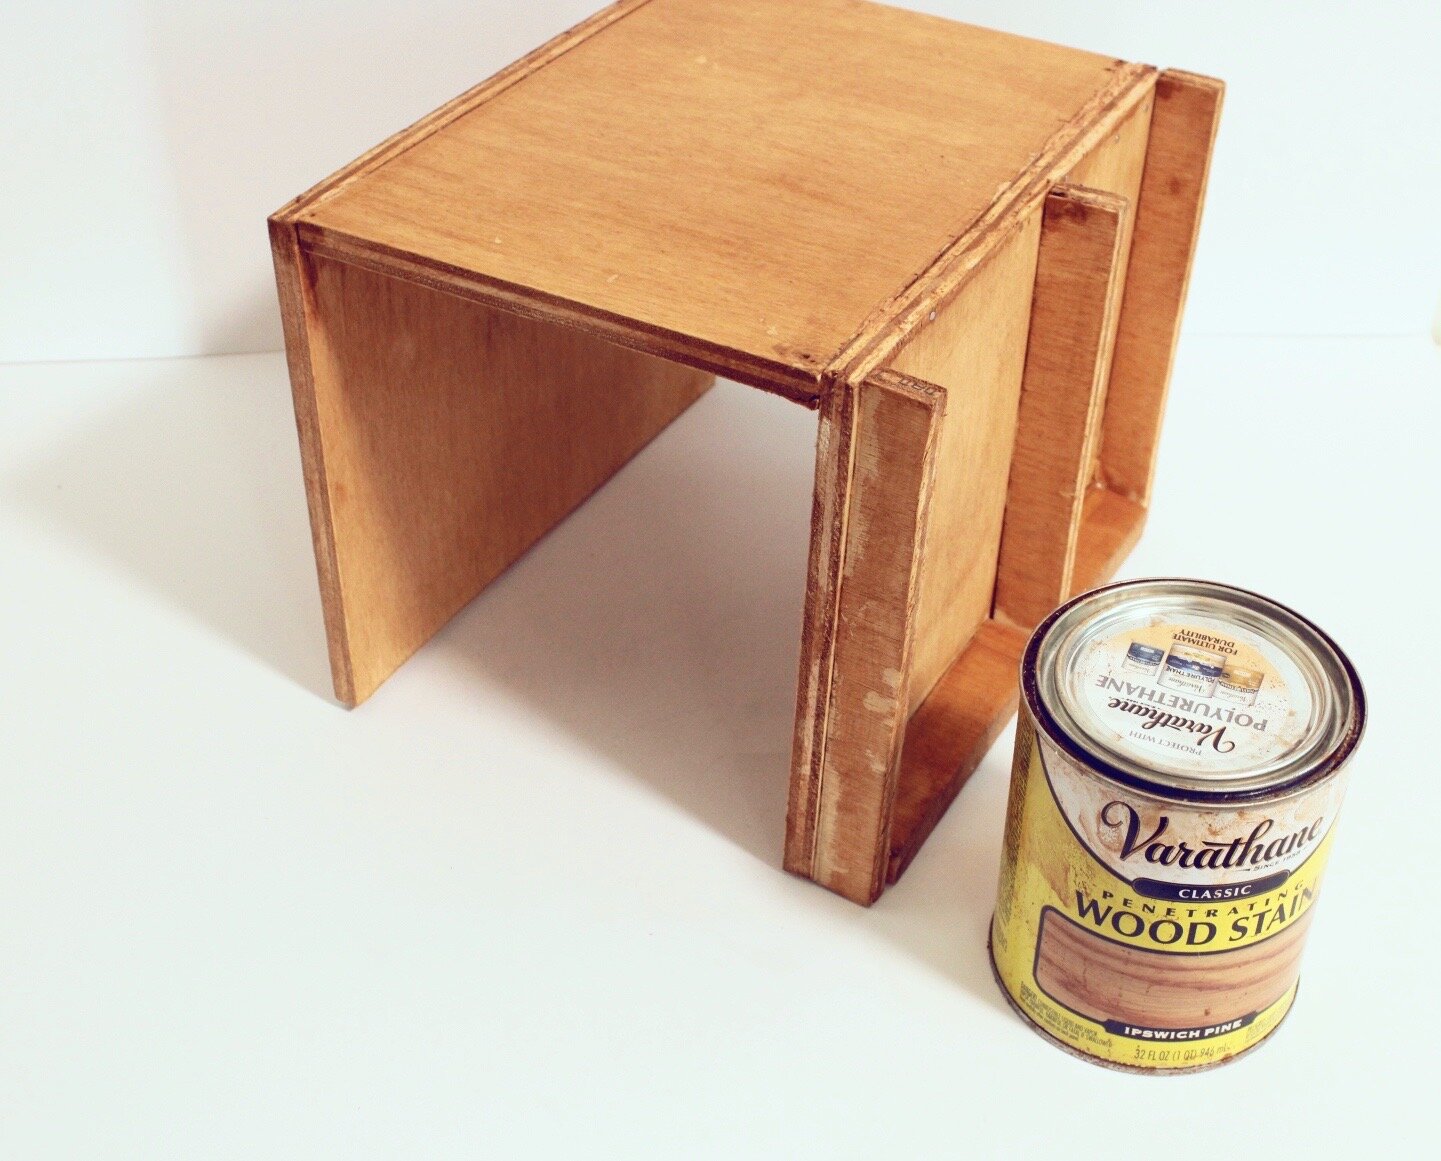
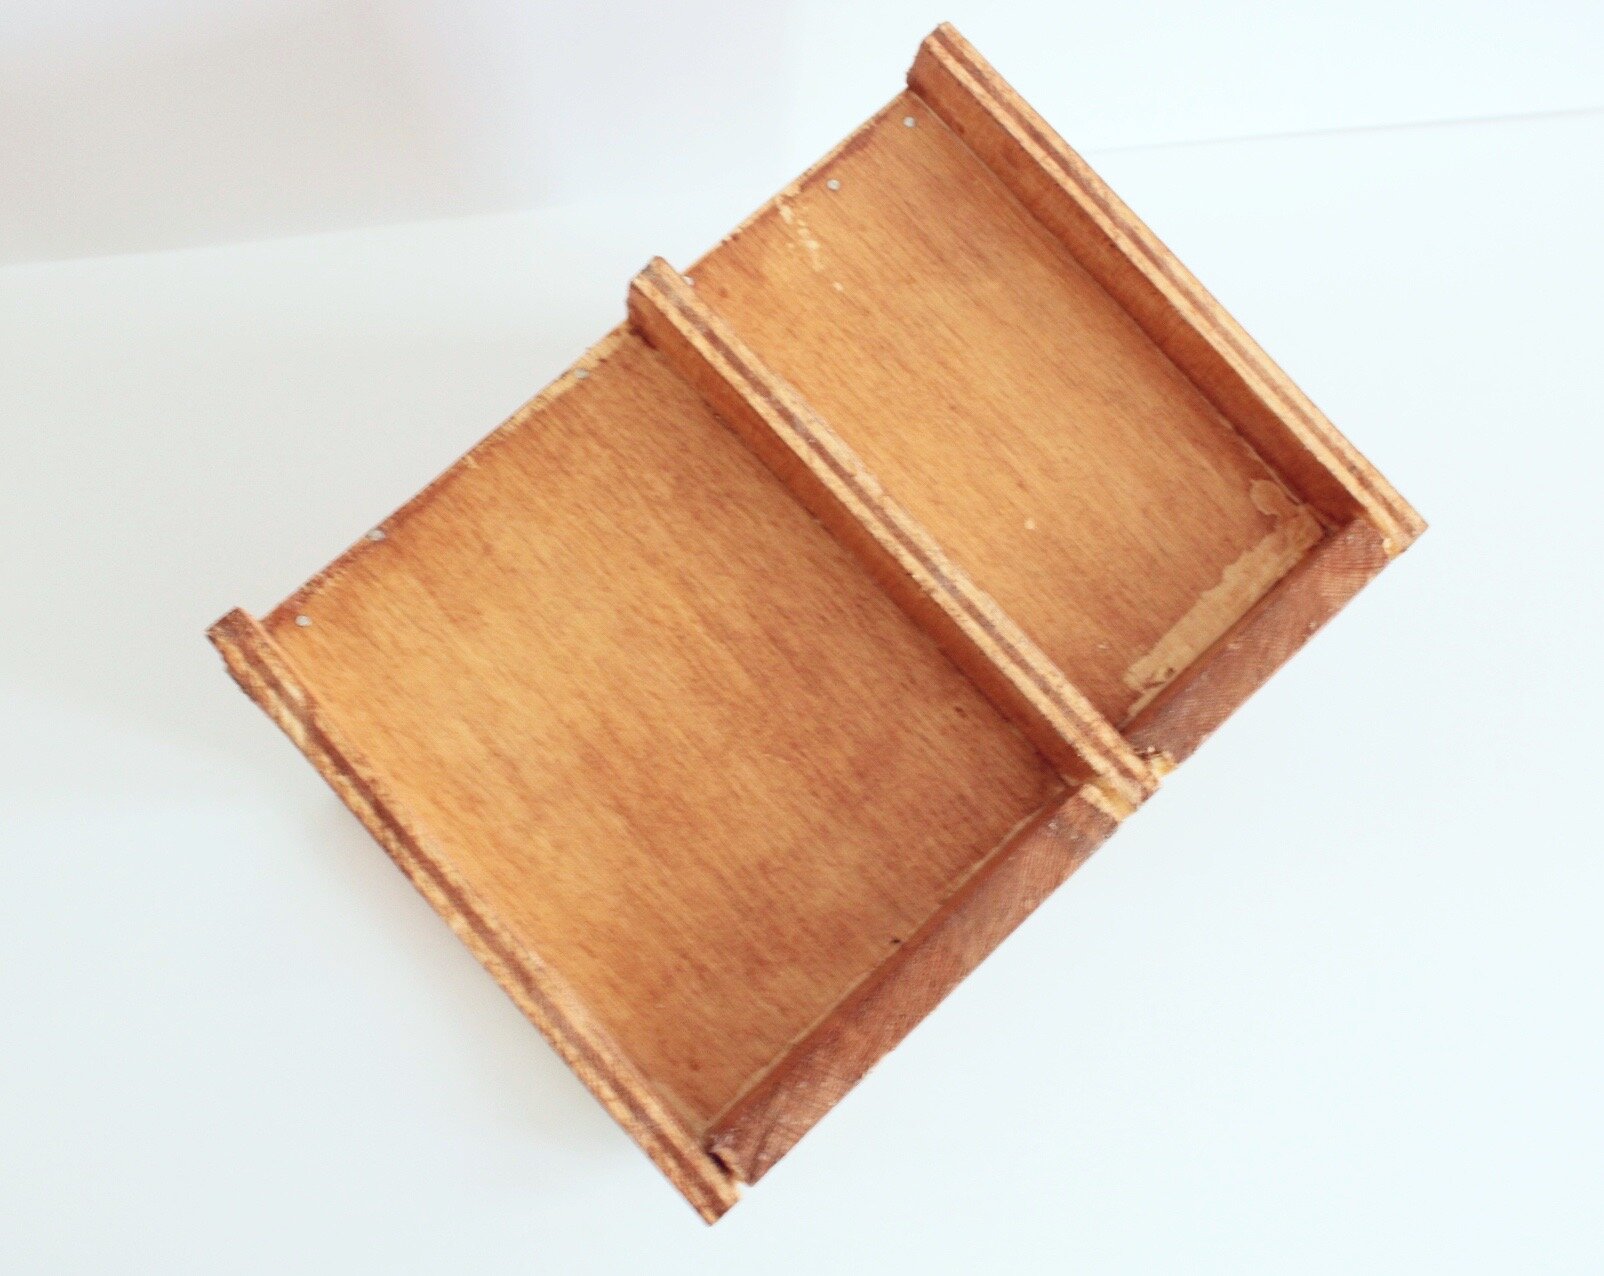

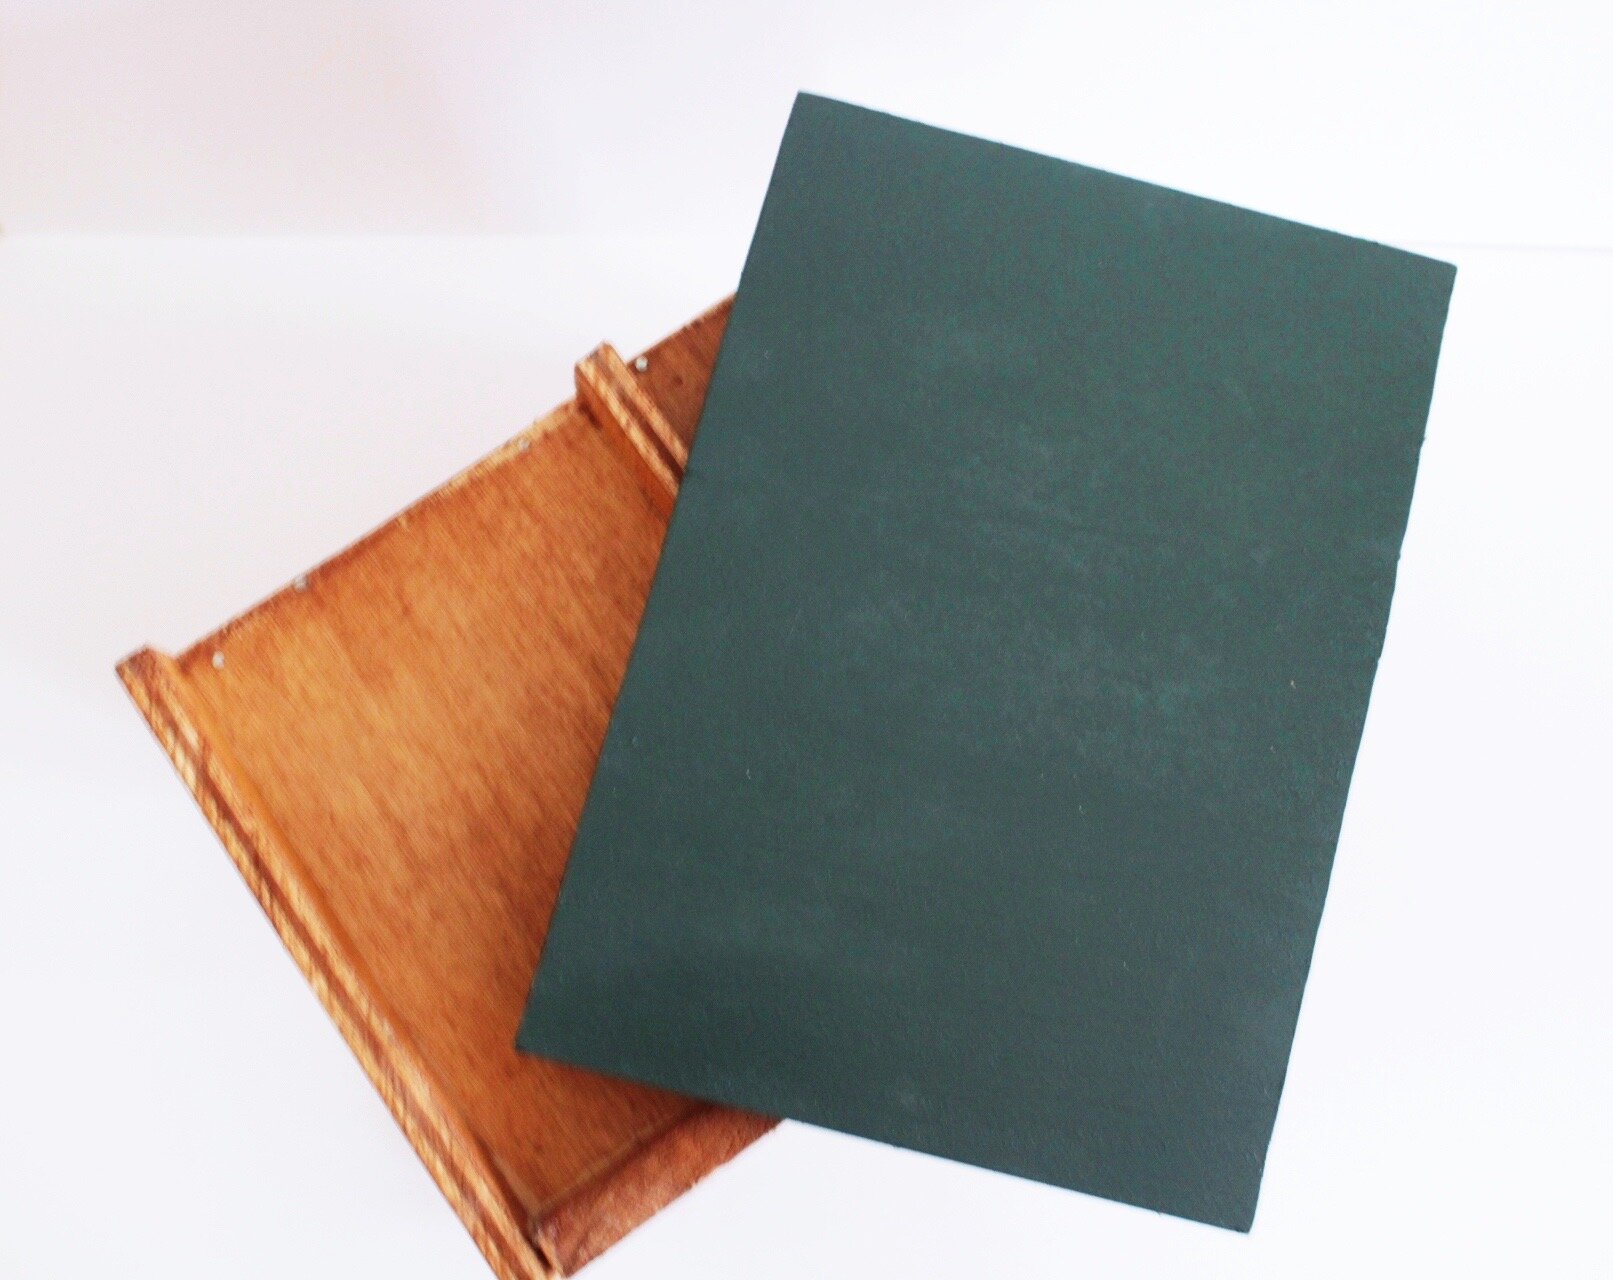
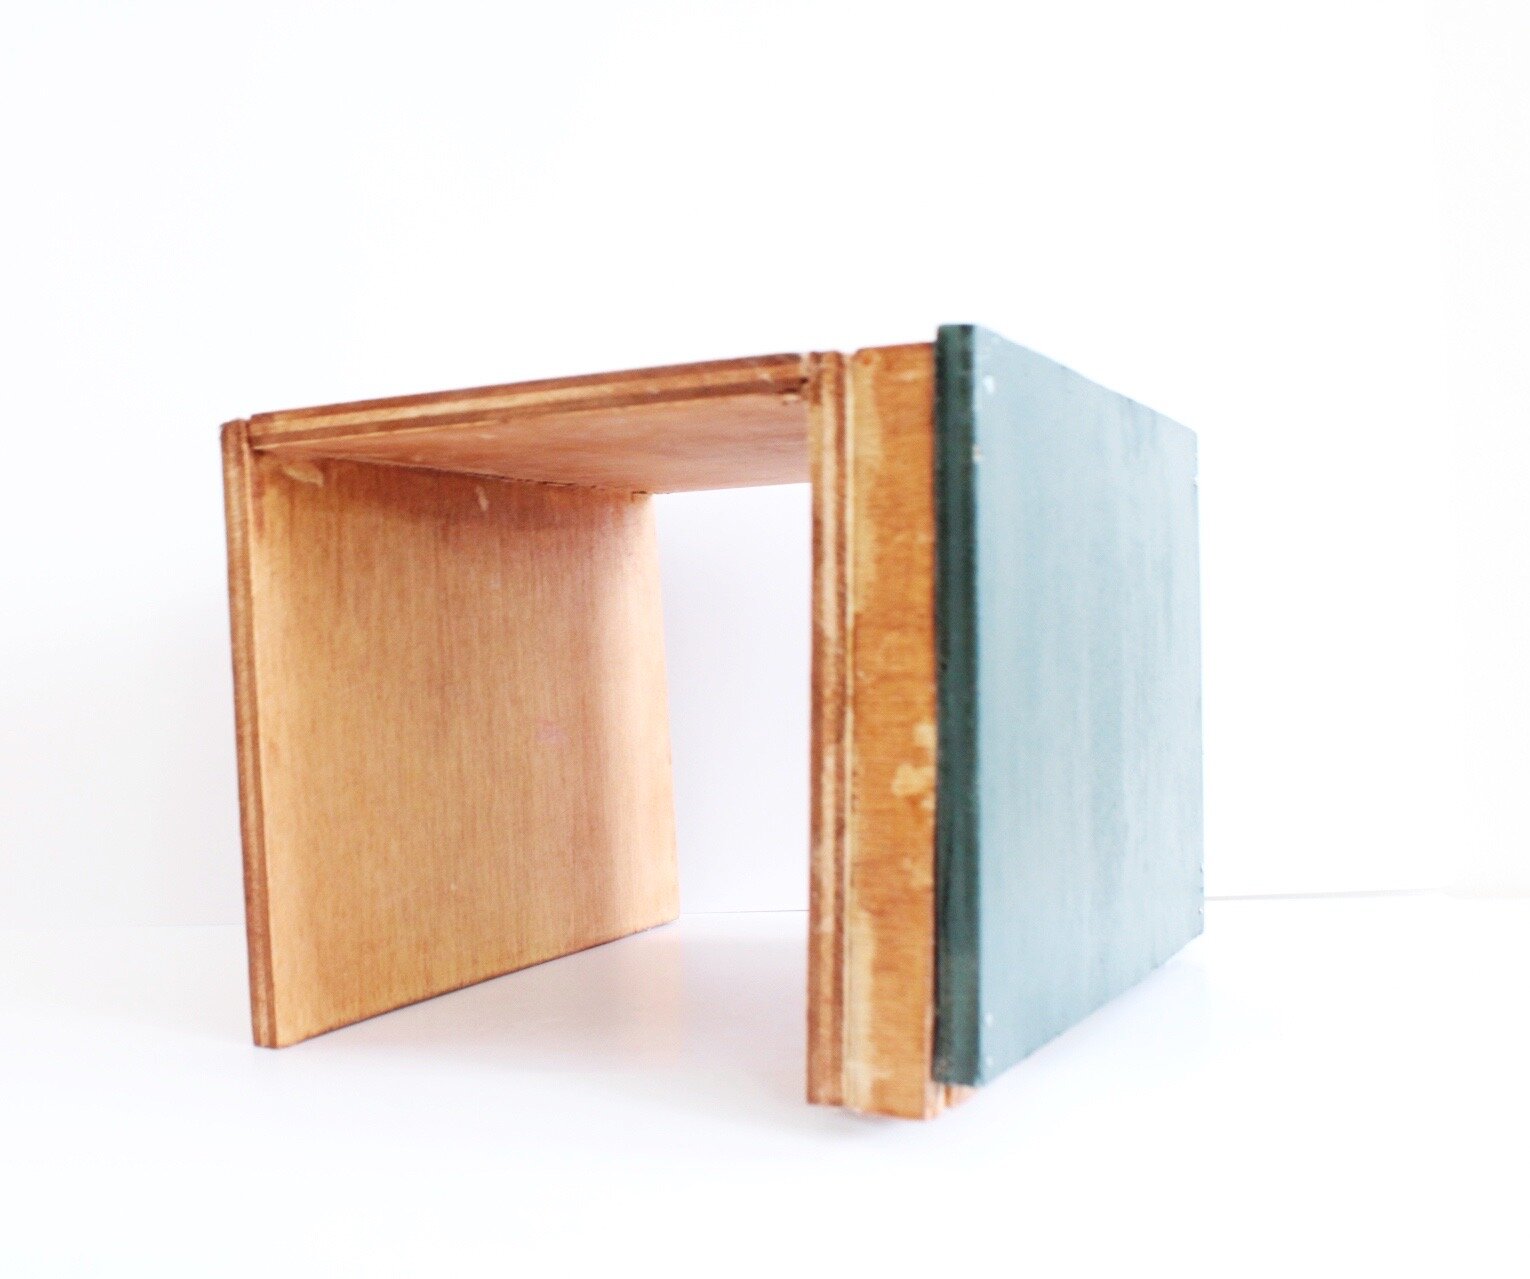
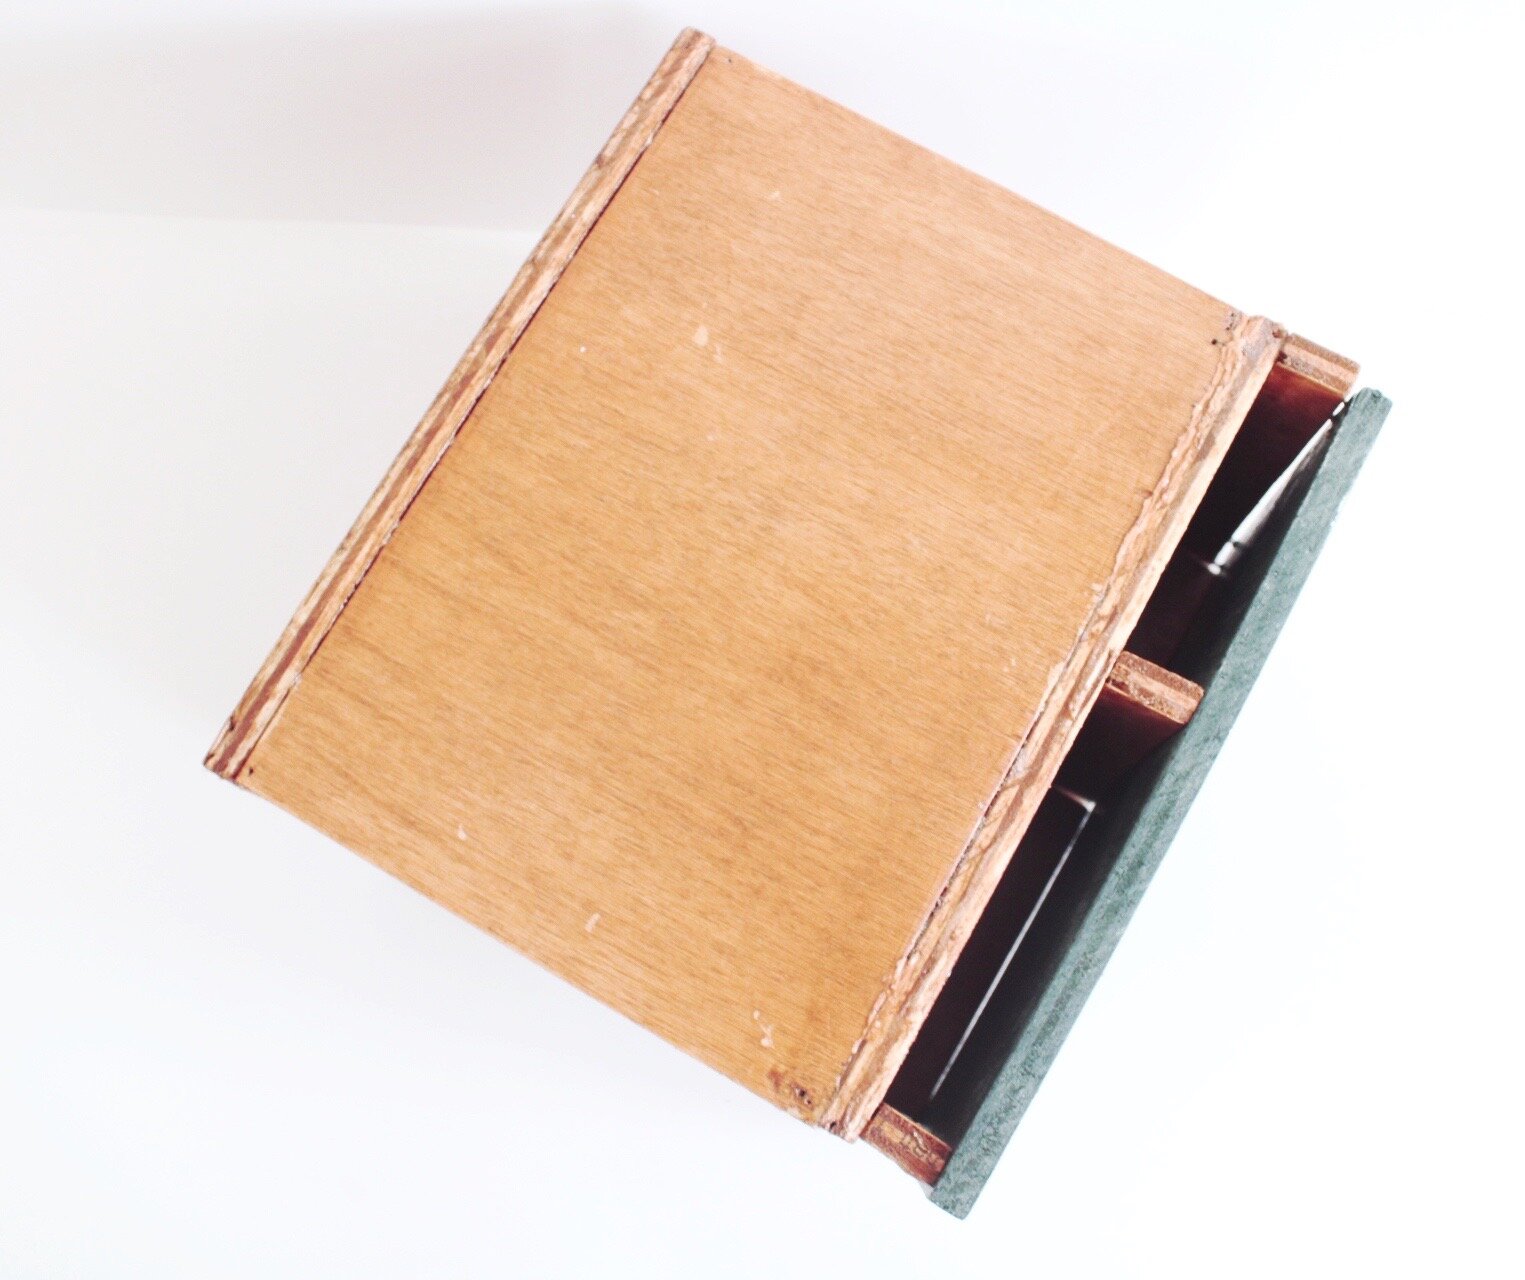
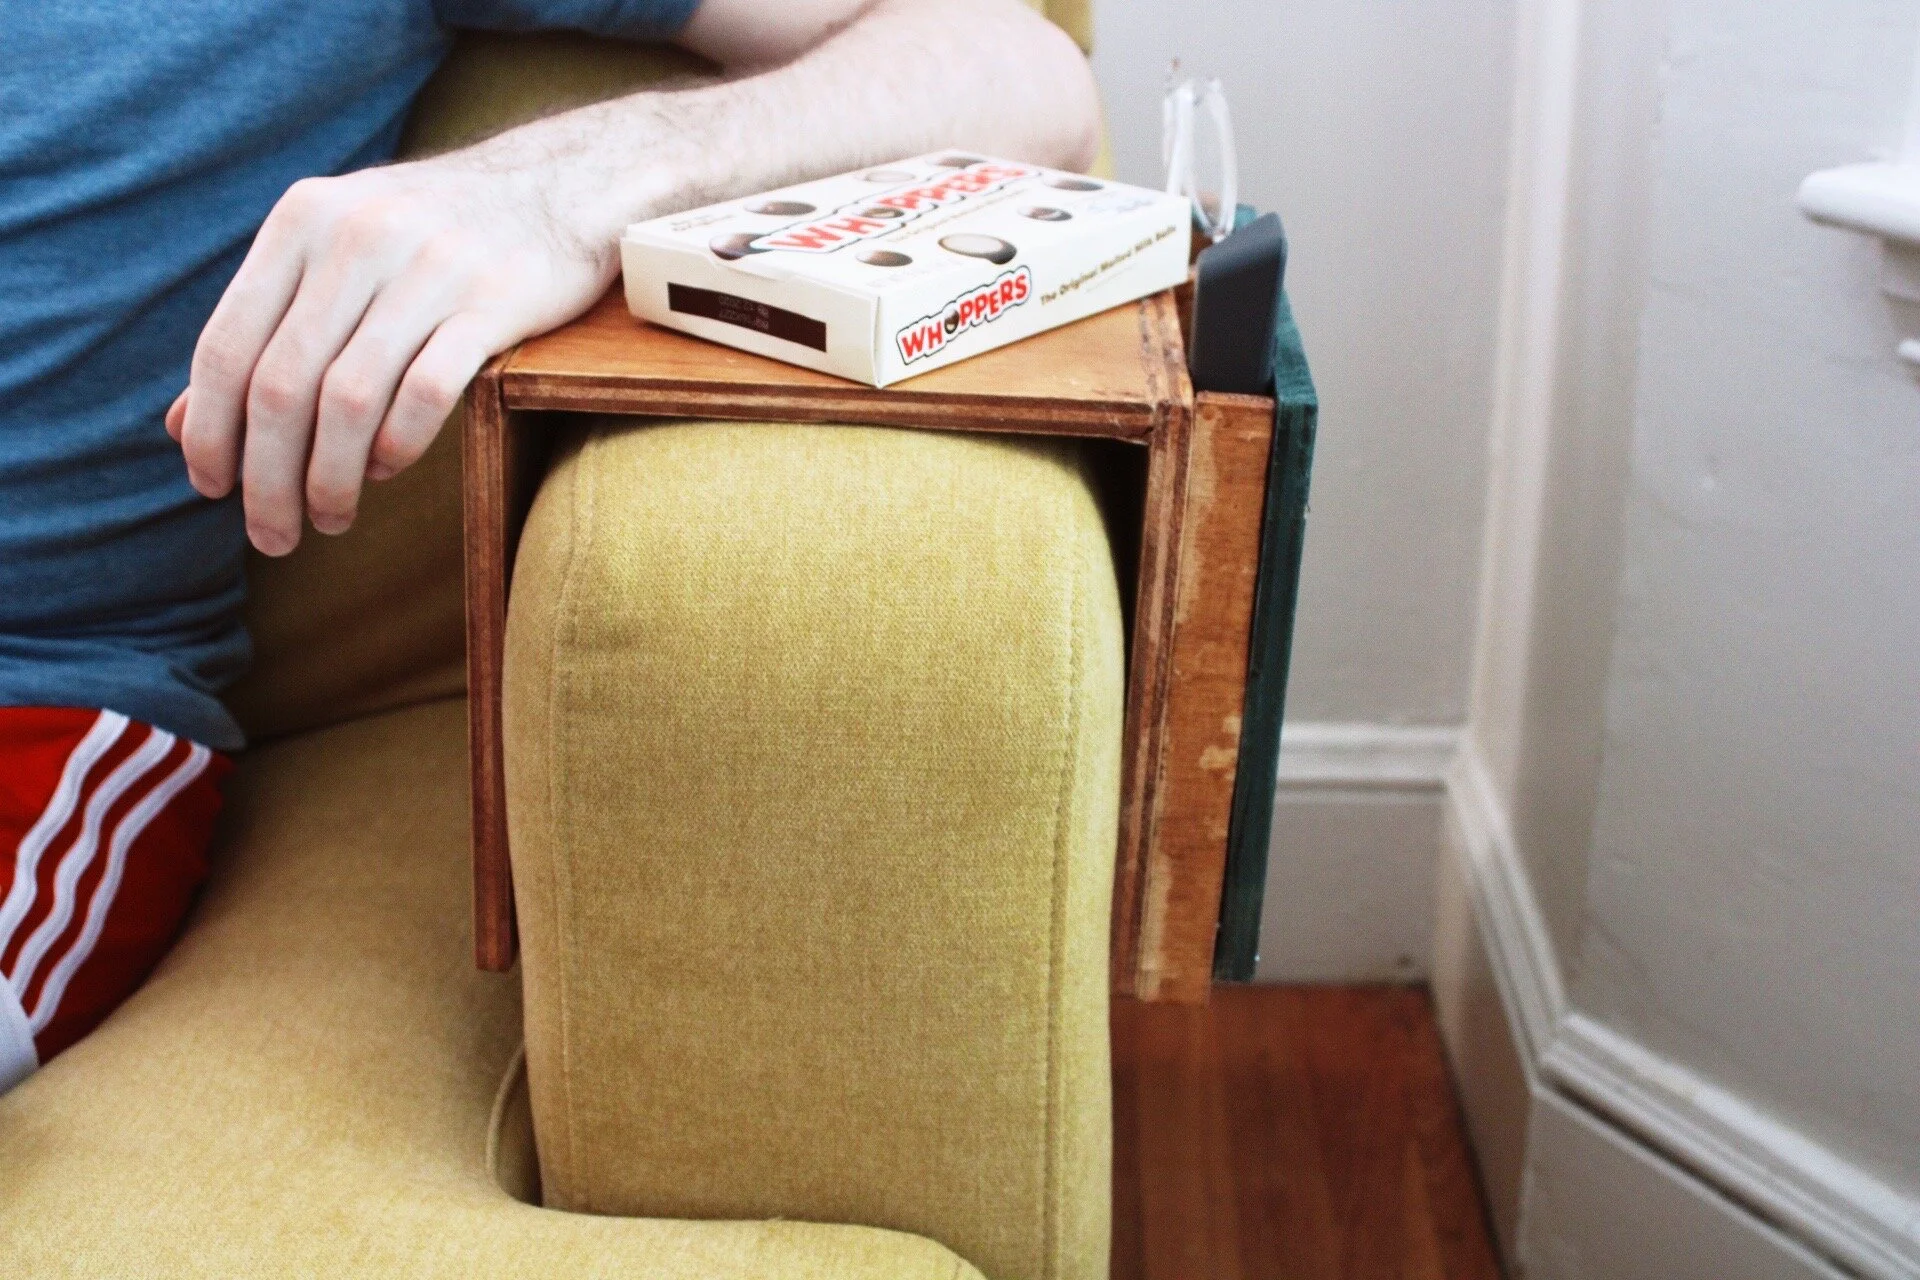
Step Five: Once the stain is dried, add the piece of thin plywood atop all the 1in thick pieces. (I used ½ in plywood for this whole project so I just used a piece of that wood) Let dry completely for 24 hours. While this is drying you can stain the exterior piece of wood. Last minute, I decided to spray paint mine a green color just to give it a pop of color. I primed the wood first and then sprayed both sides.
Step Six: Once the entire project is dry, hammer in some small nails where you glued things together. Add as many as seem right for you, we did a bunch all over.

Step Seven: Seal the sleeve with two light coats of polyurethane. This will protect it from all the snacks that you put on the sleeve as well the moisture from a cup condensation.
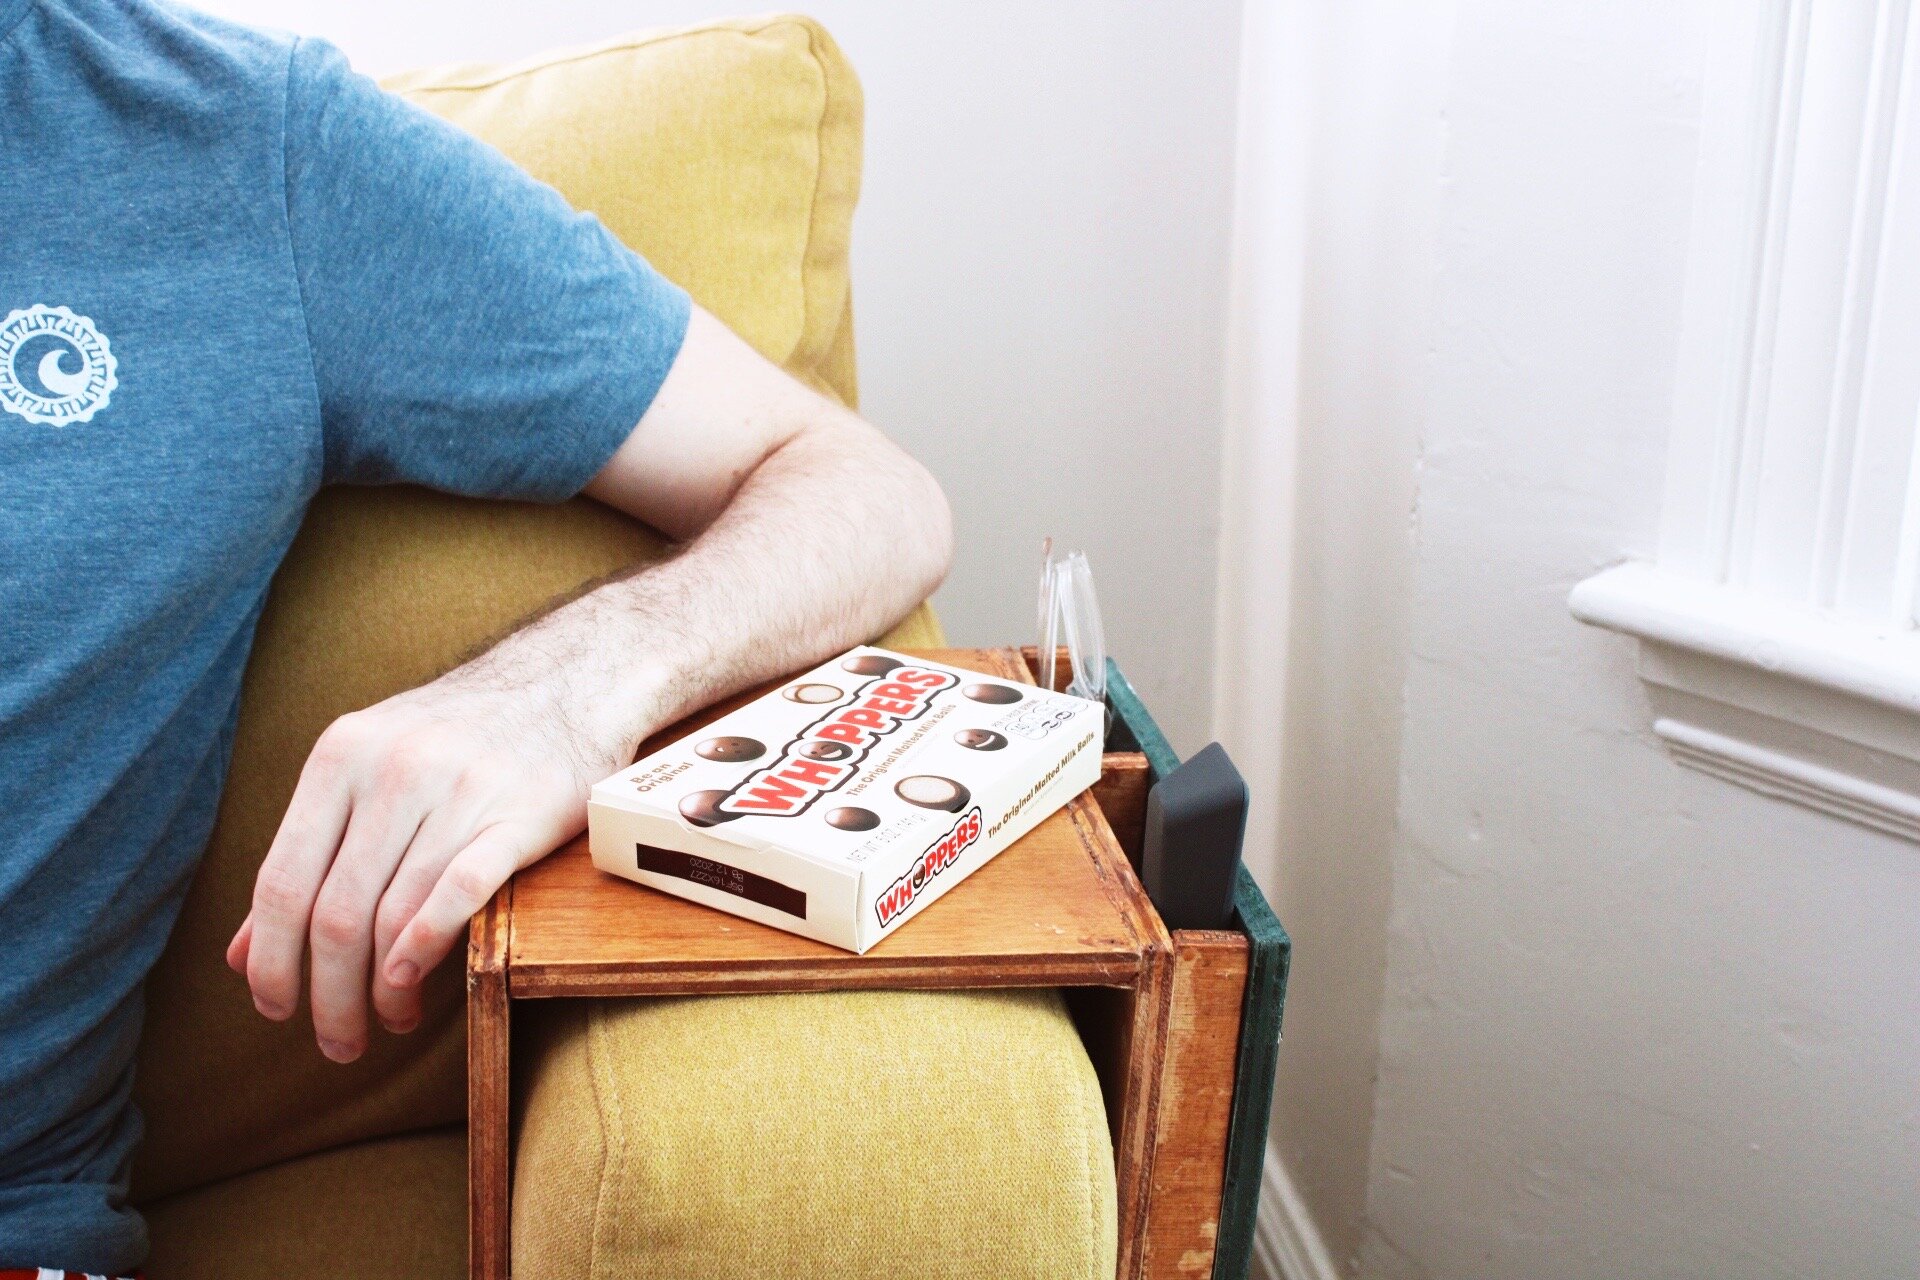
The finished product is way better than I could have ever hoped for. The remote is never lost, no one loses their glasses and it is perfect to hold some snacks on the top. It also goes really well with the rooms style as opposed to distracting from it. I am thinking that the one I make for my dad will be completely painted black and have a fabric side pocket. I am in the process of making that right now and will share with everyone on Instagram once it is complete. I hope that you make one too and gift it to someone who will love it as much as you will love making it.
You may very well think, in comparison to the post that I got the inspiration from that mine looks “a mess.” There is a part of me that feels the exact same way, which is why I think I love this DIY more. This project was not that easy for me. I am a novice wood worker and we cut all of these pieces by hand which makes them a bit more wonky and weird. I am just so so happy that I made something so cool and functional out of what was once just a piece of plywood. Maybe one day in the future I will revisit this post and make it again!
If you make this please tag #StayingHomebody and #HomebodyMakes