
Time Out Tuesday: Pinch Pots
Things are moving to mainly weaving over here, so I wanted to create a space for me to play with and share other materials, as well as share with you parts of my life that are not creative. One of my newer found loves is air dry clay! If you have never played with it before, let me tell you something, it is life changing and amazing! What I love most about it, is that is is actually like ~real ~ clay and the only difference is the kiln. Though I have heard of some people glazing and putting air dry clay in a kiln and things turning out well. It is super easy to work with and best of all anyone at any age can use this material! You don’t need a special place, you just need a table (maybe cover it with something first)
I wanted to make a small bowl, AKA a pinch pot for all of my yarn trimmings. One of my dreams is to collect enough yarn over the next few months to get Ashley of Loom Denim spin my scraps into yarn! If you are into that click here! I made this bowl pretty small to collect weaving by weaving, but don’t worry I have a larger container holding all my other scraps!

SUPPLIES
-Water
-Modge Podge
-Paint or Paint Markers
PINCHING AND POTTING
01. Start by taking half the Fimo clay for a small bowl, about the size of a baseball if you are grabbing from a bucket, container. It is about 8 oz. You can go bigger, think softball or smaller, think golf ball.

02. Roll the clay into a ball. Dip your hands into water as often as possible to keep the clay moist and workable.
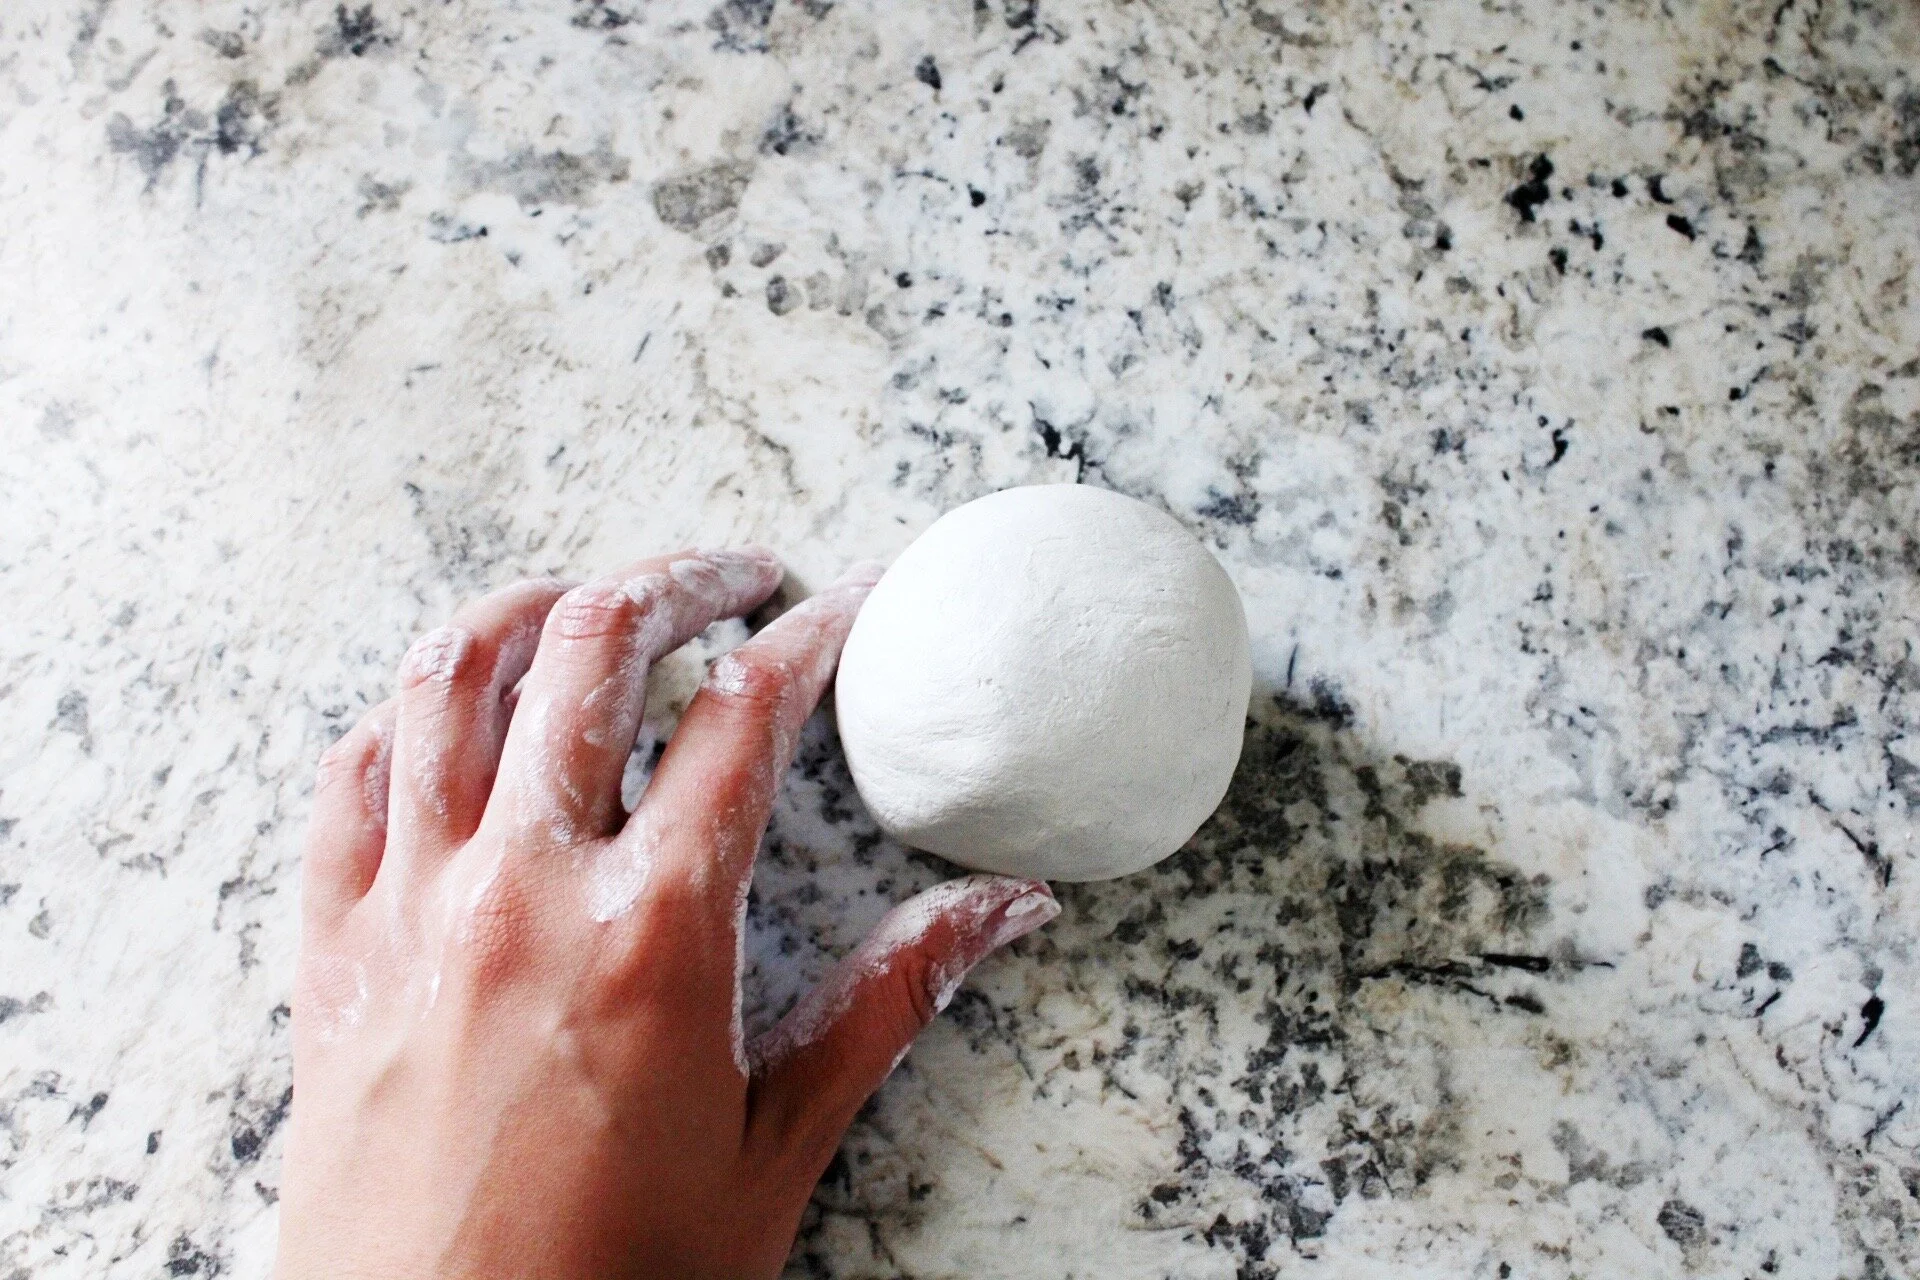
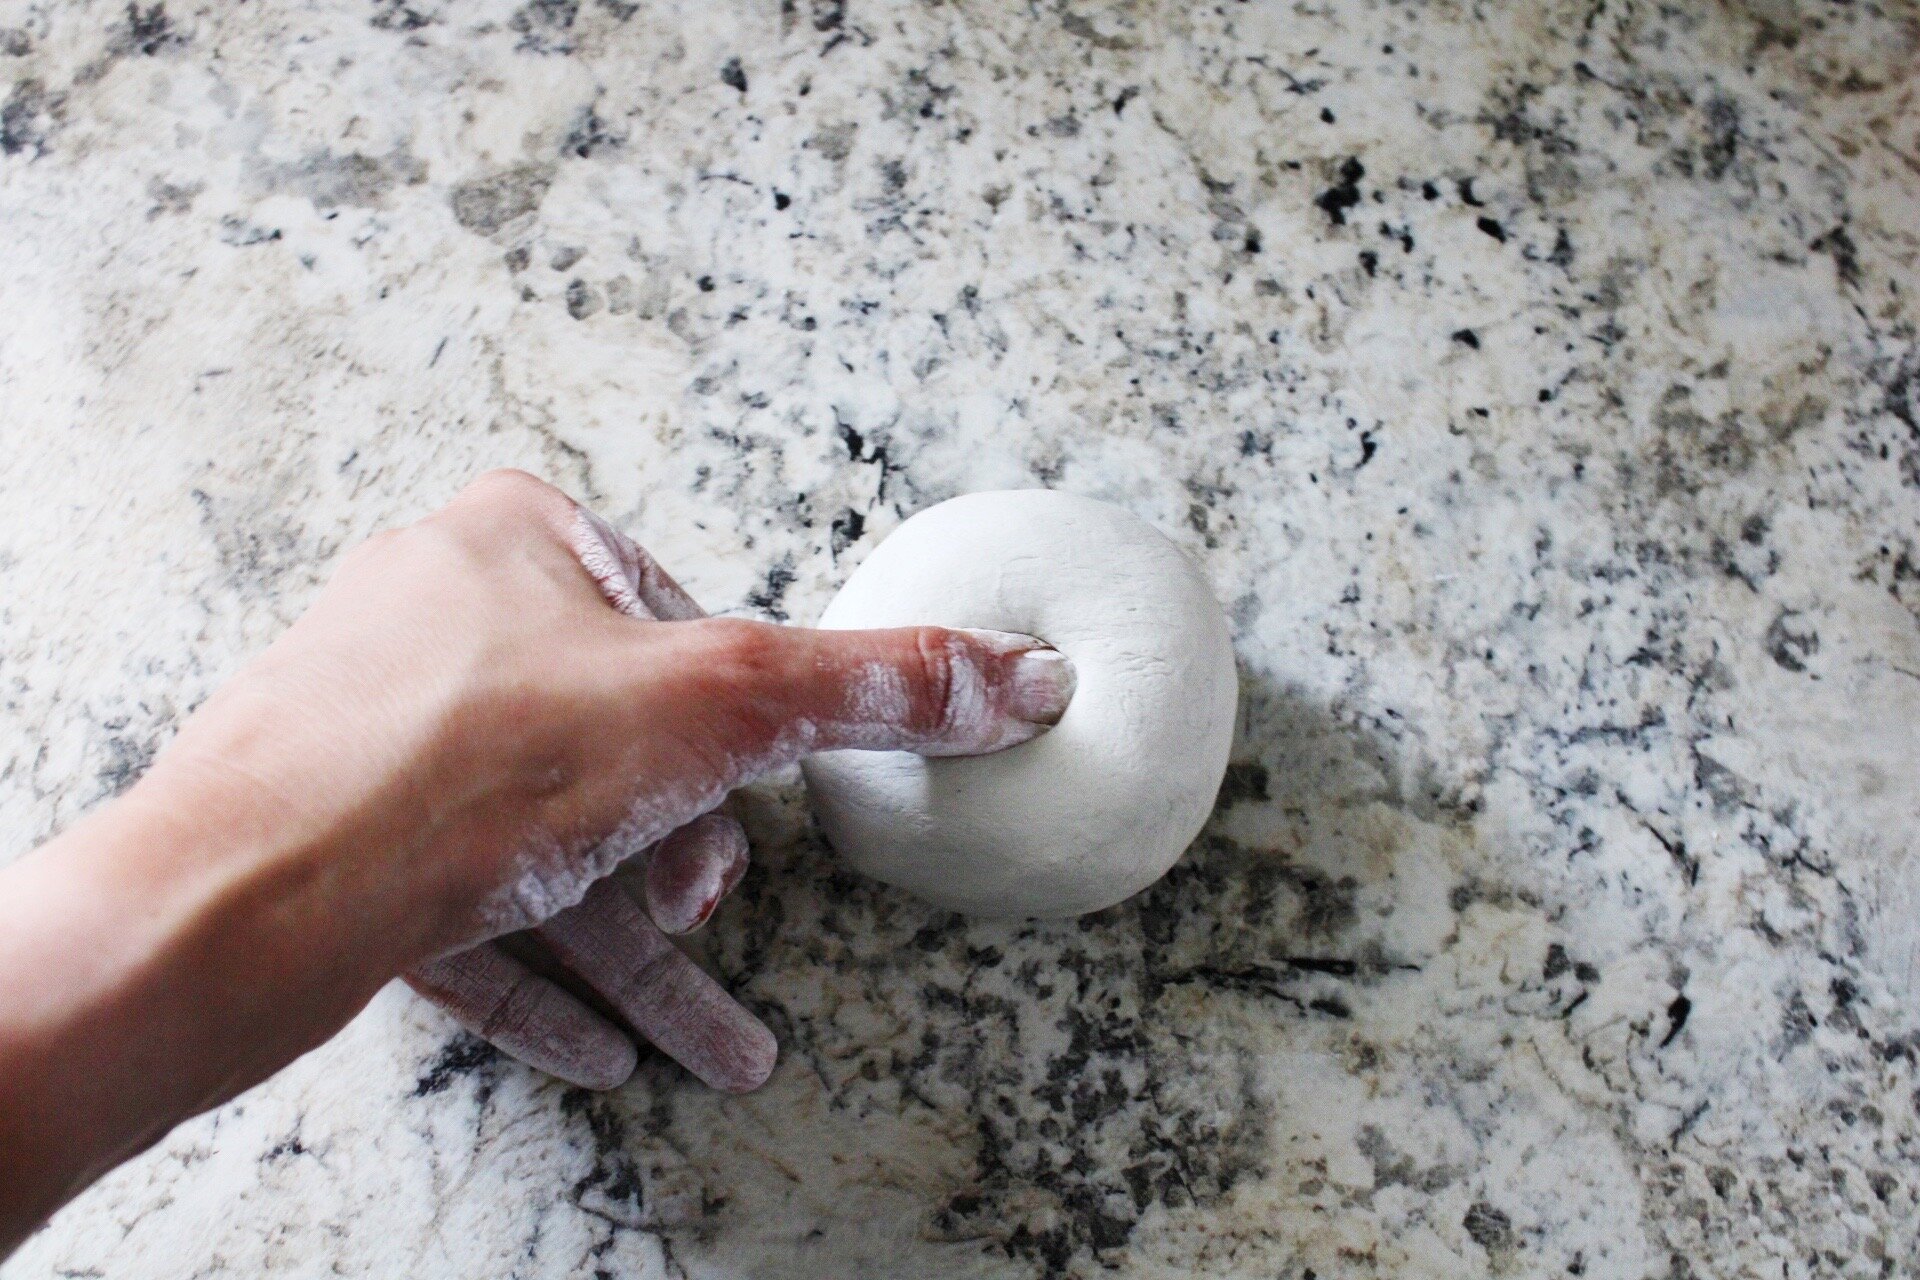
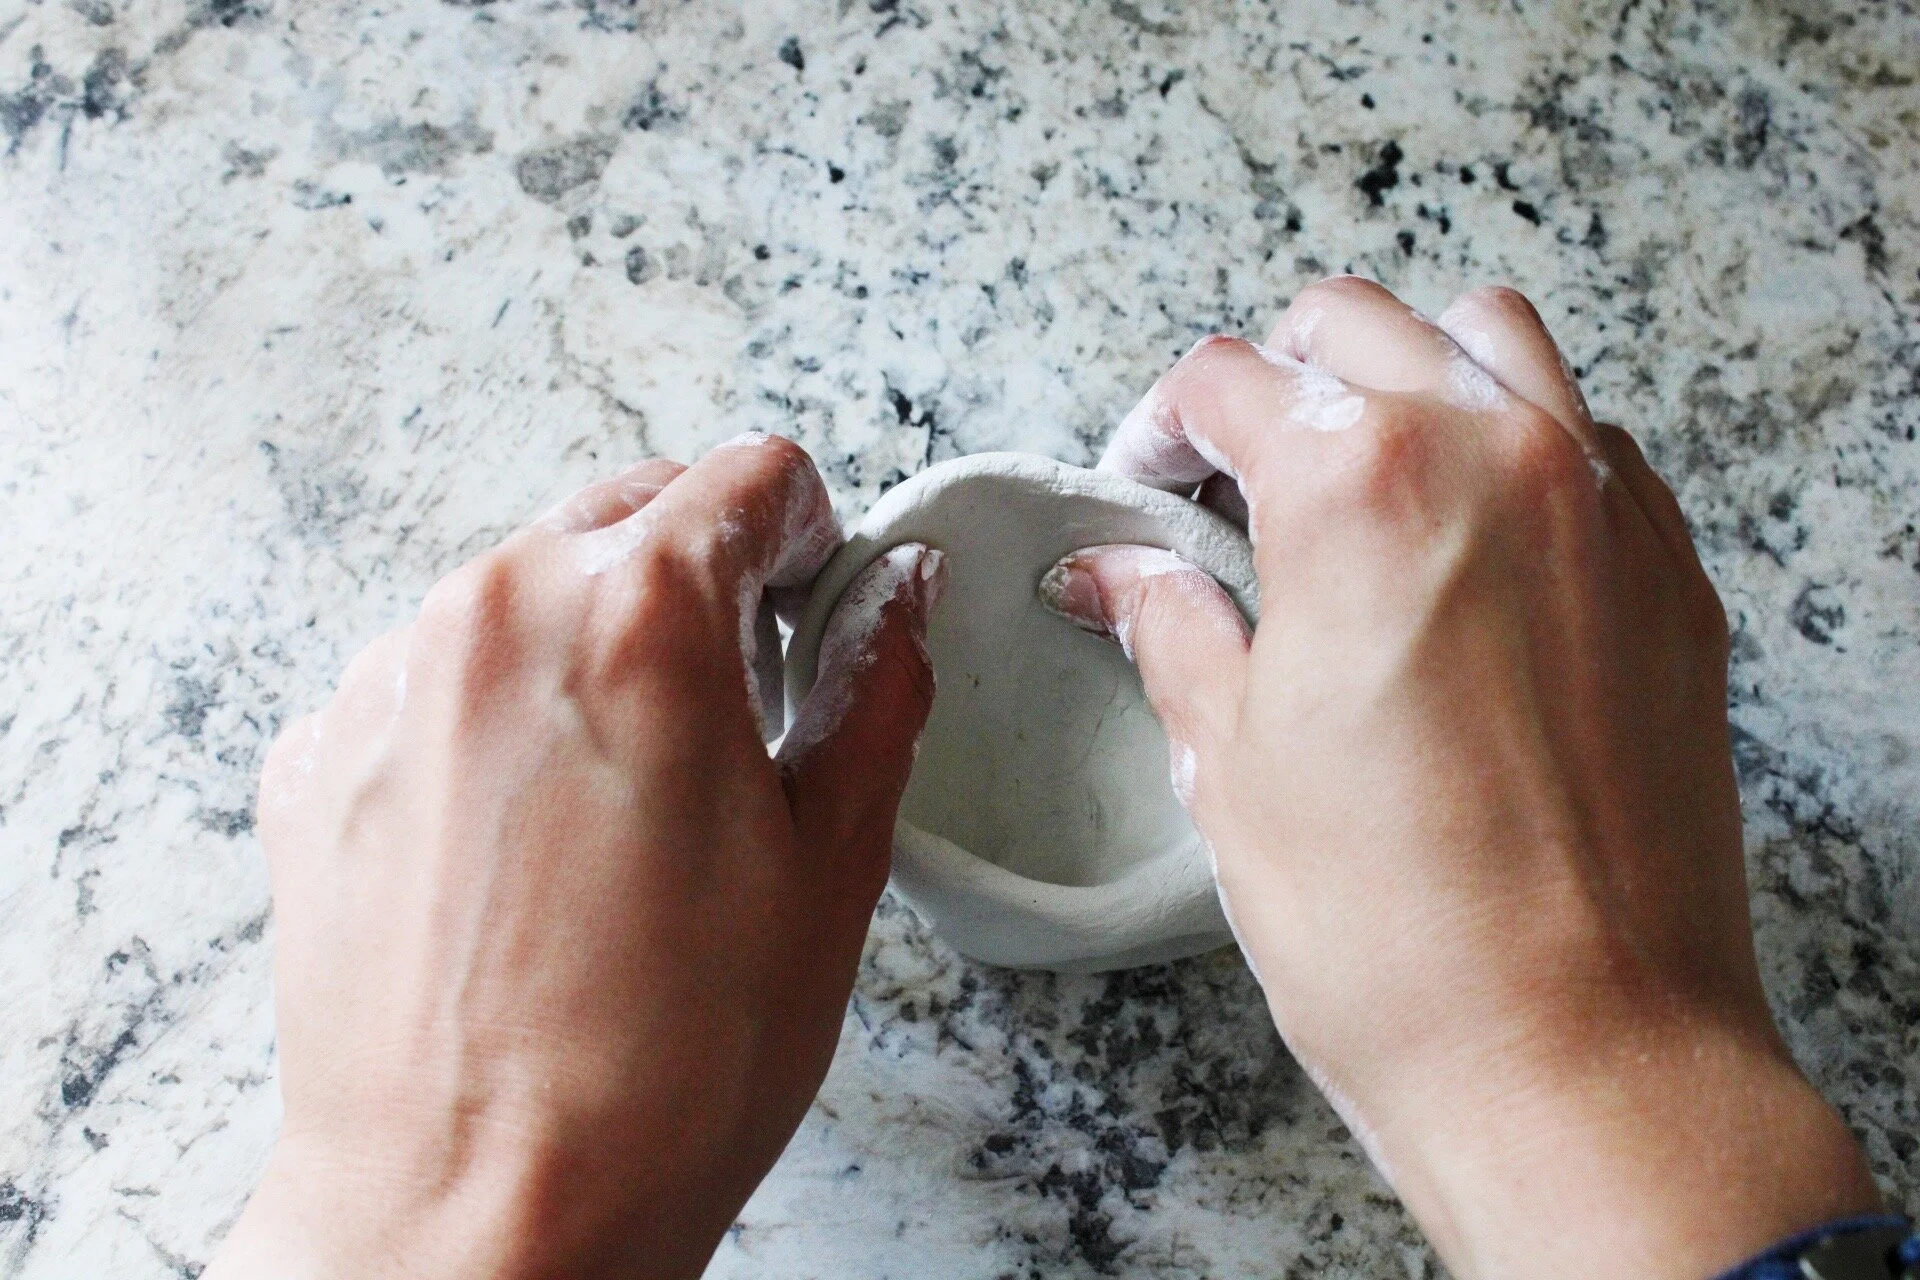
03. Once it is in a perfect circle, place it onto a flat/ table surface. Finding the center, place your thumb in the center of the ball and press down. Do not go all the way through, but you can get close to the bottom, maybe about 1 inch away.
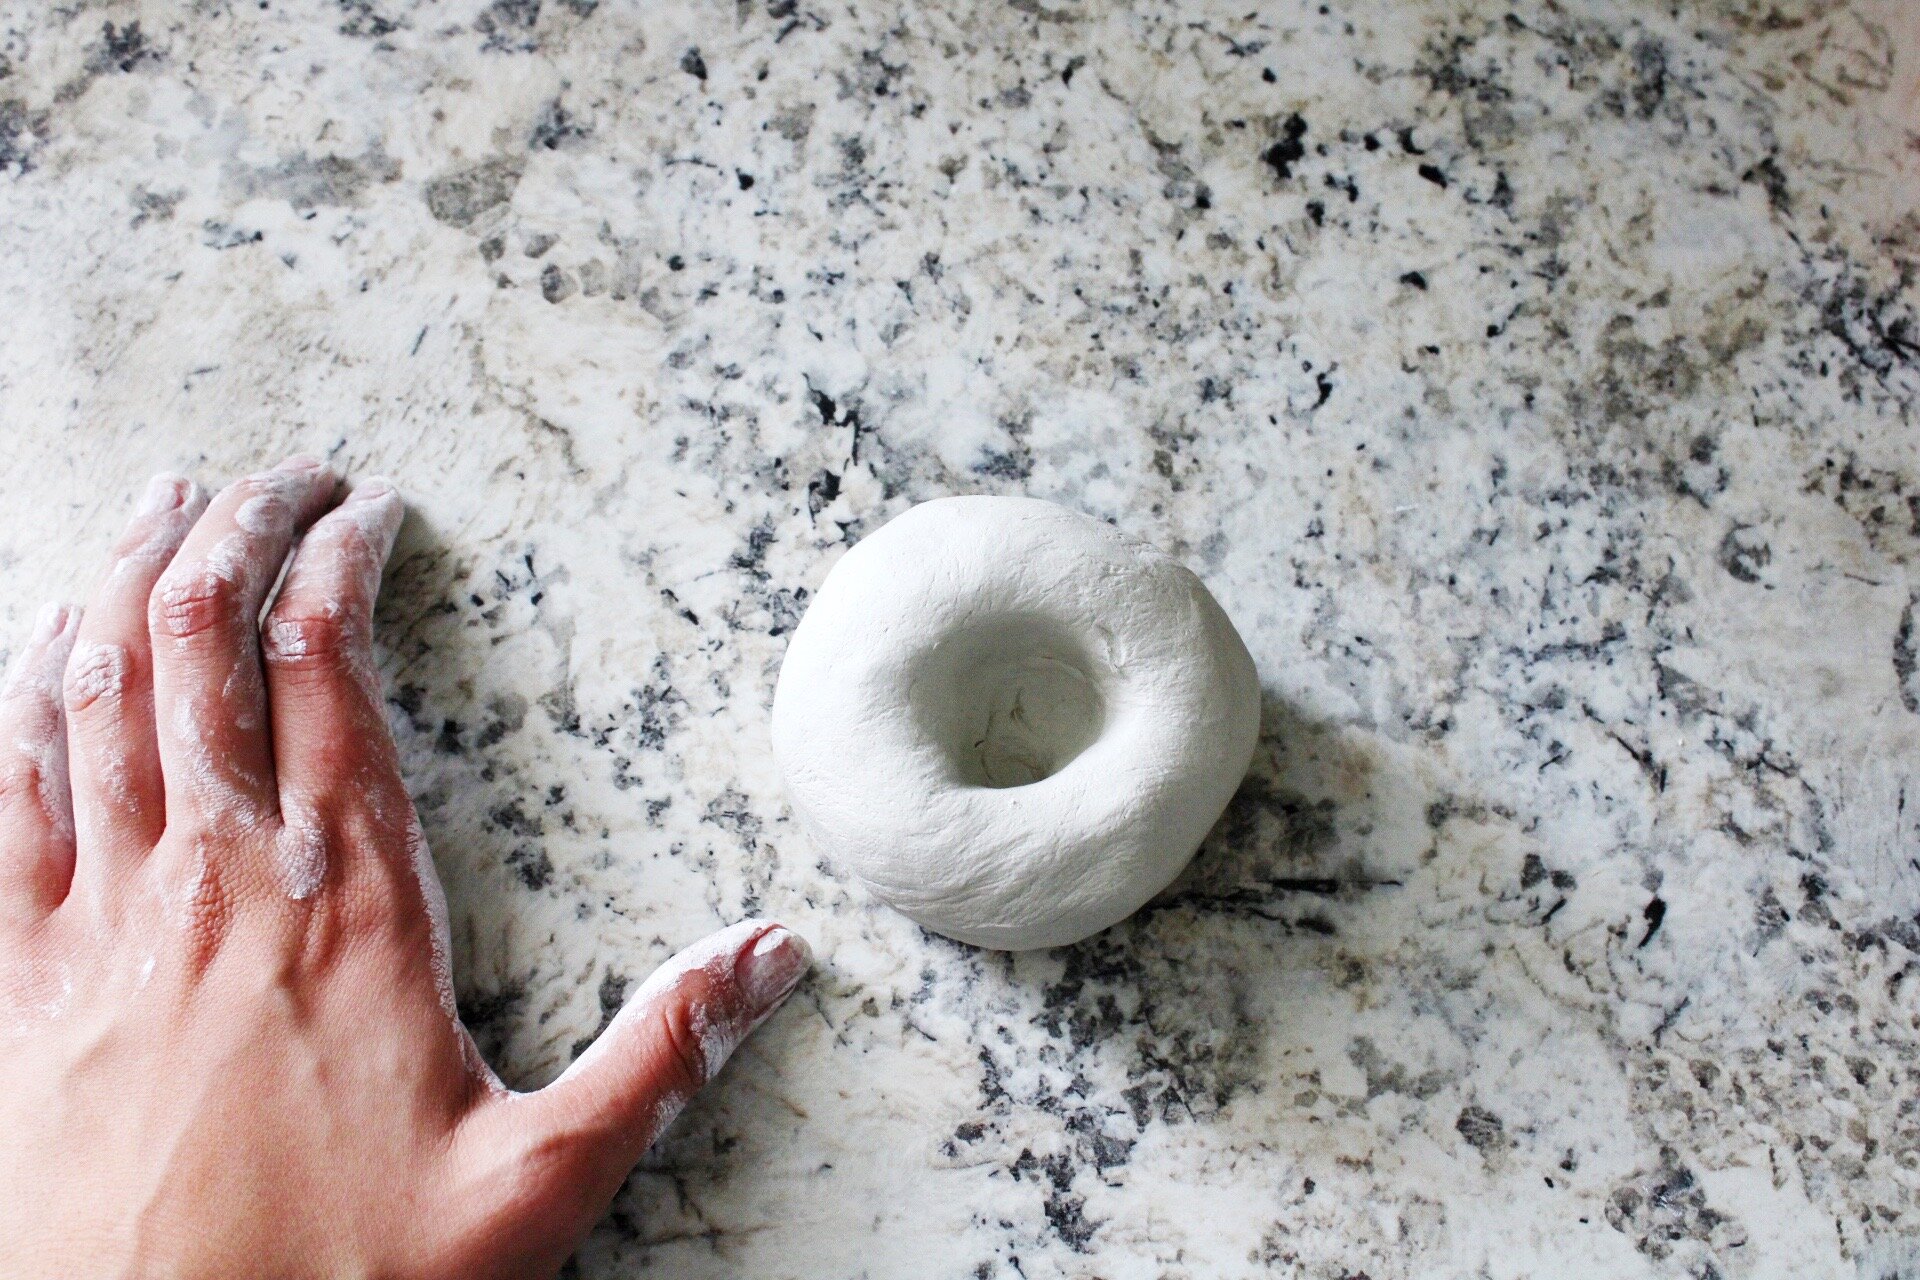
04. After creating your center, use your hands to pinch the clay out and up. This pinching motion will create the bowl. Go nice and slow and move around the circle to pinch each spot. Also be careful not to pull up so high, to the point where you don’t have a lip of the bowl.
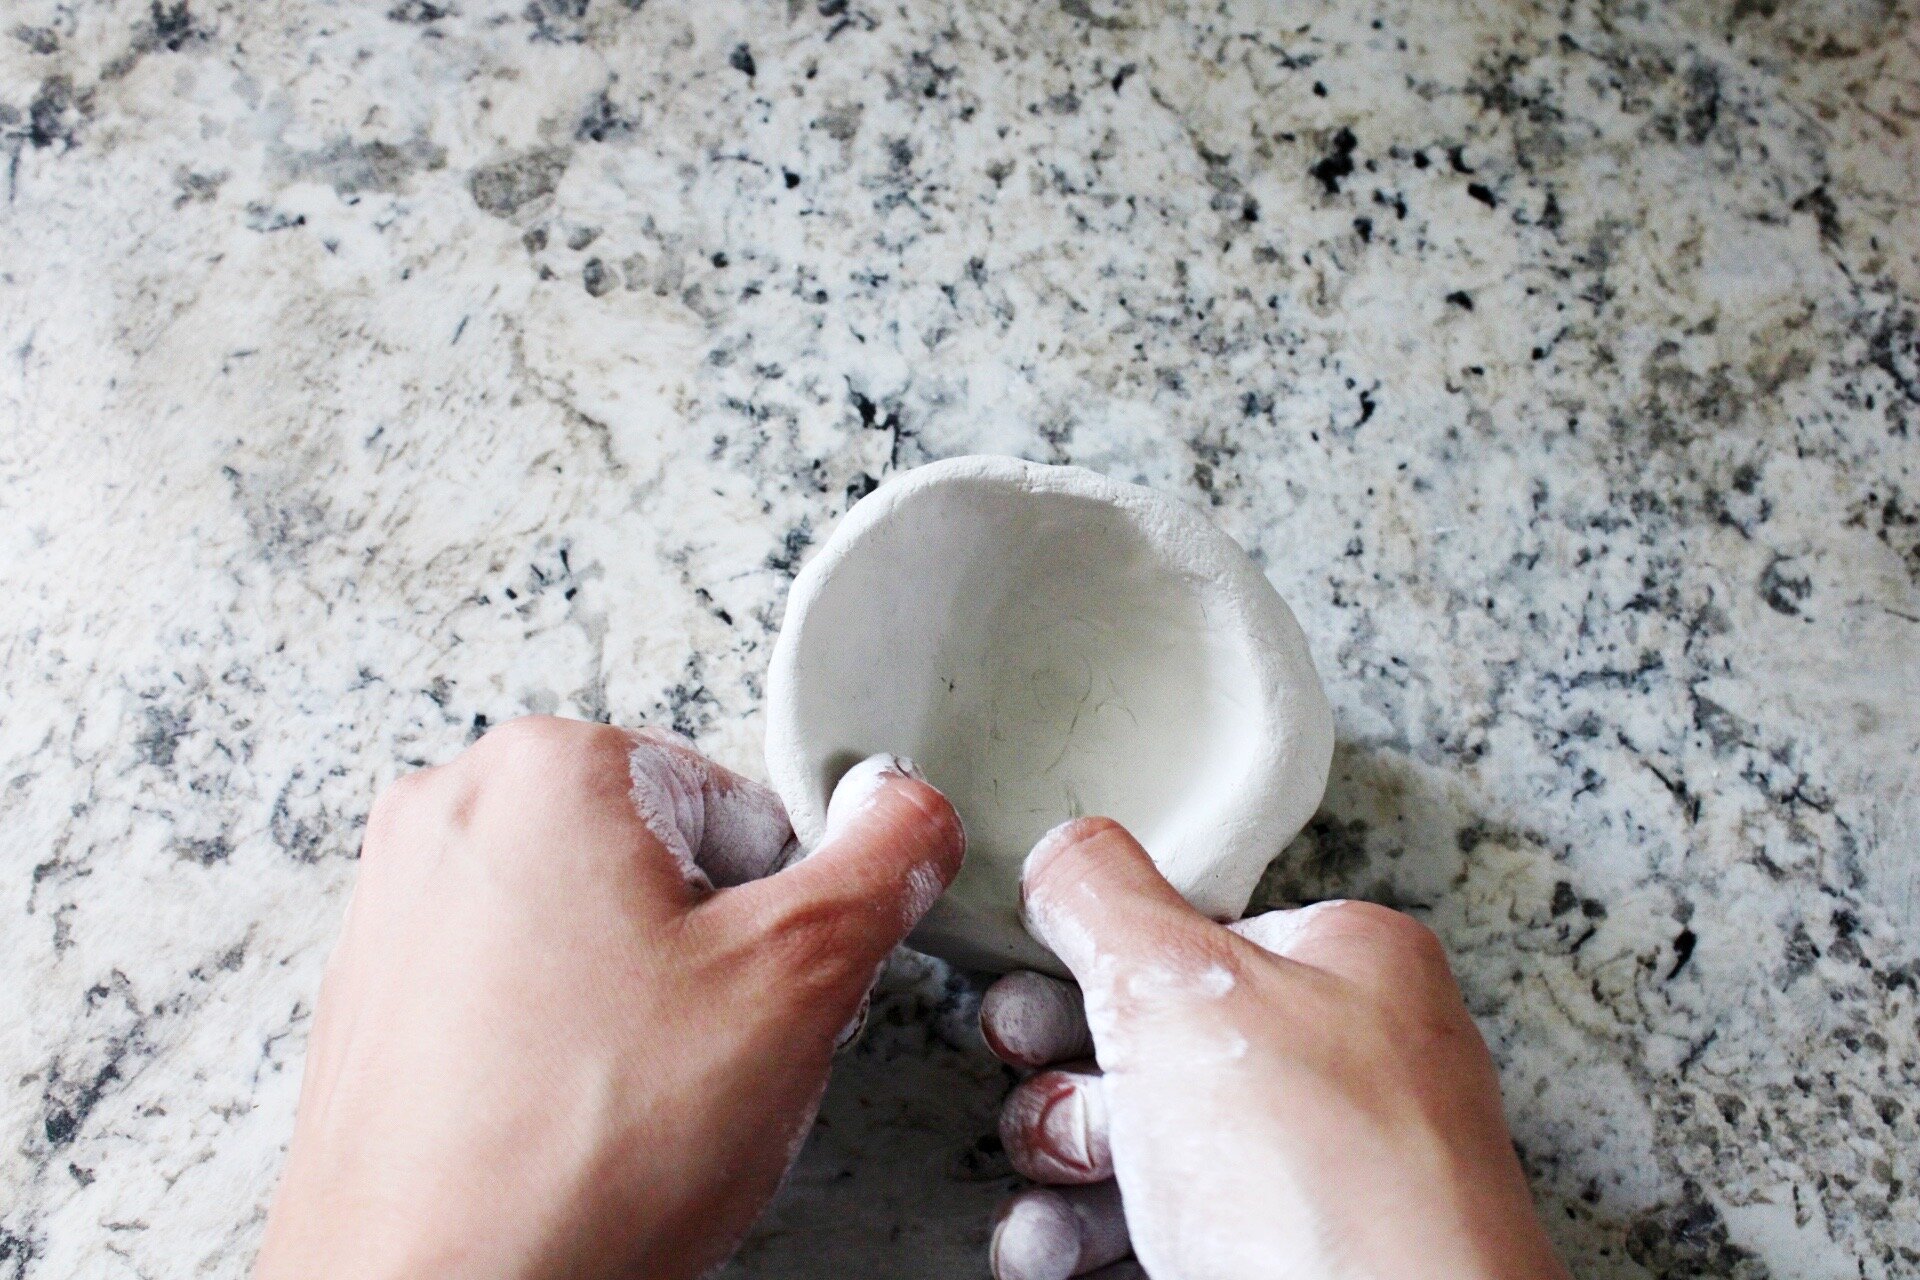
05. Smooth down the lip with a watered finger or paint brush.
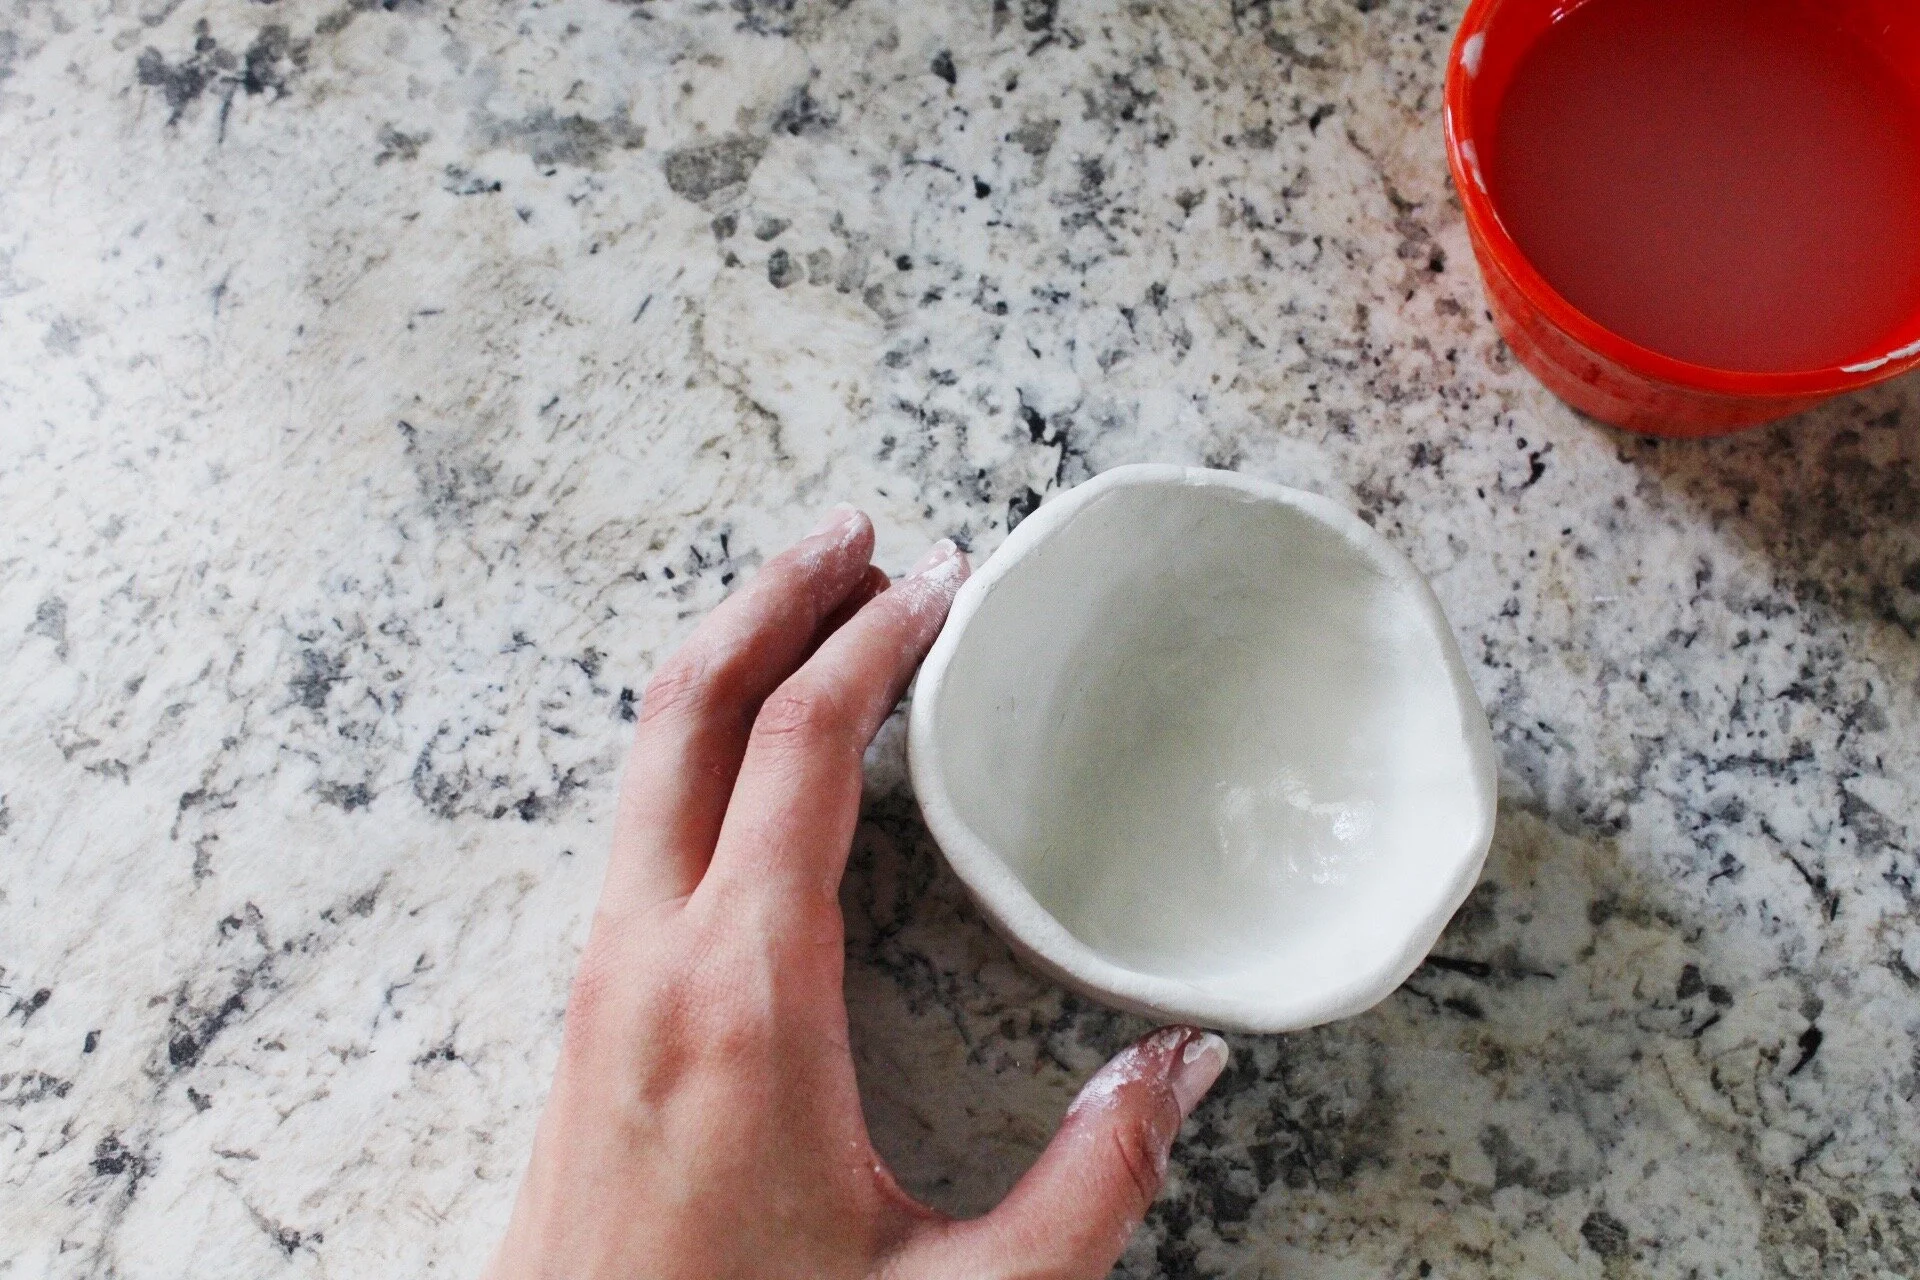
06. Let dry for 24-48 hours, or if you are not into that you can bake it at 300* F for about 20 - 30 minutes. Just make sure to flip it mid way through so the bottom gets baked as well.
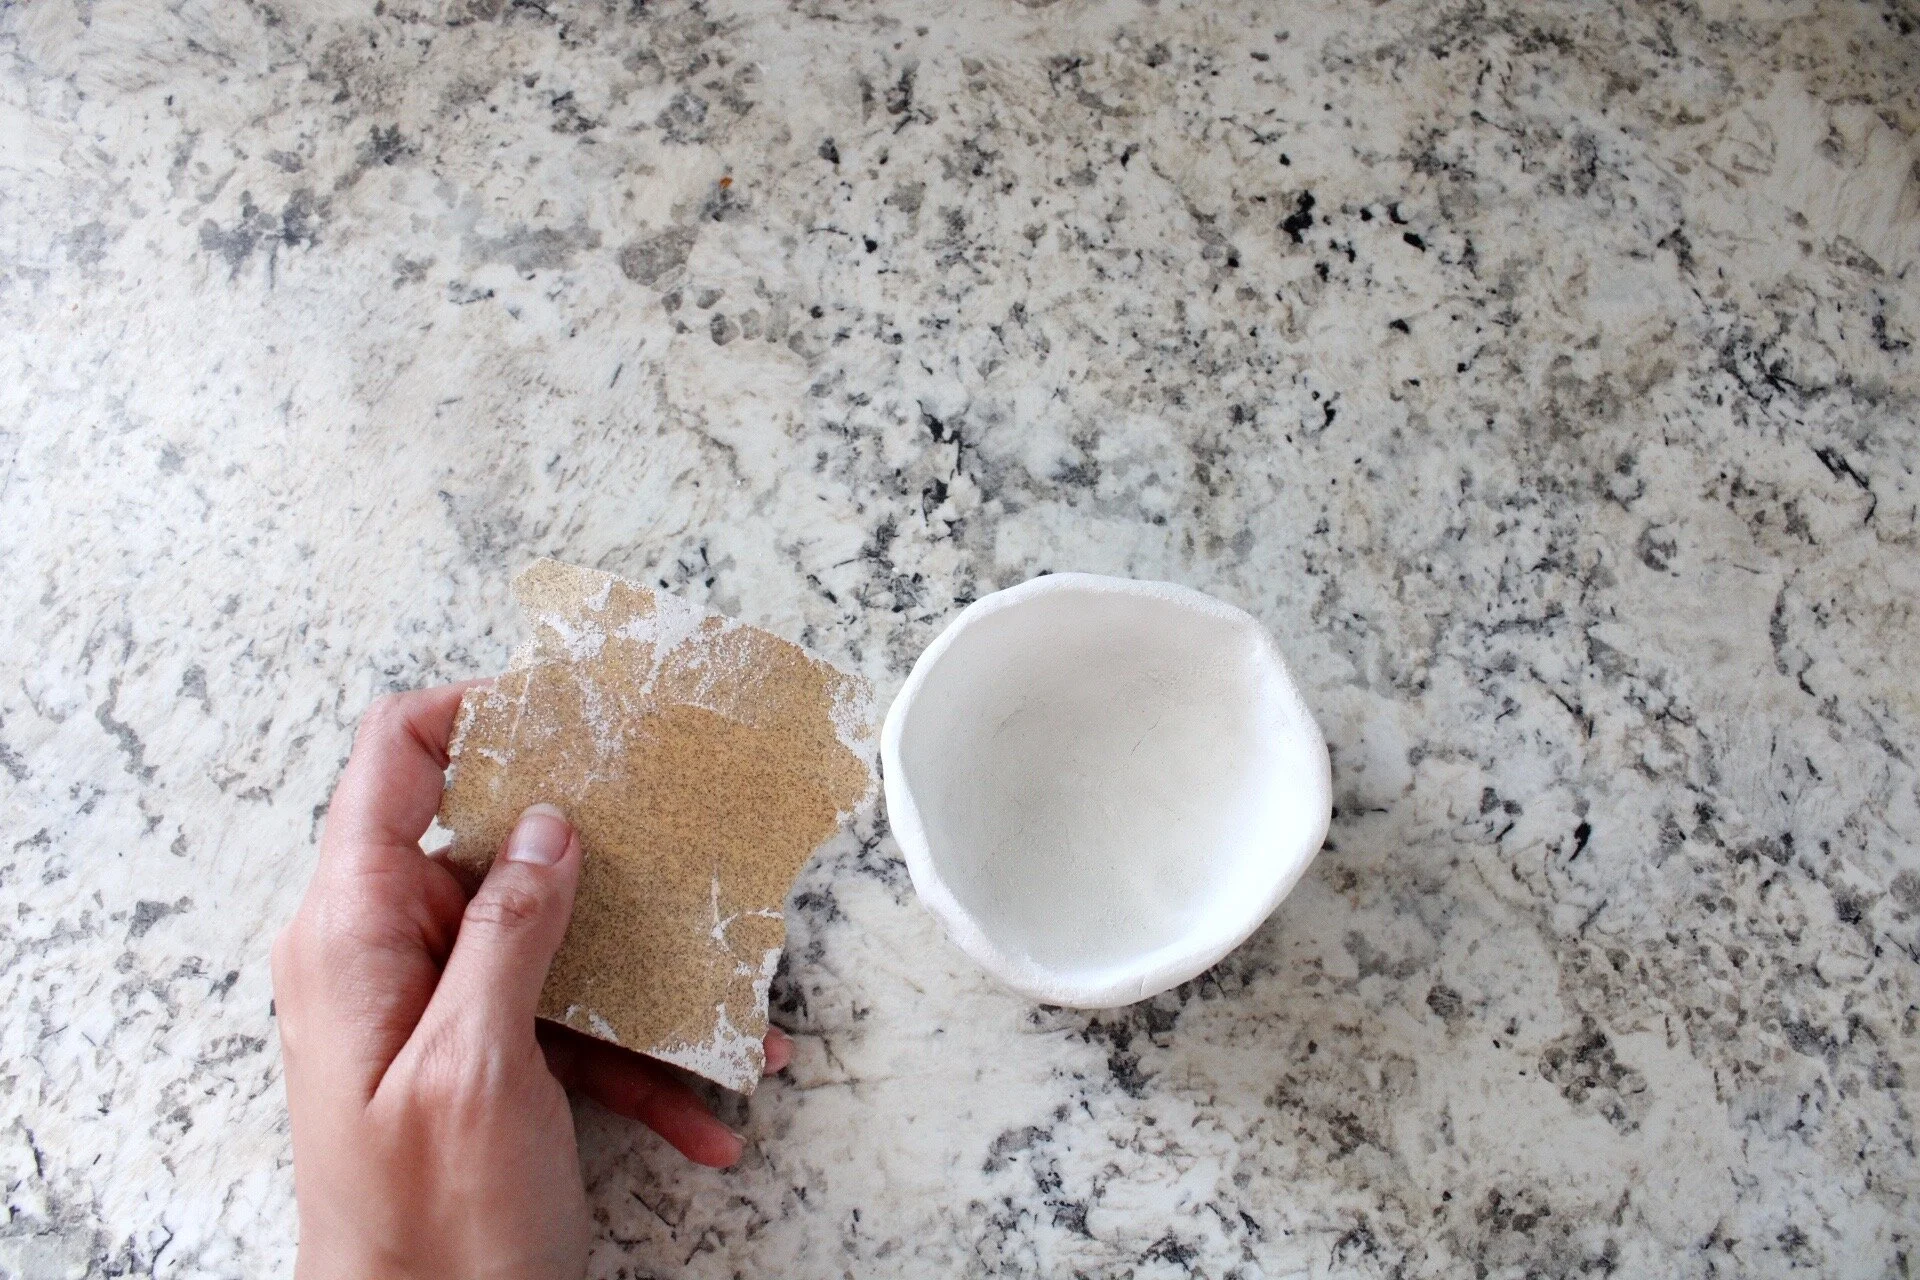
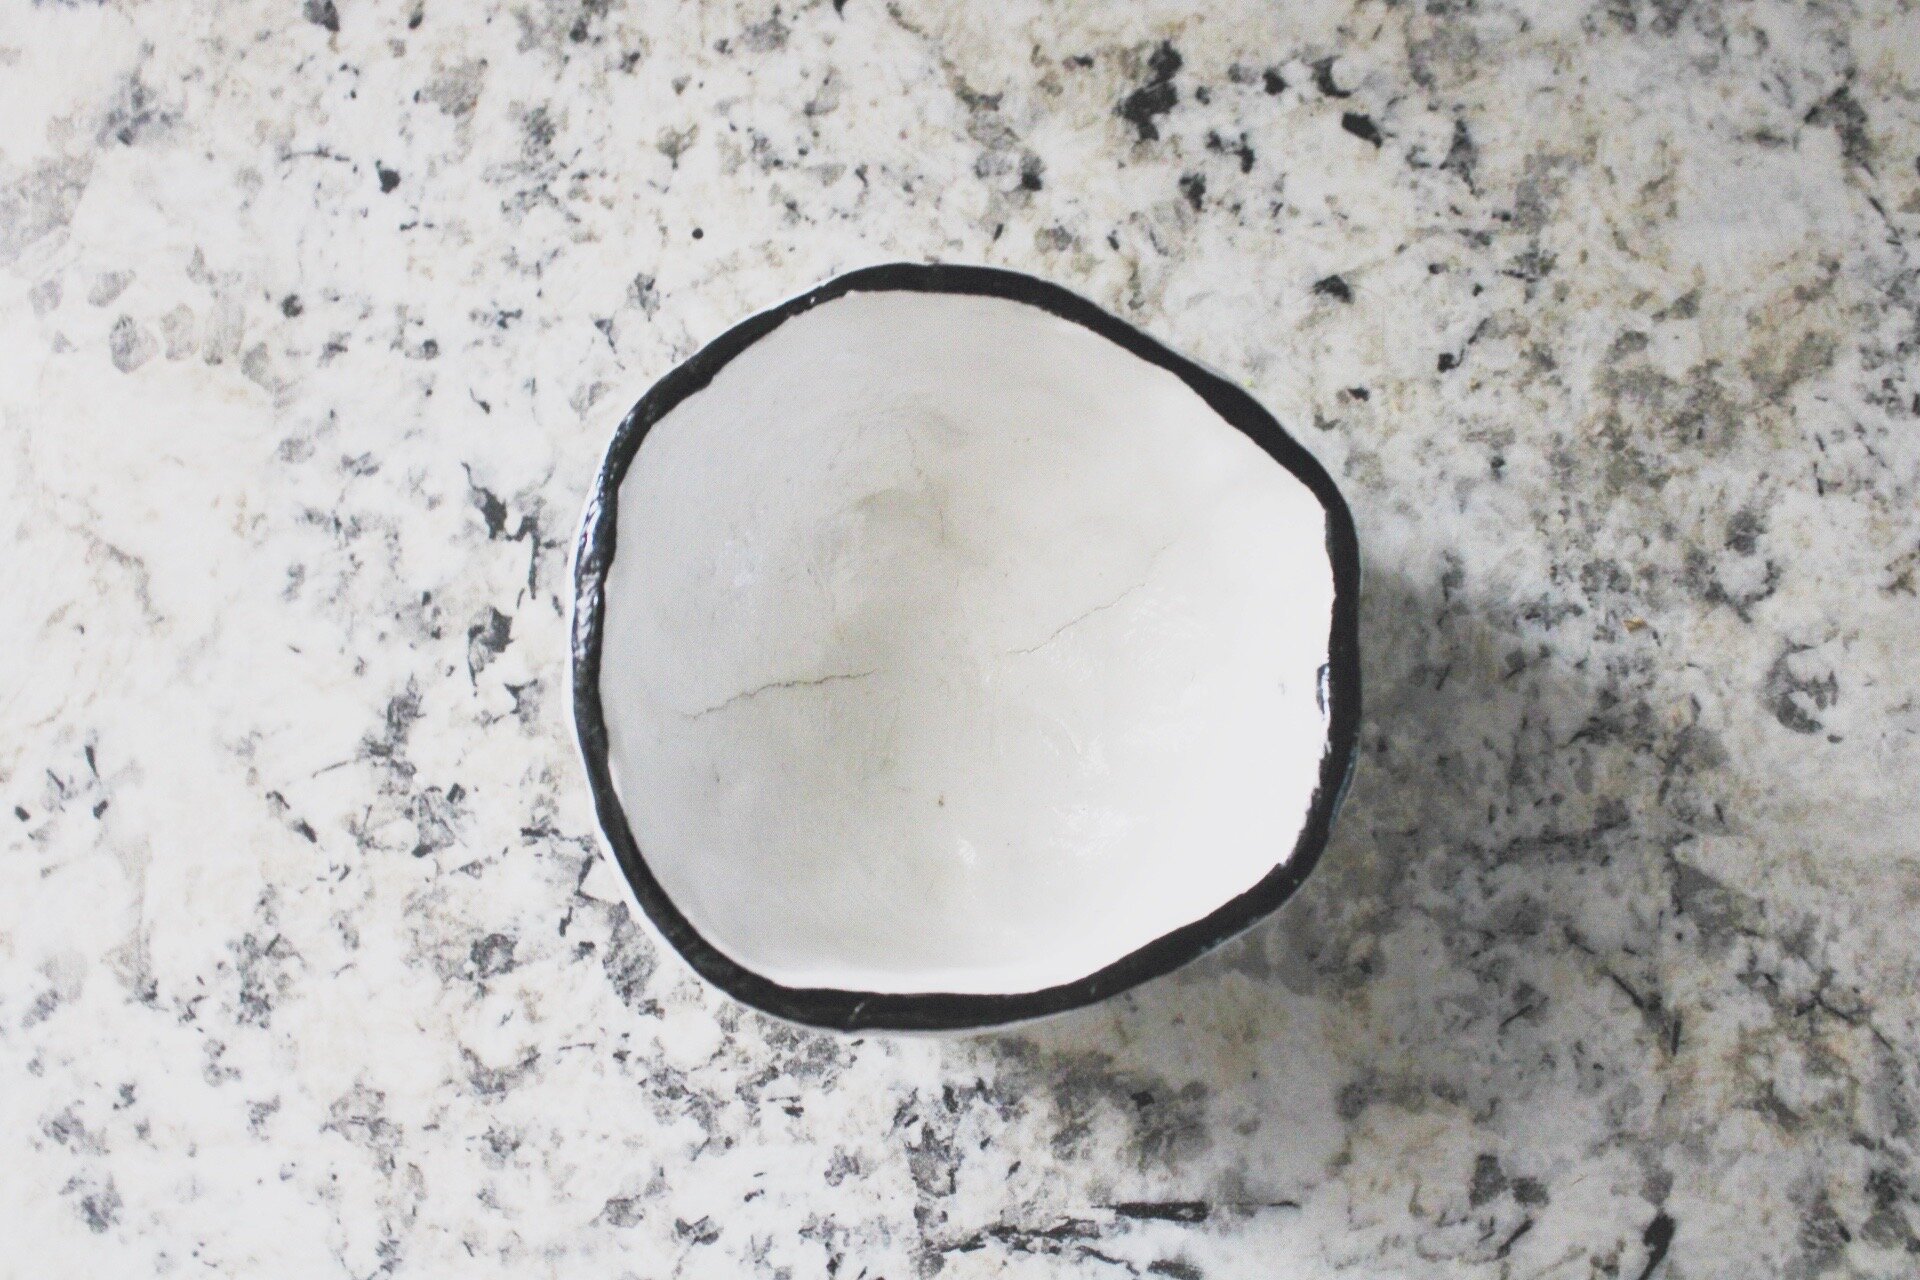
07. Sand the bowl if necessary. Sometimes it cracks in the middle, but you just sand those away!

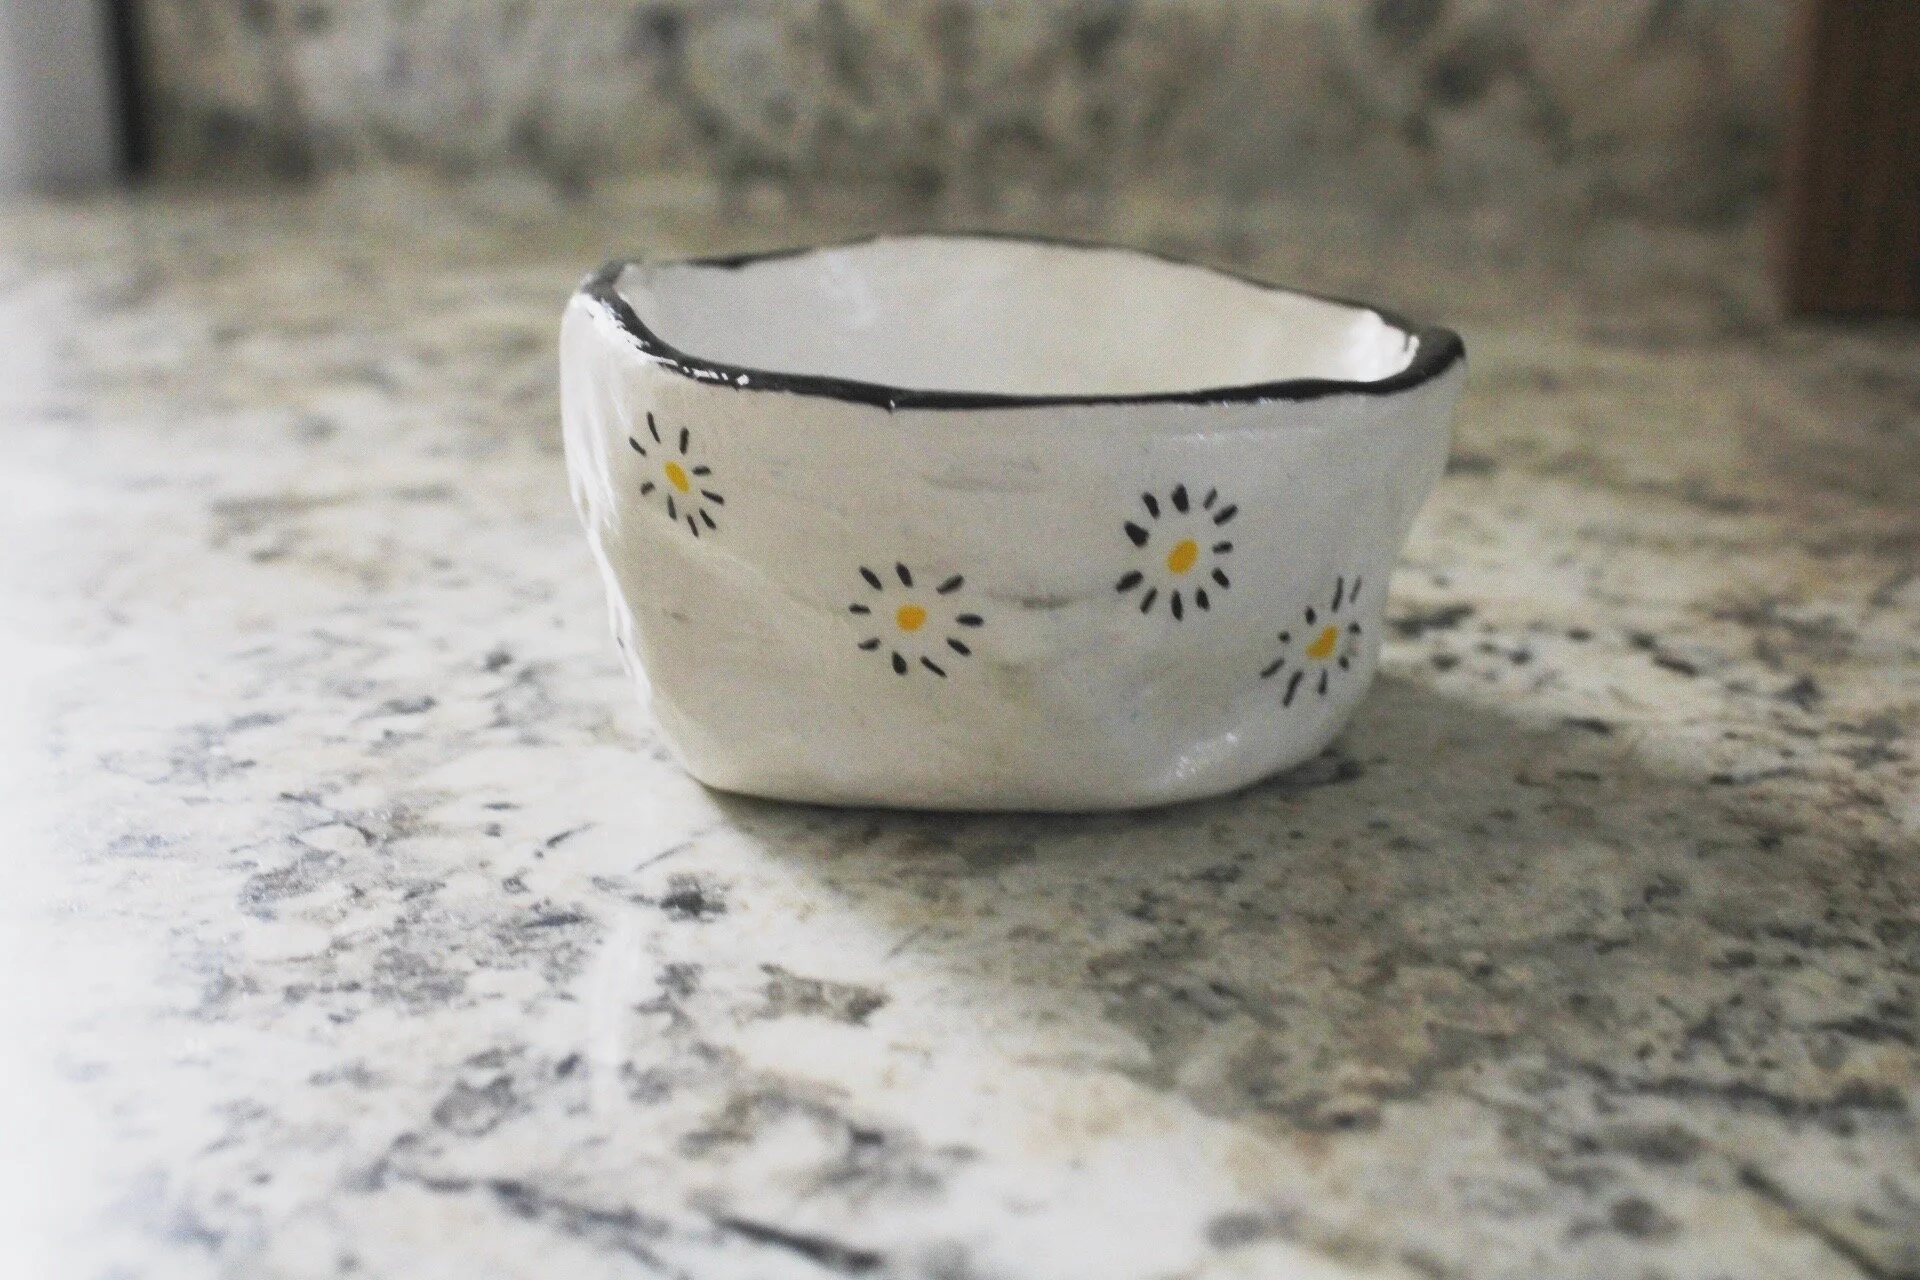
08. Paint and decorate your bowl. I used some paint markers and kept the baby white with some little flowers and a black rim! Very minimalist, and if I was to do it again, I would paint it green first (LOL)

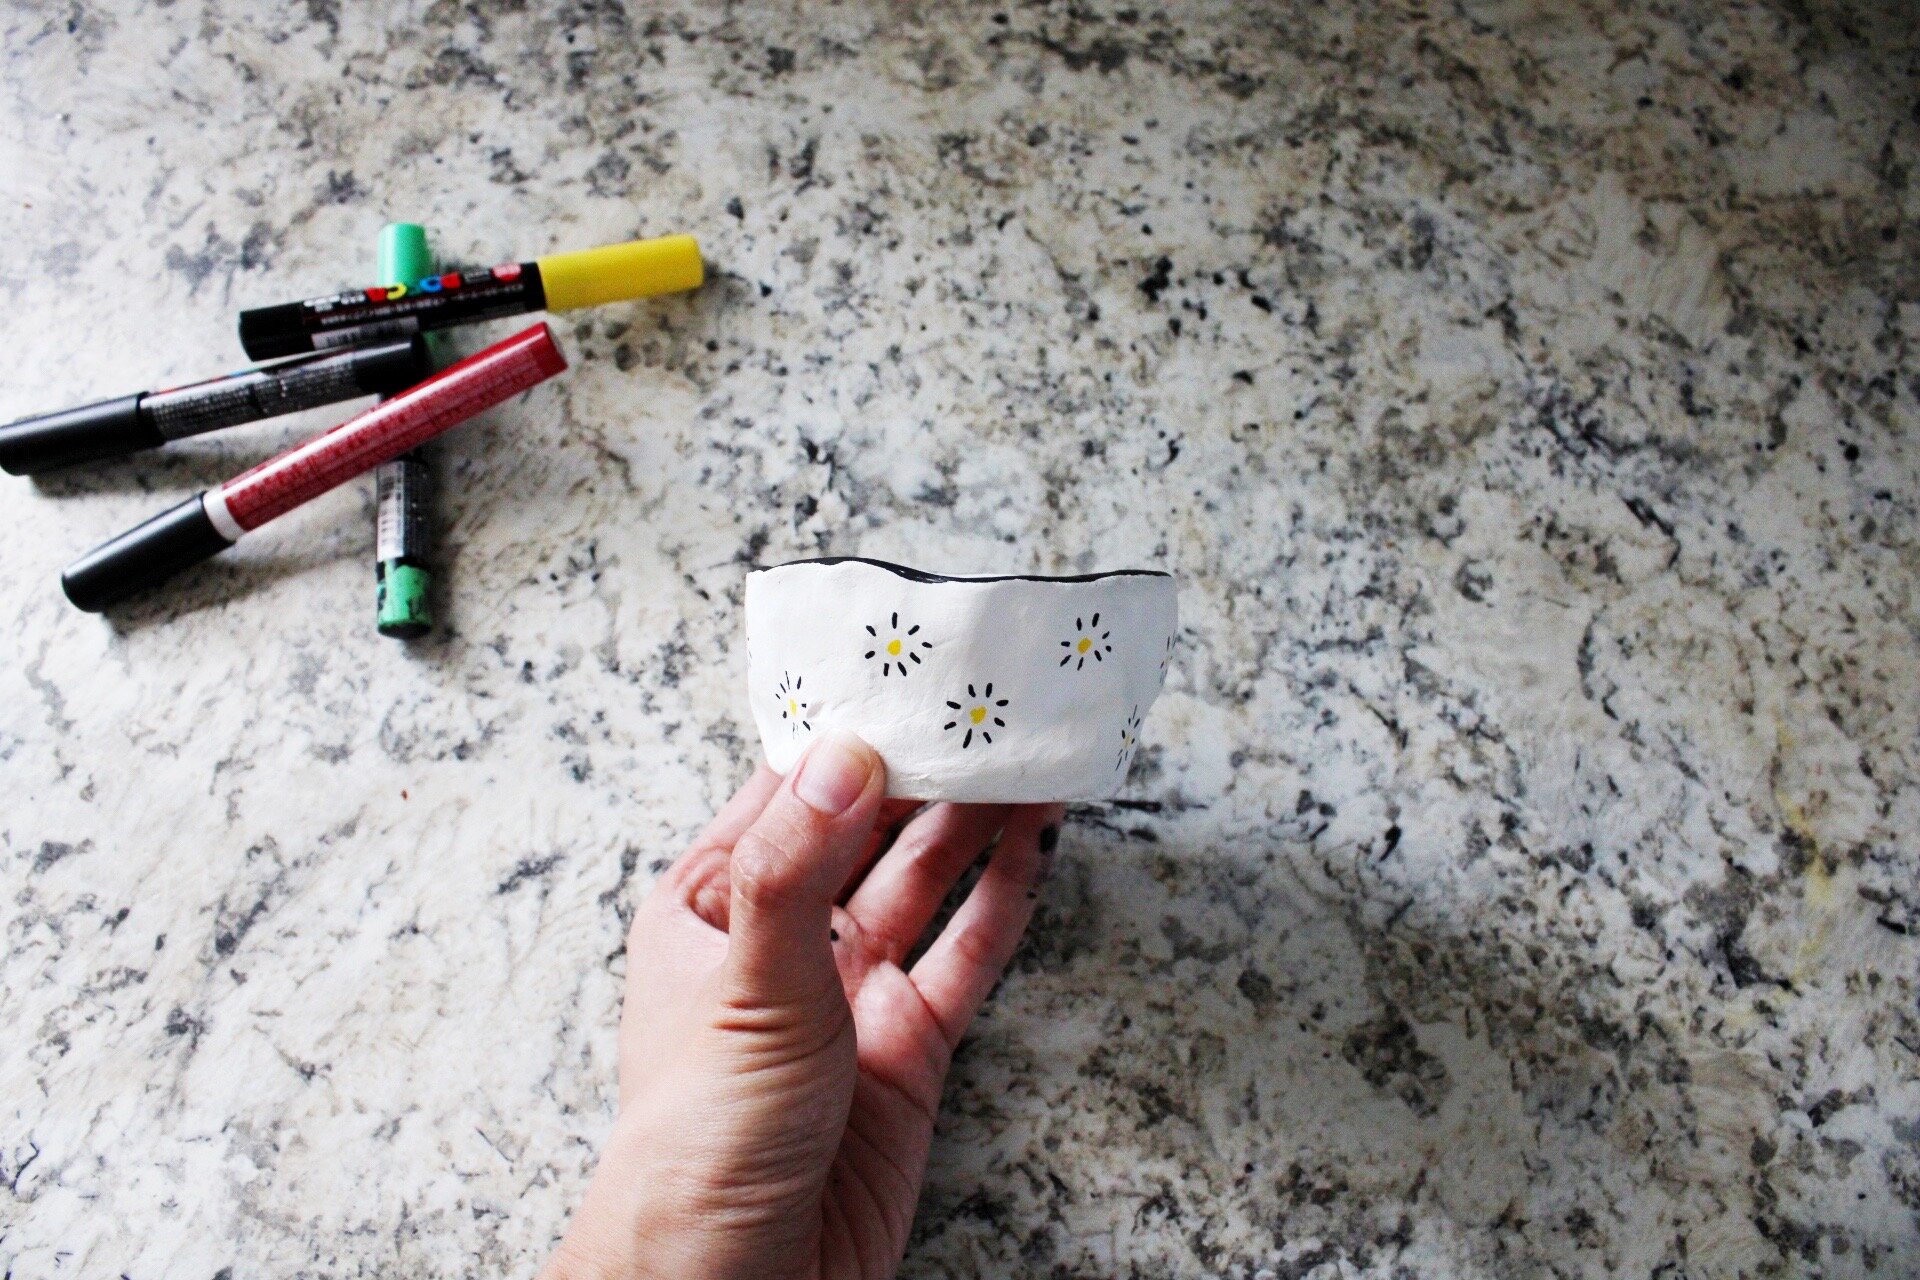
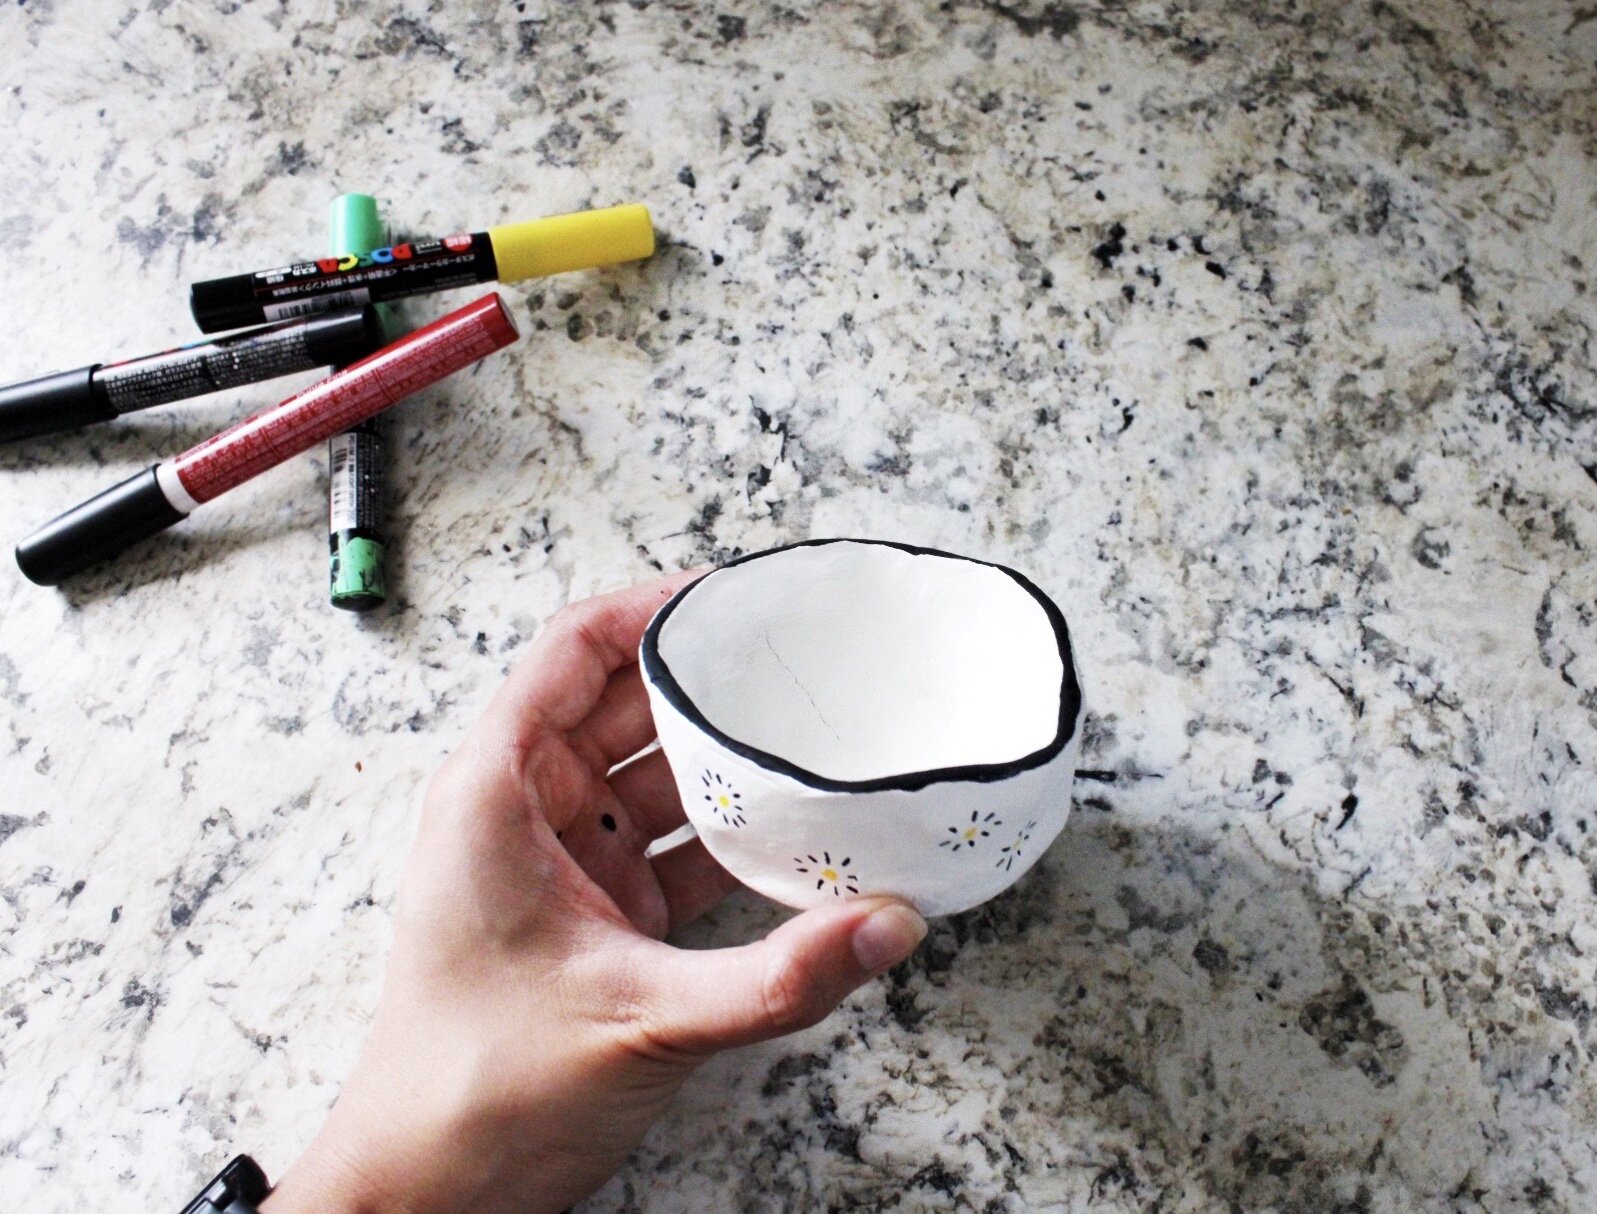
09. Paint modge podge on the inside and outside of the bowl to “glaze” it. This makes it shiny and ready to use.
YAY! Now I have a place to put all my yarn scraps, which often just get littered throughout the house. I am happy for them to have a spot and to get collecting! This was also soo super easy, I taught KC how to make them while photographing this and then he taught 4 and 5 year old’s and they caught on super quick! HOW FUN?!


I cant wait to make more pinch pot, and even pinch plates, the things you can make with air dry clay are completely endless!
