DIY Flower Pom Pom
I really love making pom poms. I have a few posts on here about poms. You can find how to make them with a pom pom maker here, and with cardboard here. I get really excited by pom poms because they are just so cute and really exciting when you make one. Everyone who I have ever spoken to who makes pom poms gets excited every time they create a perfectly cylindrical yarn ball. I love trying different patterns, and even making a few of my own up!
Just around this time last year, though it could have been 2 years, there was a craze about Honestly WTF’s floral pom poms. Everyone was obsessed and rightfully so! They looked like cute little flower bombs and were the perfect combination of colors. They do take a lot of steps, so I wanted to re-imagine these pom poms with a similar motif, but a lot less steps but also a lot less flowers. This guy will just have one flower motif on it.

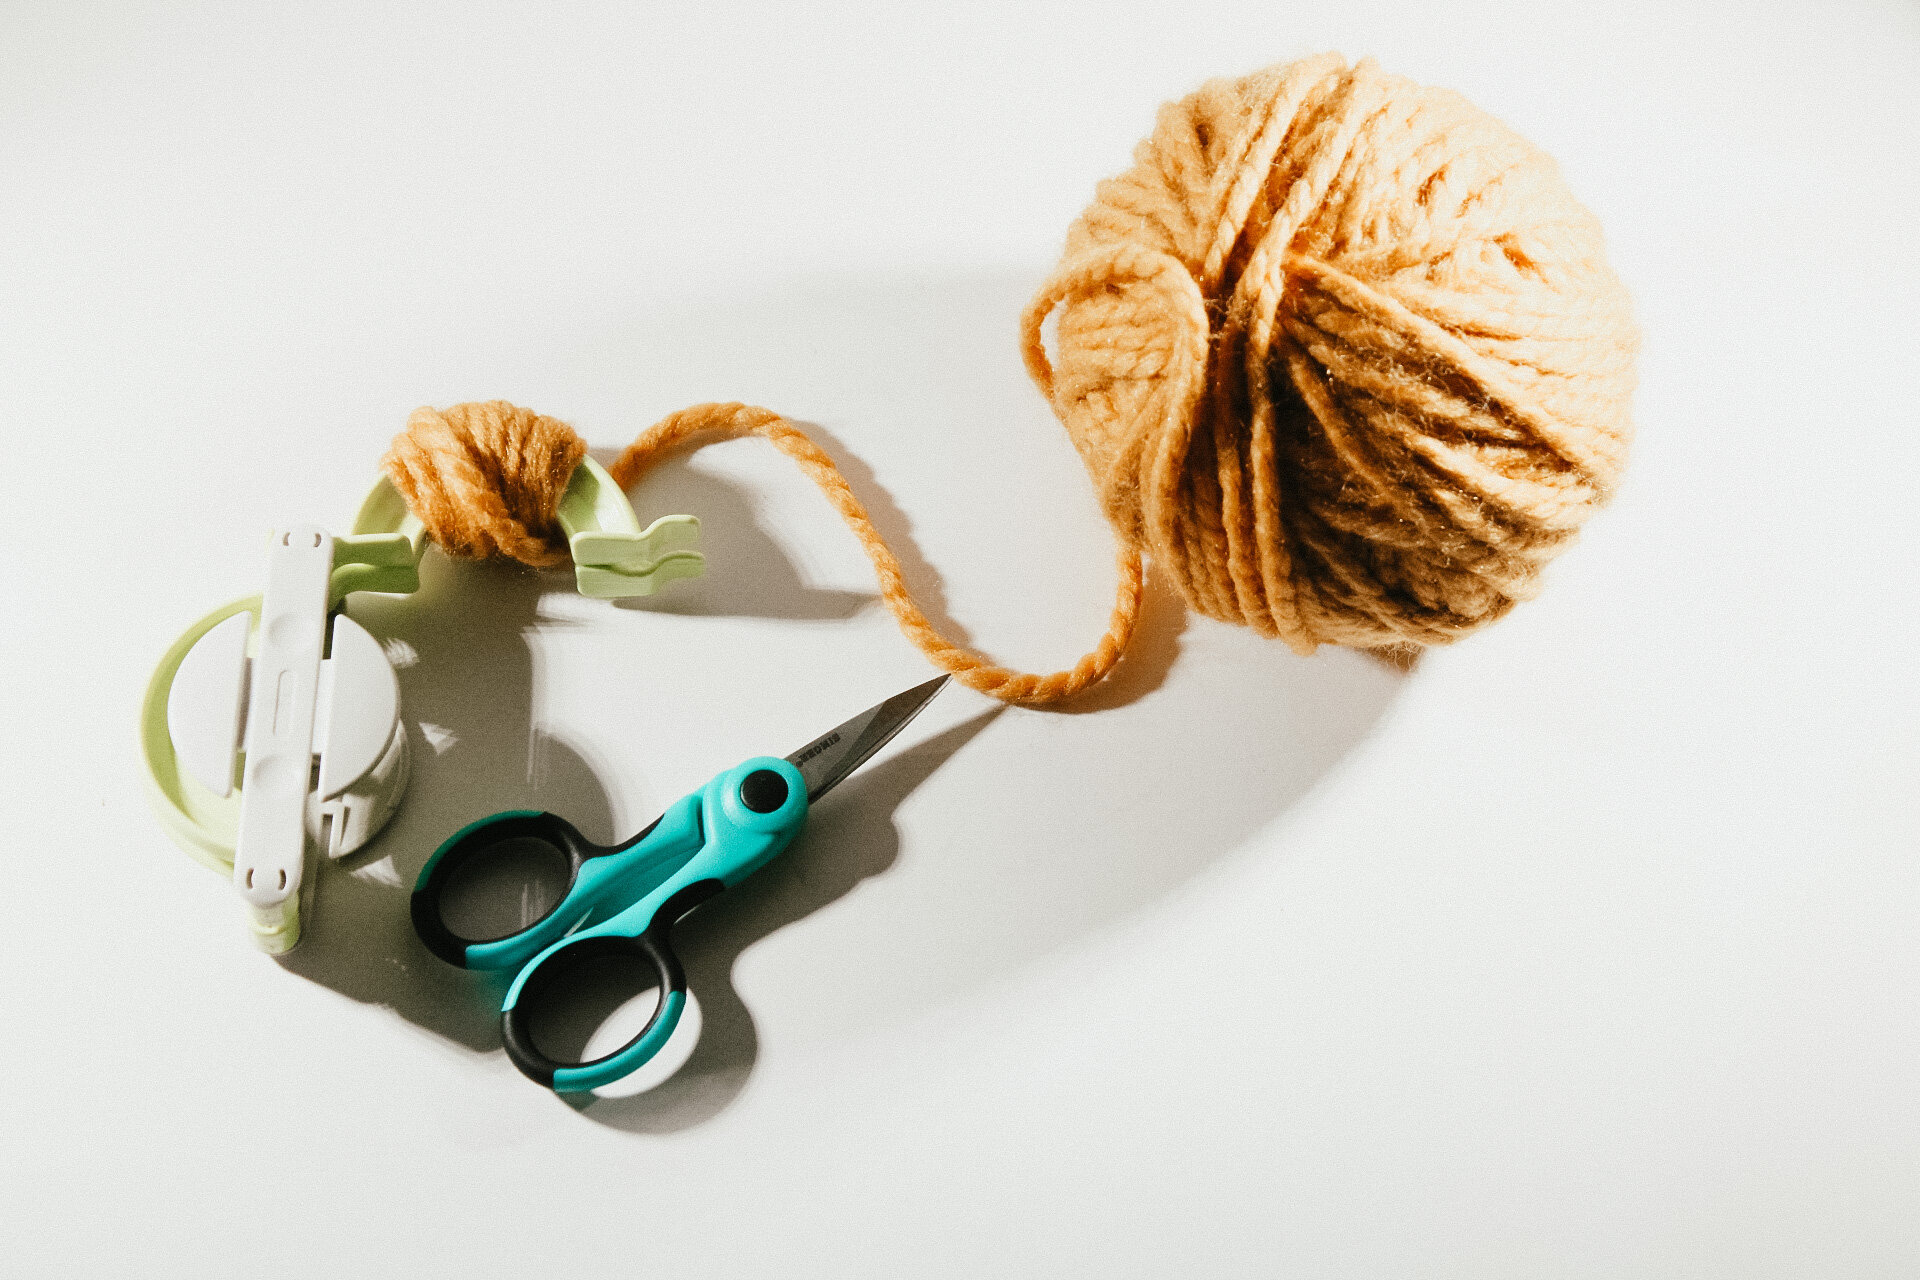
SUPPLIES
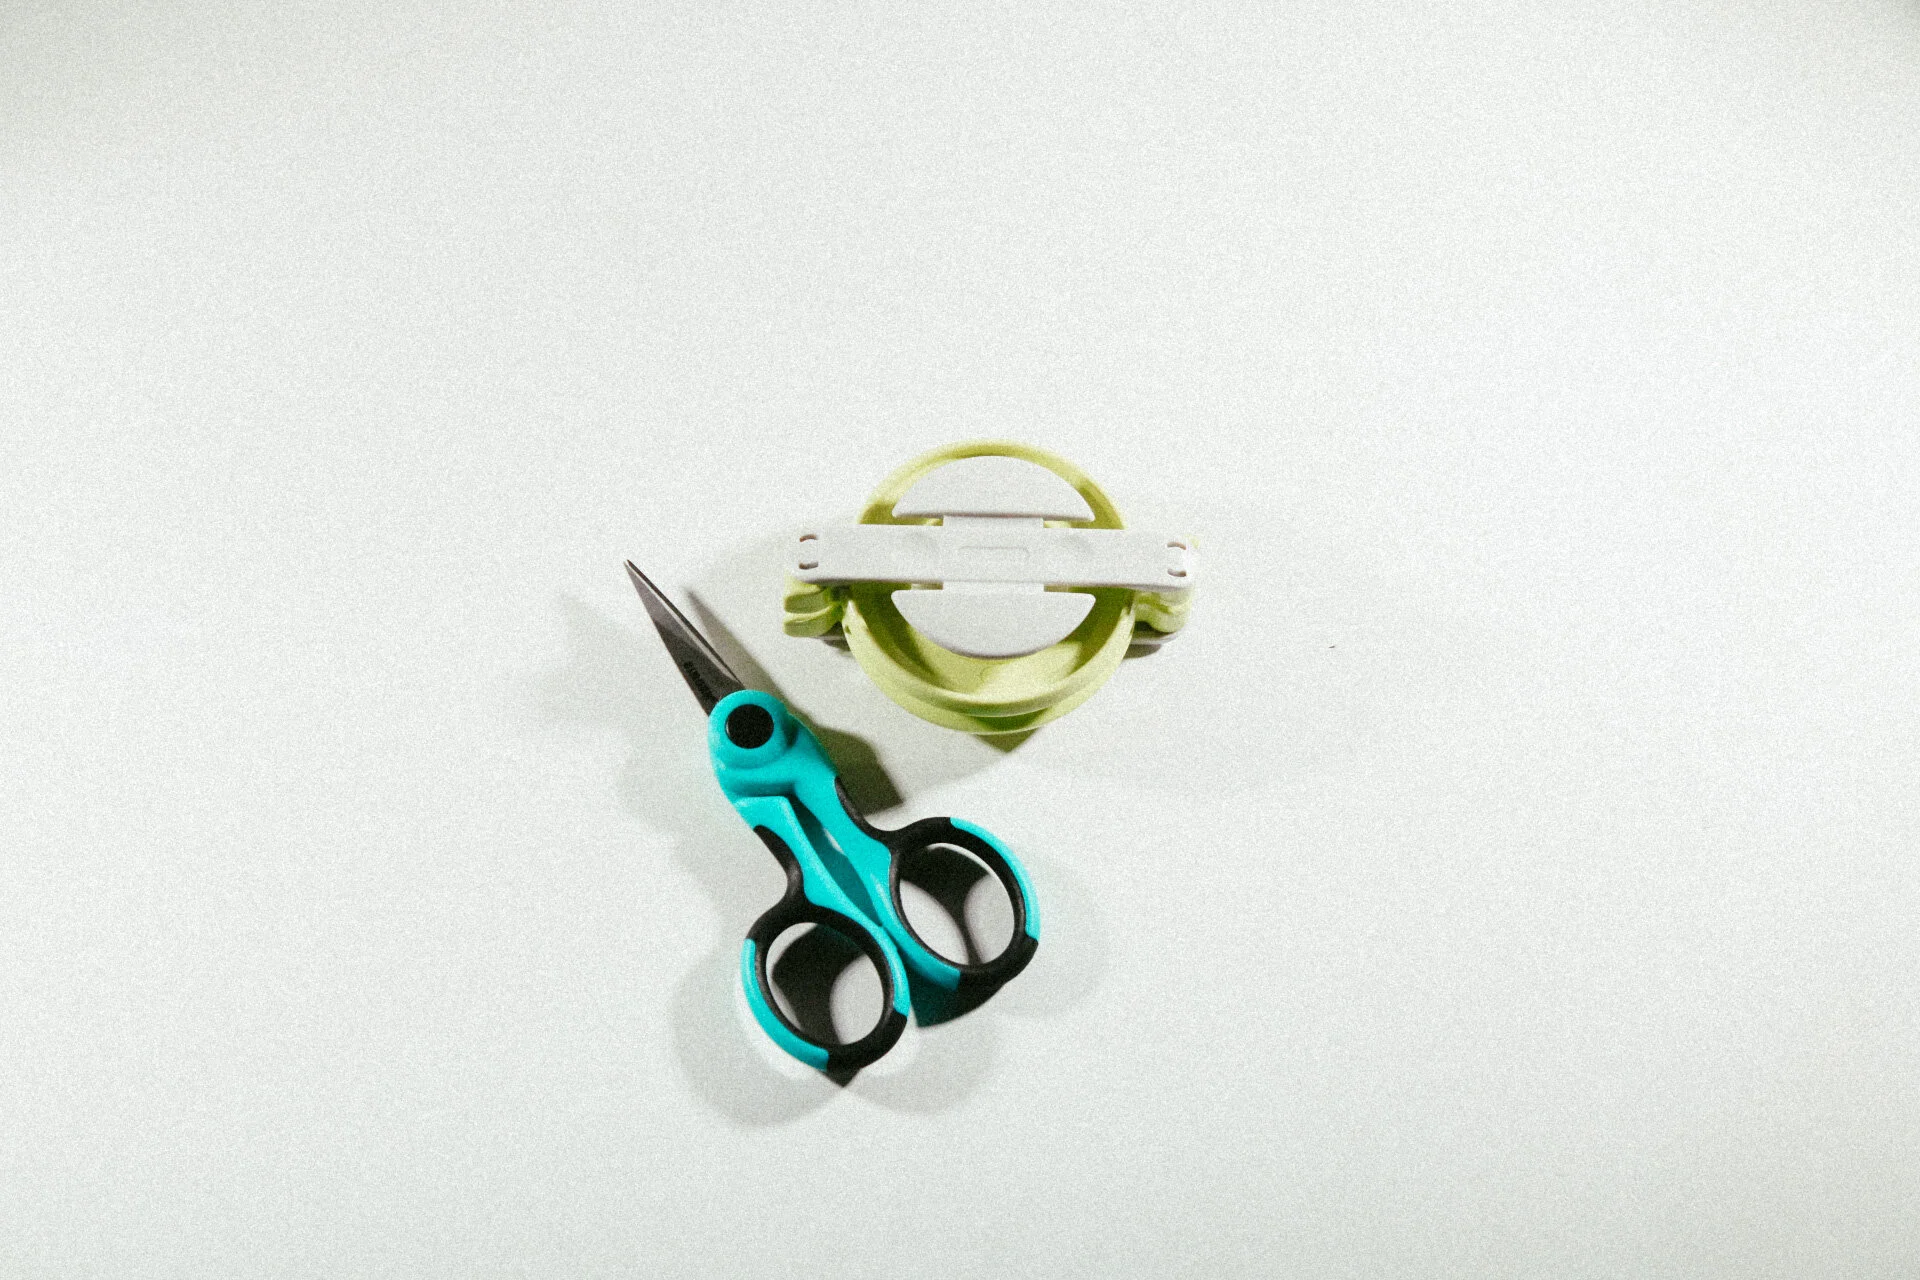
-Pom Pom Maker
-Yarn (at least 4 colors other than green)
-Scissors
-Bowl
CREATING A FLOWER
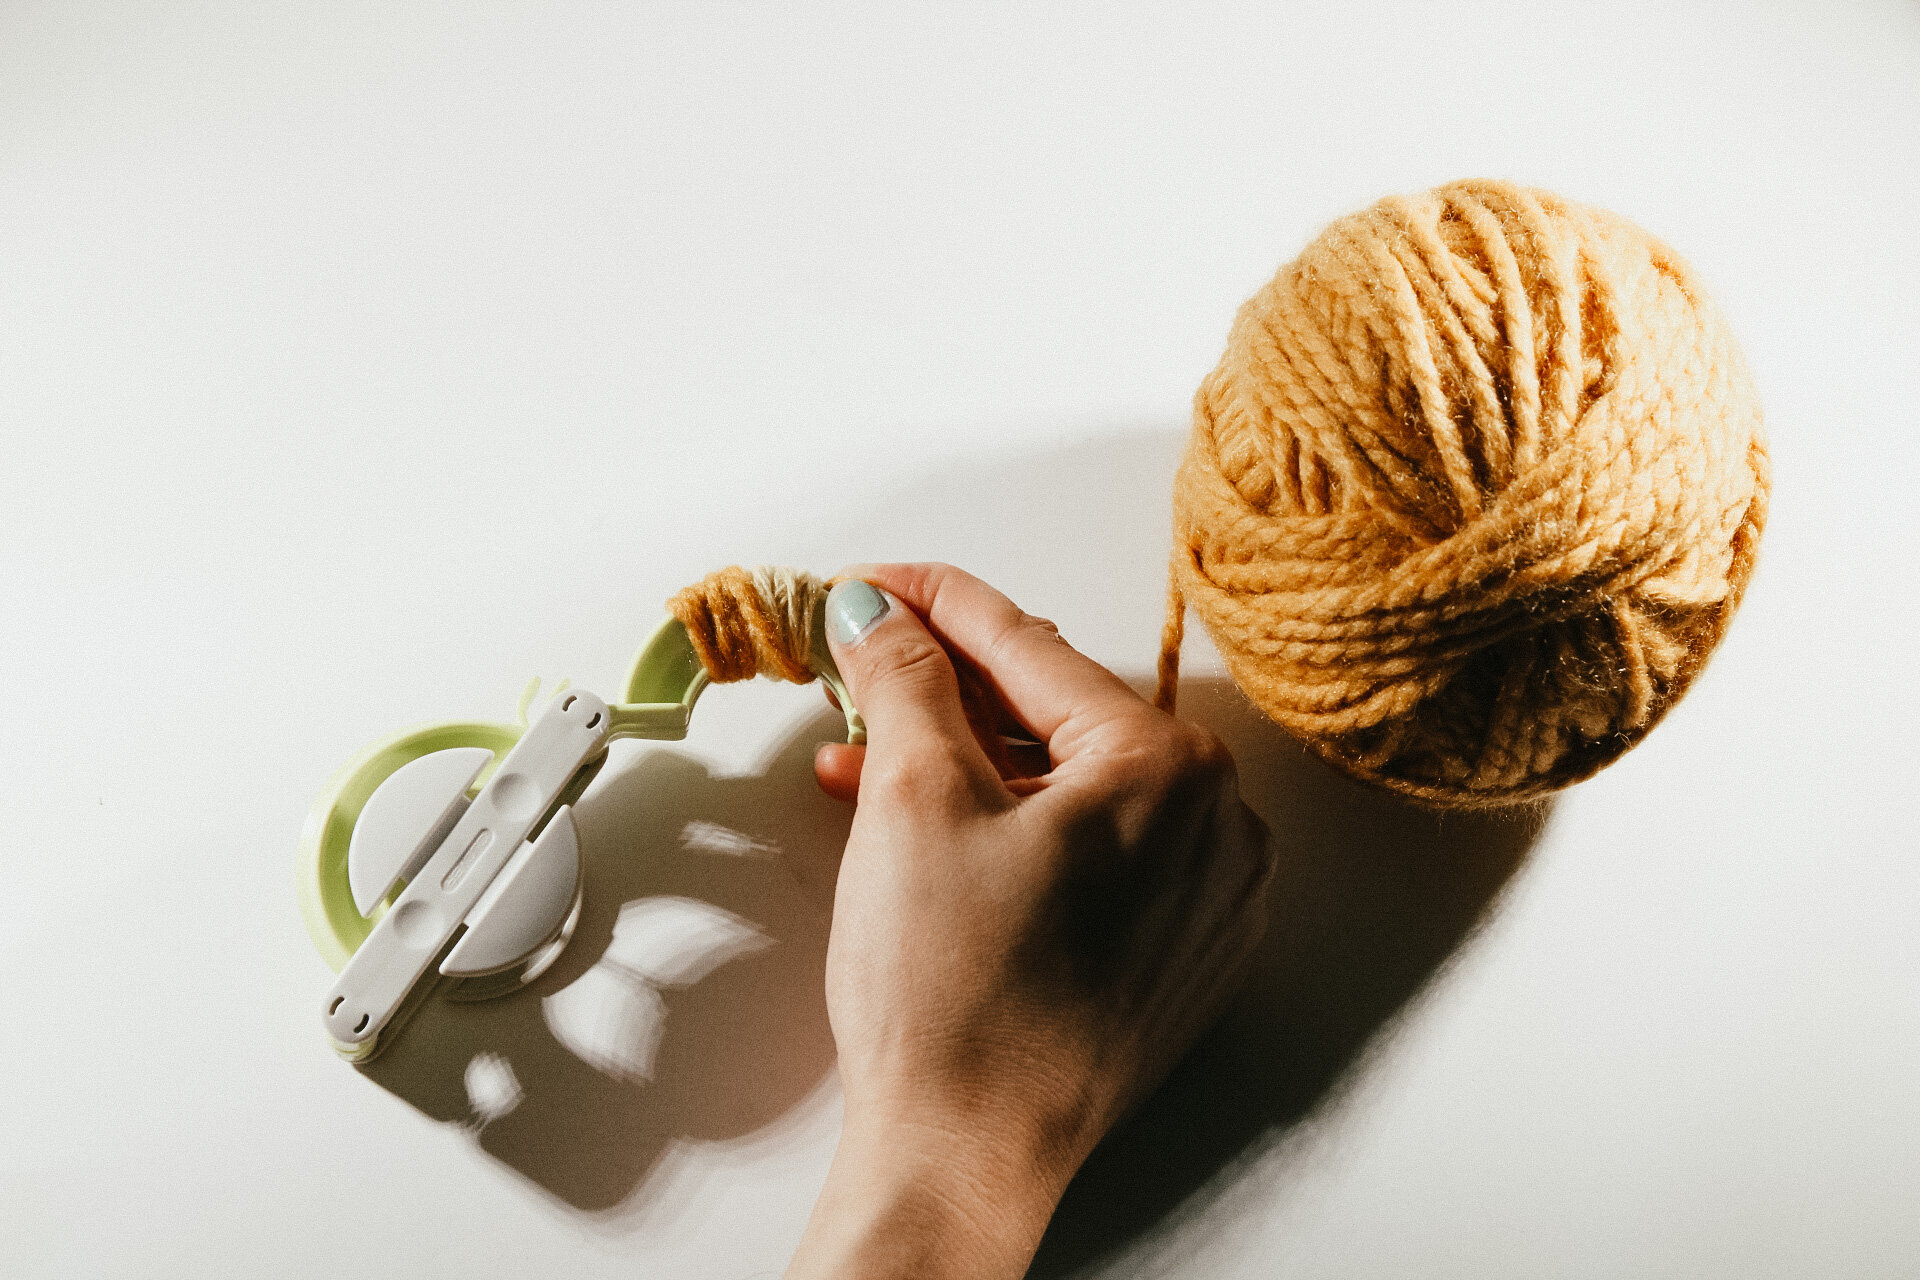
01. Begin by opening up your pom pom maker and getting to know it. Realize that it will come apart and all that jazz. I will refer to each side of the pom pom maker as “arms.” That is where you will wrap your yarn. Choose what your yarn colors will be, either the center of the flower, the flower foundation or the background.
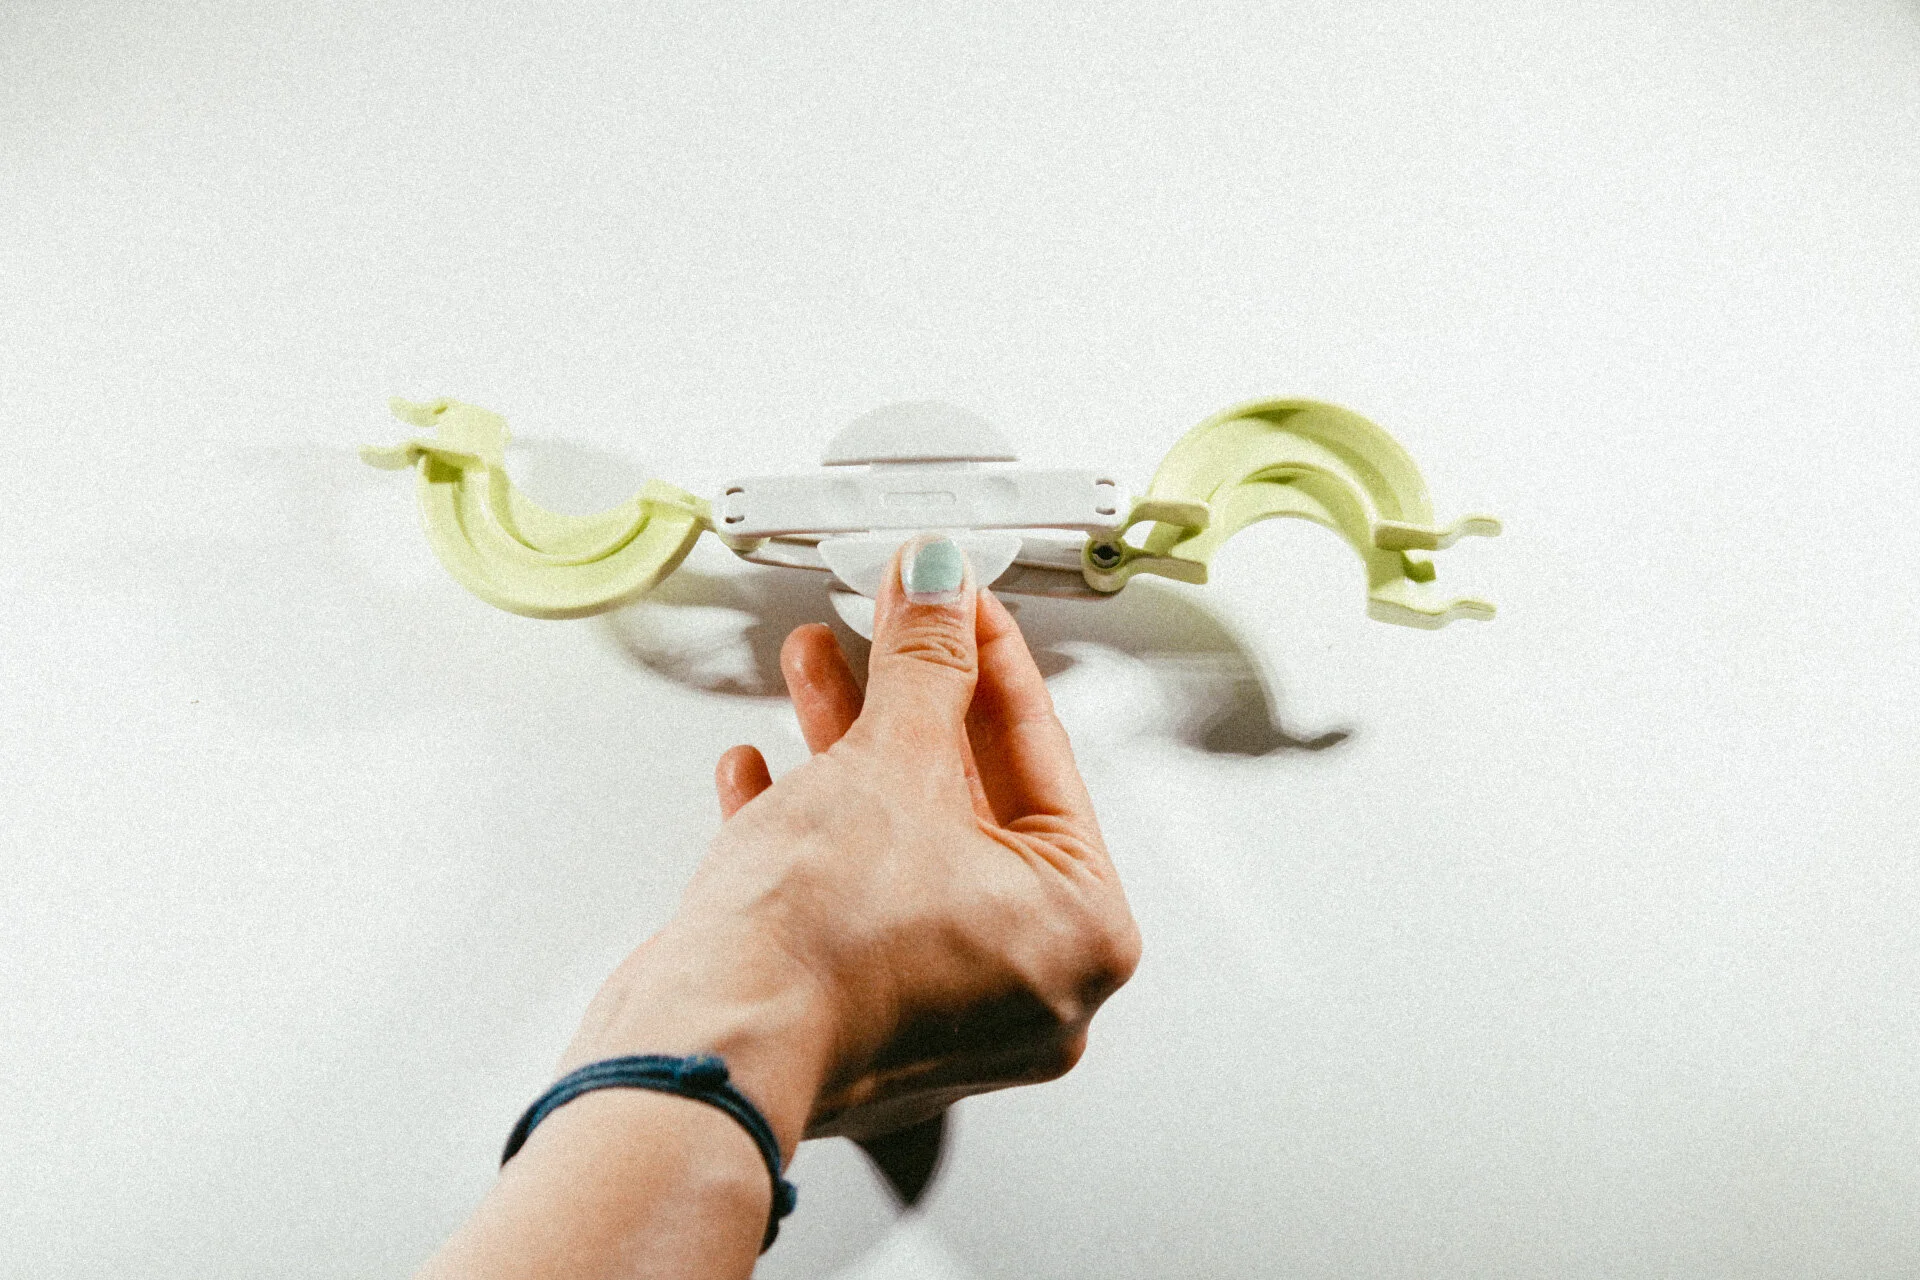
02. Starting with the flower center, take your center color and wrap a small section on one of the arms in the center of the arm.
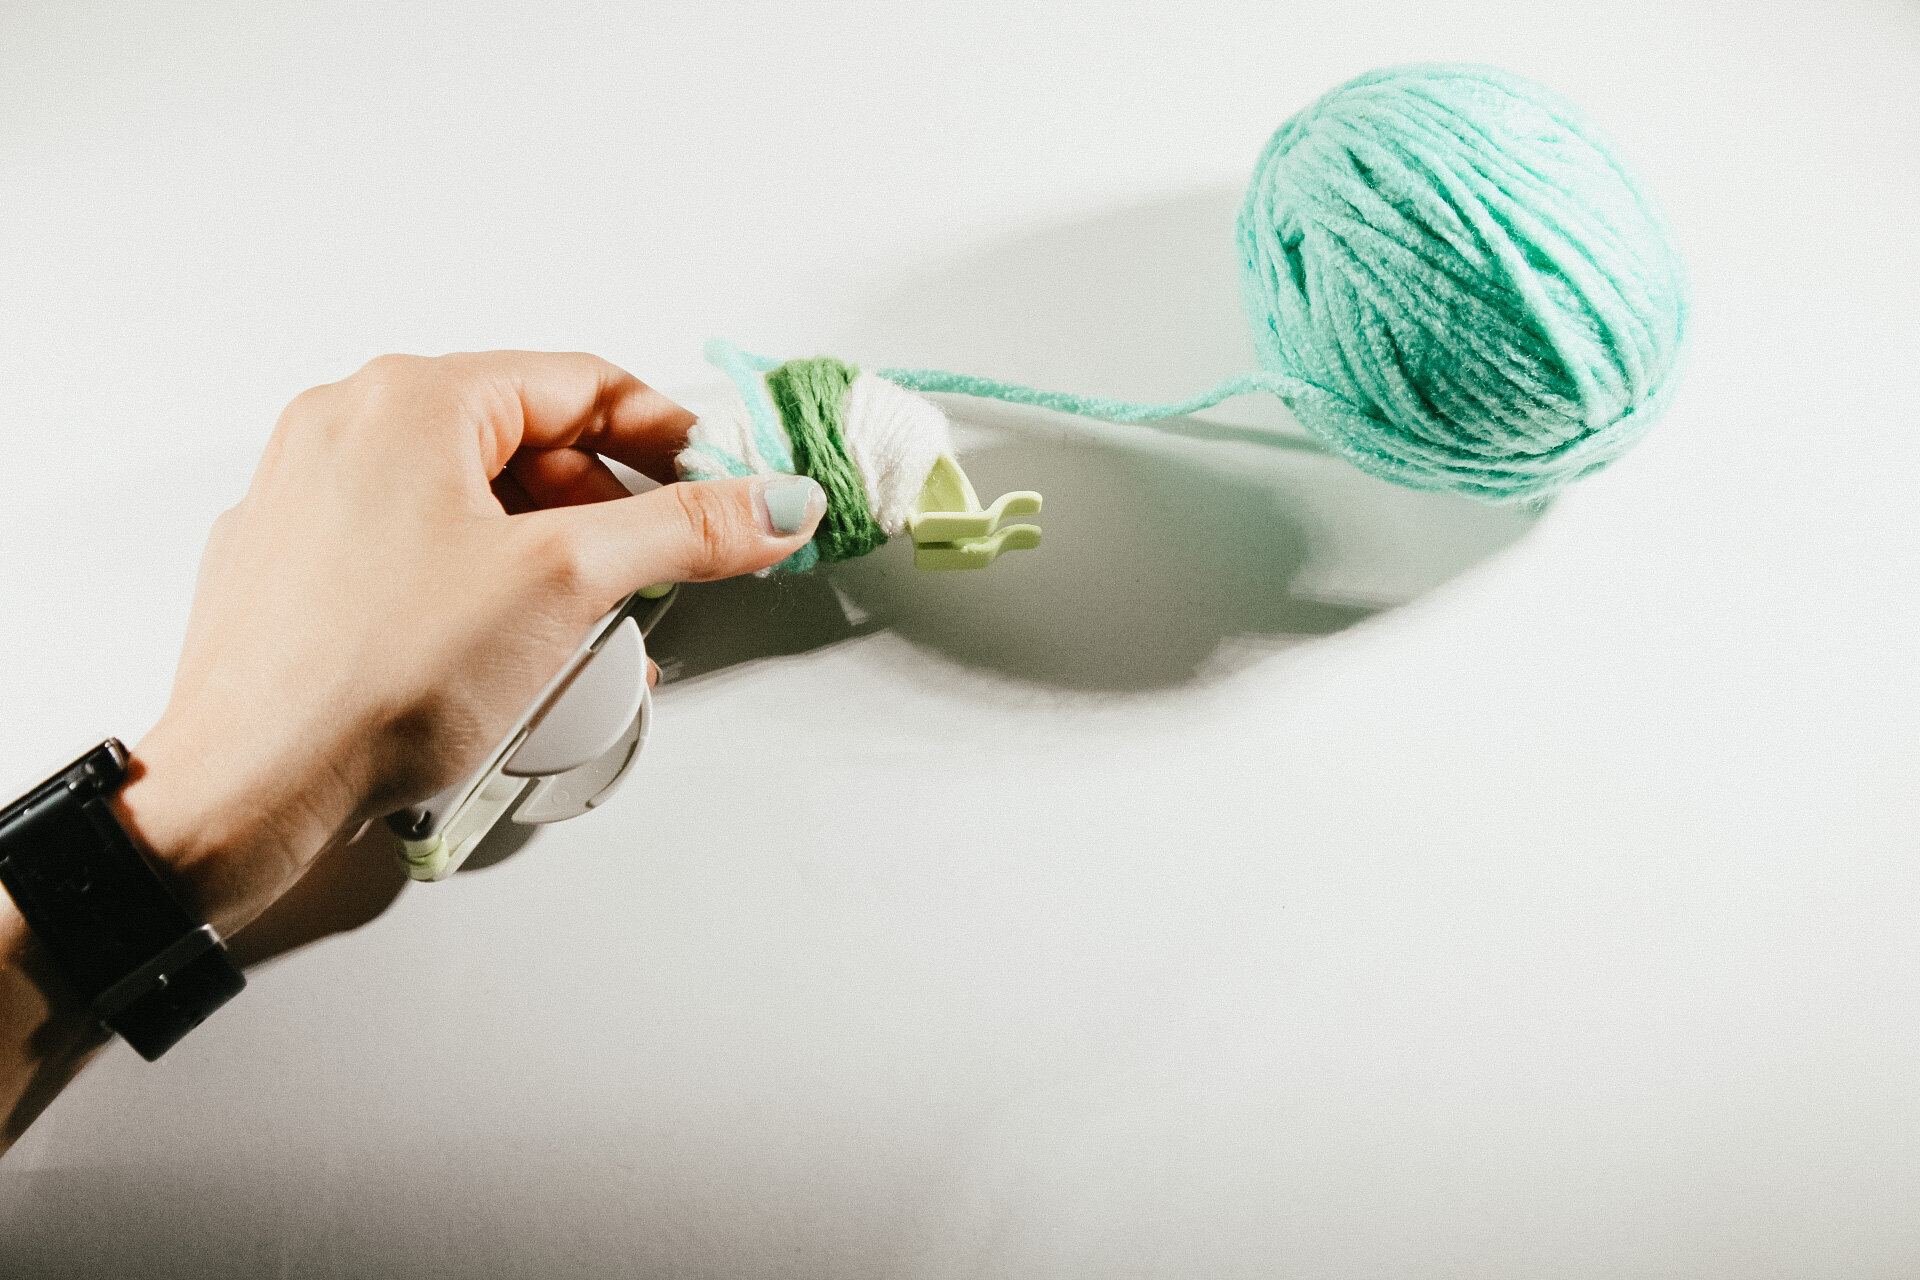
03. Take your next color and wrap over the center color and a little wider than the center color. You will repeat this step twice. I like to start about an inch to the left of the color I have previously wrapped and end an inch to the right of the previous color.
04. Taking your green (or whatever stem color you choose) and wrap 1-2 layers of yarn around the arm just in the center of the flower and to the right a bit. You will not cover the previous layer, this should be a small section

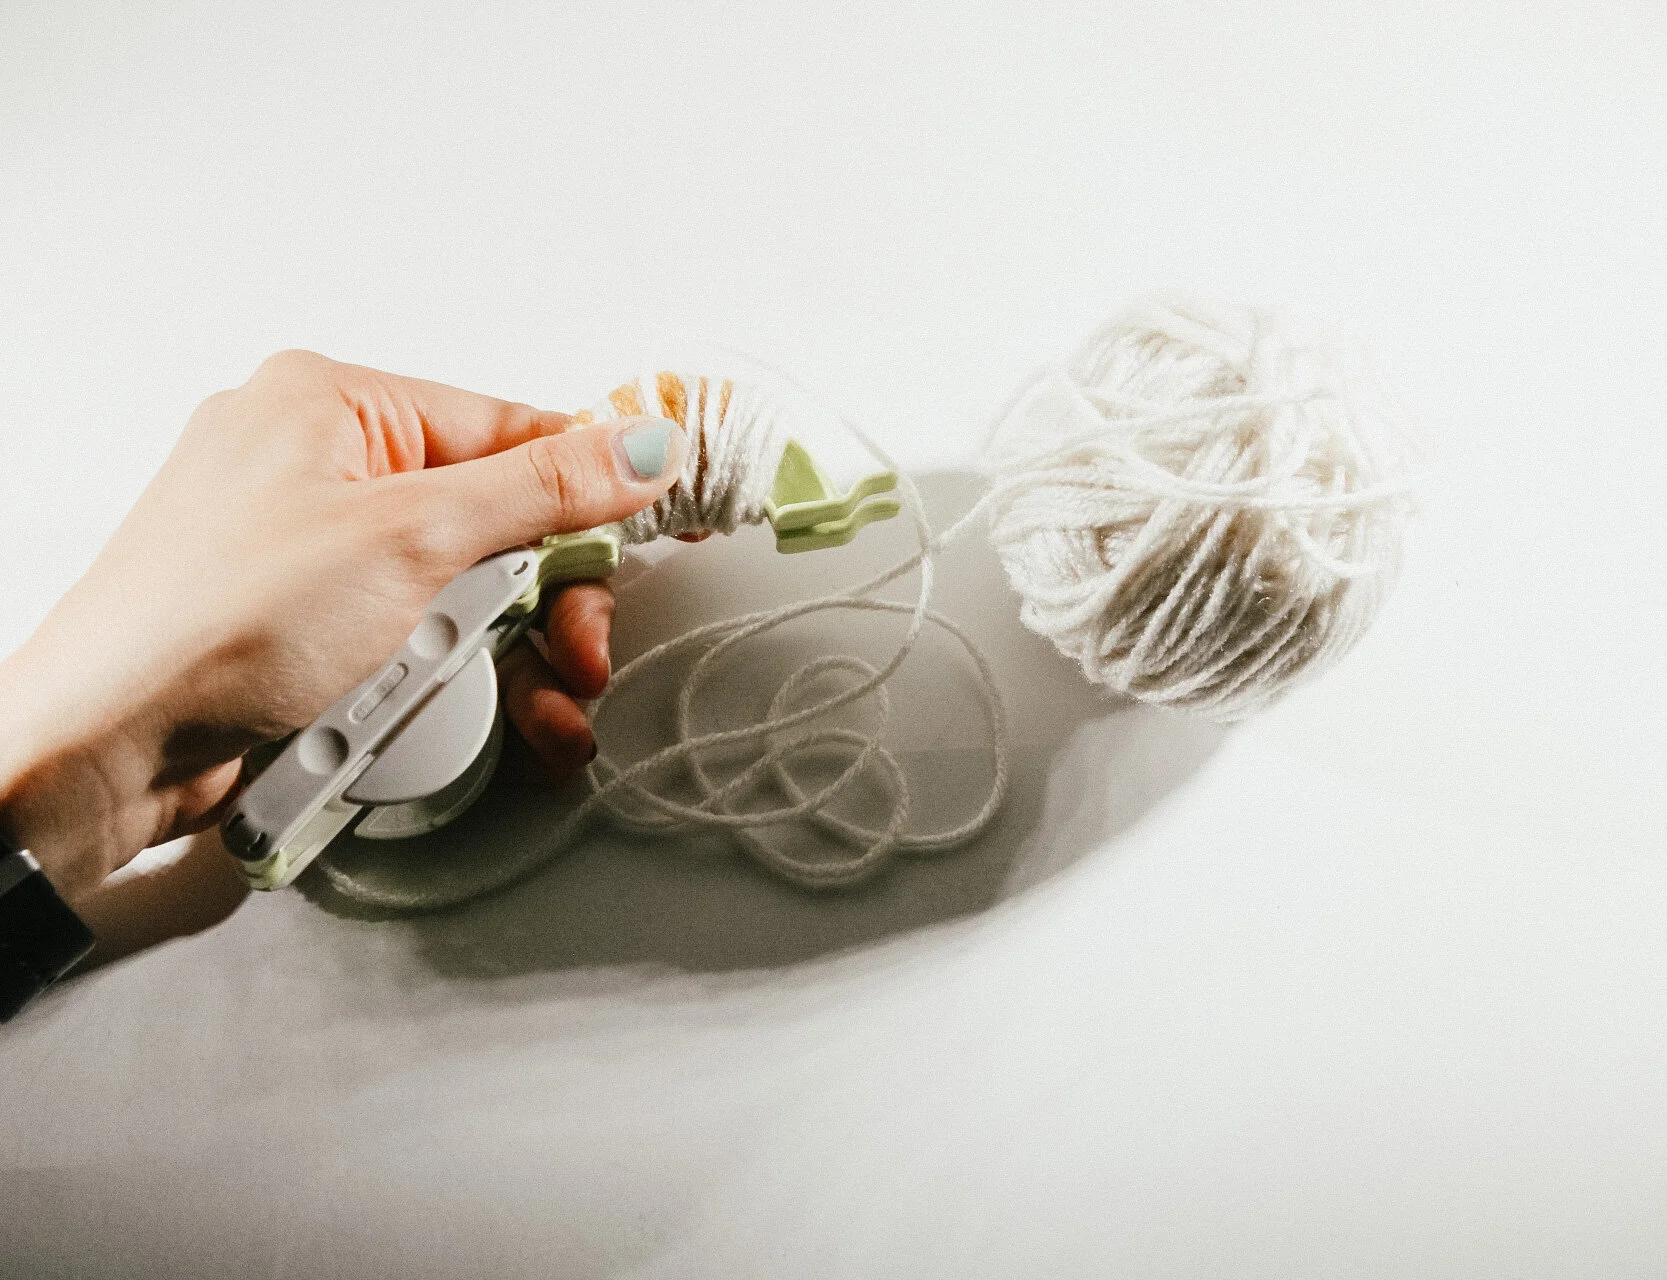
05. Now wrap your background color over the stem and covering all the yarn. Close the arm.
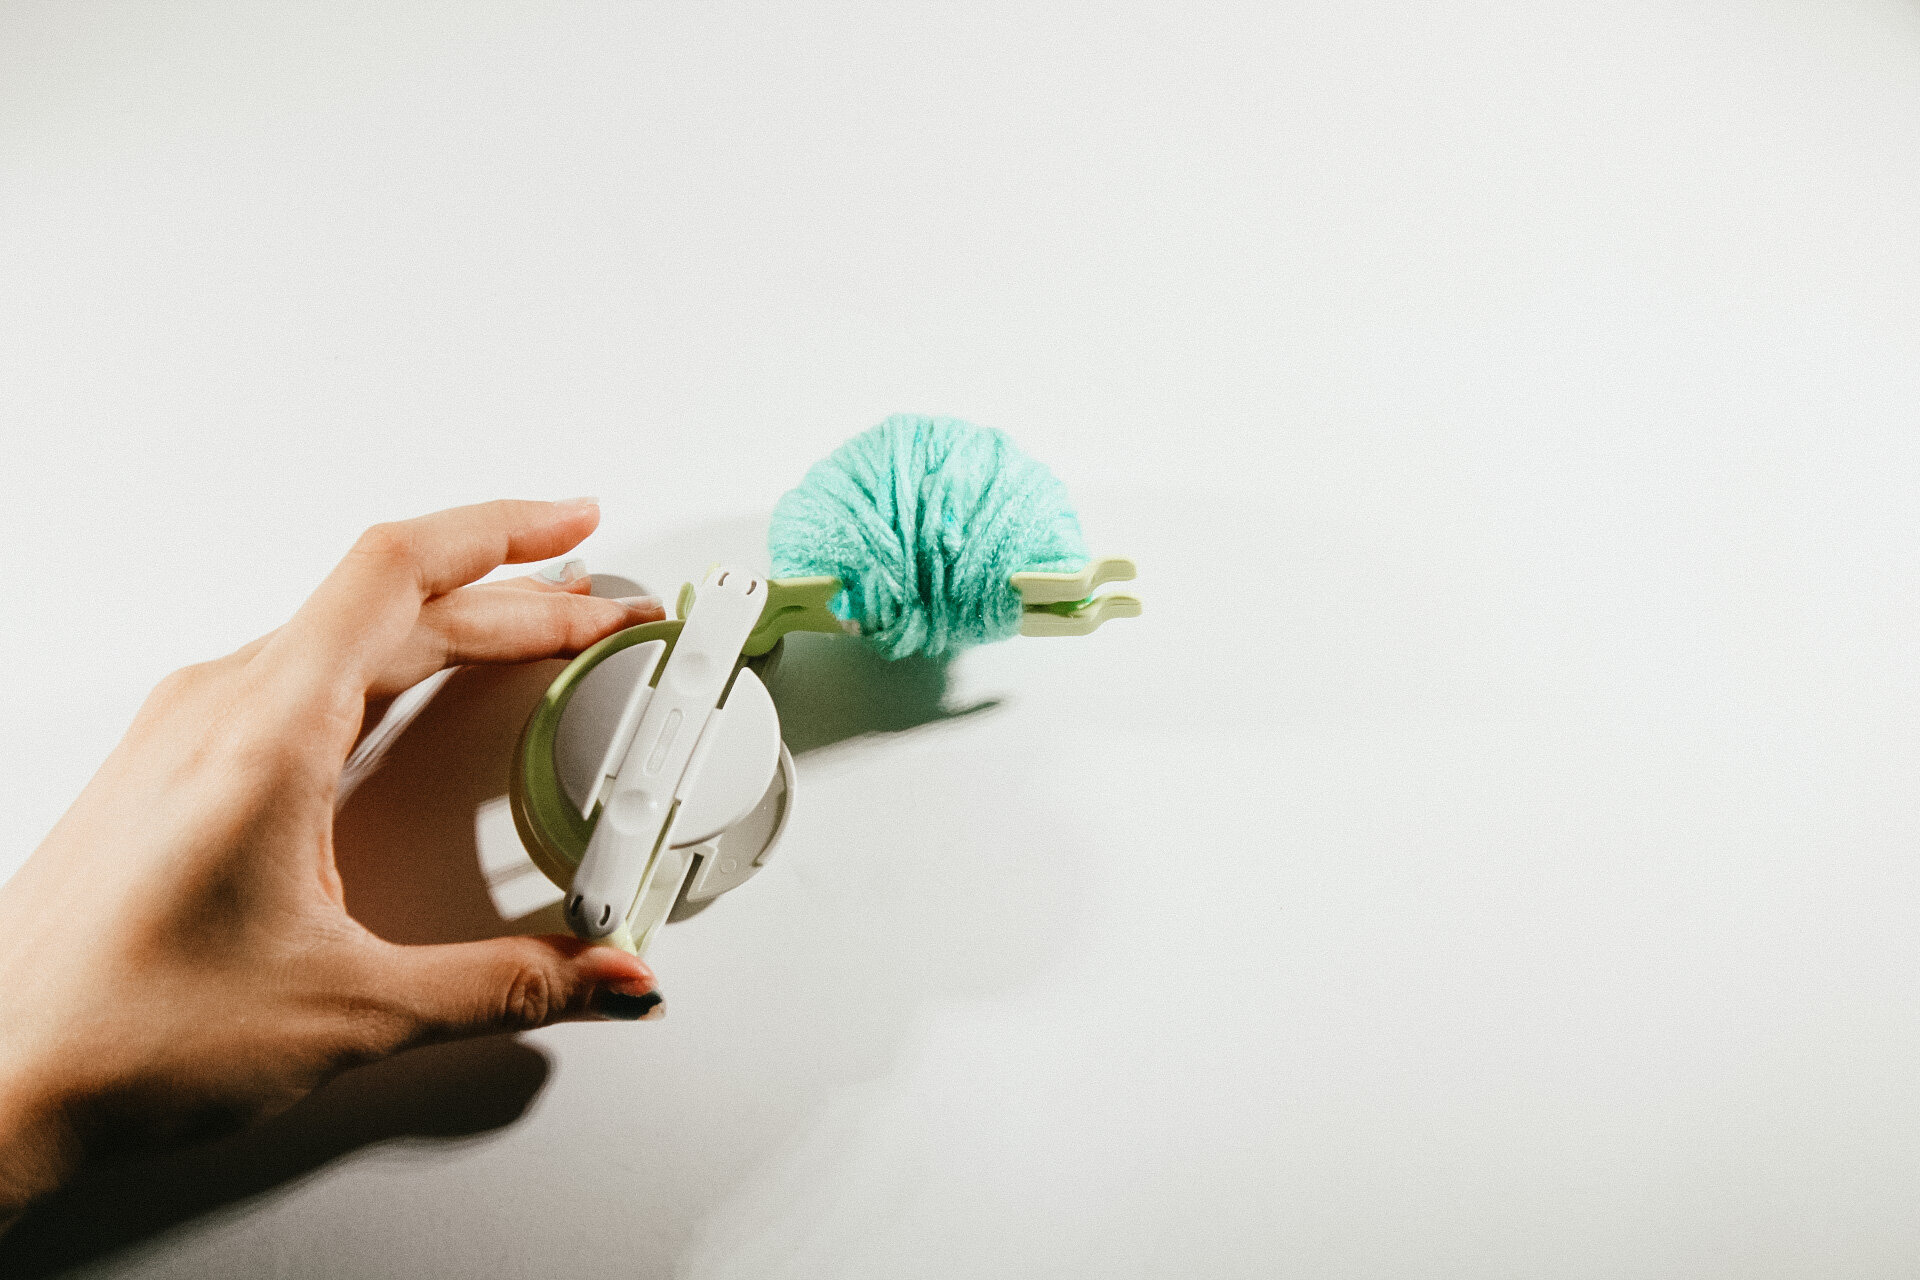
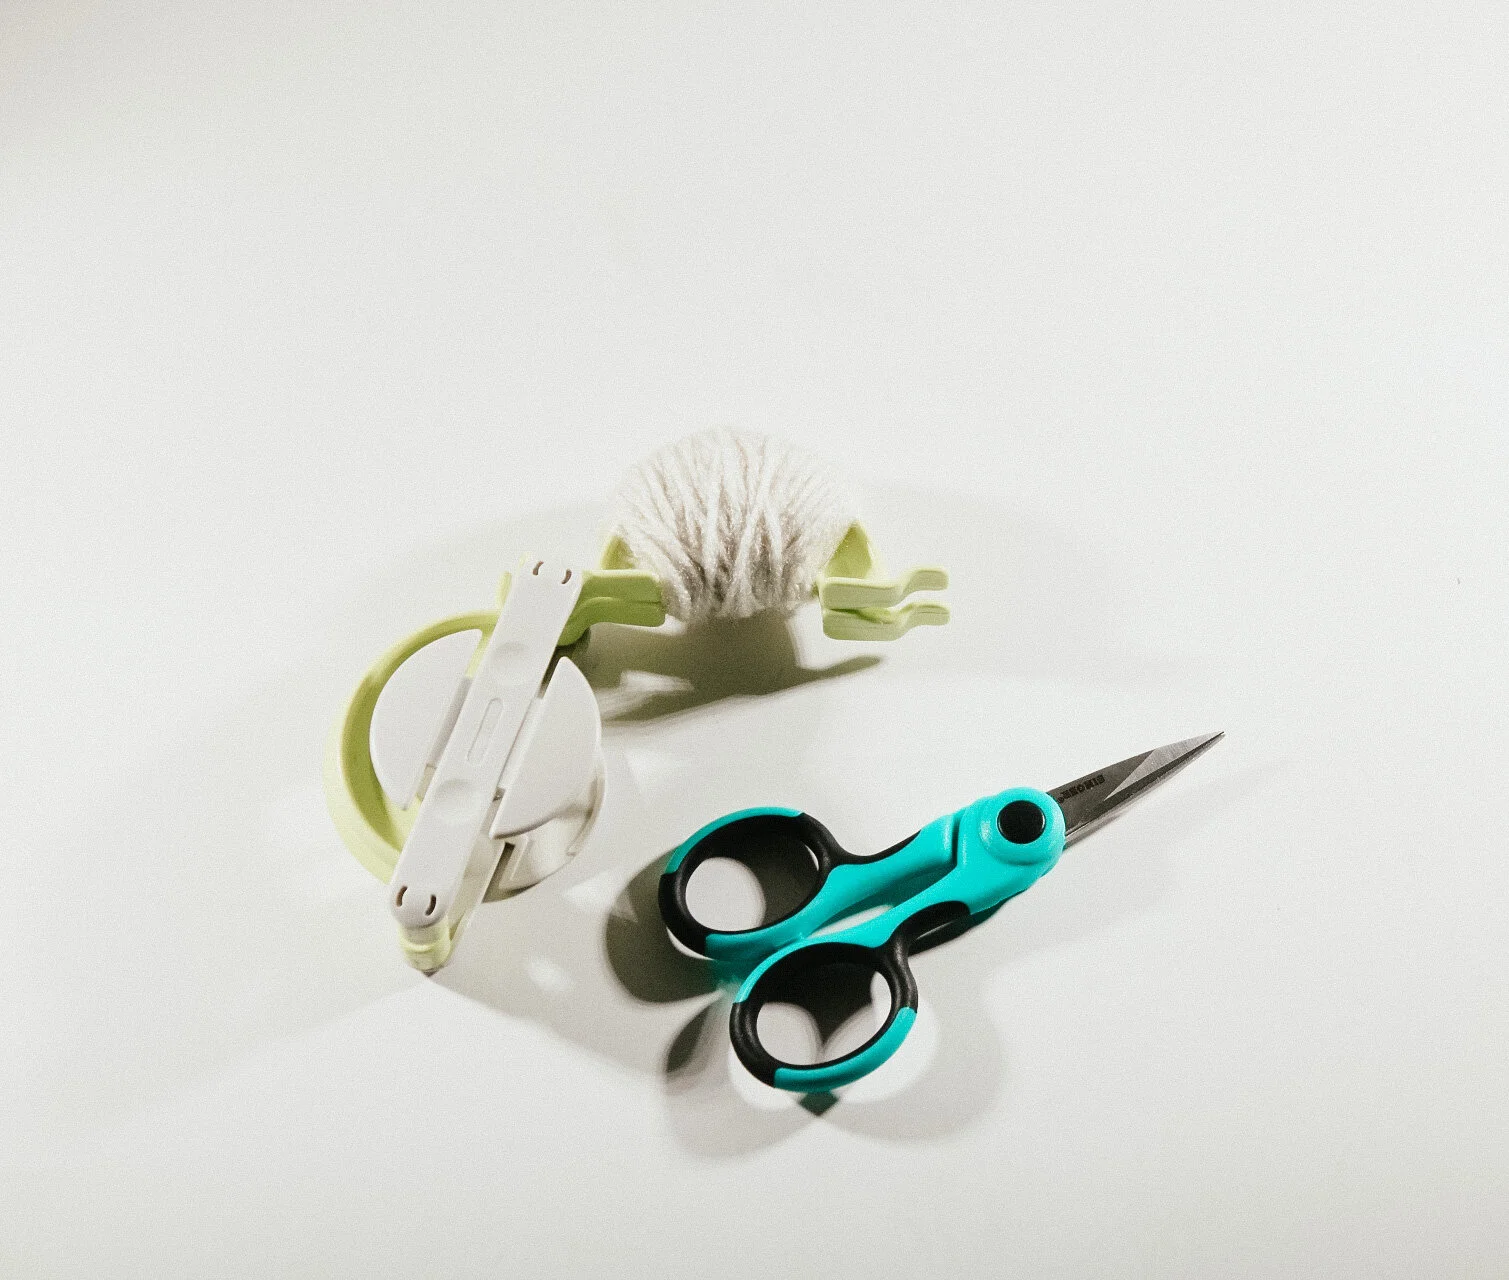
06. Open the other arm of the pom pom maker and fill completely with background color. Close the arm.
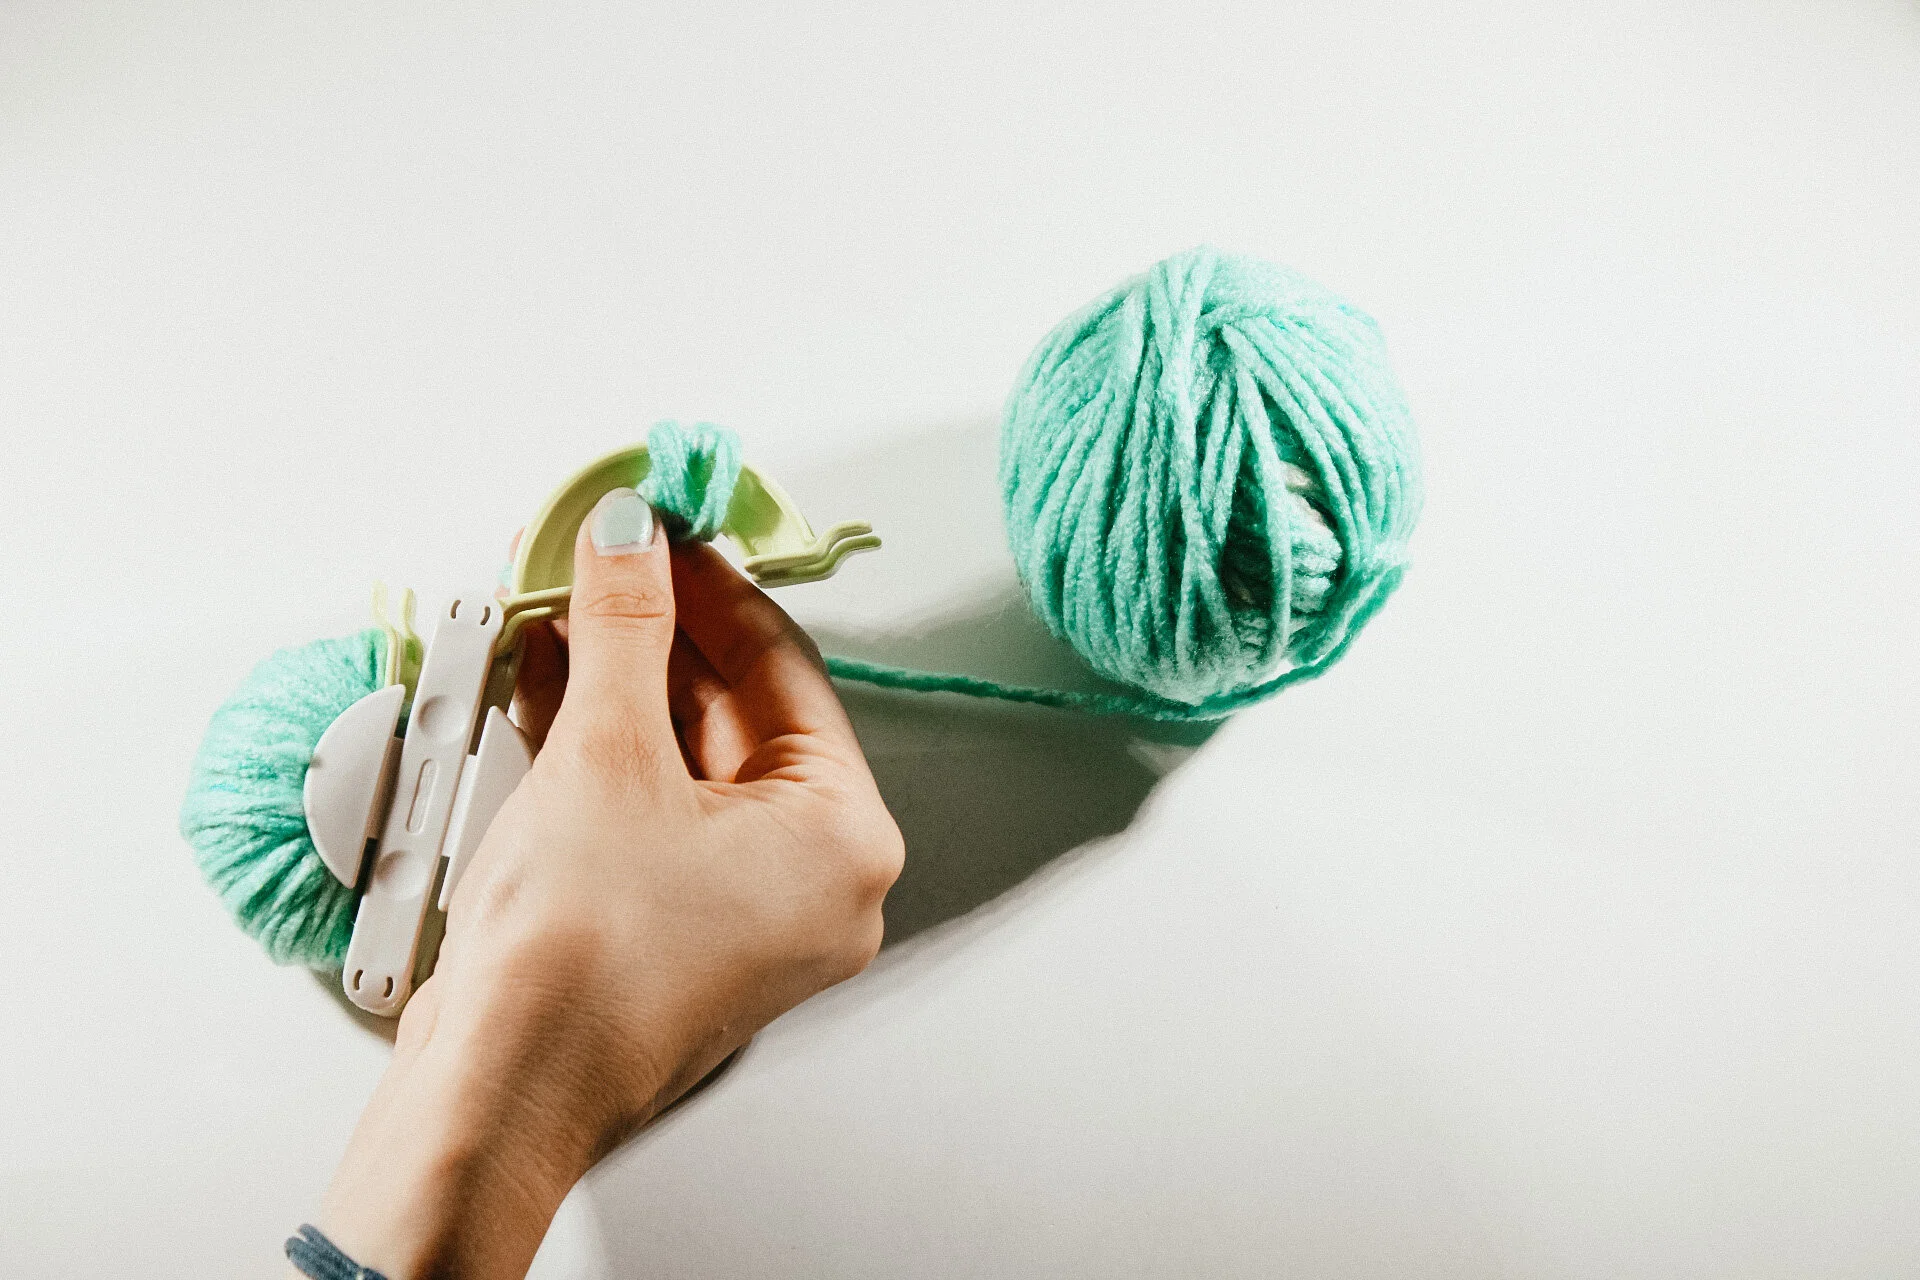
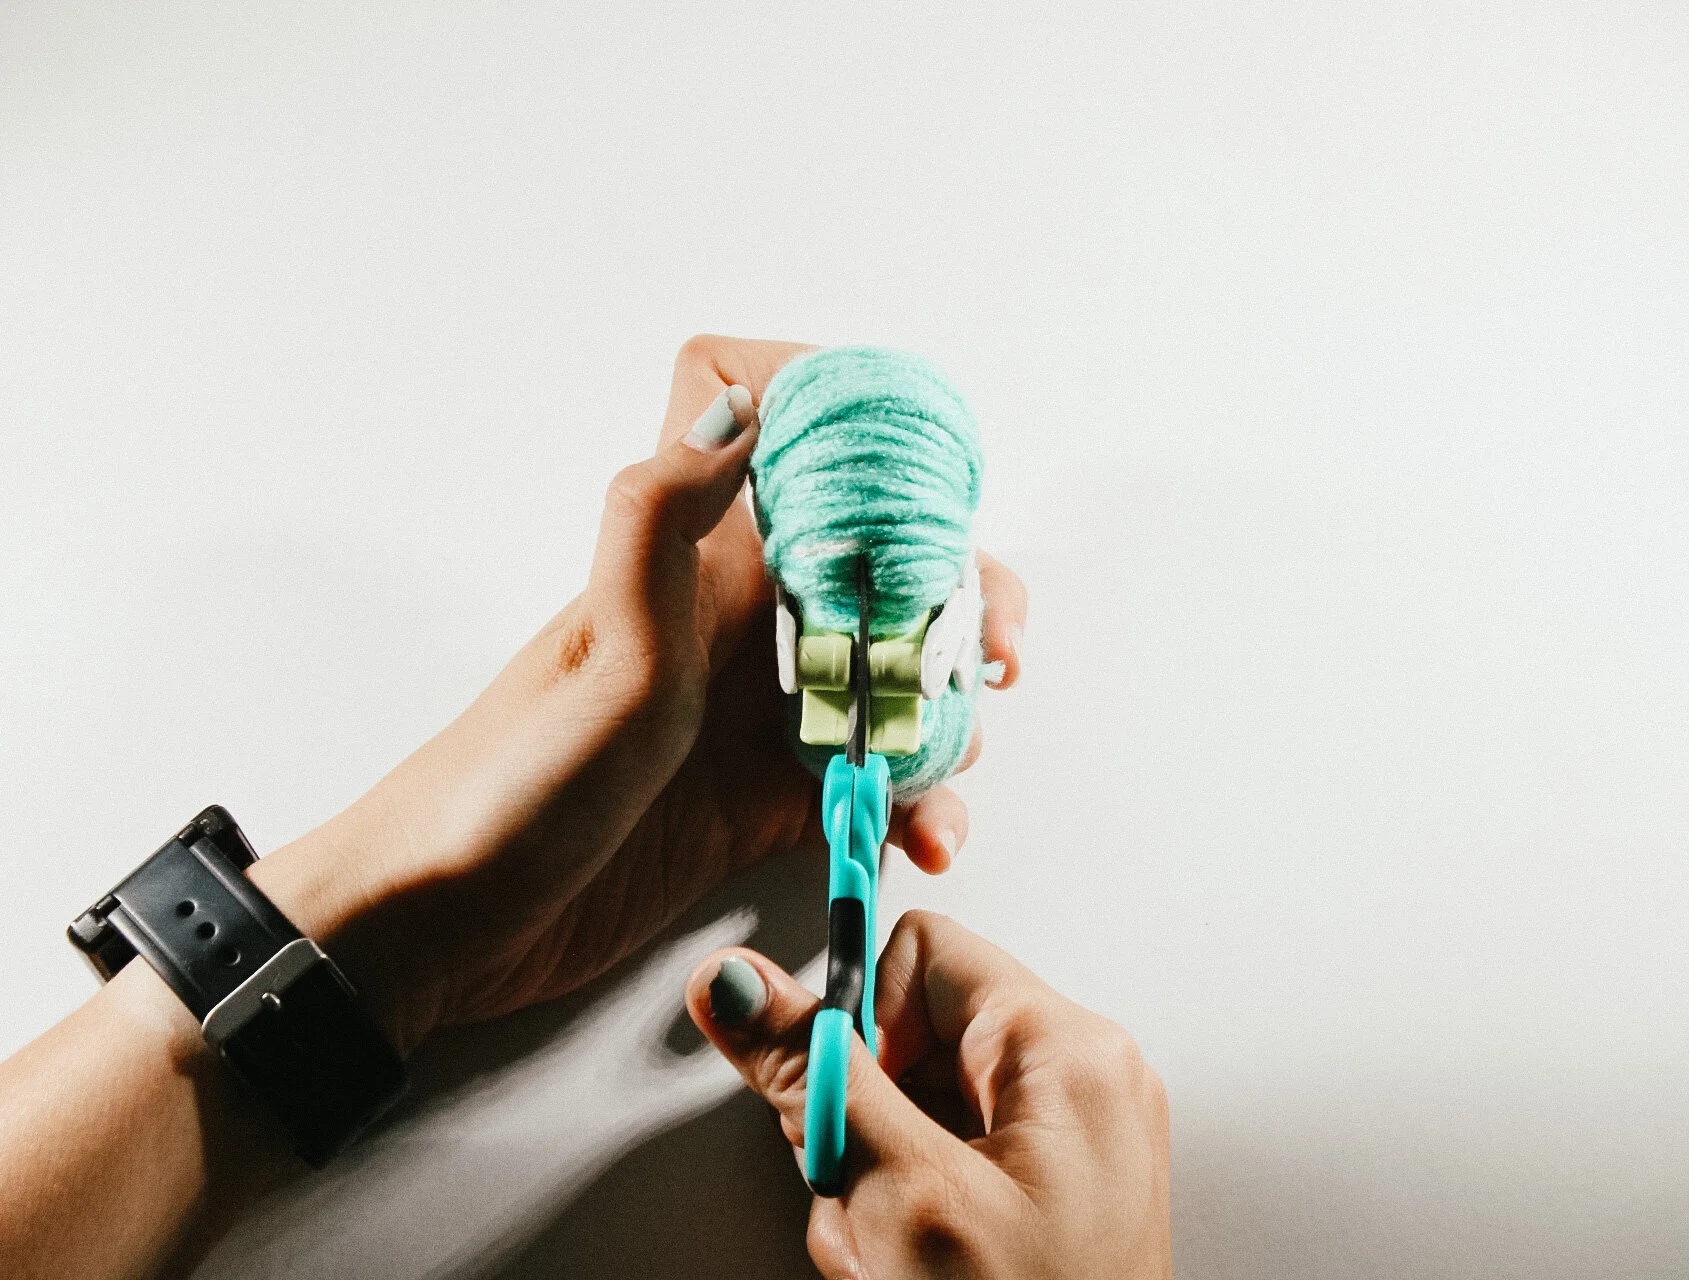
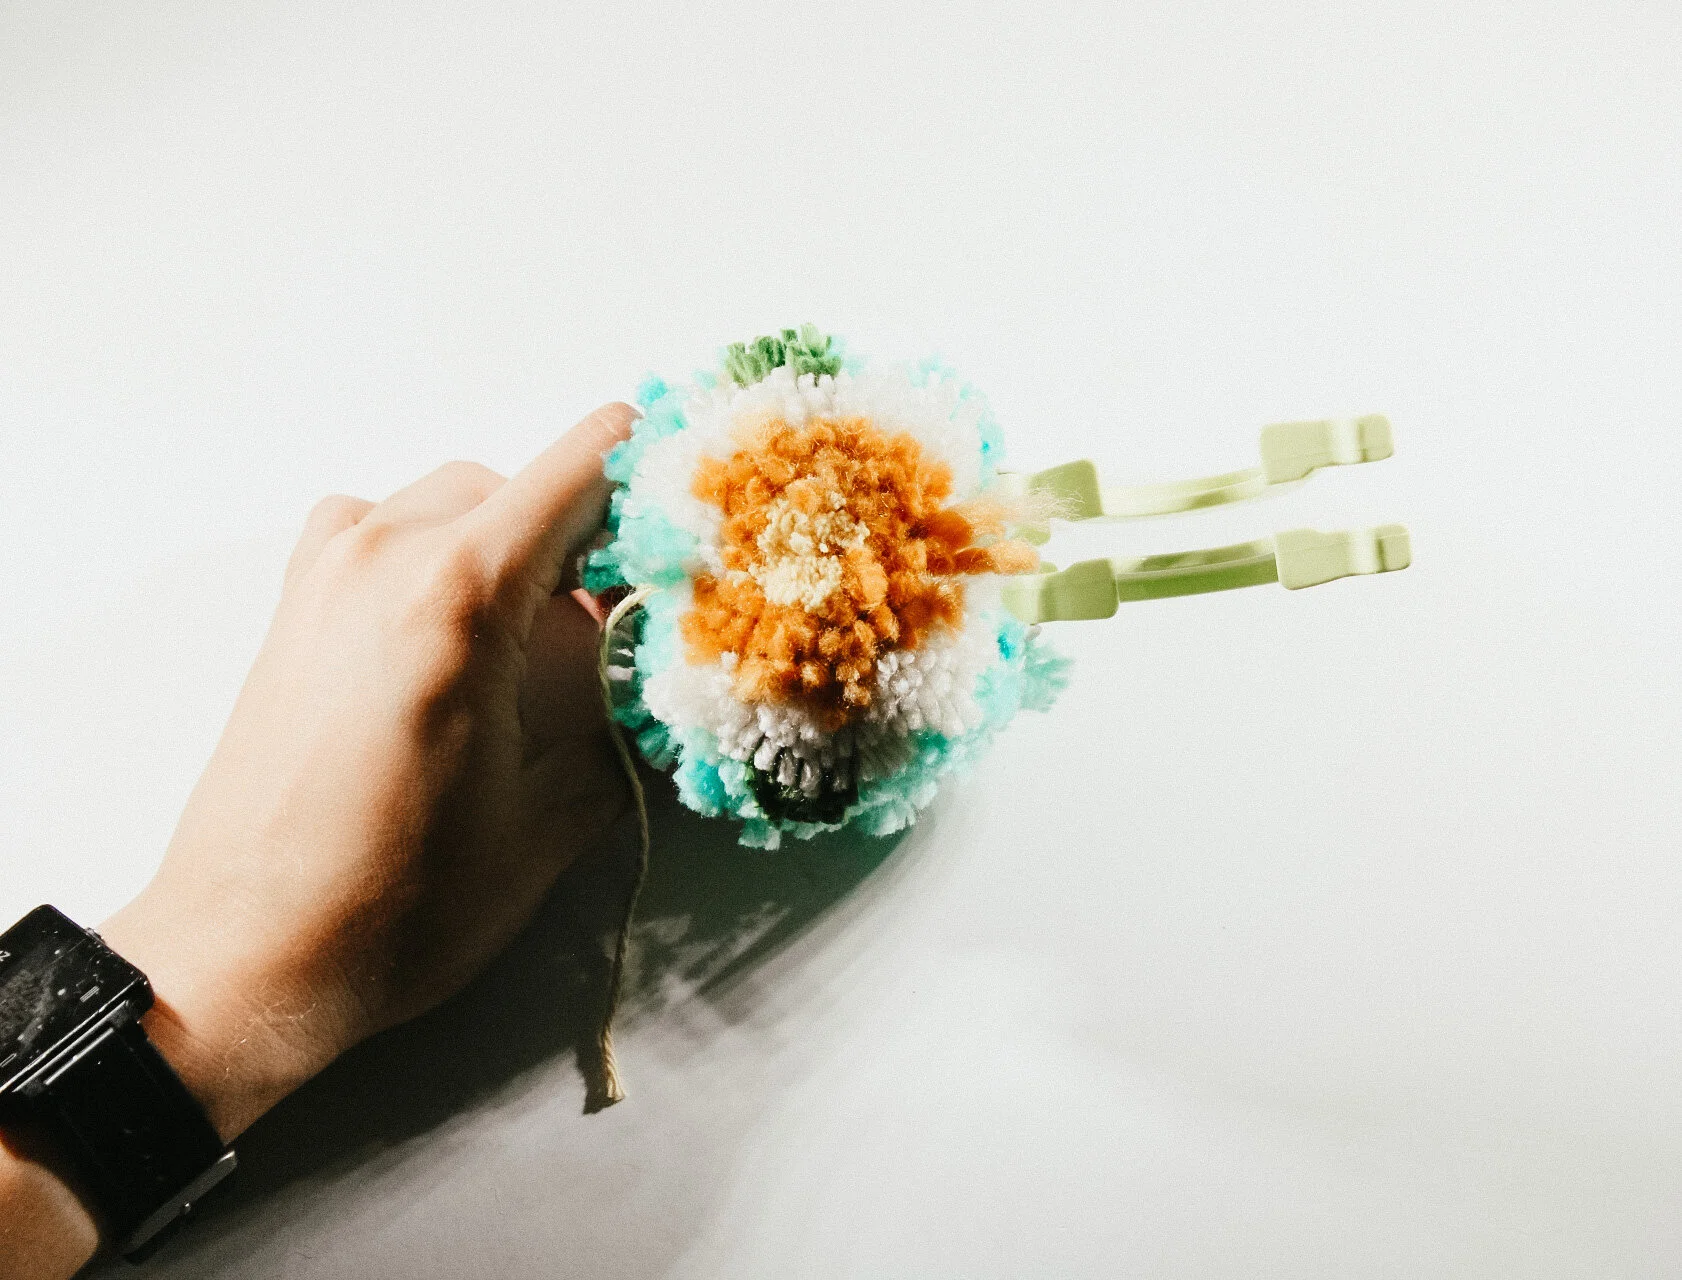
07. Now for my favorite part, to cut this bad boy open. Starting on the hinge side, cut up the center on both sides. I love cutting open the floral side, because it is like revealing a surprise!
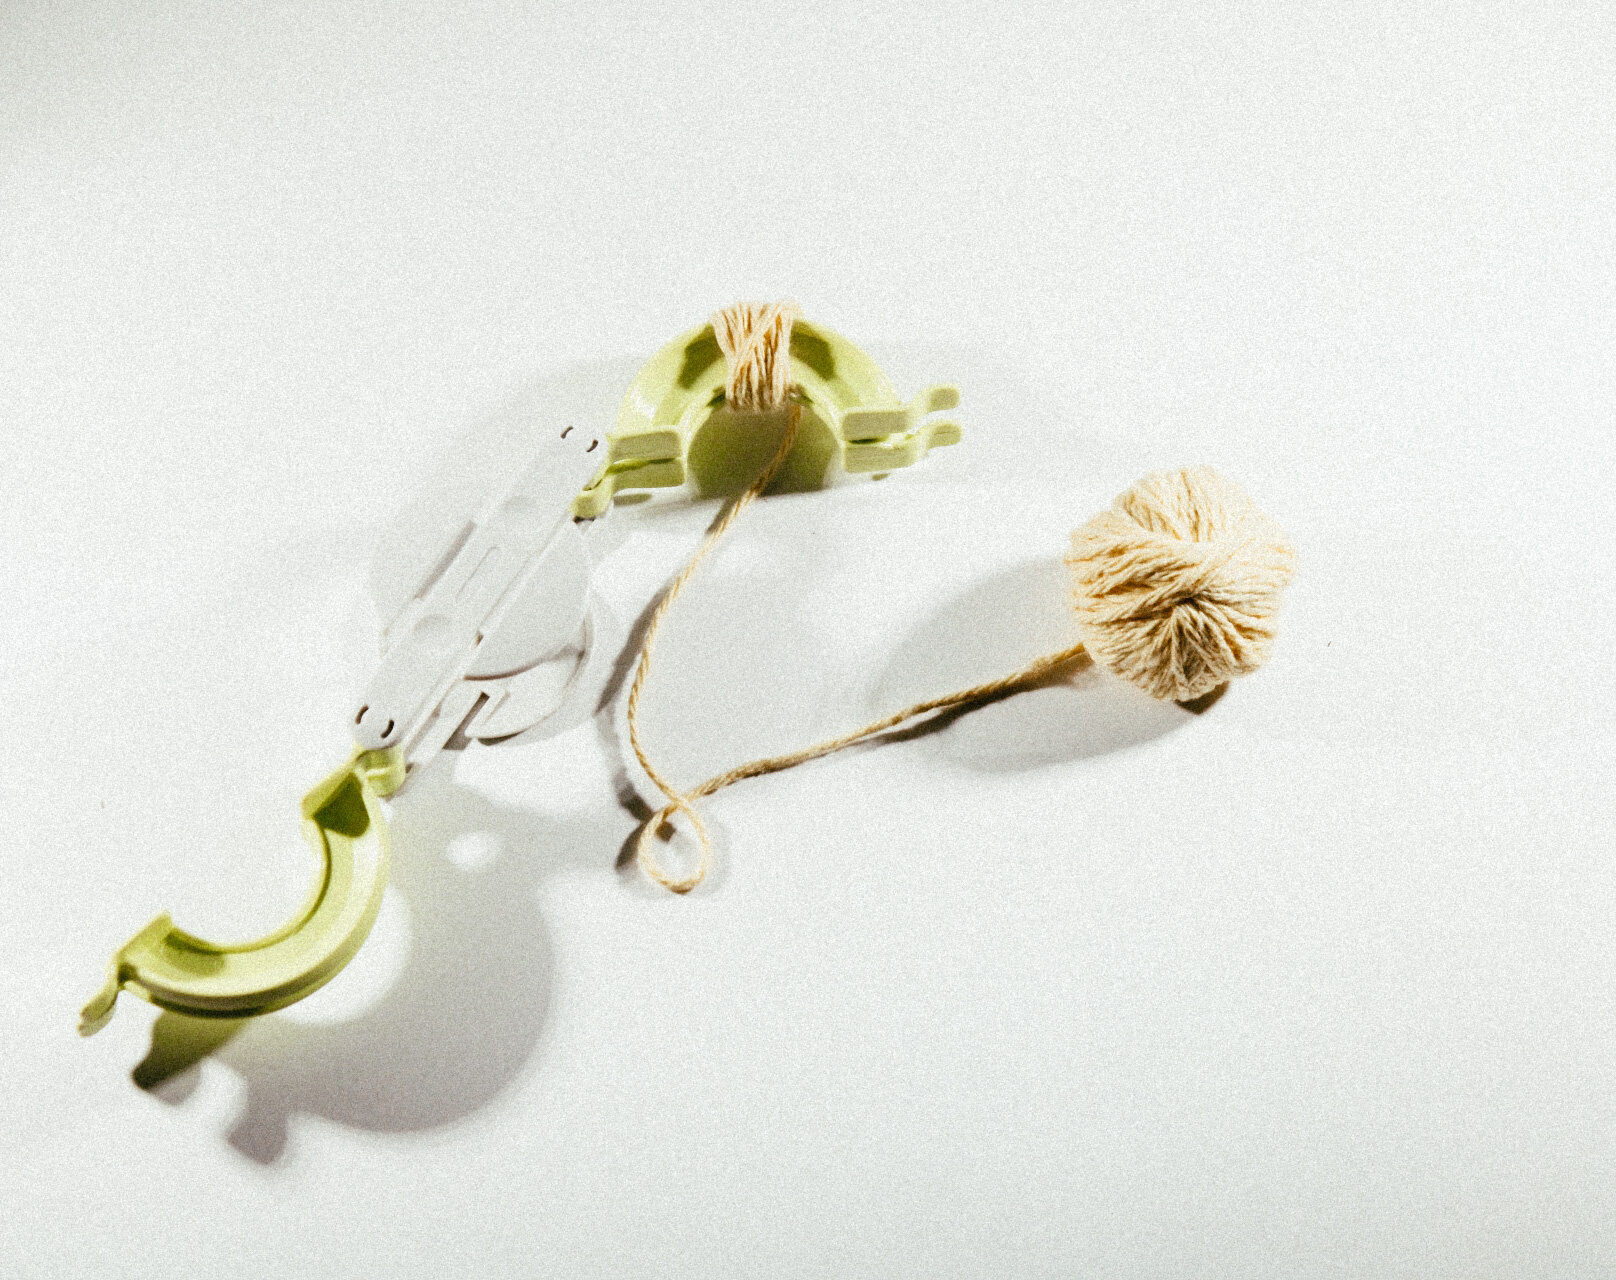
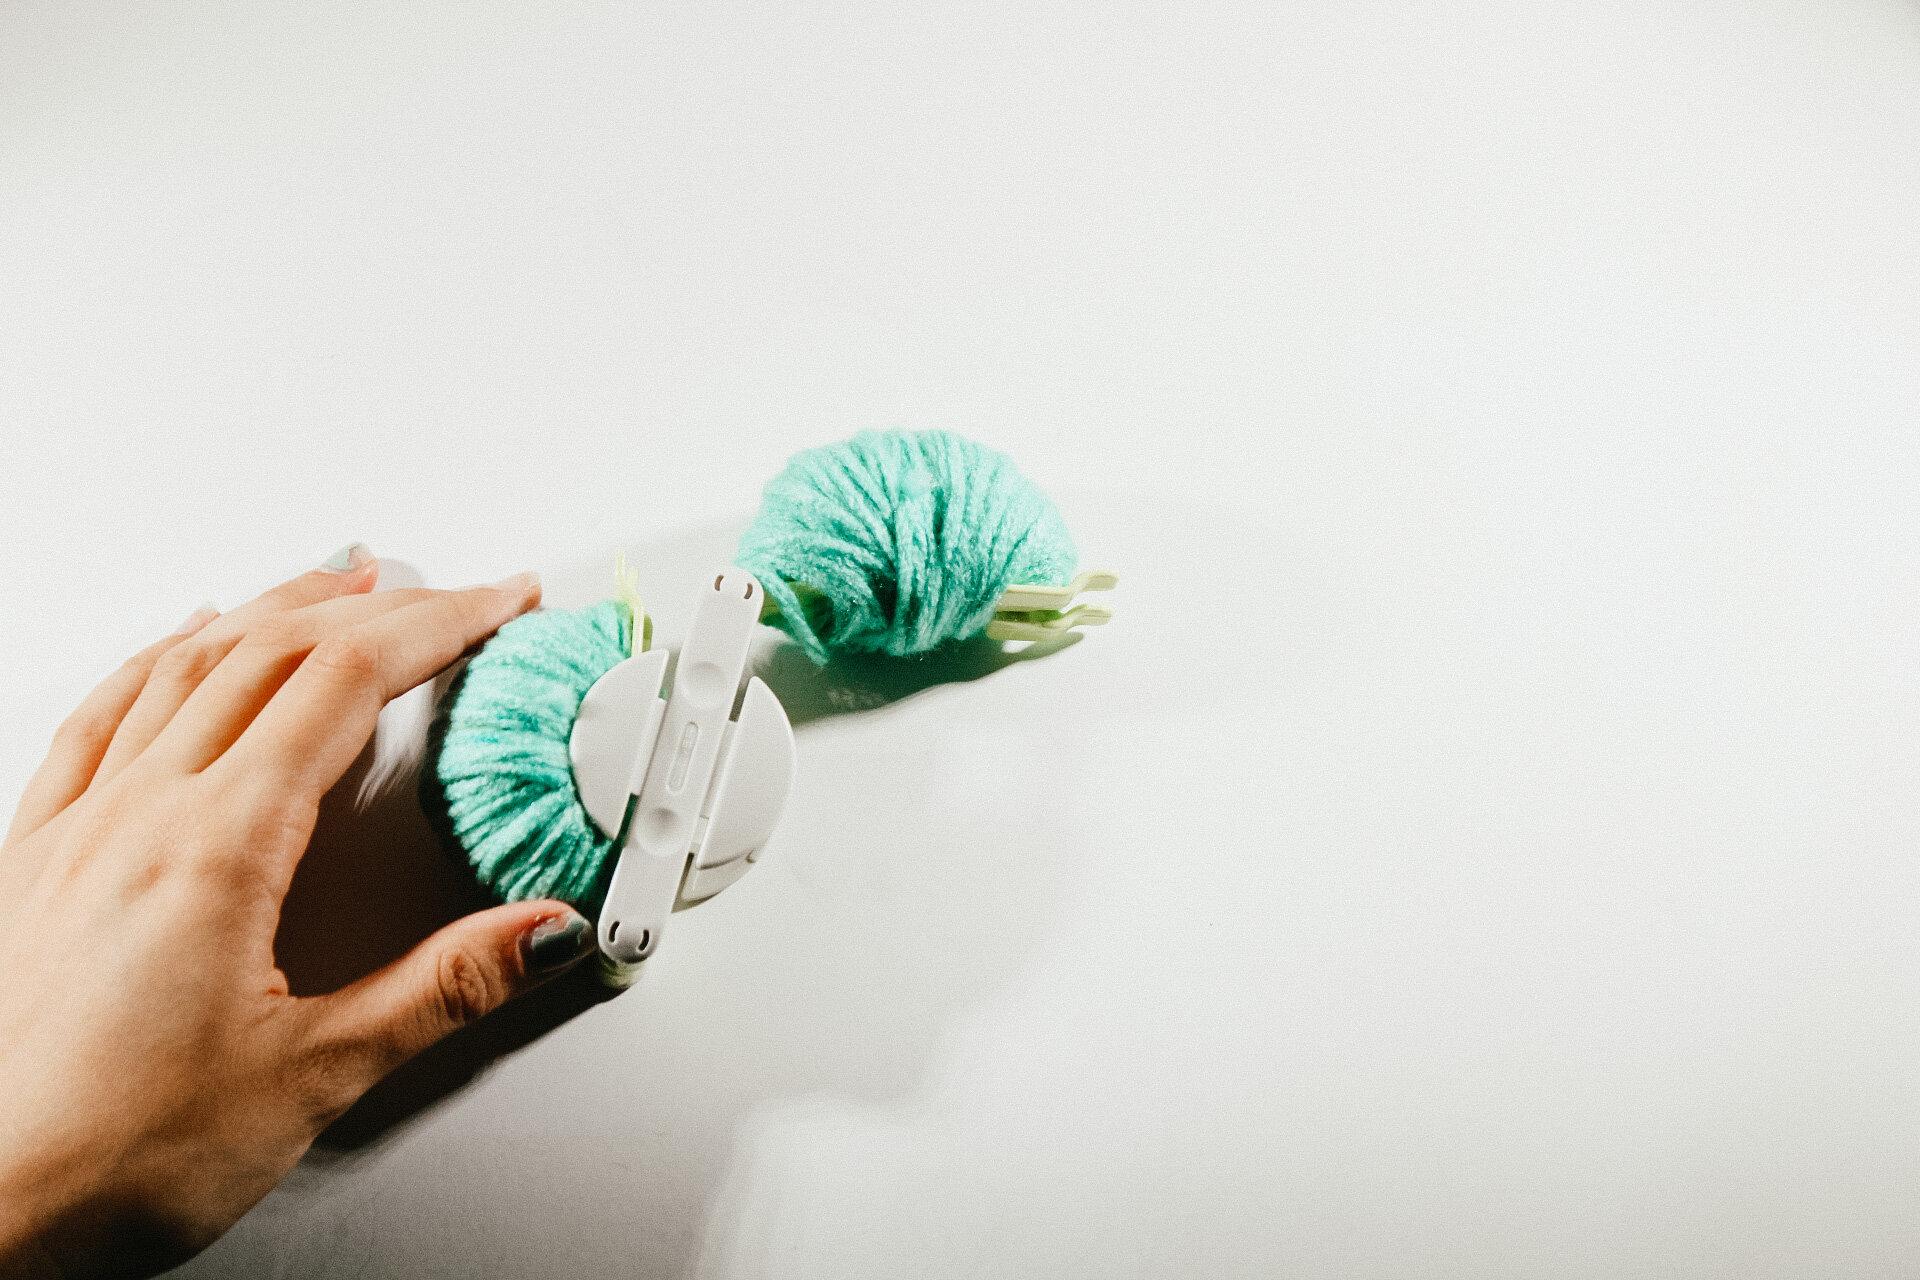
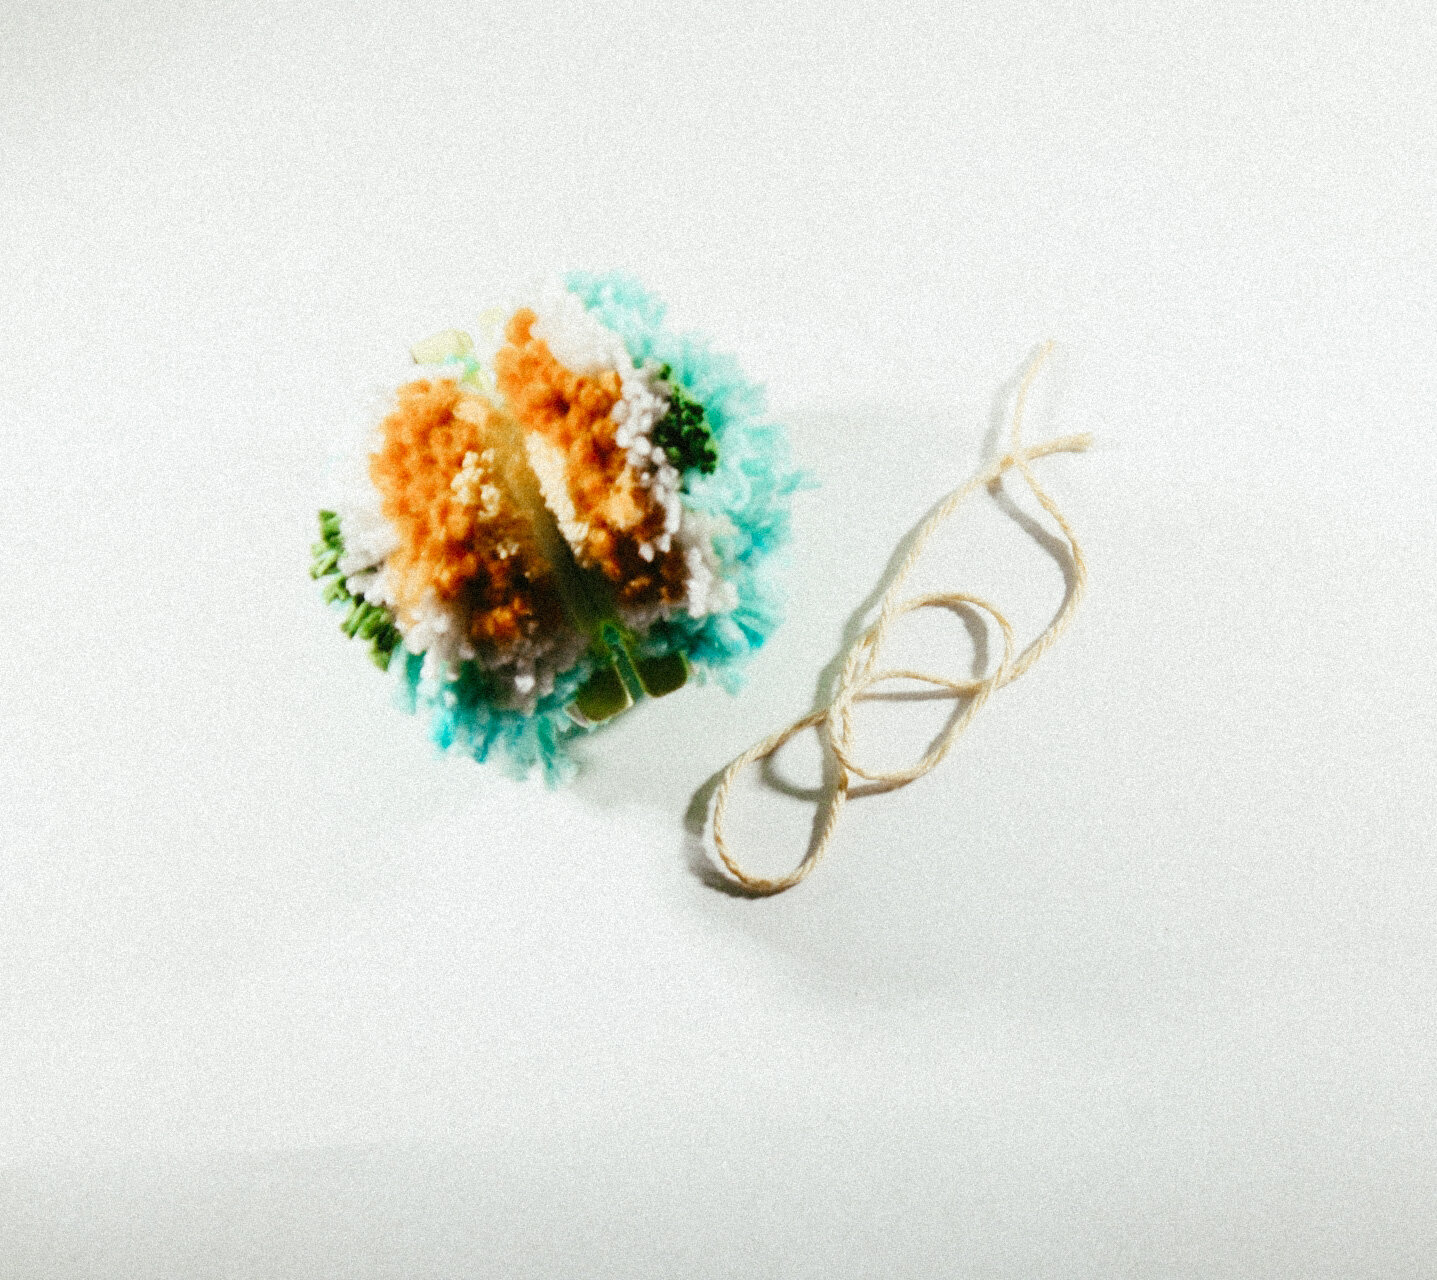
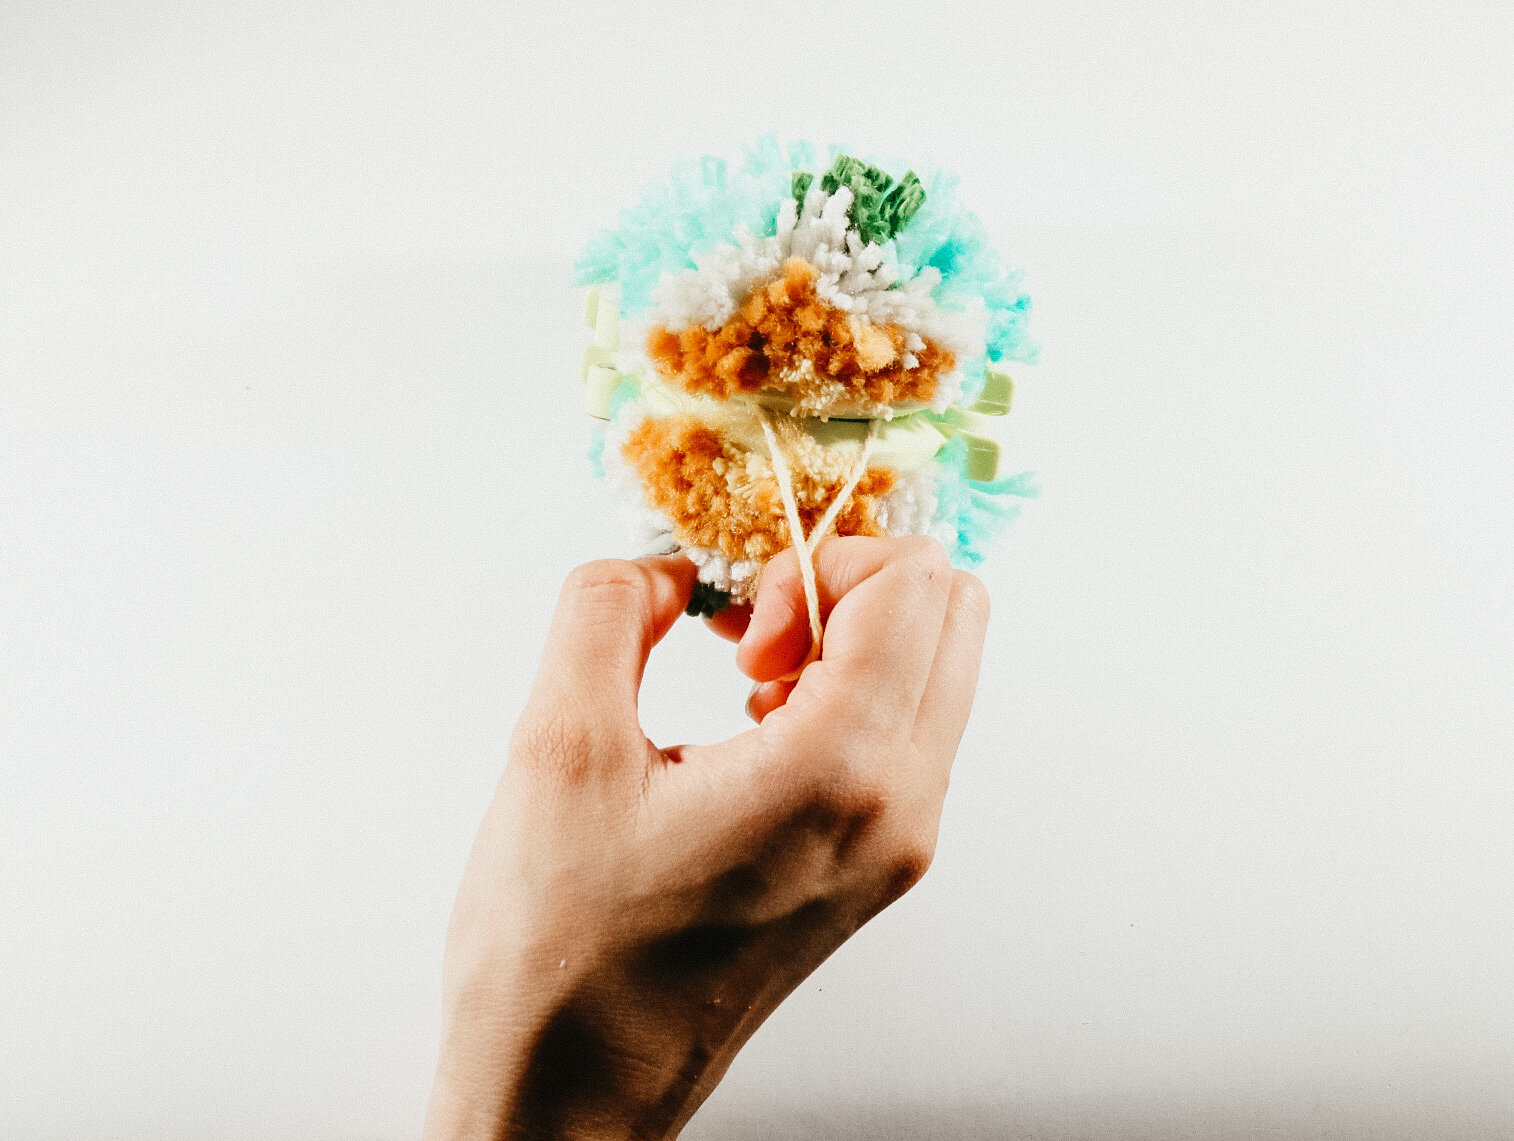
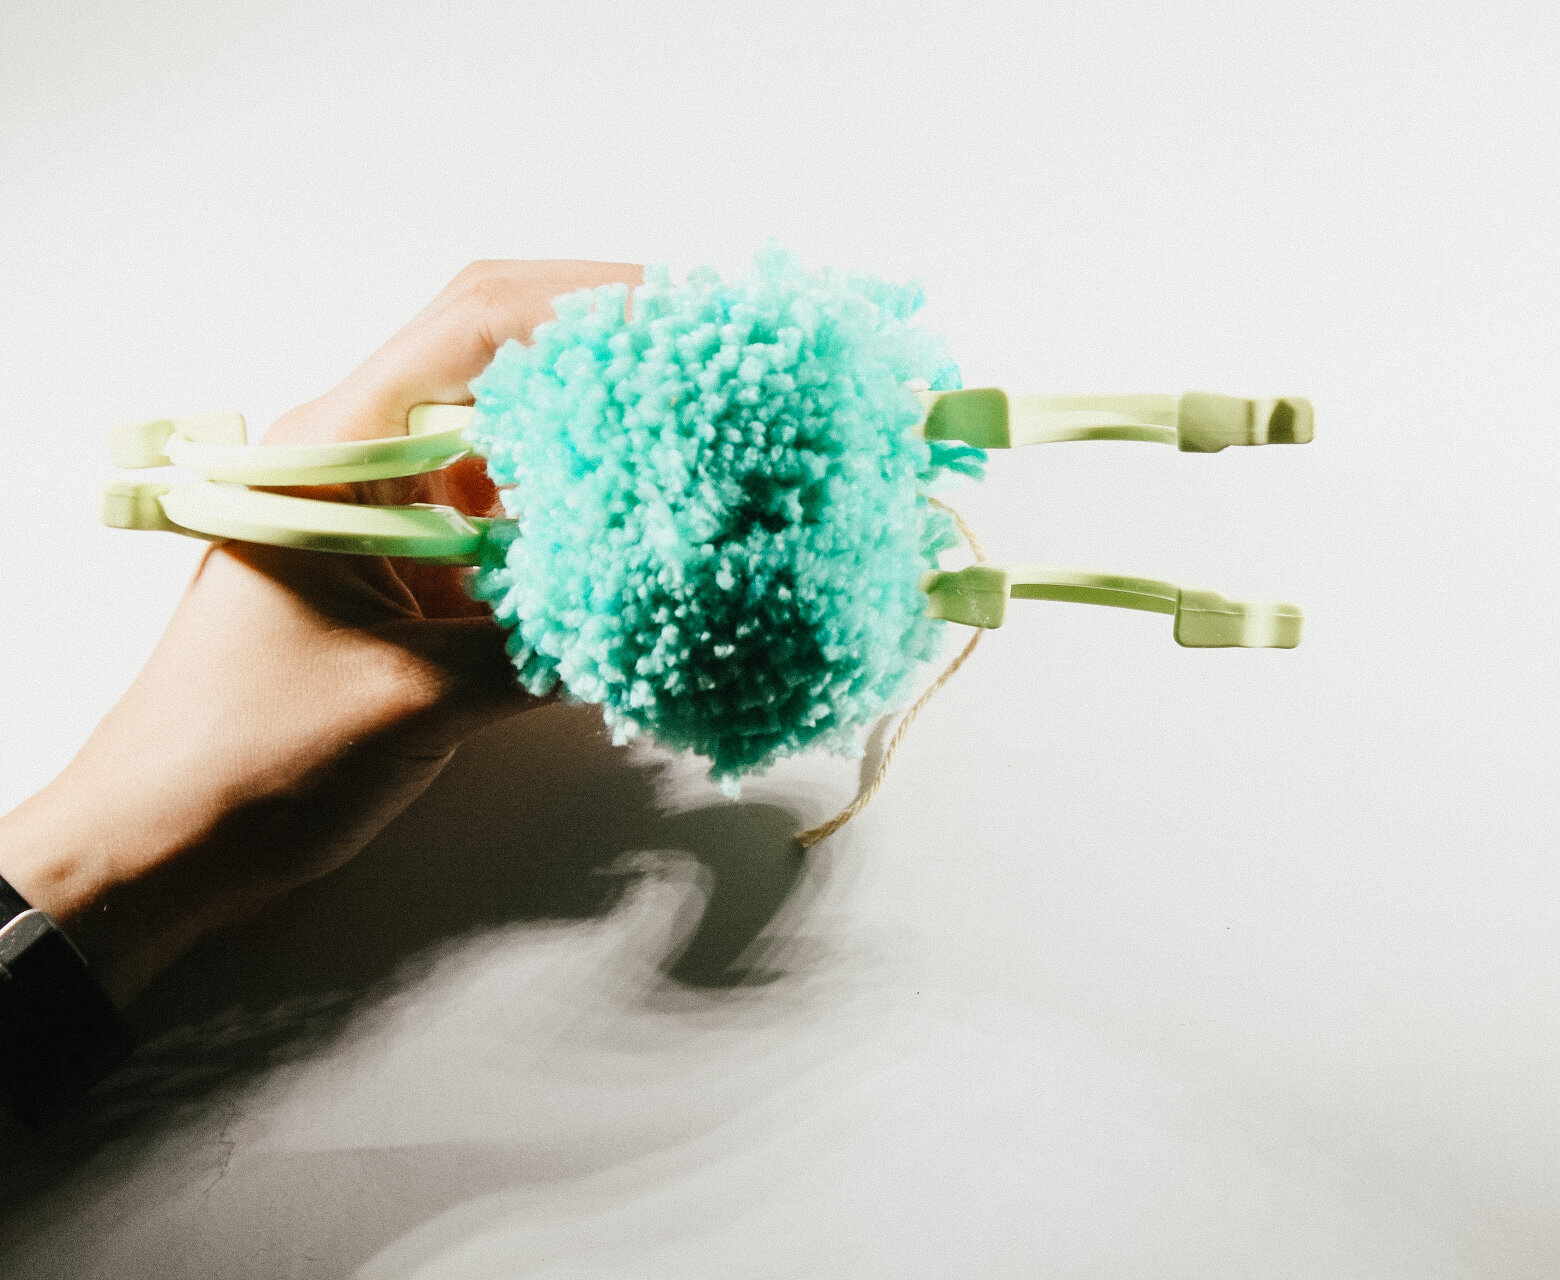
08. Tie a string in the center of the pom pom maker to secure the yarn pieces in place.
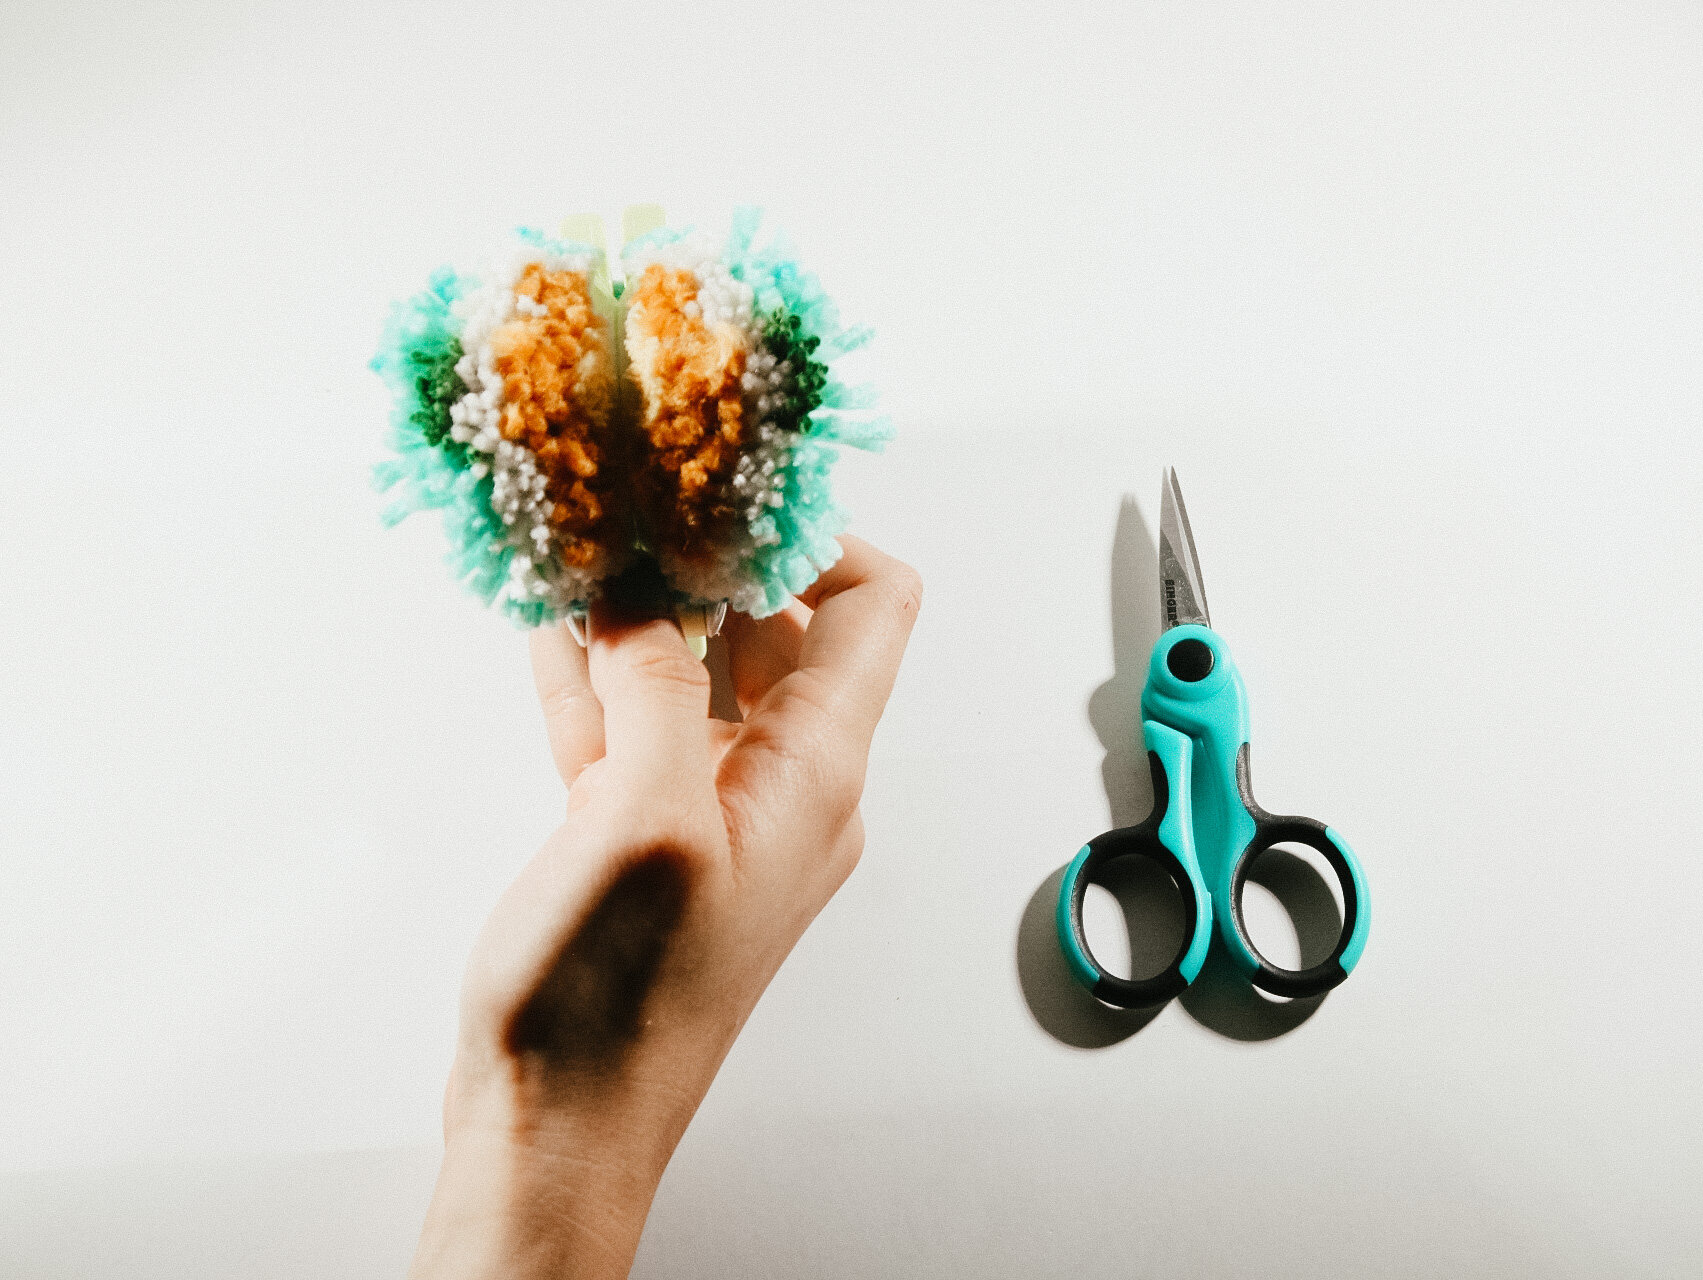
09. Open the arms of the pom pom maker and pull apart.
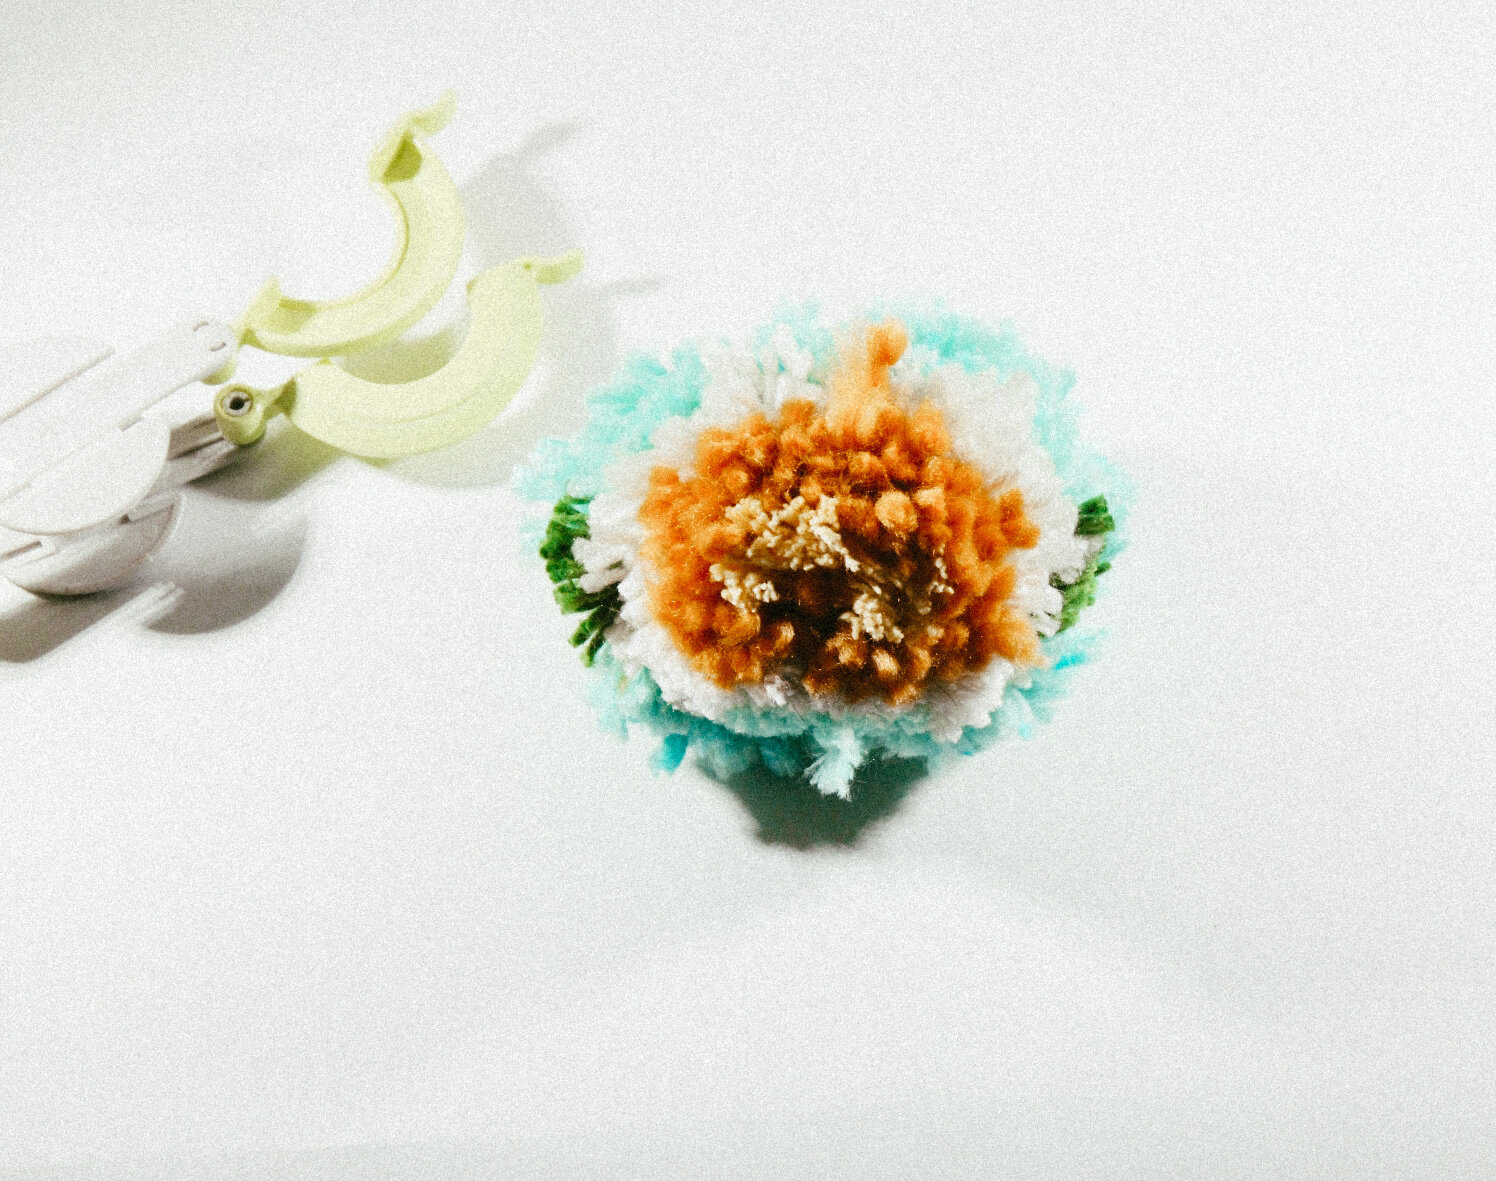
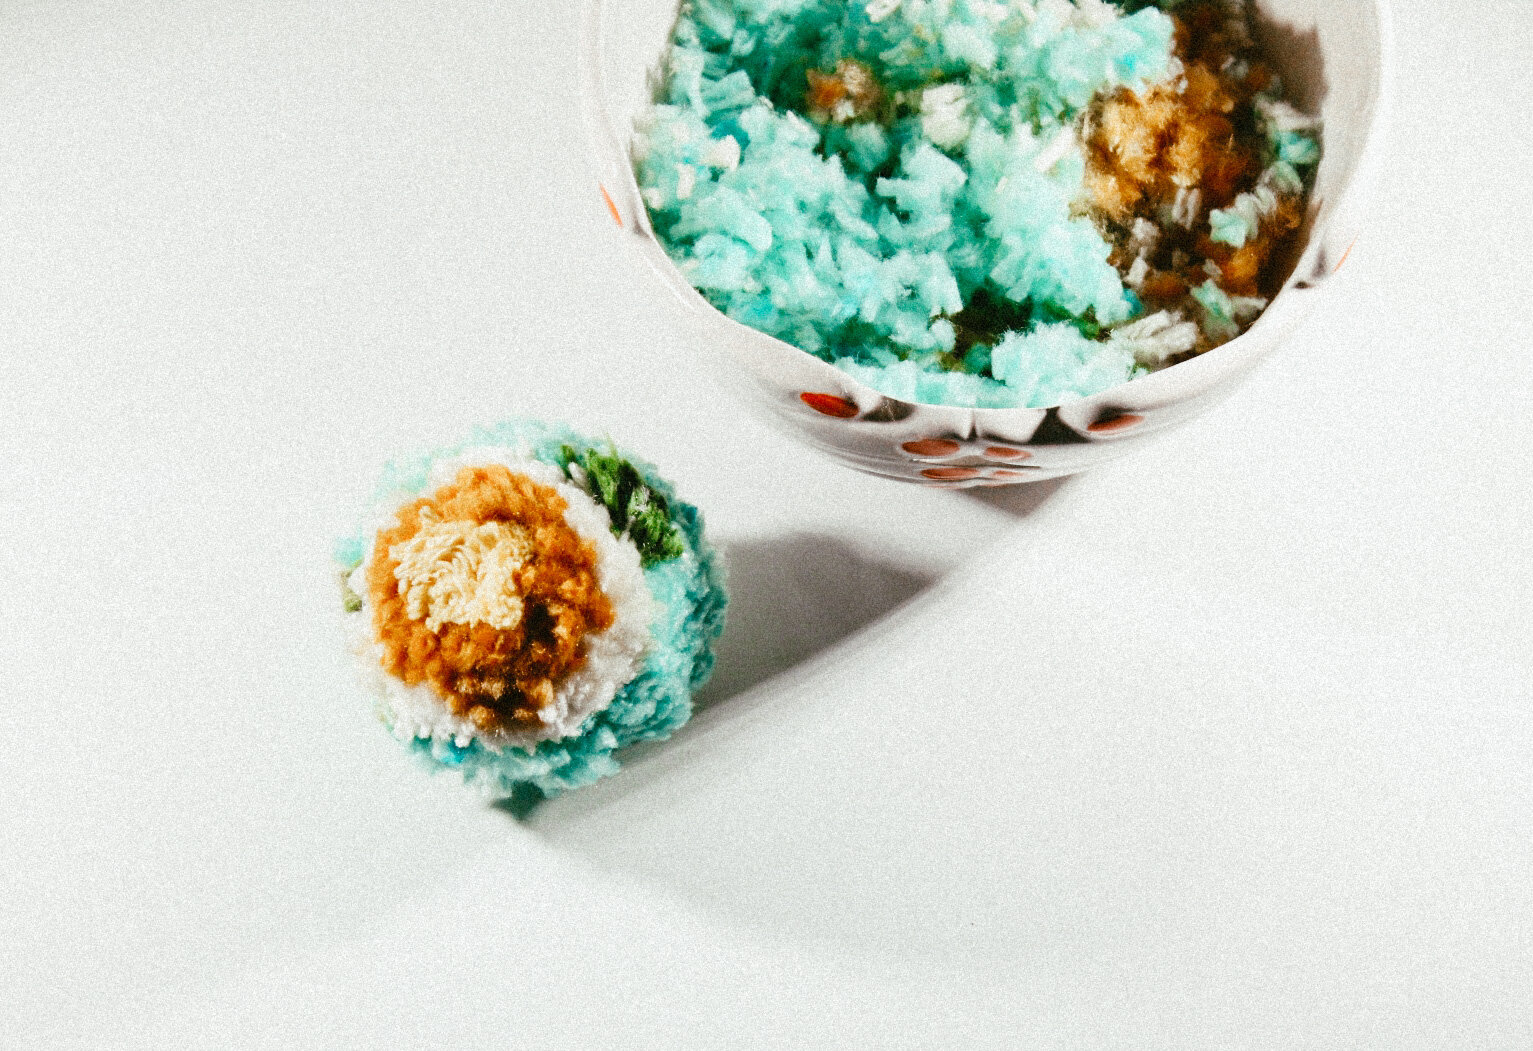
10. Begin to trim the pom pom over a bowl. You can go a little overboard during this part so know what you want. If you want a fluffy pom pom, only cut a little but. If you would rather a dense pom pom you will trim it a lot until you have the density you want.

Simple, easy, and a whole lot of fun. These pom poms can be made at all different sizes and could be put in a bowl or on a stick and into a vase. My dream is to have a whole bouquet made of these for my pom pom themed wedding one day!!