
Make A Notebook From A Paper bag
I feel like I am always looking for a new notebook and like I can never get enough of them. I also feel like I have a collection of paper bags that really just never seem to go away, no matter how many we use. Honestly we once went through our stash and had to recycle upwards of 100 paper bags. I would always much rather re purpose something so then I decided to make these notebooks out of the paper bags. I can decorate each of them differently and use each of them for different things.
I felt that while we are home, it is important to also reflect and journal each day because there is so much going on. There are not a lot of stores open and so making one may be the only option. This DIY takes only about 15 minutes and requires only supplies you have at home

Supplies:

White Paper
Paper Bag
Ruler
Embroidery Floss
Thumbtack
Scissors
Watercolors or Stickers
Making The Notebook
First start by taking 5 pieces of paper and folding them in half. Line up the ruler with the middle of the paper (where the crease is) and rip the paper in half. Now you will have 5 half pieces of paper. Fold those in half and that will be the size of your notebook.
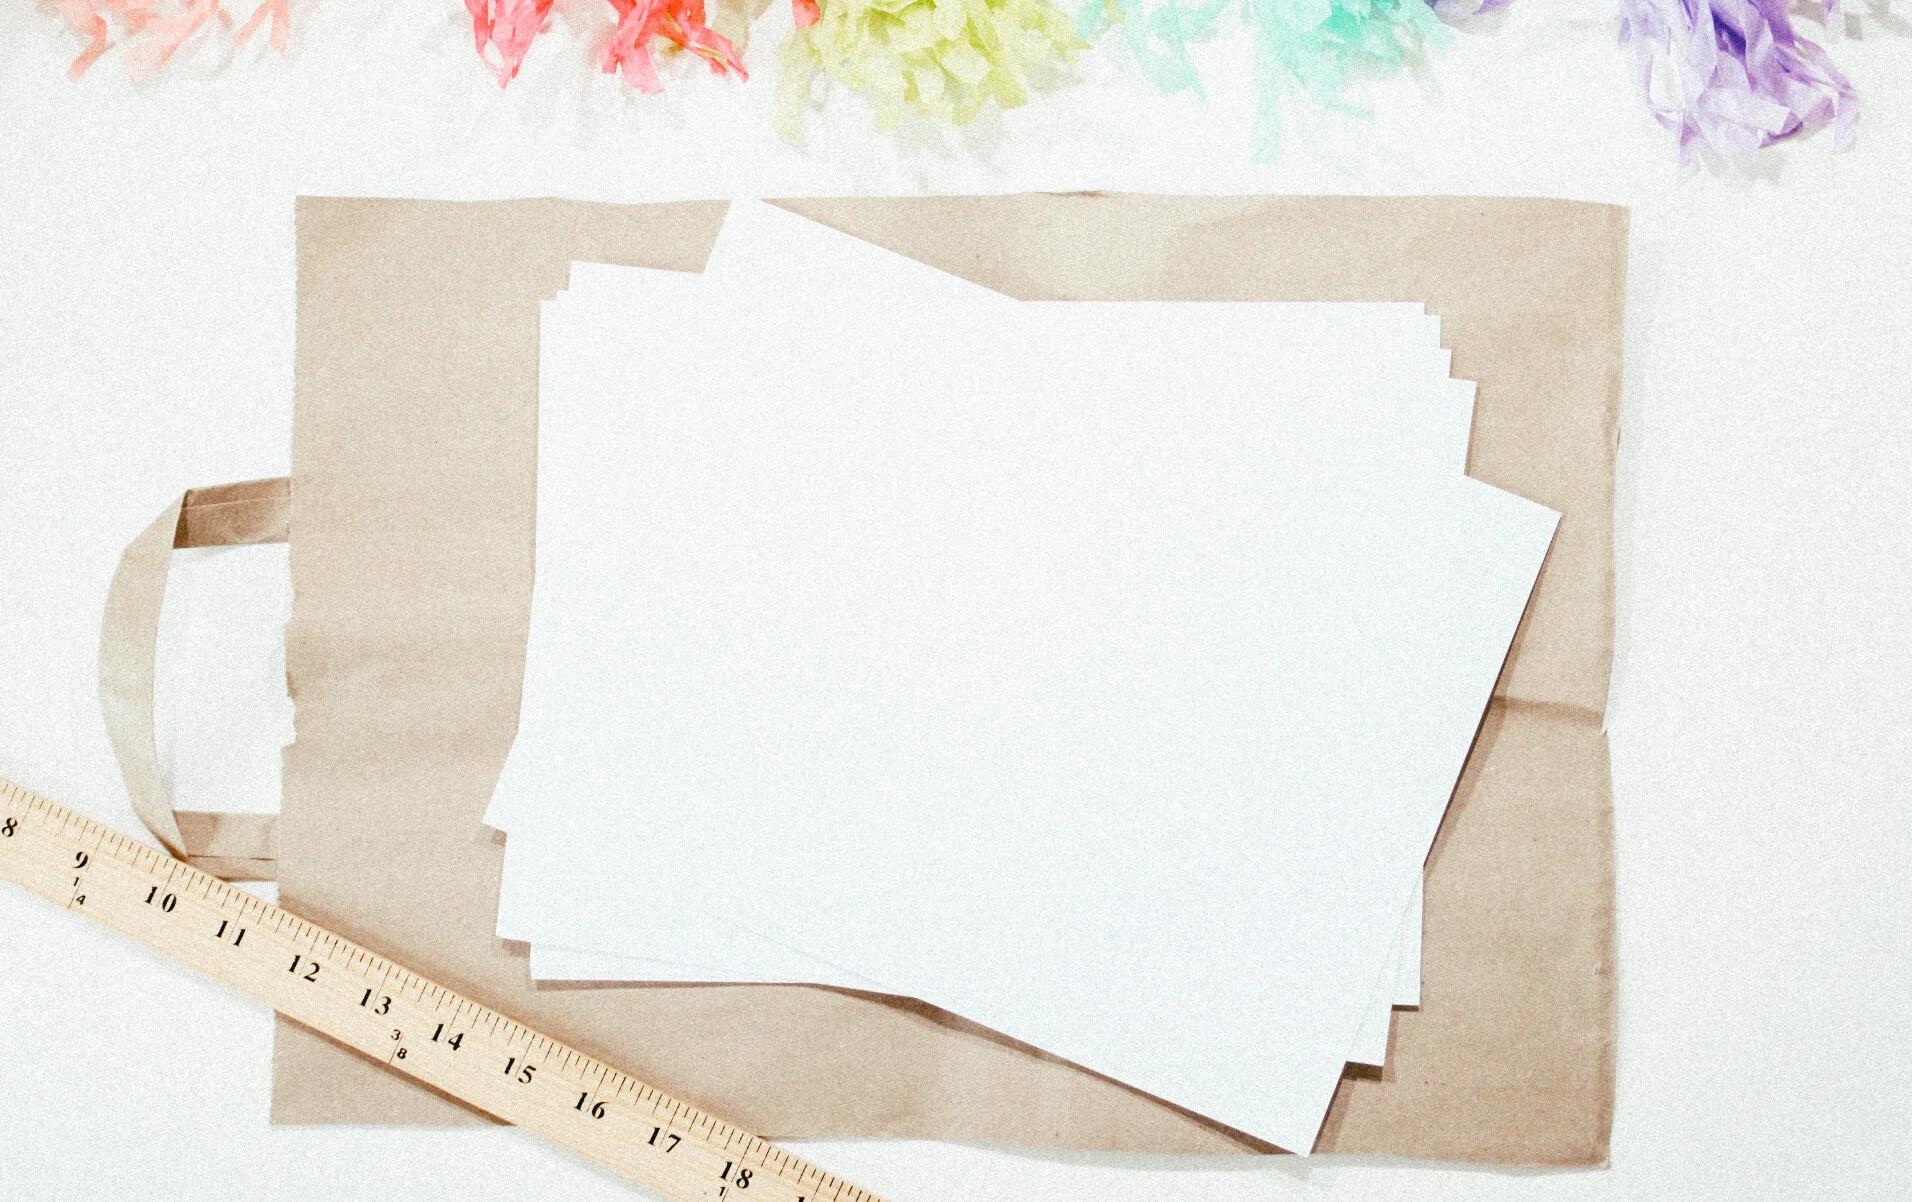
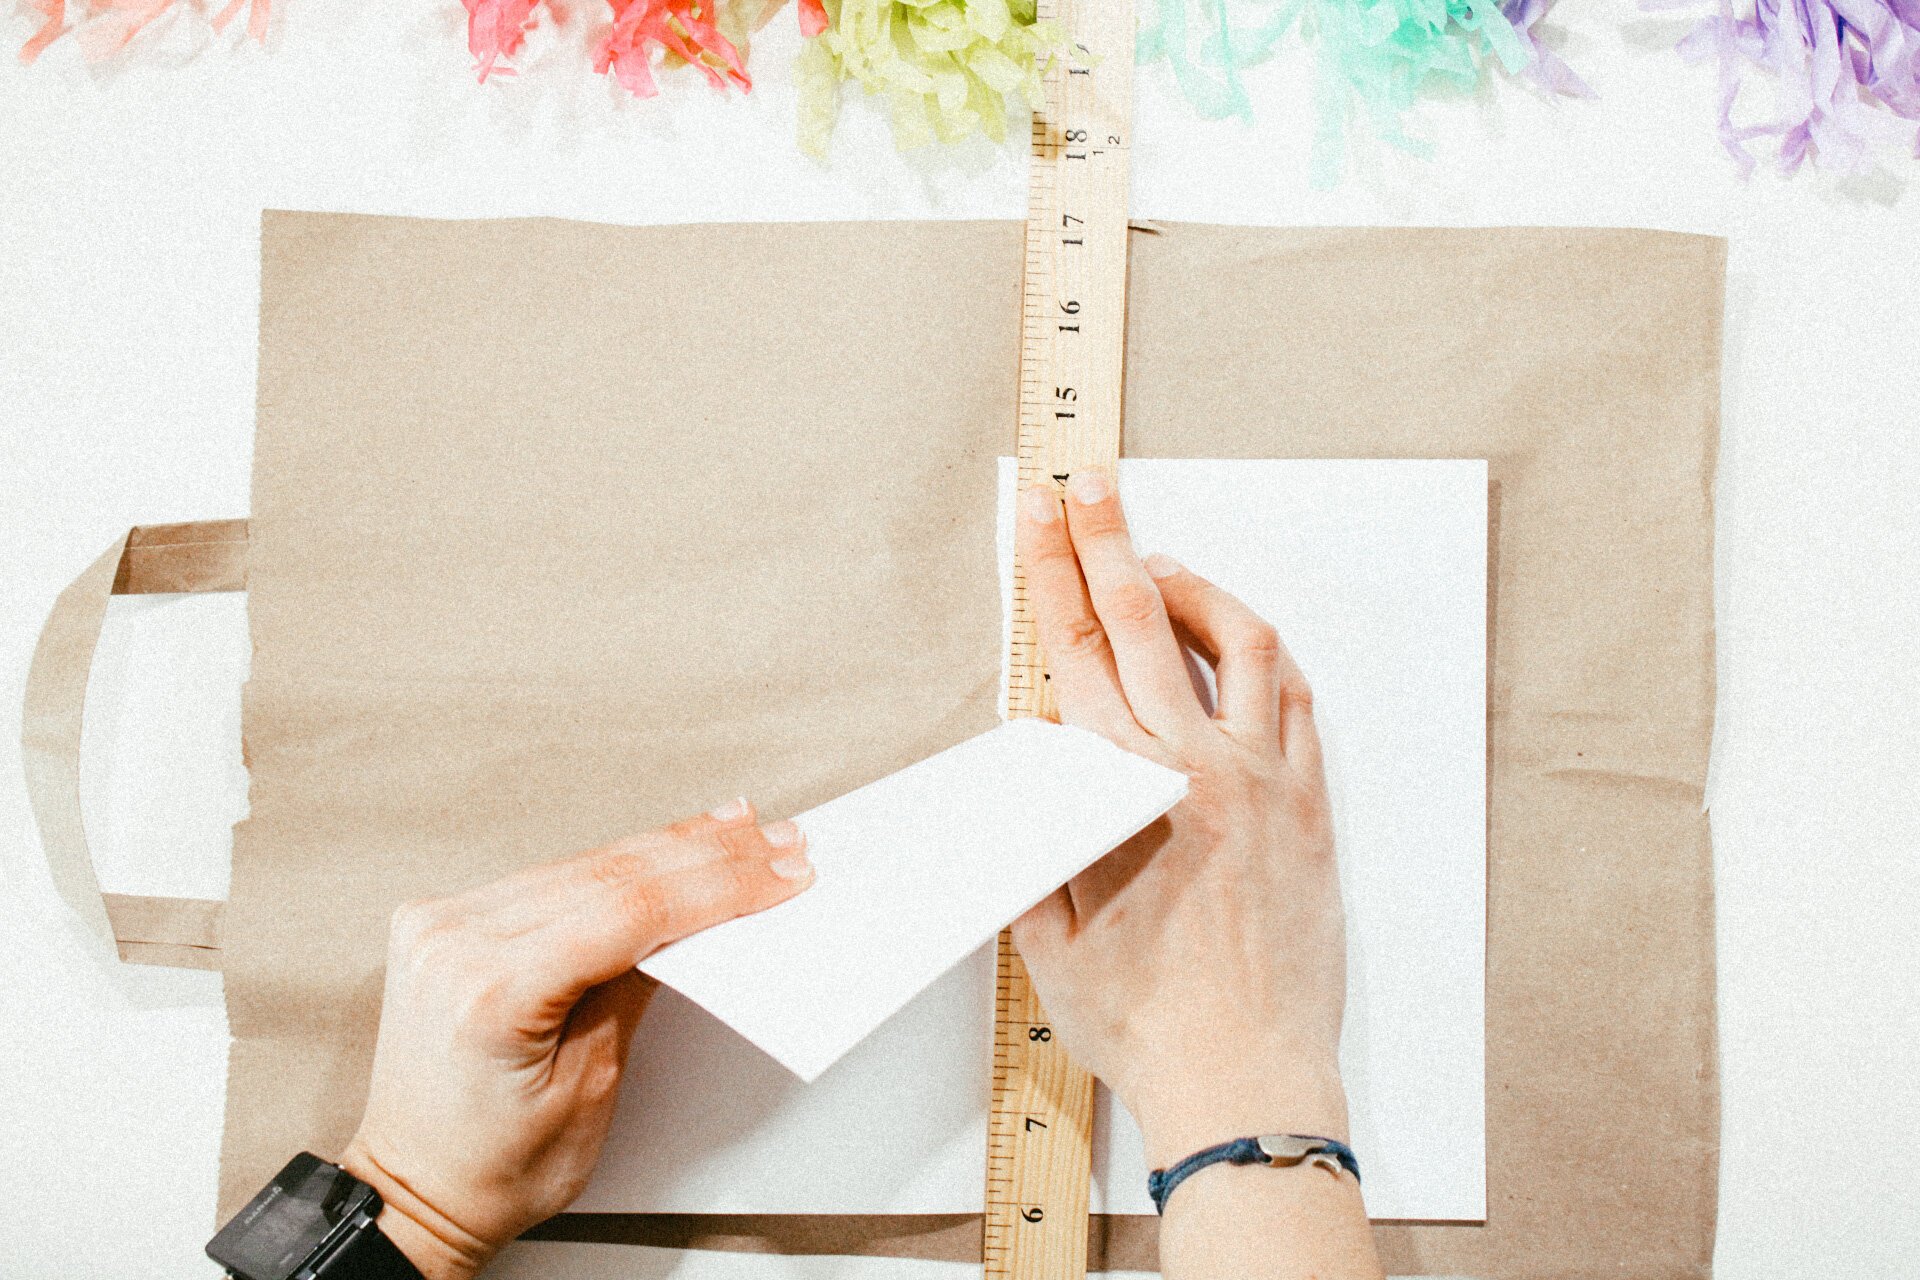

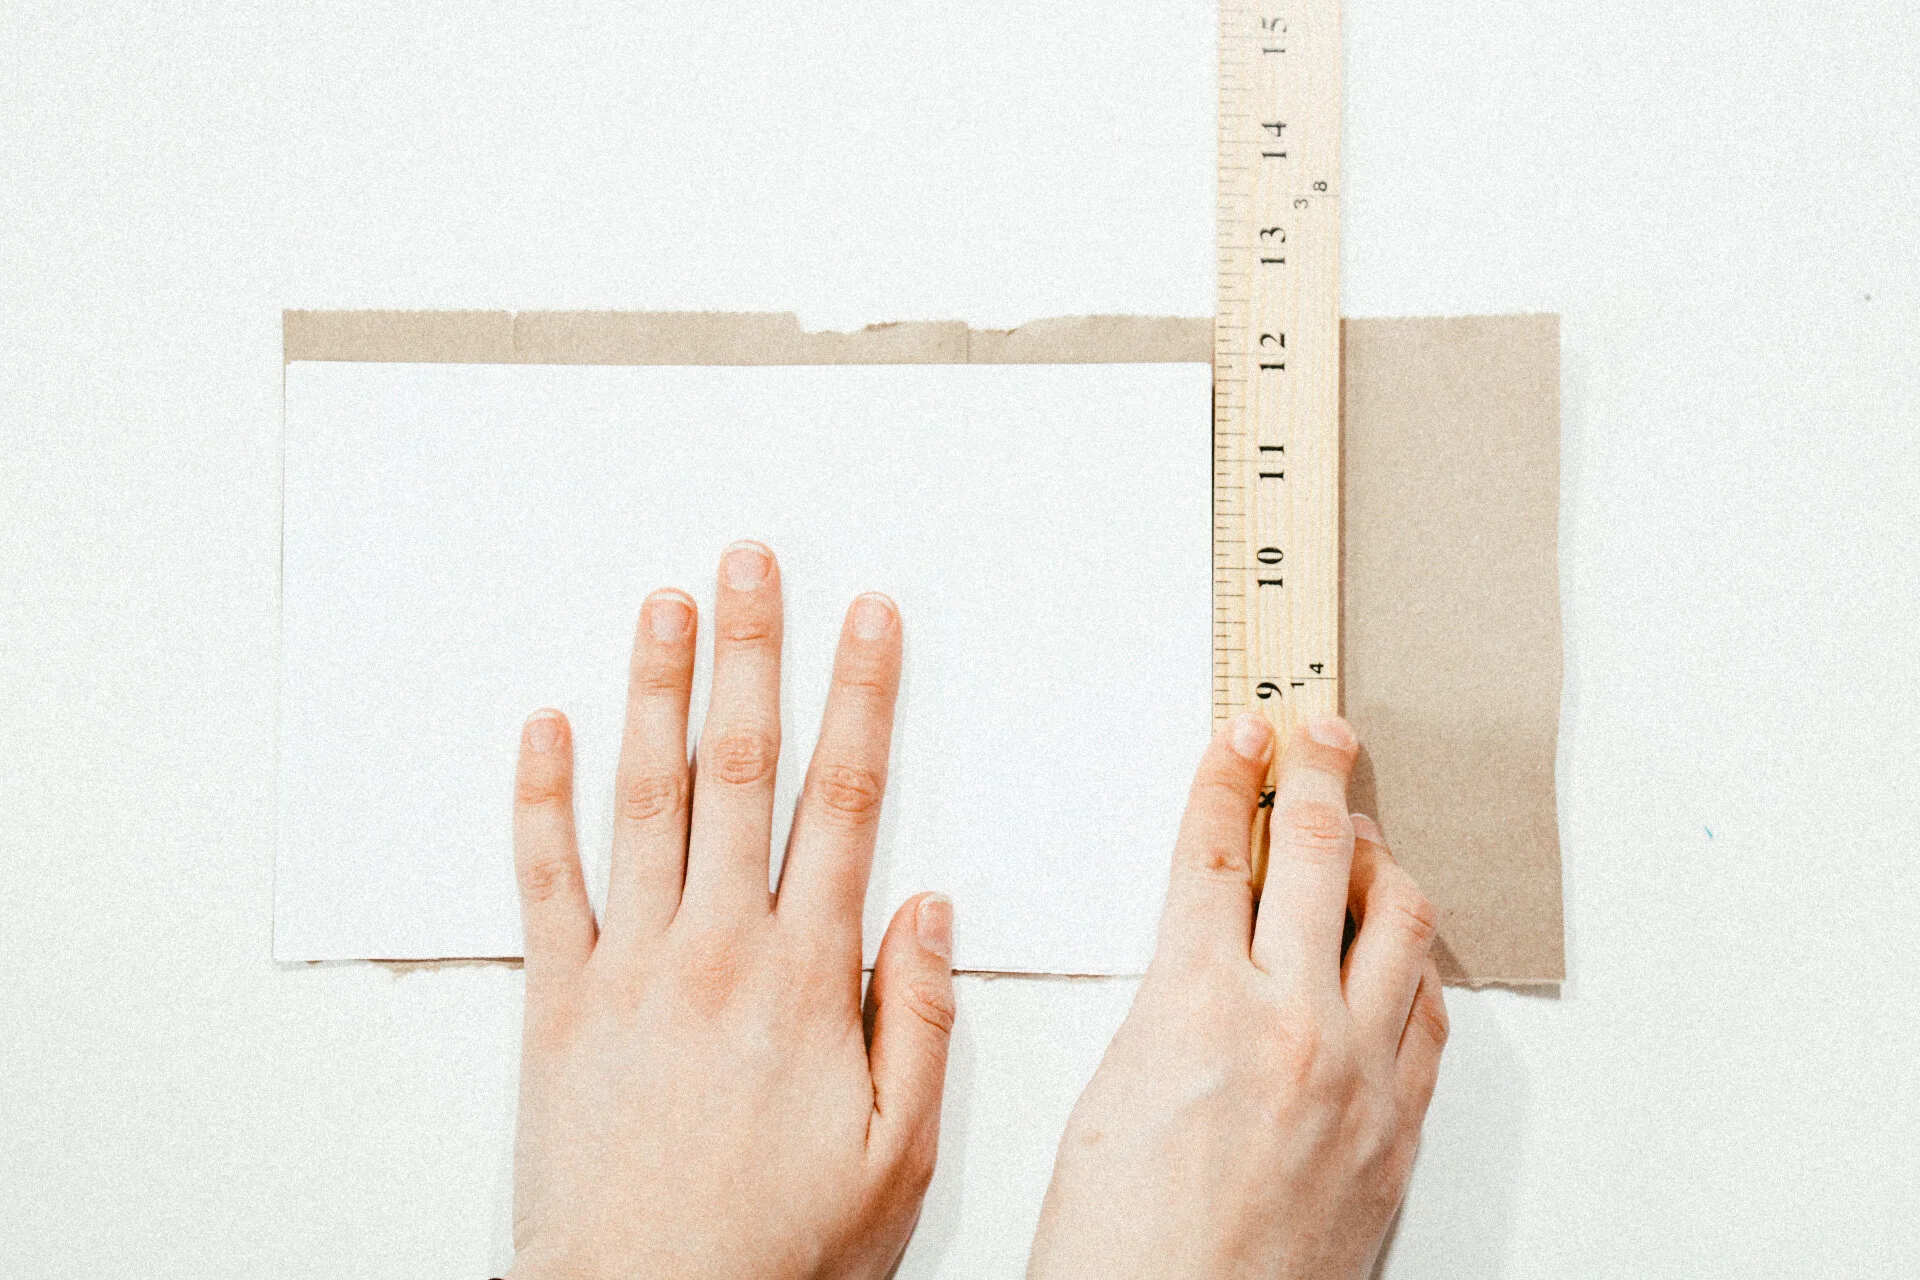
Unfold the white paper and line it up on the paper bag. Rip the bag into the same size of the paper and fold it in half. The white paper should be able to fit inside the paper bag.


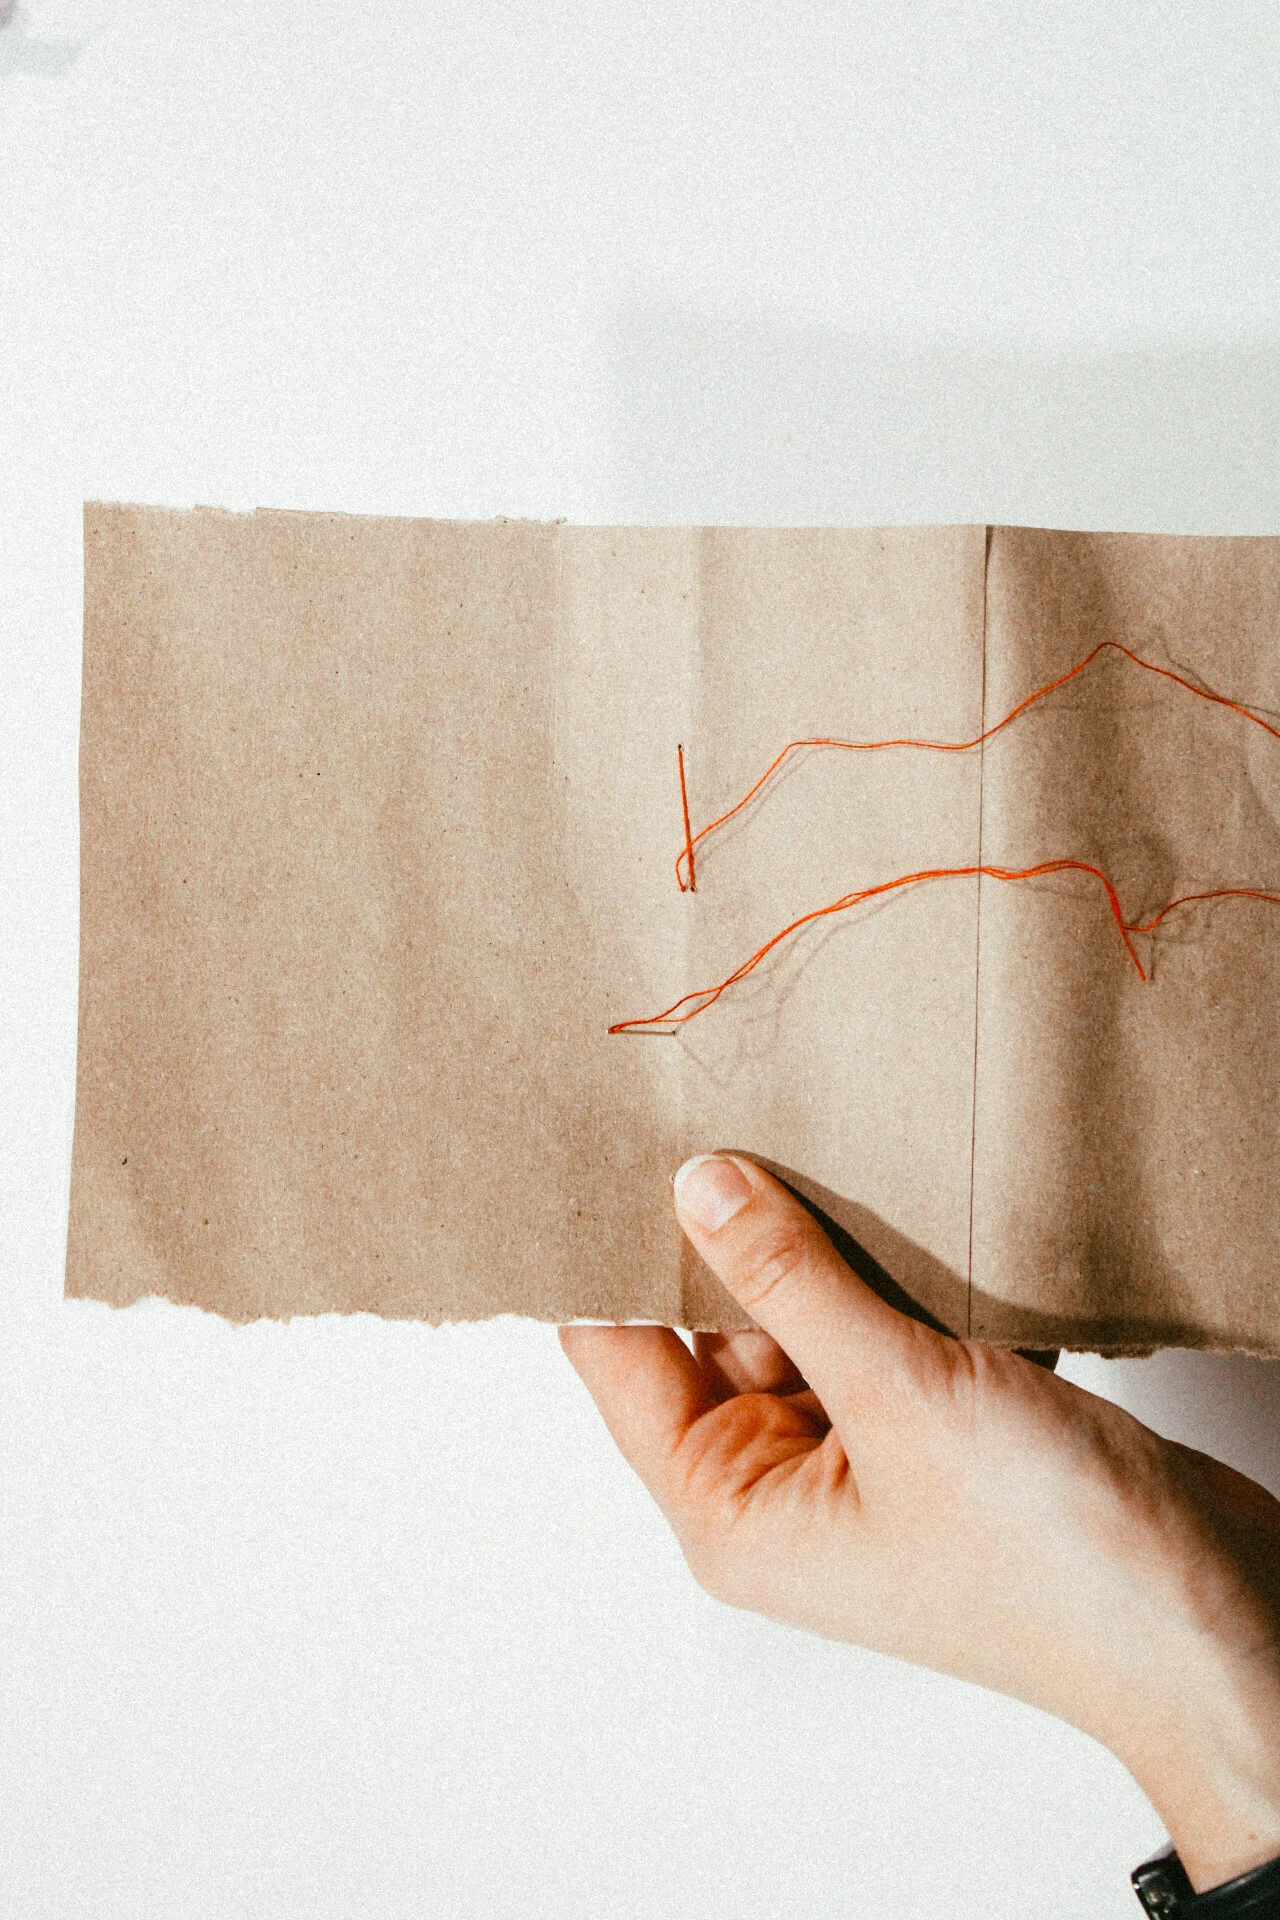
Find the middle of the notebook and, using the ruler measure 5-6 holes evenly across the middle crease of the paper. Using a push pin poke through the notebook making a small hole.

Thread a needle and start binding by entering the middle hole from the inside and pulling it through to the outside. When you pull the needle through, go on the outside to the right and sew into the hole above the middle hole to come back through the center. You then follow the pattern by going out of the hole above and then back into the hole below. Find your way back to the center and repeat on the bottom half. There is a visual below.
You start in the middle at the number 1. The black arrows are the outside stitches and the yellow arrows are the inside stitches.

Once it is all sewed, you can decorate it anyway you want with the cover design! You can use watercolors, markers or stickers to decorate and show your personality. Naturally I wanted mine to be a rainbow, but KC said not to do too many DIYs with rainbows on it, so I did a rainbow motif!


Once you are completed with decorating, your notebook is ready for all your thoughts, words of wisdom, drawings and lists.
If you make this, take a picture and post it on social media with the tag #caronahomebody