
DIY Felt Rainbow Plush
Today is the most fun holiday because it is completely full of my favorite thing, RAINBOWS! I feel like I have been preparing for my whole life leading up to this, (have I mentioned my rainbow necklaces on here yet? It is an obsession to say the least). Anyway, a few years back I sewed my first felt rainbow ornament for my Christmas tree and it was so very fun! I enjoied layering the colors atop one another and also learning a new sewing stitch to sew it like a stuffed animal. I figured with everyone staying home this week, this could be the perfect sewing craft and you can also make a kid version one where instead of sewing you just use some glue! Let’s get it started!
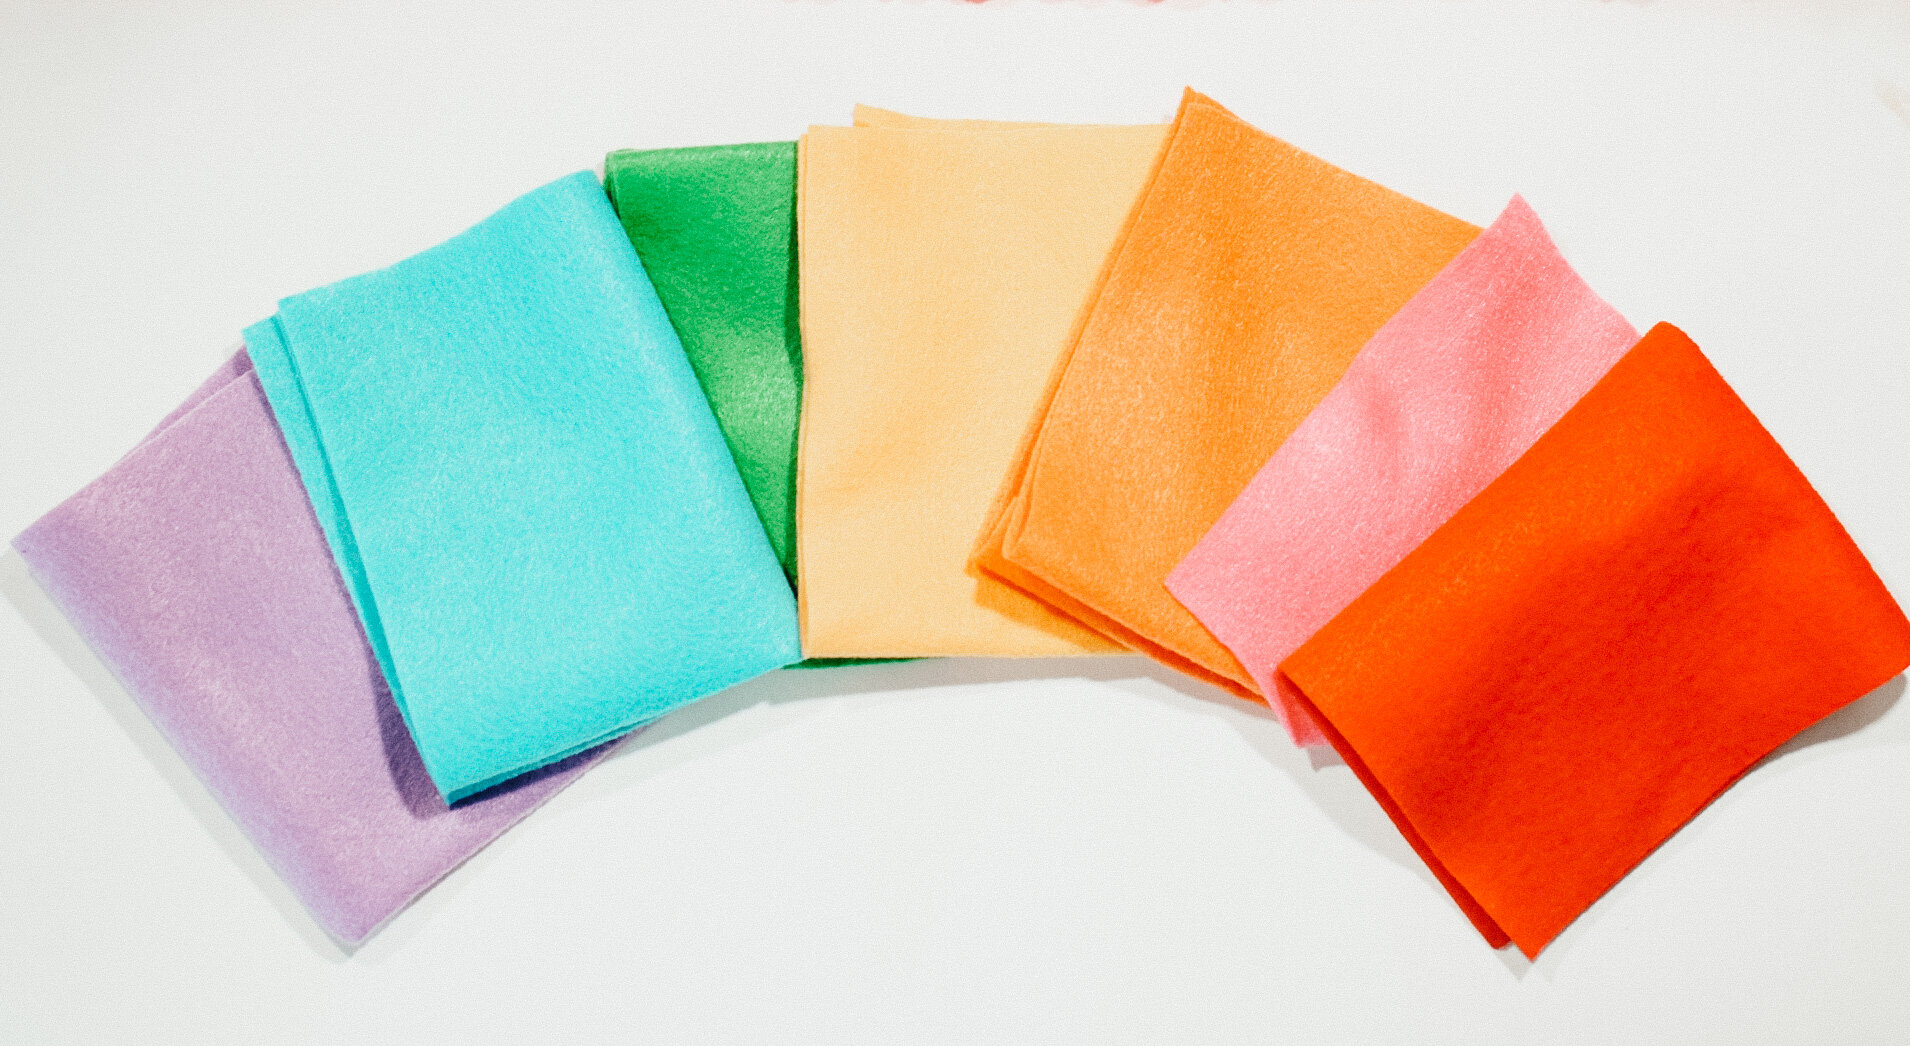
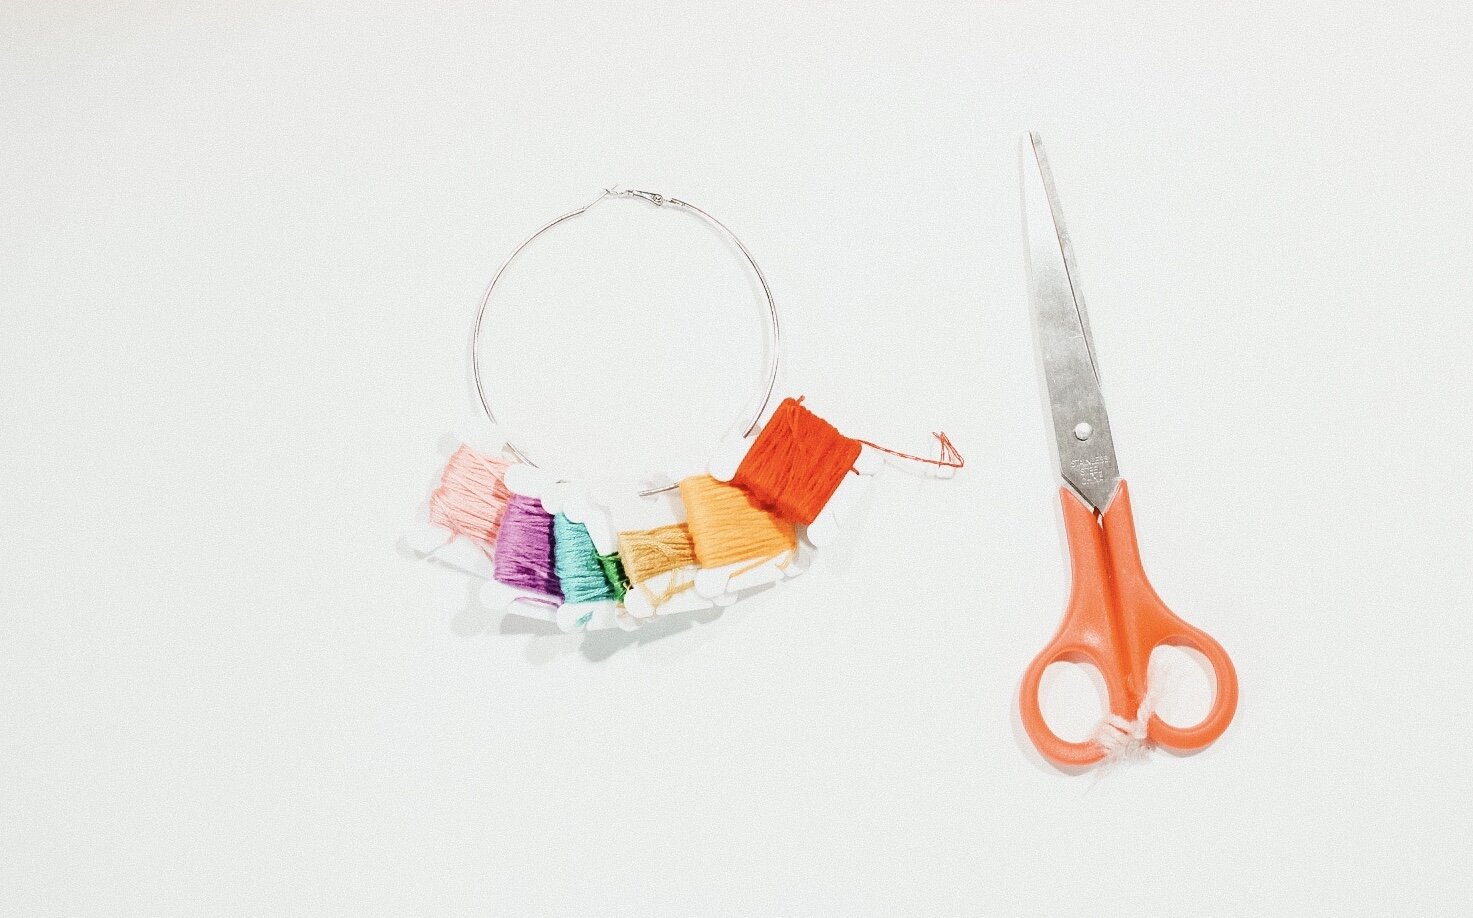
Supplies:
Felt (in rainbow colors)
Scissors
Embroidery Floss
Poly- Fill


Step One: Following the template above, trace out your felt in the corresponding colors. I like to trace the arch out onto the felt and just cut out a whole rainbow shape, making it look like a little mound. You will cut two red ones. One for the front and back.

Step Two: Once all of the shapes are cut out, layer them atop each other and pin into place.

Step Three: Using a corresponding color of embroidery floss, sew the mounds on top of one another and into place. You have now created an almost rainbow!

Step Four: You will begin attaching the other piece of red felt before cutting out the center. That way you have the center cut out of all pieces before sewing the middle together. Line up the other red felt to the fully sewn rainbow. Starting at the bottom right corner start sewing a BLANKET STITCH all the way around and stopping when you get to the bottom left corner. Keep the string in place, you will pick back up after the next step!
Step Five: Once everything is sewn together, take your scissors and cut out a middle arch. You can use your template to give you an exact of where it should go. It will be a bit tough to get through and create the arch so I suggest cutting a bit from each side and meeting in the middle.

Step Six: Once you have the middle cut out, it is best to pre-stuff this rainbow before sewing the rest around. Stuff some poly-fill into the rainbow and continue with the blanket stitch around, through the center and ending where you originally started. You might have to add some more stuffing before closing it completely and that is okay!
Step Seven: If you want to hang this on the wall add some string to the top by creating two knots to the top of the rainbow. If not, live your life and just make it be a cutie plushie!

Complete! Now you have the perfect little plushie rainbow. You can make them at all different sizes as well, just make smaller arches on the felt. If you are planning to do this with kiddos, I recommend cutting out the complete rainbow arches with the middle cut out before they glue them together. Cutting through glued felt is nearly impossible. Enjoy this DIY and your time home, hopefully at the end of your plush rainbow is a pot of different crafts to do. I’ll do my best to continue to deliver XOXO