DIY Crochet Rainbow Pillow
Crochet Rainbow Pillow
Have you ever had a pillow in your house that you loved but it just did not look right anymore? Maybe it got all flattened at or the color started fading. You know you have to get rid of it but you love it so much you struggle to get rid of it because you love it so. Or maybe you have no pillows on your couch or you bed and you need more? Well say no more, this DIY is here to fix all of your problems. The crocheted rainbow pillow is perfect for any old pillow or to be the newest pillow in your home.
* Disclaimer: You must have some basic knowledge of crochet to create this pillow *
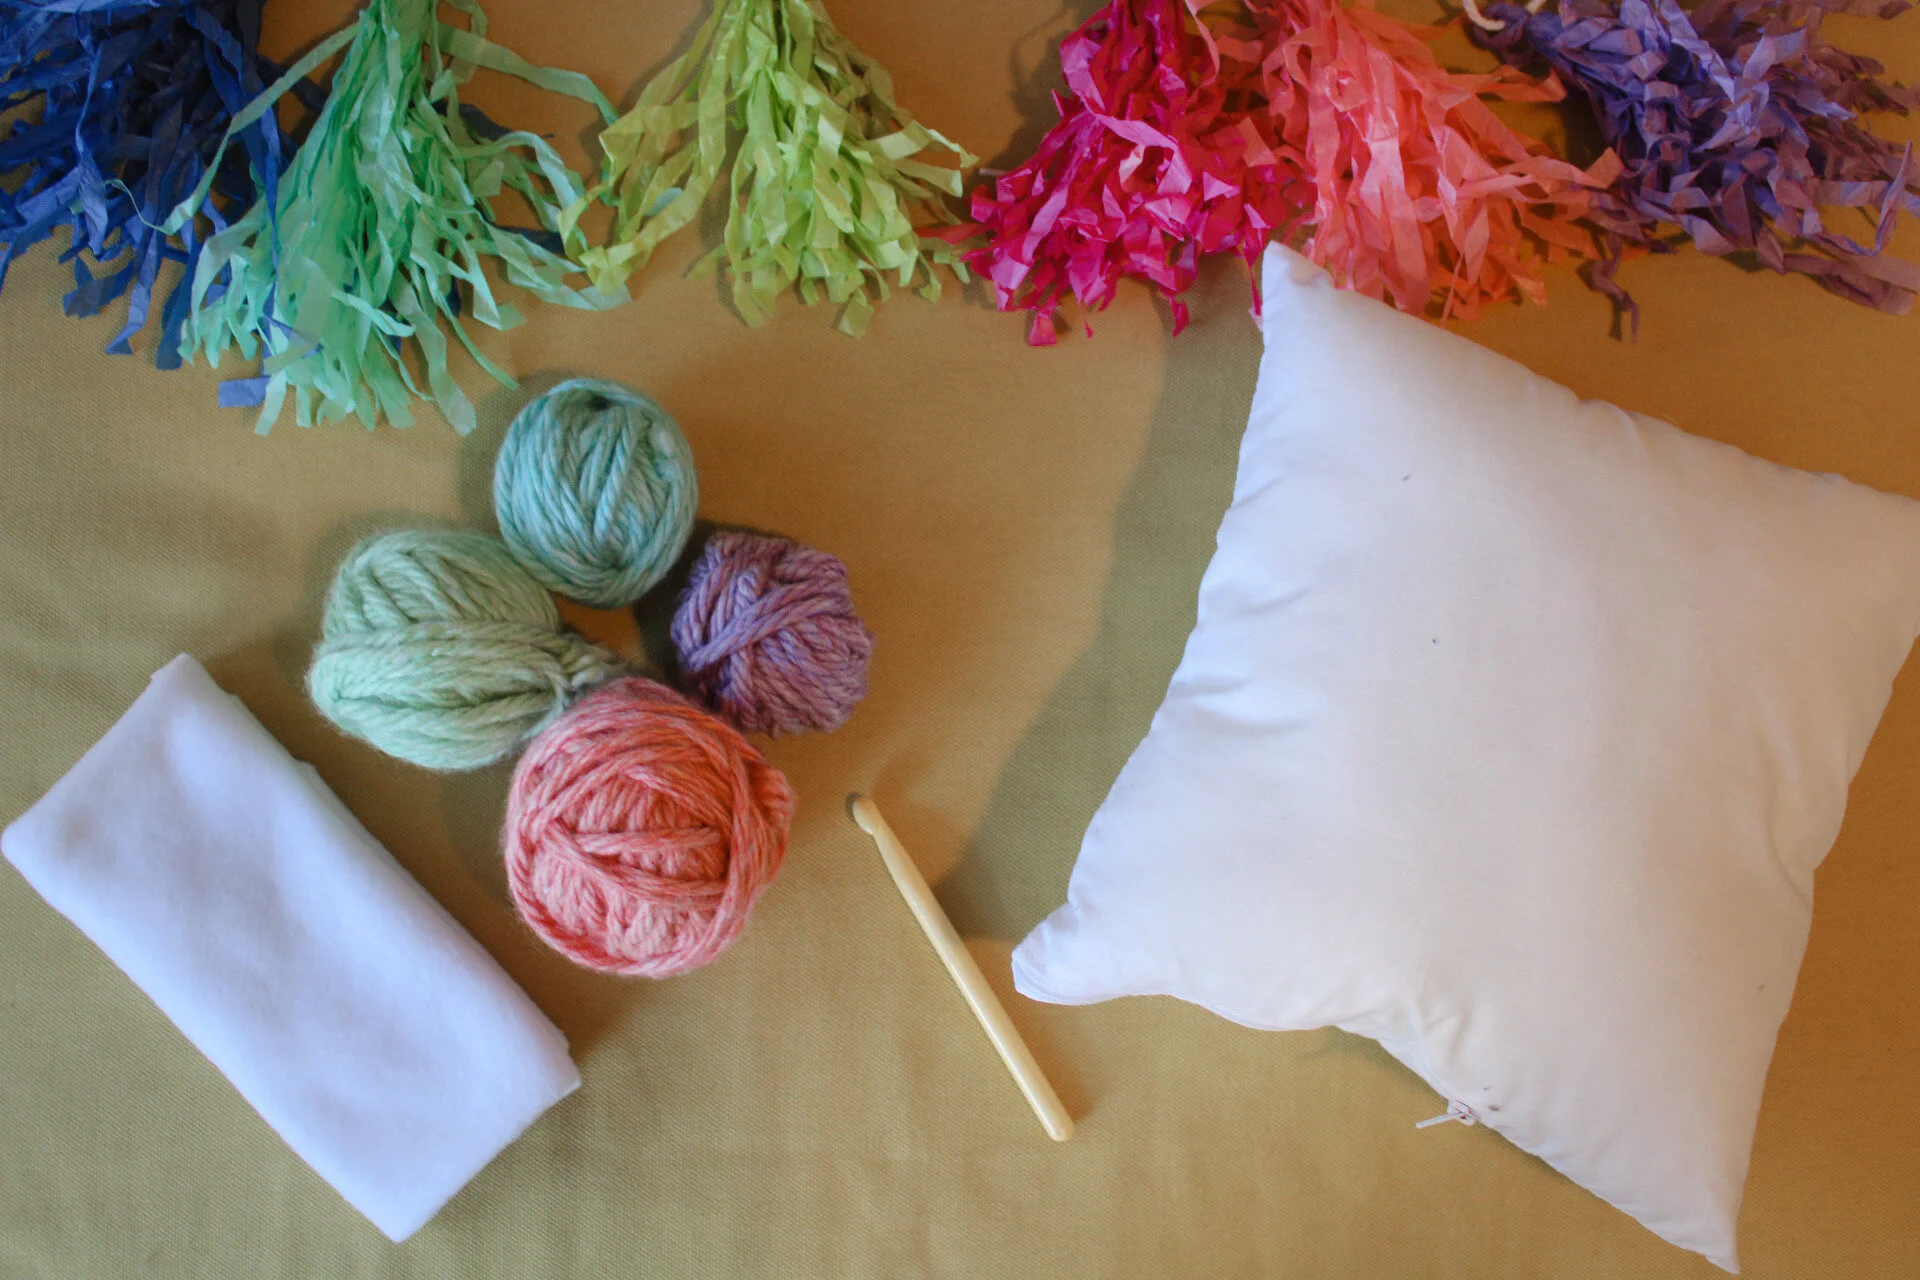
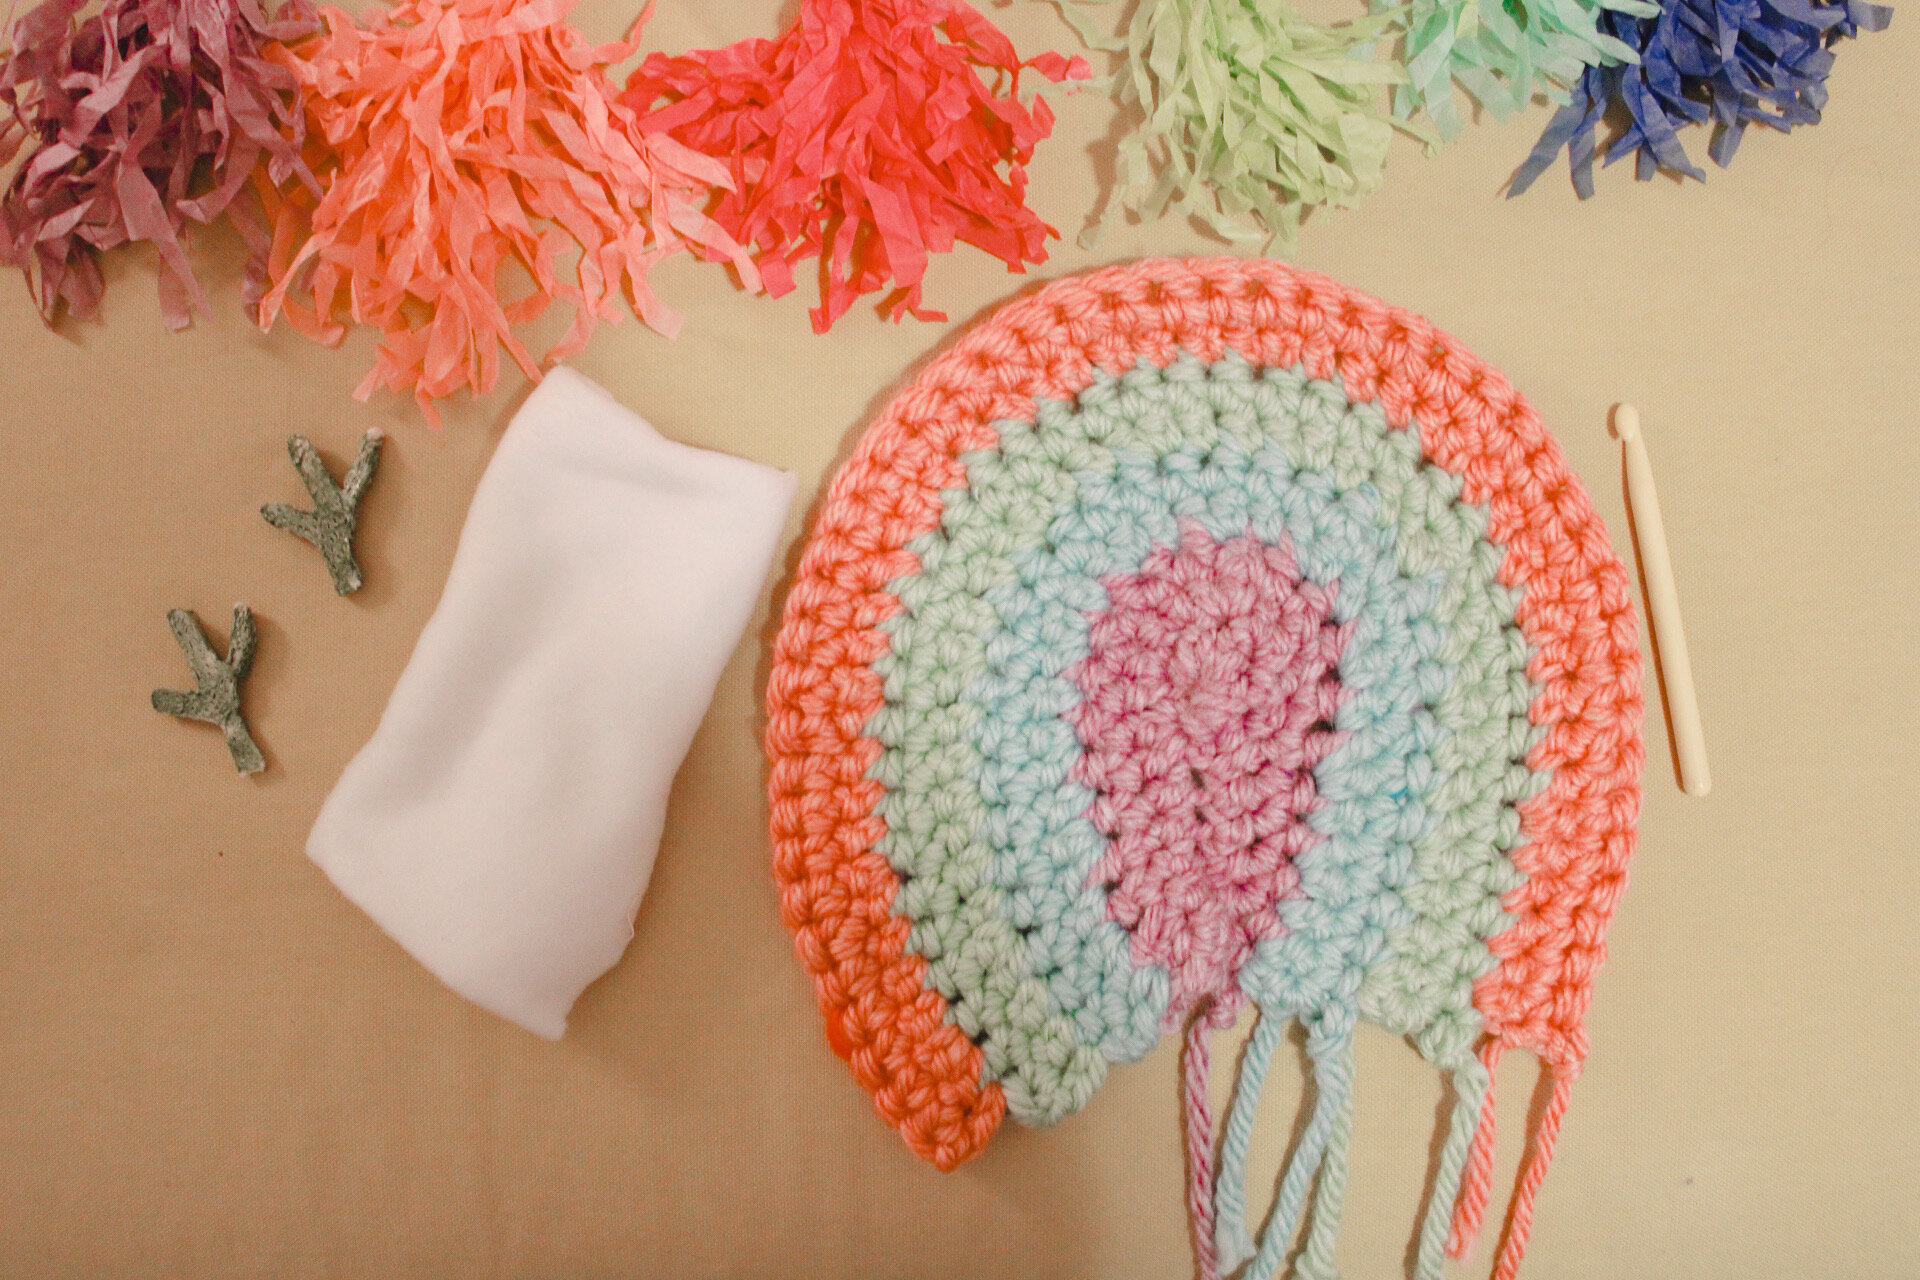
Supplies:
Red Heart Grade Yarn (Apricot, Spearmint, Wintergreen, Wisteria)
Fleece Fabric
Embroidery Floss
Sewing Needle
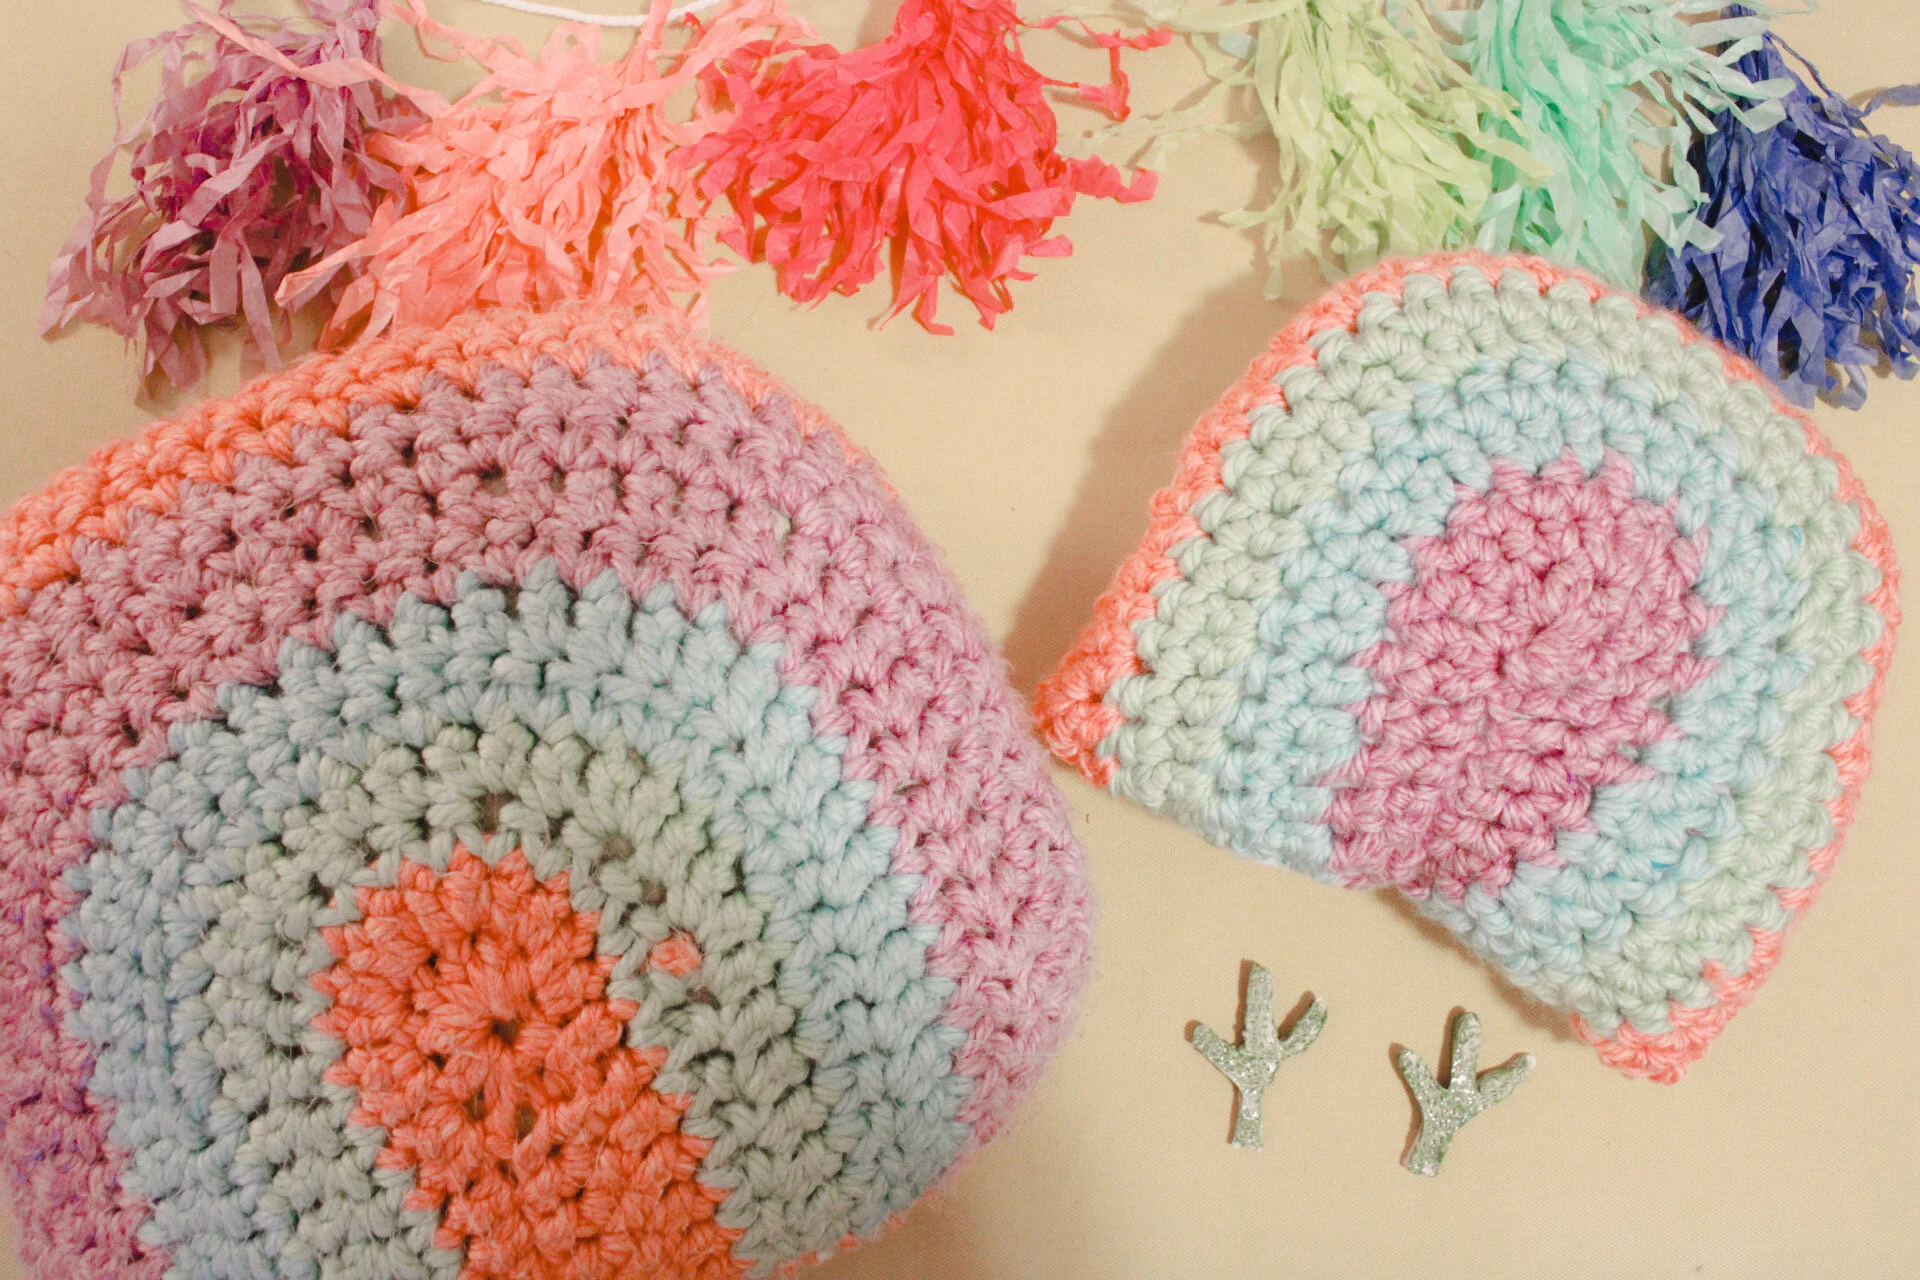
Step One: Follow this crochet pattern to create the rainbow. This pattern is for a 12x12 pillow form.
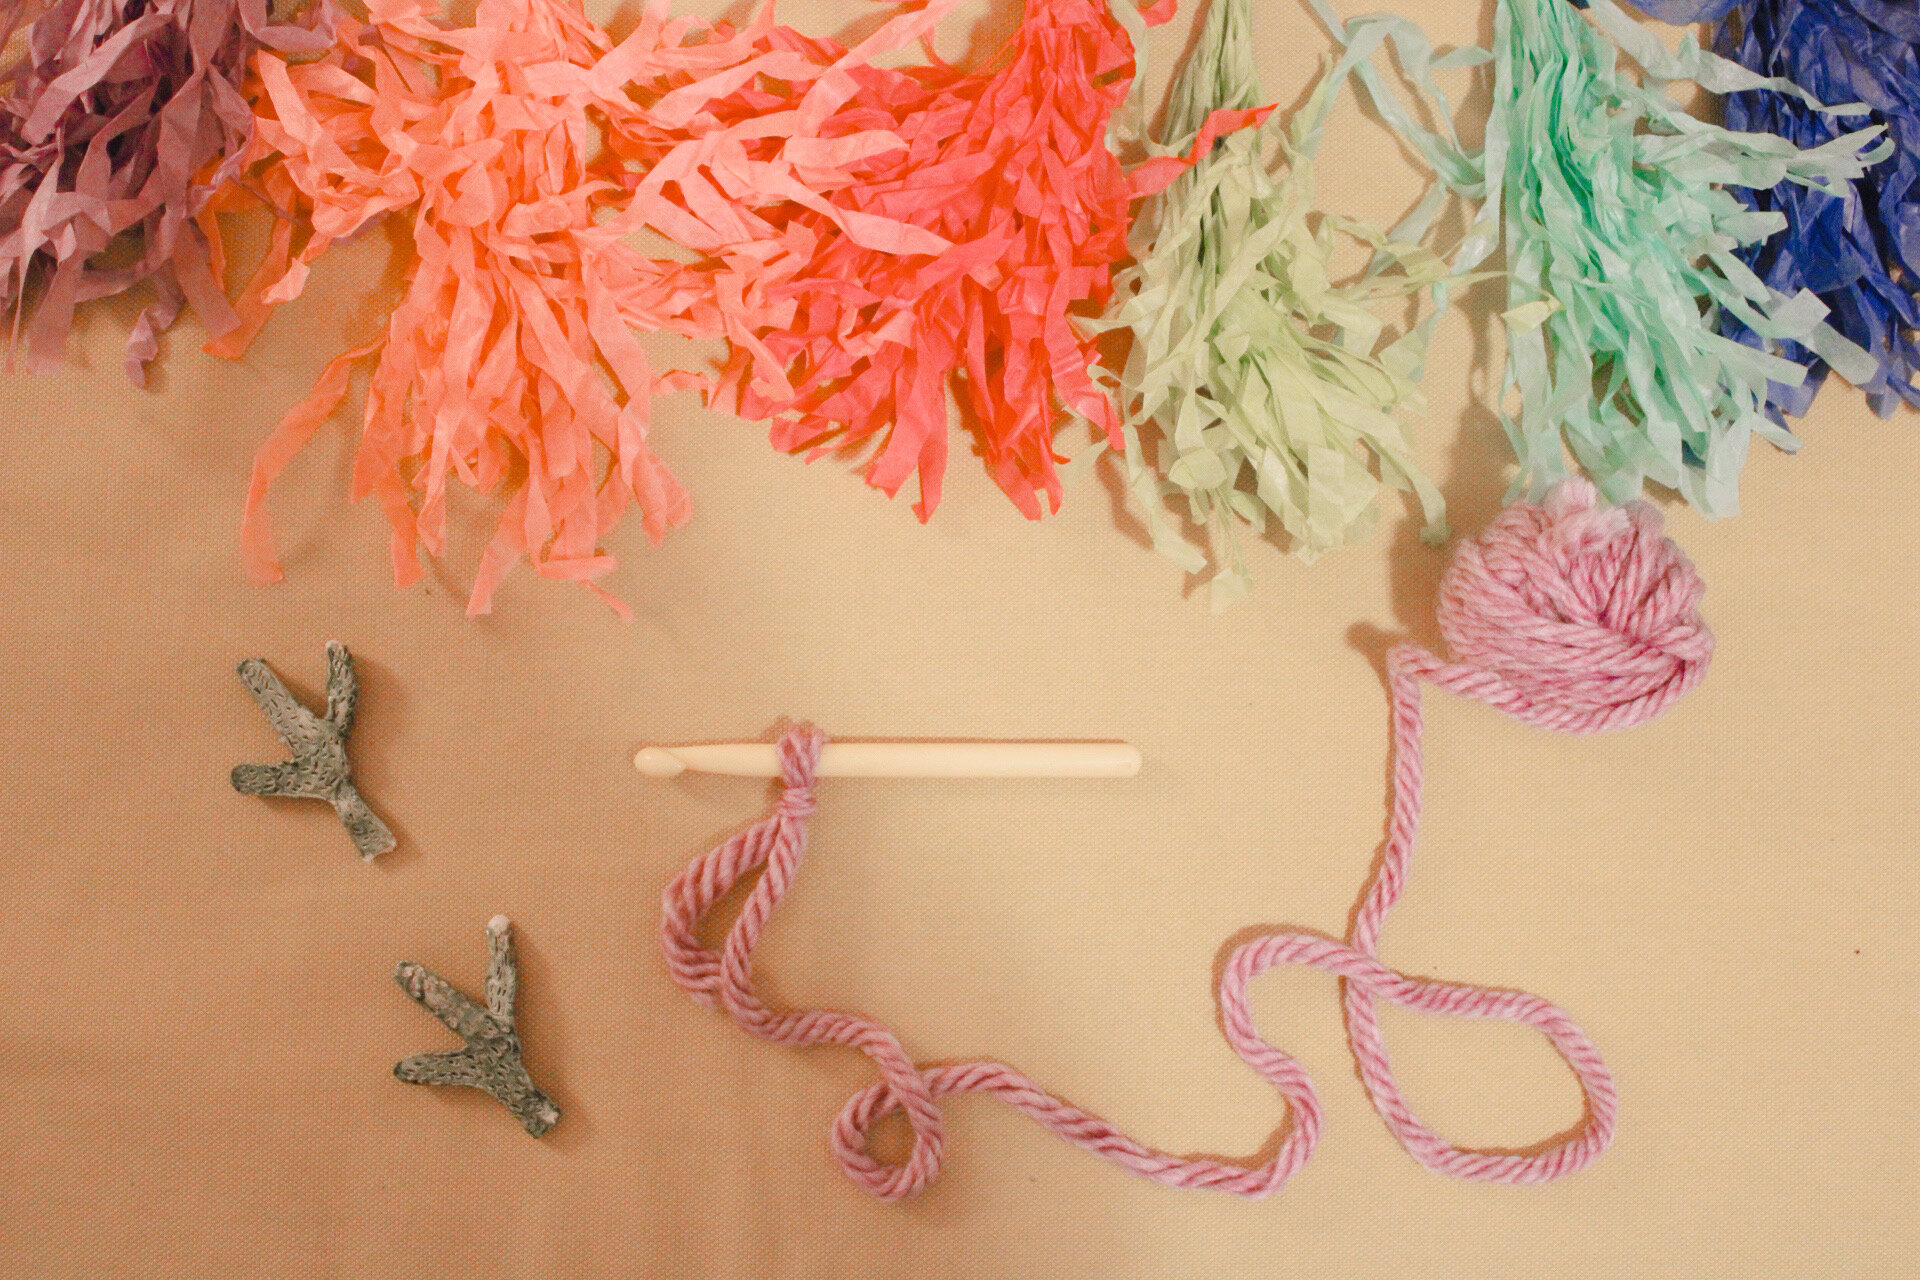
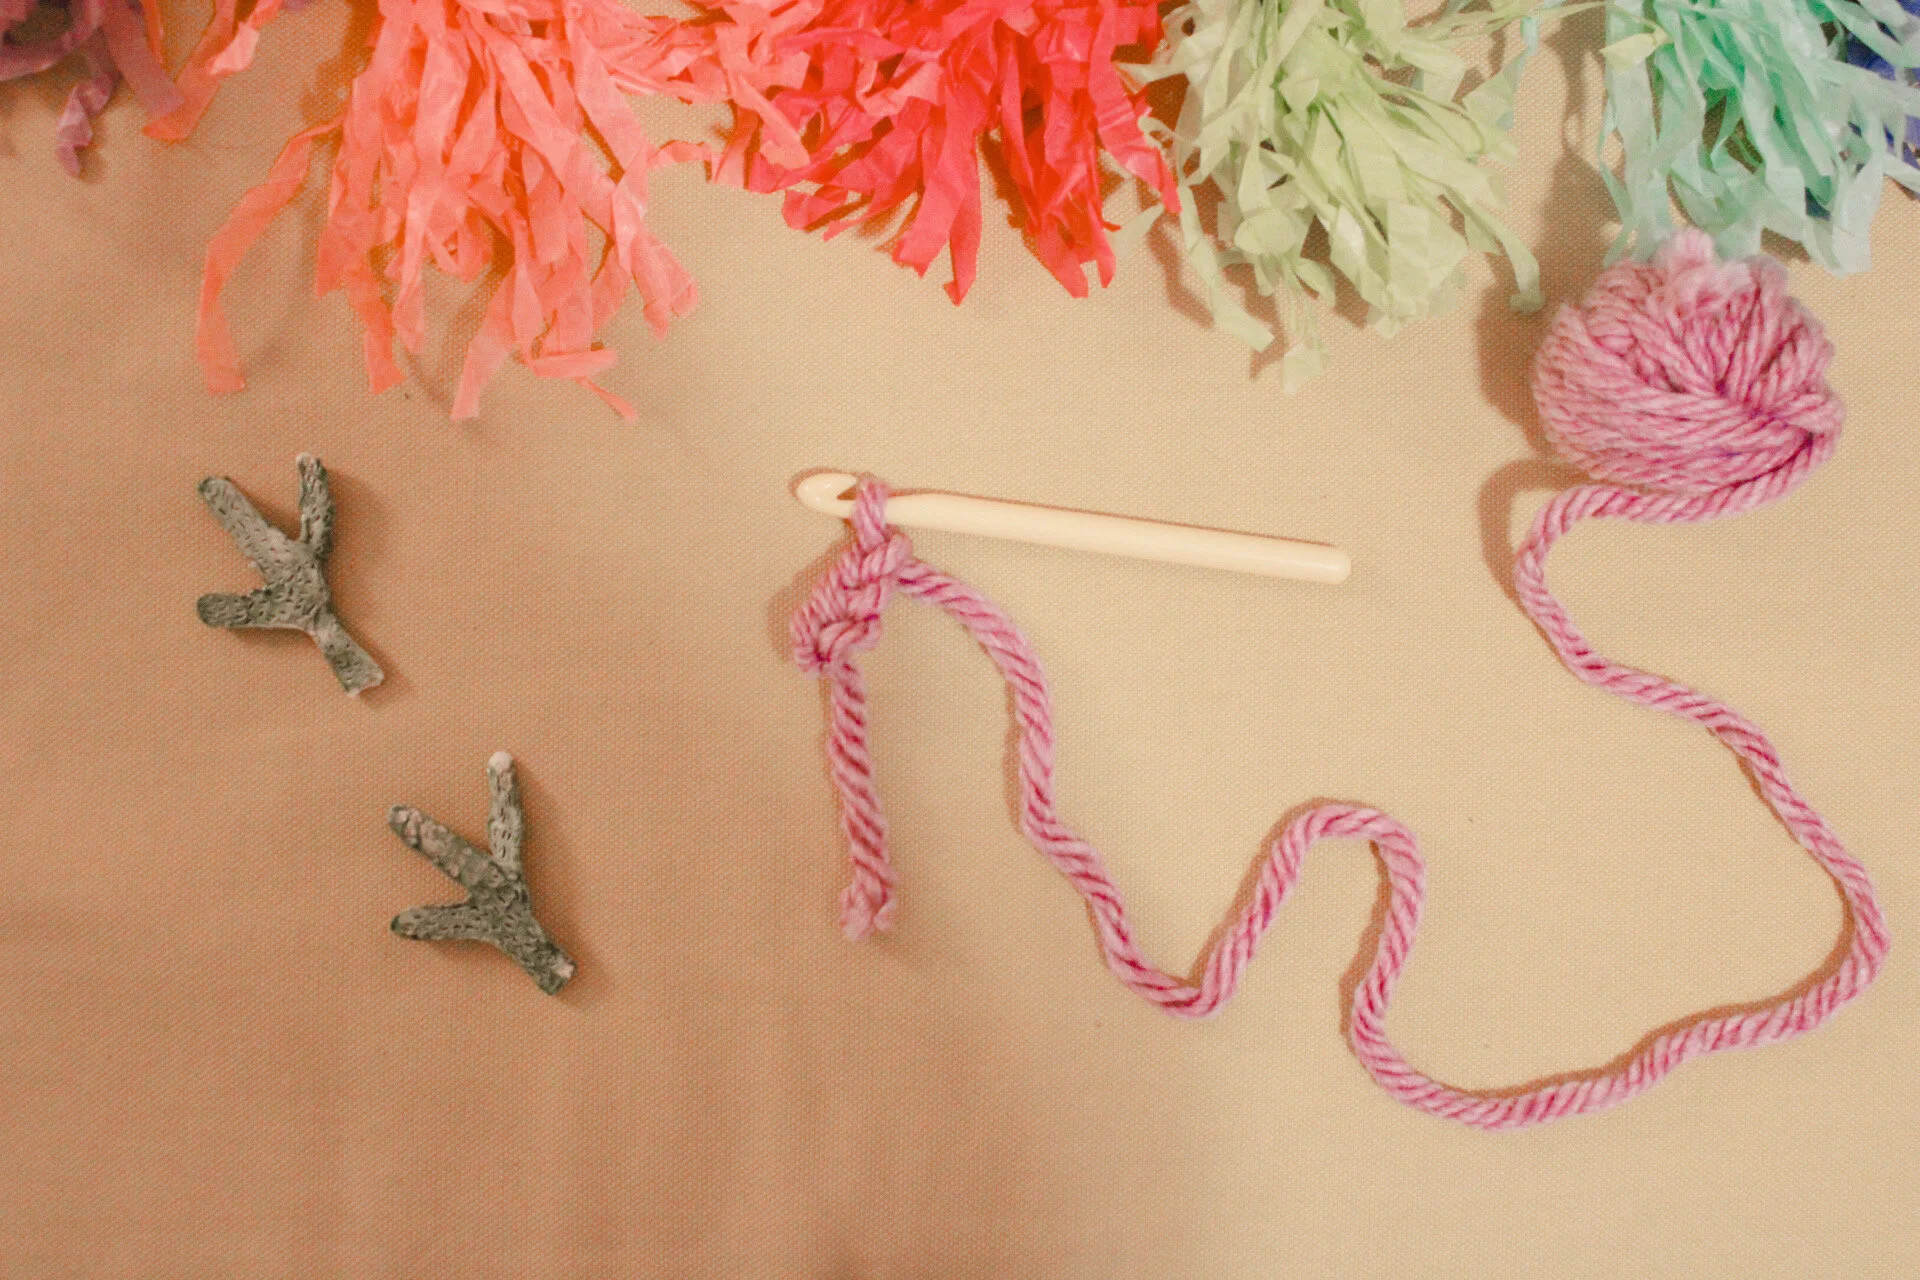
Row One: Start with the purple yarn by creating a ring. Chain 3 and slip stitch into the first stitch creating a circle.
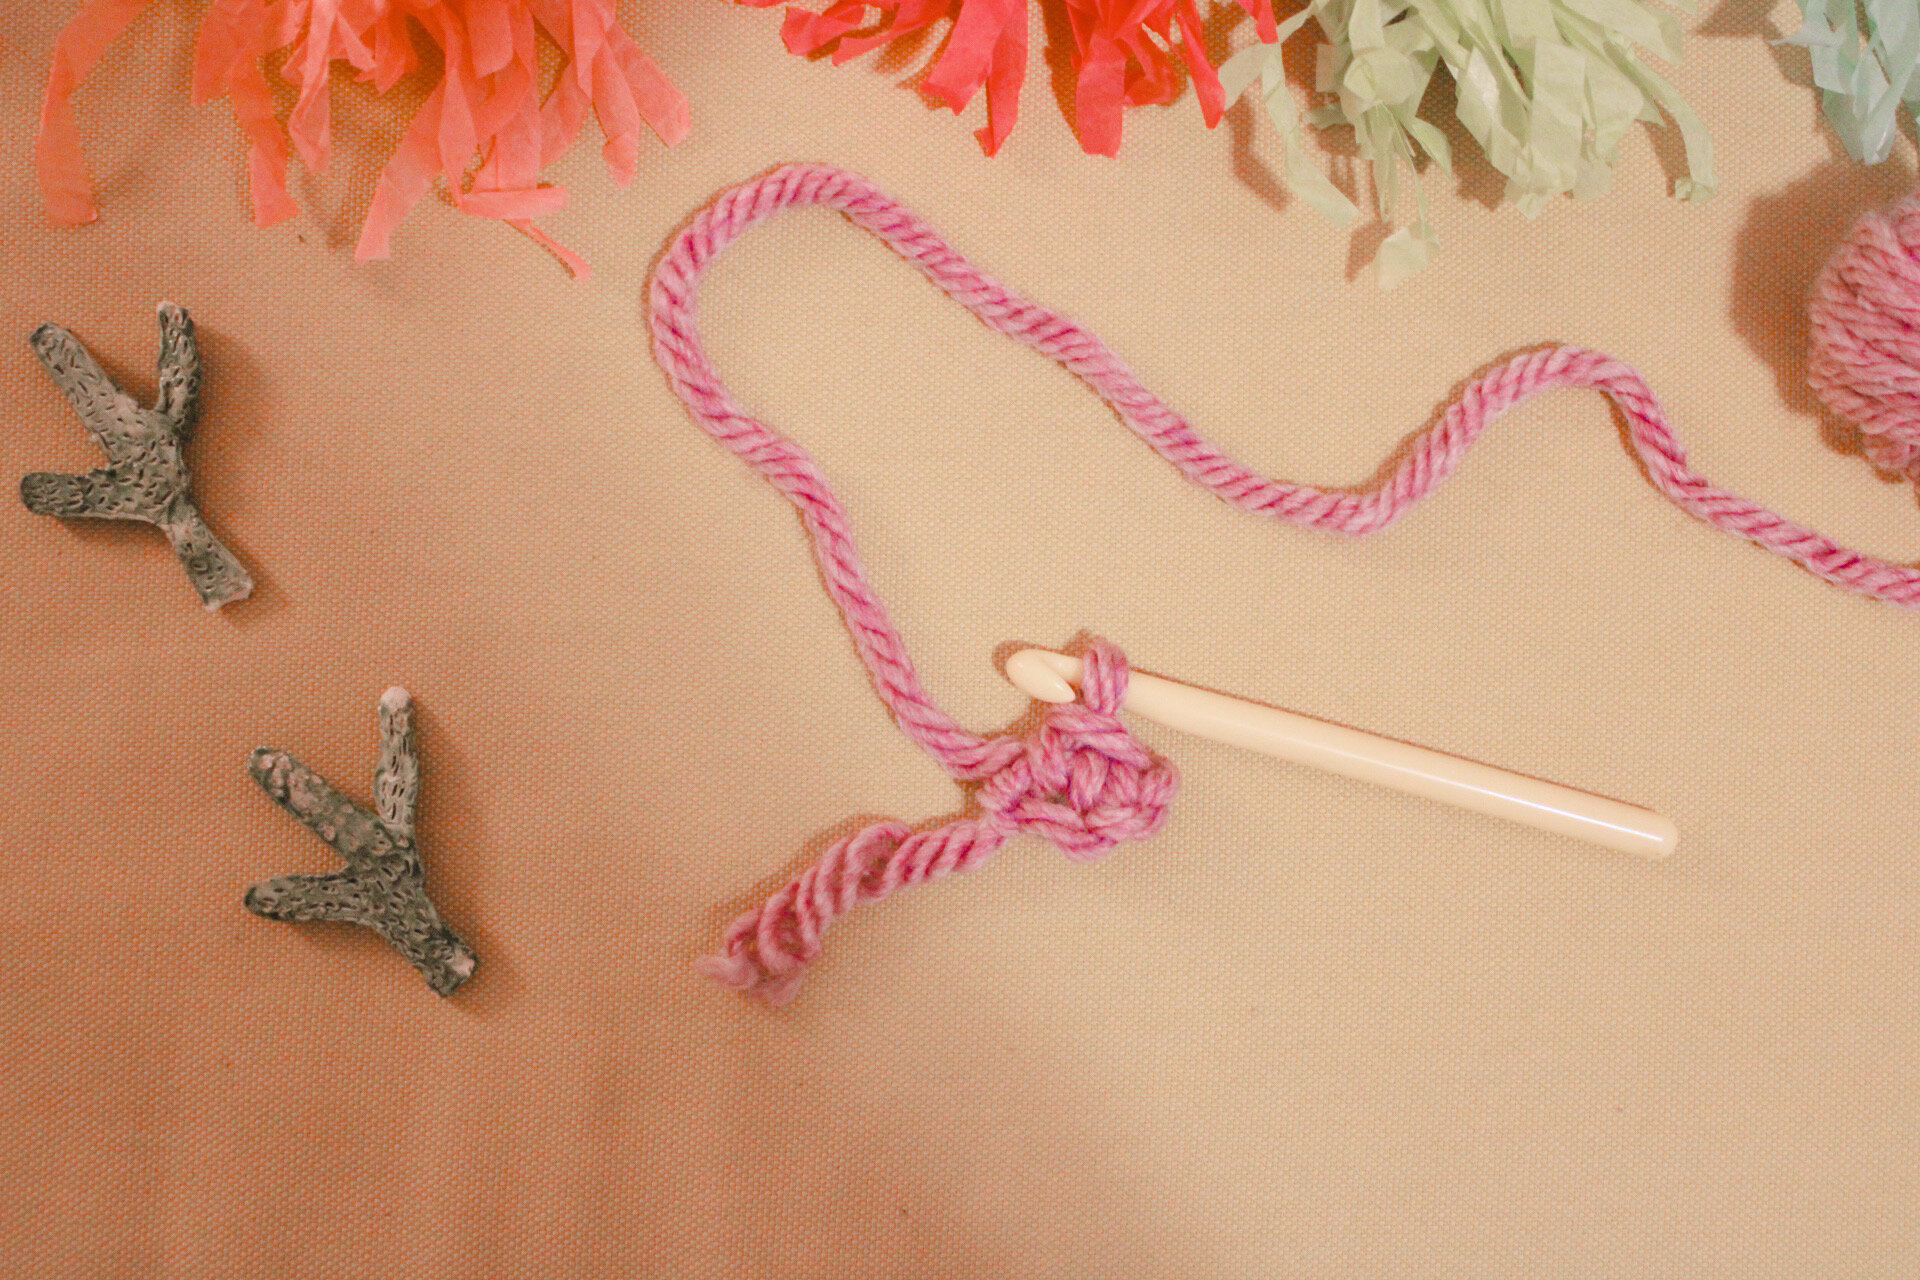
Row Two: Now chain 1 and make 6 single crochets inside the ring. Join. Chain 6 creating a “body.” Chain 1 to turn.
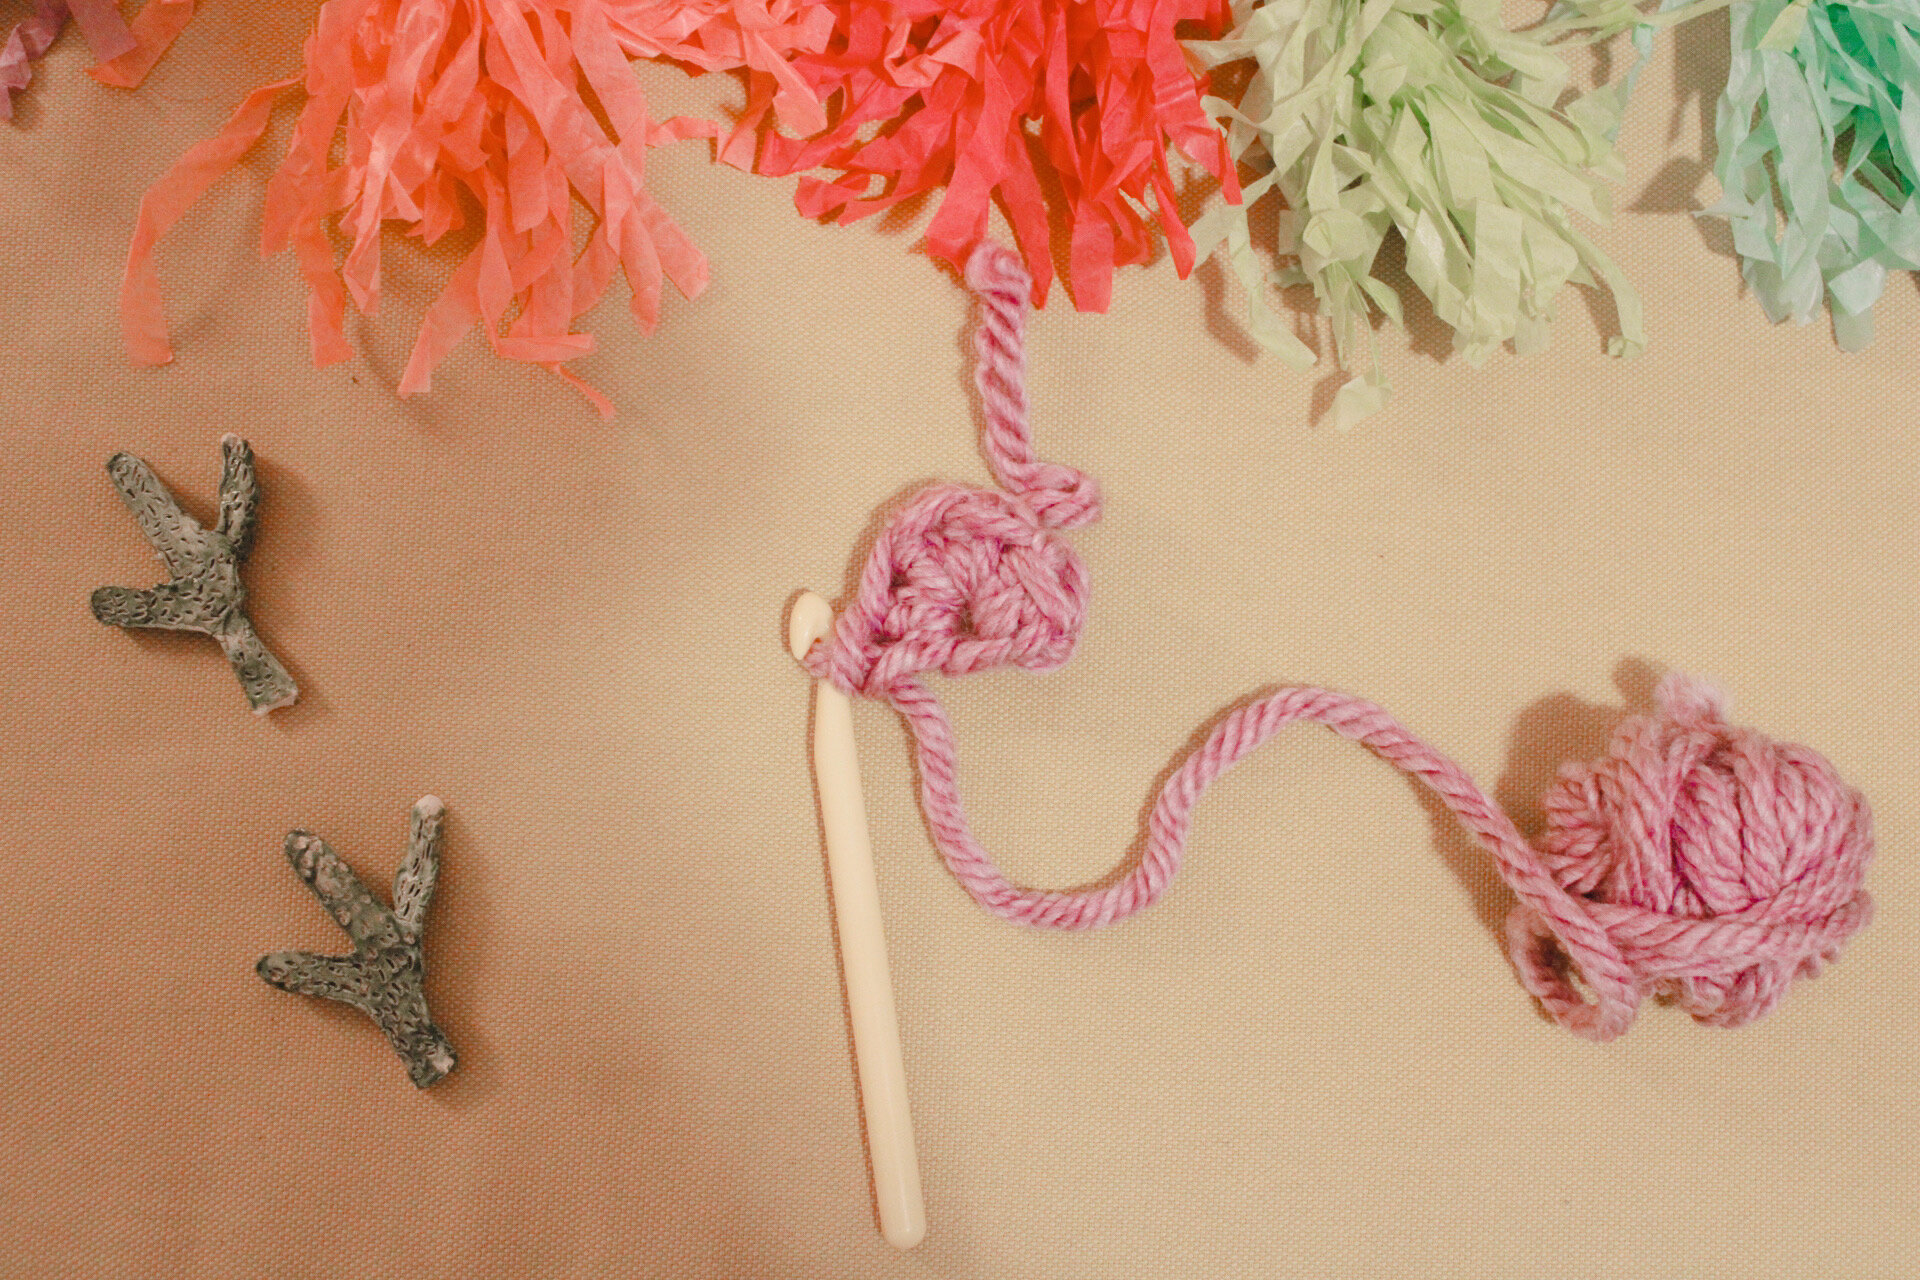

Row Three: Next single crochet in each of the chain spaces (6) Continue by doing two single crochets in each stitch around the circle (12). Continue down the back side of the body and single crochet into each chain space (6). Chain 1 to tun.
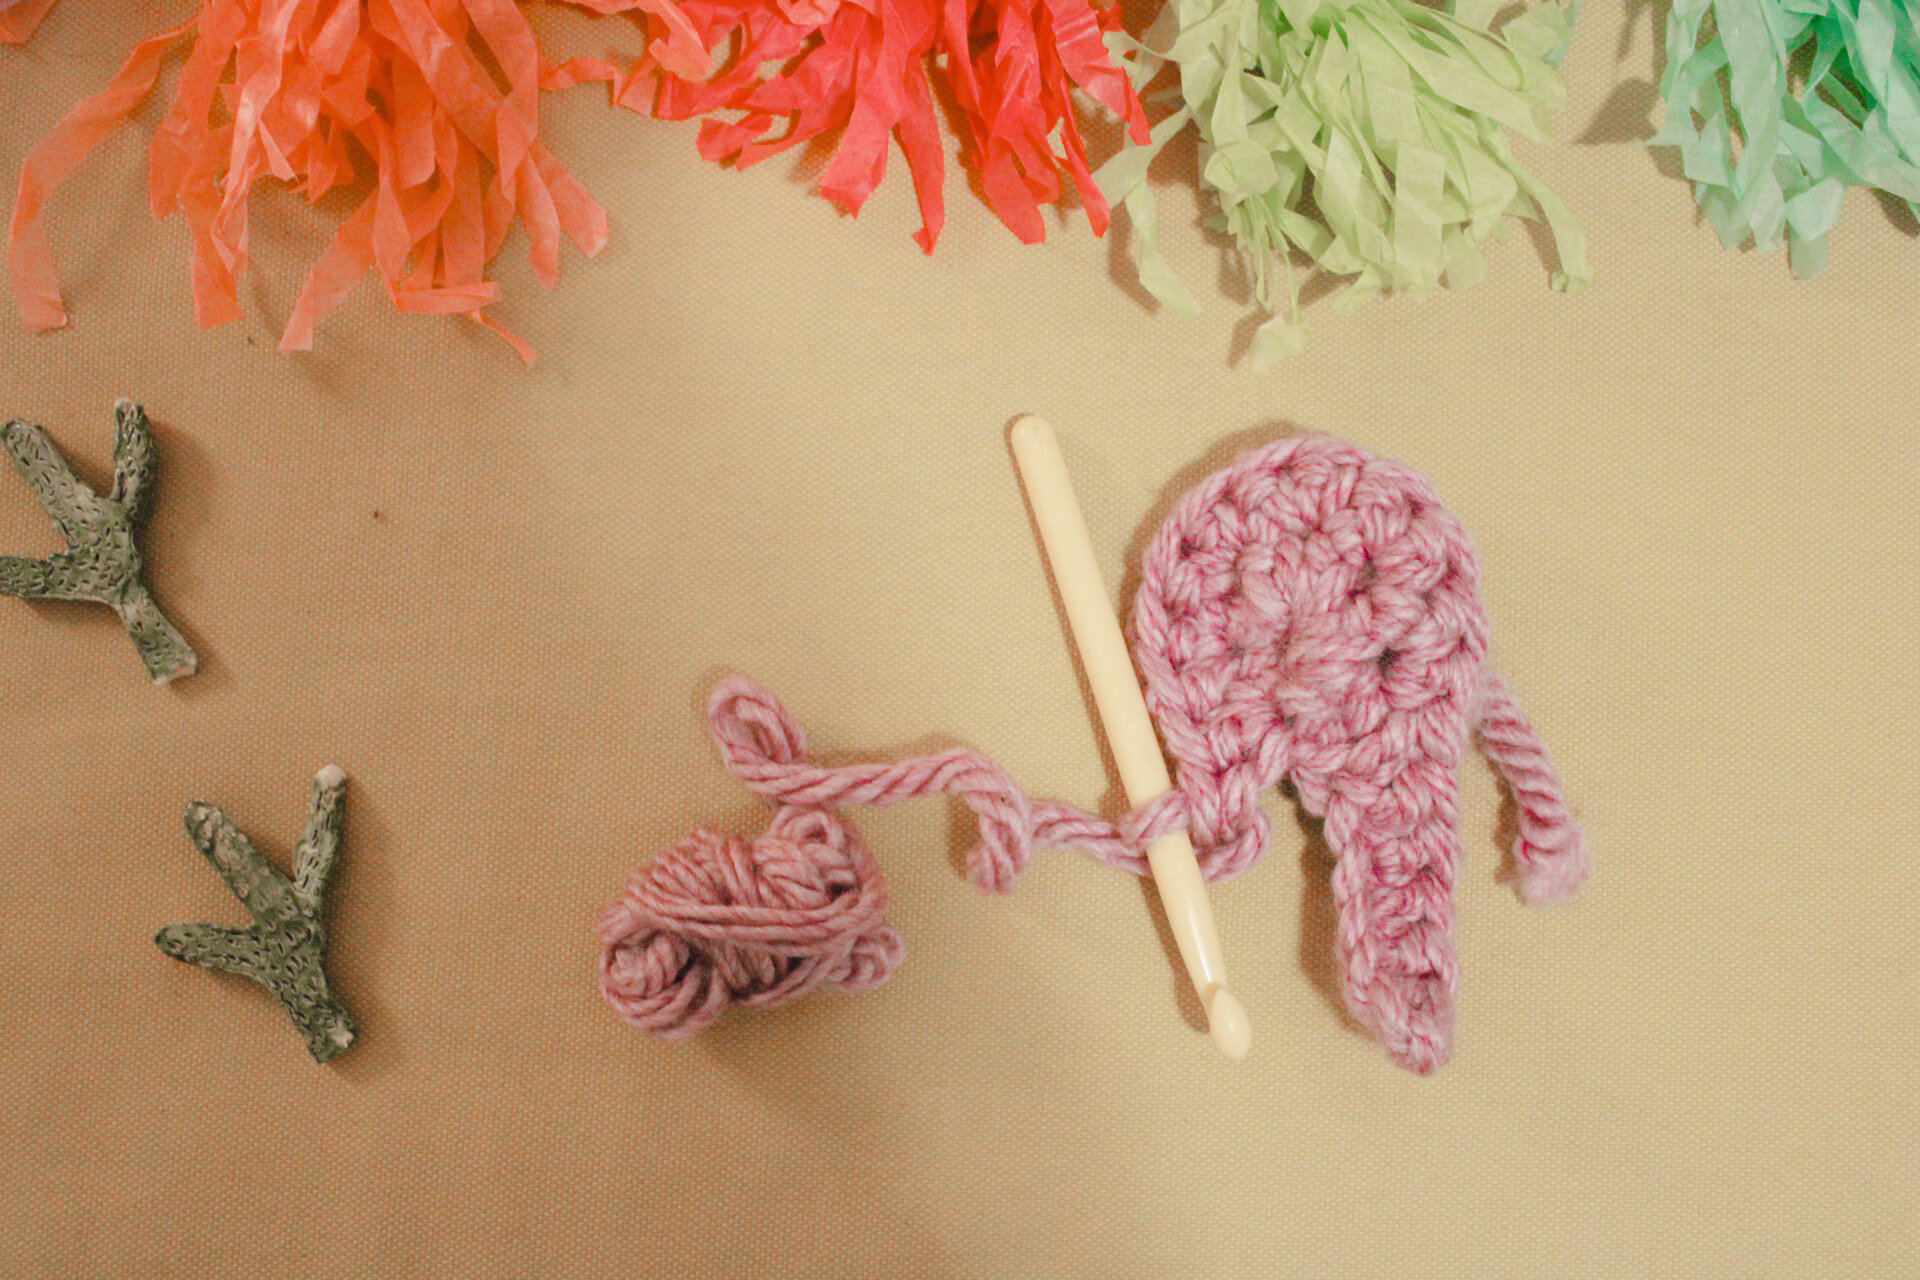
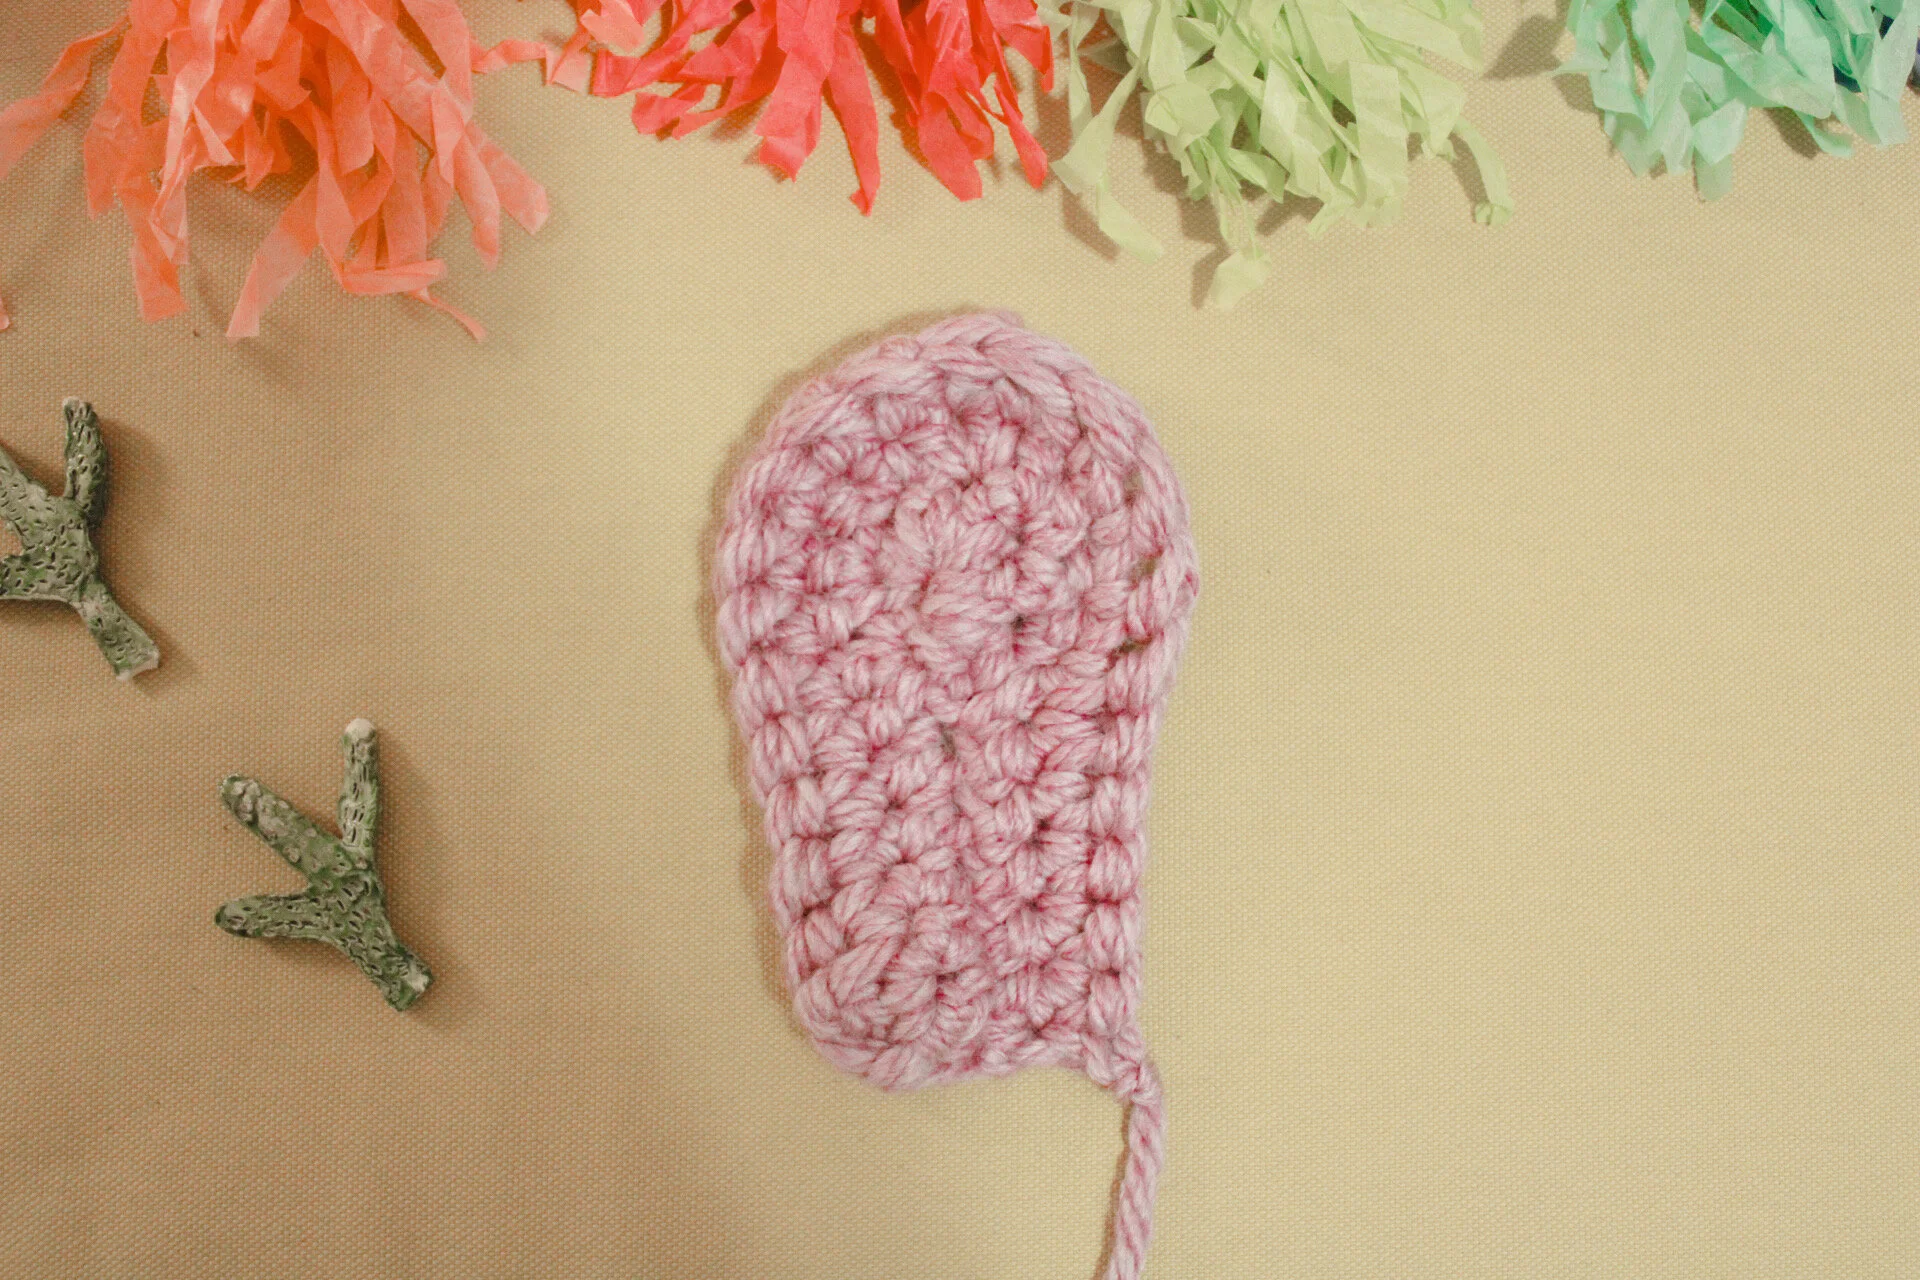
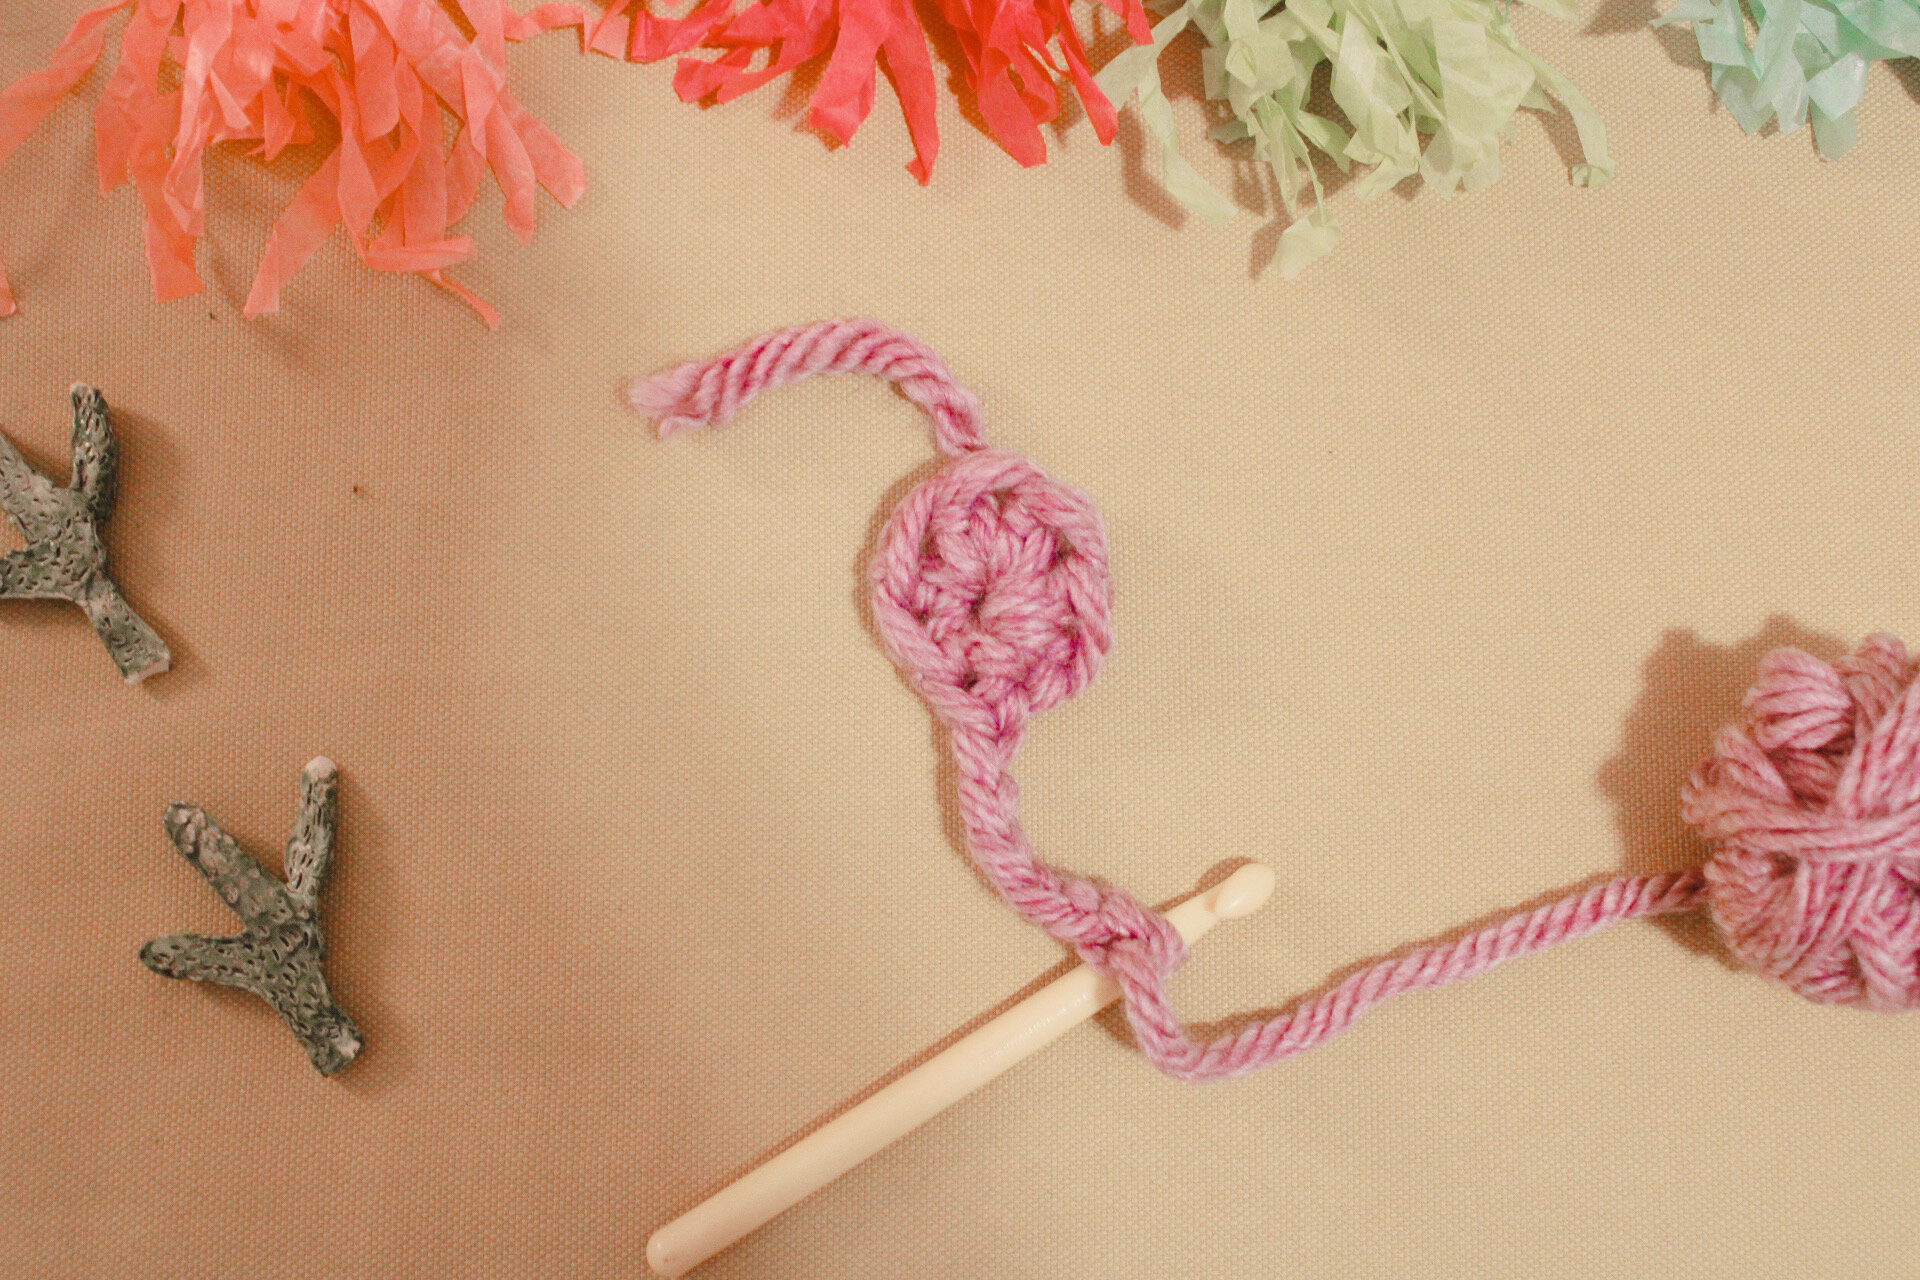
Row Four: Single Crochet in each stitch all the way around (24) Chain 1 to turn
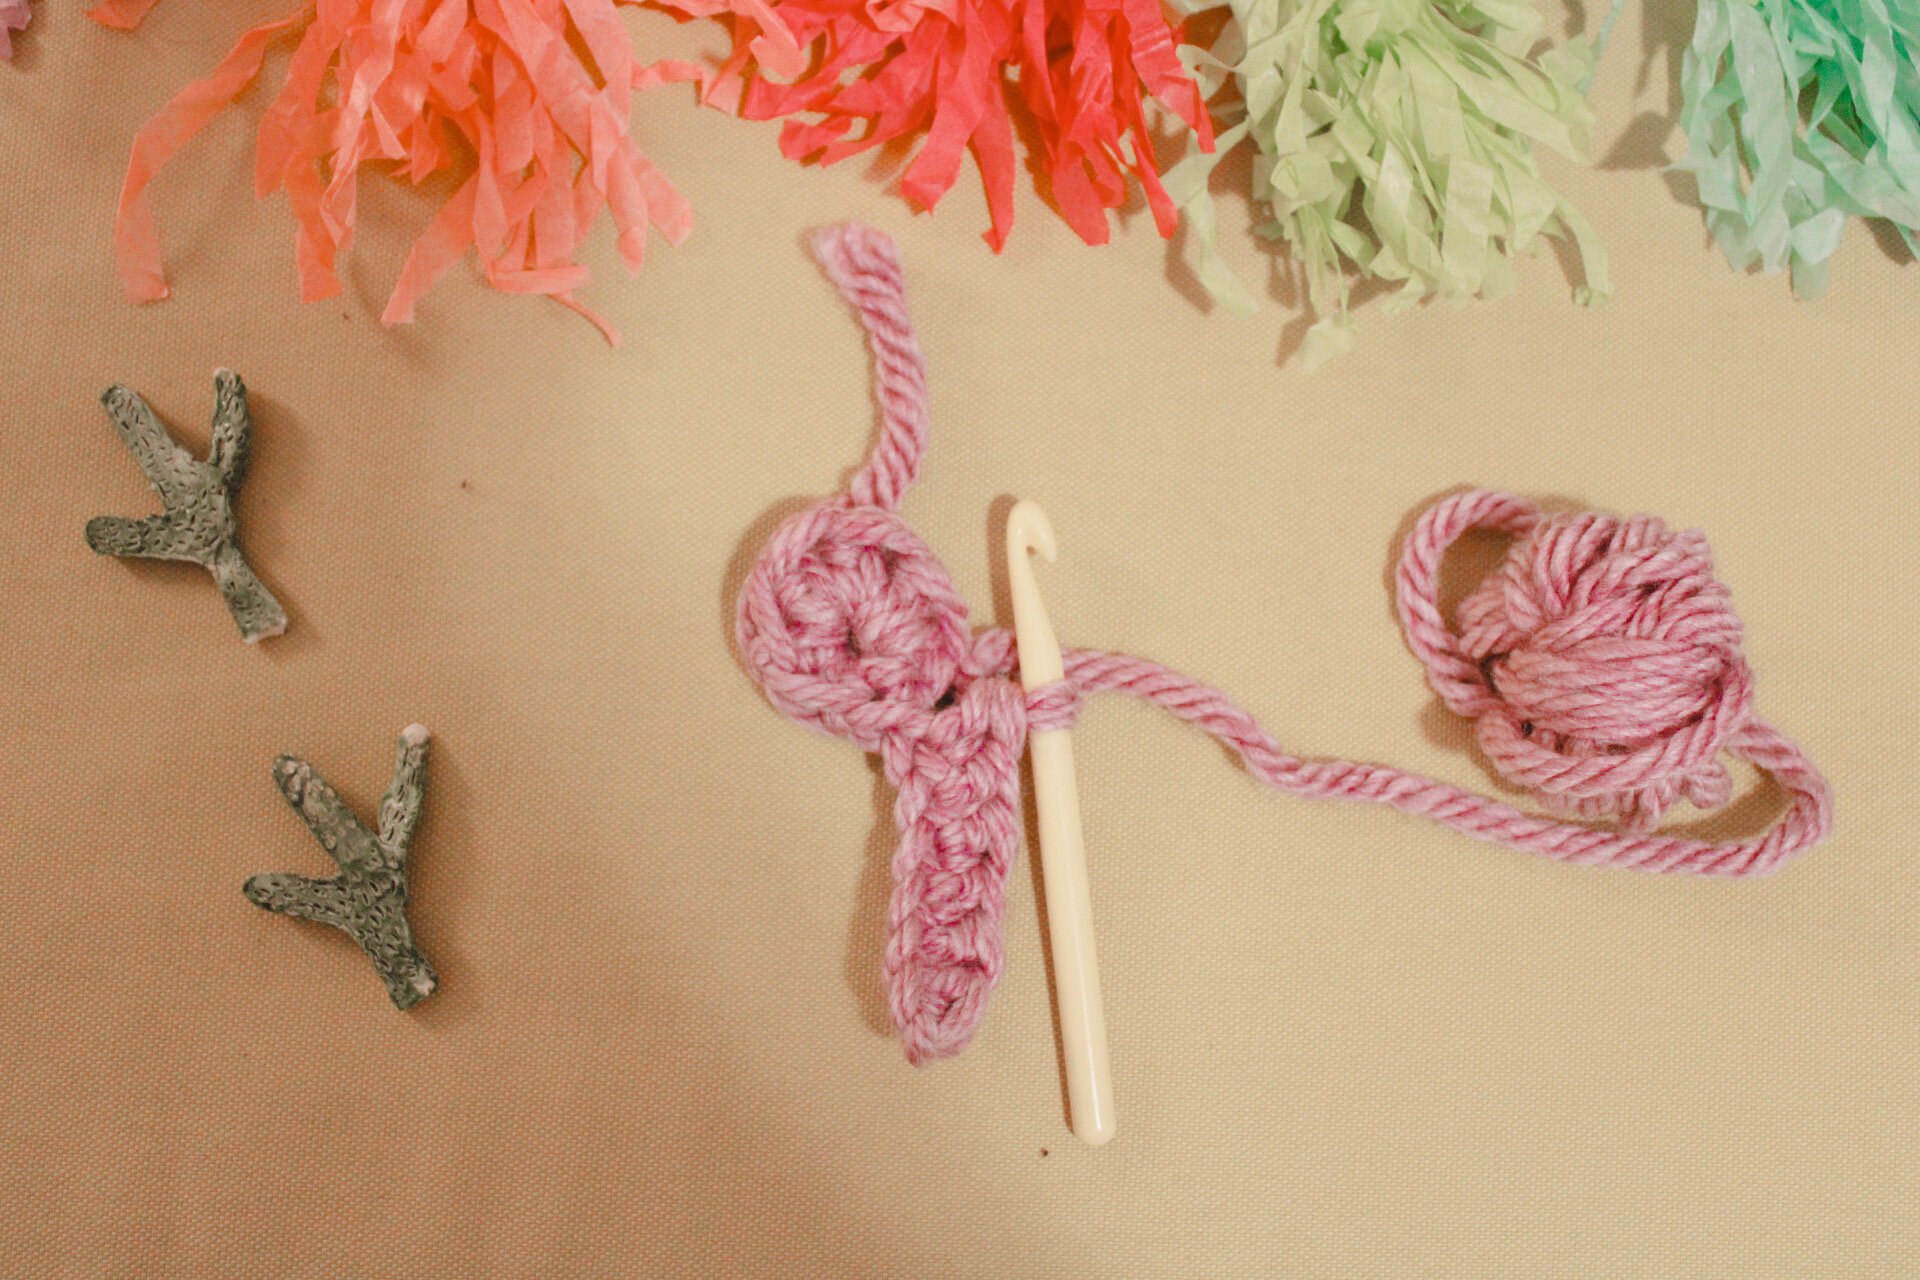
Row Five: Attach blue yarn. *Two single crochets in the first and one in the next one.* Continue that all the way from * to *around (36). Chain 1 to turn

Row Six: Single Crochet in each stitch all the way around (36). Chain 1 to turn

Row Seven: Attach green yarn. *Two single crochets in the first and one in the next 2* Continue all the way around from * to *(48). Chain 1 to turn

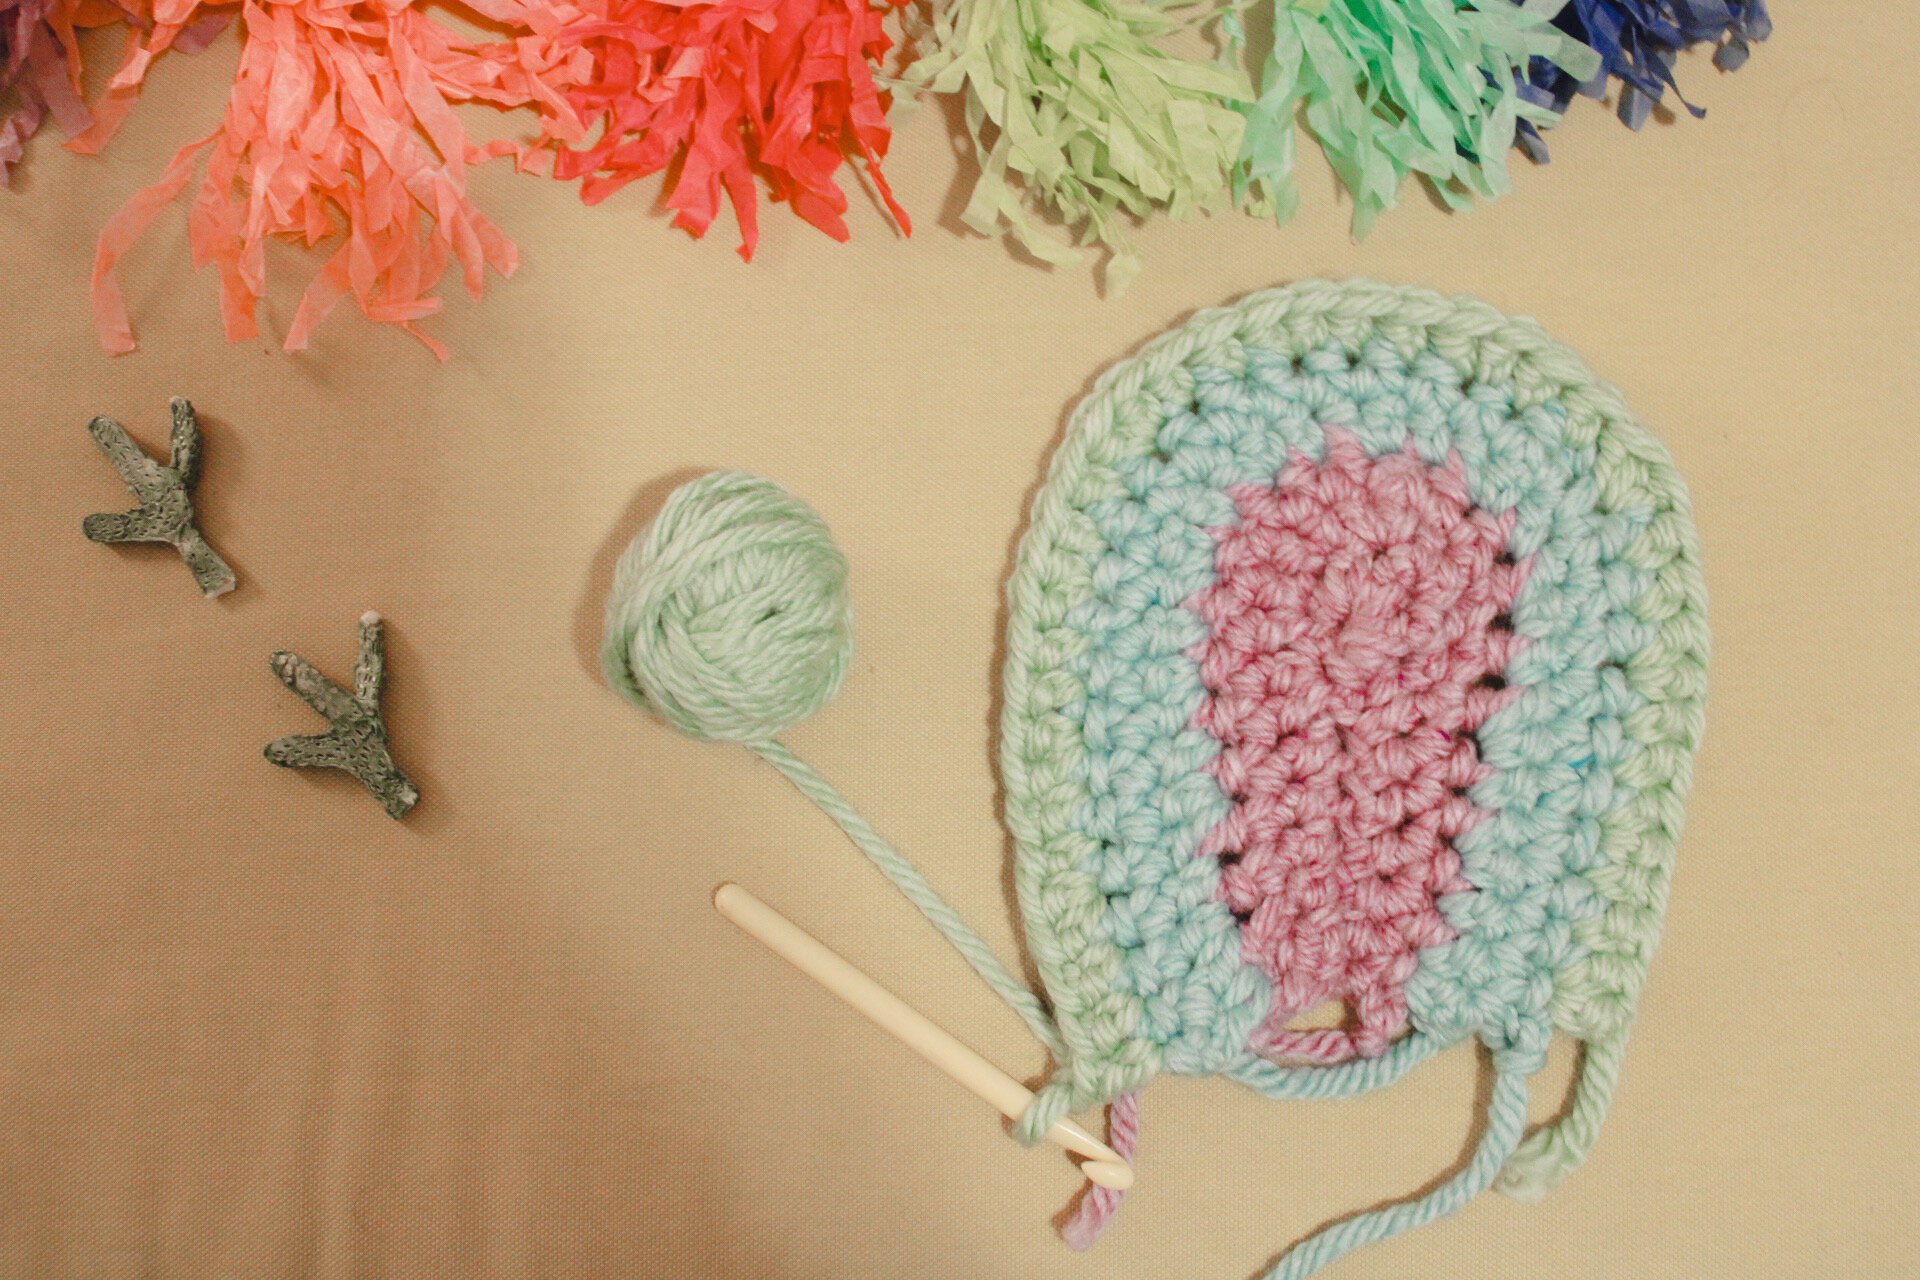
Row Eight: Single Crochet in each stitch all the way around (48). Chain 1 to turn
Row Nine: Attach red yarn. *Two single crochets in the first and one in the next 3 * Continue all the way around from * to * (60). Chain 1 to turn
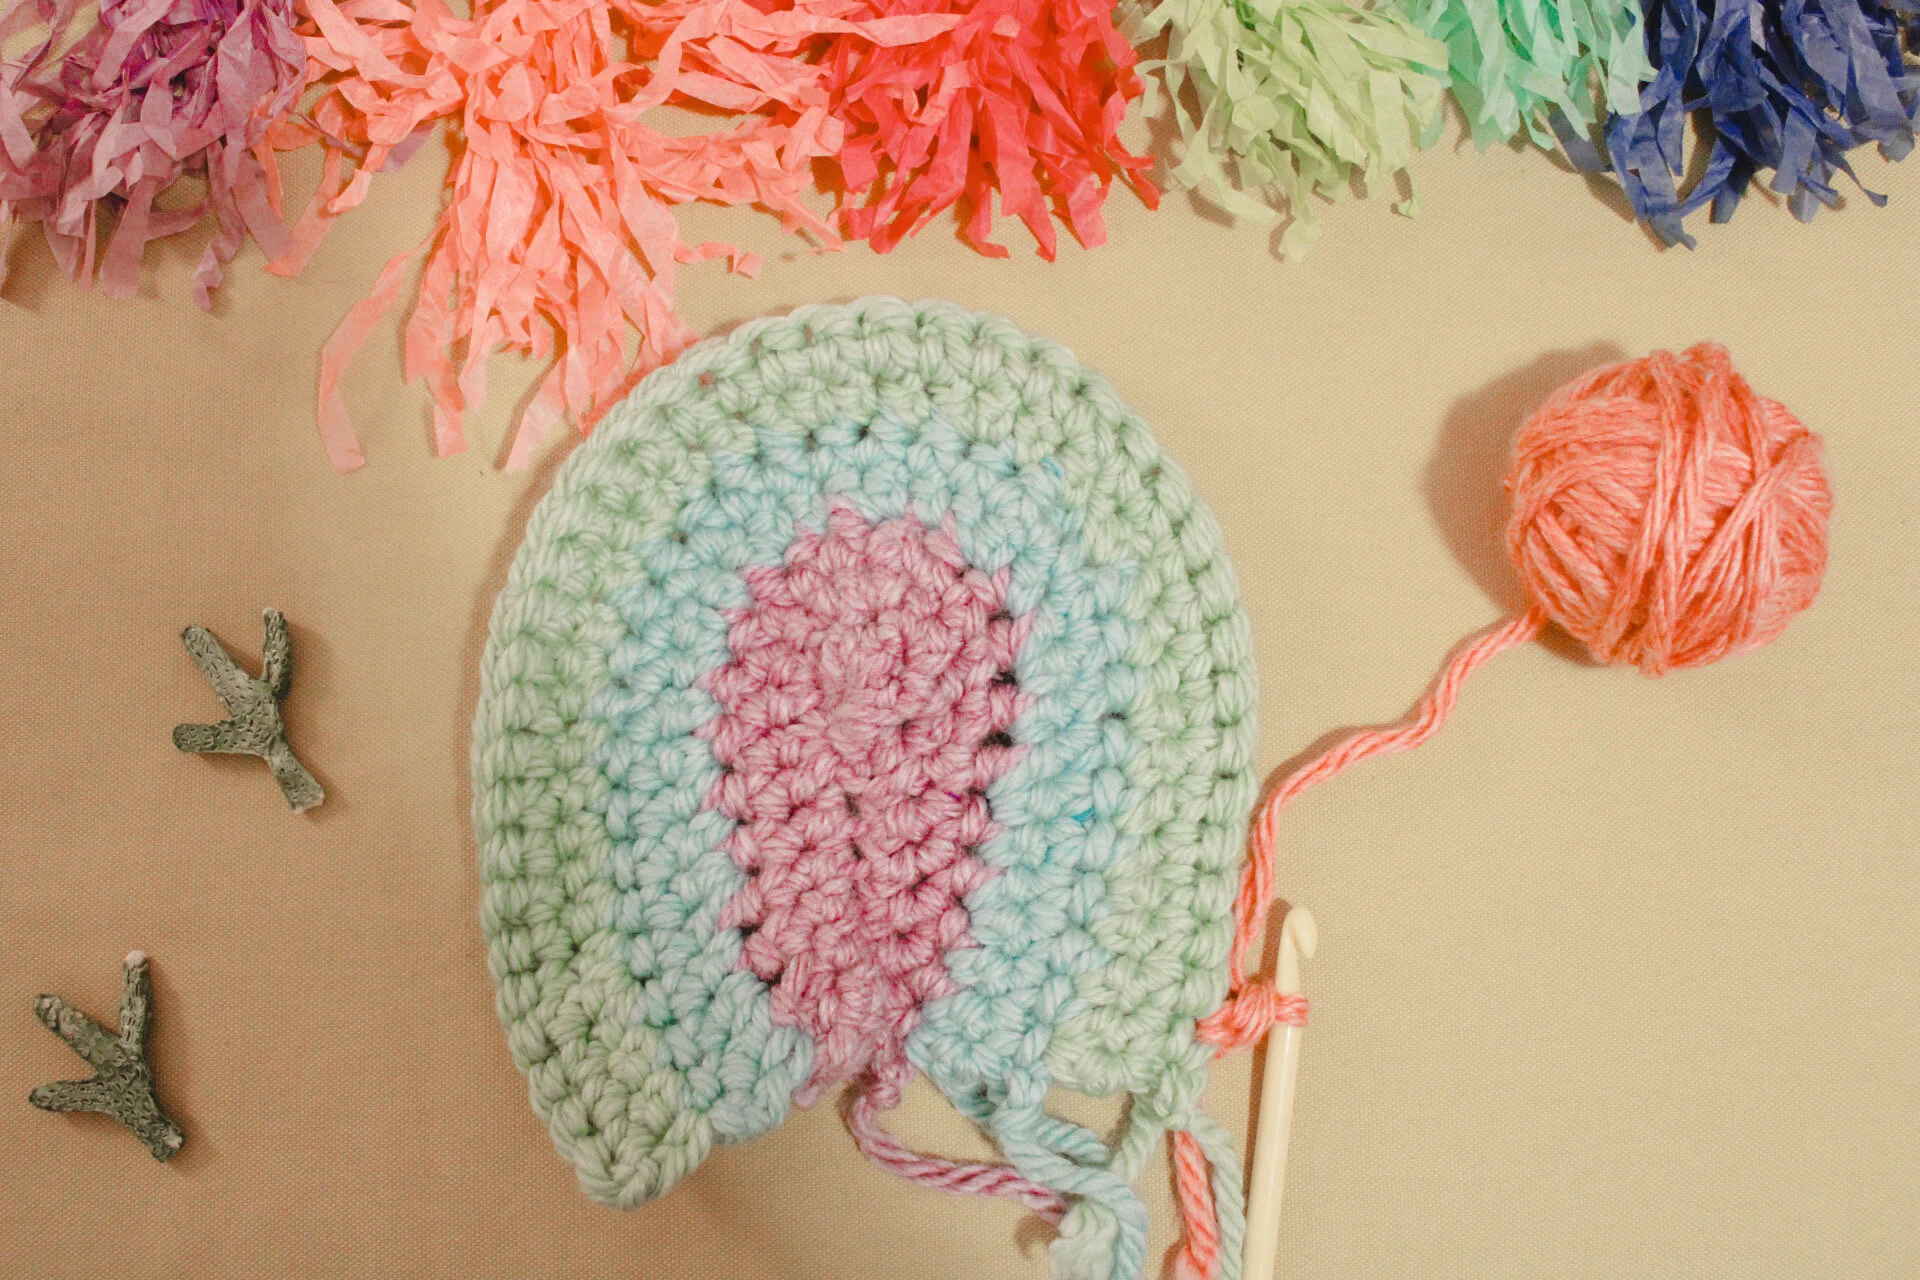
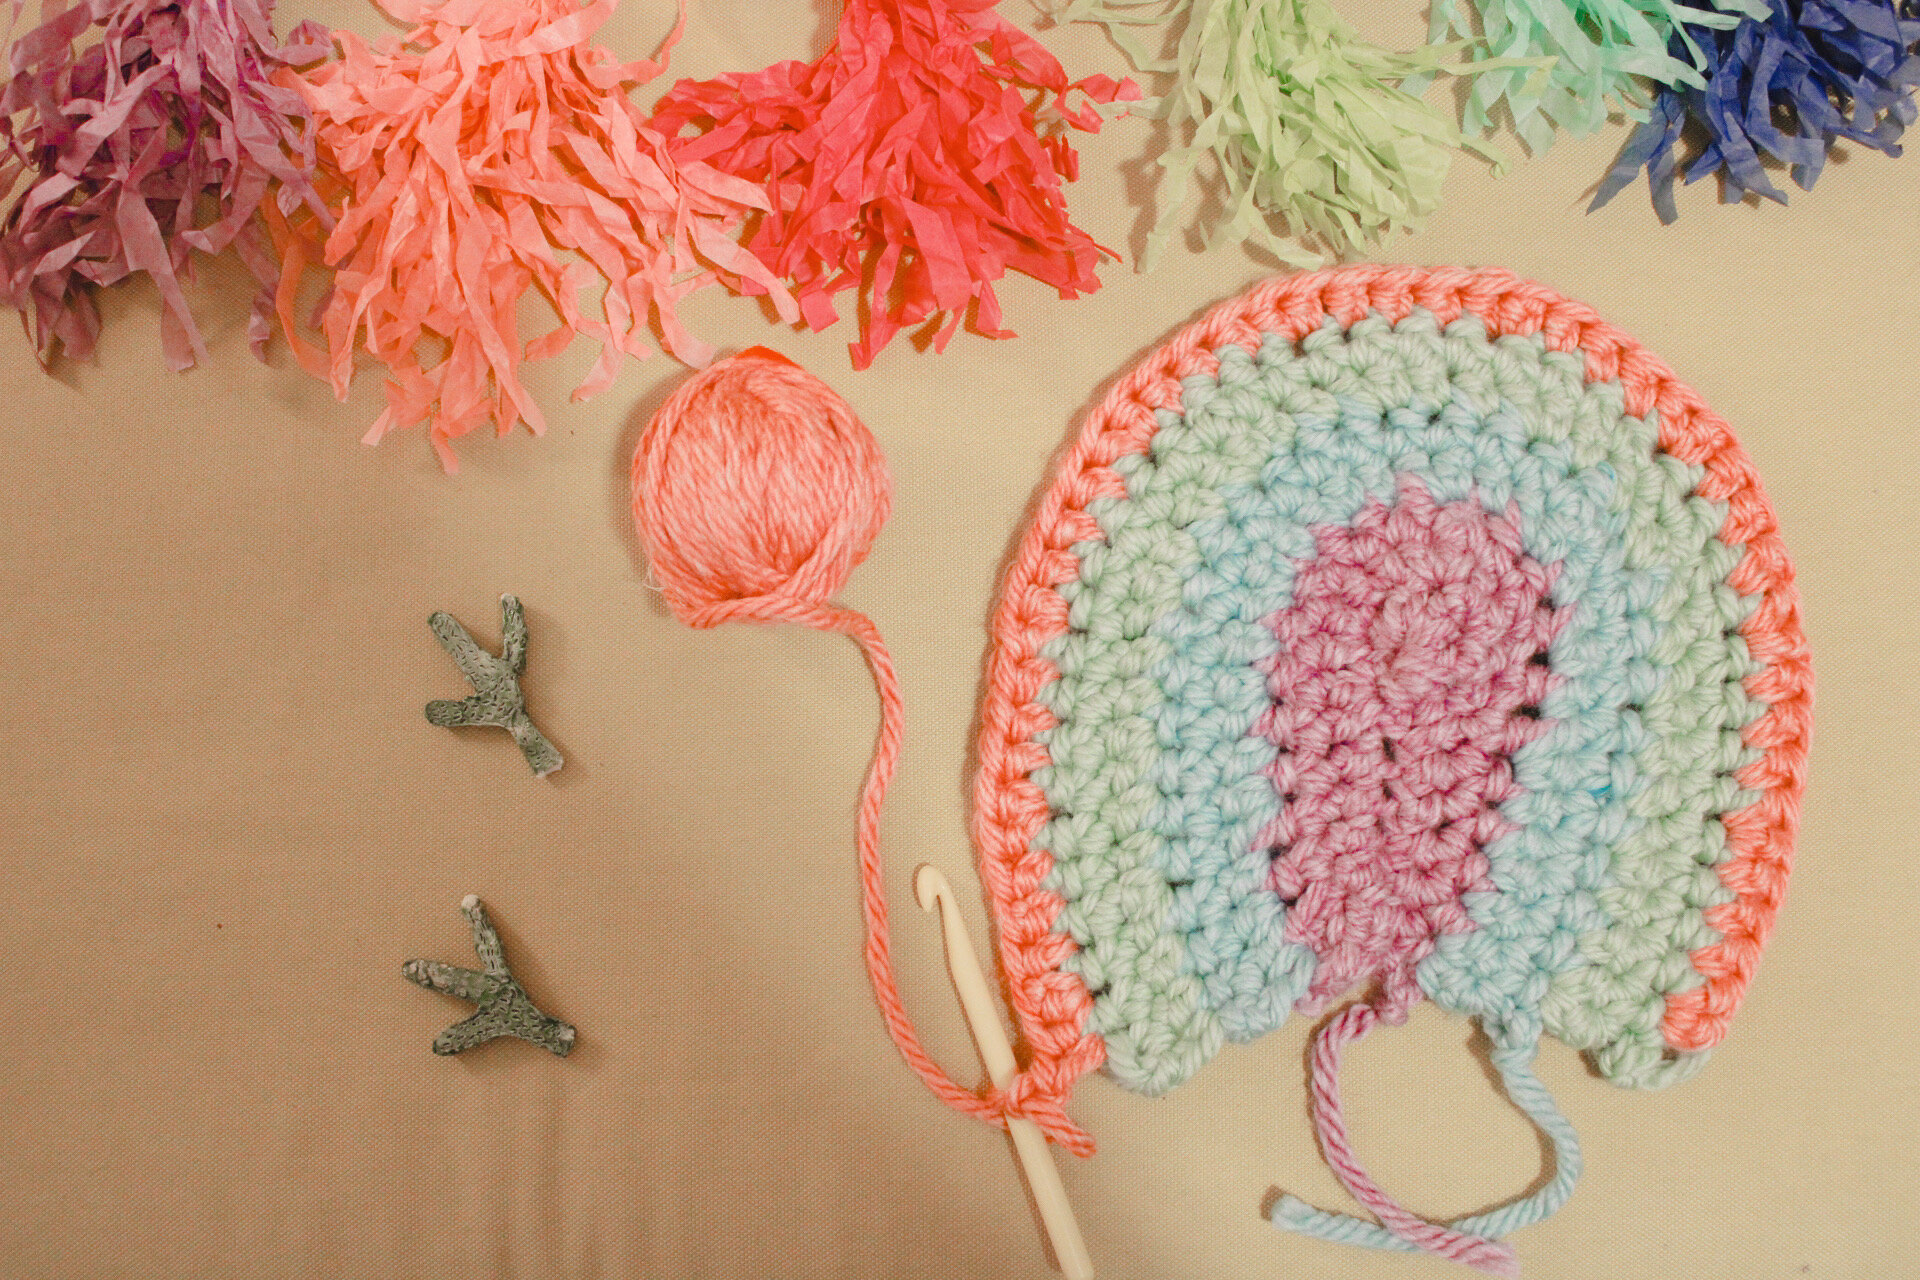
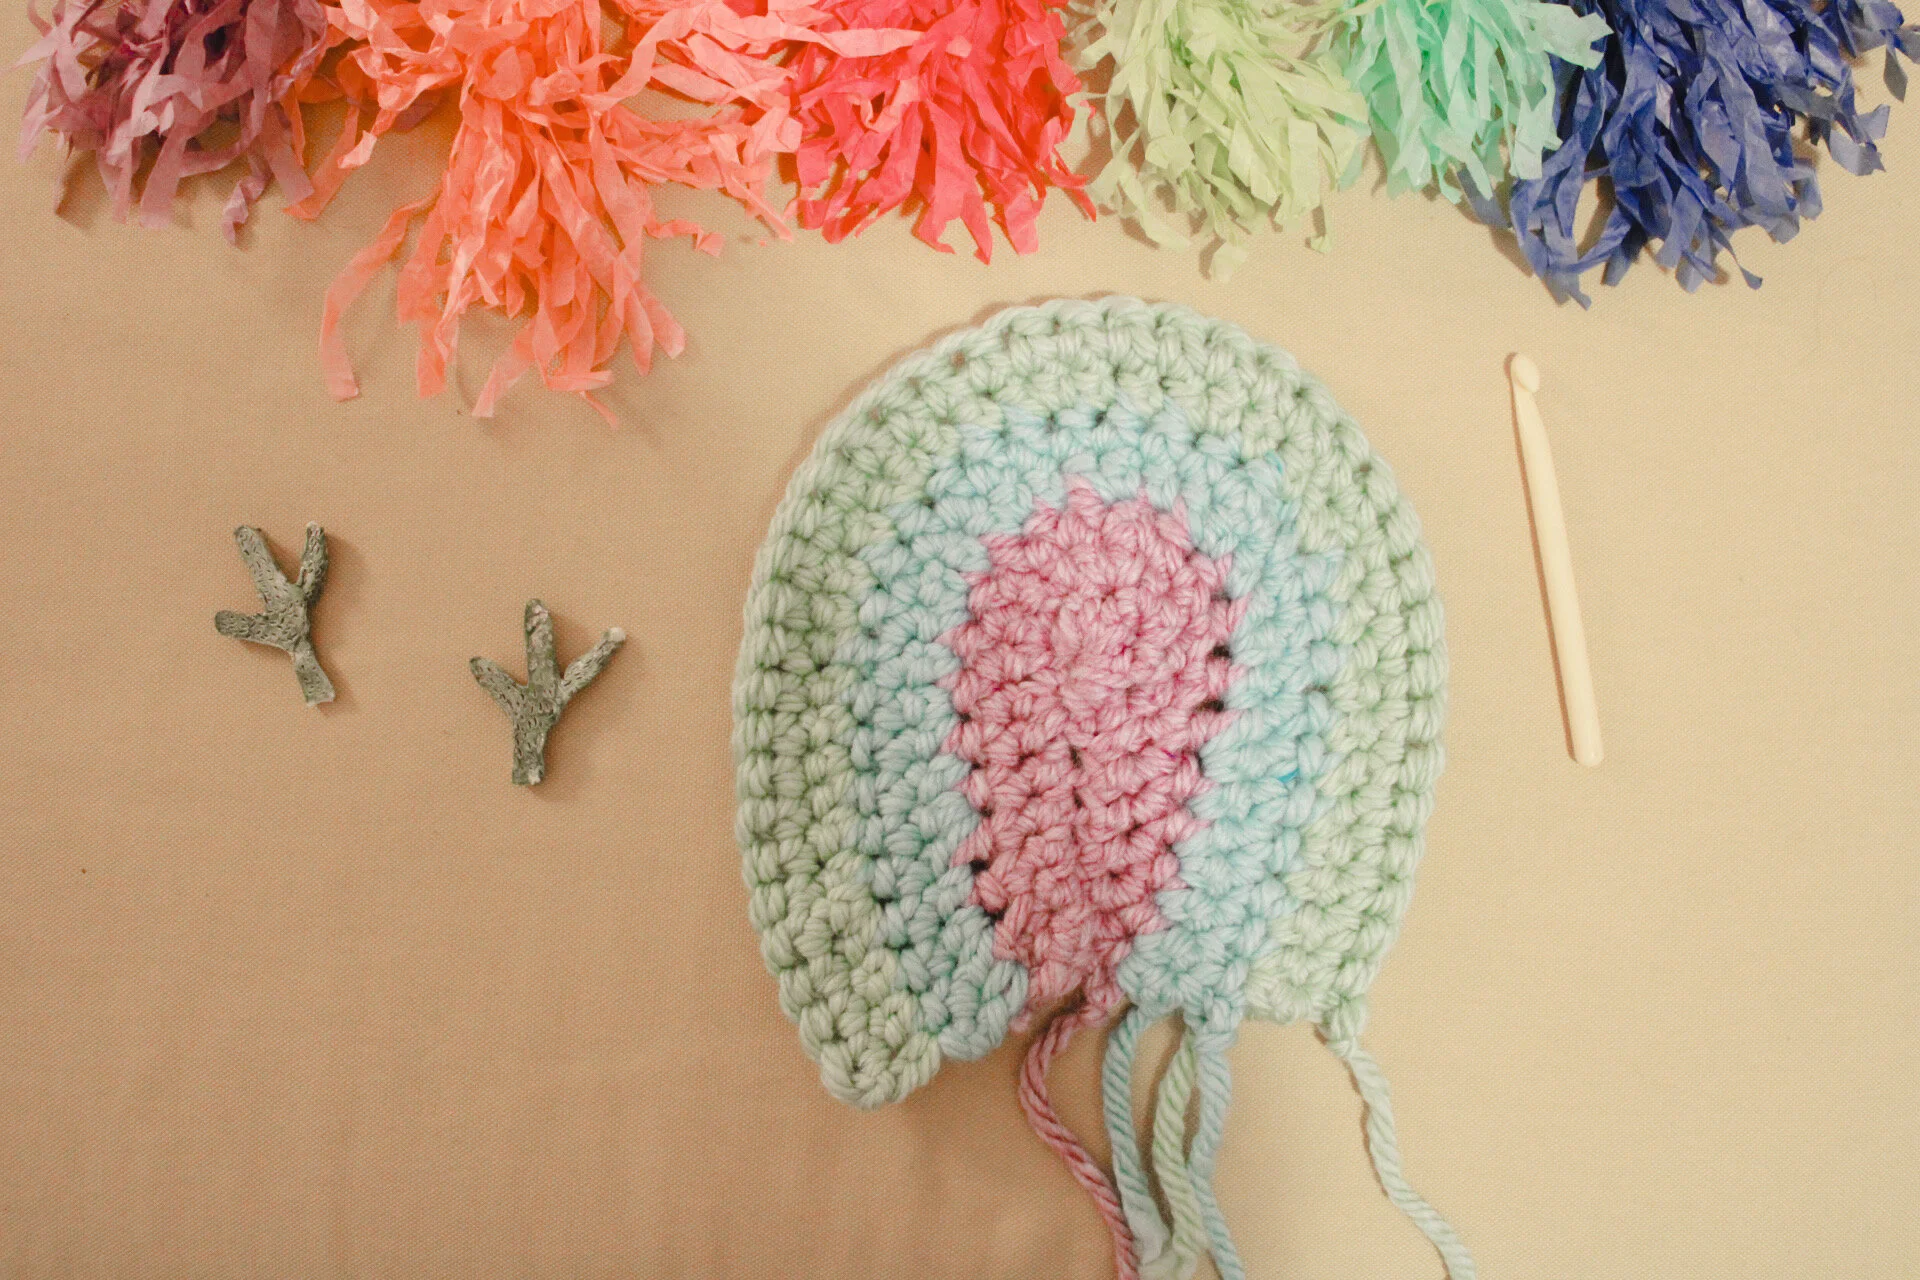
Row Ten: Single Crochet in each stitch all the way around (60). Fasten off.

Step Two: Once you have fastened off, cut the yarn leaving a 2” tail.
Step Three: Now roll out the fleece fabric, fleece side up. Lay the crochet rainbow face side down on top of the fleece and cut the fleece out leaving a 1 ⅕ inch border around the edge.
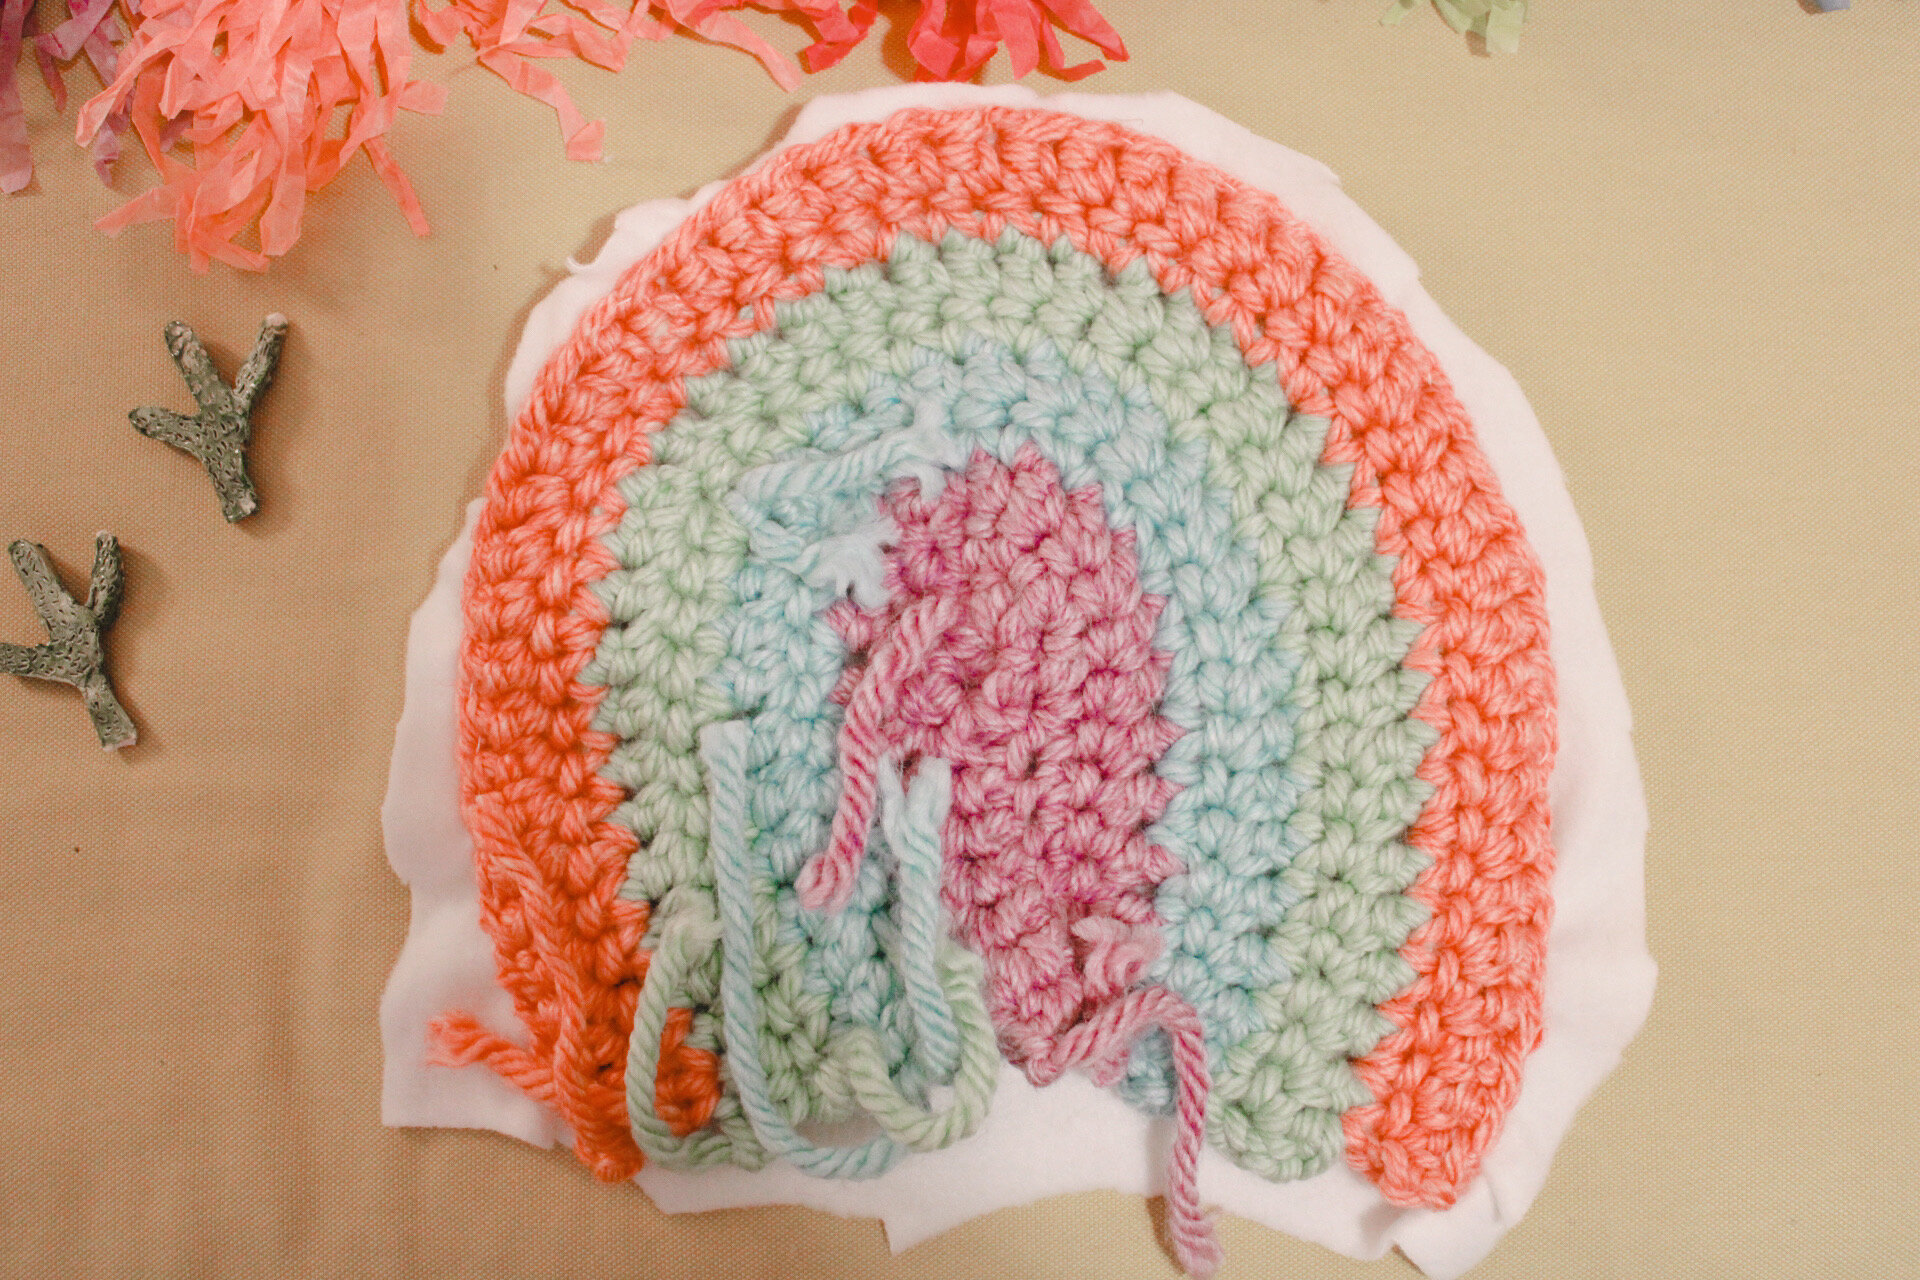
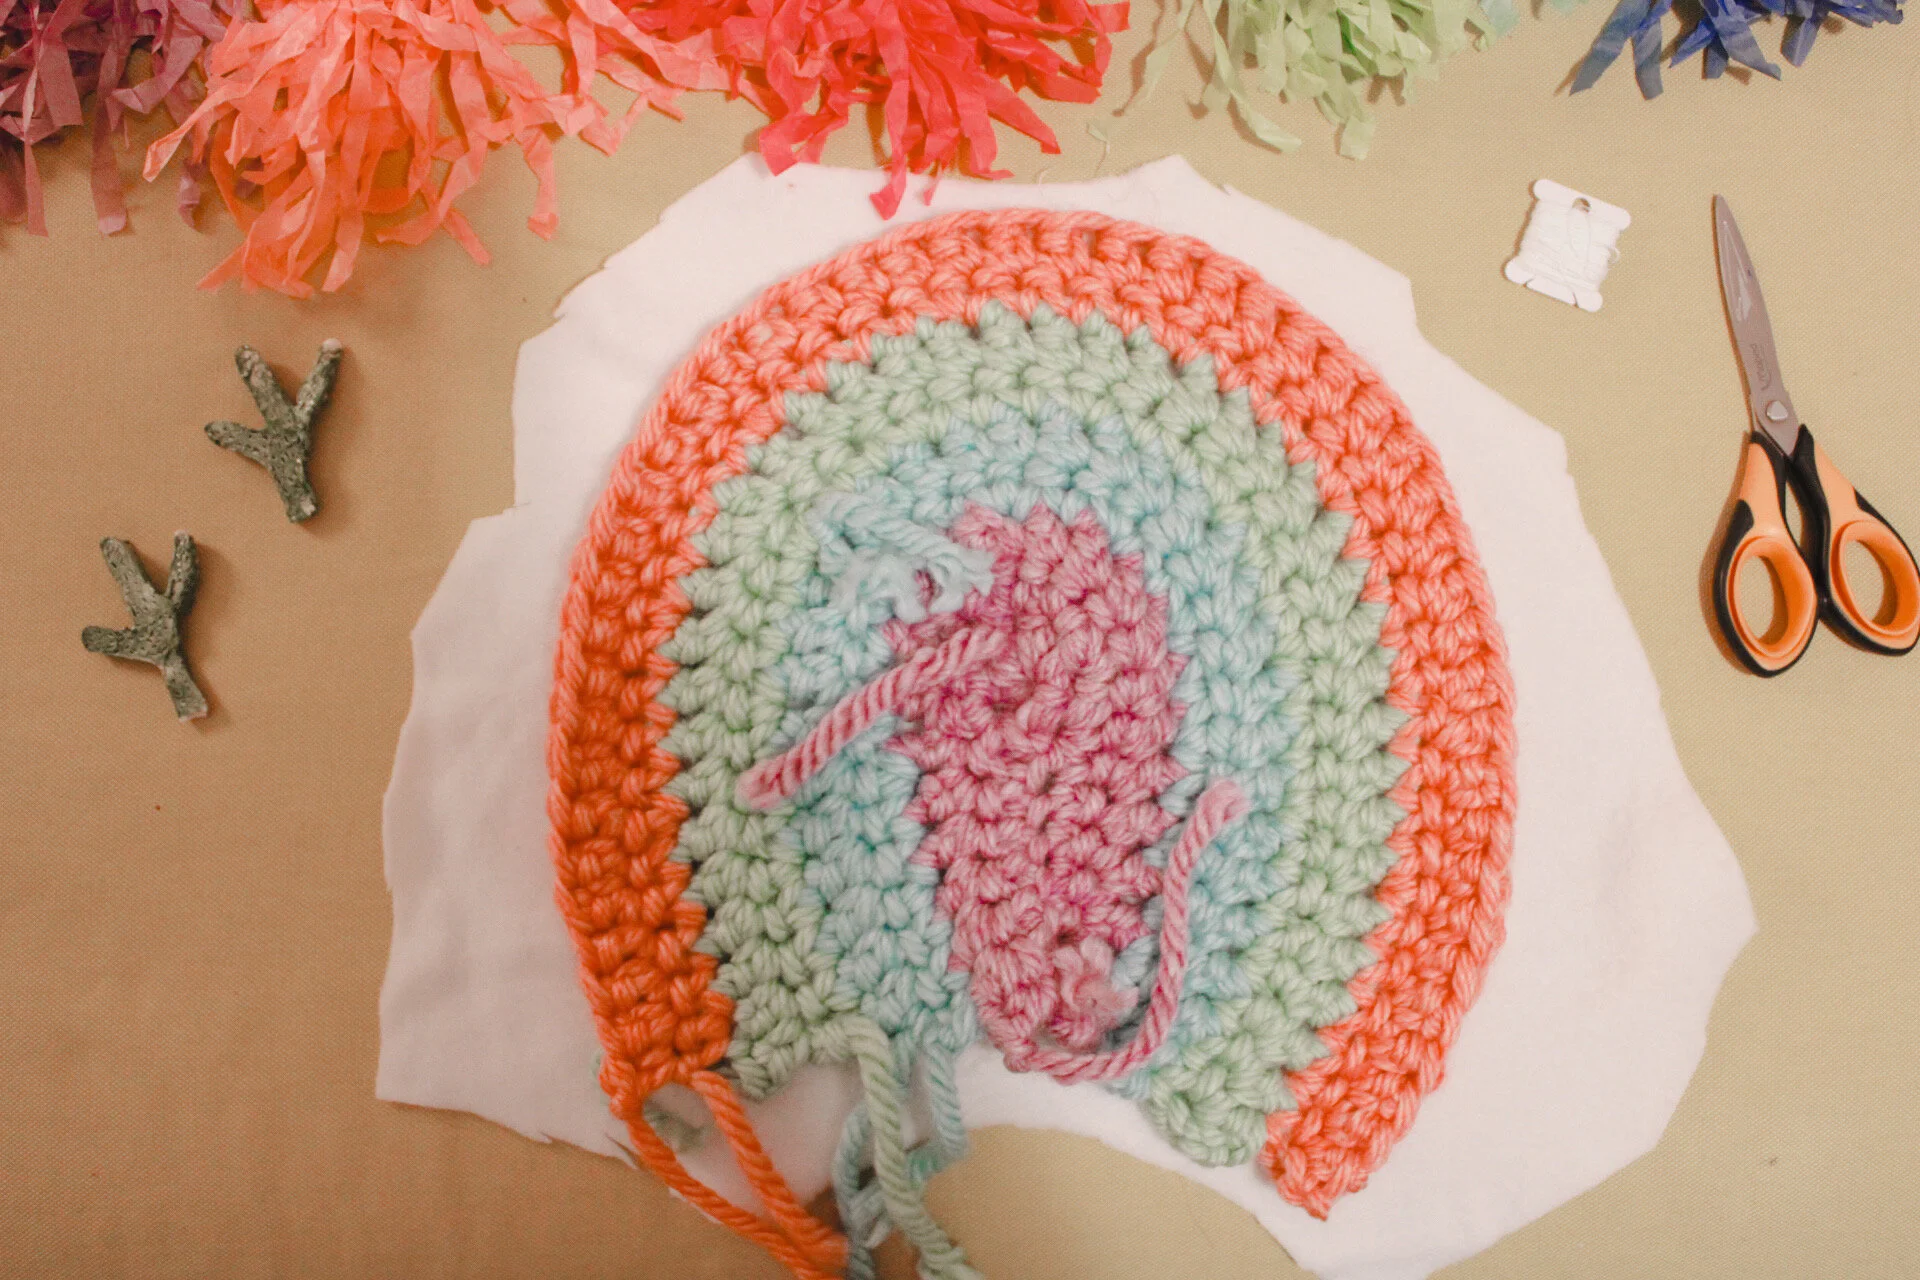
Step Four: Next sew the rainbow to the fleece inside out, placing the needle through the fleece first and continuing back and forth from crochet to fleece. Continue all the way around the arch of the rainbow and stopping at the bottom.
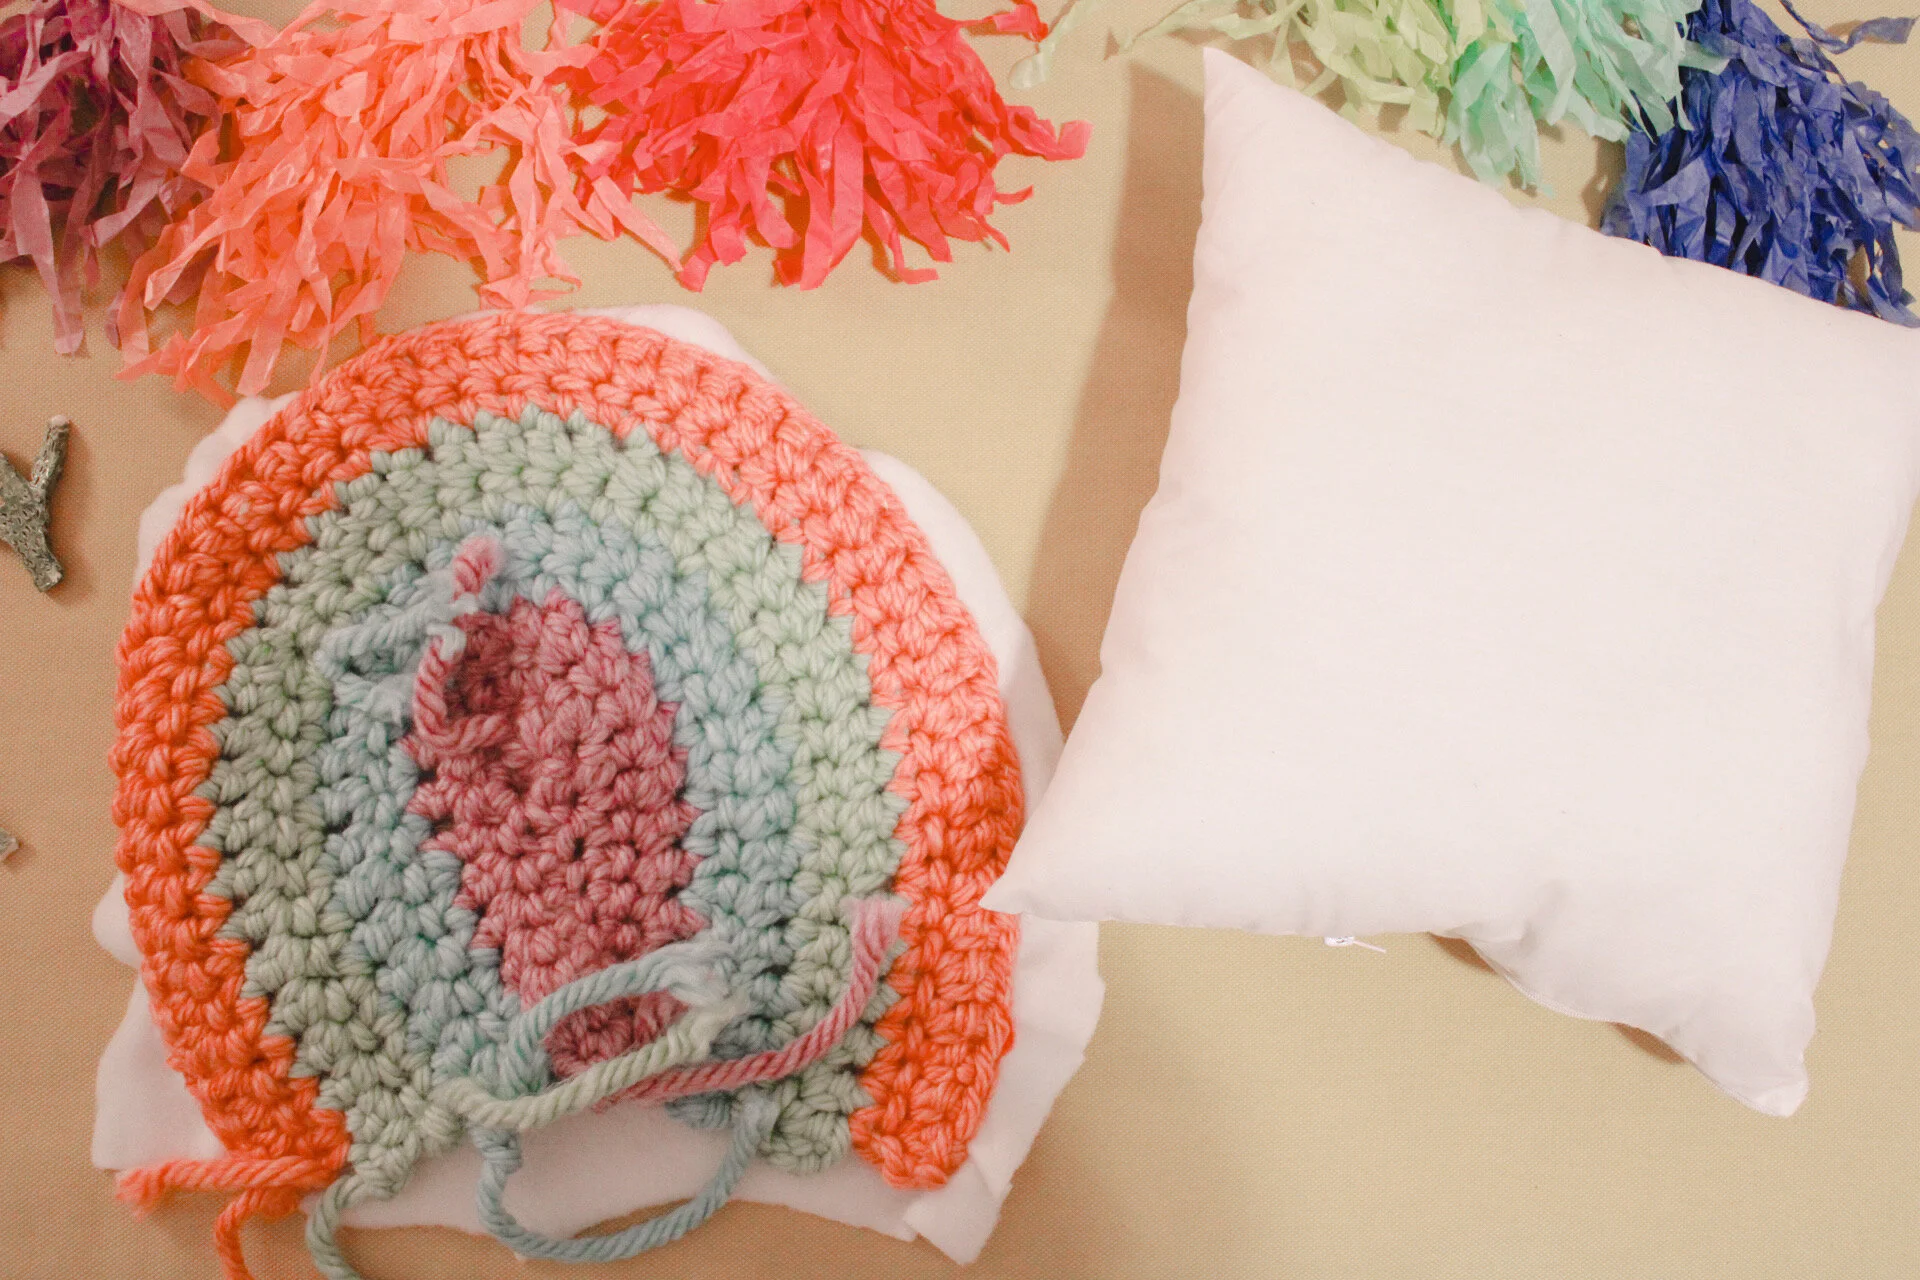
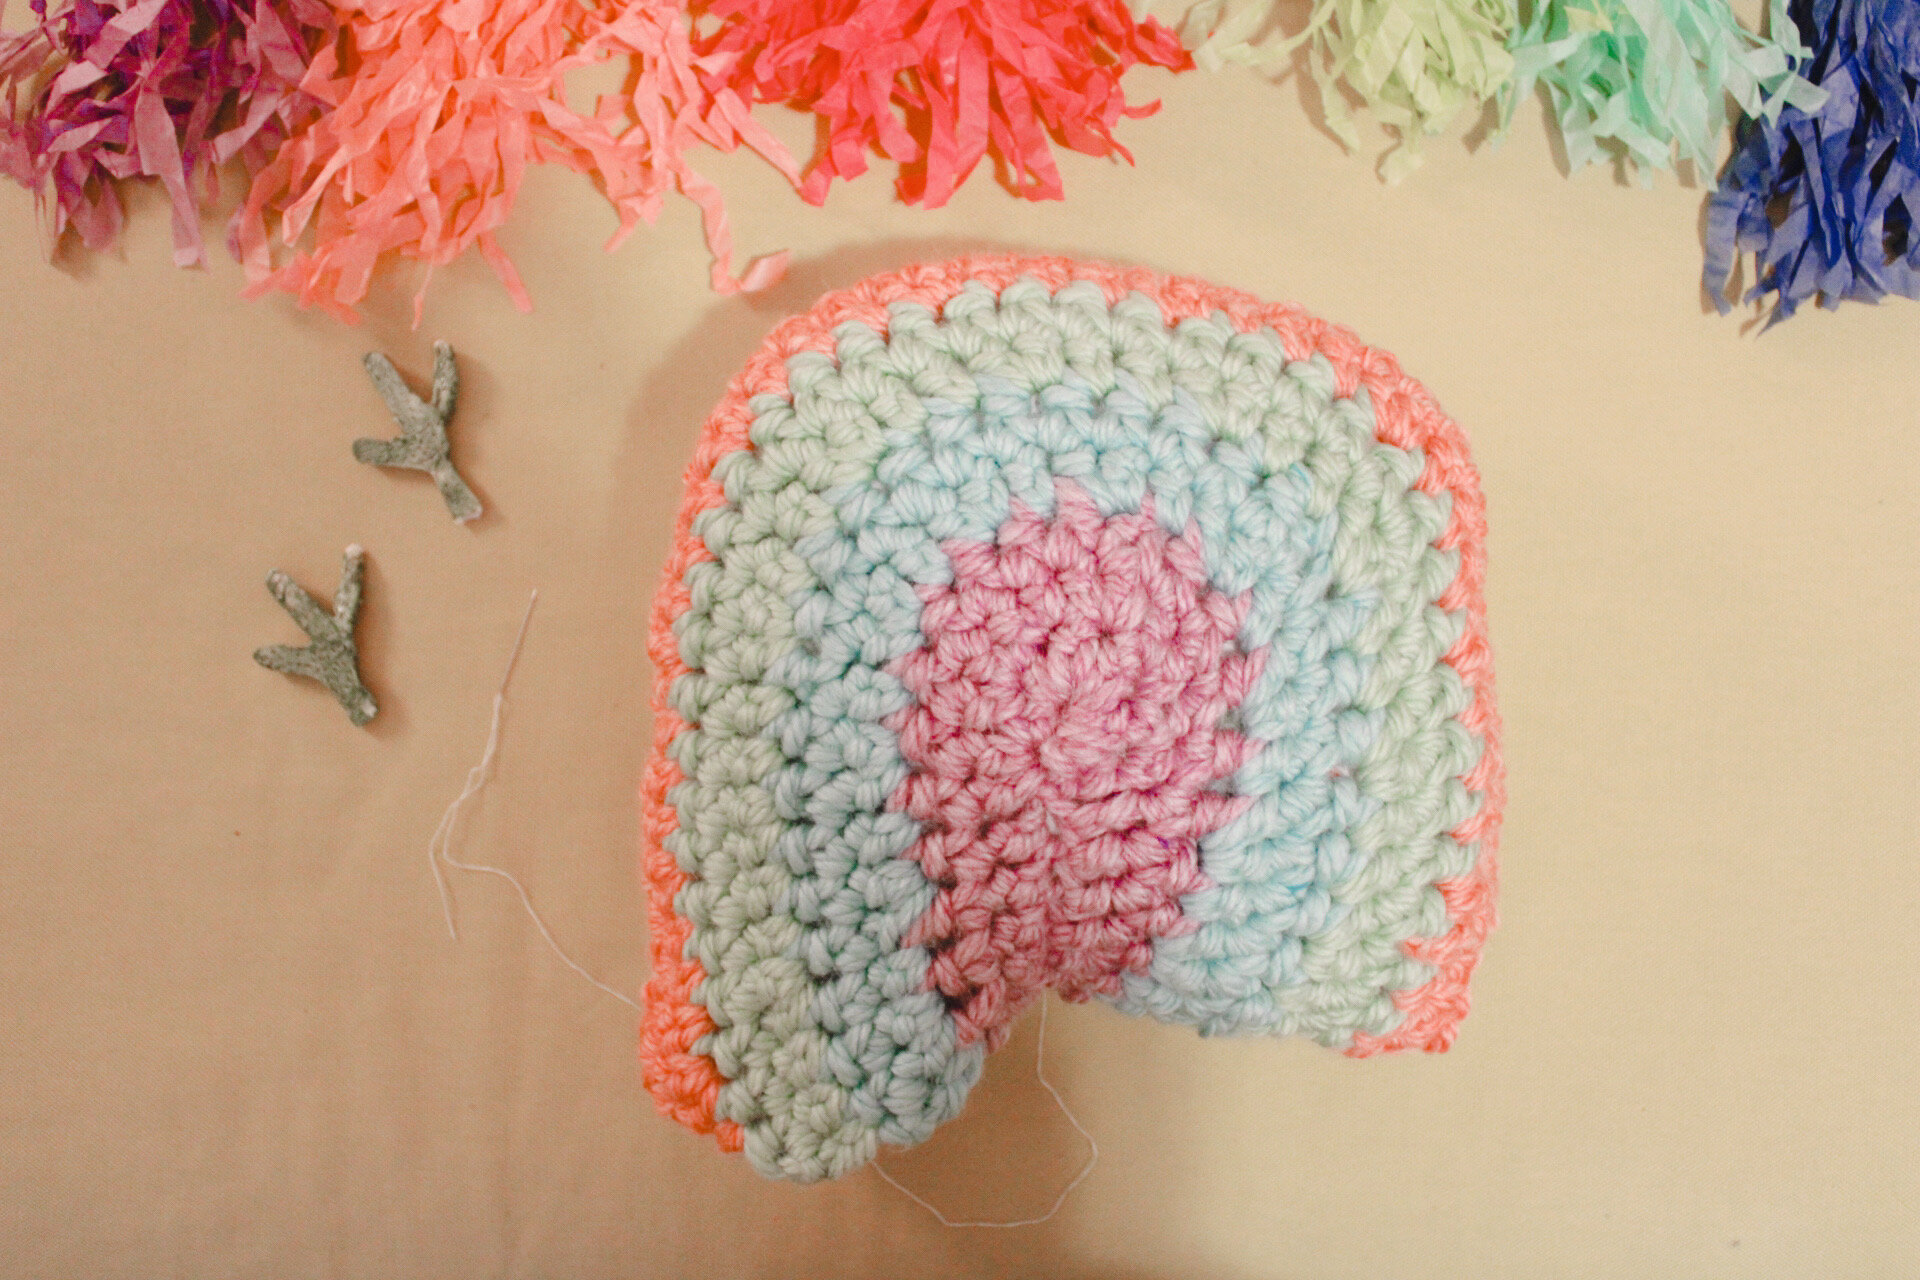
Step Five: Flip the pillow inside right. Place the pillow or pillow insert into the rainbow cover. Fold the fleece onto the inside of the cover and continue sewing across the bottom until the cover is closed and secured.
This is a perfect pattern for when you are first learning how to crochet. It is nice and simple but also a fun shape mixed with many colors. Place this pillow anywhere you would like or give it as a gift. It adds the perfect comfortable feel to any home or space.Feel free to make this pattern with any different colors or types of yarn. You can also add or get rid of stitches to make the pillow larger or smaller.