
DIY Cardboard Loom Weaving
When it comes to weaving, learning the basics is the most important. I have a DIY on here already for weaving the basics using a peg board loom. Since most people are at home and do not have a loom but are absolutely online shopping, this cardboard loom is essential for all those working from home and needing an activity to keep them grounded and to feel productive in the down time.
I am going to show you the basics of creating your own loom, some simple weaving techniques and how to create a wall hanging!
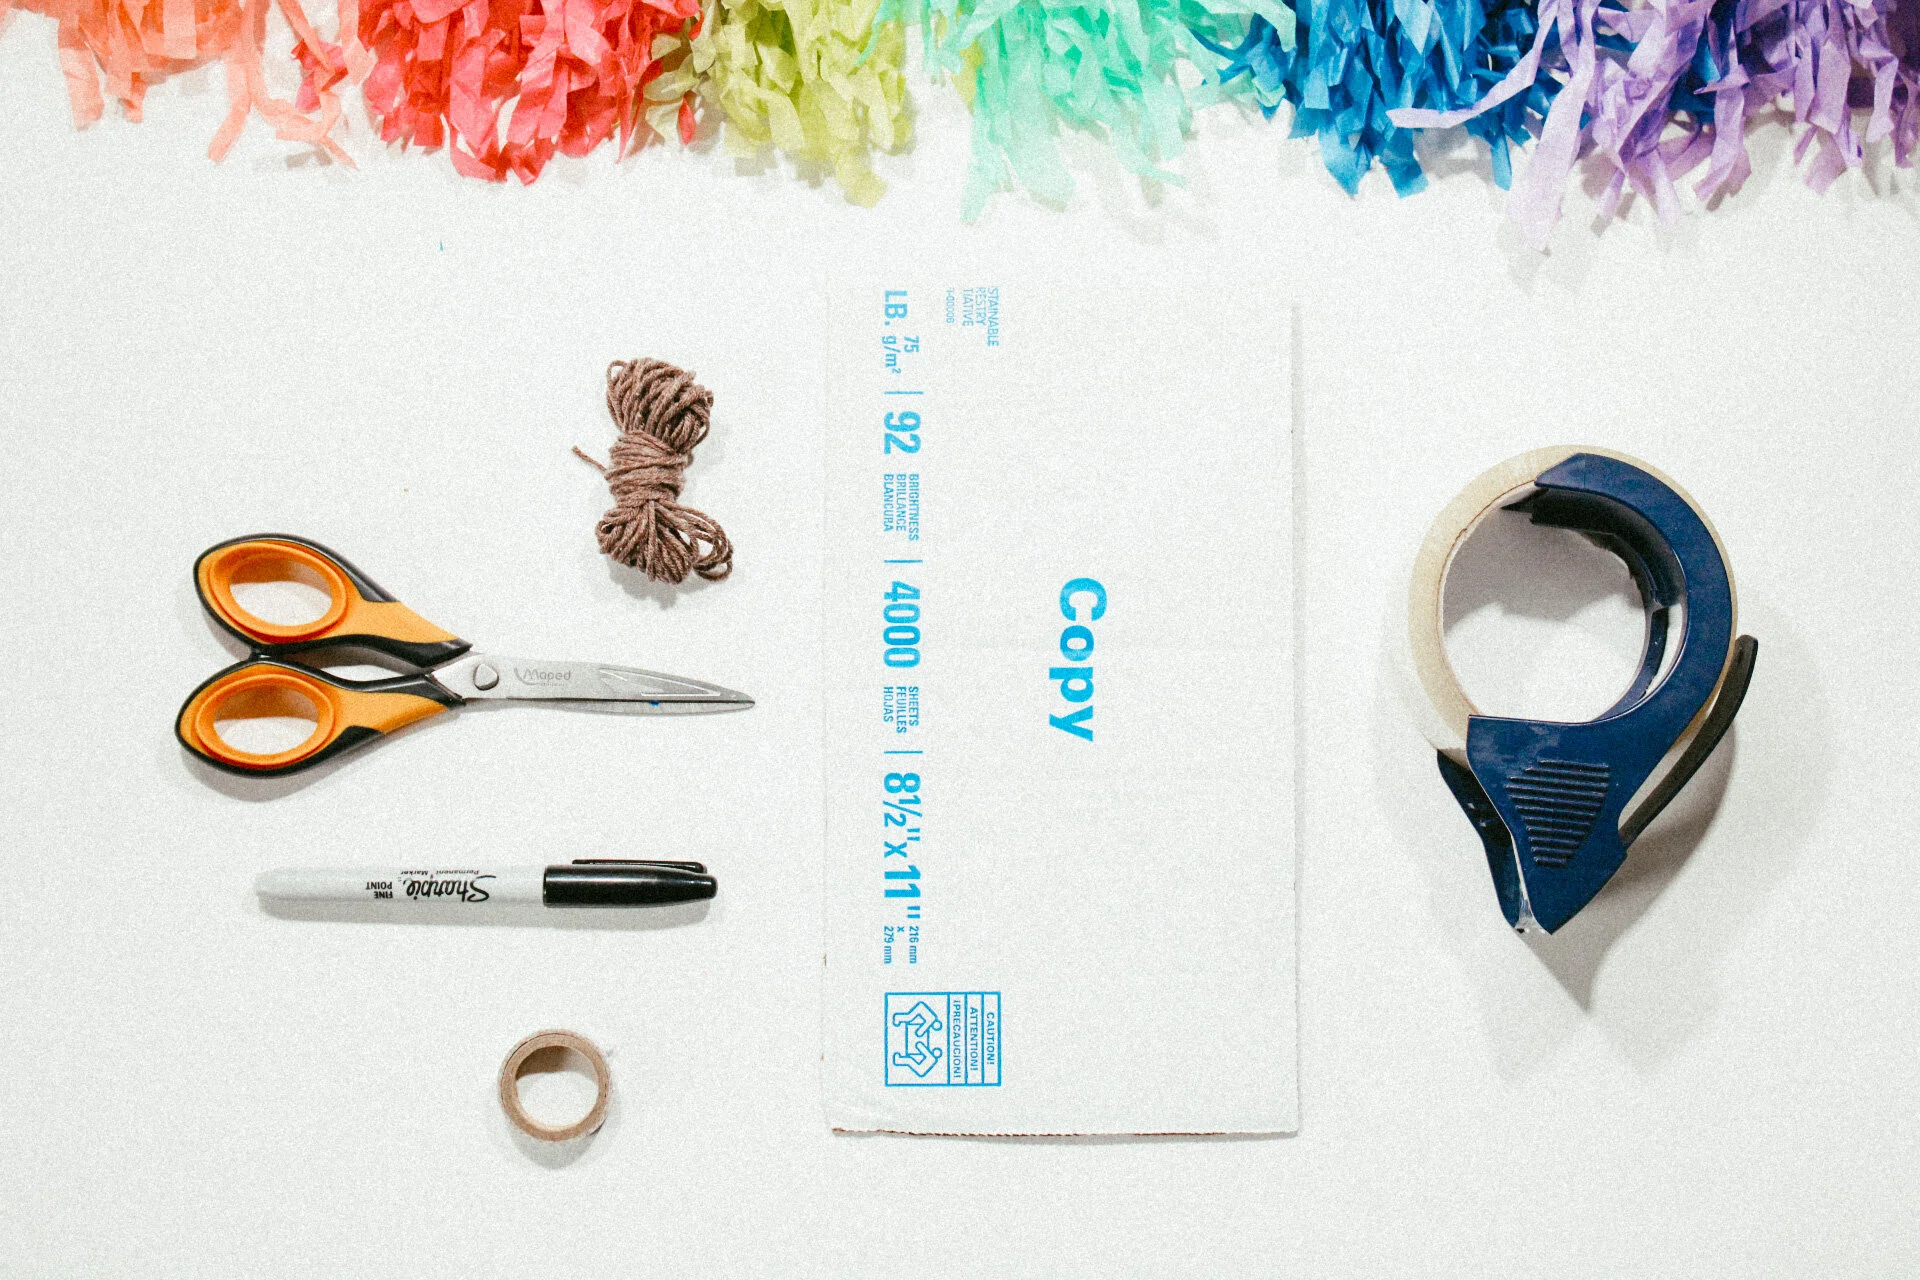
Supplies:
-Cardboard
-Packaging Tape
-Masking/ Washi tape
-Ruler
-Marker
-X-acto Knife
-Scissors
-Twine
-Yarn
-Darning Needle
Step One: Make Your Loom
Before you get started, it is important to know that the size of your cardboard loom will determine the size of your finished weaving. You can make a tiny weaving or a large one, depending on how much cardboard you have. I am using a 5” x 11” in loom for this project!
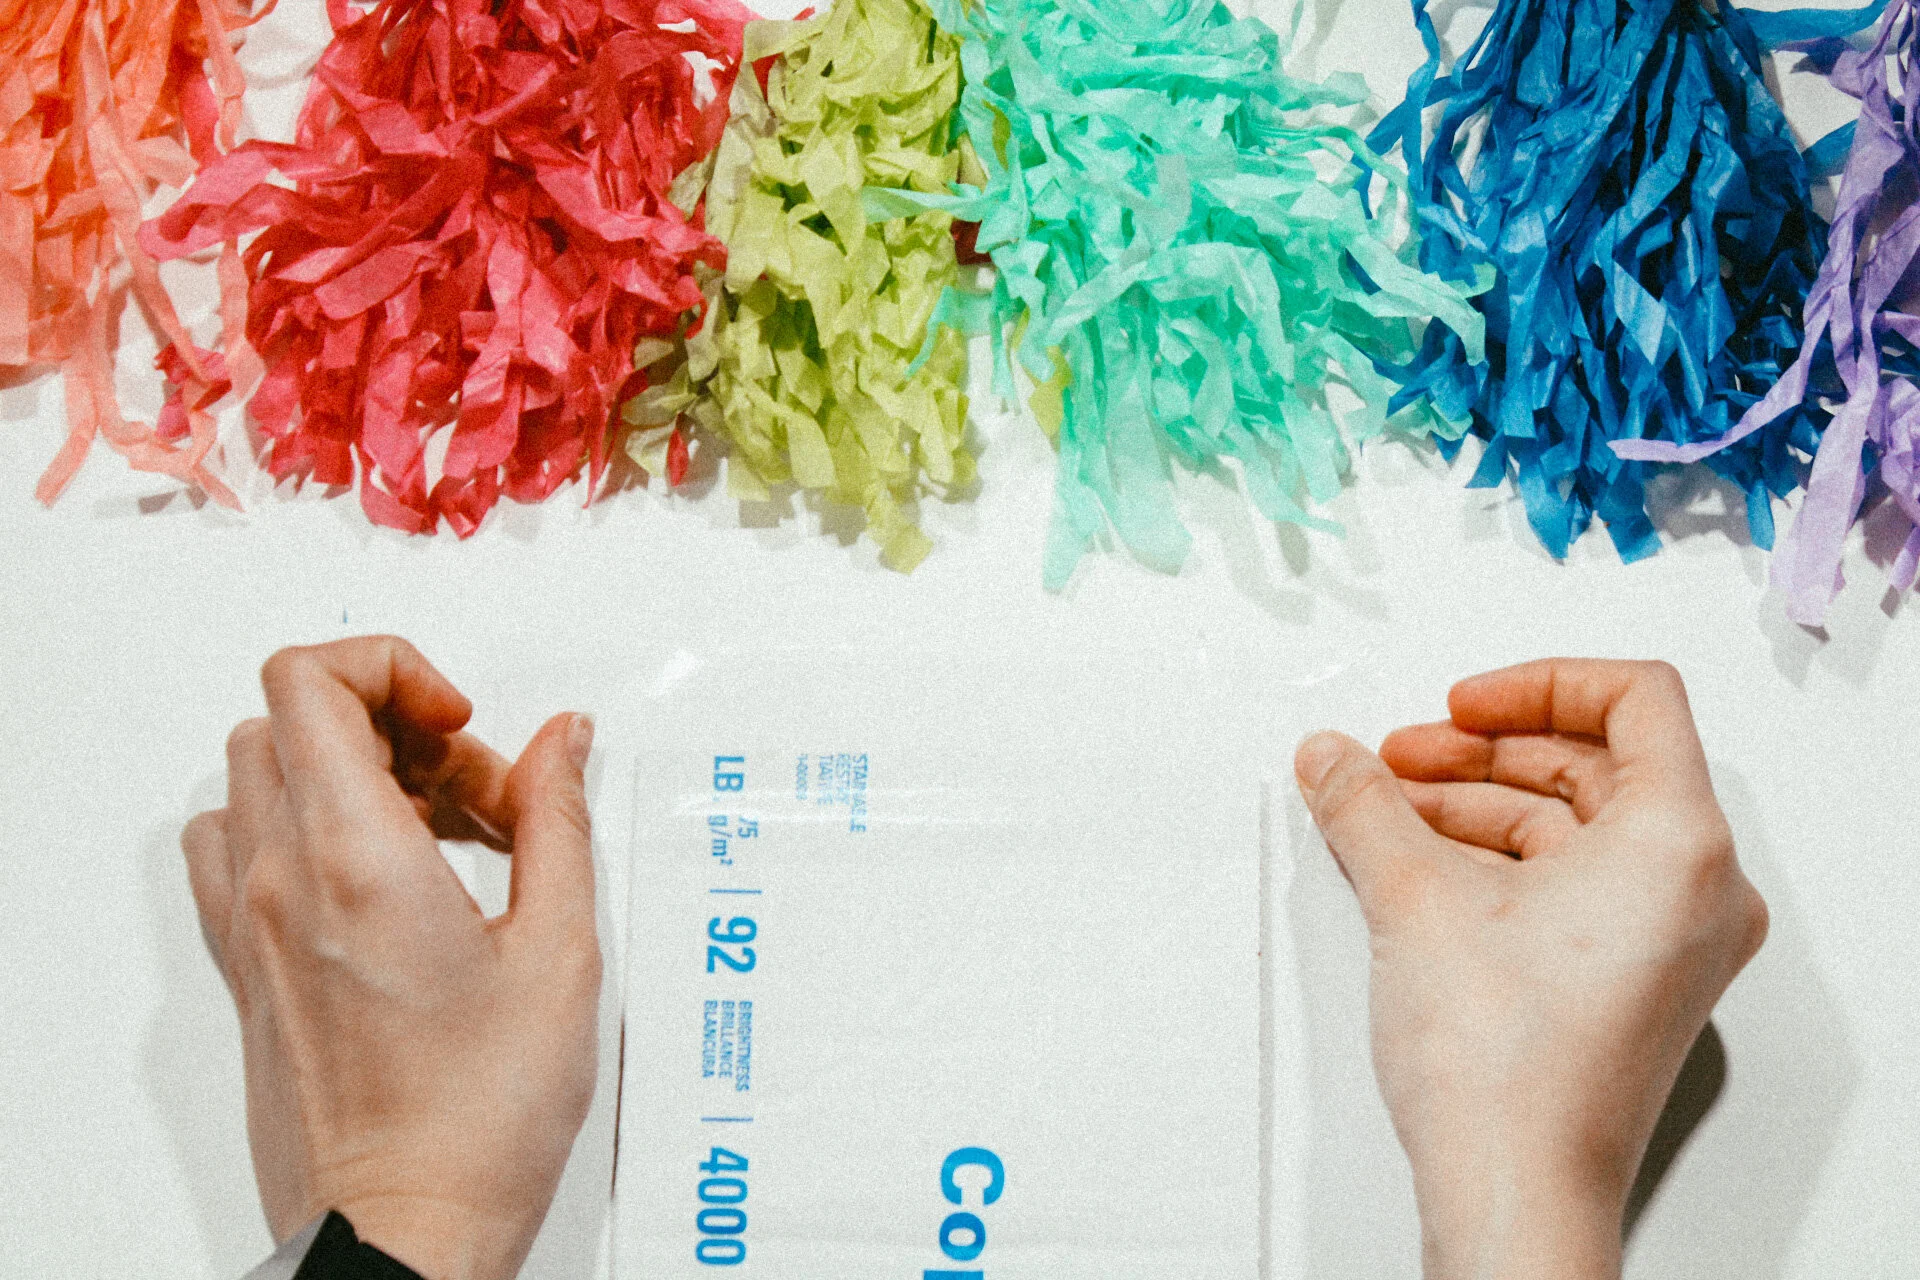
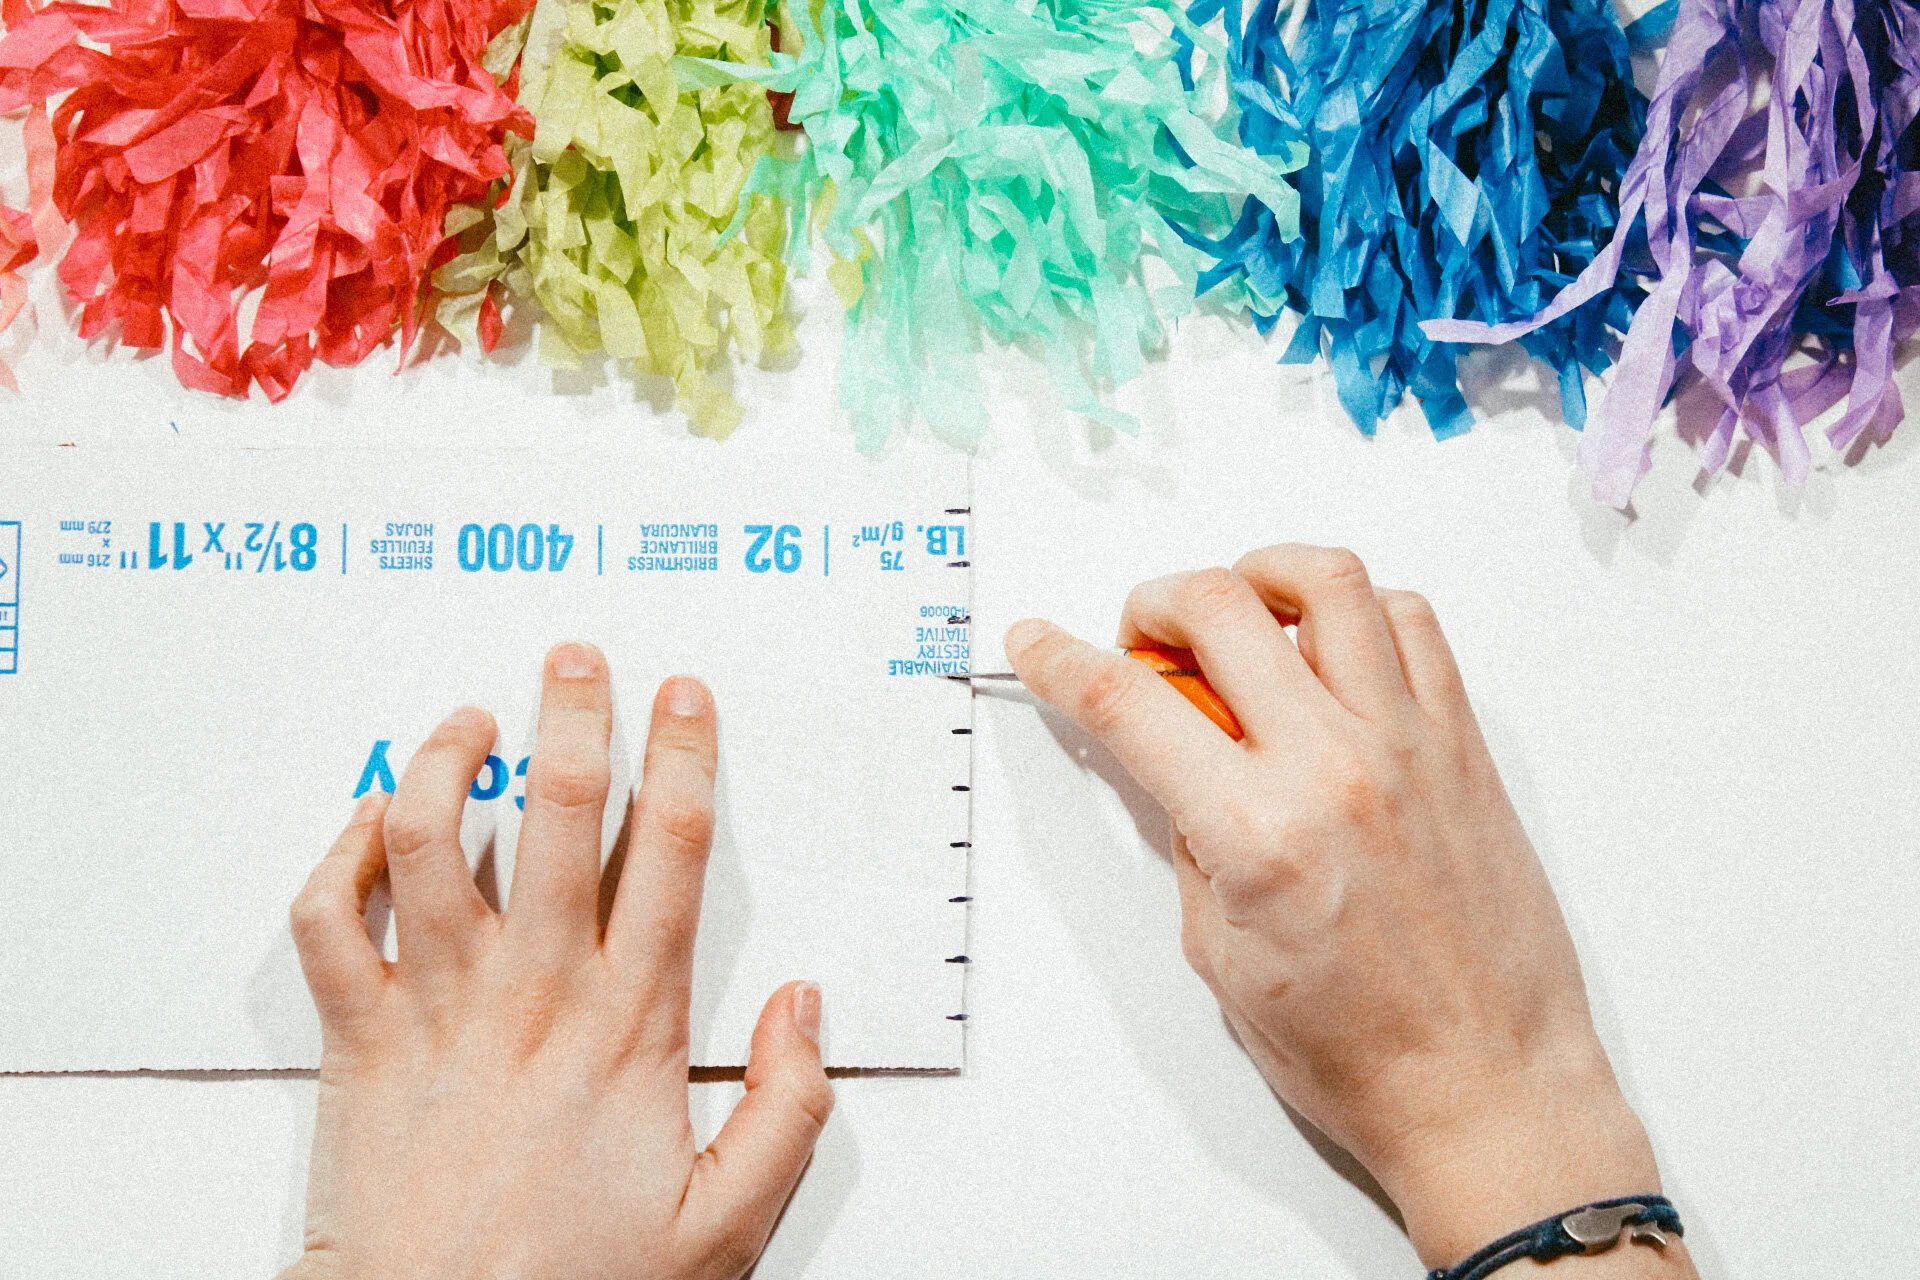
Start by placing packaging tape at the top and bottom of your loom. This makes the loom stronger! With a ruler mark two lines on the tape every ½ inch . If you are using a loom the size of the one I am, you will have 10 lines total across your loom. Repeat this on the bottom. Then, cut along the lines with your X-acto knife to create the notches.

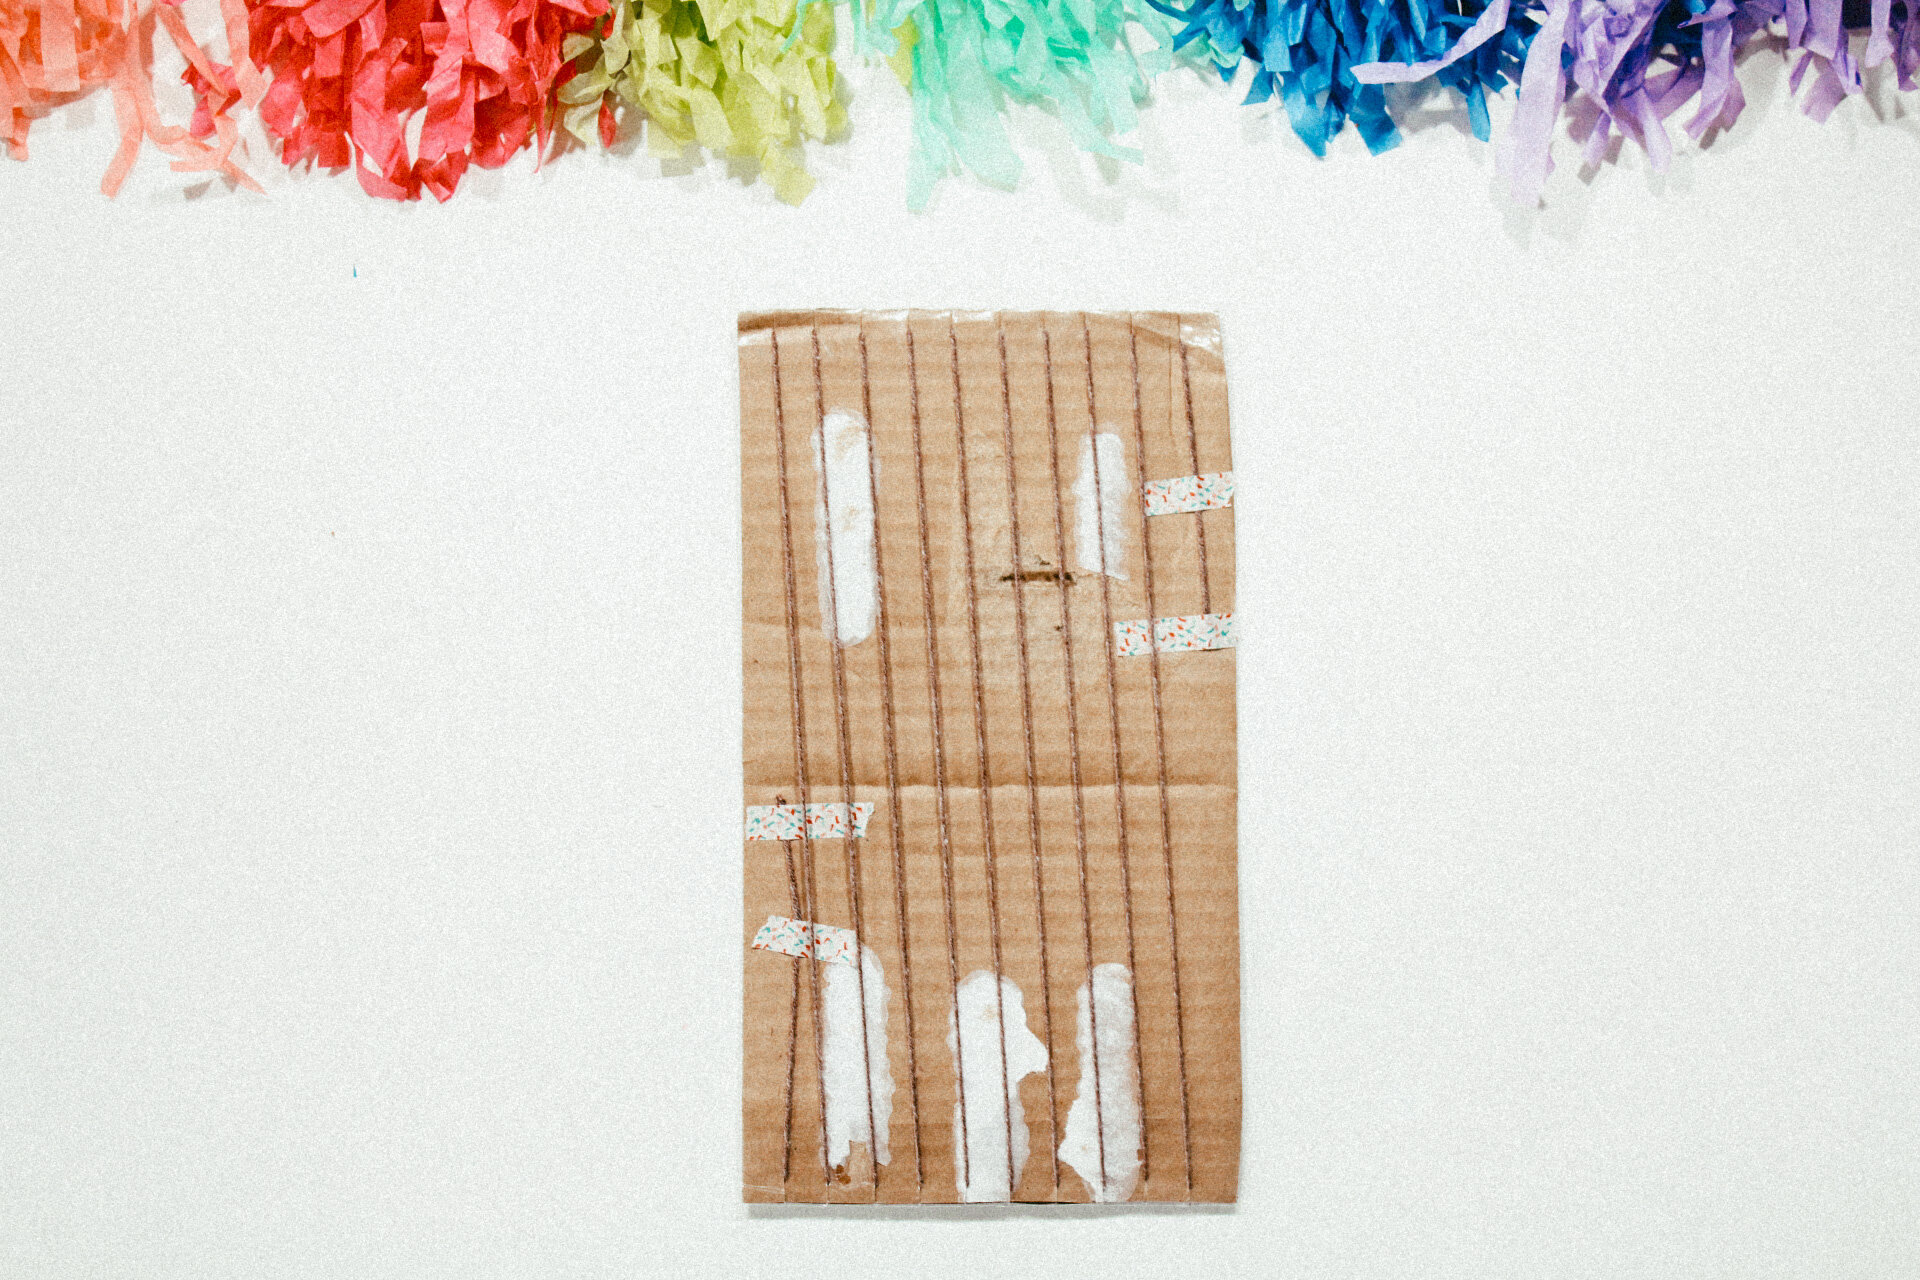
With the masking or washi tape, tape the end of the twin to the back of the cardboard. Fit the twine through the first notch at the top and down the cardboard to the first notch on the bottom. Keep the twine taught and continue wrapping up and down through the notches and around the loom until you have reached the other end. Cut the twine and tape the other end to the cardboard.

Step Two: Weaving
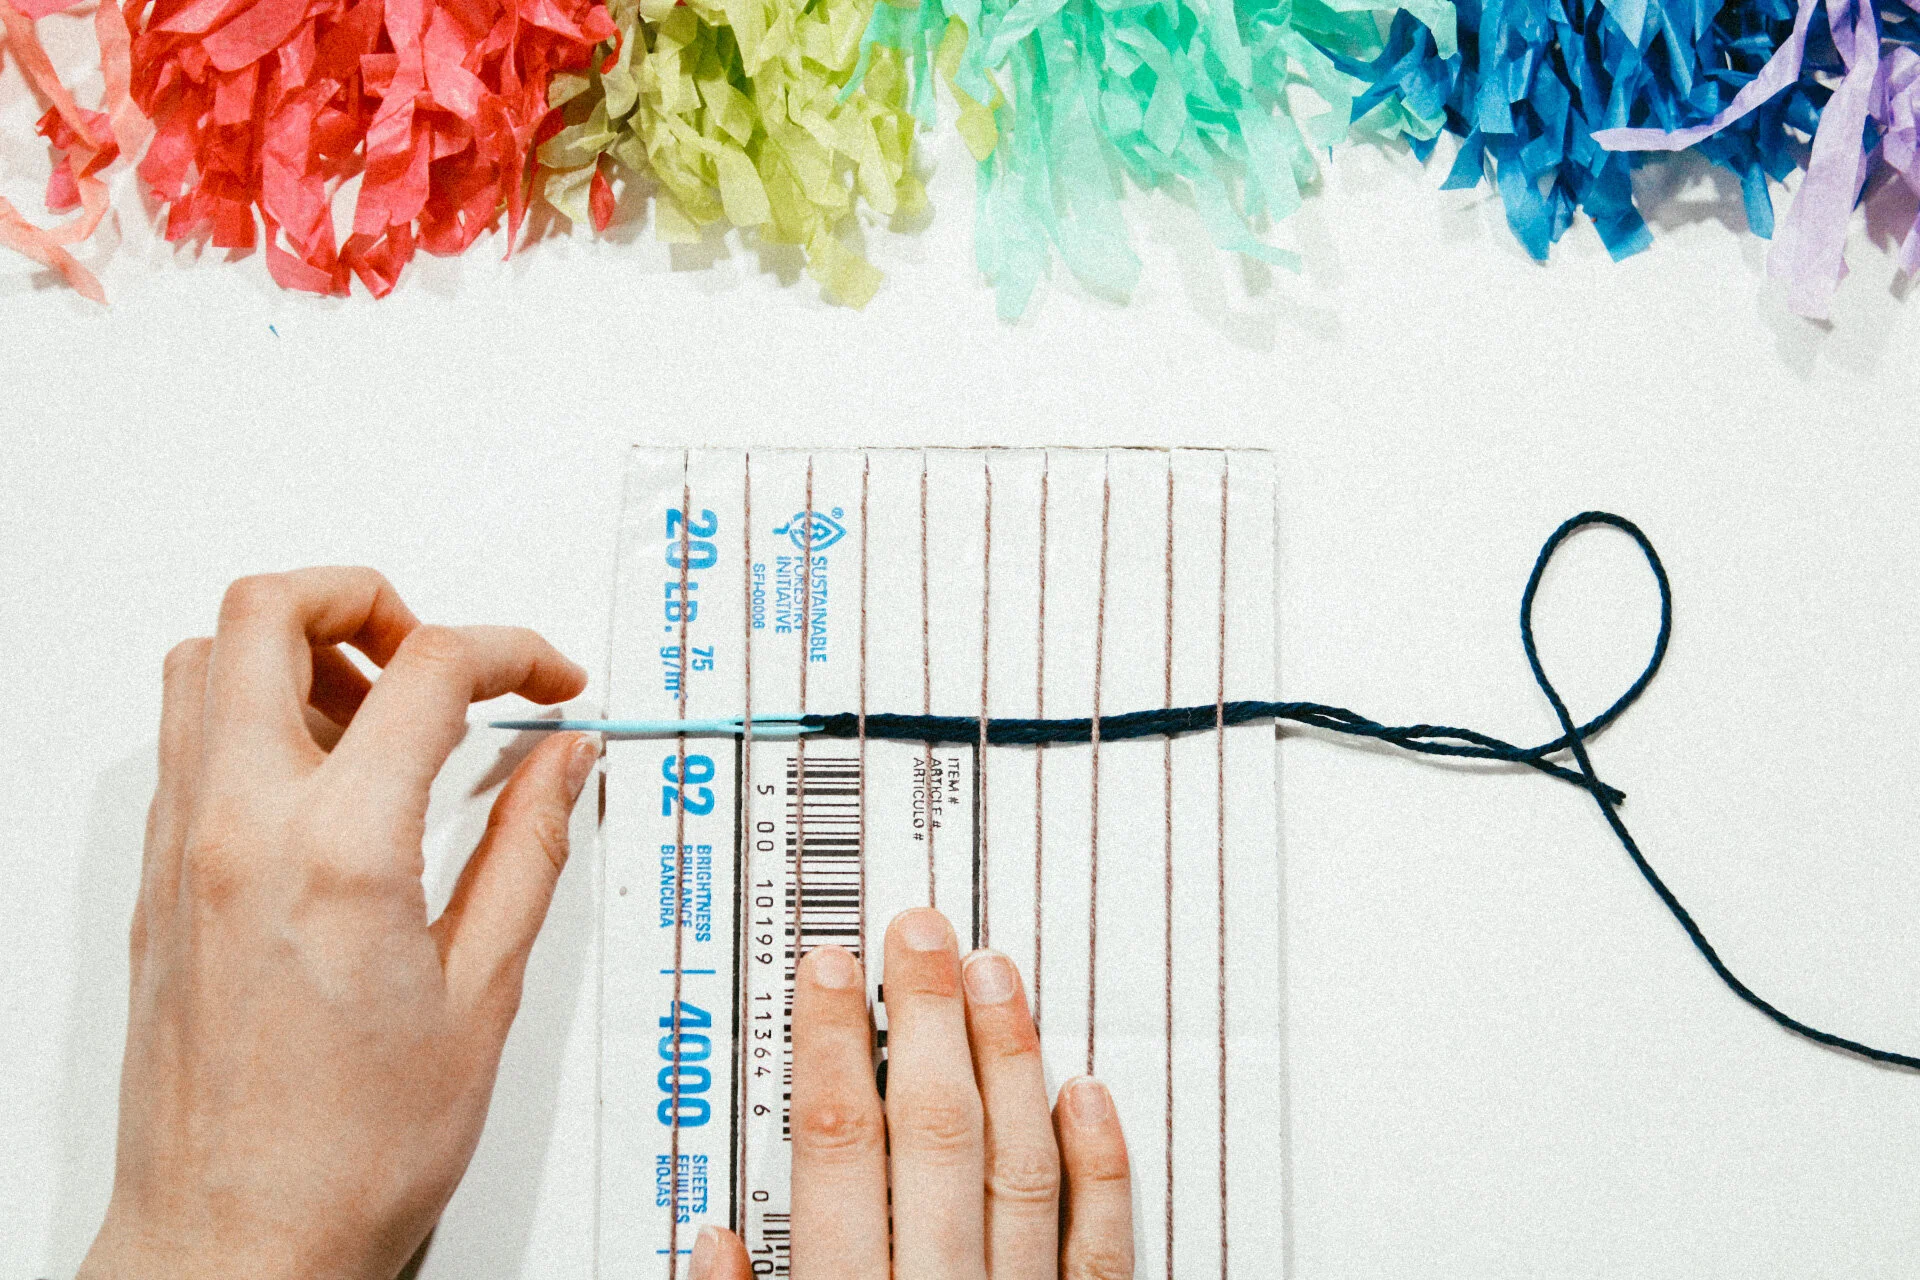
Cut about two arms length of yarn and thread it through your needle. If you do not have a needle this can easily be done with your fingers! Guide the yarn through the twine using an under-over pattern. I prefer to go under first that way the yarn remains in place. When you start the new row, leave a bit of a tail about 3-5” long.
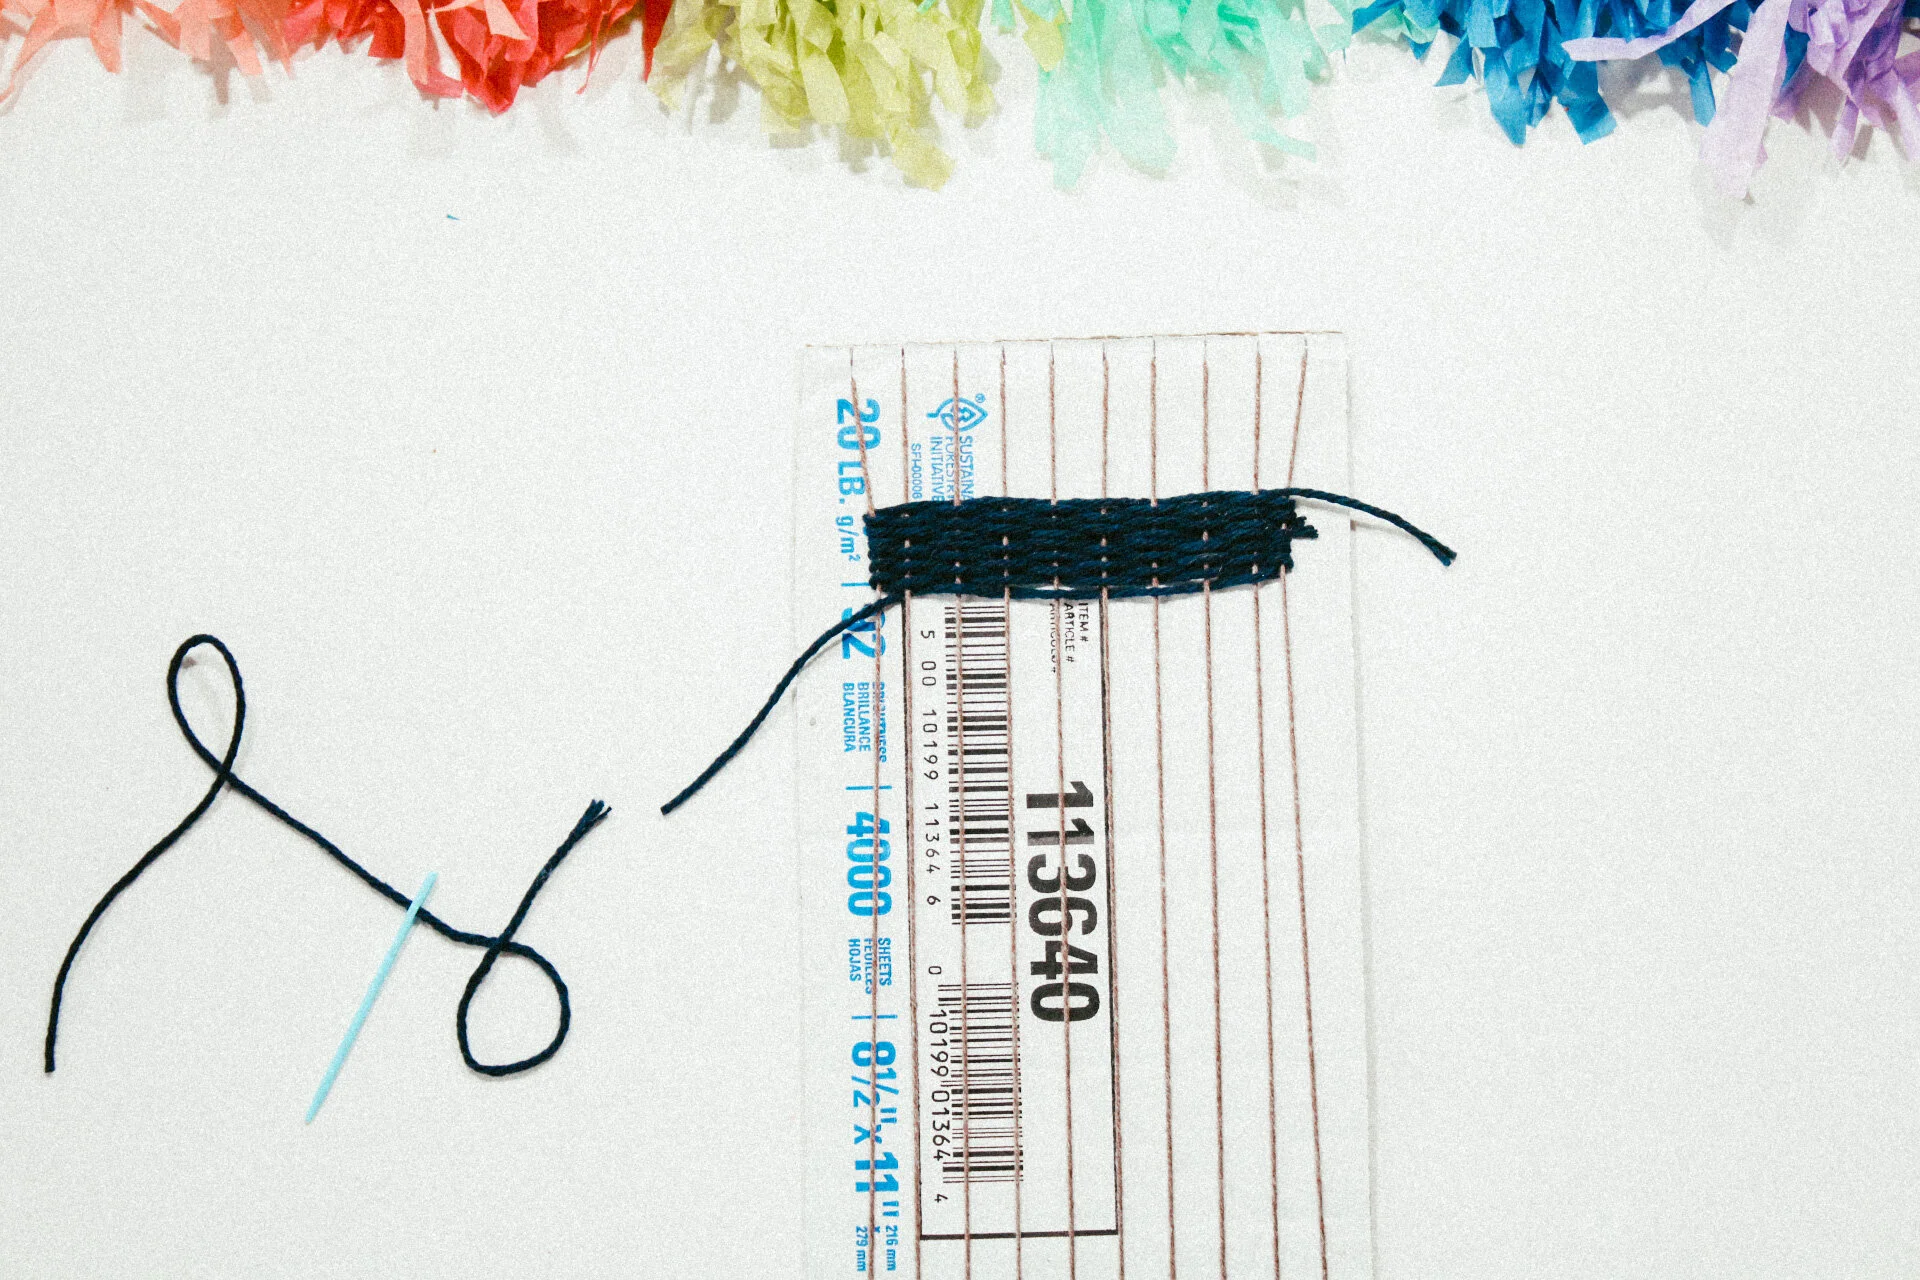
After the first row is complete, guide the yarn back through the twine using an under- over pattern. Pro-tip! Do not pill too hard on your yarn, or too loose for that matter or your weaving will start to look a little wonky.

Continue back and forth with this pattern until you are happy with the amount that you have. When you are ready for another color or pattern, push the woven section with a comb or a fork to tighten. Cut the yarn and leave another 3-5” tail.
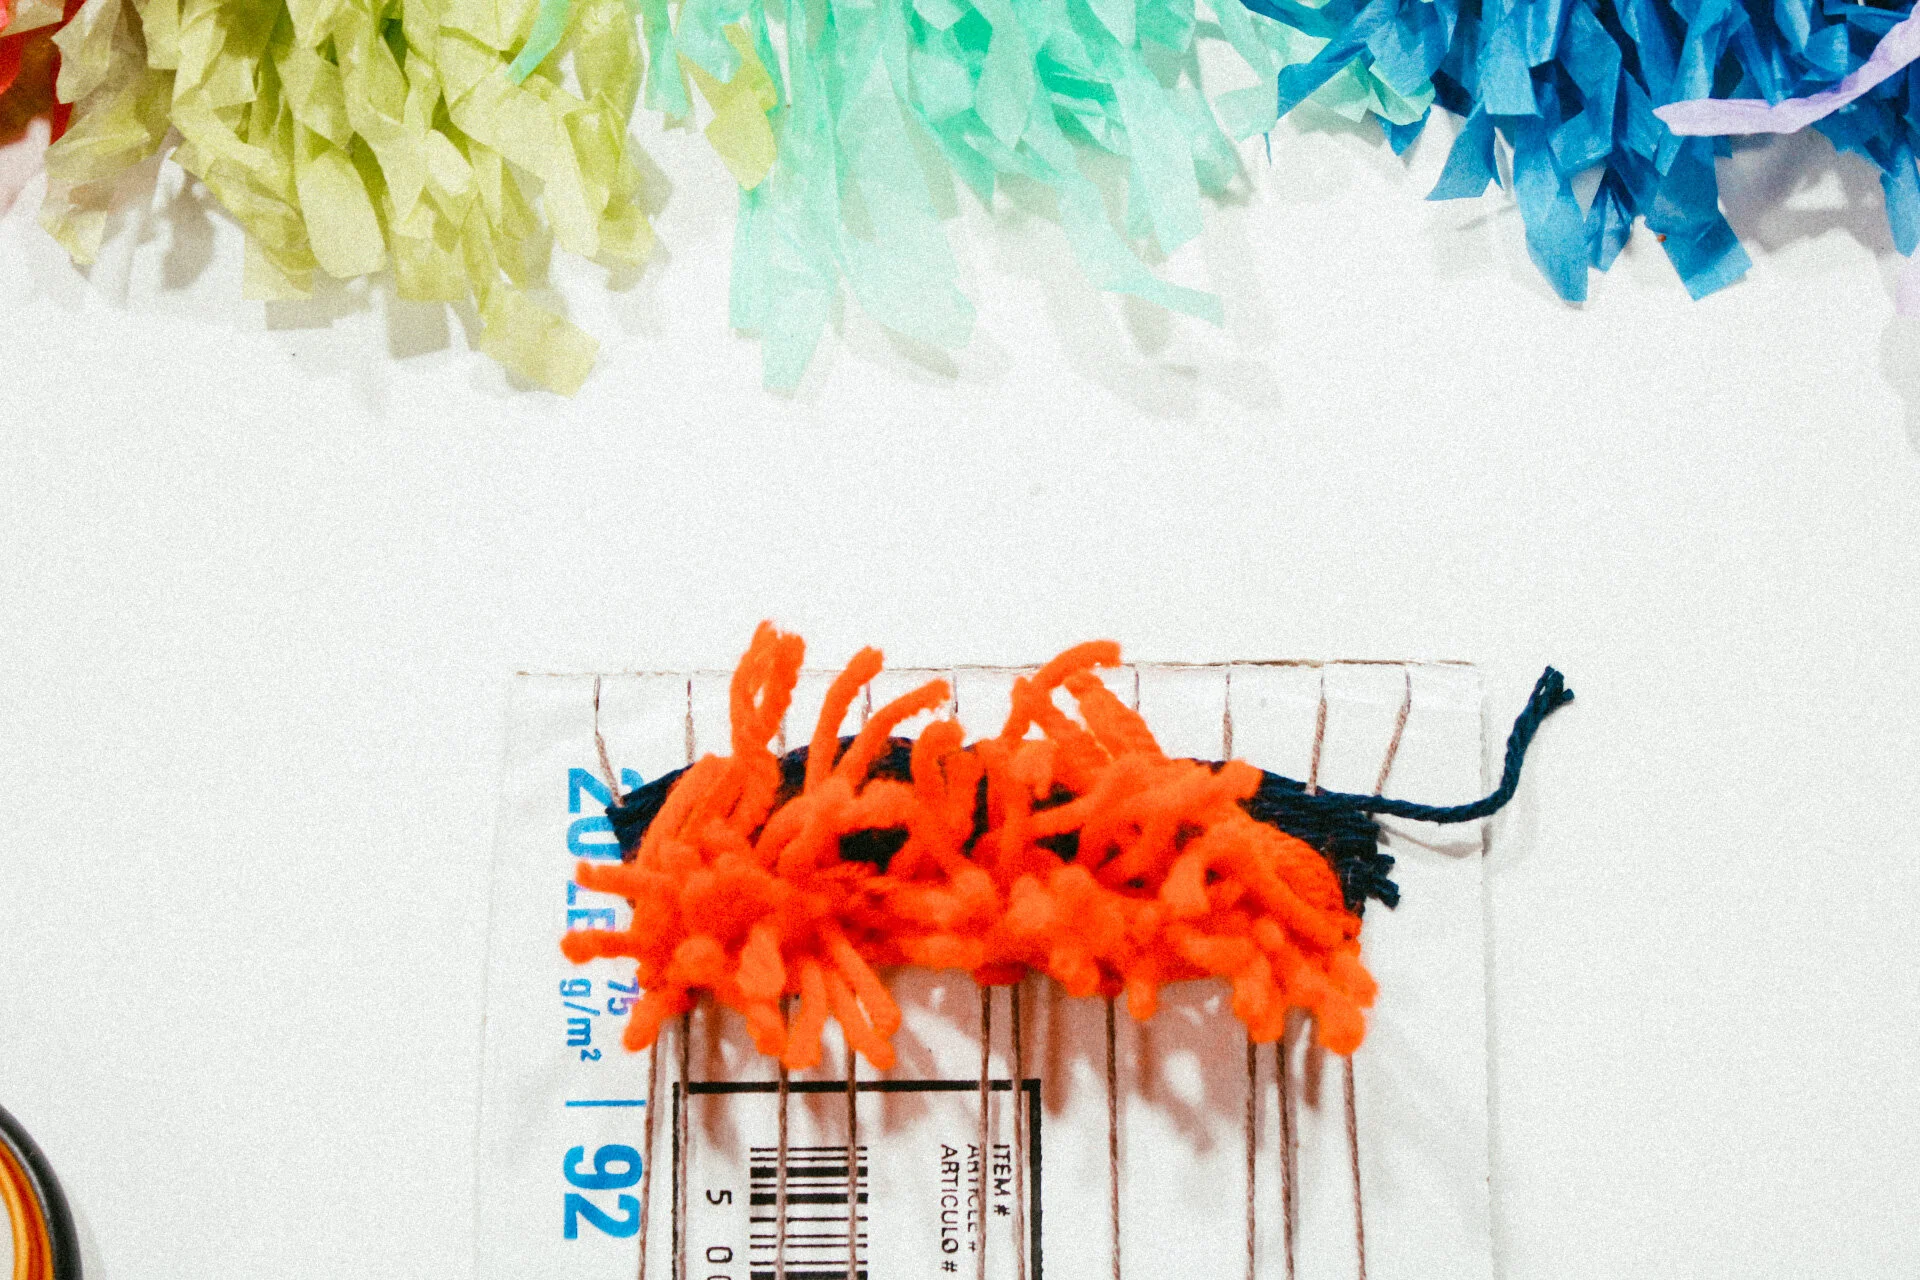
Step Three: Rya Knot
To create the Rya or a fluffy section in the weaving, cut several pieces of yarn. To cut many at once, wrap the yarn around a book and then cut the yarn in half.
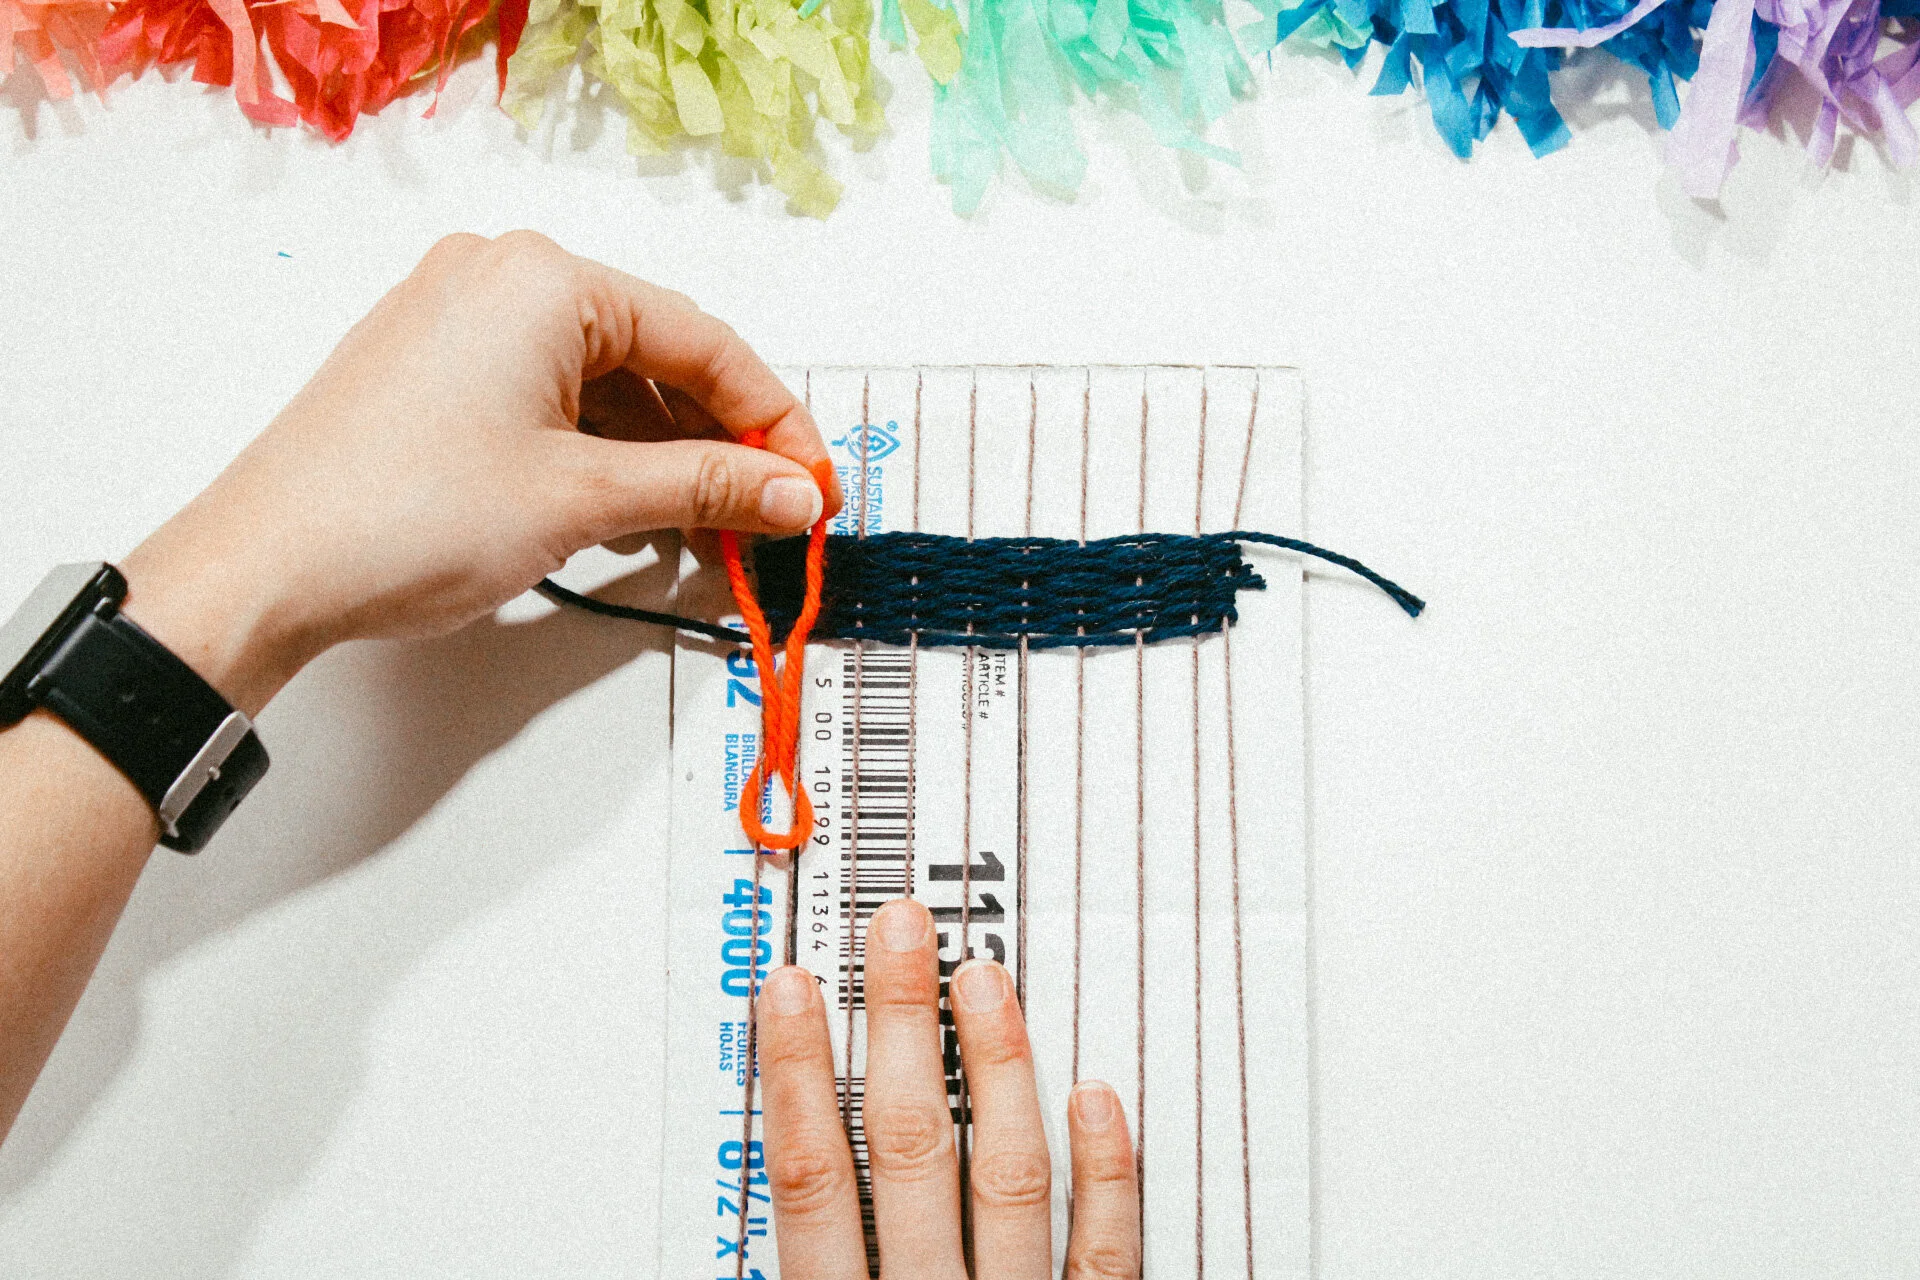
Lay the first piece in a “U” shape over the first two pieces of vertical twine. Wrap the ends under the twine and pull them up until the piece of yarn meets your basic weave pattern. Repeat on the third and fourth, fifth and sixth (and so on) until you have completed a row. For the second row, skip the first piece of twine and wrap your yarn under the second and third piece. You will be adding more knots in the space between the two knots you made previously. Repeat until you have completed the second row.
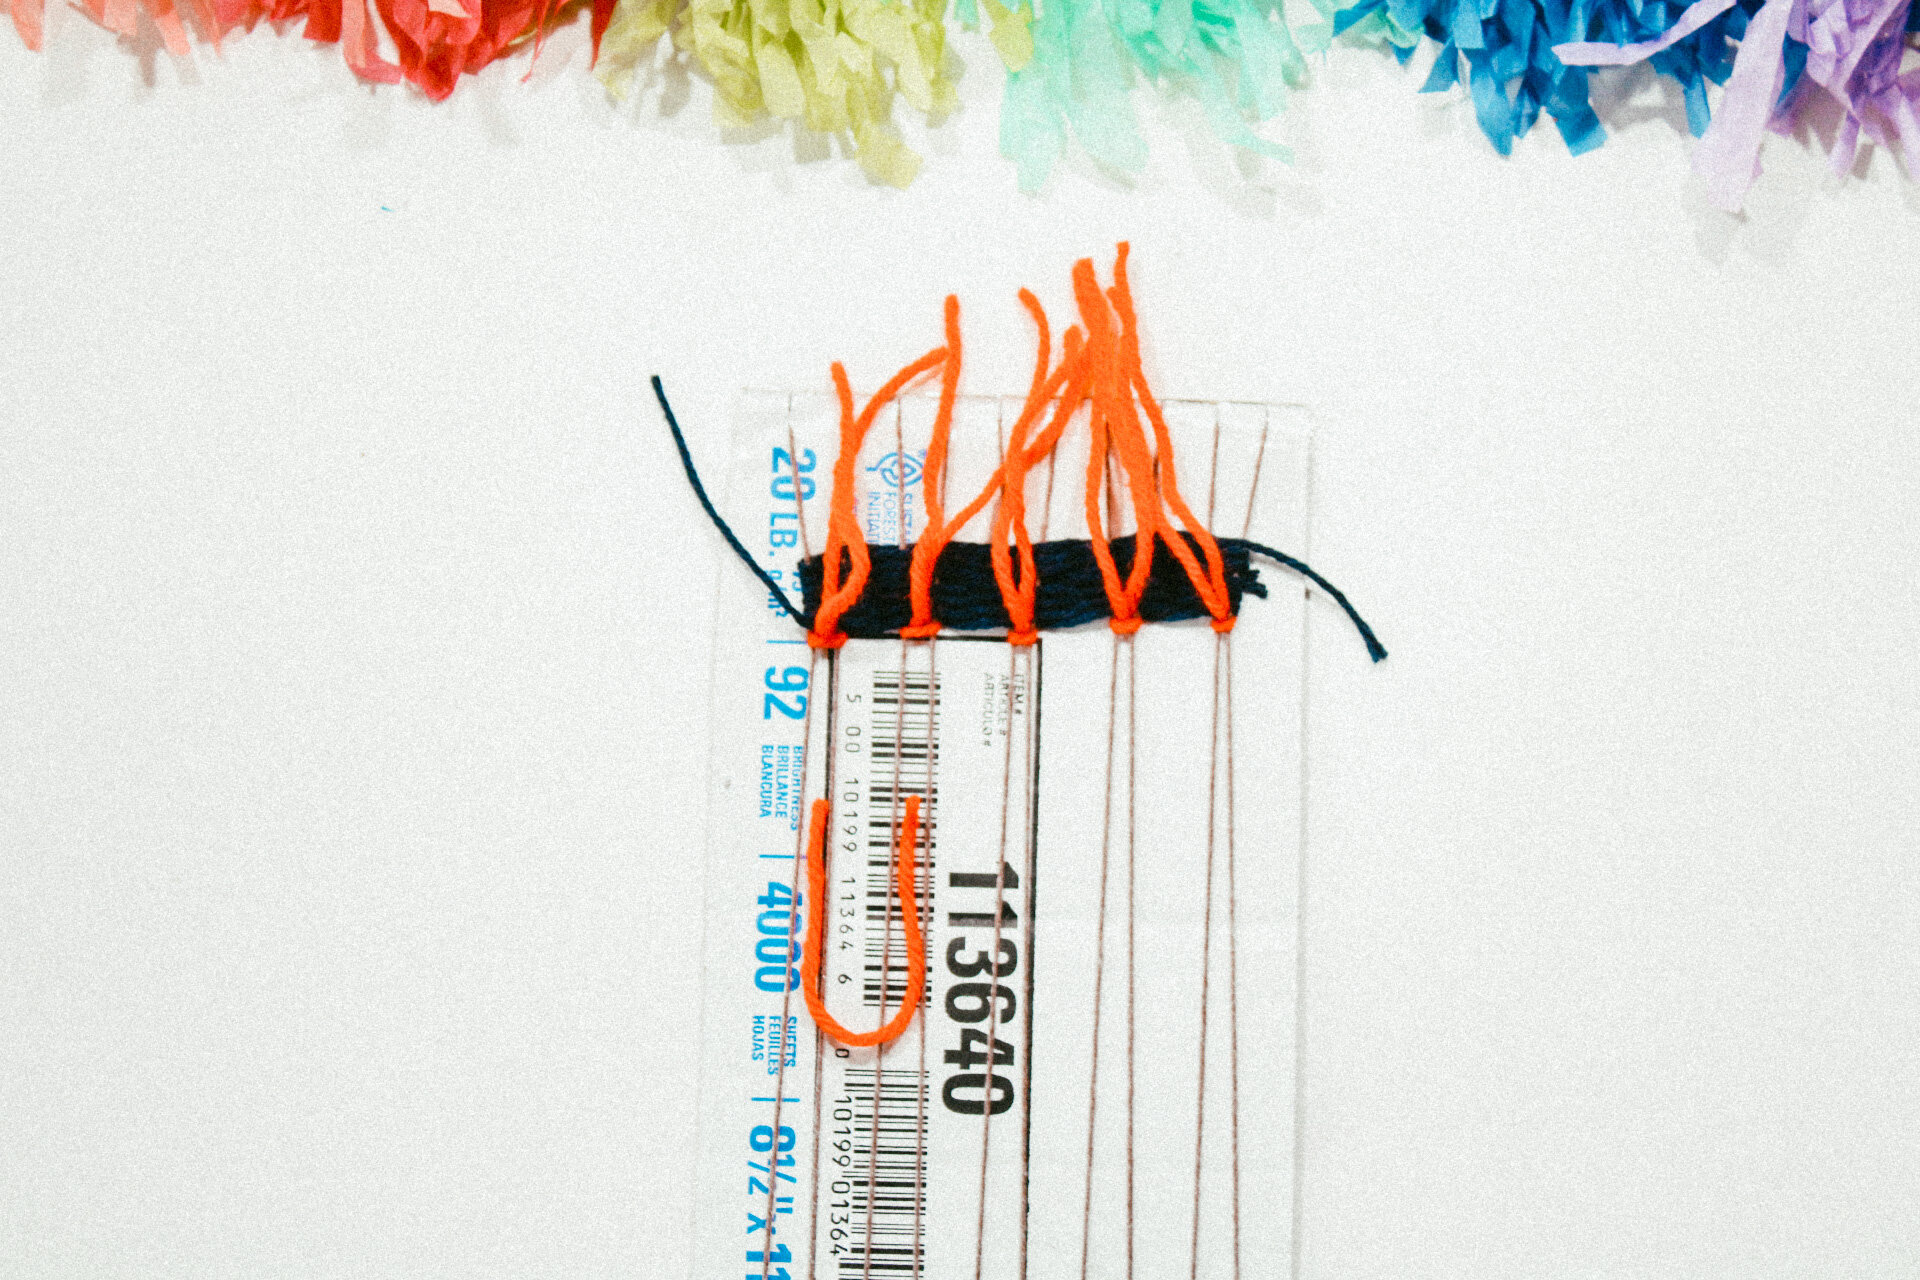

Continue alternating the rows until you have enough fluff that you feel content with it. Make sure to push it close together that way it is tight. You can immediately go back to weaving just go back to the under- over pattern as stated above.
Step Four: Finishing The Weave
Continue weaving to the top of the loom, using yarn of different weights and adding rya knots as you go for some extra texture. When you get to a desired stopping point, you will remove the weaving from the loom.

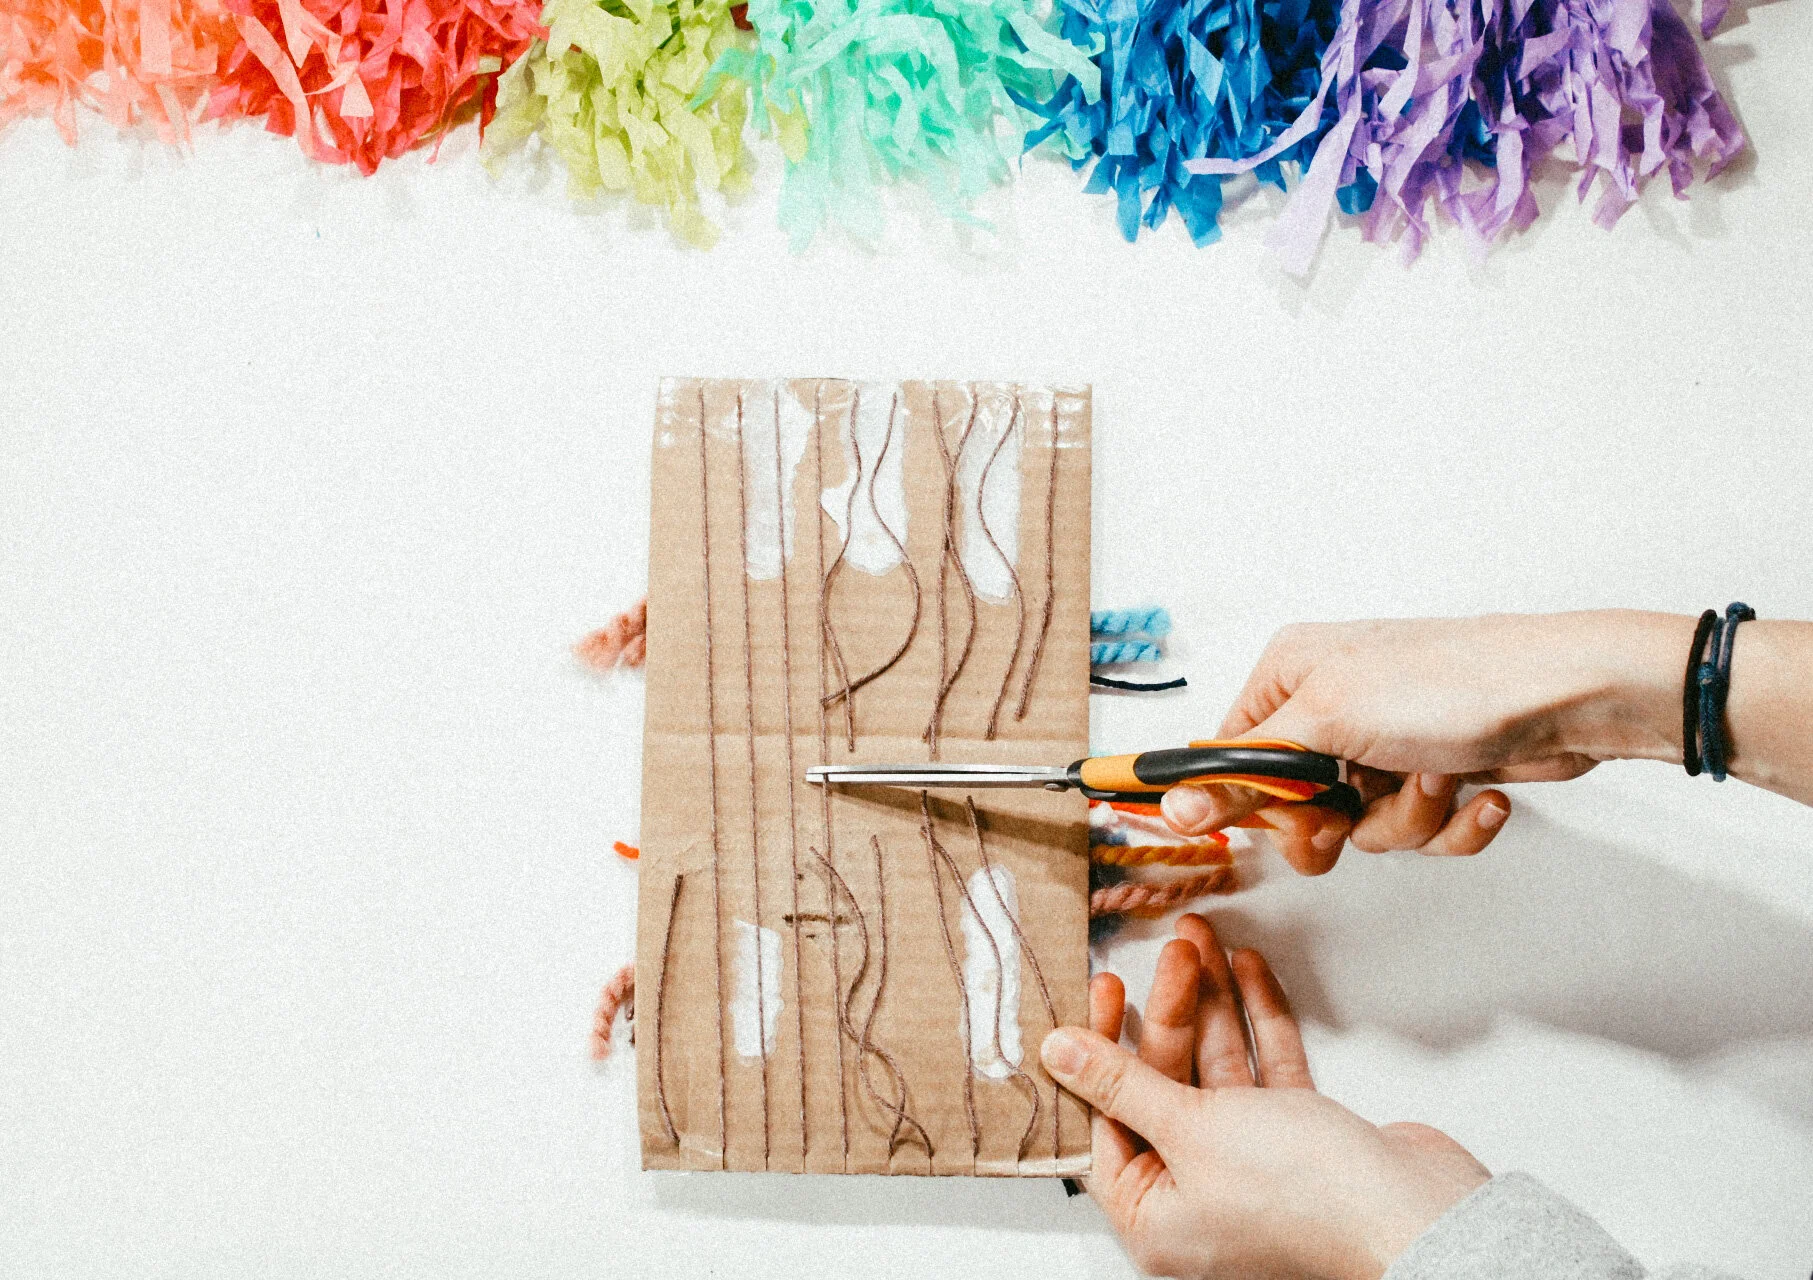
Turn your loom around and take the tape off. Cut the twine in half along the middle of the cardboard. Flip the loom back over and remove the first two pieces of twine from the notches. Tie them together using square knots and repeat this with the following pieces of yarn until it is knotted across. Repeat the same on the bottom.

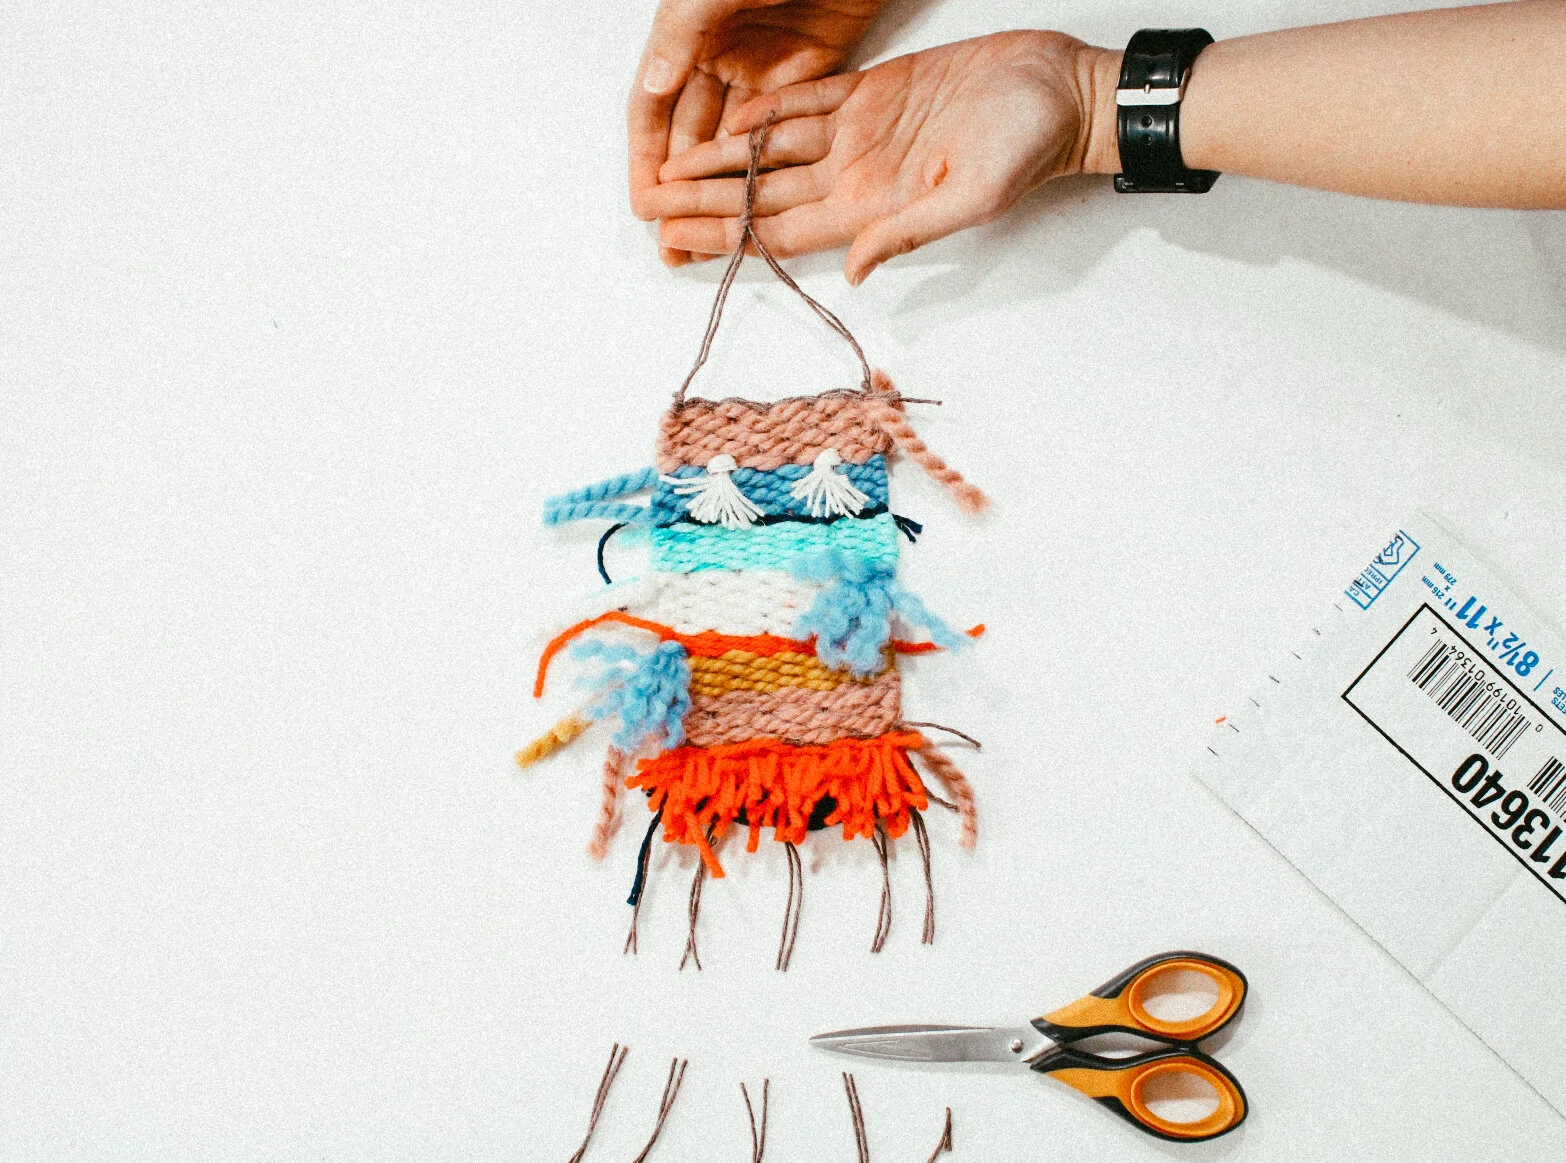
When it is all tied together and trimmed, take the first and last knotted twine on the top and tie them together. That is where it ends, you now have an amazing woven wall hanging! You can hang it directly from the string that you knotted using a nail or push pin. You can also use the washi tape and tape it to your wall! XOXO

I also got so excited by this DIY that I made 2 more and one I made just using RYA KNOTS! So fun!!


If you make this, take a picture and post it on social media with the tag #caronahomebody